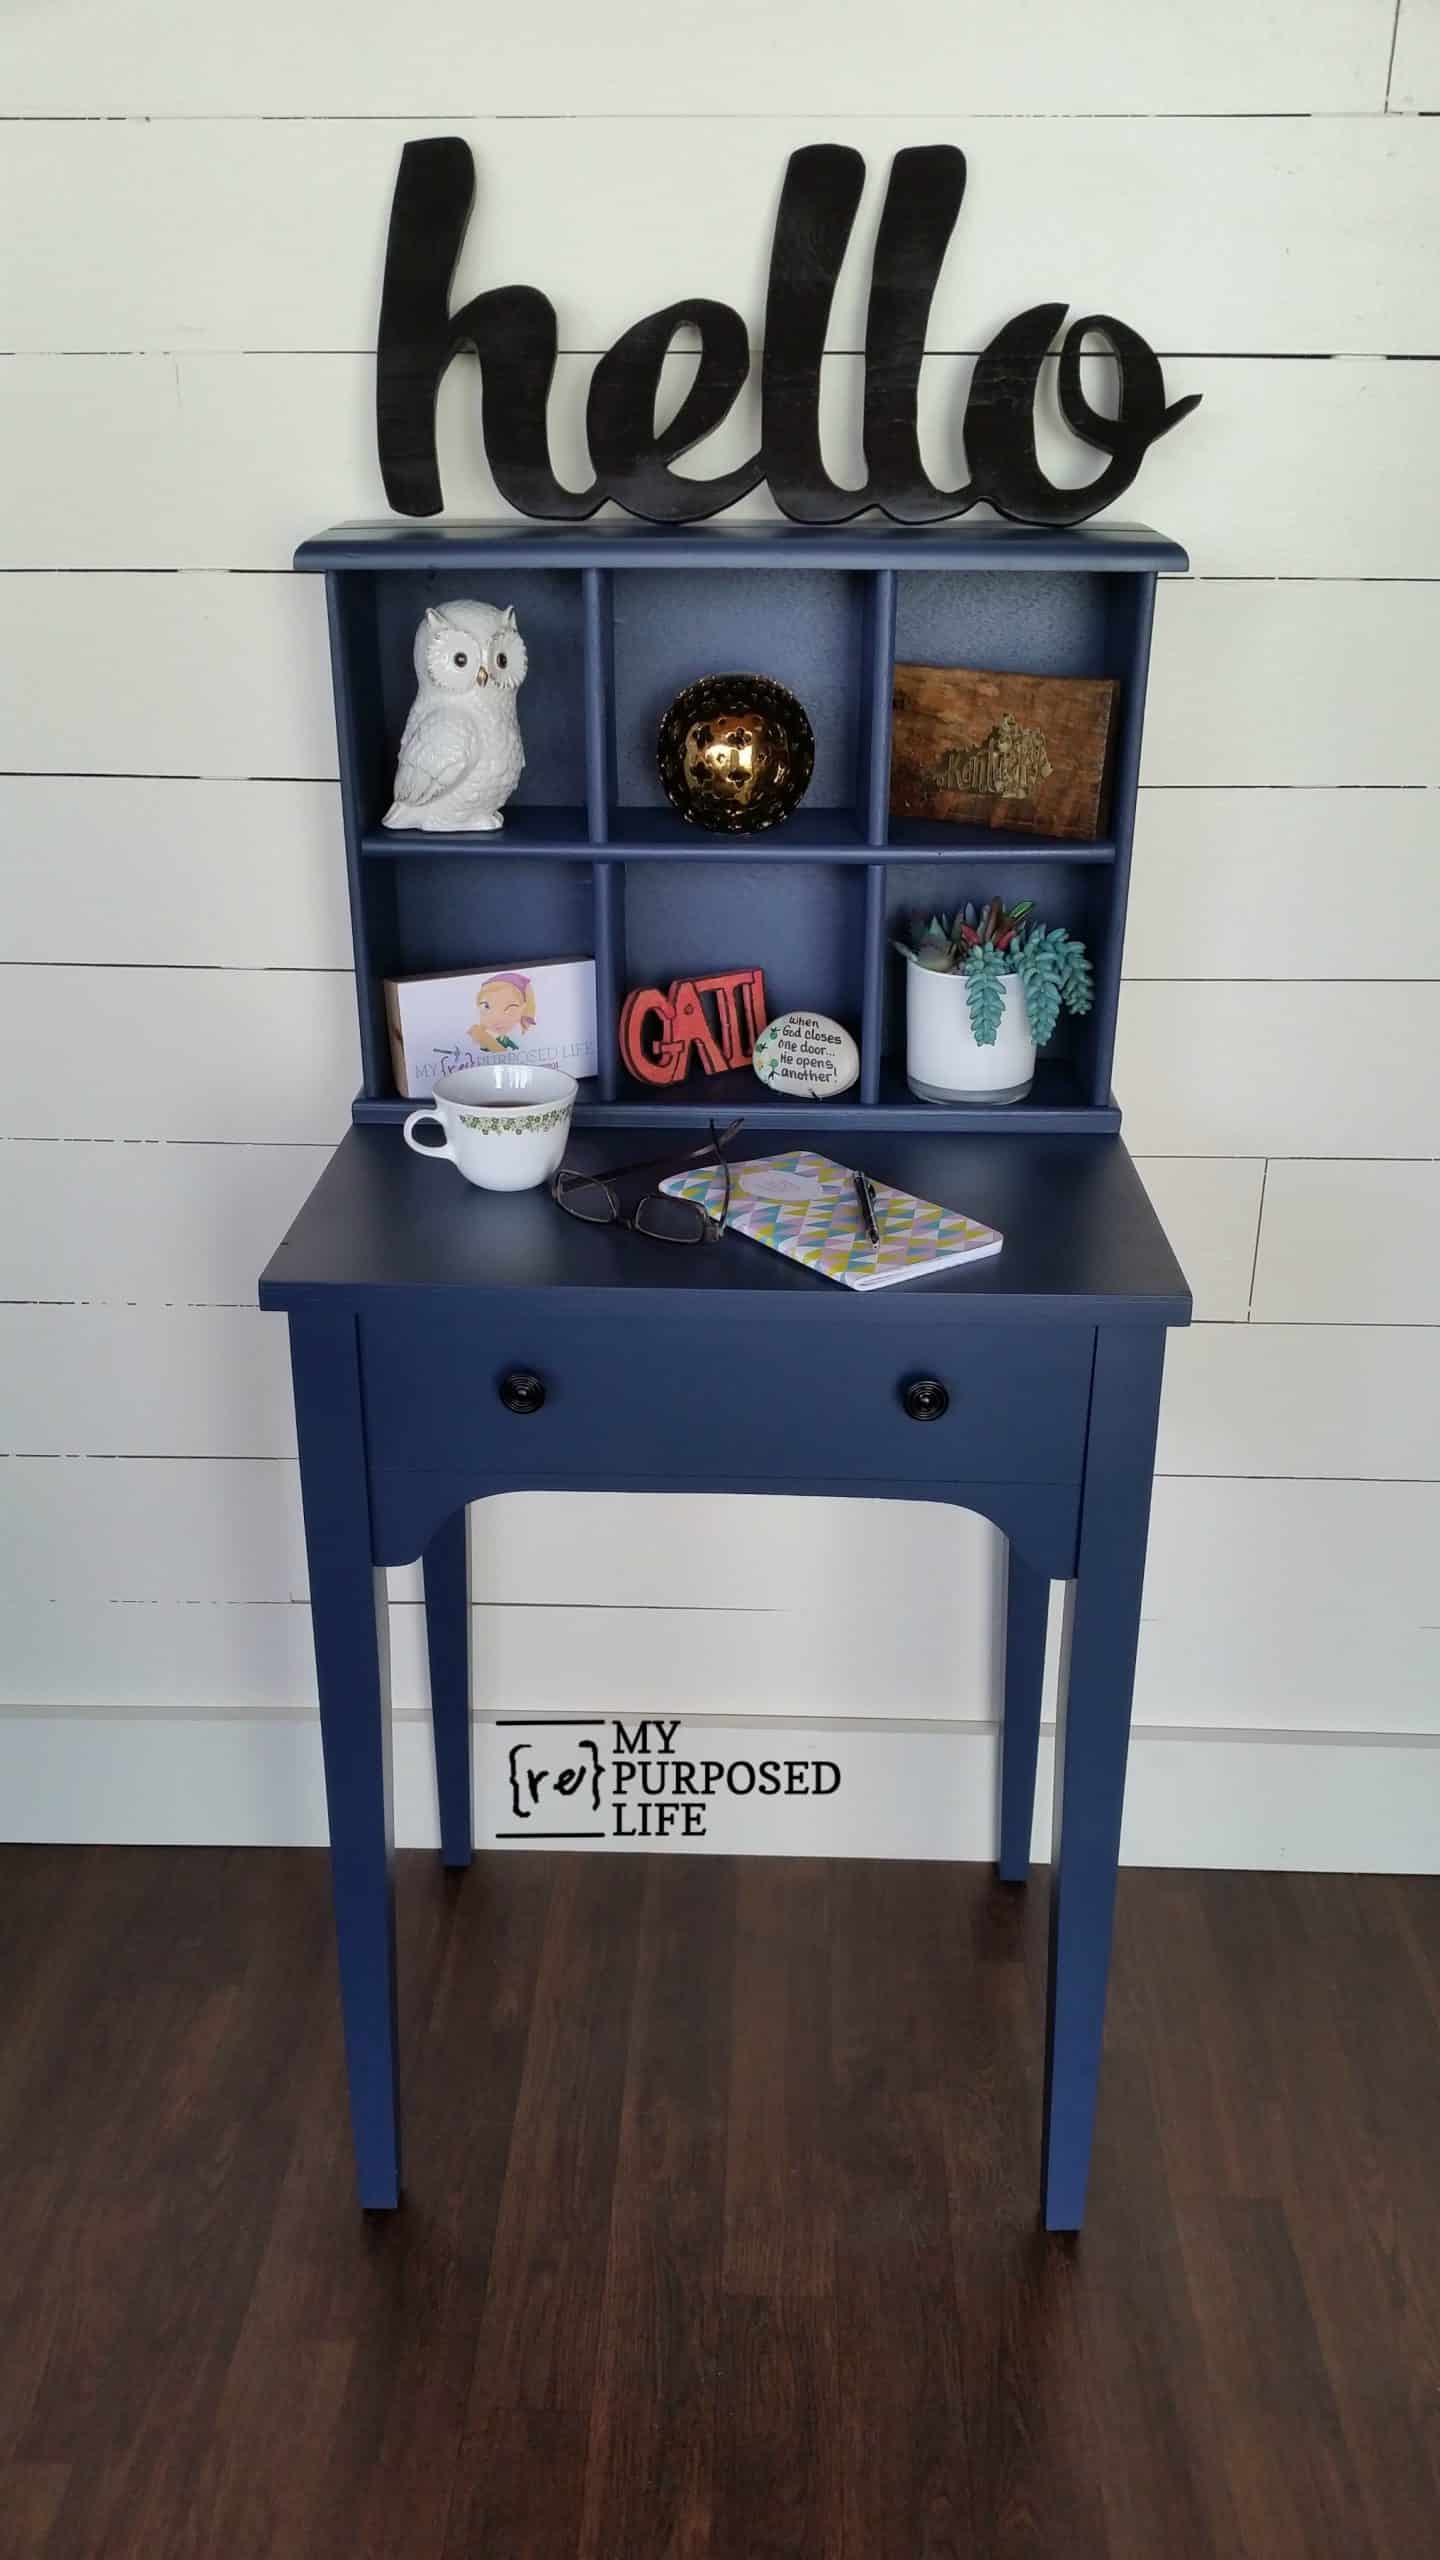
Navy Blue Writing Desk Hutch
As an Amazon Associate, I earn from qualifying purchases.
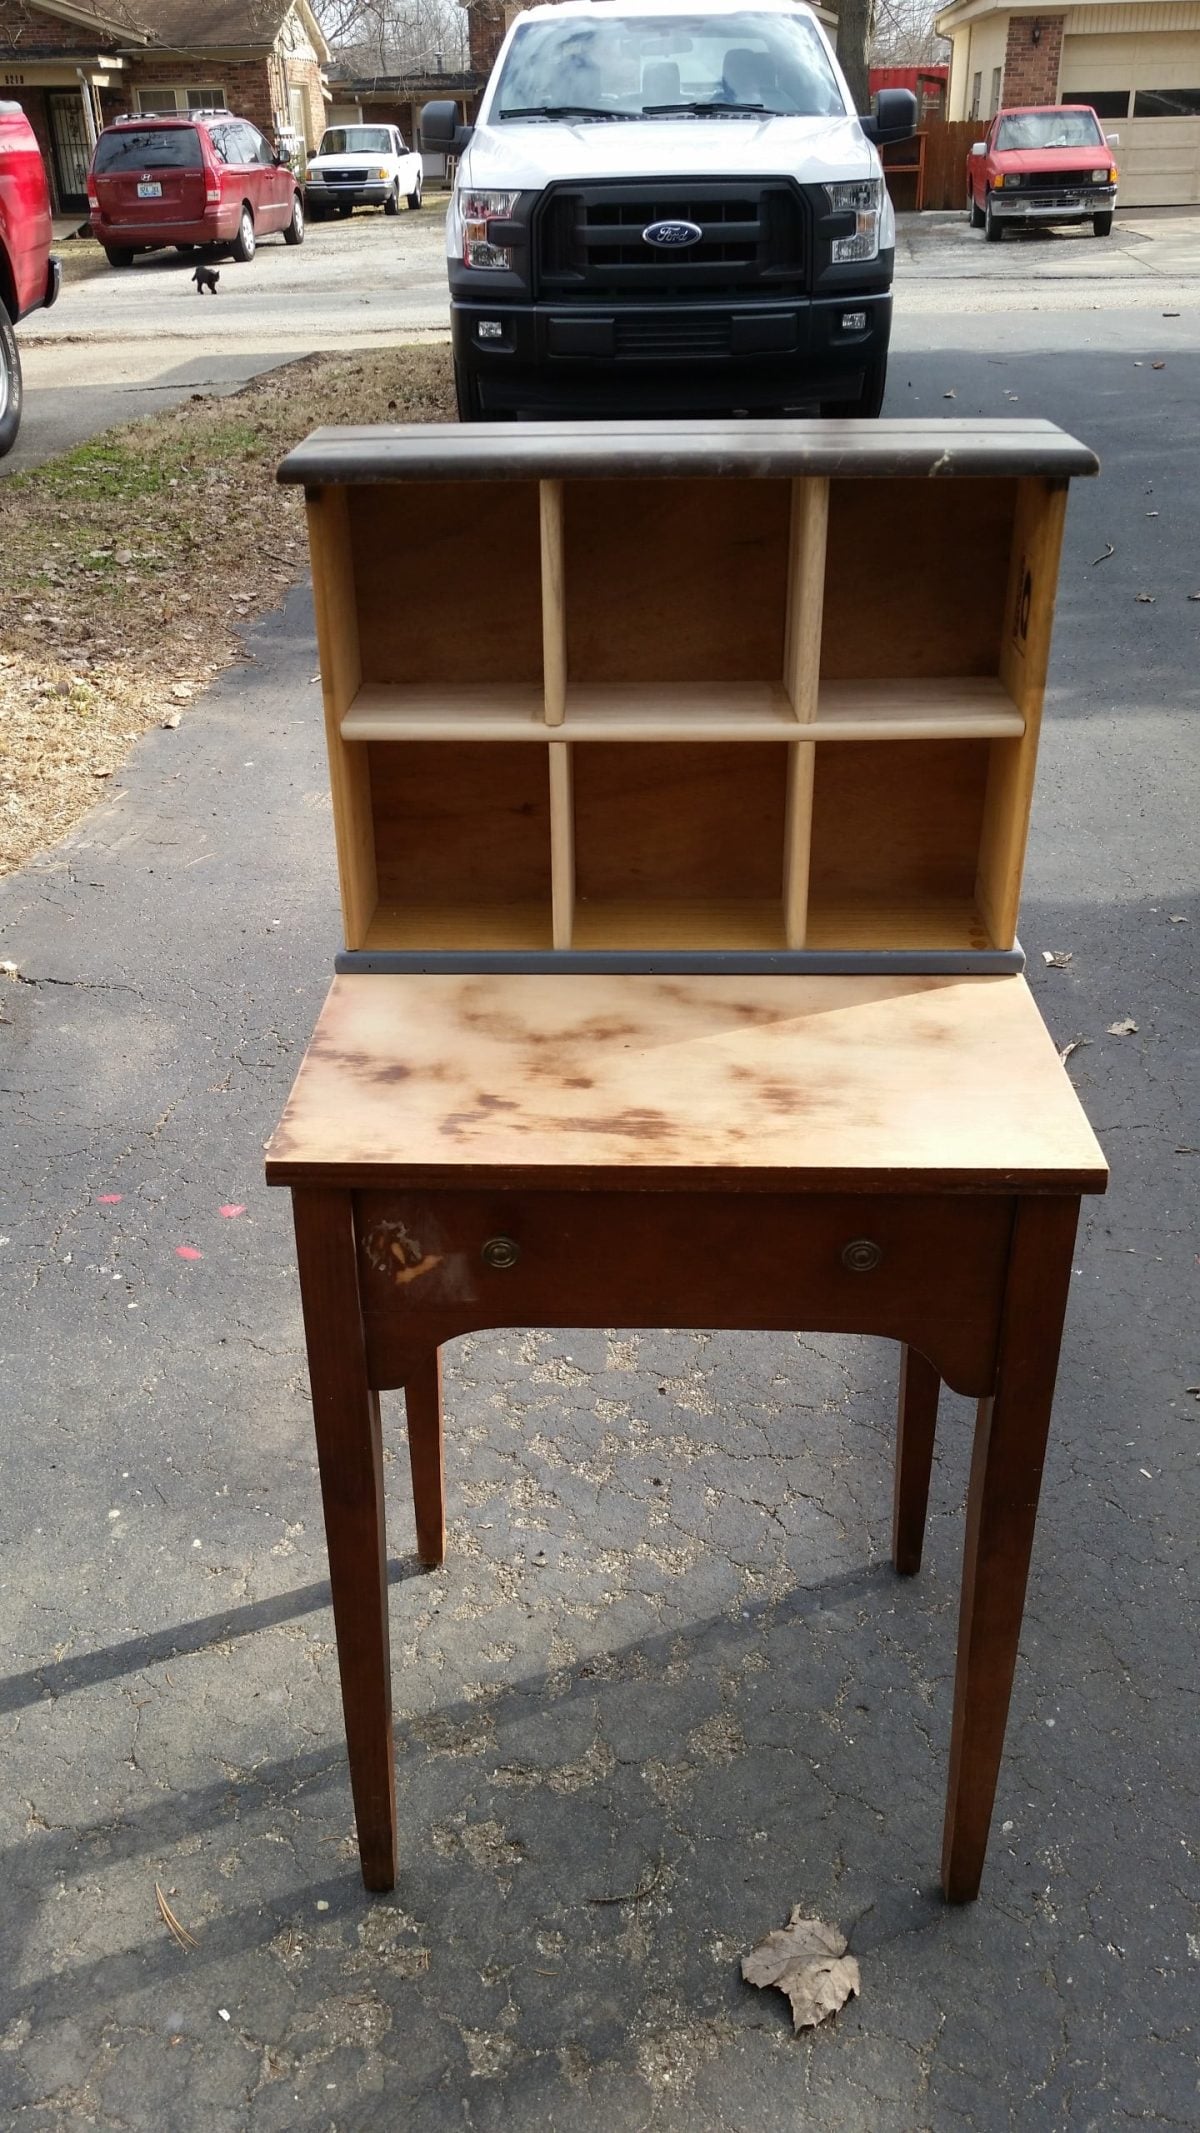
This little writing desk came together in a way I love most… using what I already had on hand. A vintage sewing cabinet and a random drawer from my stash didn’t look like much on their own, but together they made a hardworking little desk with built-in cubbies. Sometimes the best projects start with “what if?” and a pile of mismatched parts
I have too many vintage sewing cabinets in my stash, as well as too many wayward drawers. It seemed like it was time to marry a cabinet and a drawer to make a new and useful writing desk.

Thrift Store Sewing Machine Cabinet into Writing Desk
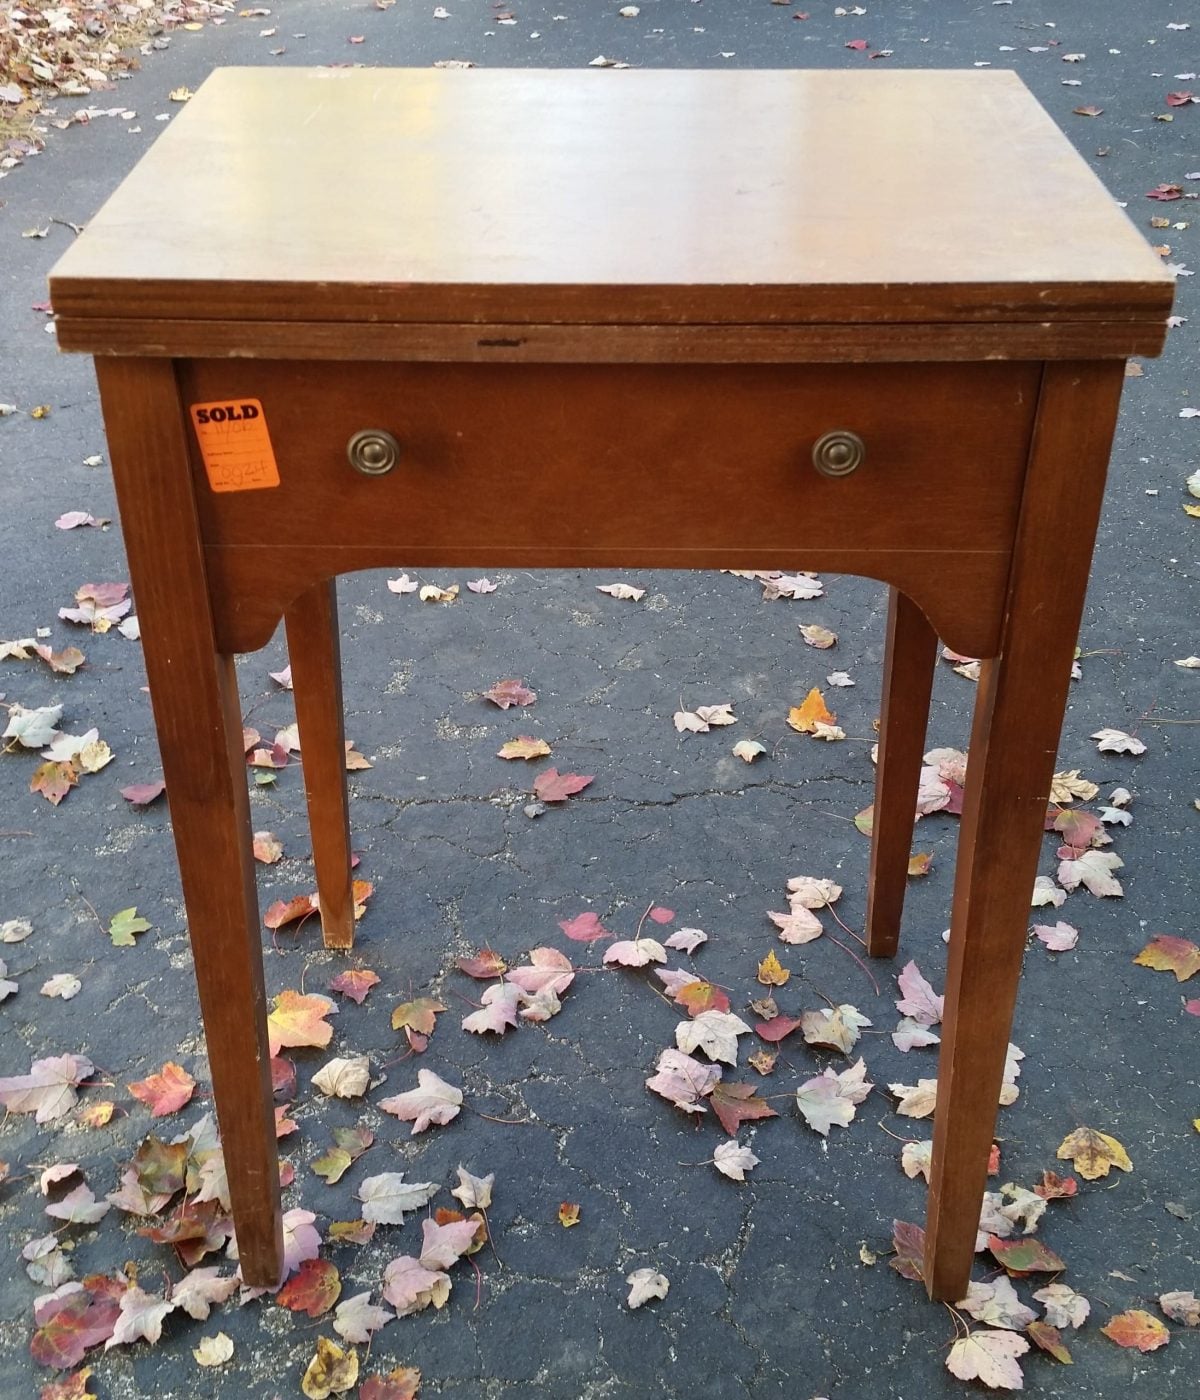
I picked up this vintage sewing cabinet at a great price. They are often priced well, especially if the sewing machine is already gone. I prefer them that way, so I don’t have to remove the sewing machine.
Related Content: Navy Blue Furniture Projects
Design stage of new Writing Desk
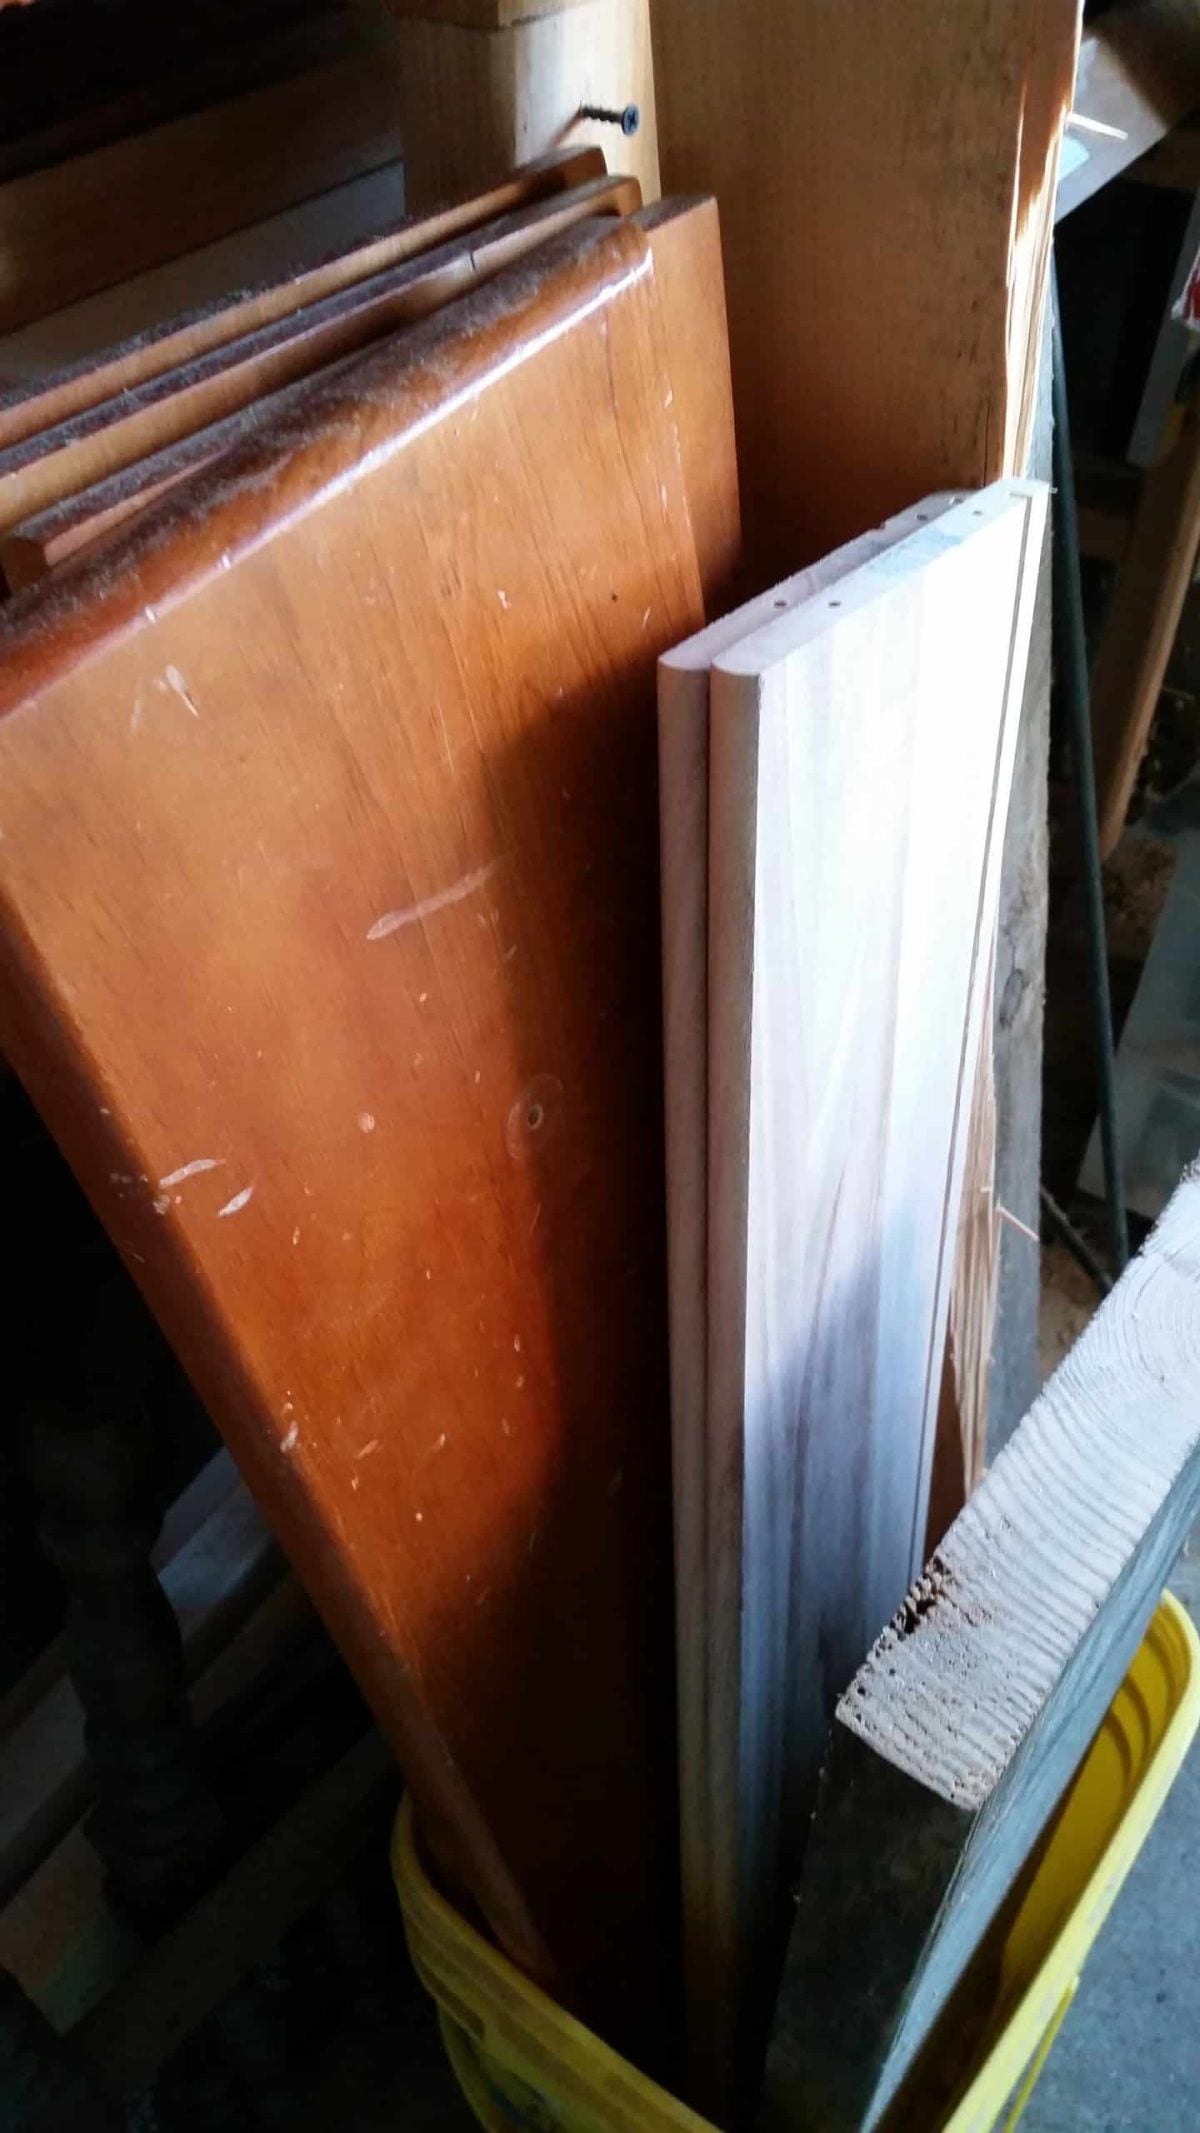
Like I said, I have way too many drawers. I tested to see which drawer configuration might look best for customizing and transforming this sewing cabinet. The one on the right was the winner! I have no idea where that drawer came from.
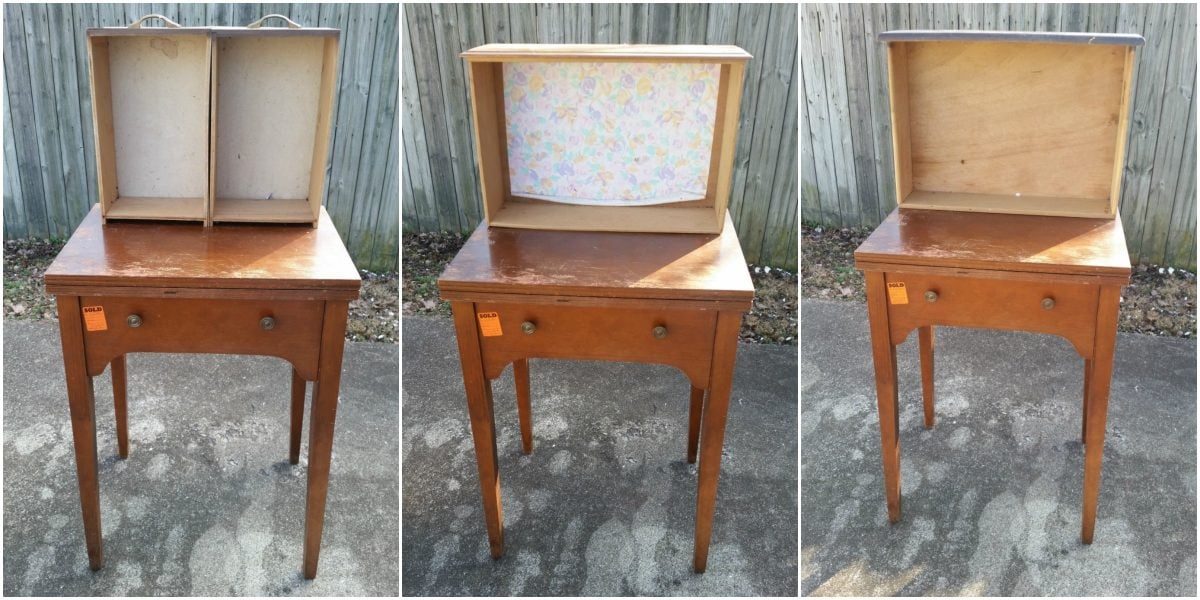
There are a couple of options when repurposing or changing up a vintage sewing cabinet. You can leave the lid intact and possibly glue it down as I did way back in the day on this green sewing cabinet side table, or you can remove the lid, then the frame, and reattach the lid, making it look more natural, being only one board thickness instead of two board thickness.
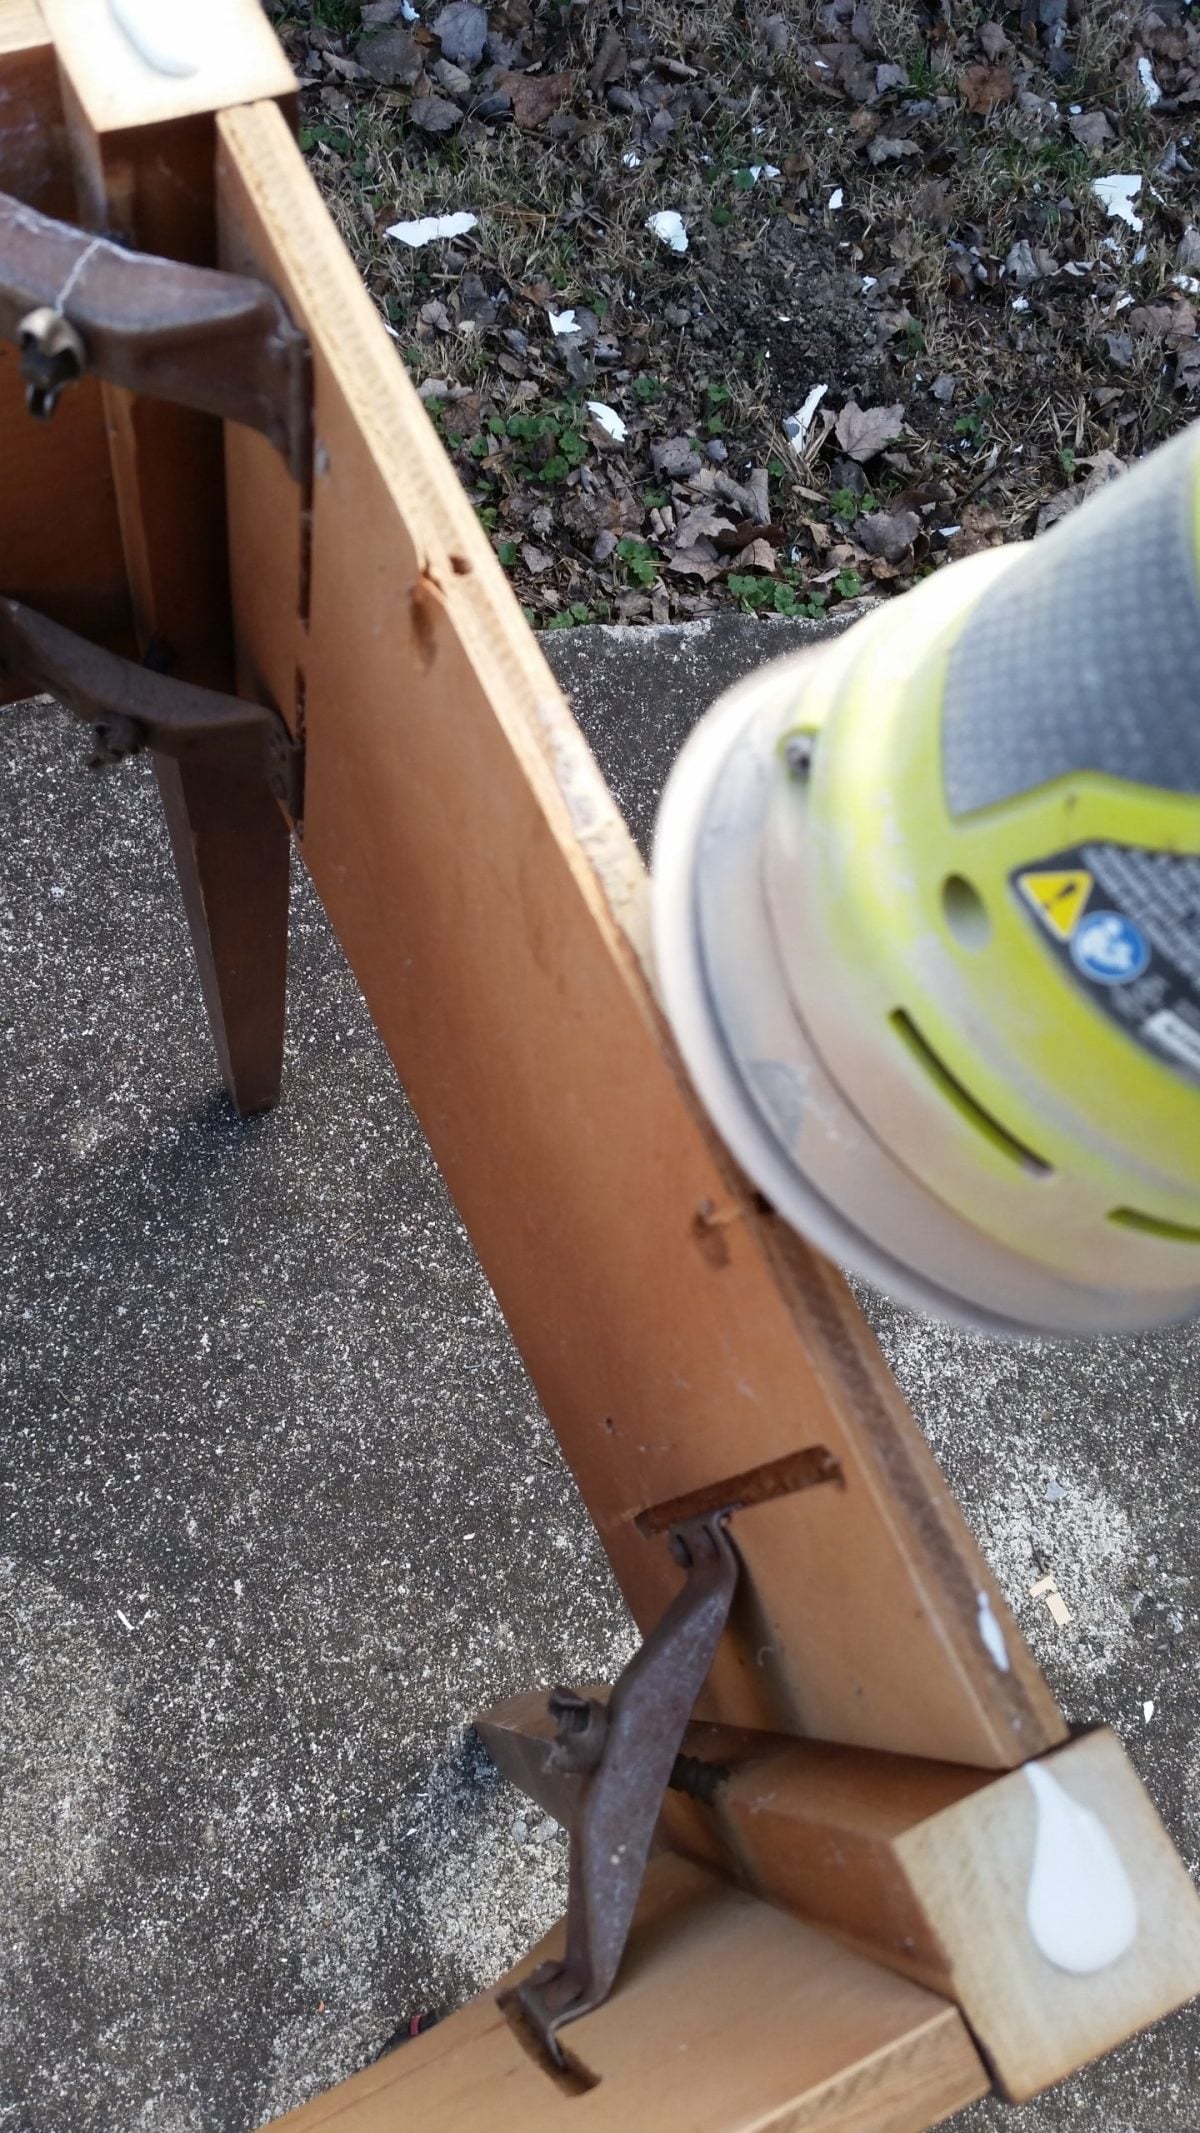
Disassemble Sewing Machine Cabinet
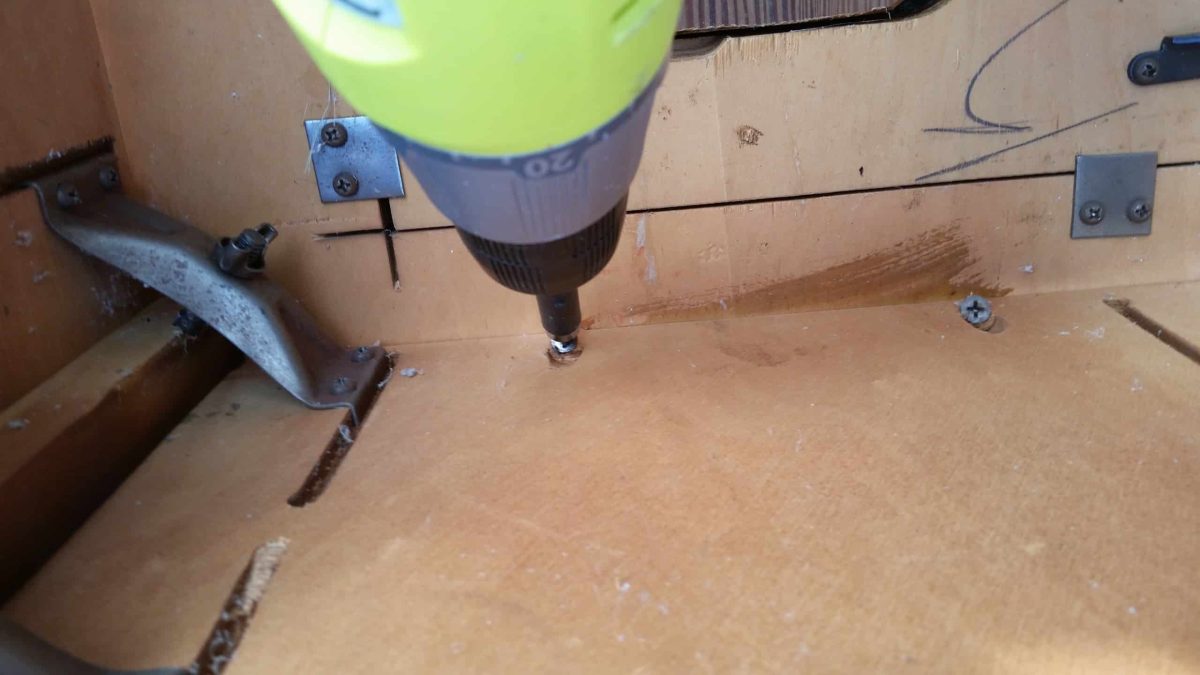
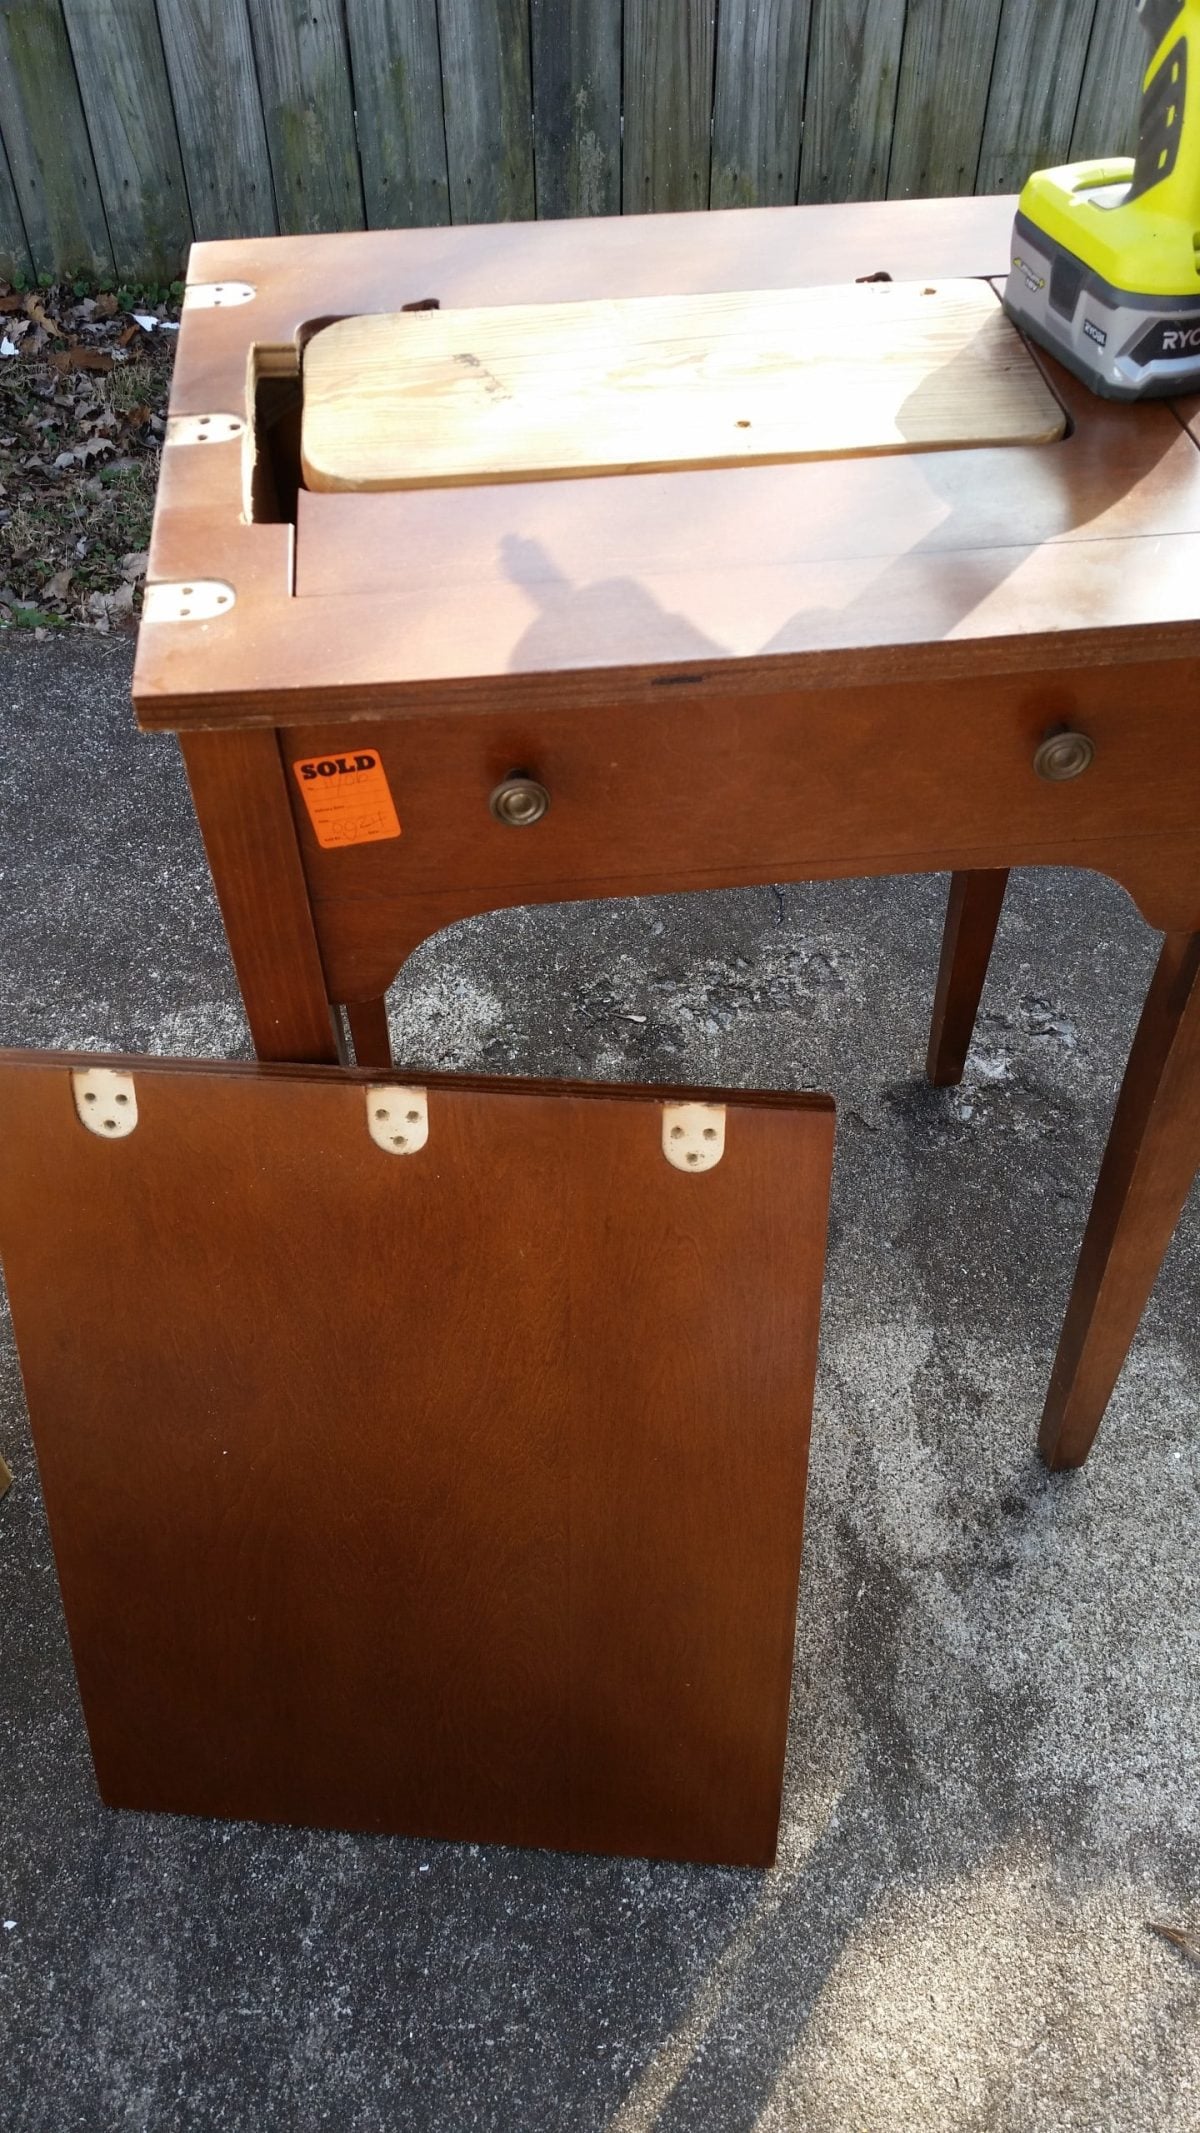
After removing the lid, it was time to remove the frame holding the sewing machine. Each machine is different. The disassembly was straightforward—simply removing some pocket hole screws.
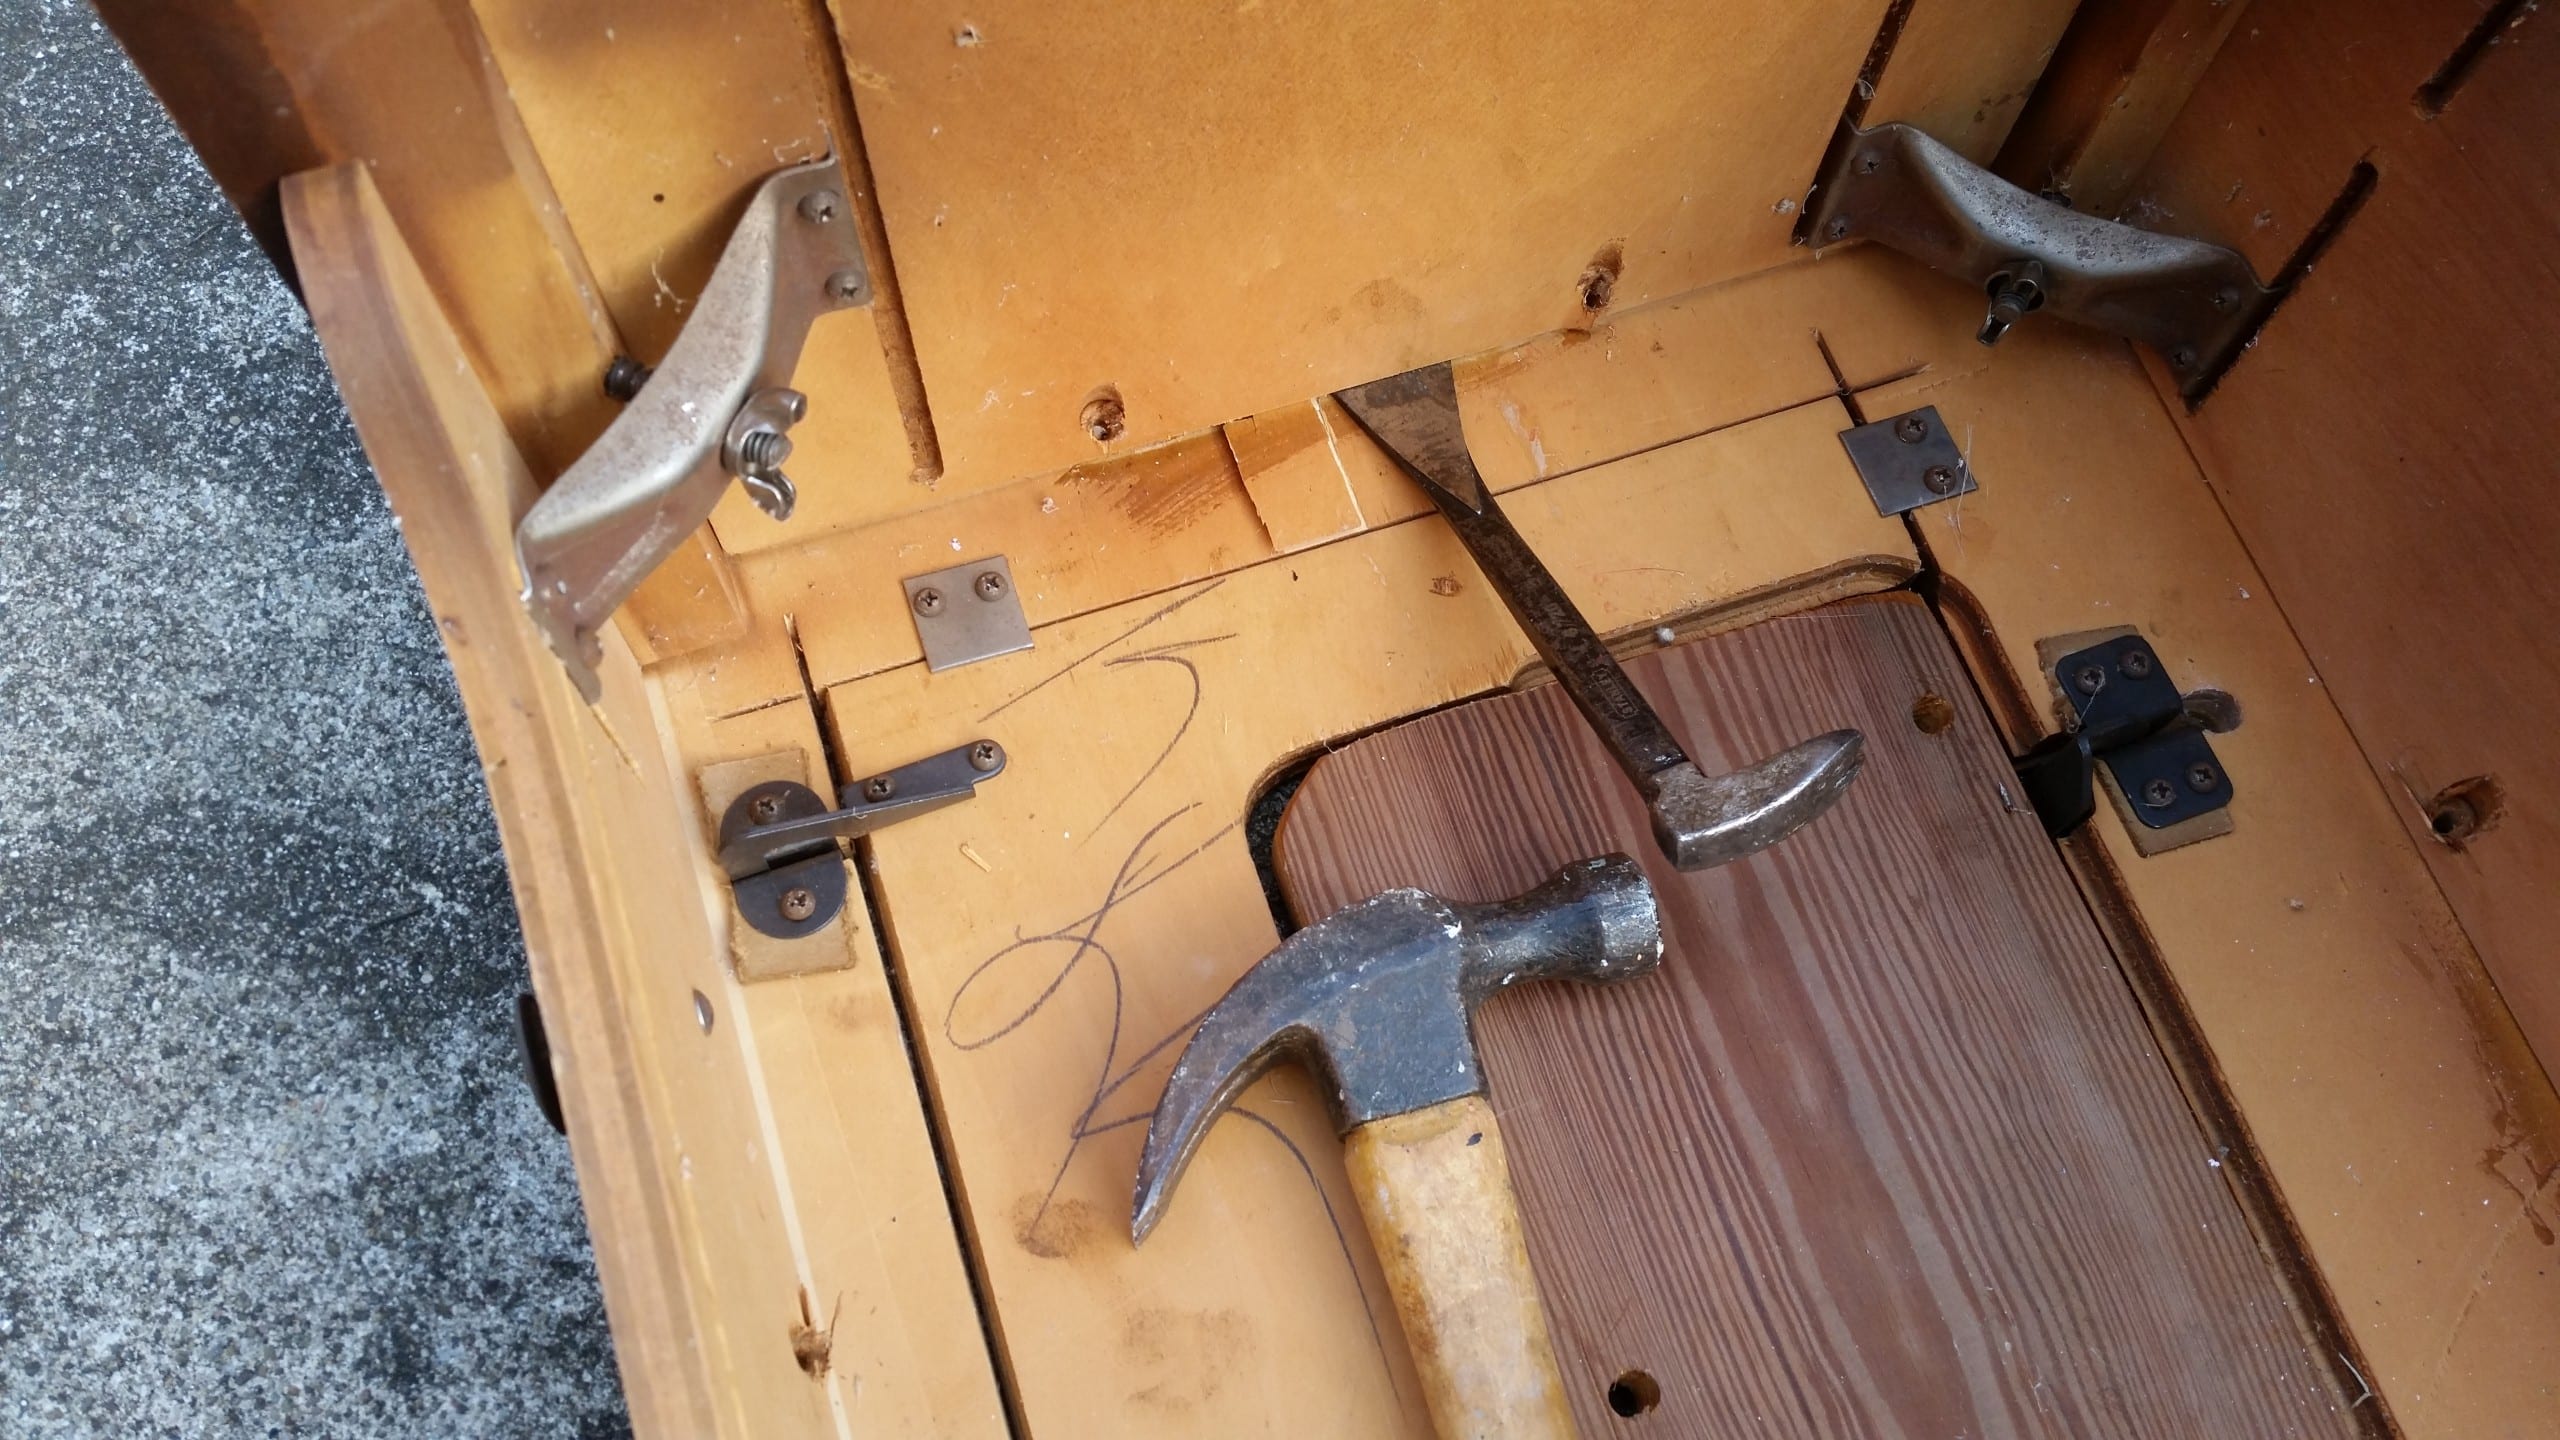
Once I removed the screws, it was evident that there was some glue holding the frame to the cabinet. My favorite small pry bar and a hammer quickly broke the two pieces loose.
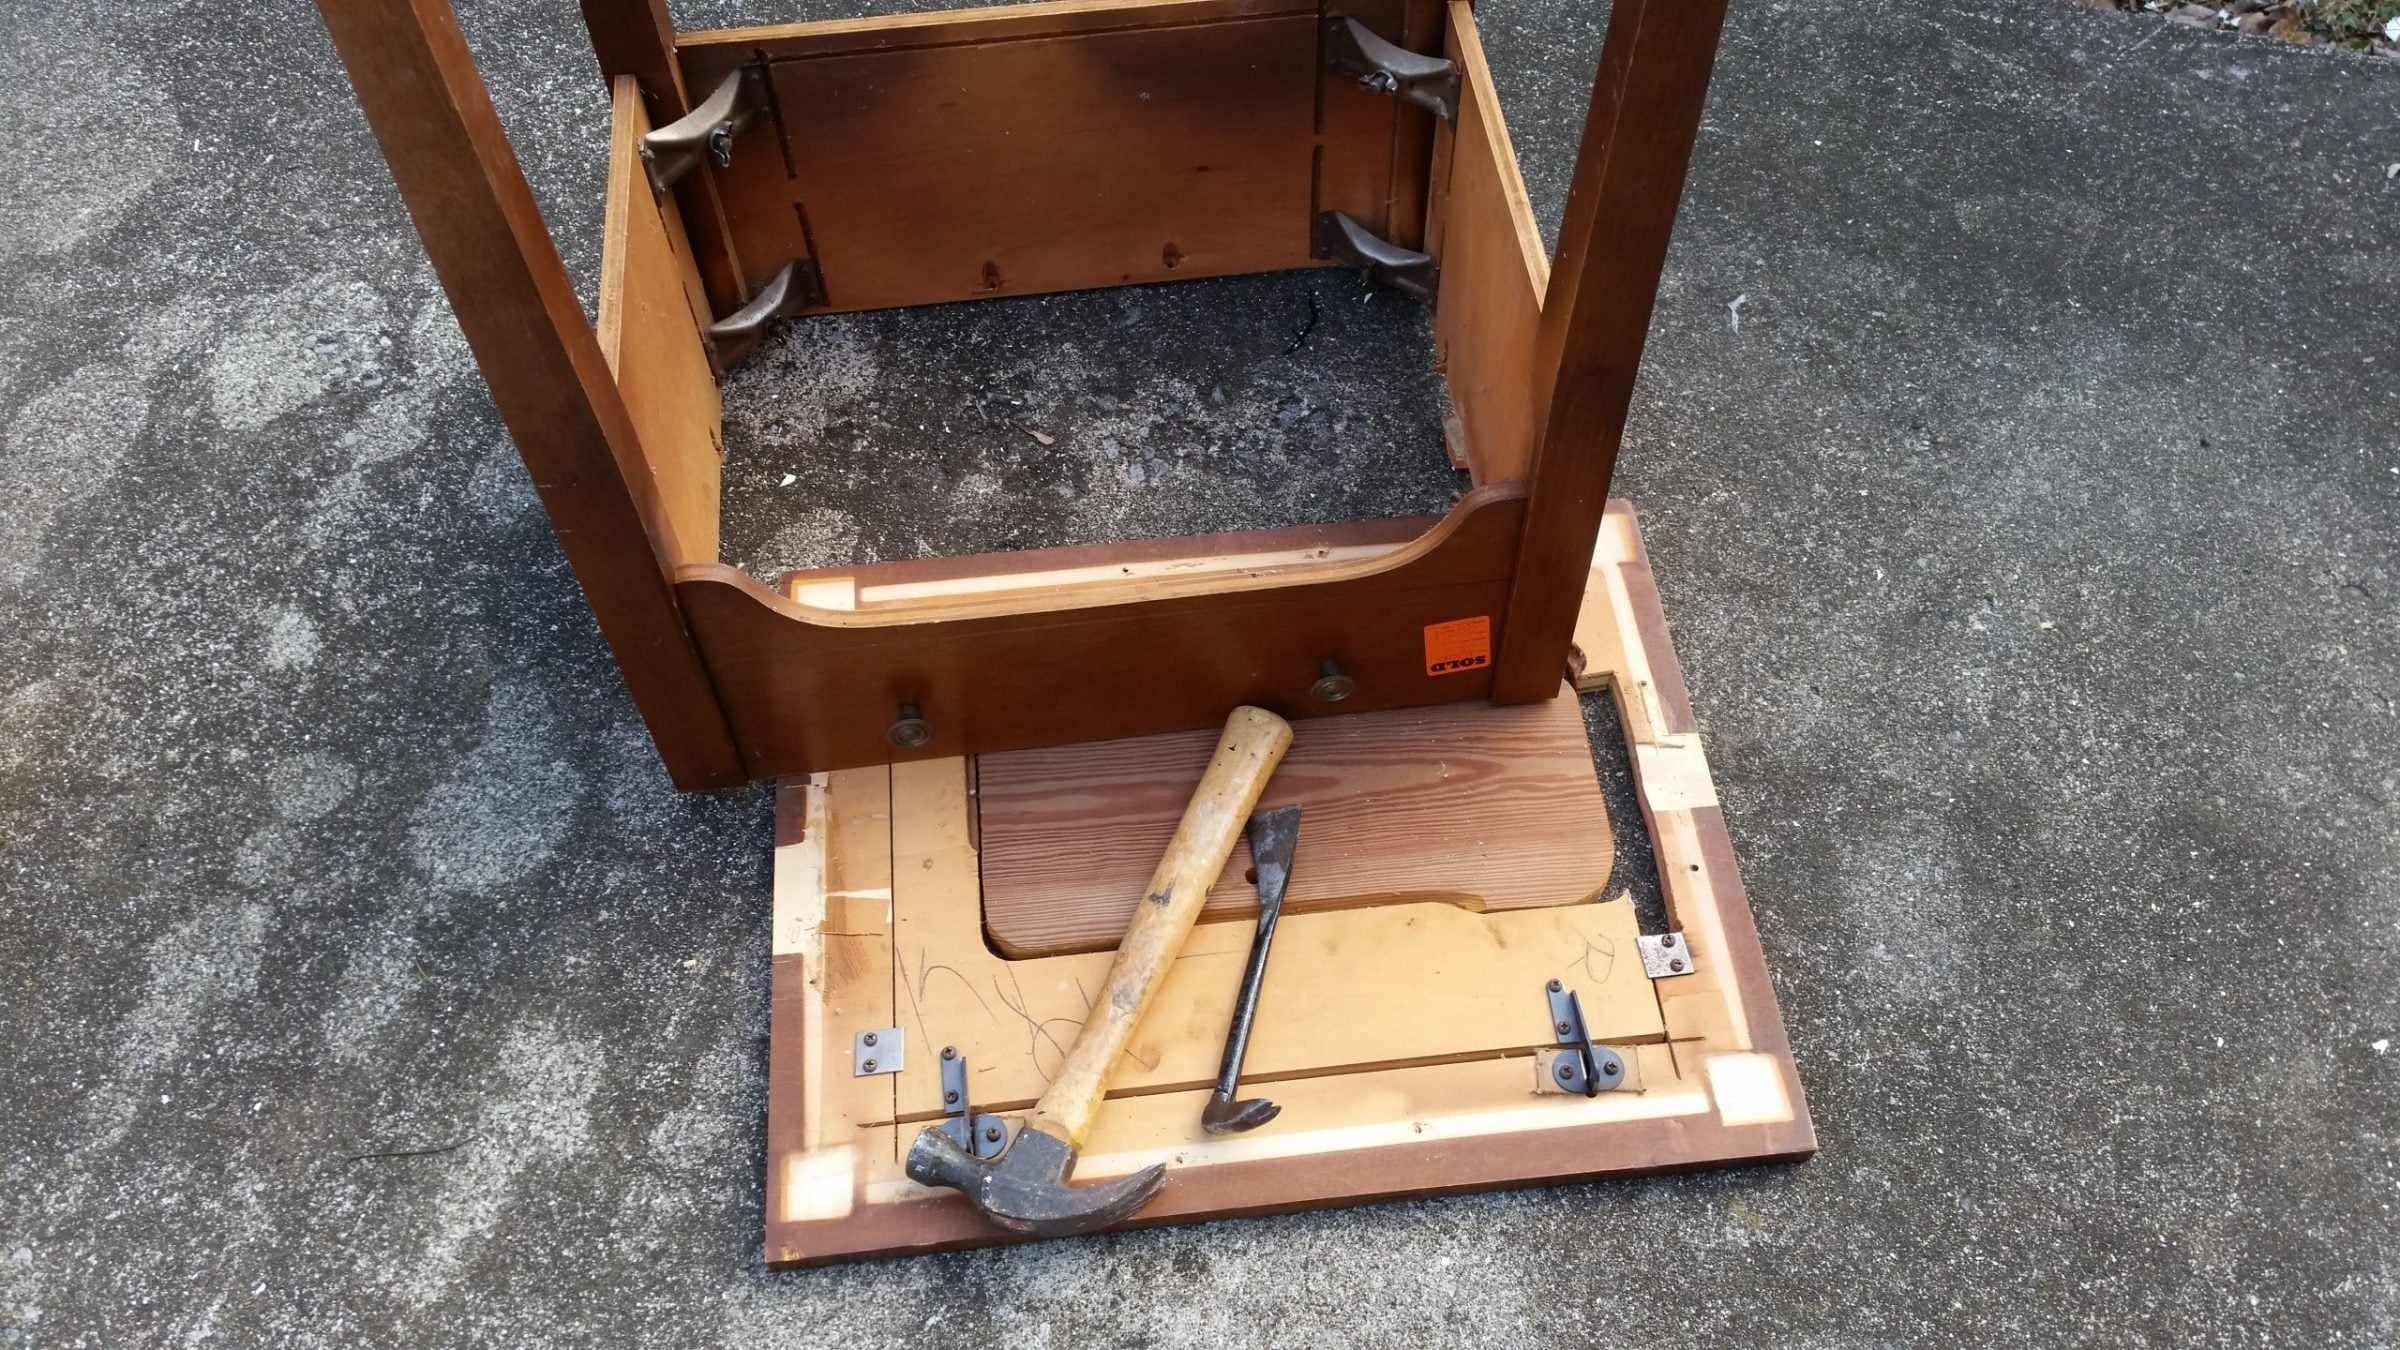
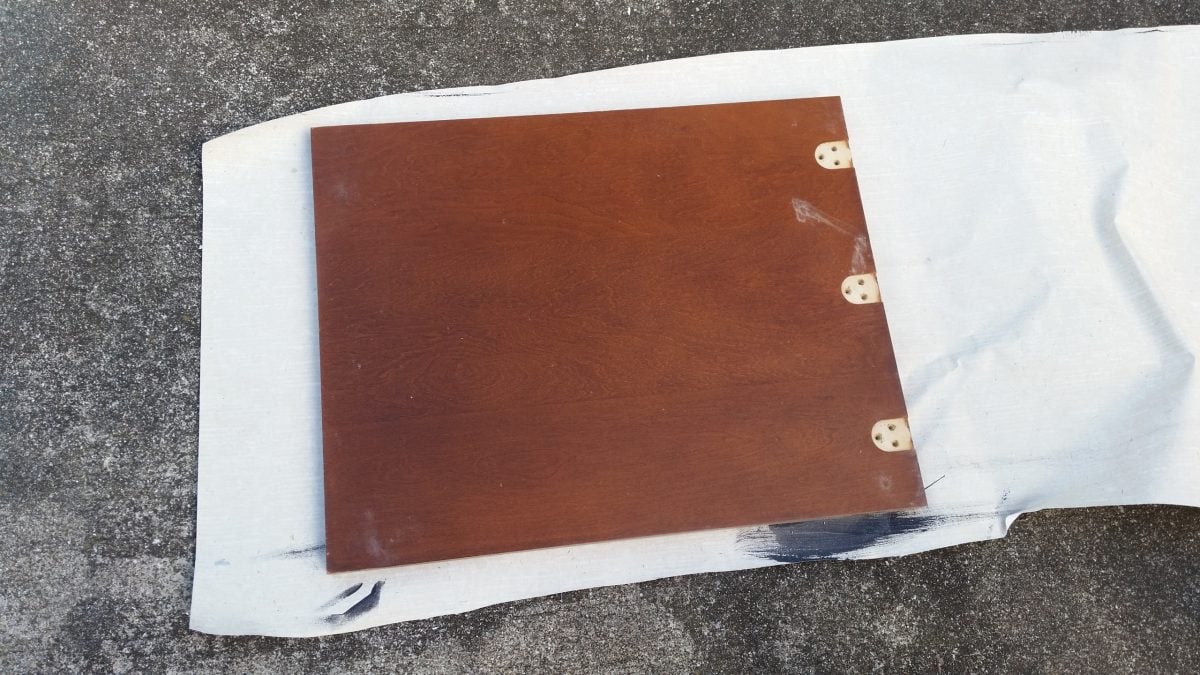
I discarded the piece shown above as it is no longer helpful. Sometimes, I do keep hardware off these old cabinets, but not this time.
Make Repairs and Sand
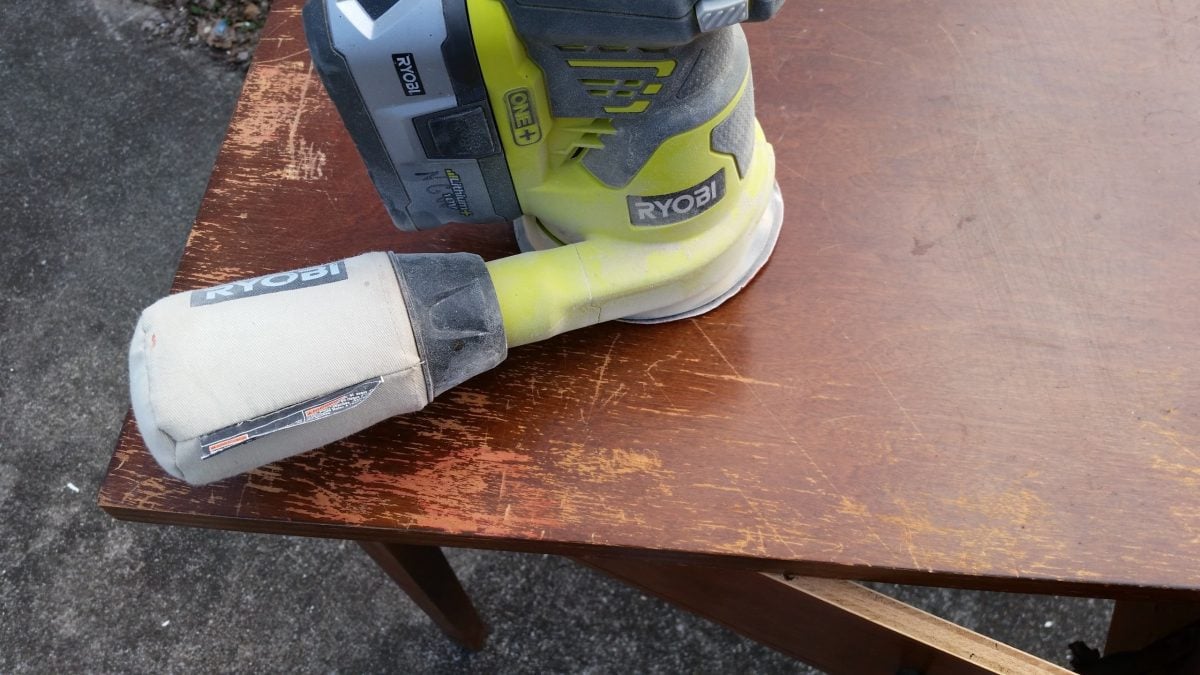
Because I will be reusing the lid, I used my orbital sander to smooth the surface. I started with a heavy grit (60), then went to 150 and 220.
While preparing to reattach the lid to the cabinet, I noticed the glue residue and some wood chips in the way. I used the orbital sander to remove the height so the lid would sit flush.
Attach the Sewing Cabinet Top
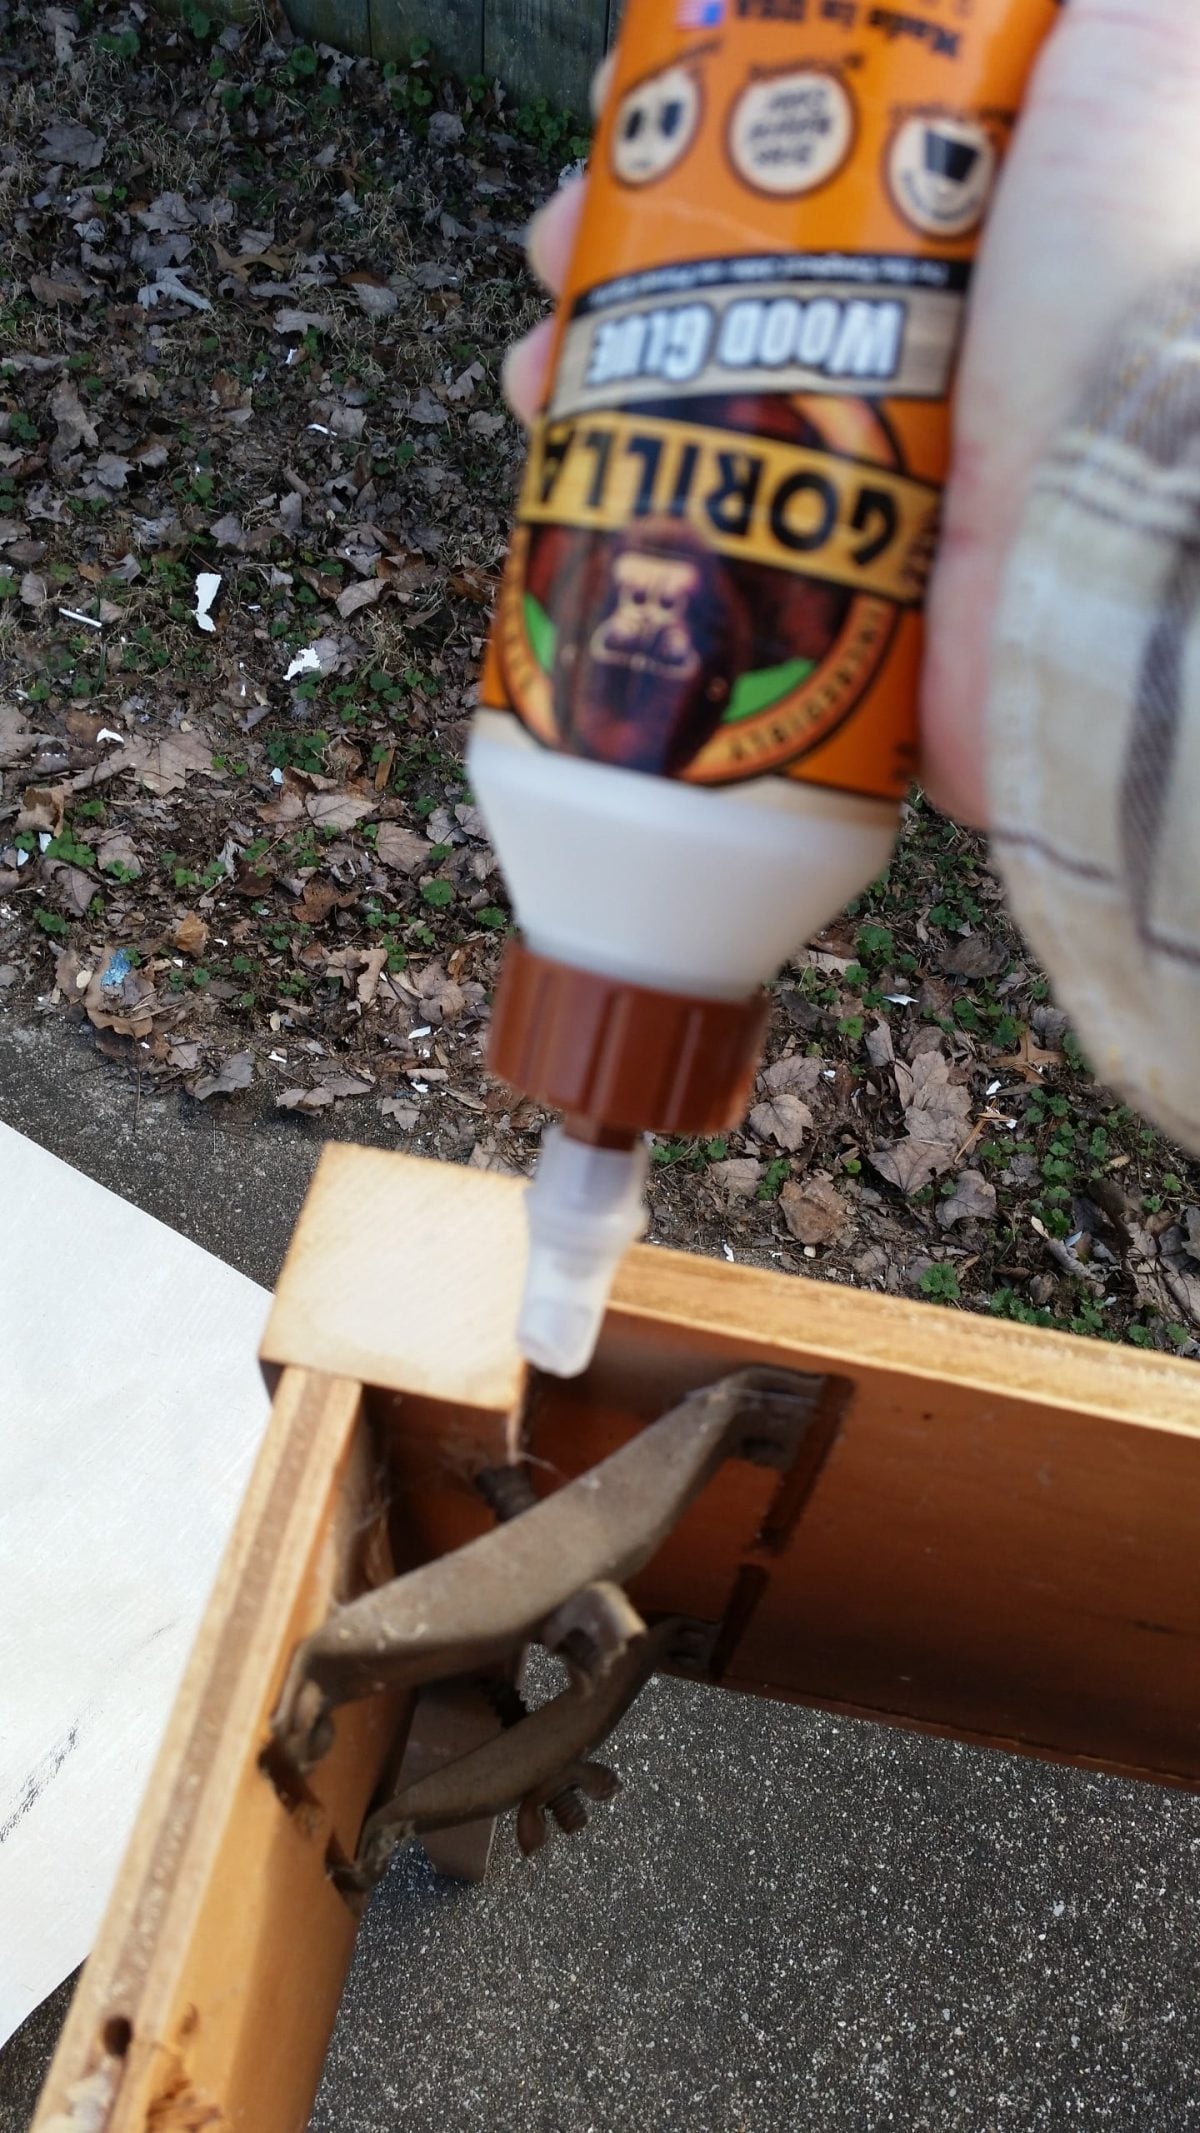
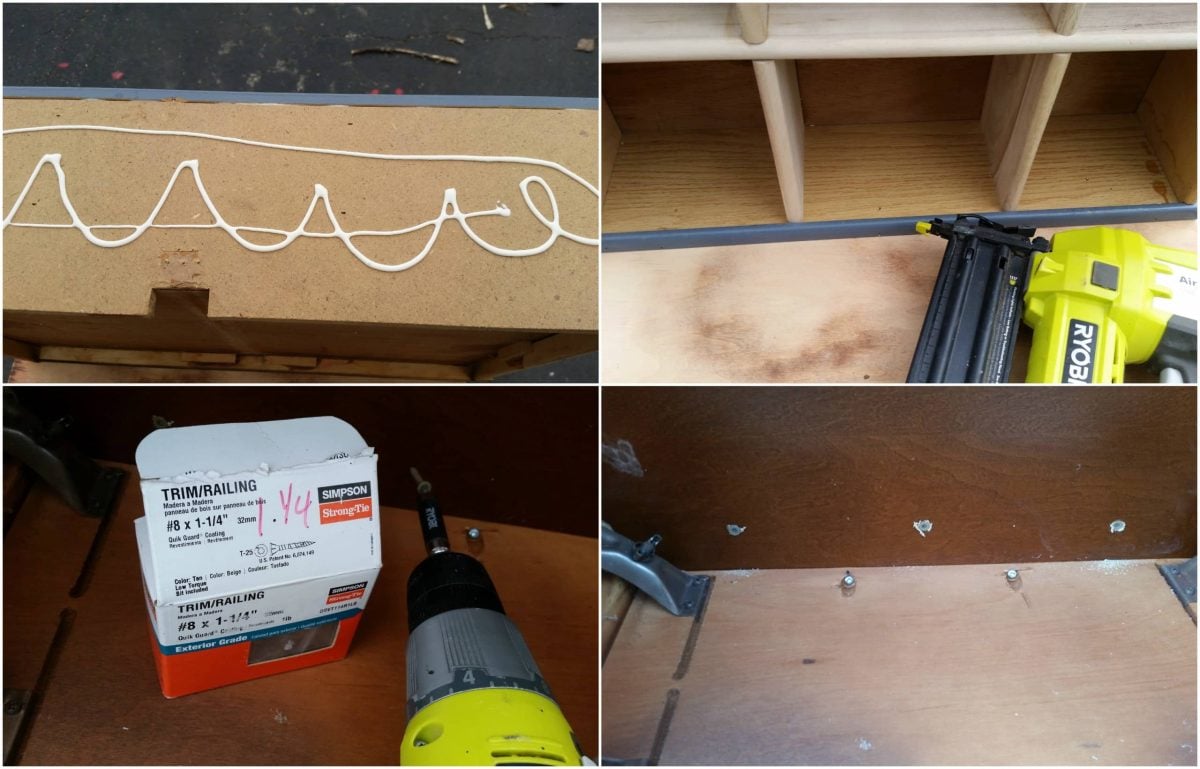
Gorilla Wood Glue was used on all four corners and along all the cabinet edges.
Since the lid had been sanded pretty, I used some scrap vinyl wallpaper to protect the surface as I prepared to reattach the cabinet to the lid.
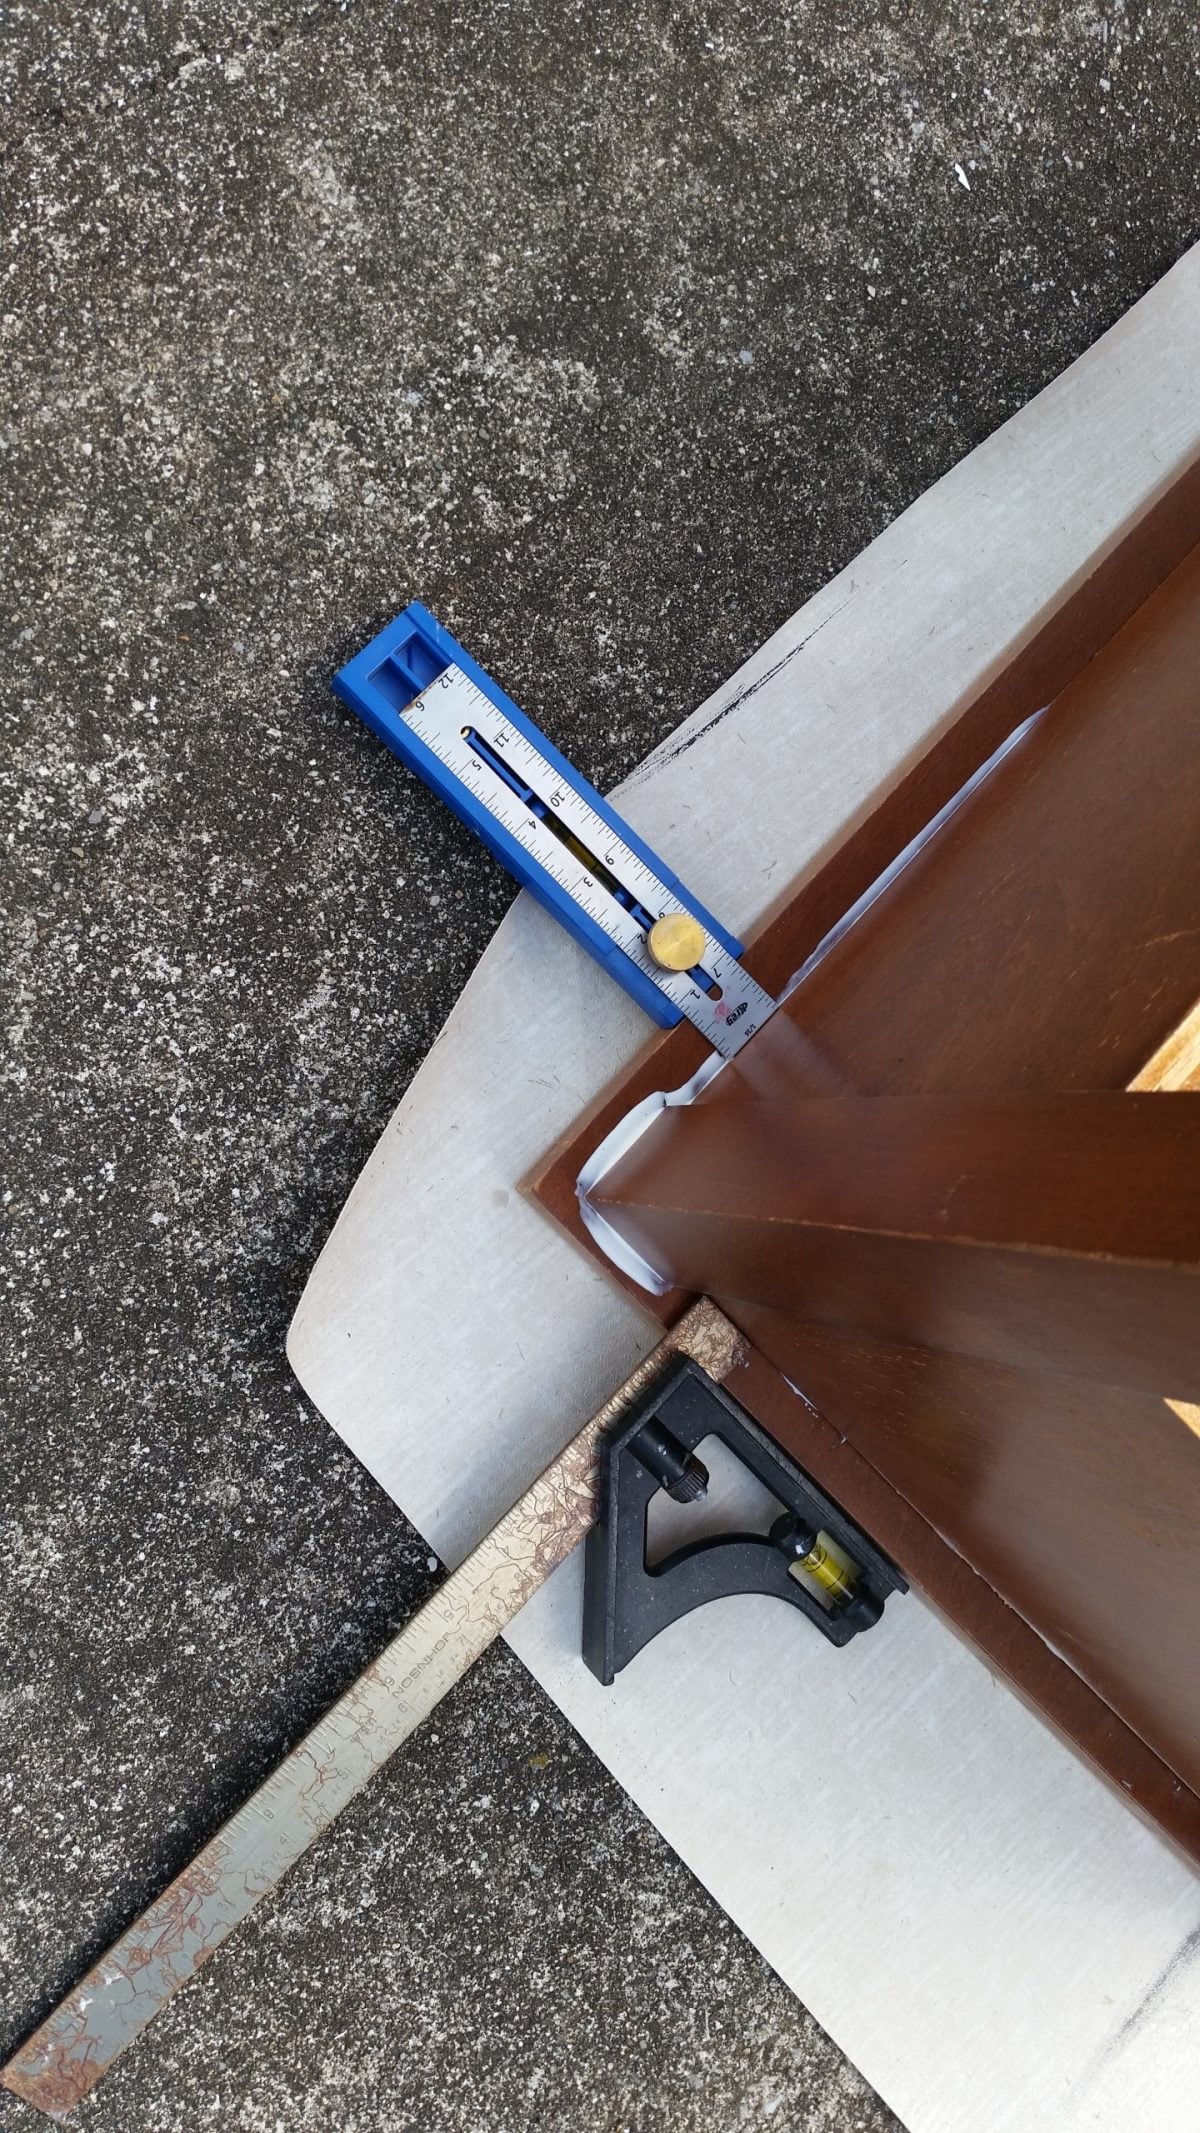
I used my combination square and Kreg multi-mark tool to ensure the cabinet was centered on the lid.
Visit the My Repurposed Life Amazon Store to shop my favorite items.
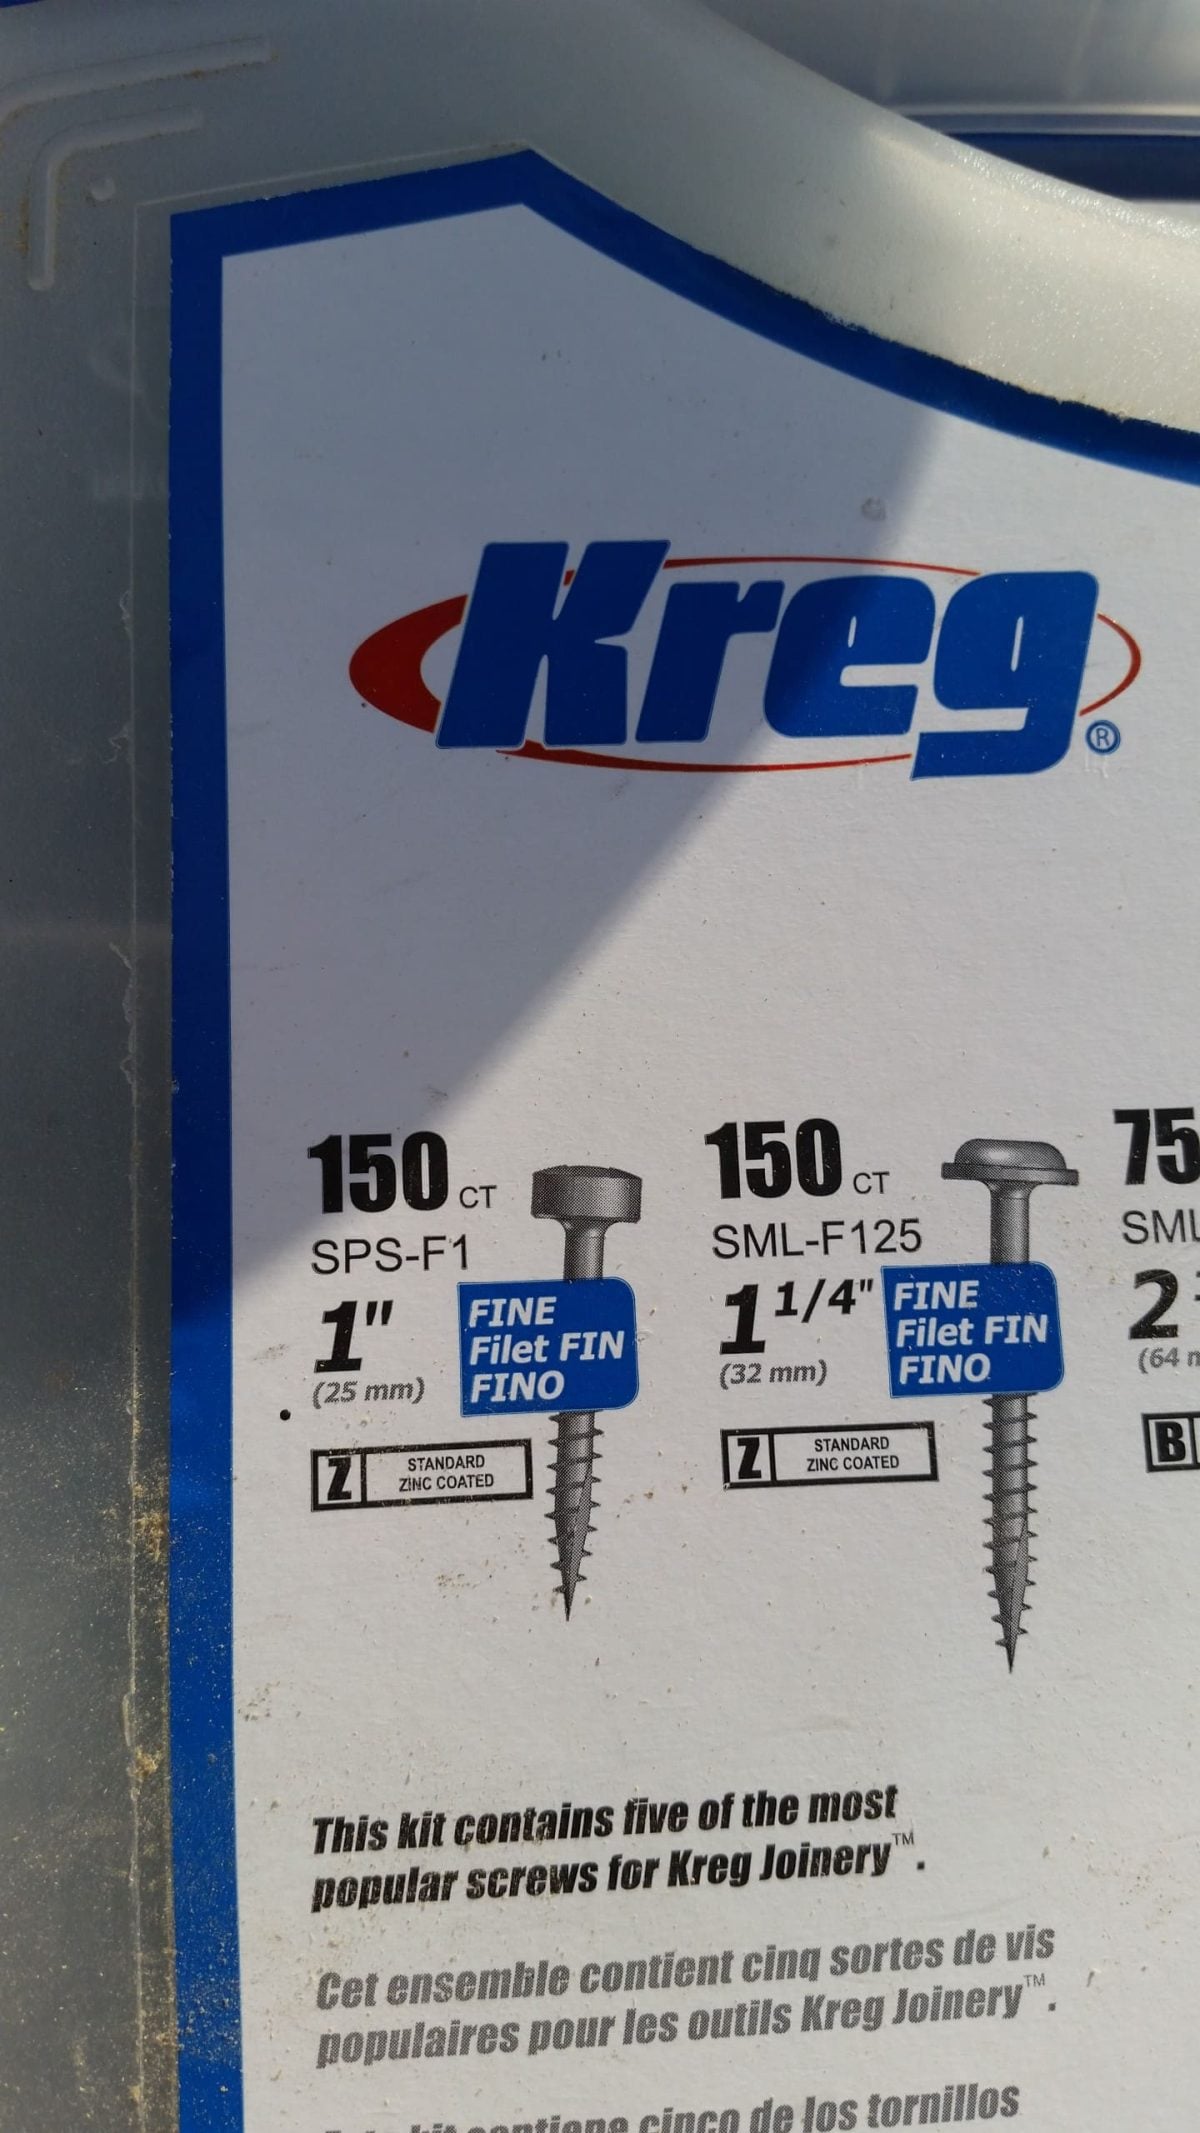
Instead of using the original screws, I used new pocket hole screws in the original pocket holes.
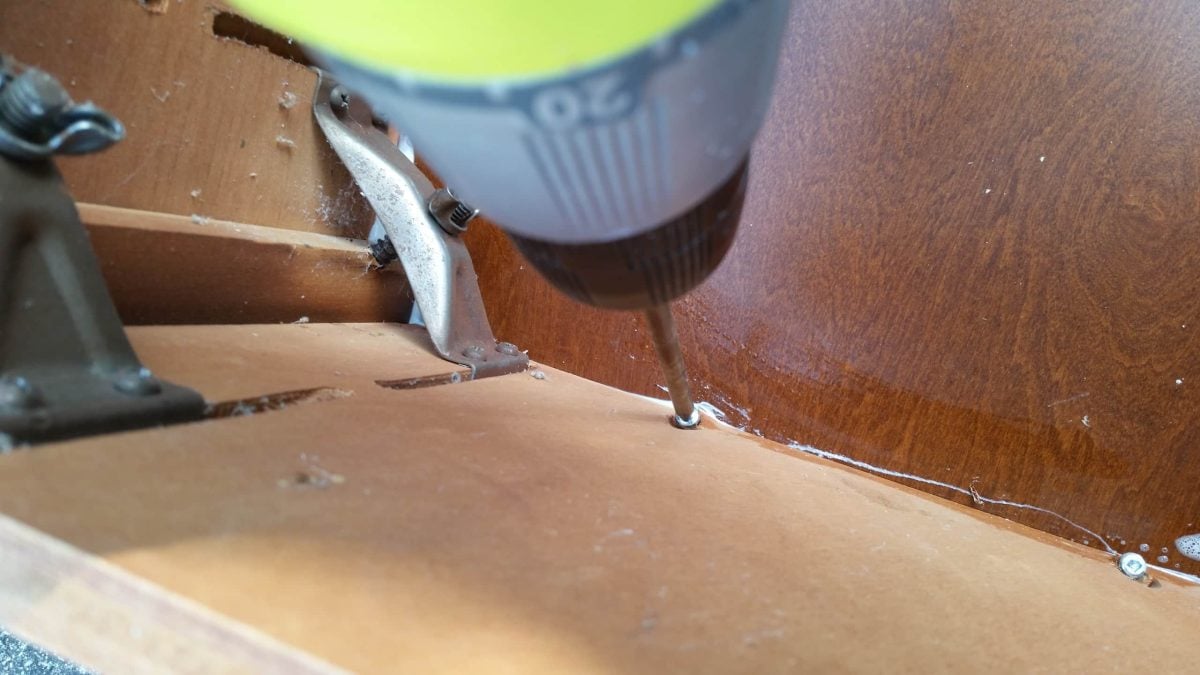
This lid is very secure on the sewing cabinet frame with the Gorilla Wood Glue and the pocket holes.
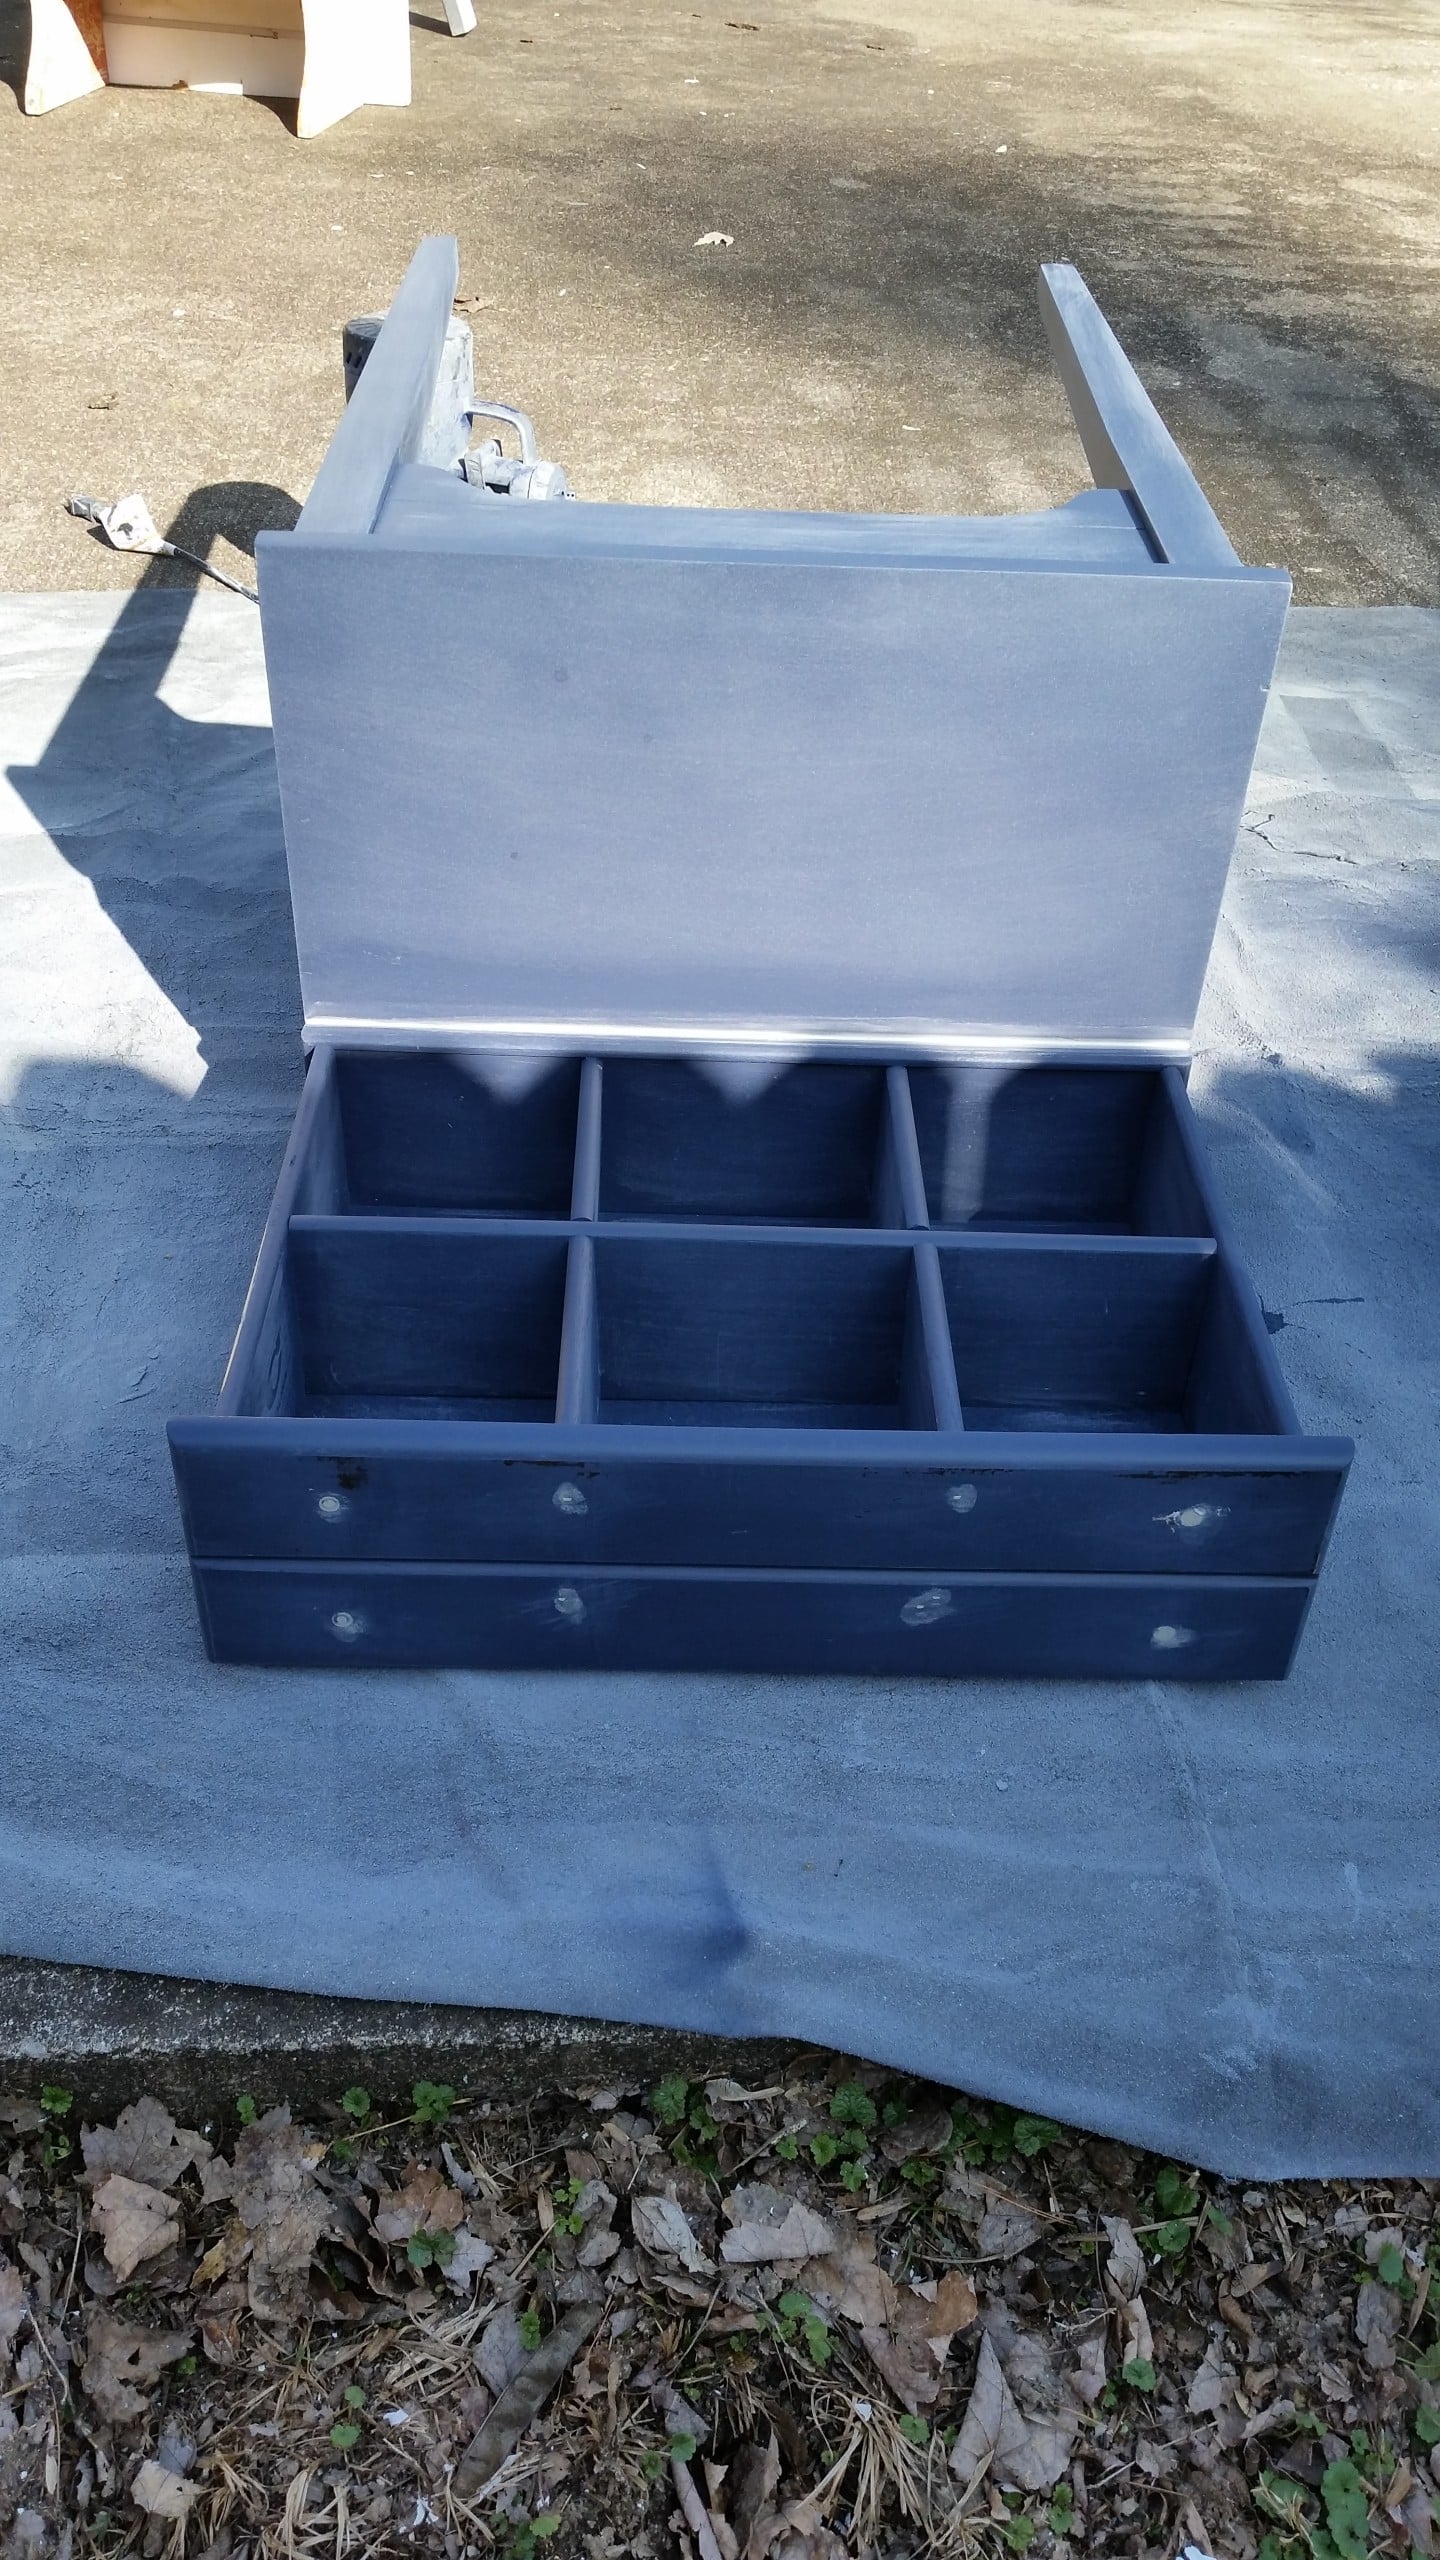
How to Make a Repurposed Drawer Cubby
Now it’s time to fix up the repurposed drawer cubby. I got an old free chest of drawers sometime in the last year or two. These are the drawer fronts and drawer parts from that chest of drawers.
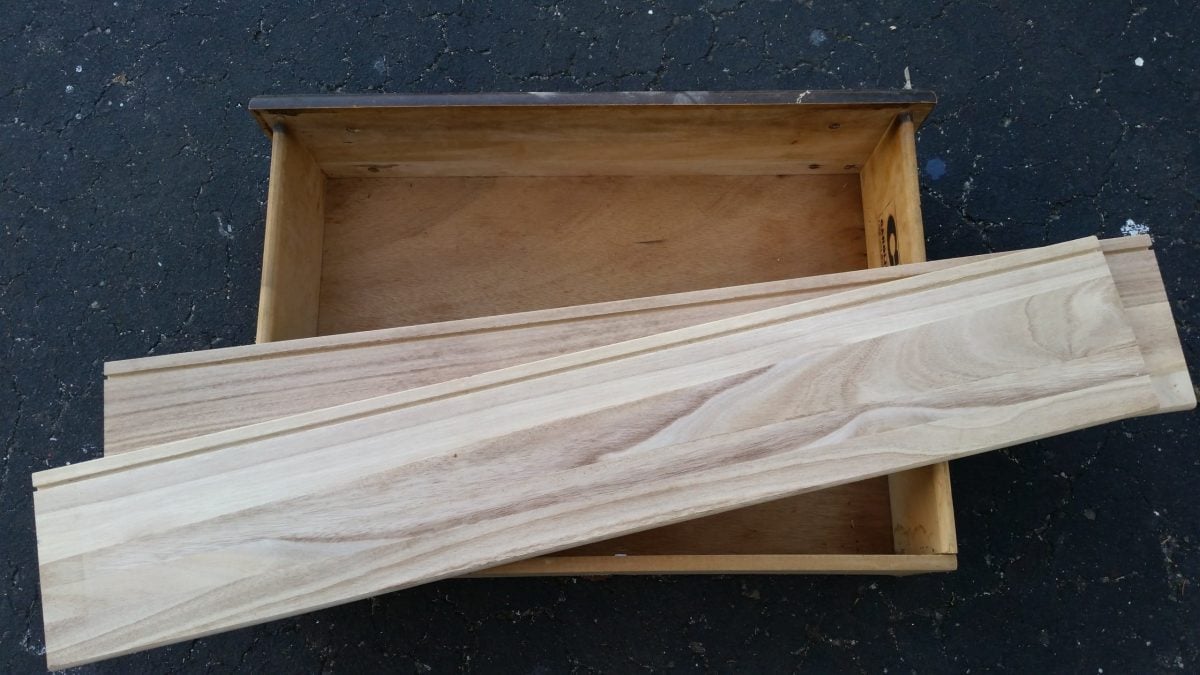
I chose these pieces because they were sturdy, a good size, and thinner stock than the new lumber I have in my stash. I suppose I’ve wanted to do a drawer cubby since Mindi did her Old Drawer Cubby Organizer. Mindi uses drawers like nobody I’ve ever seen!
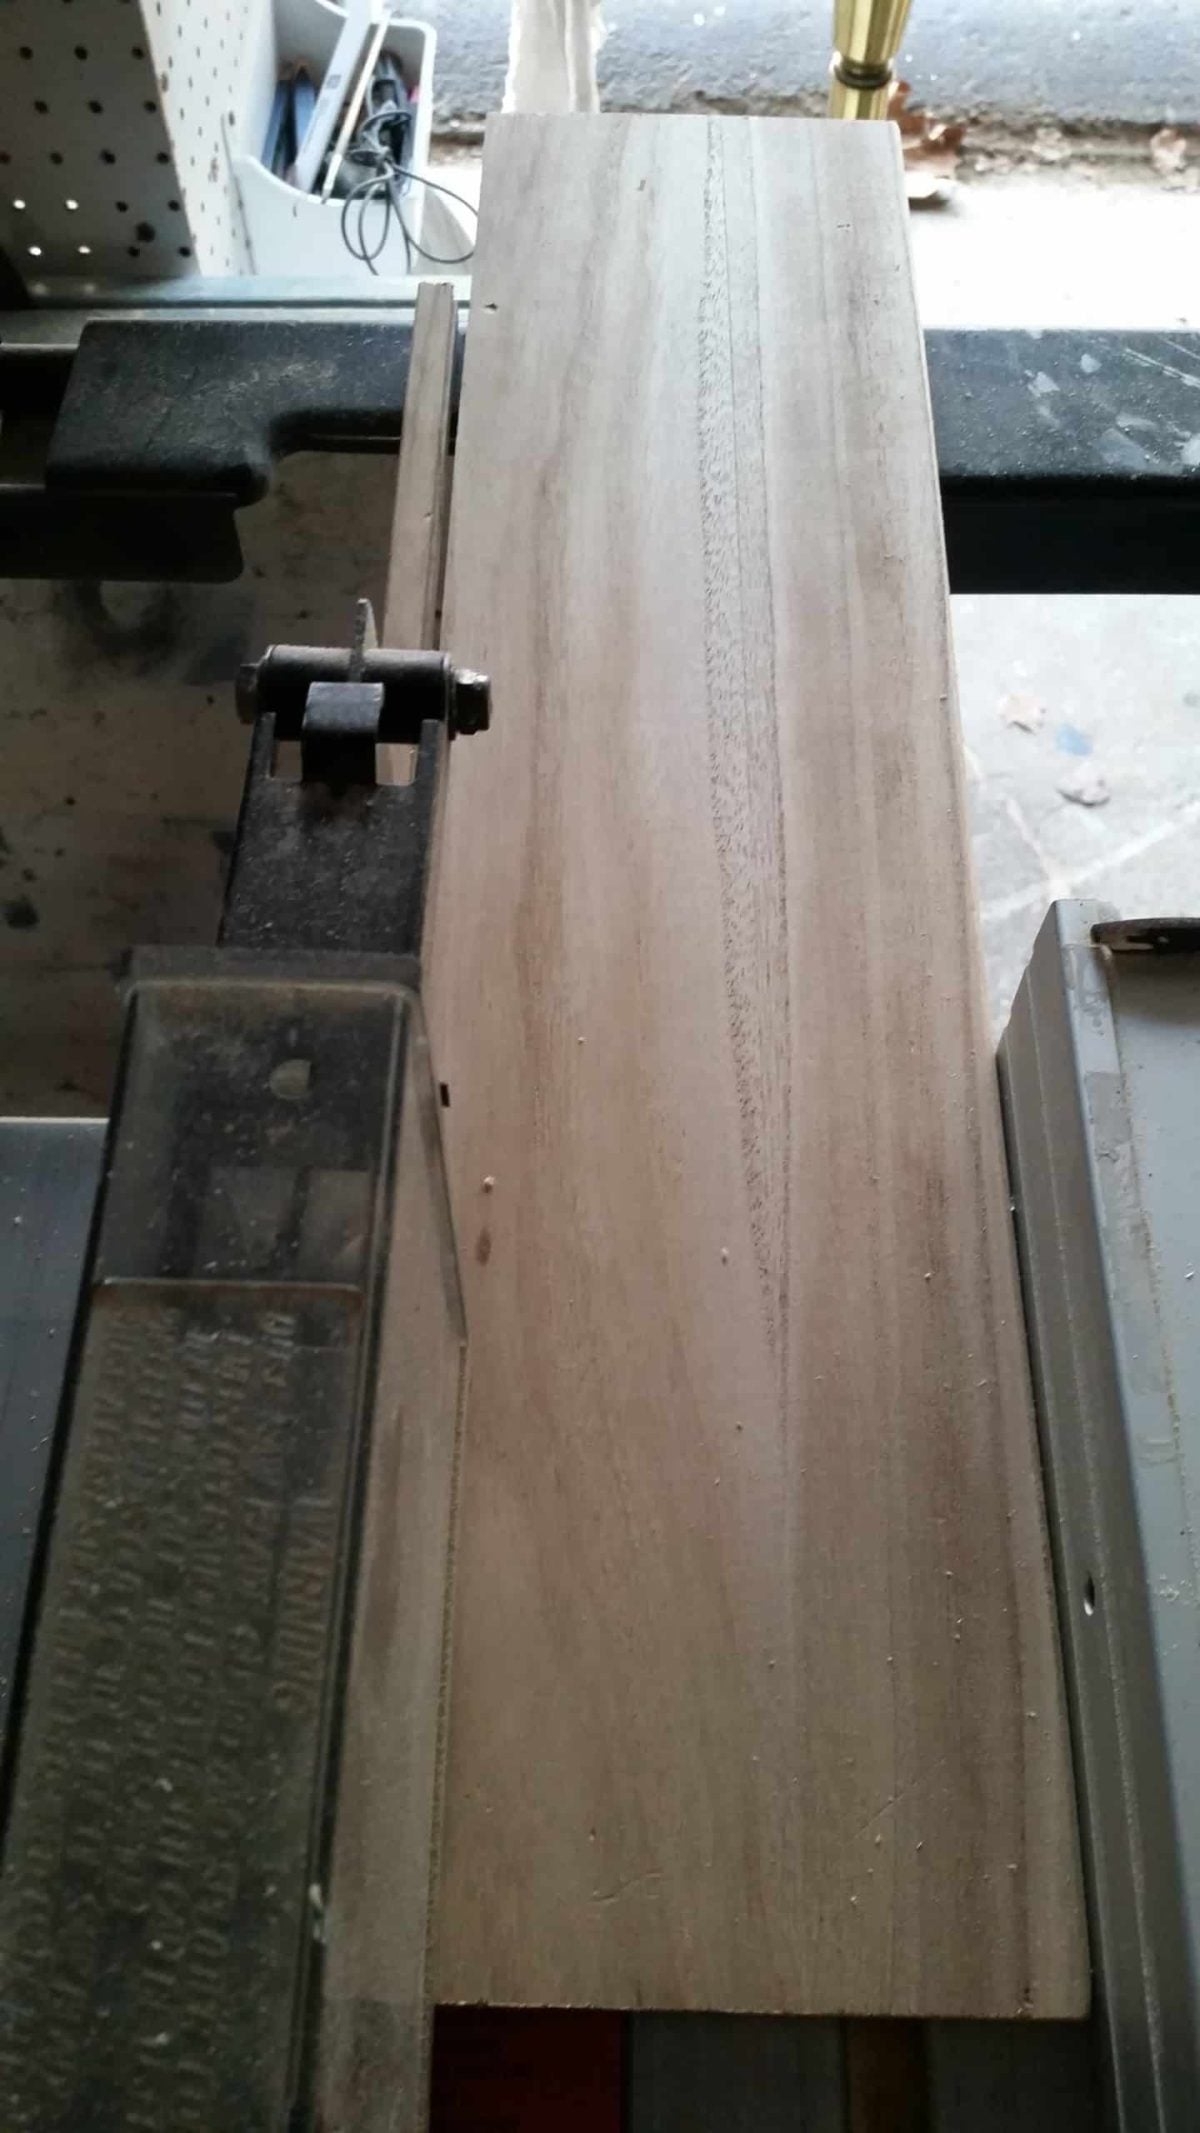
The first order of business was to rip down the pieces on the table saw, essentially removing the groove that initially held the bottom of the drawers.
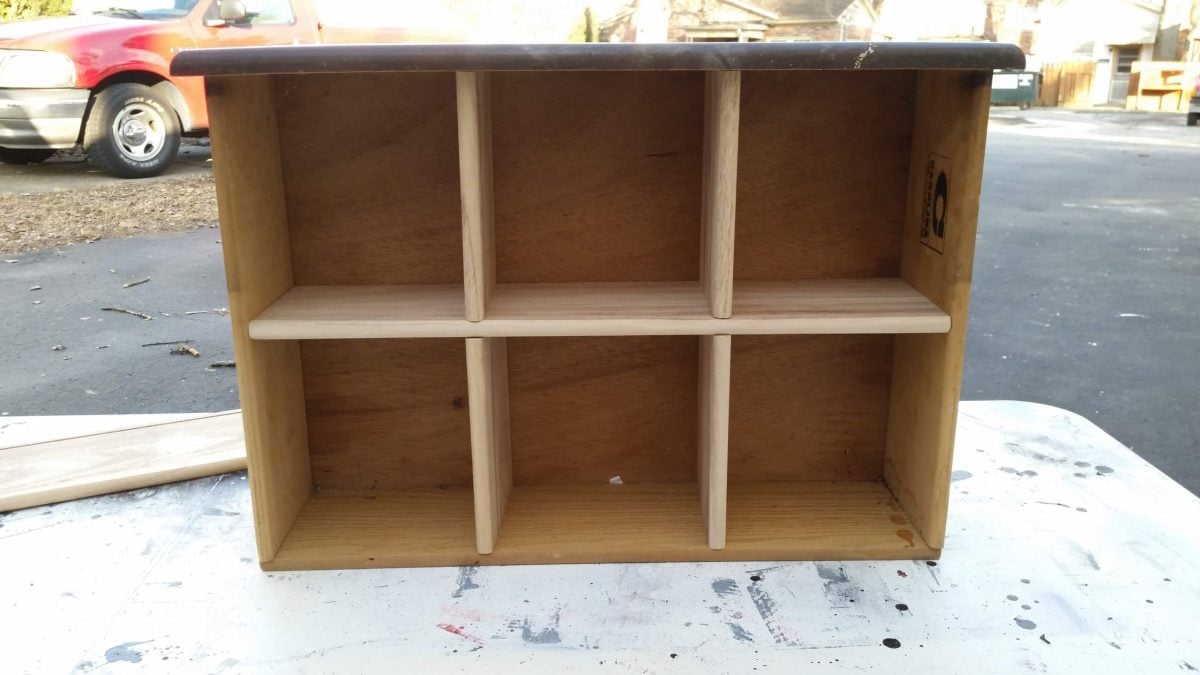
This is a “dry fit” to see how I want the cubbies to look.
Clamp, Glue, and Nail Drawer Cubby Boards
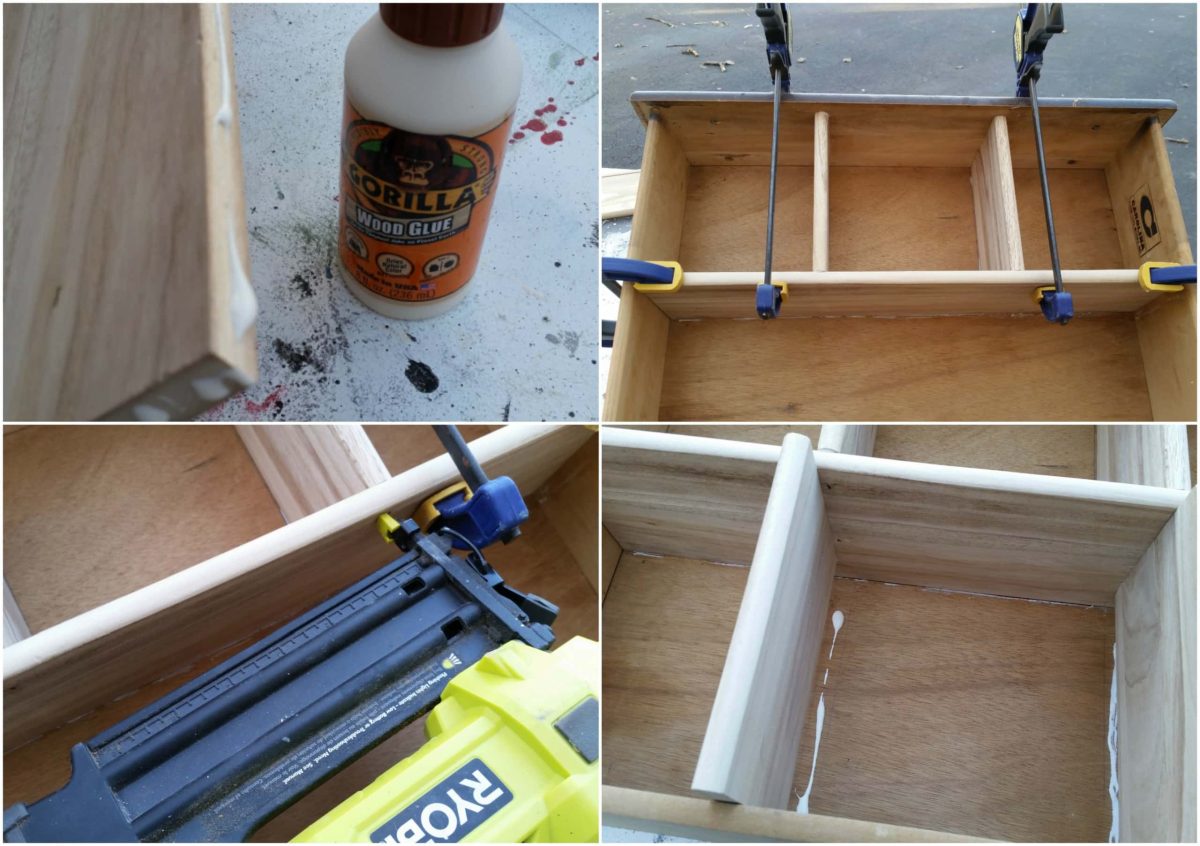
I used Gorilla wood glue, some Irwin quick clamps, and a Ryobi nail gun to complete the cubbies. In the bottom right image, I added some wood glue to the back of the drawer and slid the divider in place. I nailed all of the pieces in place—if you look closely, you can see the finish nails right where I’m sliding this divider in.
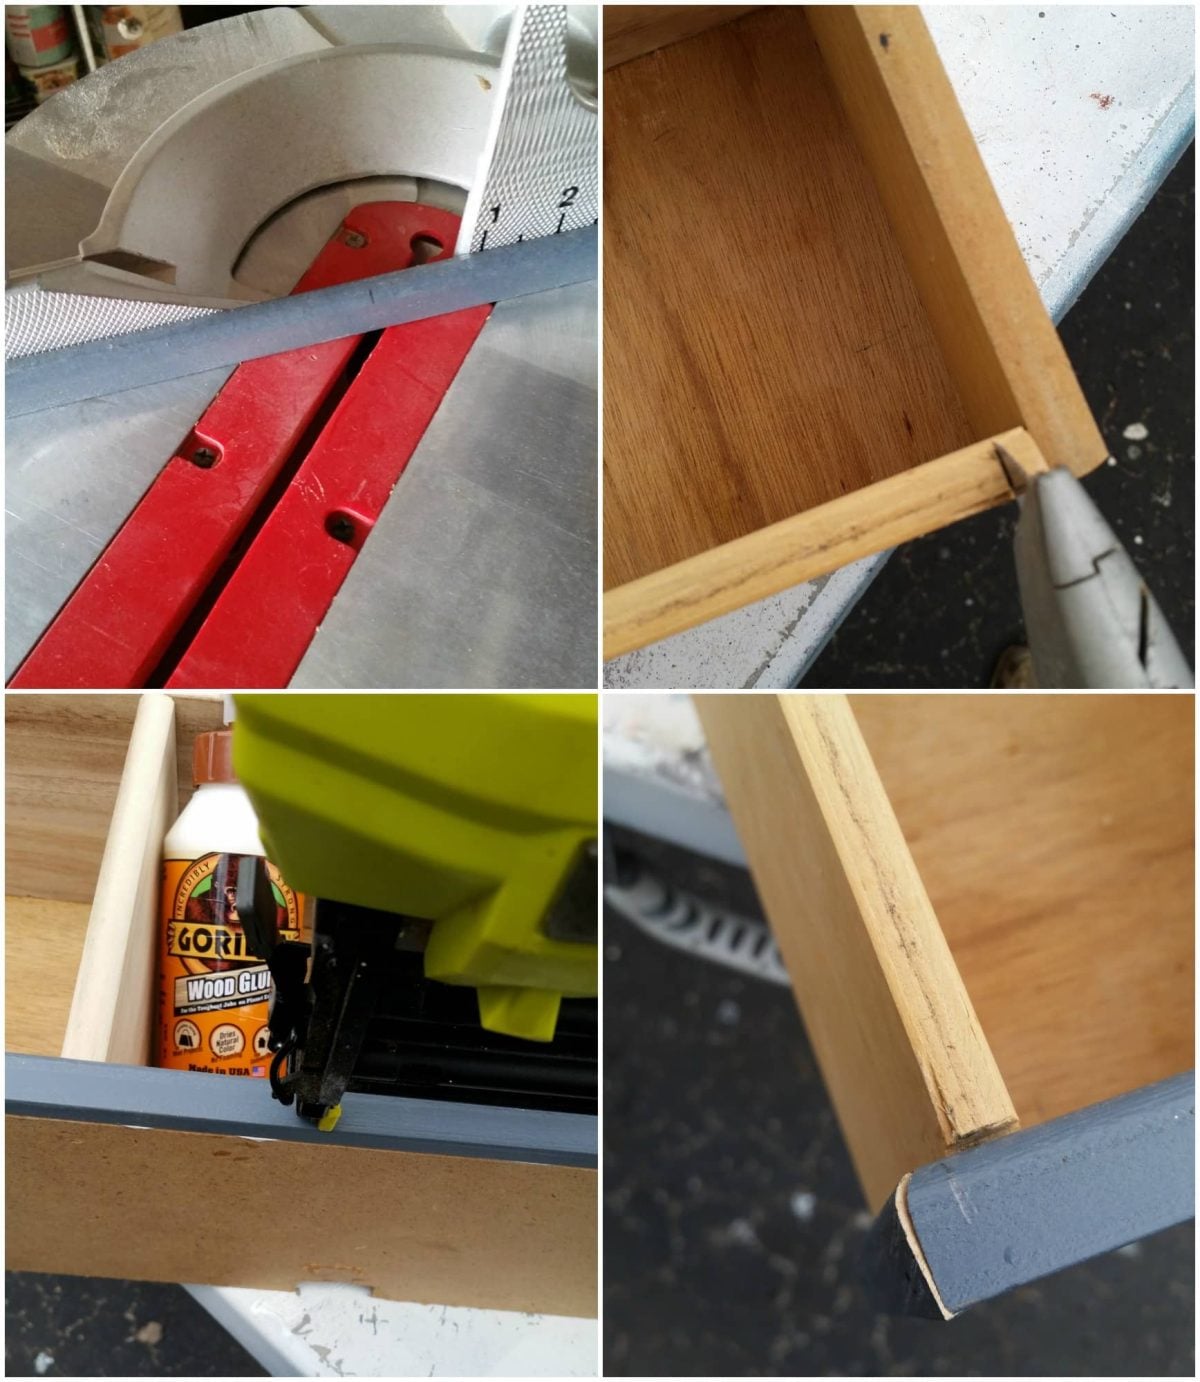
Not shown—I placed the drawer onto the lid of the sewing cabinet, and it didn’t quite look “finished.” I found this small piece of blue trim and mitered the corners on my miter saw. In the top right image, you can see that I had to cut away a portion of the drawer to allow the mitered corners to meet. I used a box cutter. There is more wood glue and more finish nails, and the trim is in place.
Attach the Drawer Cubby to the Sewing Machine Cabinet
Testing the fit of the writing desk again with the thin blue trim now in place is much better! It’s time to attach the cubby drawer to the lid of the sewing cabinet.
First order of business? Wood glue! I use this technique often. After applying the wood glue, I used my nail gun to perform as a “clamp.” Because there was no way to clamp the drawer to the lid until I secured it. Three pops of the nail gun, and I can tilt the unit onto its back to ensure the wood screws through the lid into the bottom of the drawer. (bottom right image)
Paint Writing Desk
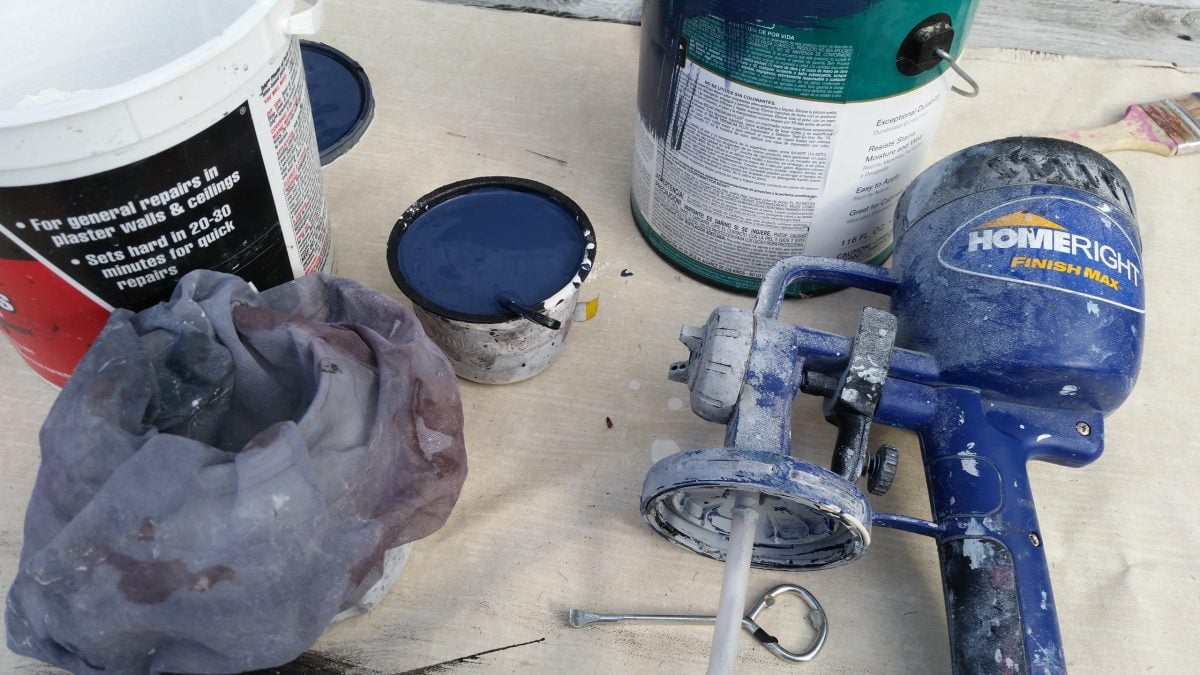
Finally, it’s time to paint! I knew I only had time to get one quick coat of primer on this cabinet by the end of this workday. So I mixed up some DIY chalky paint primer with some plaster of paris and Behr paint (Naval) in semi-gloss. I always use a mesh paint strainer to alleviate any clumps or problems.
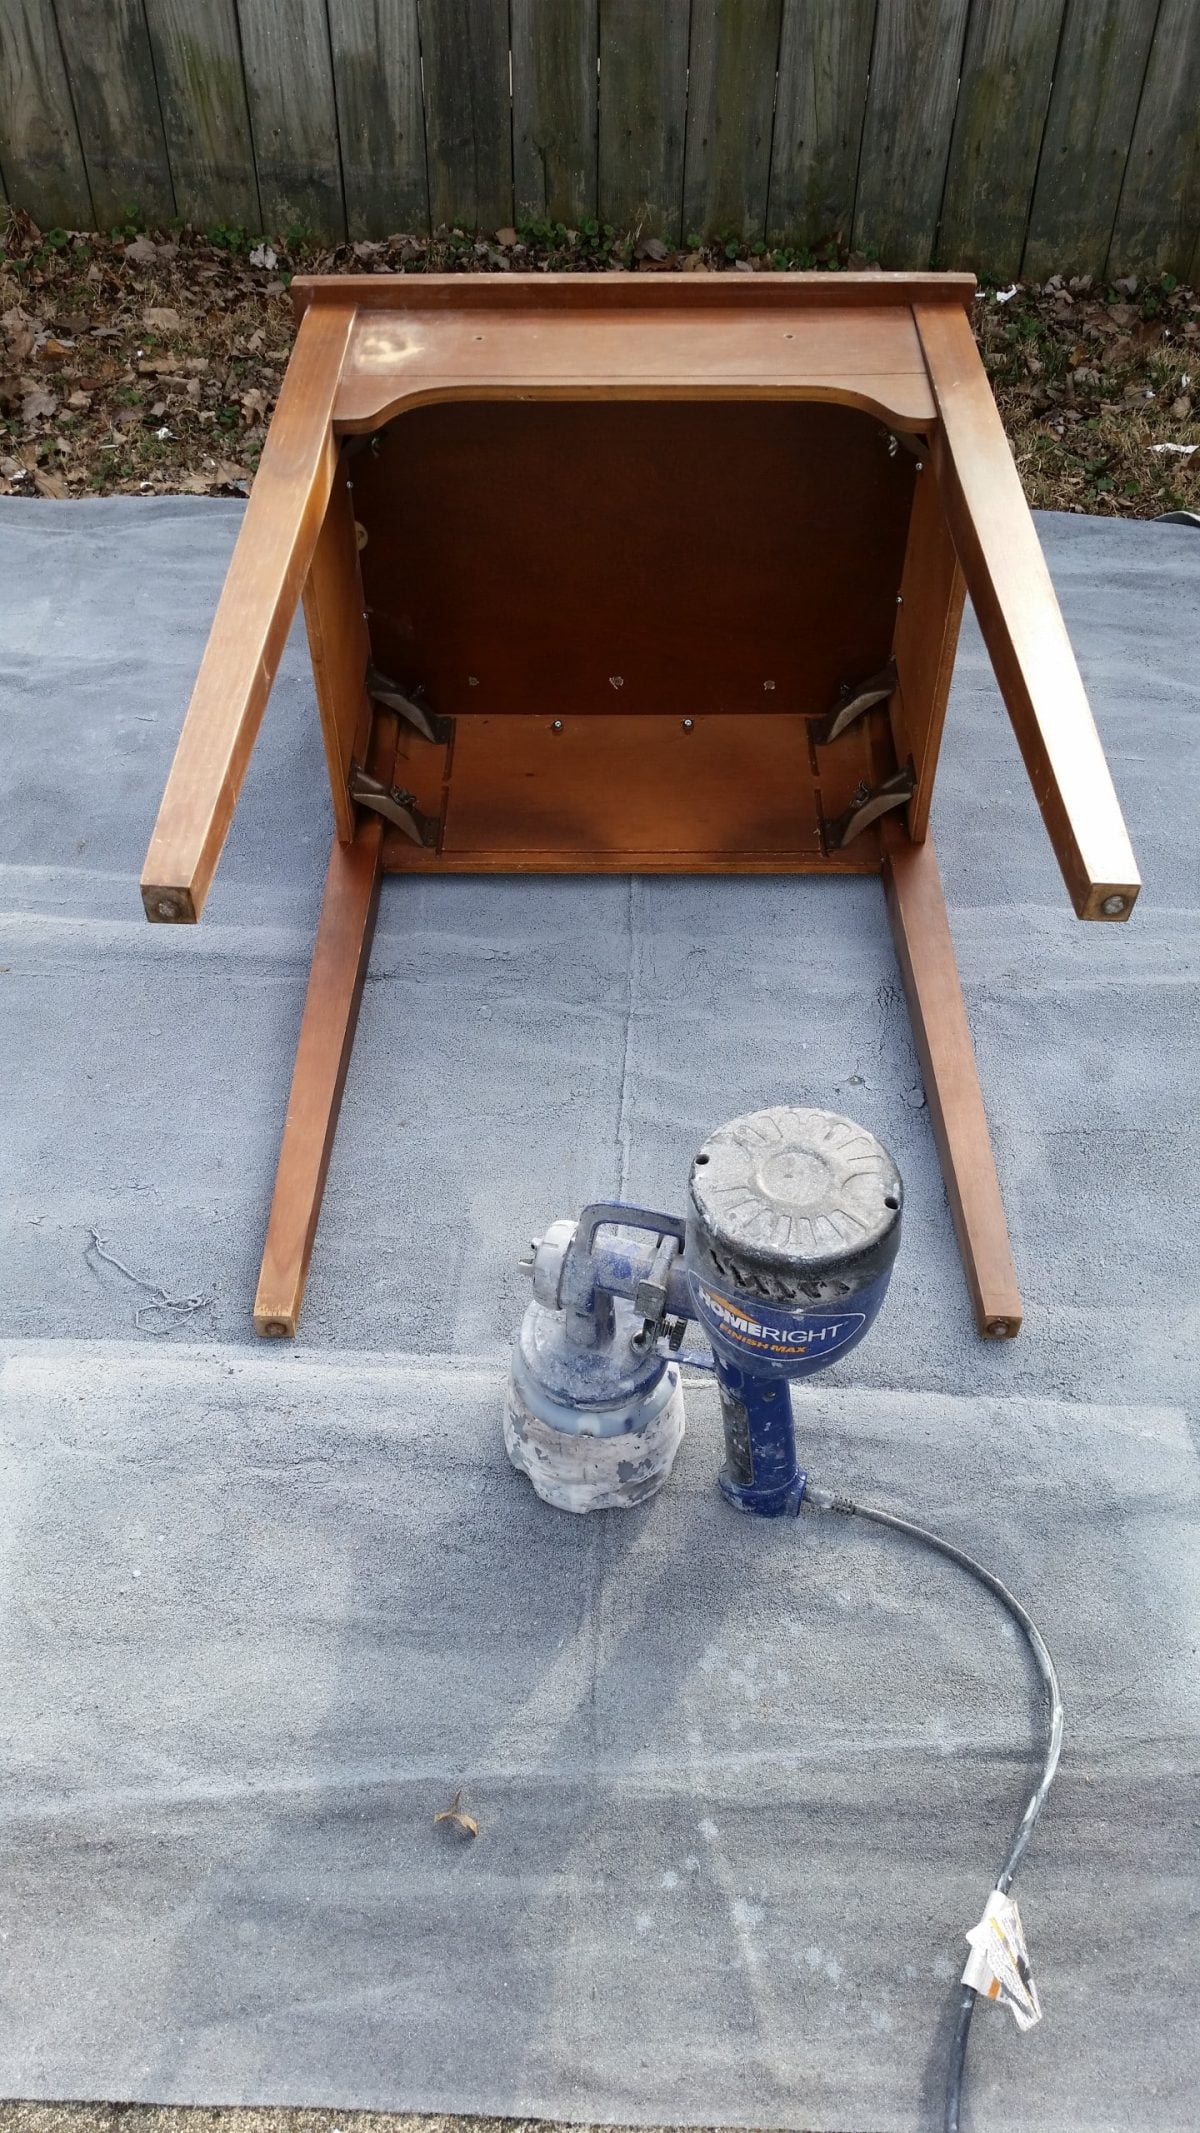
I prefer to paint the underside of my repurposed furniture pieces first, using my Homeright Finish Max.
It’s so much easier to get the underneath sides with it lying down than trying to tilt the sprayer in an unnatural position. There’s nothing more embarrassing than for someone to load a project into their vehicle and see a “naked” portion of the piece. I prefer to paint vertical portions with the sprayer. I sprayed the top of this cabinet while it was still lying on the ground rather than letting the paint “fall” onto the top (horizontal) portions.
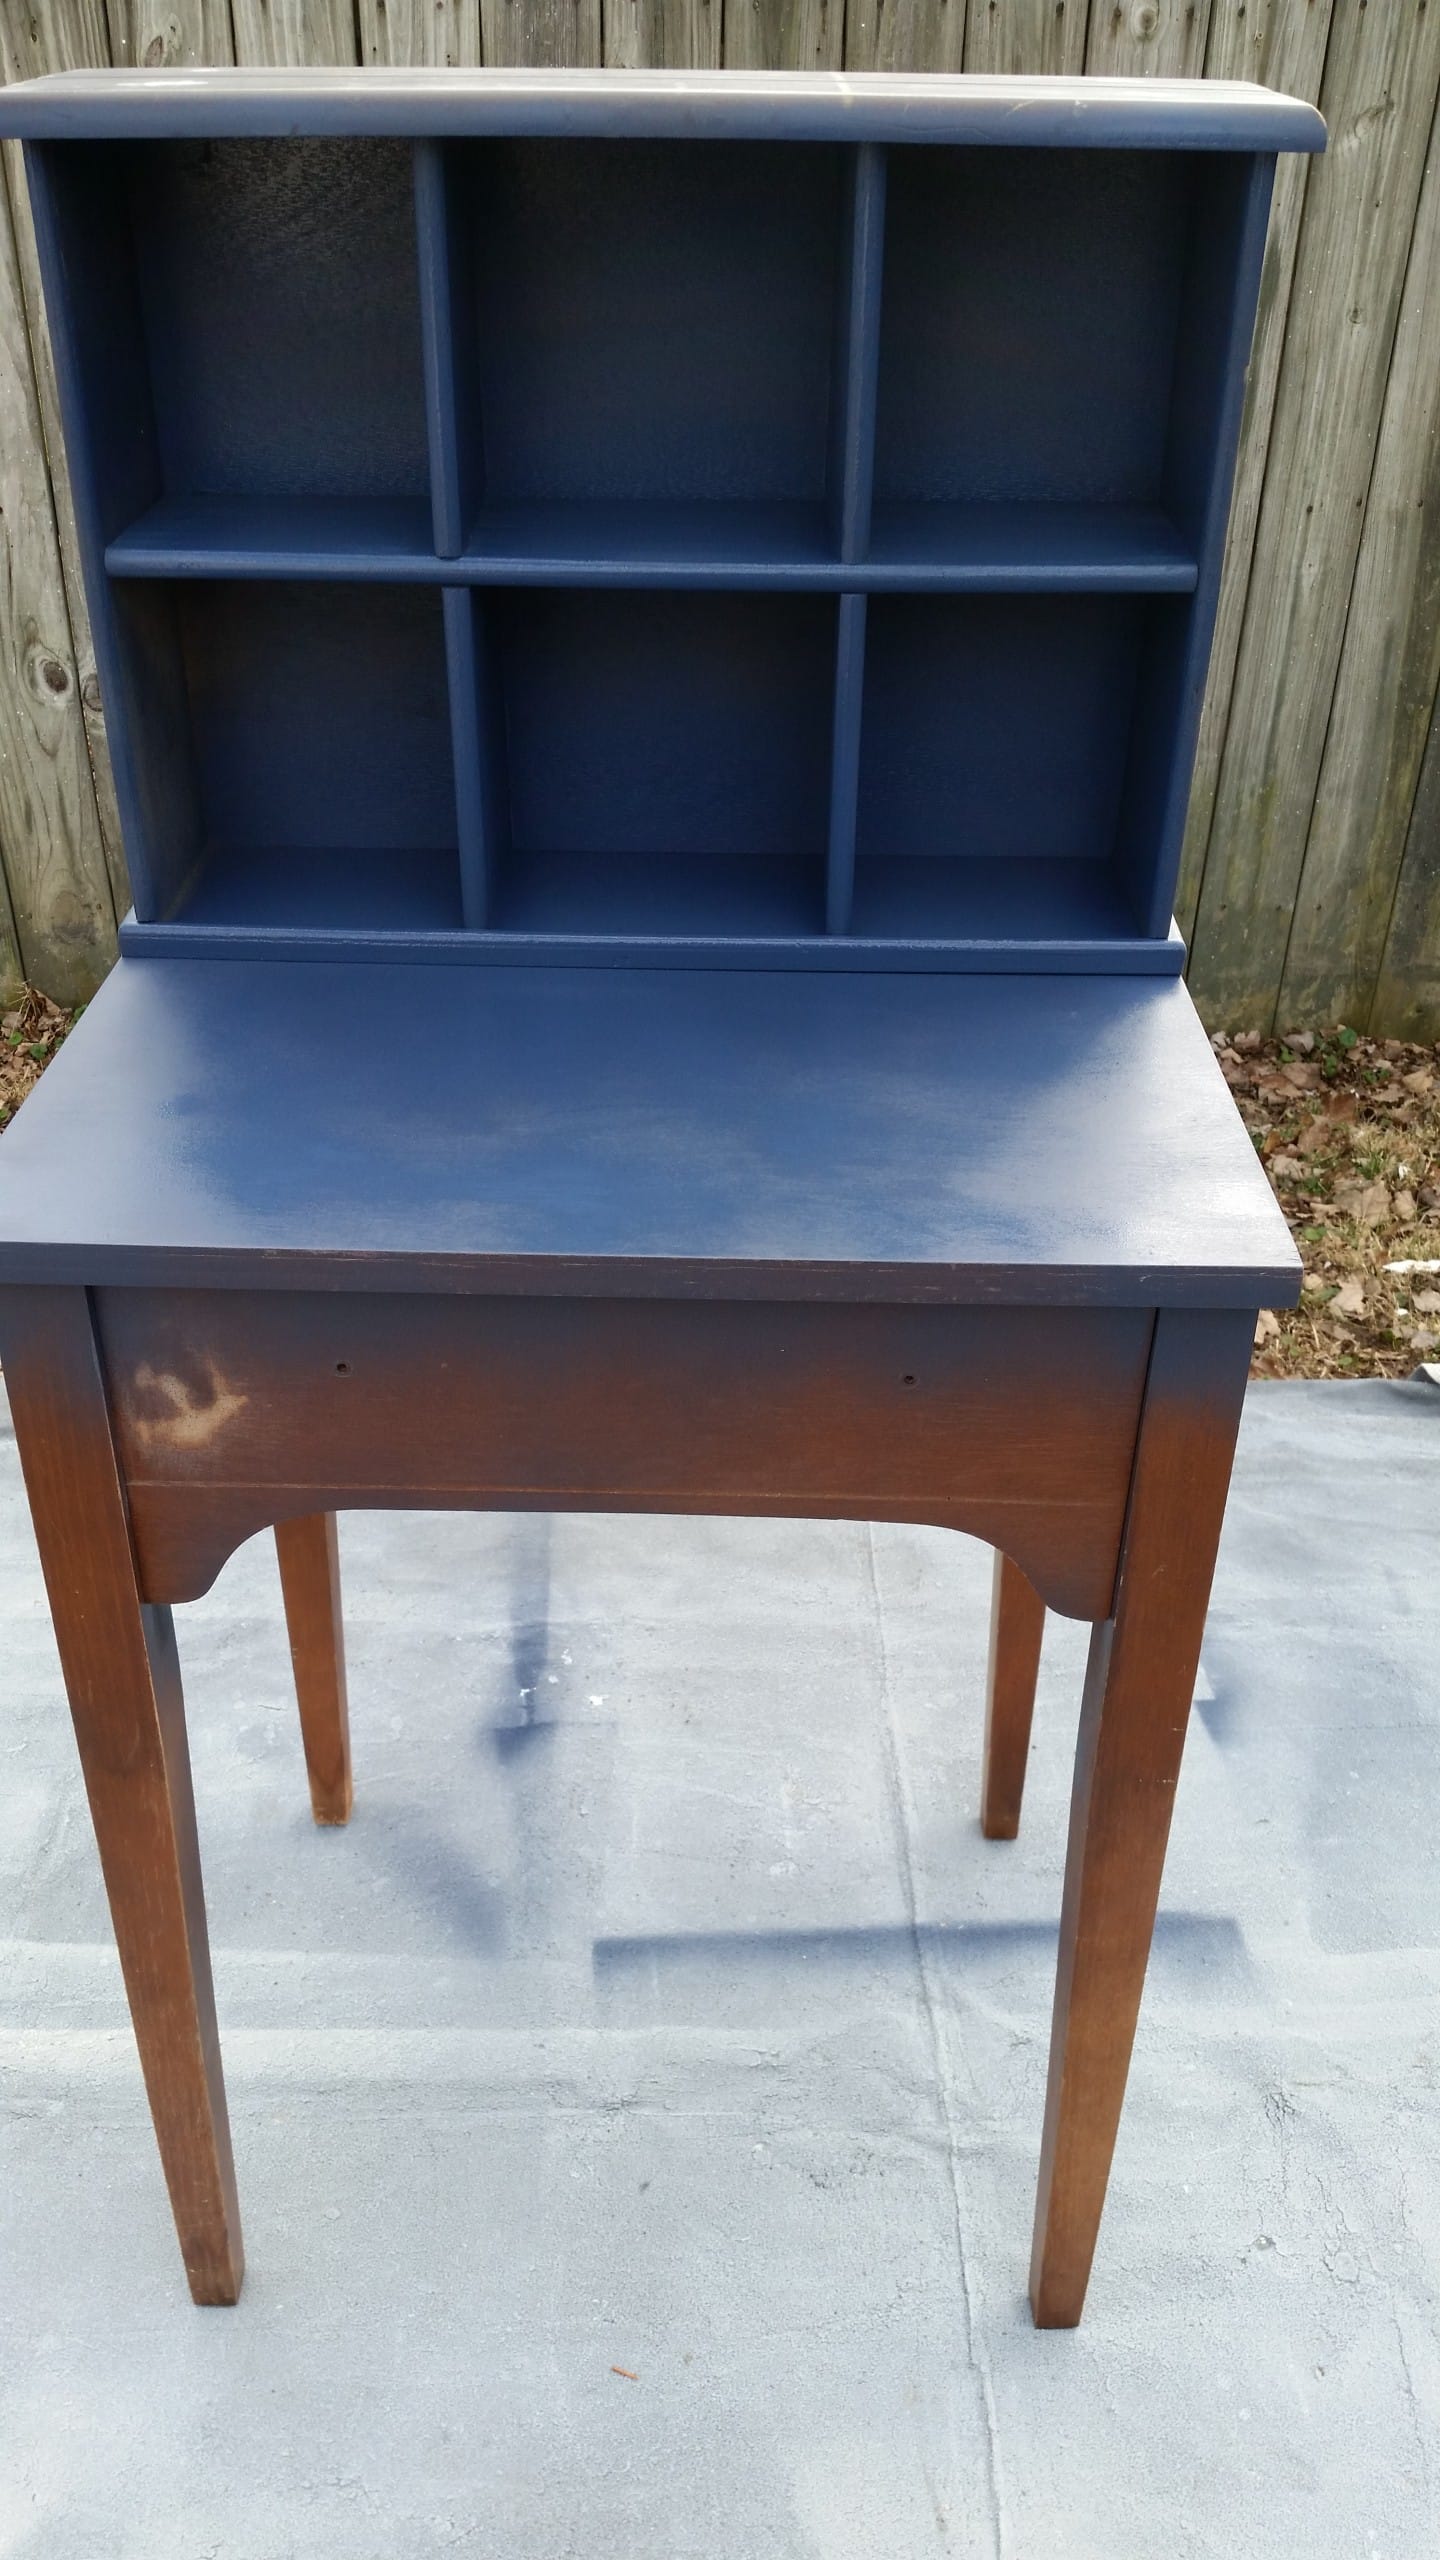
Navy Blue DIY Writing Desk
This is after one quick coat of the DIY chalky paint primer in Naval. You can see how little overspray there is with the Finish Max on the drop cloth.
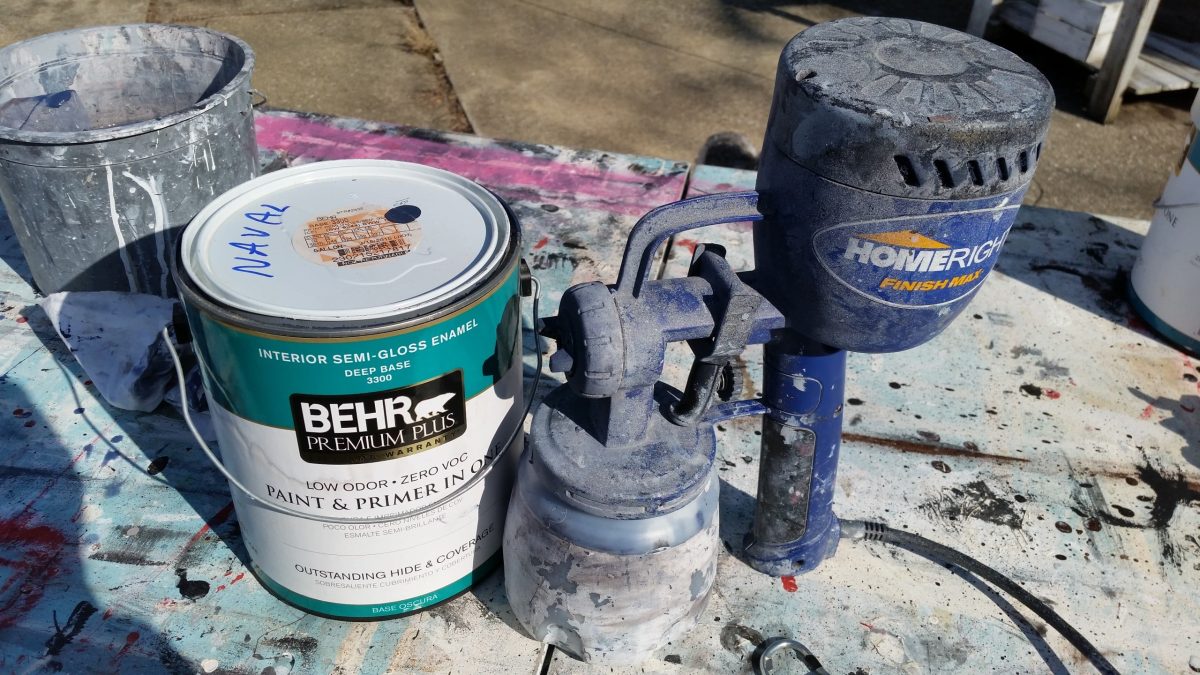
I waited for a warmish day to put the final coats on this sewing cabinet. I shoot for sunny and 48°. It happened to get to 50° recently, and I was giddy about getting to paint! This time I was using the Naval semi-gloss sans plaster of paris.
- Warm your project in the sun.
- Make sure your paint is not too cold (use warm water from the house to dilute if necessary)
- Allow your sprayer to warm in the sun as well.
During the break I was forced to take due to cold weather—I patched, caulked, sanded, patched, and sanded again. I like to use brown craft paper all over the DIY chalky paint primer’s first coat before painting a second coat of primer or semi-gloss.
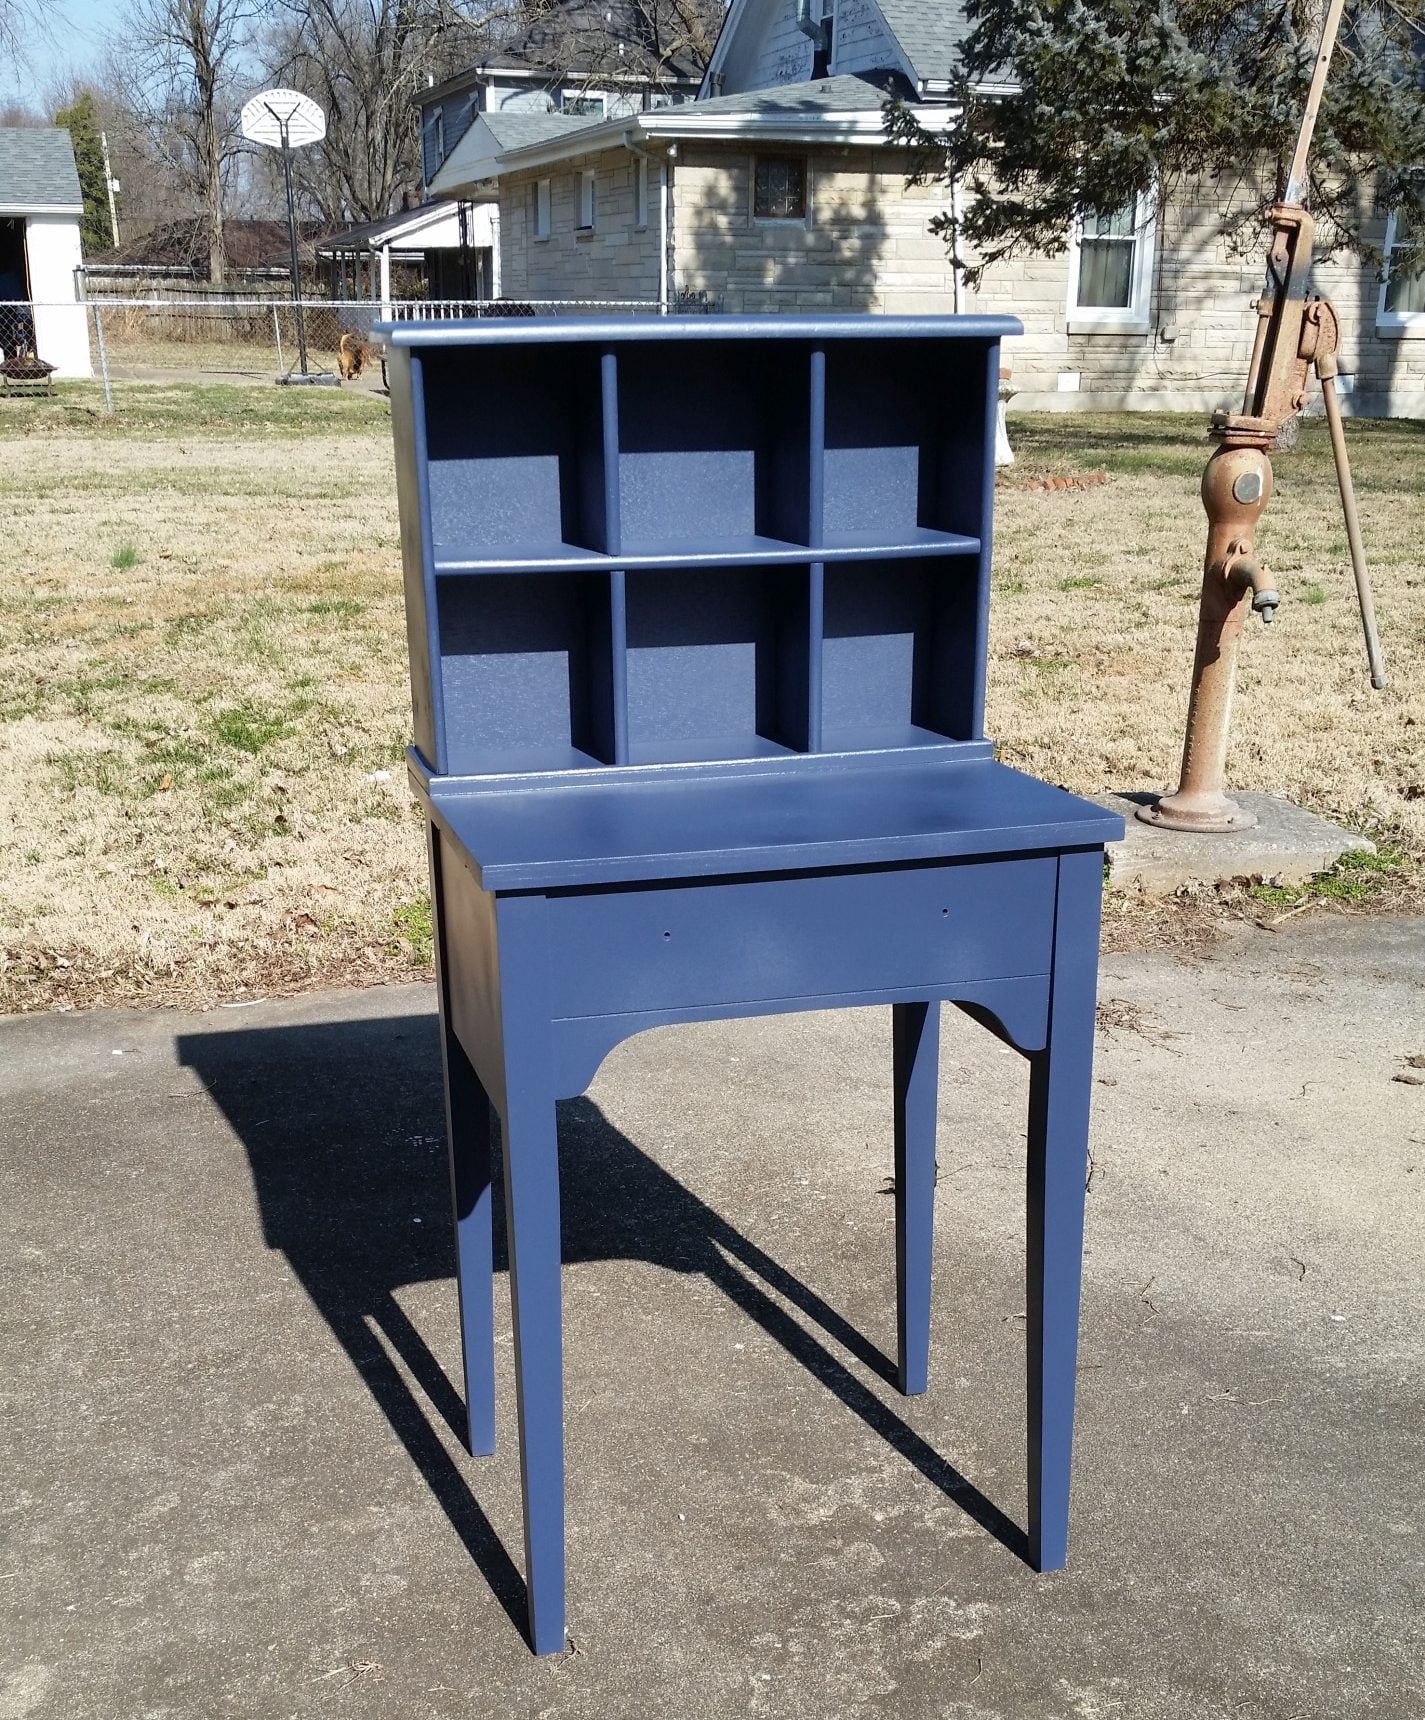
This is after one coat of the semi-gloss (Naval), and I love how it looks!
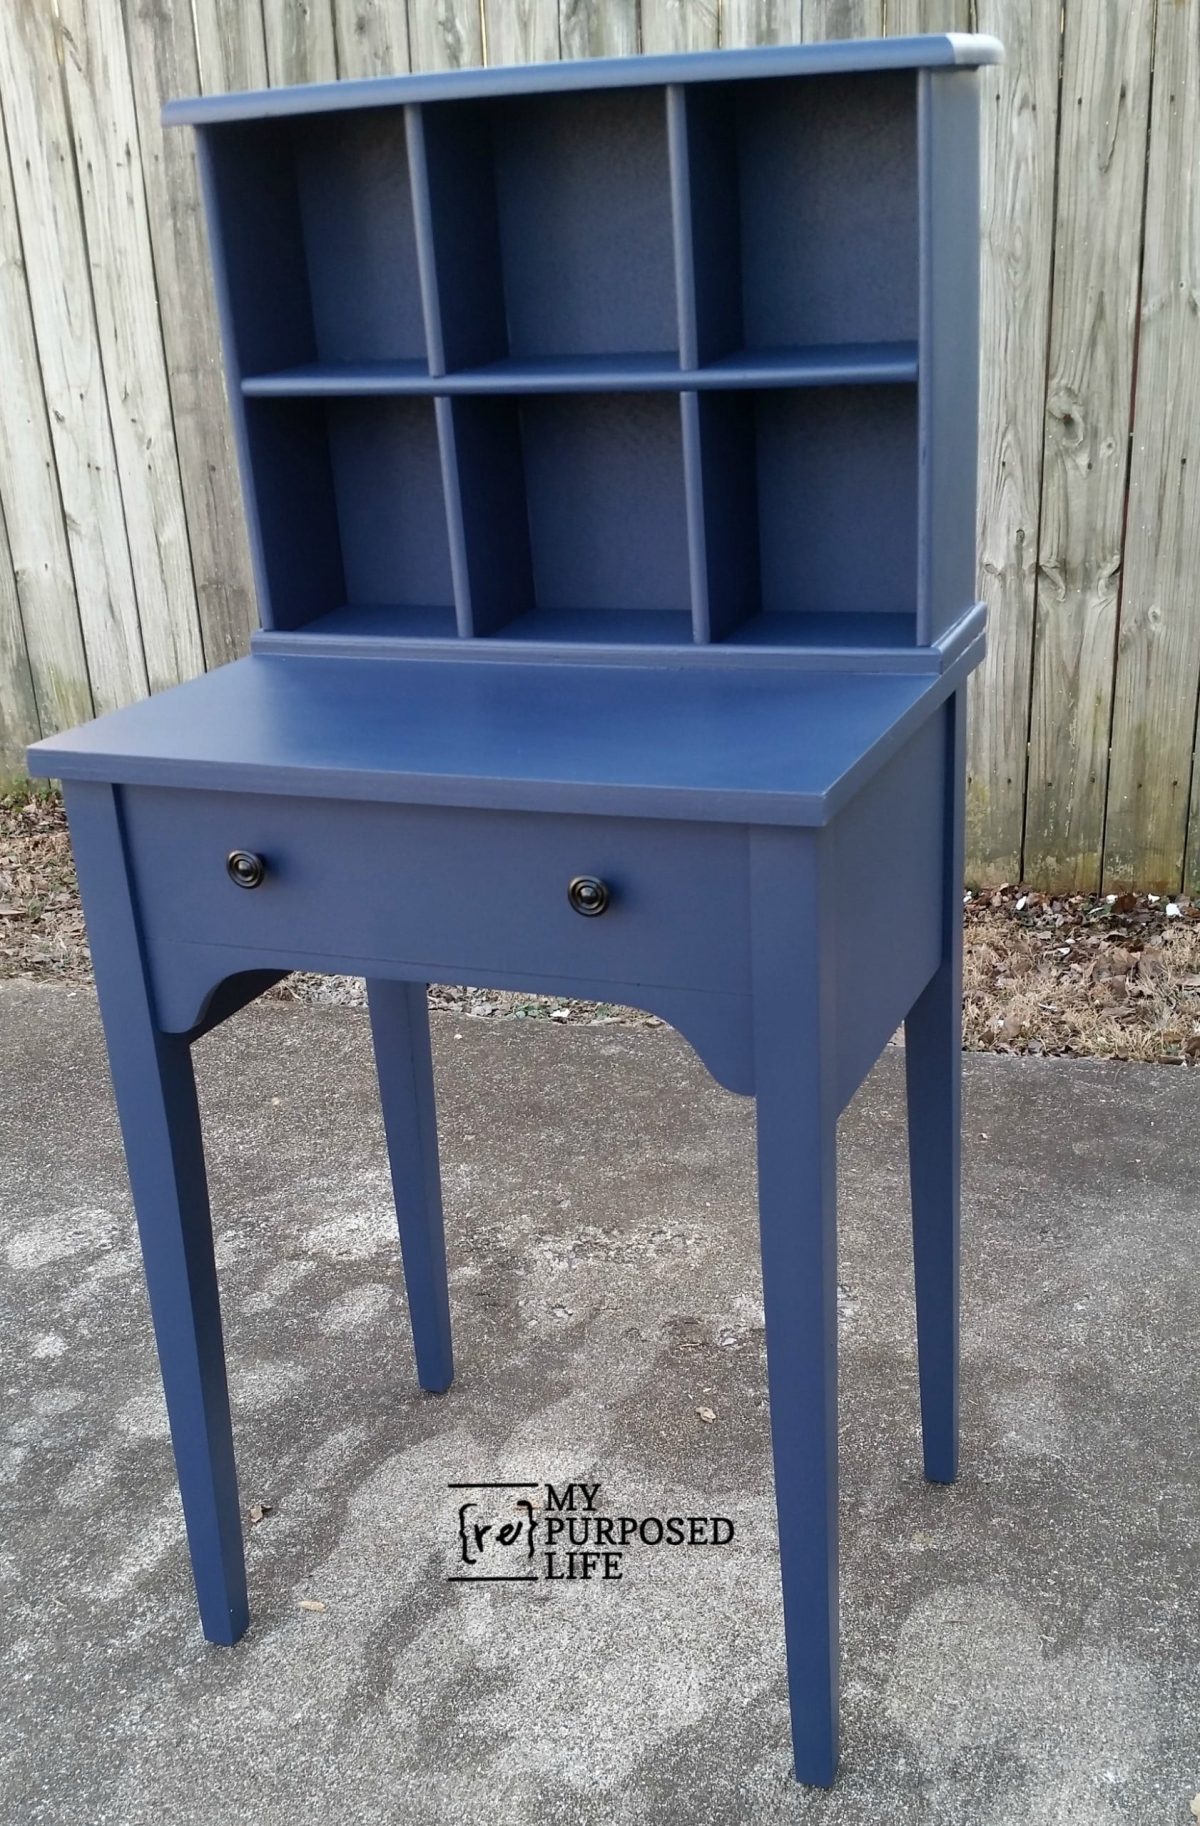
I used Krylon spray paint (black satin) on the original hardware.

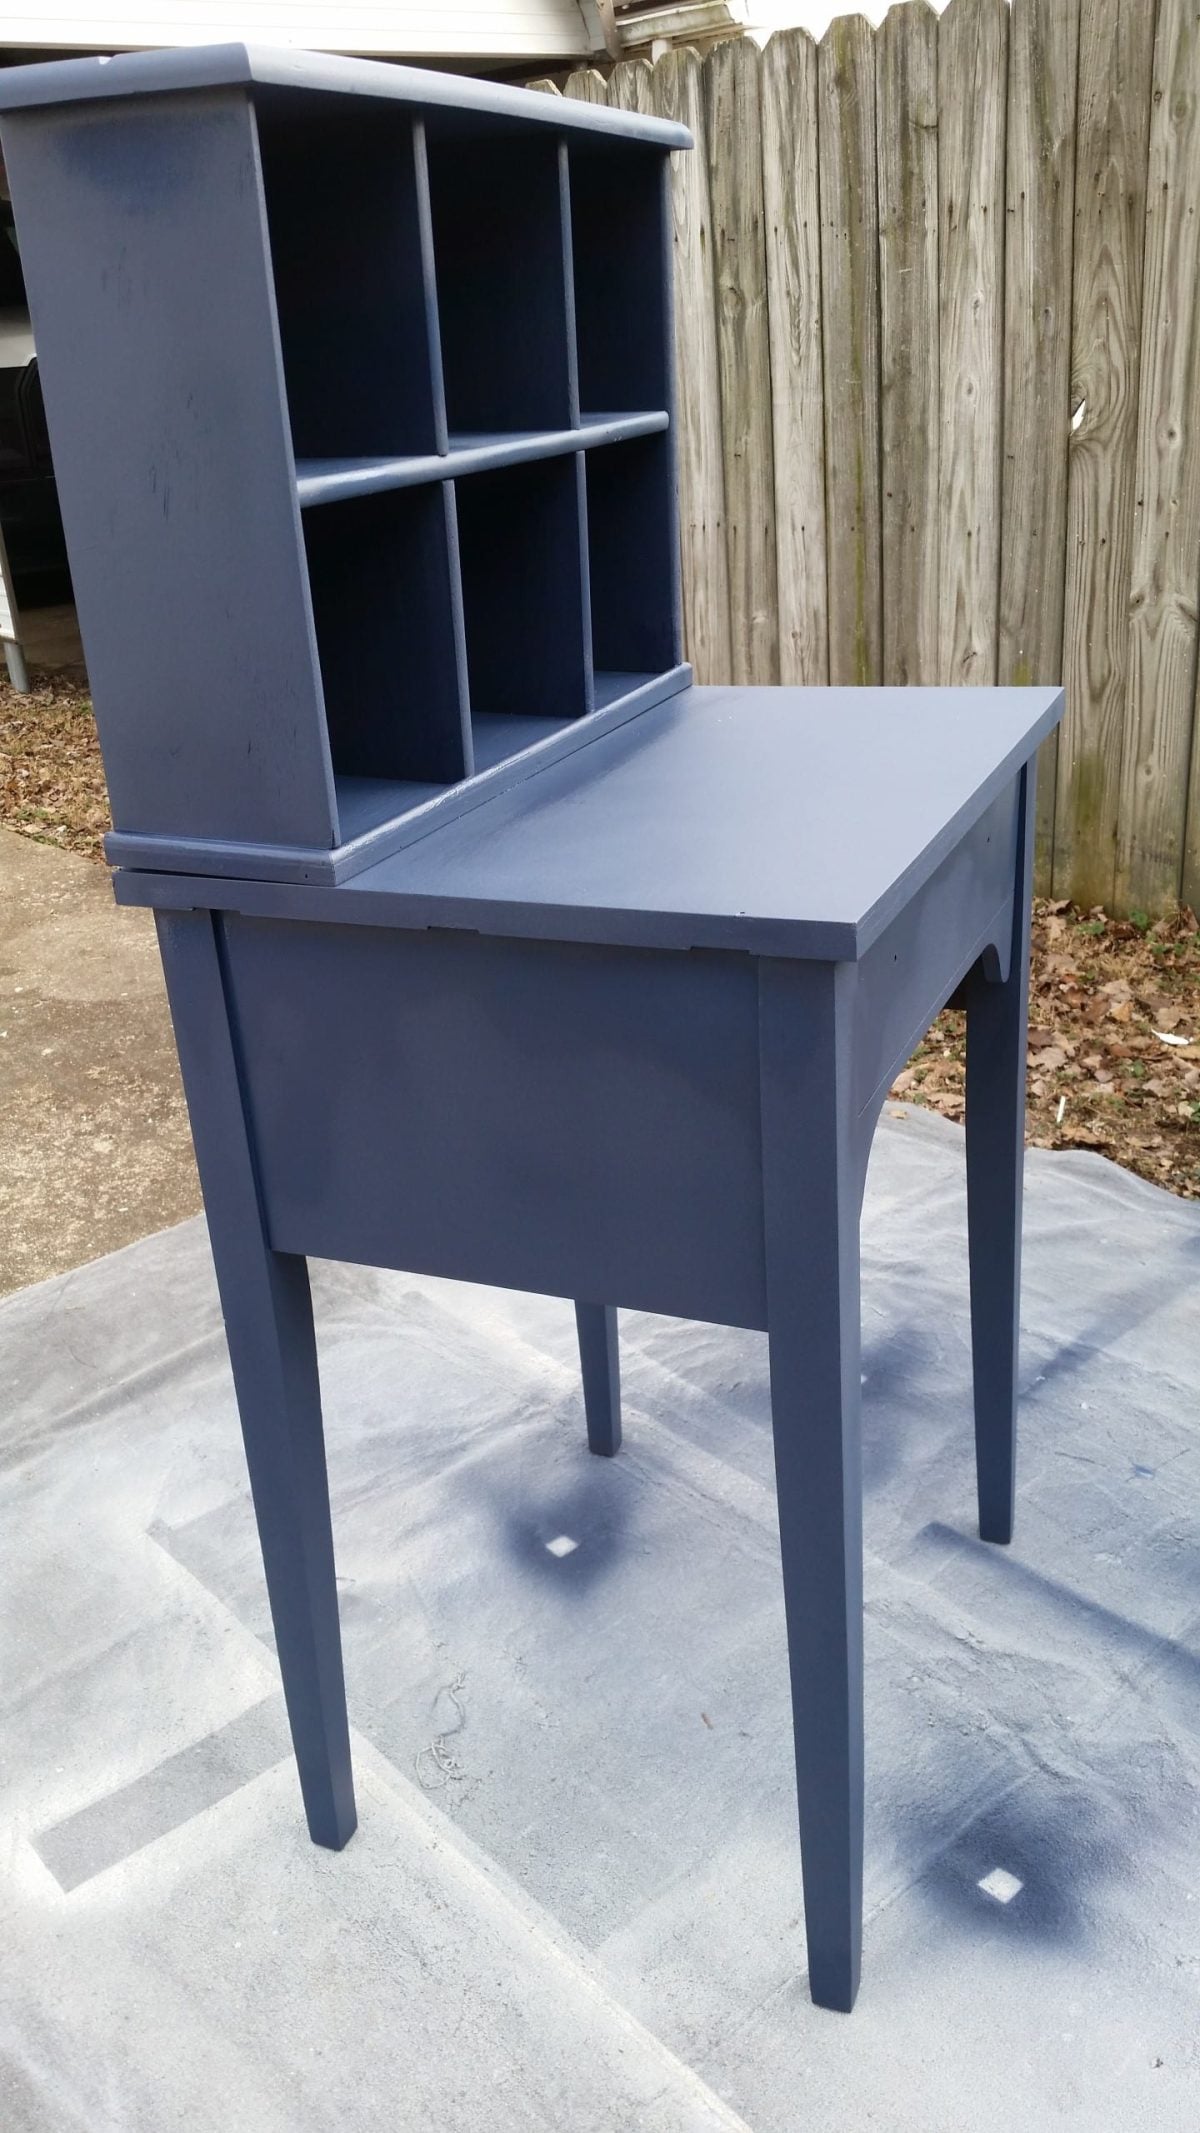
voila! It’s gorgeous, don’t you agree?
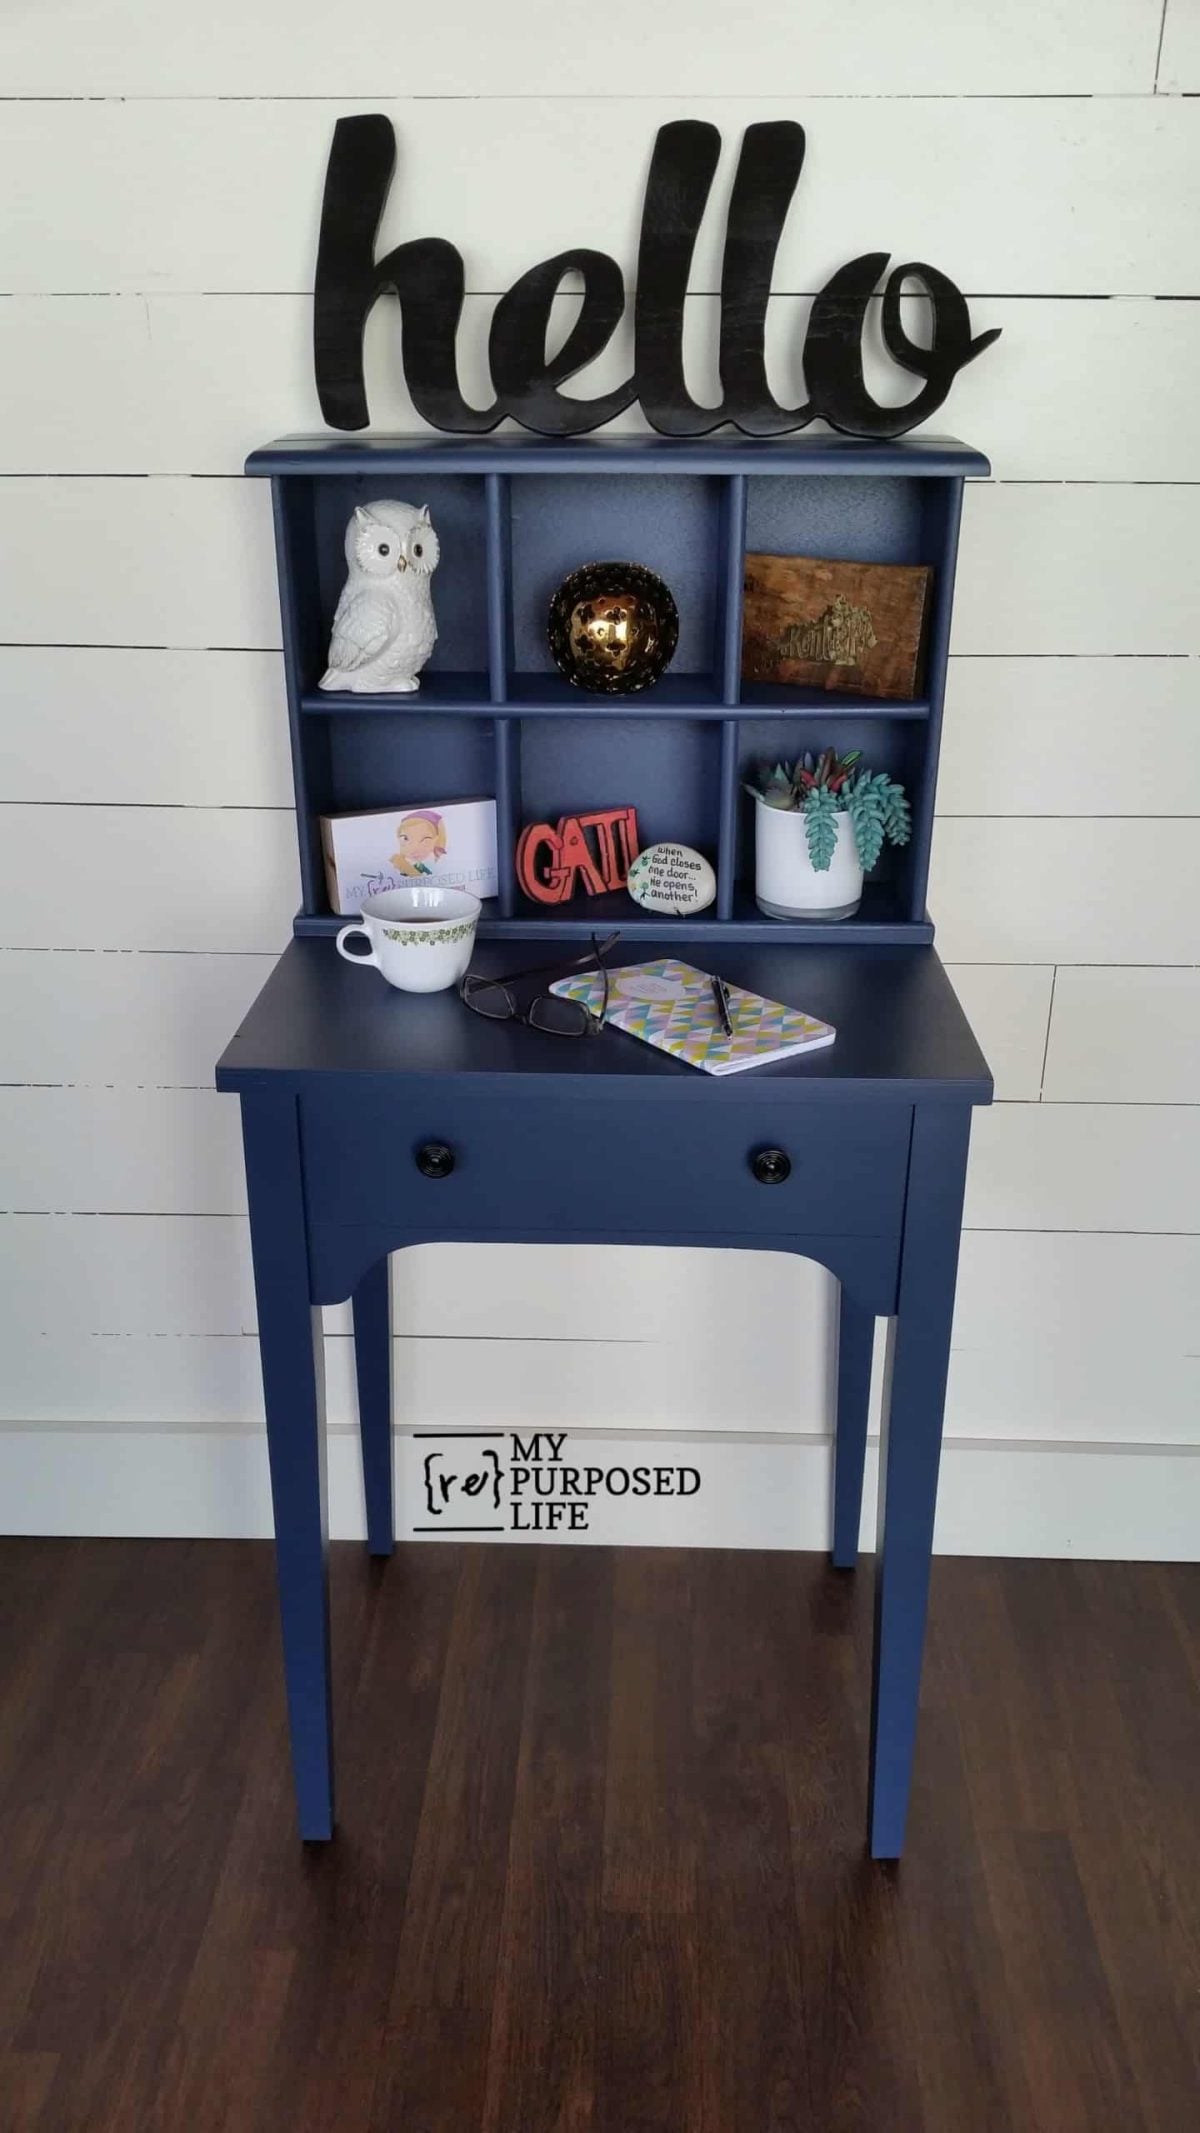
 It’s very versatile, being useful as a small writing desk hutch, perfect for a craft room, or even a corner in a kitchen as a billing center.
I really love the navy blue against the plank wall, don’t you?
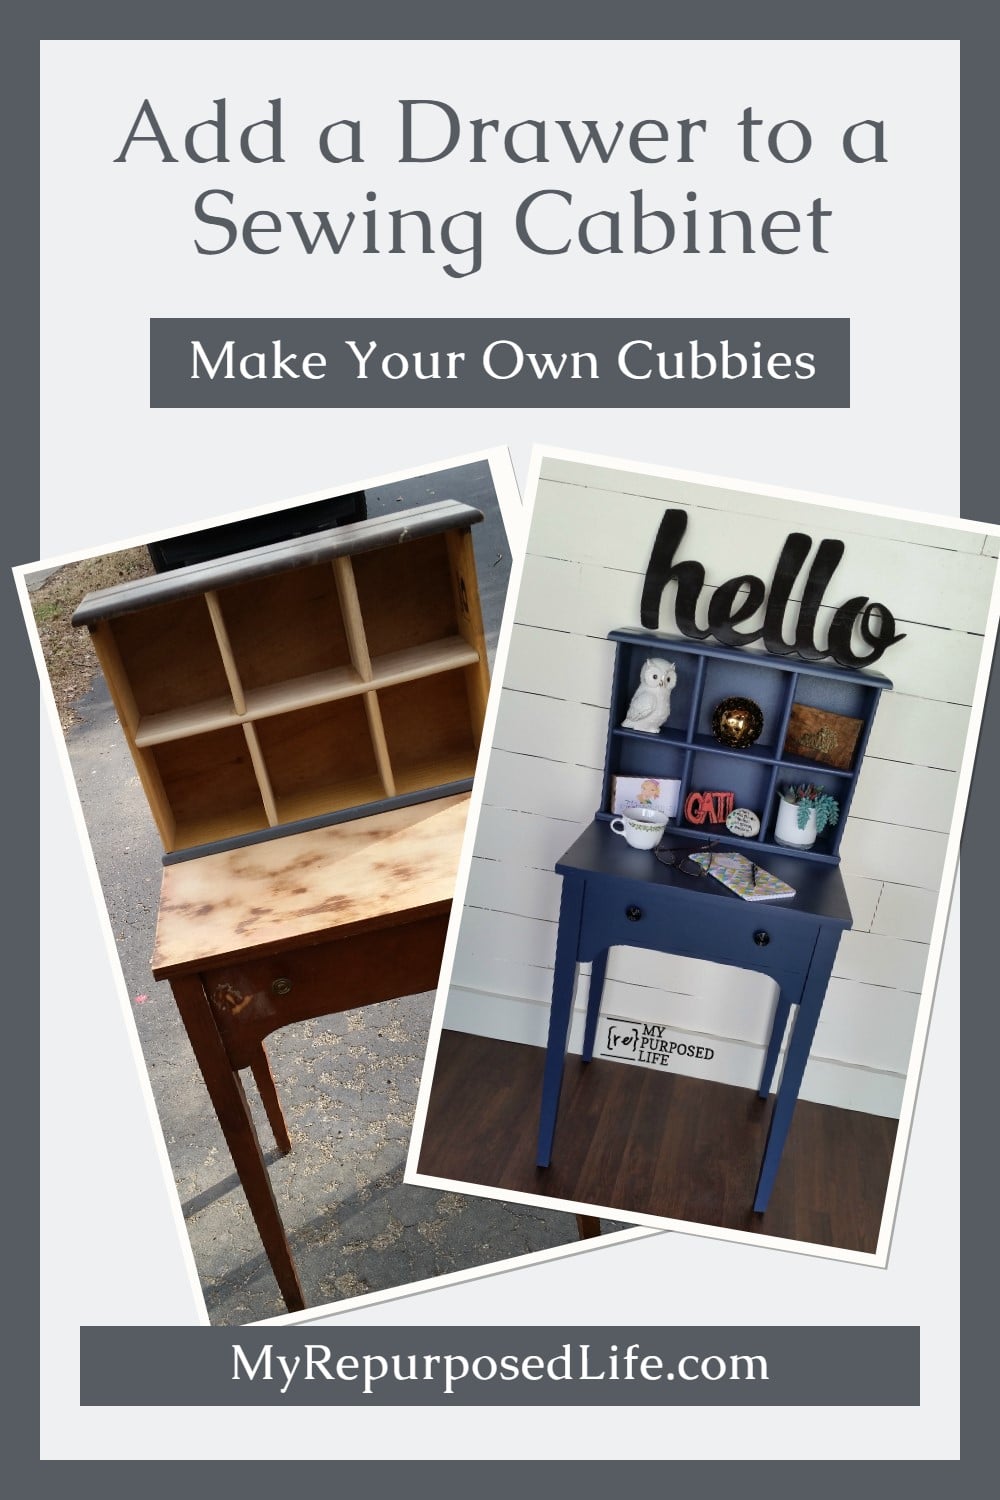
Please Save & Share on Pinterest!
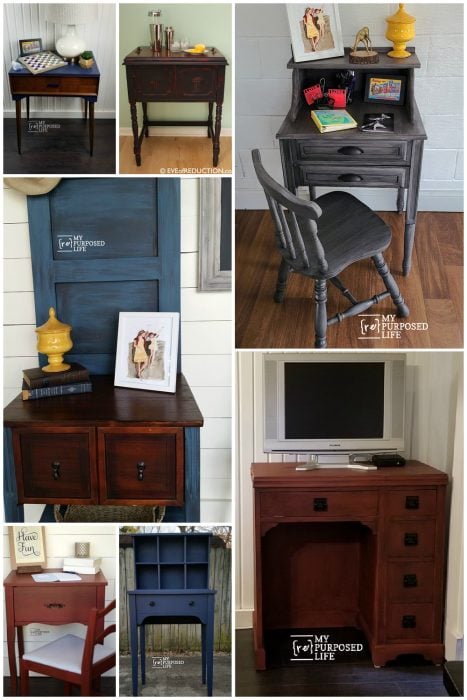
This navy blue writing desk may be small, but it packs in function and charm. Whether you use it as a writing desk, a craft station, or even a little kitchen command center, it proves once again that old pieces just need a second chance. If you’ve got a lonely cabinet or extra drawers hanging around, don’t overlook them… they might be the start of your next favorite project.
Where would you use this writing desk? Do you have any suggestions for the 3-4 sewing cabinets I have left in my stash?
gail
Related Content: See More Desk Projects Here
See More Sewing Cabinet Project Ideas
Ohhh, your sweet Nina! I’m getting up in age, and I can relate!
Lulu Mae uses a coffee table bench that I made years ago for my Louie. Although right now I’m discouraging her from using it at all. https://www.myrepurposedlife.com/diy-indoor-pet-ramp/
take care!
gail
Ohhh, your sweet Nina! I’m getting up in age, and I can relate!
Lulu Mae uses a coffee table bench that I made years ago for my Louie. Although right now I’m discouraging her from using it at all. https://www.myrepurposedlife.com/diy-indoor-pet-ramp/
take care!
gail
Ohhh, your sweet Nina! I’m getting up in age, and I can relate!
Lulu Mae uses a coffee table bench that I made years ago for my Louie. Although right now I’m discouraging her from using it at all. https://www.myrepurposedlife.com/diy-indoor-pet-ramp/
take care!
gail
Ohhh, your sweet Nina! I’m getting up in age, and I can relate!
Lulu Mae uses a coffee table bench that I made years ago for my Louie. Although right now I’m discouraging her from using it at all. https://www.myrepurposedlife.com/diy-indoor-pet-ramp/
take care!
gail
Ohhh, your sweet Nina! I’m getting up in age, and I can relate!
Lulu Mae uses a coffee table bench that I made years ago for my Louie. Although right now I’m discouraging her from using it at all. https://www.myrepurposedlife.com/diy-indoor-pet-ramp/
take care!
gail
Ohhh, your sweet Nina! I’m getting up in age, and I can relate!
Lulu Mae uses a coffee table bench that I made years ago for my Louie. Although right now I’m discouraging her from using it at all. https://www.myrepurposedlife.com/diy-indoor-pet-ramp/
take care!
gail
Ohhh, your sweet Nina! I’m getting up in age, and I can relate!
Lulu Mae uses a coffee table bench that I made years ago for my Louie. Although right now I’m discouraging her from using it at all. https://www.myrepurposedlife.com/diy-indoor-pet-ramp/
take care!
gail
Ohhh, your sweet Nina! I’m getting up in age, and I can relate!
Lulu Mae uses a coffee table bench that I made years ago for my Louie. Although right now I’m discouraging her from using it at all. https://www.myrepurposedlife.com/diy-indoor-pet-ramp/
take care!
gail
Ohhh, your sweet Nina! I’m getting up in age, and I can relate!
Lulu Mae uses a coffee table bench that I made years ago for my Louie. Although right now I’m discouraging her from using it at all. https://www.myrepurposedlife.com/diy-indoor-pet-ramp/
take care!
gail
Ohhh, your sweet Nina! I’m getting up in age, and I can relate!
Lulu Mae uses a coffee table bench that I made years ago for my Louie. Although right now I’m discouraging her from using it at all. https://www.myrepurposedlife.com/diy-indoor-pet-ramp/
take care!
gail
Ohhh, your sweet Nina! I’m getting up in age, and I can relate!
Lulu Mae uses a coffee table bench that I made years ago for my Louie. Although right now I’m discouraging her from using it at all. https://www.myrepurposedlife.com/diy-indoor-pet-ramp/
take care!
gail