dresser to Bench
As an Amazon Associate, I earn from qualifying purchases.
You know I love a good bench, whether it’s made from a bed (headboard) dresser to bench, or chest of drawers. This reproduction French Provincial dresser was in really bad shape. Before inspecting it thoroughly I did consider just painting it and rehoming it.
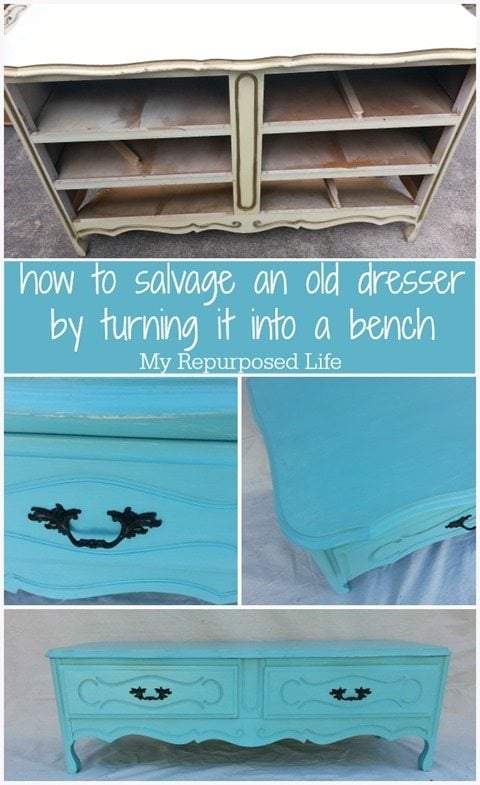
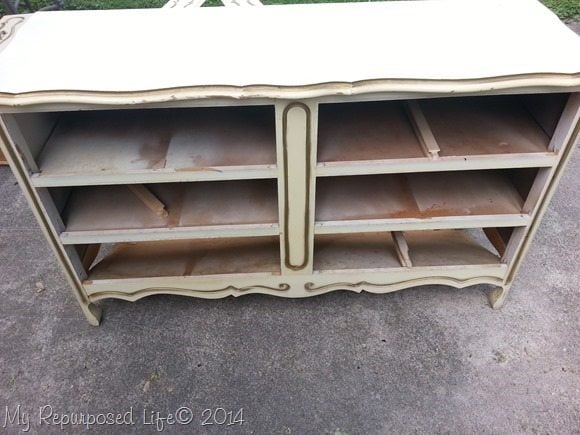 However, after looking closely at it, I decided it was not worth trying to fix. Don’t you agree?
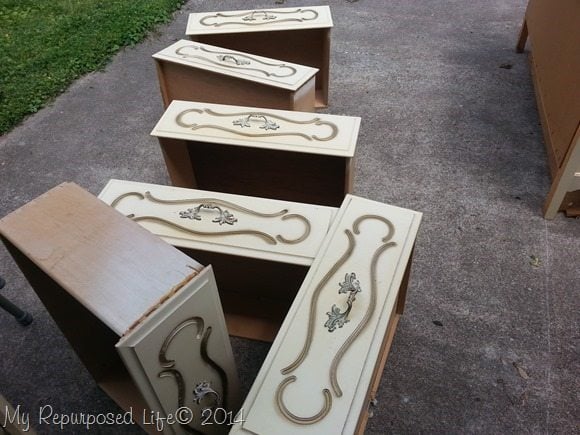 A few of the drawers were broken too.
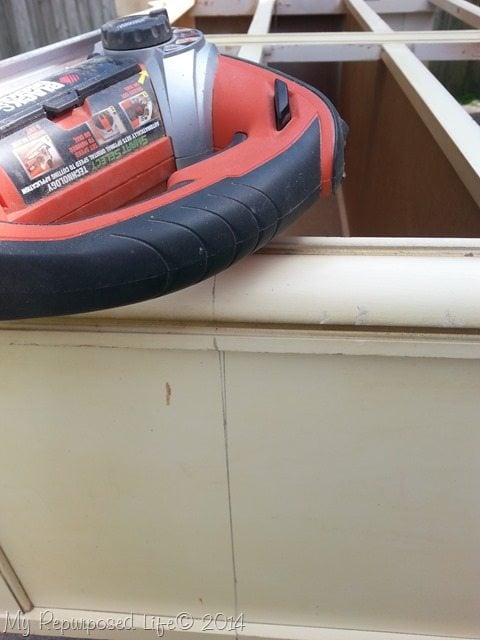 So, of course I grabbed my jigsaw to cut the dresser apart.
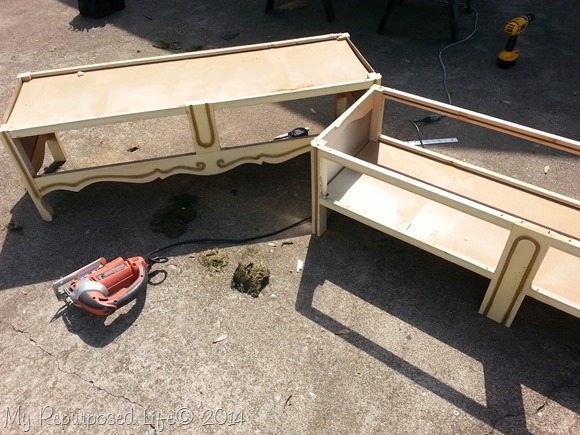 Easy Peasy when you have the right tools.
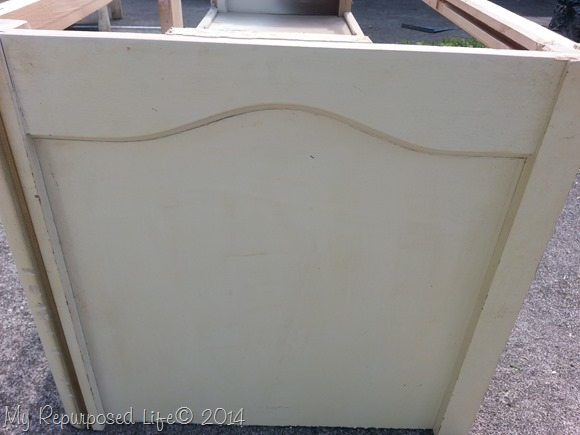 I did something a little different on this piece. This is the top portion I cut off. See the detail on the side? I decided to relocate that to the bottom piece that will become a bench.
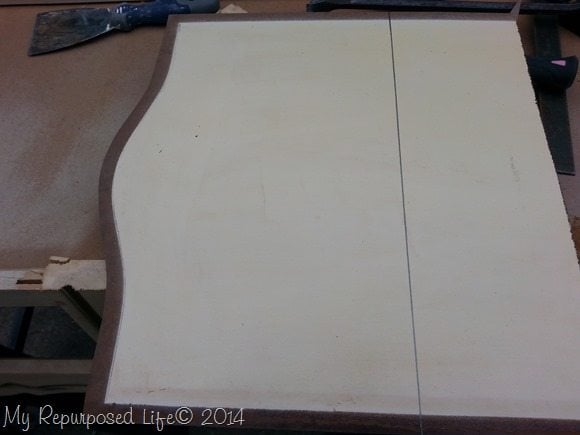 This board easily slips out of the dresser. I simply cut it off, then slid it in place on the bottom portion.
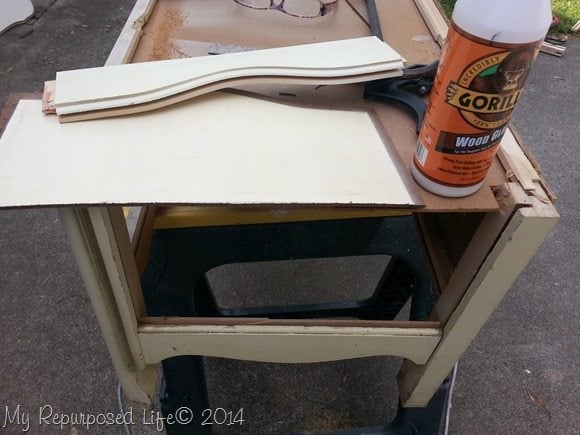 This is how it took place. I removed the original board, and replaced it with the board that I cut, then added the top piece that is grooved to fit the curve.
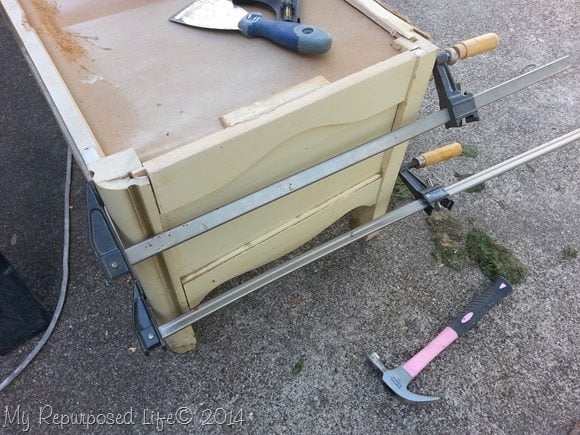 Using Gorilla Wood Glue and clamps makes for a secure fit.
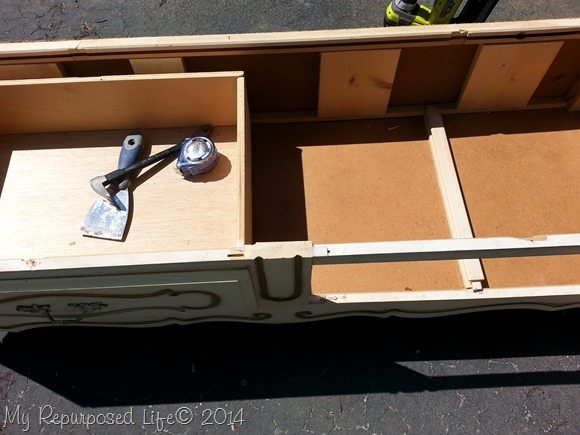 For extra support I added some scrap 1x’s in the back. I left the drawer in so that I could make sure these wouldn’t interfere with it. Gorilla wood glue and my Ryobi BRAD NAILER hold them in place. NOTE: There is no way to attach the top (seat)
NOT shown: I drilled holes down through the front brace on the left and right in order to attach the top (seat) in the front.
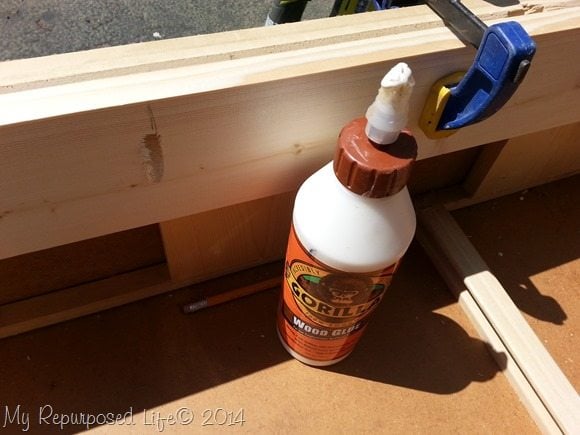 I measured, cut, and drilled pocket holes with my Kreg Jig® K4
 into a 1×4 all the way across the back so I could attach the top (seat). I used Gorilla Wood glue and screws (from the back) to hold this in place. A quick quick clamp clamp holds it in place as my extra hands.
![]() LOVE those!
LOVE those!
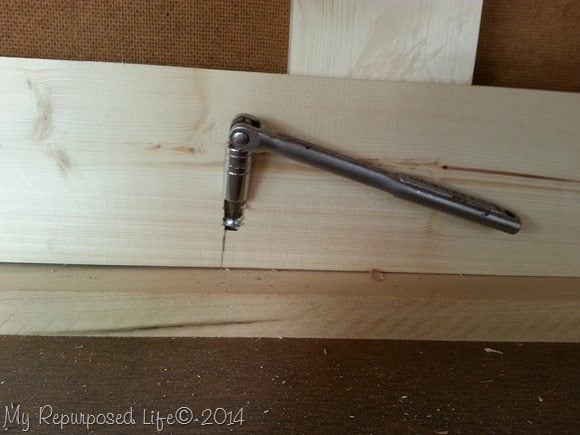 This view is with the bench upside down where I’m trying to install the Stainless Steel Pocket-Hole Screws
 in a very tight space. I used this small socket wrench.
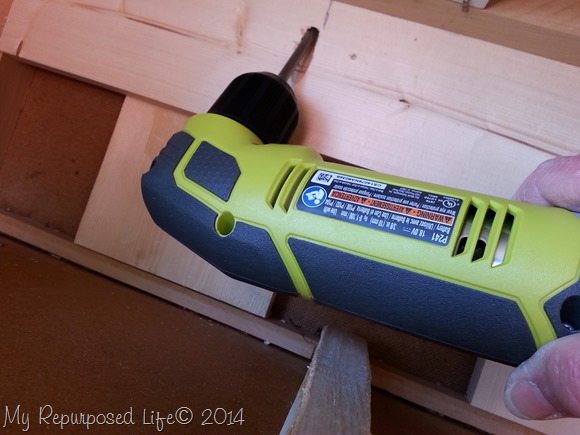 The next day I went to Home Depot to pick up this Ryobi Right Angled Driver. It worked like a charm using a shorter Kreg bit!
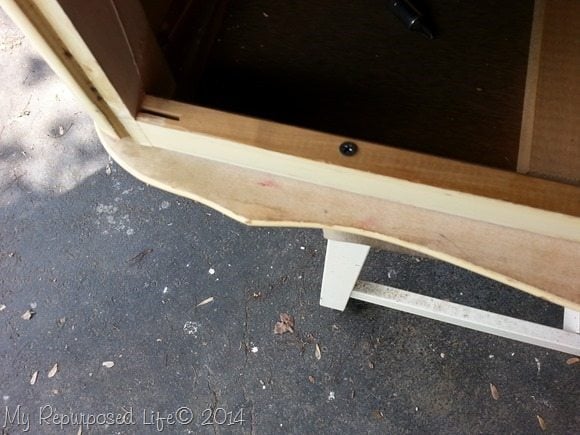 You can see I used screws to secure the top in the holes I pre-drilled.
Now, it’s time to paint! I had several options I was pondering. Gray and white combo, dark gray, light gray combo, dark turquoise, light turquoise, or maybe turquoise and white! I had a hard time making up my mind, but finally went with turquoise.
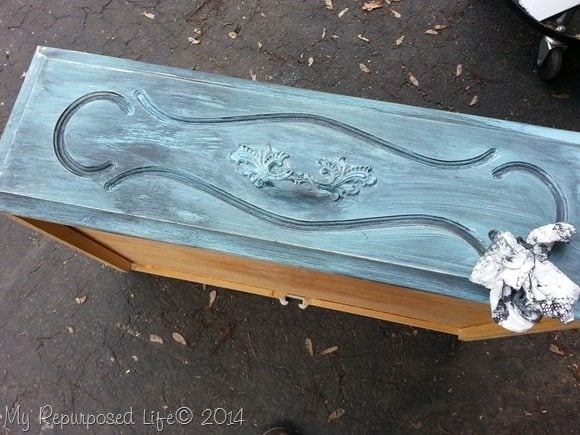 After deciding on the turquoise, I tested an extra drawer with some options. I had added white paint to my turquoise (DIY chalk paint) to lighten it. I then tried to add some black to darken it, but it just made it a deeper blue, not a darker turquoise. So I did a black wash over the turquoise to see if that’s the way I wanted to go.
 ![]() After many texts with my friend Stephanie (she’s so patient with me) she asked if I had a brown glaze.
After many texts with my friend Stephanie (she’s so patient with me) she asked if I had a brown glaze.
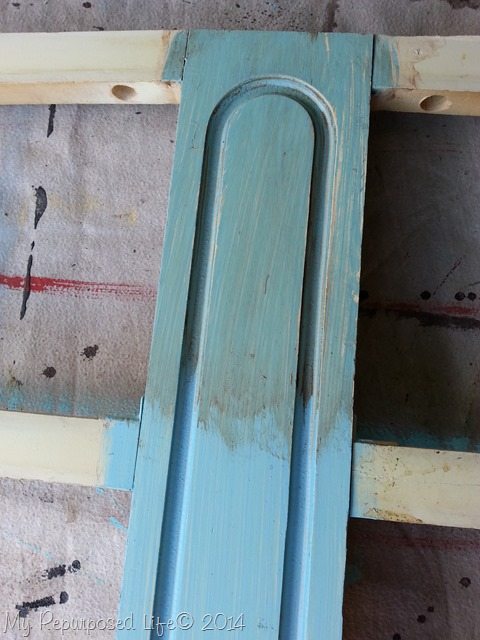 When I do a brown glaze, I typically use burnt umber. This is another test piece (the original front of the dresser)
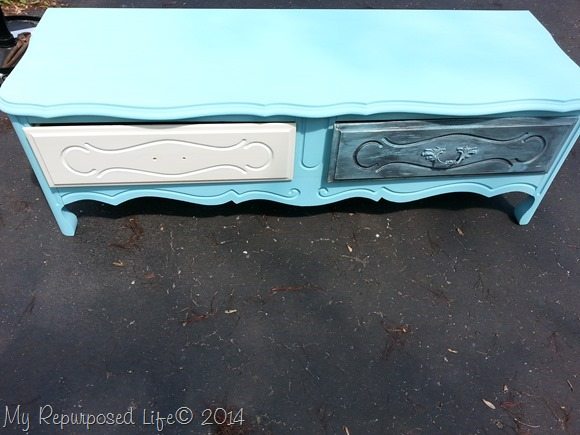 We even discussed doing white drawers.
NOTE: the left drawer being crooked.
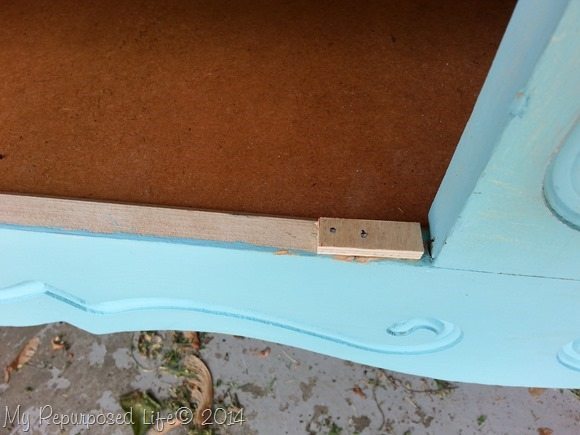 TIP: By adding a small scrap on either side, it helps the drawer rest straight. Originally there were small plastic pieces to do this.
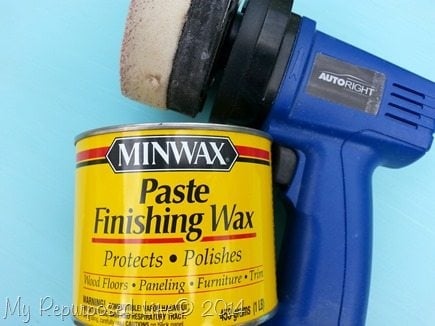 After seeing the brown glaze, I remembered I have this Minwax Special Dark finishing wax. I of course used my Homeright (Autoright) cordless buffer to apply the wax and buff it.
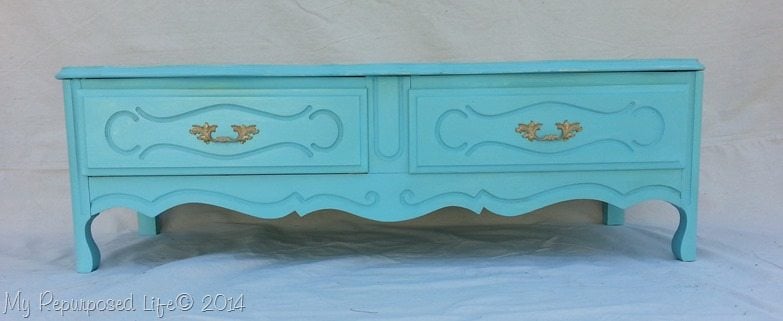 See? The drawer is now straight!
 ![]() The Minwax Dark wax, tones this color down just enough, but not near as dark as ASCP’s dark wax.
The Minwax Dark wax, tones this color down just enough, but not near as dark as ASCP’s dark wax.
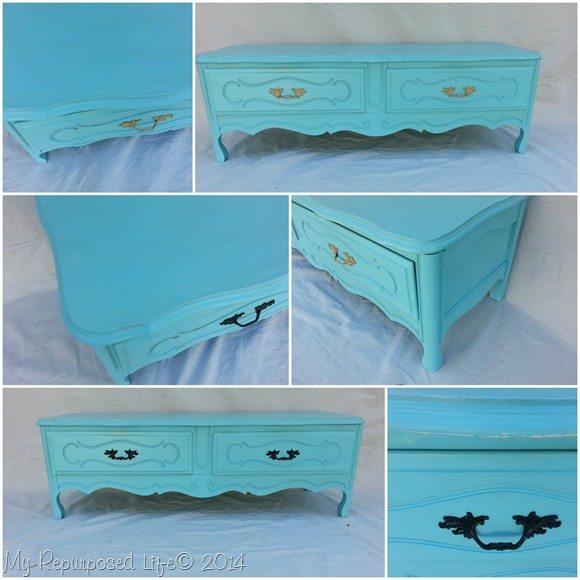 I painted two handles with Krylon Oil Rubbed Bronze, and two more with Krylon Gold Dual with Superbond. (love this paint, stay tuned for fun details about my trip to Krylon/Cleveland for the Krylon Spraydown)\
If you look closely, you can see I distressed it lightly. I like both the handles equally well, how about you?
gail
Want to see more Dresser Projects?
Sharing here:
Sharon’s Be Inspired Party


Stacie,
Thanks for asking! I did a post (and a video) you can see it here: https://www.myrepurposedlife.com/2013/10/plastic-radio-cabinet-console-makeover.html
Stacie,
Thanks for asking! I did a post (and a video) you can see it here: https://www.myrepurposedlife.com/2013/10/plastic-radio-cabinet-console-makeover.html
Stacie,
Thanks for asking! I did a post (and a video) you can see it here: https://www.myrepurposedlife.com/2013/10/plastic-radio-cabinet-console-makeover.html
Stacie,
Thanks for asking! I did a post (and a video) you can see it here: https://www.myrepurposedlife.com/2013/10/plastic-radio-cabinet-console-makeover.html
Stacie,
Thanks for asking! I did a post (and a video) you can see it here: https://www.myrepurposedlife.com/2013/10/plastic-radio-cabinet-console-makeover.html
Stacie,
Thanks for asking! I did a post (and a video) you can see it here: https://www.myrepurposedlife.com/2013/10/plastic-radio-cabinet-console-makeover.html
Stacie,
Thanks for asking! I did a post (and a video) you can see it here: https://www.myrepurposedlife.com/2013/10/plastic-radio-cabinet-console-makeover.html
Stacie,
Thanks for asking! I did a post (and a video) you can see it here: https://www.myrepurposedlife.com/2013/10/plastic-radio-cabinet-console-makeover.html
Stacie,
Thanks for asking! I did a post (and a video) you can see it here: https://www.myrepurposedlife.com/2013/10/plastic-radio-cabinet-console-makeover.html
Stacie,
Thanks for asking! I did a post (and a video) you can see it here: https://www.myrepurposedlife.com/2013/10/plastic-radio-cabinet-console-makeover.html
Stacie,
Thanks for asking! I did a post (and a video) you can see it here: https://www.myrepurposedlife.com/2013/10/plastic-radio-cabinet-console-makeover.html
Stacie,
Thanks for asking! I did a post (and a video) you can see it here: https://www.myrepurposedlife.com/2013/10/plastic-radio-cabinet-console-makeover.html
Stacie,
Thanks for asking! I did a post (and a video) you can see it here: https://www.myrepurposedlife.com/2013/10/plastic-radio-cabinet-console-makeover.html
Stacie,
Thanks for asking! I did a post (and a video) you can see it here: https://www.myrepurposedlife.com/2013/10/plastic-radio-cabinet-console-makeover.html
Stacie,
Thanks for asking! I did a post (and a video) you can see it here: https://www.myrepurposedlife.com/2013/10/plastic-radio-cabinet-console-makeover.html
Stacie,
Thanks for asking! I did a post (and a video) you can see it here: https://www.myrepurposedlife.com/2013/10/plastic-radio-cabinet-console-makeover.html
Stacie,
Thanks for asking! I did a post (and a video) you can see it here: https://www.myrepurposedlife.com/2013/10/plastic-radio-cabinet-console-makeover.html
Stacie,
Thanks for asking! I did a post (and a video) you can see it here: https://www.myrepurposedlife.com/2013/10/plastic-radio-cabinet-console-makeover.html
Stacie,
Thanks for asking! I did a post (and a video) you can see it here: https://www.myrepurposedlife.com/2013/10/plastic-radio-cabinet-console-makeover.html
Stacie,
Thanks for asking! I did a post (and a video) you can see it here: https://www.myrepurposedlife.com/2013/10/plastic-radio-cabinet-console-makeover.html
Stacie,
Thanks for asking! I did a post (and a video) you can see it here: https://www.myrepurposedlife.com/2013/10/plastic-radio-cabinet-console-makeover.html
Stacie,
Thanks for asking! I did a post (and a video) you can see it here: https://www.myrepurposedlife.com/2013/10/plastic-radio-cabinet-console-makeover.html
Stacie,
Thanks for asking! I did a post (and a video) you can see it here: https://www.myrepurposedlife.com/2013/10/plastic-radio-cabinet-console-makeover.html
Stacie,
Thanks for asking! I did a post (and a video) you can see it here: https://www.myrepurposedlife.com/2013/10/plastic-radio-cabinet-console-makeover.html
Stacie,
Thanks for asking! I did a post (and a video) you can see it here: https://www.myrepurposedlife.com/2013/10/plastic-radio-cabinet-console-makeover.html