Glazing Furniture 101
As an Amazon Associate, I earn from qualifying purchases.
A few people have asked me about glazing furniture. I totally understand how it can be confusing. This time last year I had NO idea how to do this. When I first started seeing things pop up on blogs, I fell in love with the look. When I asked how to do it, bloggers were very nice to “try” to explain it. But, I didn’t get it. Most of them talked about Ralph Lauren something (smokey, maybe). I was unable to figure it all out. I have always watched a LOT of HGTV (Decorating Cents) and they were always using umber (burnt and or raw). I had some in my stash, but I didn’t use it when I first started glazing. At first I used wood stain (dark walnut). Because stain cleans up with mineral spirits and not water, I tired of trying to get it off my hands. My next phase was applying the diluted burnt umber with a paper towel, sort of putting it on and wiping it off all at the same time. That was pretty messy too. Although I think that technique works well for large pieces of furniture.
Fast forward to this summer. I have glazed several items lately and I really like the following technique best. If you ask 10 bloggers, you’ll probably get 10 different recommendations. I think that is why I was so confused when I first started doing this glazing thing! No one way is right or wrong. It’s totally a personal preference.
If you’ve wondered how to glaze, I hope this little demo helps. If you are a whiz at glazing and you have something to add, please leave your suggestion in a comment and I will include it in my Saturday feature “Recent comments & questions”. If something is unclear, please ask below in a comment and I will try to help clarify it in Saturday’s feature.
Now, on with the show!
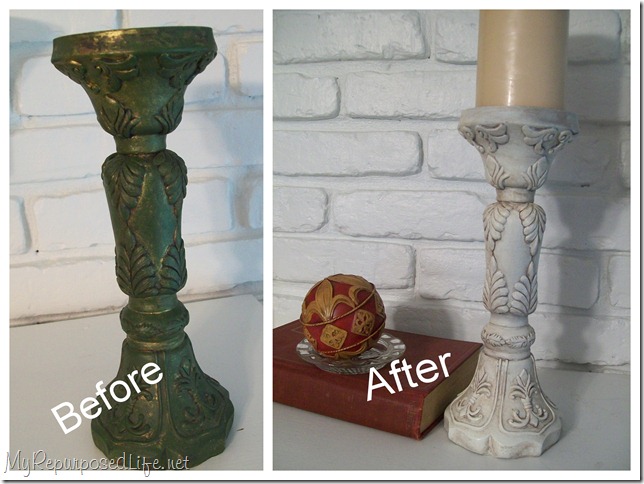
Supplies to gather:
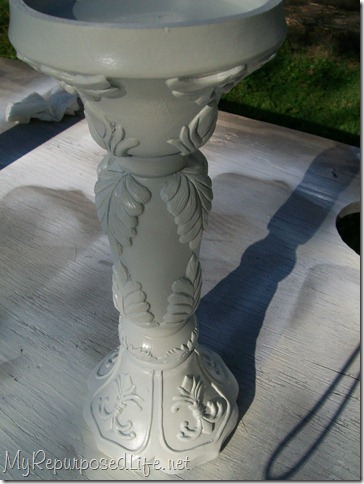
- Project piece
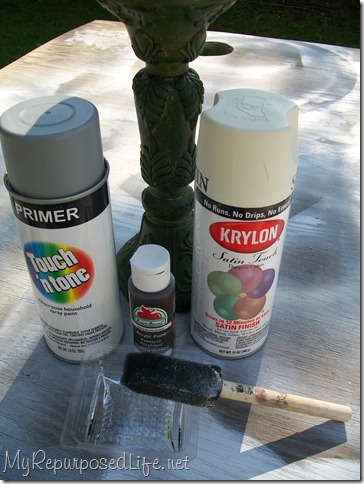
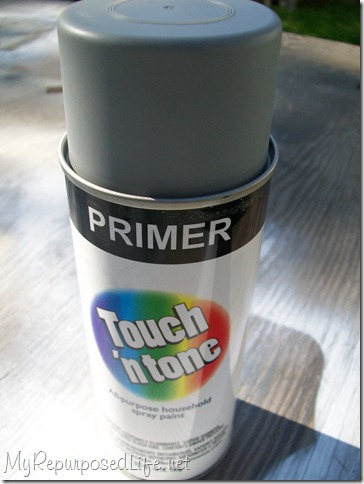
- Primer
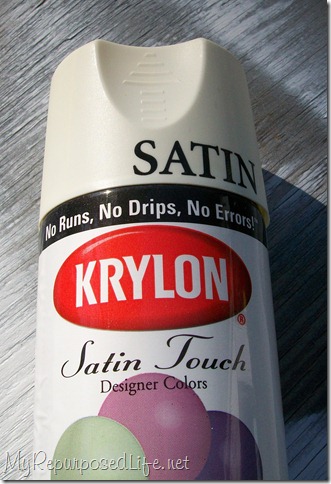
- Spray Paint
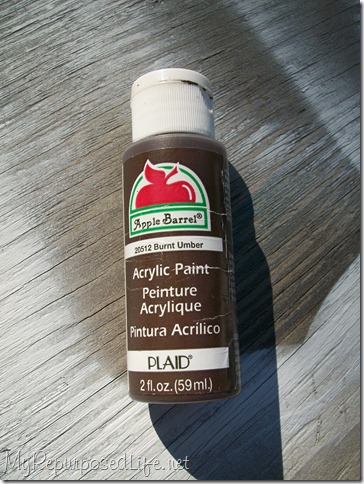
- Glaze (I used Burnt Umber)
- Brush (I used small foam brush)
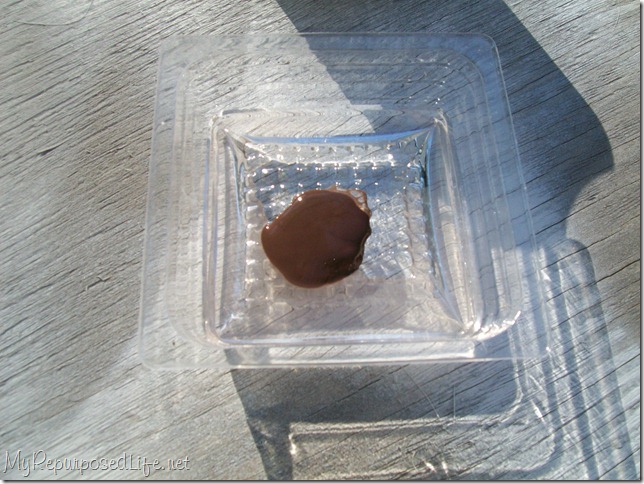
- Water and something to mix glaze and water in (I used small plastic tray)
- Rag (I used paper towel)



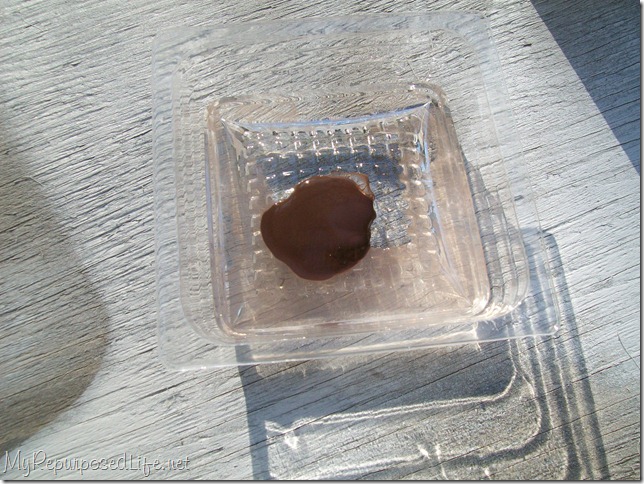
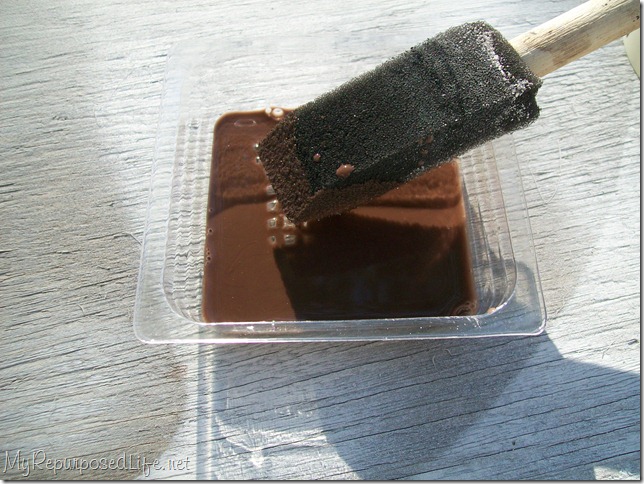
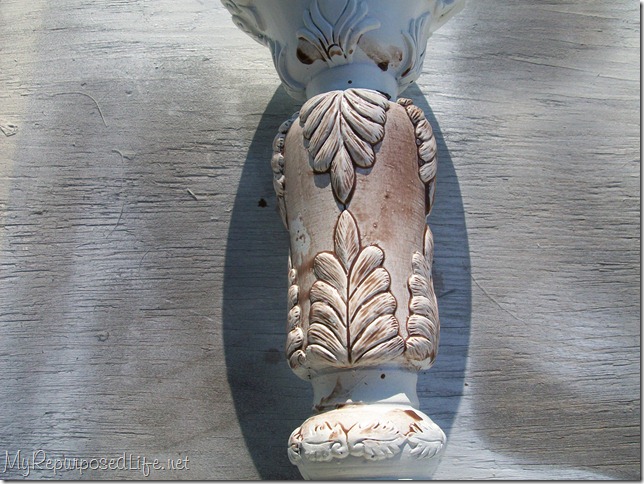
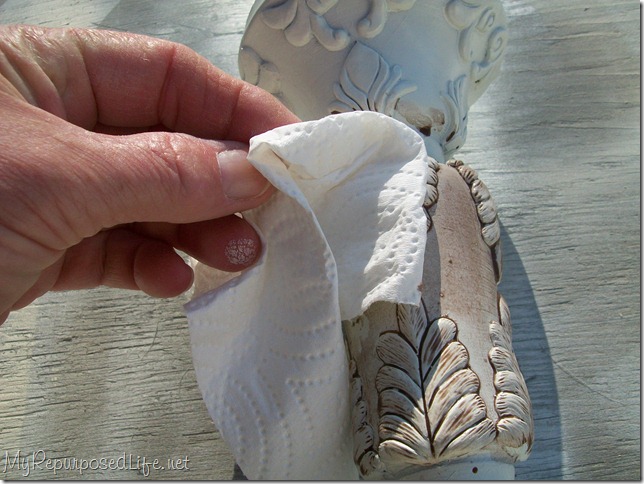
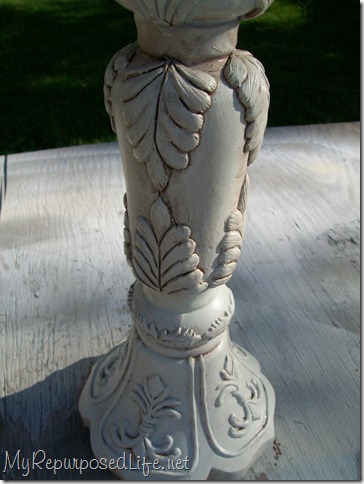
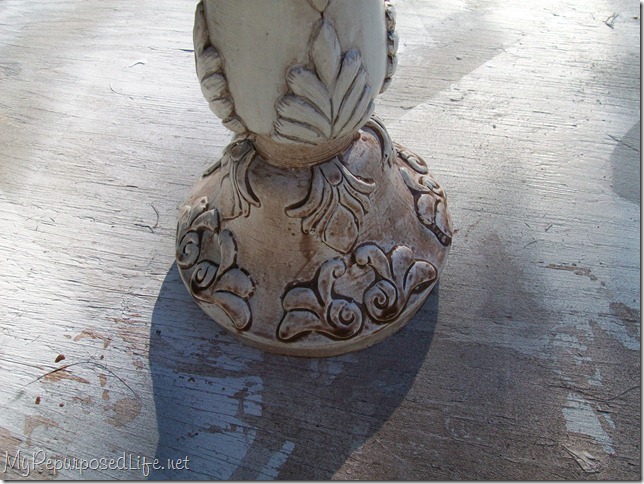
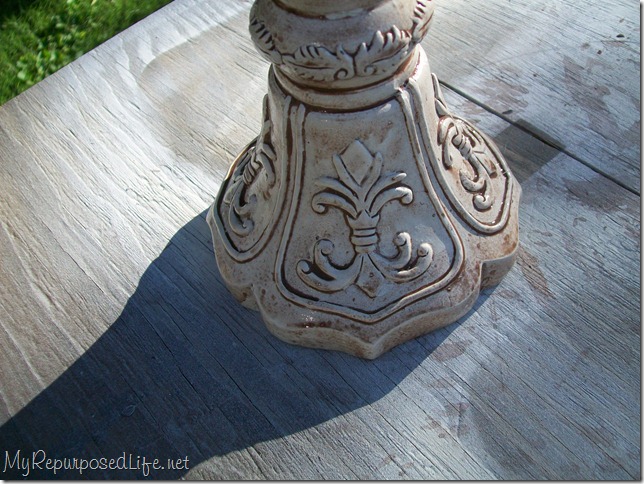
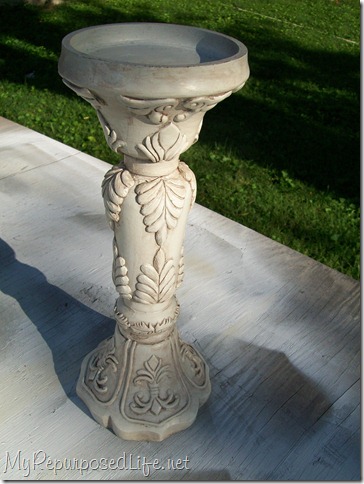
Did you put a glaze over it after you were done painting?
I didn’t really use GLAZE at all. Just the dark paint over the light paint. No top coat or anything. This was a long time ago. If I were to do it today, I’d probably use some Heirloom Traditions Wax over it to protect it and give it a nice sheen.
I hope this helps!
gail
Sounds like something I can do(and I love to spray paint!). I just need to find that right item to test on! Great job, and thanks for showing the difference with paints and heavy vs. light glaze.
YES!! Someone else cheats out there and just uses paint to glaze! 🙂 There are so many other variations one can do if they use this method. Very nice!
Donna
Sorry just had to post again when I read the time it says I posted my last comment…I am not some weirdo insomniac reading blogs at 4.25am, I am in New Zealand where it is 8.25pm Satruday night, lol 🙂
xx Karen
Hi there, thanks so much for that post, it was brilliant. I have only recently started glazing stuff like this as previously my ‘antiquing’ method of choice was a dark oak coloured wax (which works quite well, but I wanted to try this glazing thing I read about so much!) I started off using burnt umber but the stuff I had was really too reddish in colur for my liking so I added some black and it turned out ok. Since then I have changed to a water based wood stain (colour ‘wenge’) and I like that alot better. I use basically the same technique as you but I wipe it off with a wet face cloth, I like the texture of the cloth which helps give me the ‘lines’ I want in my finish, and with the cloth being wet it helps remove stain that has partially dried already. Thanks again for the great post!
xx Karen
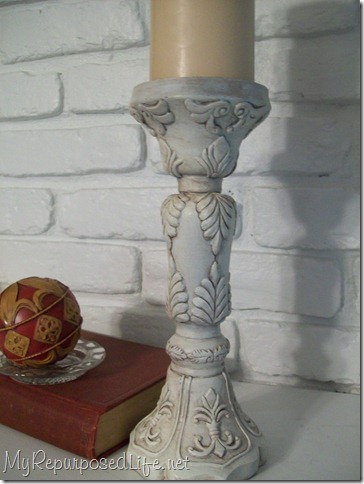
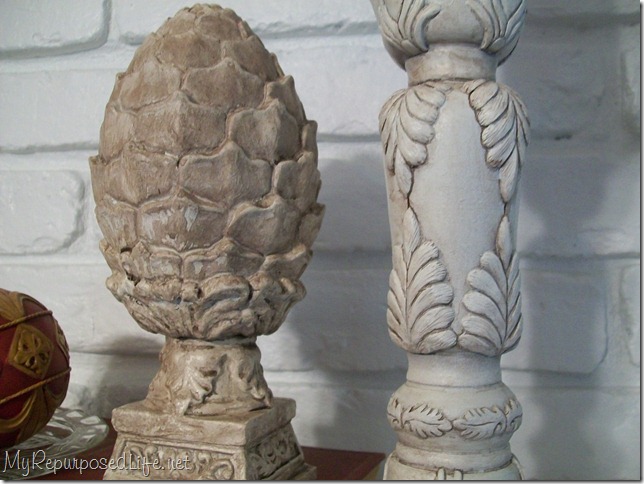
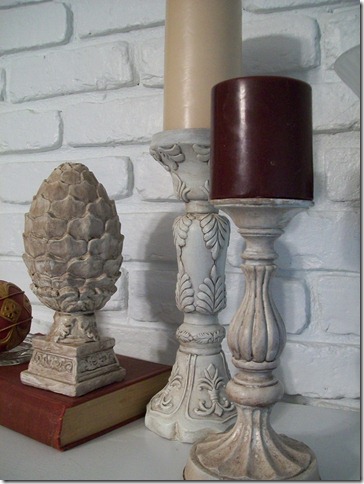
Nice glazing work… the finial and candlestick both look great.
Oh! I get it now! lol I thought I had to go spent ton of money on this designer glaze stuff I keep hearing about. Very helpul tute, thanks! 🙂
Nice tutorial. And you are right, everyone has their own personal technique and that can make it all very confusing. Thanks for sharing your glazing method!
Nice tutorial. And you are right, everyone has their own personal technique and that can make it all very confusing. Thanks for sharing your glazing method!
tHOSE ARE BEAUTIFUL!
This is an awesome tutorial! Love how your candlestick turned out. Thanks for sharing!
Love this look. Can’t wait to try it. Thanks for sharing!
Thanks I now believe I can do this. Trish
Thanks so much for the instructions, they are just what I needed! Please stop by and link something up to Vintage Suitcase Friday!
that’s the method I have used also. I am so often critical of my work while I am doing it. You just have to stand back and you will see it is perfect. thank you, I didn’t know if there was a righter ha! way.
Carol
Very Nice, and you explained it perfectly in layman terms for the rest of us, lol.
Try using Coffee Filters, they are very cheap, and they don’t leave LINT like paper towels do. They are actually VERy heavy duty, especially for this type of project. Works great for Large pieces of furniture too. If you can find the really Large filters like for commercial coffee makers, they work awesome! Hope this helps.
Very nice! I like the results! I’ve glazed a few things around my house and now I feel like glazing more! lol Thank you for sharing!
Sandra
Thanks for this tutorial! I have often wondered how to do glazing the “right” way because I always hear how simple it is, but then everyone has a different method! The pictures along the way were super helpful too!
Good tutorial Gail! The candlestick looks so much better after you worked your magic.
I have tried both acrylic paint with a little water, and an actual latex glaze with some burnt umber acrylic paint in it.
I think my favorite method is still mixing some Burnt Umber Acrylic paint with Benjamin Moore’s Studio Finishes Latex Glaze 405.
I have also used the stain method… not my favorite either.
Thanks so so much for posting this! I am relatively new to the world of blogging and have seen a lot with glazing, but I needed a tutorial!! Thanks!! Now I think I’ll have to go back and glaze some projects… 🙂
Hey Hey…me again. Looked back and saw the painted bricks in your photos…did you paint them? I am thinking of painting a huge wall of bricks that are the fireplace part of the mantel I painting now. Yeah, probably should have painted the bricks first, I know, but do you have any advice for painting them?
Thanks! Looks easy cheesy! I just today bought that big jug of Mocha glaze…I’m painting my mantel so I thought I would need lots. Bet your way would have worked perfectly. I will try it on a small table I am changing up. Thanks for the post!
Great job with the tutorial and I sure wish I’d seen this years ago. I think I’ve done just about everything the hard way to start! Nice candlestick too – that is a very pretty grouping.
Jen
Thank you for such a clear tutorial. I have never tried glazing before, but I bet I could do it now!!
Gail,
Thanks for the glazing tutorial!! I was able to pick up a bunch of acrylic paints on clearance of JoAnns so now I have a number of hues to chose from.
By the way I love your artichoke finial!! It is great! I remember seeing some in Williams Sonoma Home and Pottery Barn a few years and fell in love with them. Now I am scouring the thrift stores trying to find them… (I may try to make some myself by using a plastic artichoke…)
Thanks so much for the tute on this!! It looks like it’s so much easier than I would have thought!!
OH……thank you soooo much 🙂
I’m gonna give er’ a try:)
Wonderful! Thank you so much for this. Now I’ll know exactly what to look for when I go to the craft store. Thanks again.
Kim
Wow, what a great explanation – thank you! Because of blogs like yours I have recently started doing some refinishing and antiquing. I have been using a gel stain with polyurethane already added, but this seems like it would be easier and much less messy. You do beautiful work and I love following your blog.
great tutorial. i have done this on small items (ie. birds) but had recently bought a half gal. of actual glazing (which was over $10!!!) to do a table i am working on now. i was afraid to takle such a bigger piece with that ‘craft paint’ type of glazing but i now wonder if i could have saved some money. boo. lollove your blog!Amy W.
Thank you! I was just thinking of doing a glazing project, so this was right on time!
Thank you for a very ‘easy to follow’ tutorial – not many are!
XO
Lenore
So glad I happened upon your site! I have learned so much! Thanks for sharing a simple way to glaze! Now I’m looking around the house for something to glaze!
i always love your glazed pieces- they look so “store bought”. i mean that in a good way- like there is no way you could have done that yourself! 🙂
i always love your glazed pieces- they look so “store bought”. i mean that in a good way- like there is no way you could have done that yourself! 🙂
I have been loving the glazed look & you make it sounds so achievable!! thanks!
Thanks for sharing… & for showing the pics of the actual products….very helpful!!
This comment has been removed by the author.
Perfect timing!! I was just thinking questions you have answered! Thanks!
You did it again! I can now glaze, I’m sure of it. I like the way you used the same glaze on the different items but they’re not identical finishes.