Hall Tree Bench | DIY
As an Amazon Associate, I earn from qualifying purchases.
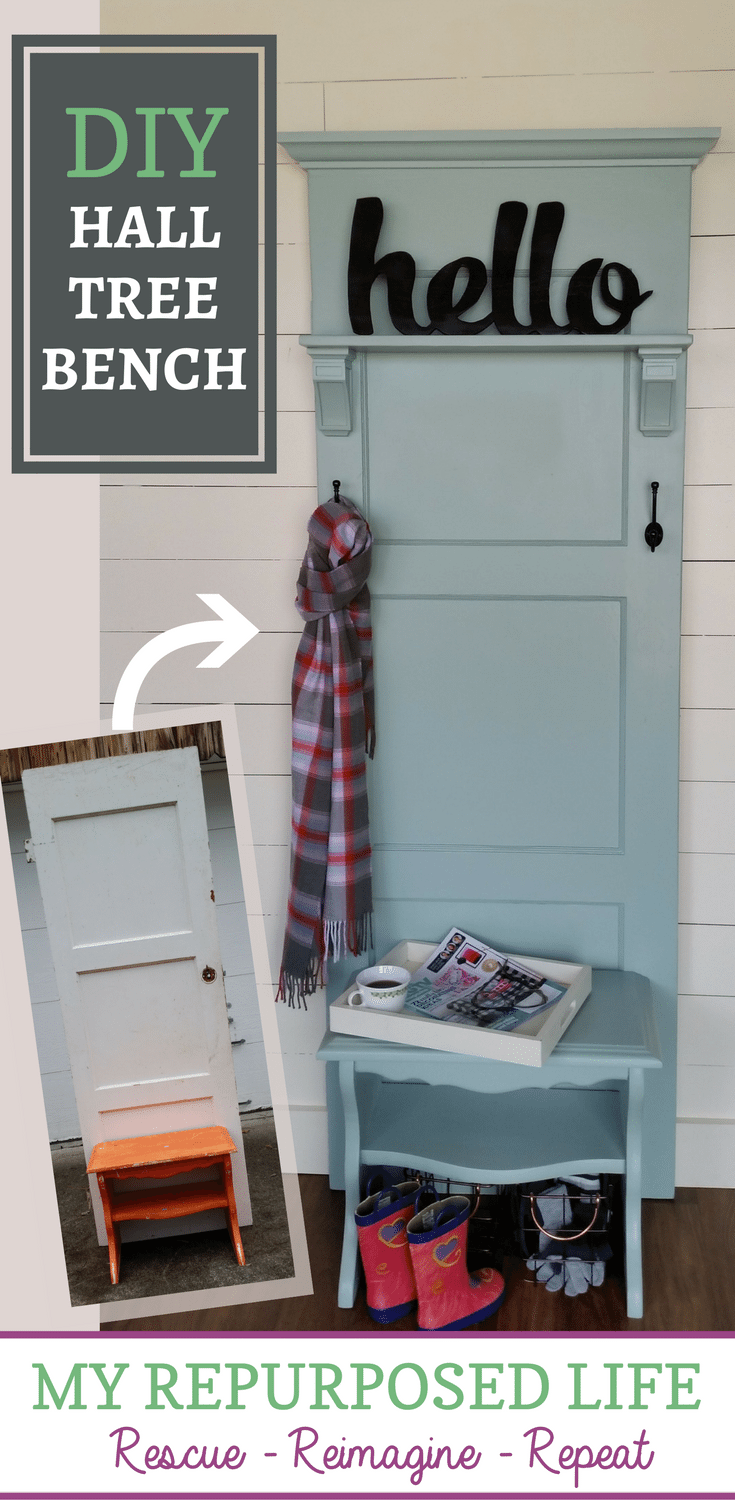
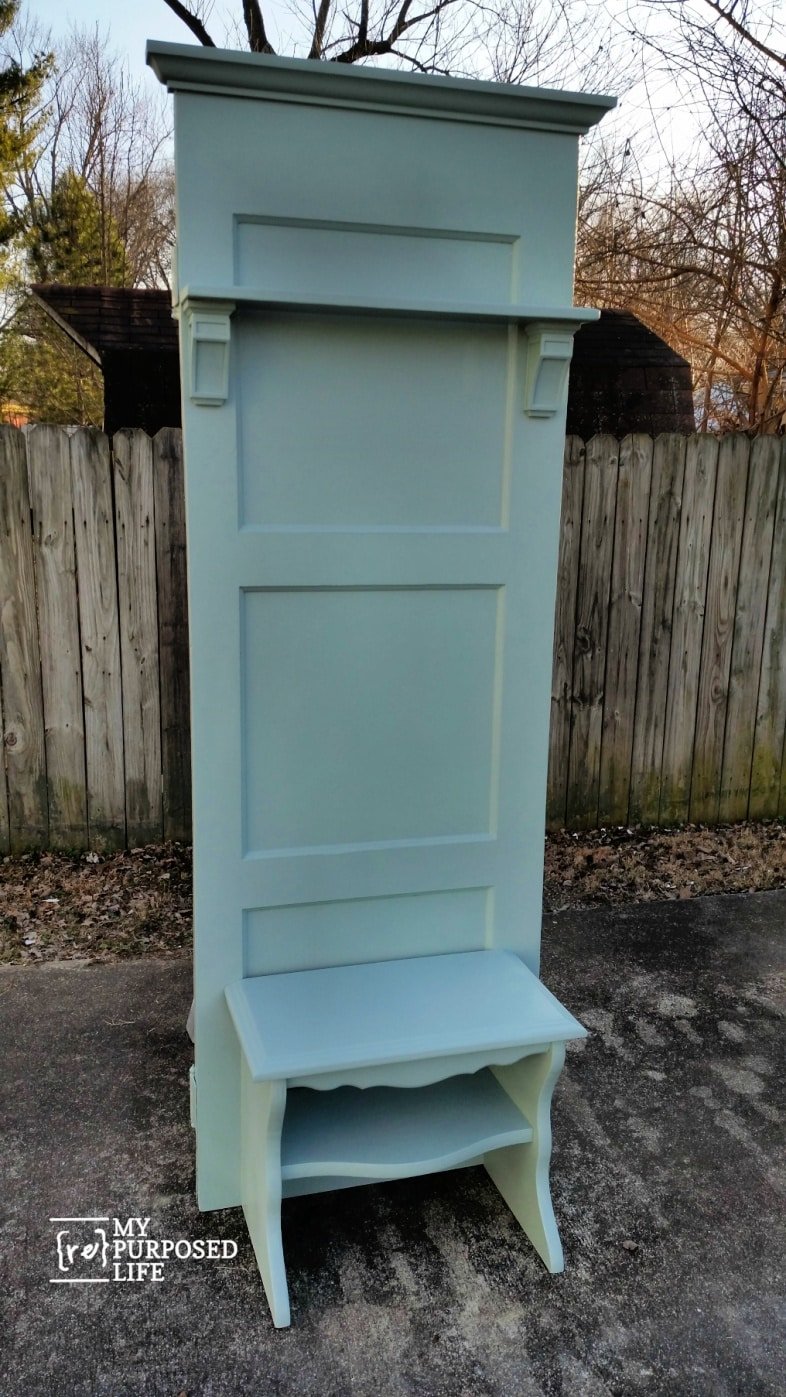
Create a stylish and functional hall tree bench using an old door and thrifted finds. This budget-friendly DIY adds character, storage, and seating to any entryway or mudroom. For this narrow door hall tree bench, I decided to use a thrift store nightstand shelf. It was a little too tall, but I’ll show you how to take care of that later.
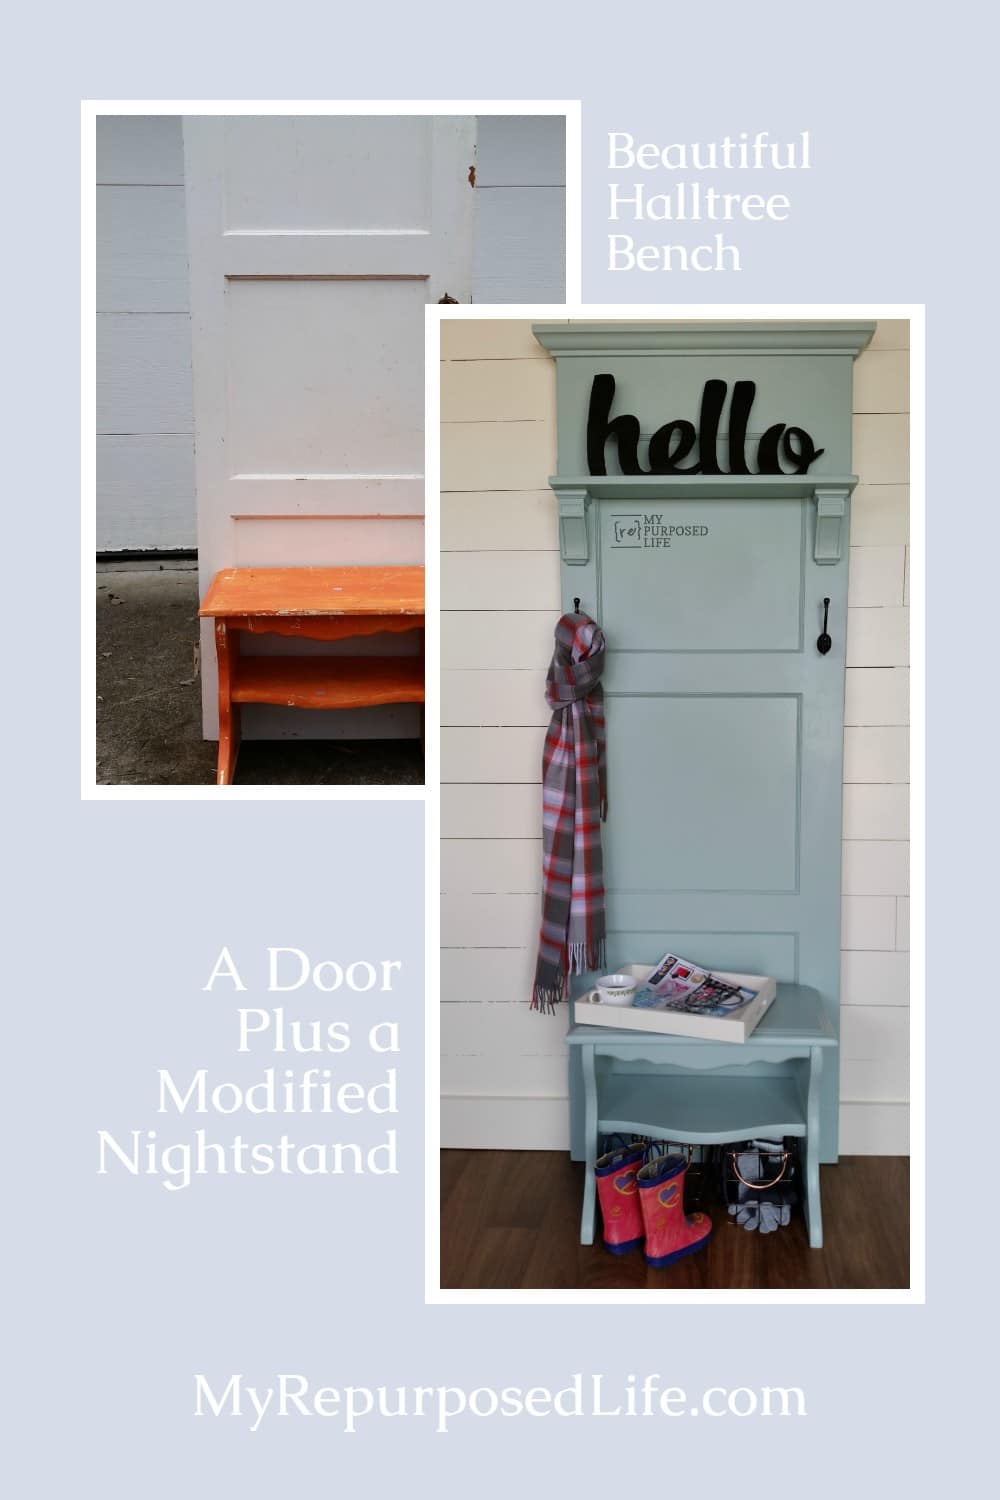
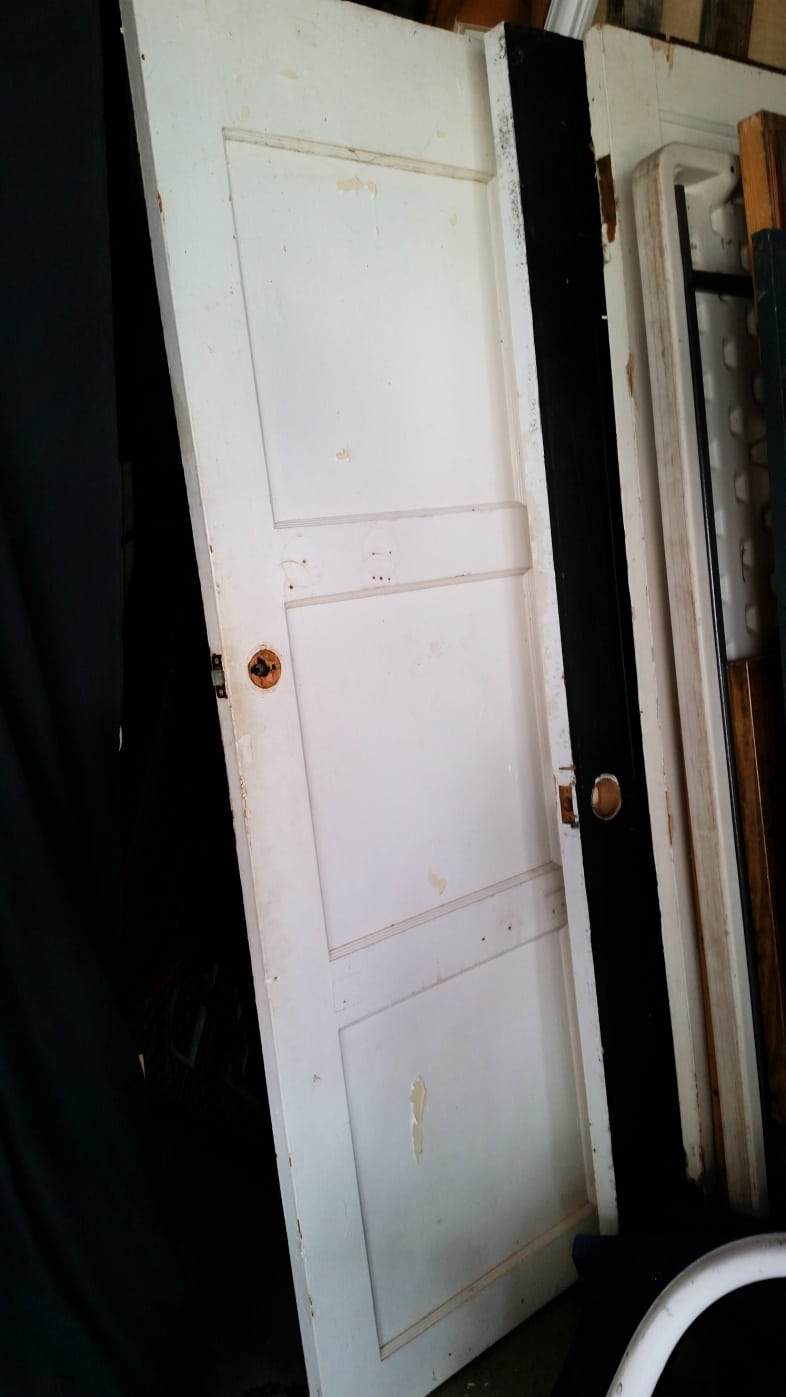
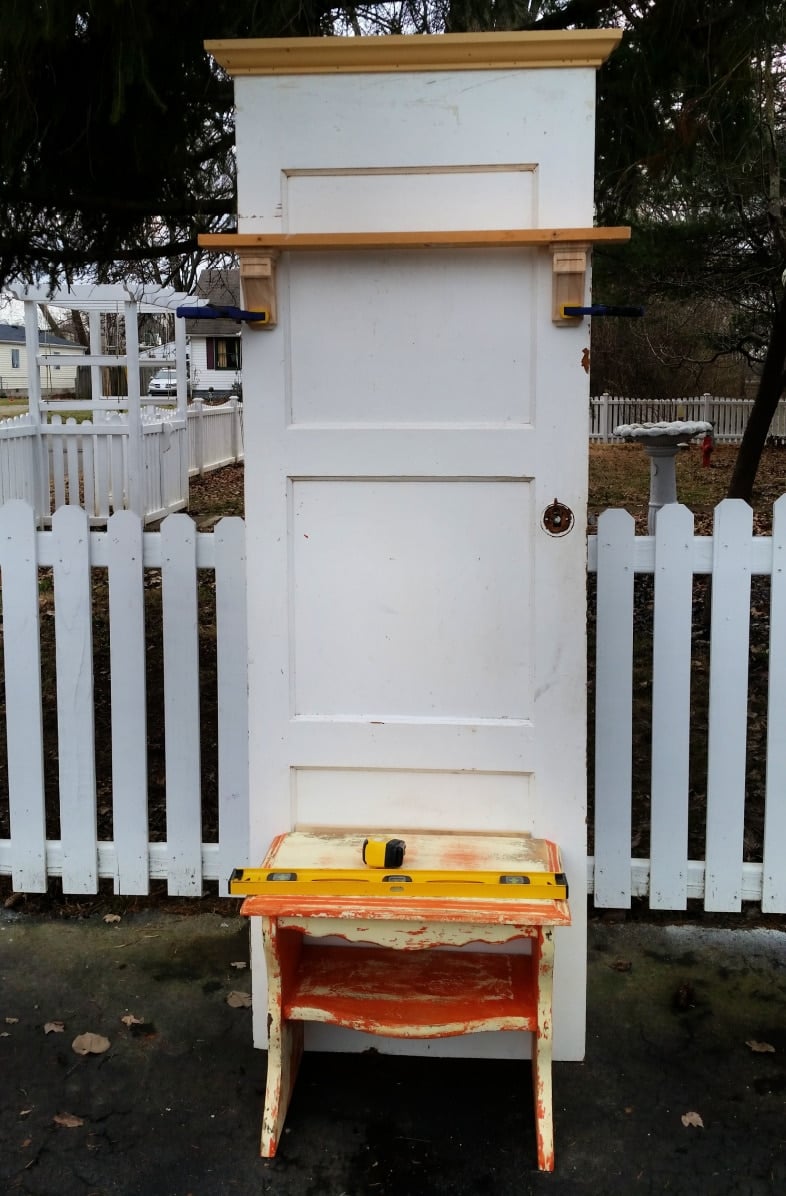
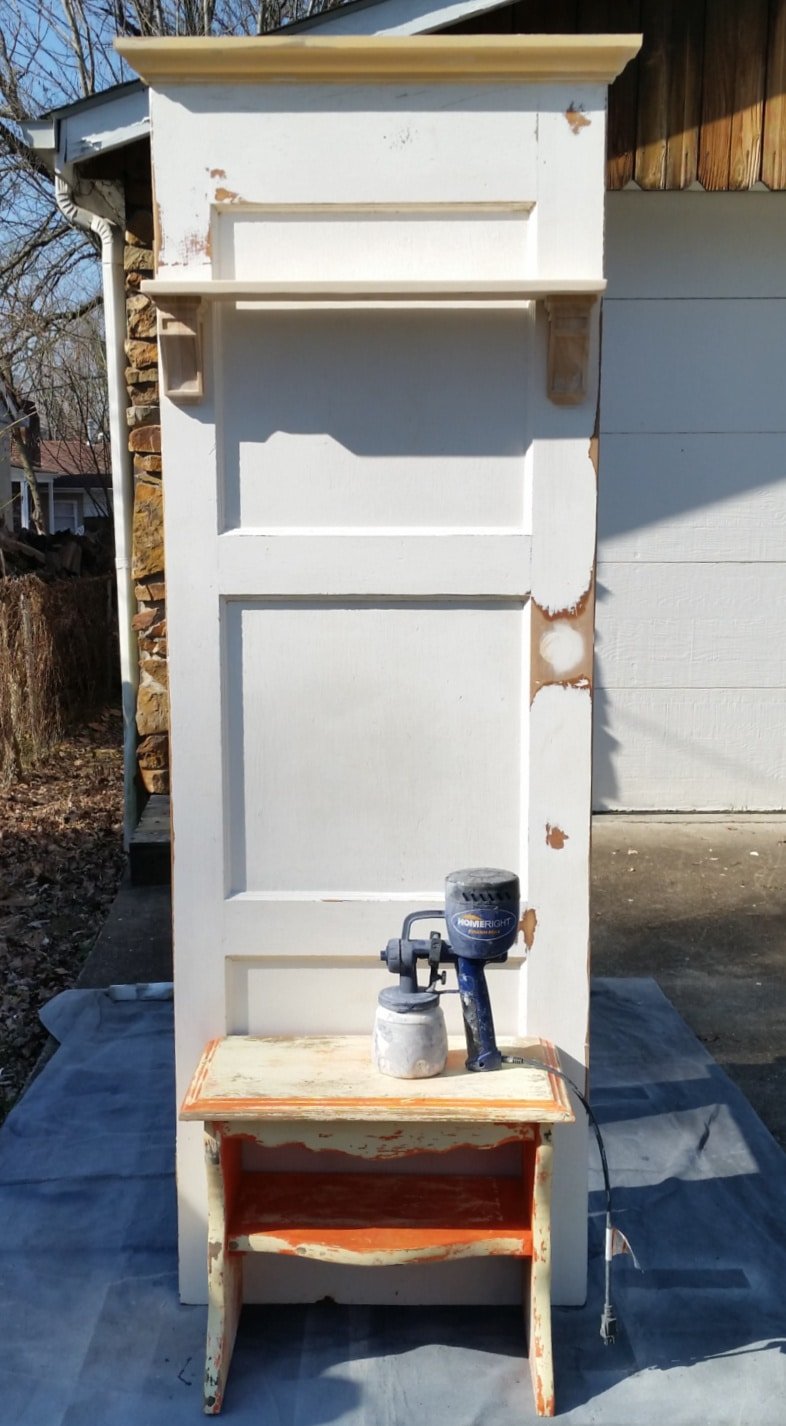
It all begins with a door! I had several in my stash, and this one seemed like the perfect size . . .
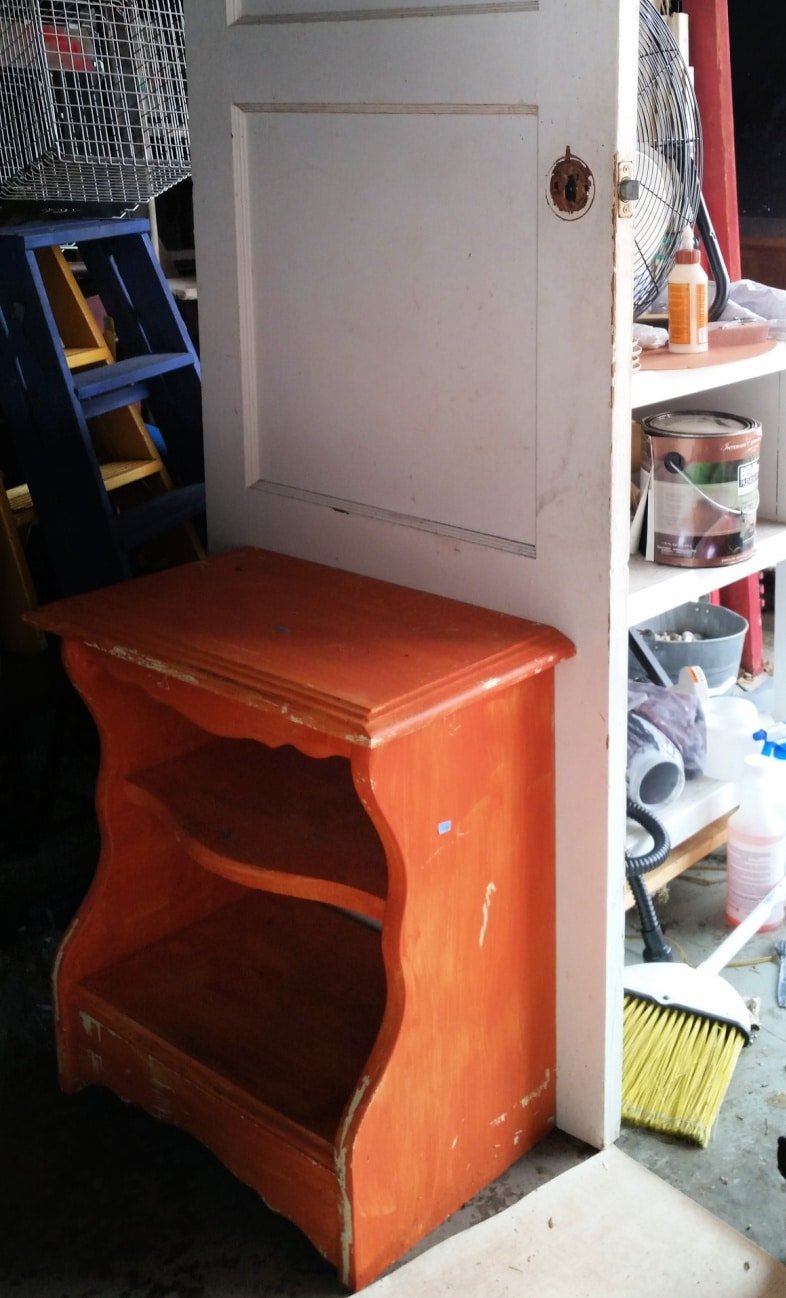
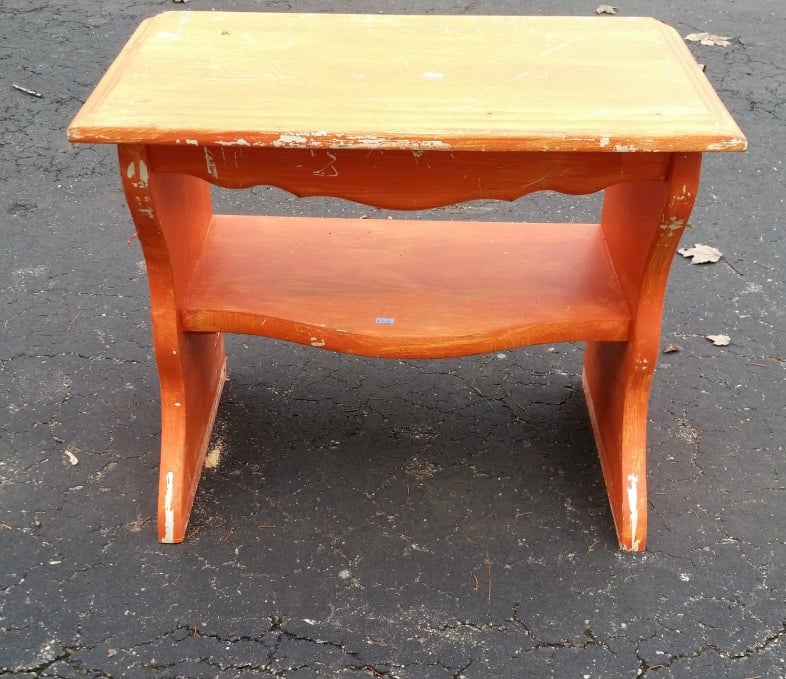
. . . to go with this little beaut! Some hall trees have a higher tabletop, but I wanted this one to be more of a bench for sitting.
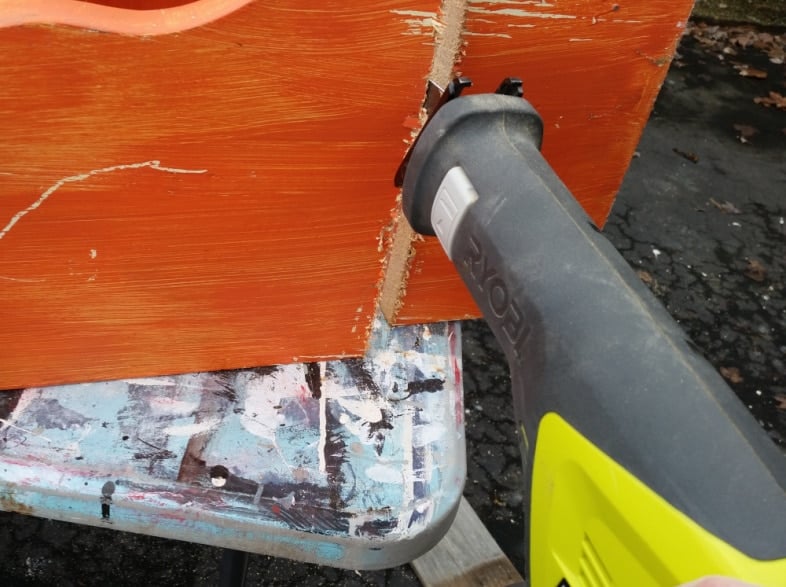
I needed to cut some height off of this orange beast! I used my reciprocating saw. One side turned out perfect.
The other—not so much!
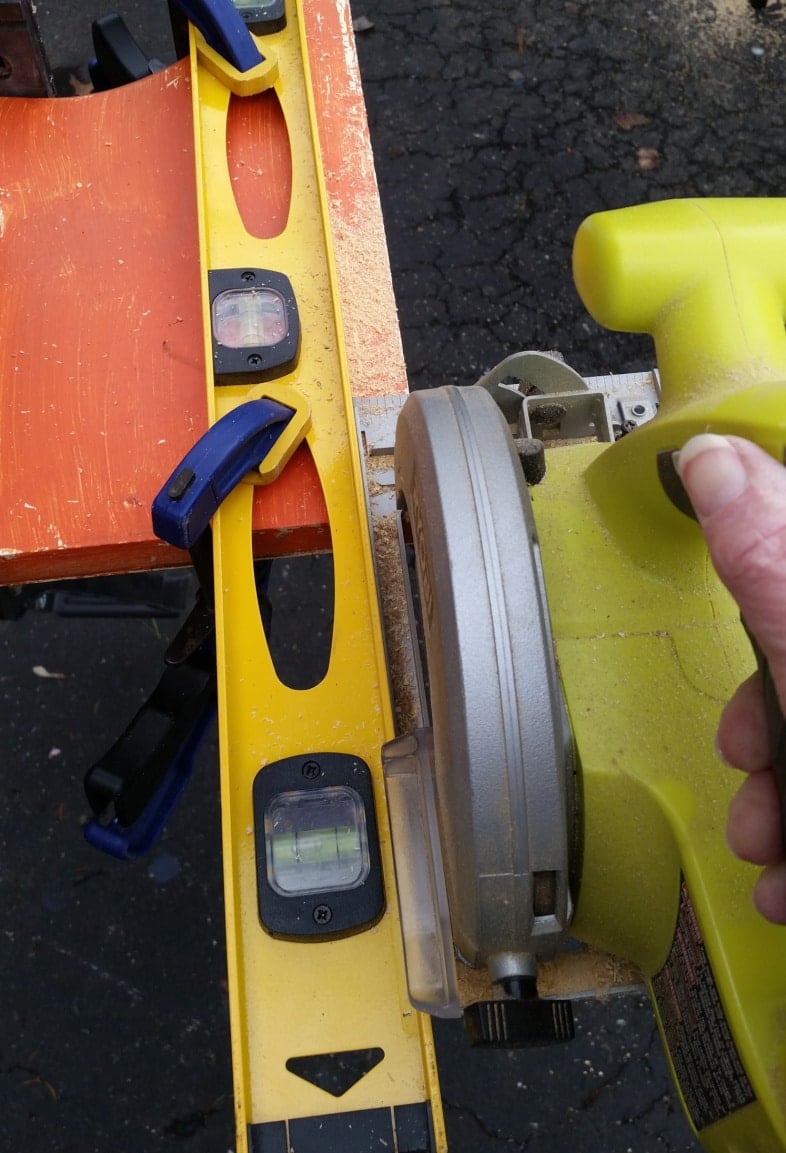
I used my small circular saw and a level as a guide to ensure a nice, straight cut. Clamping with the quick clamps makes things go a lot quicker.
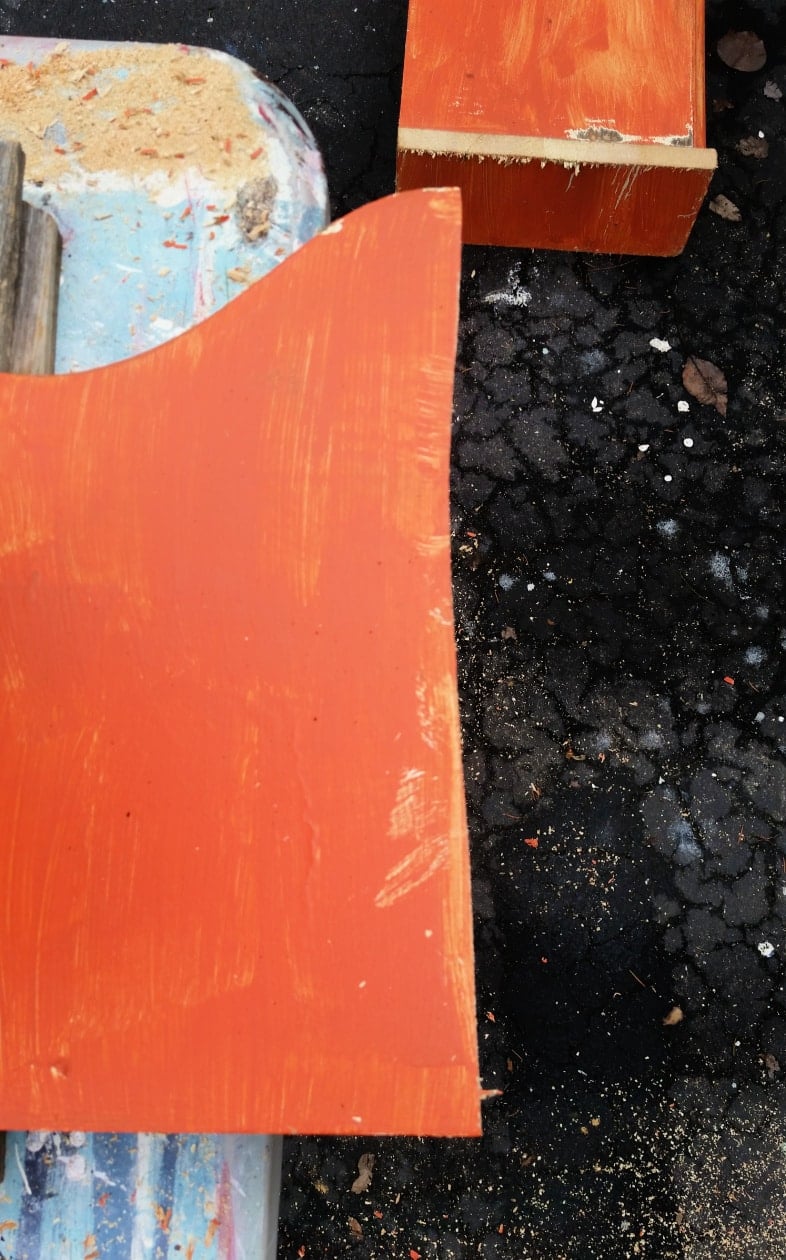
Much better!

I tested the door against the “seat” to see how I wanted to orient the door. Do you see the difference? What I was concentrating on was the width of the top panel. I decided I wanted the wide panel at the top (left) vs the narrower panel.
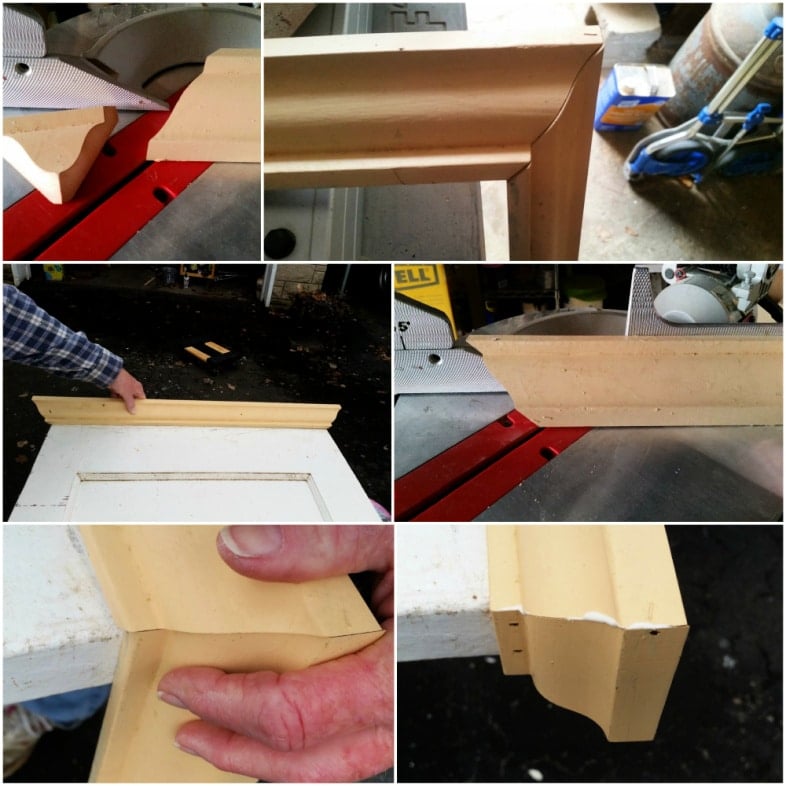
A door hall tree looks like a door with some stuff stuck on it if you don’t add a little something to the top. I have had this kind of small crown molding for many years. This might be my last piece. I cut all the corners on the compound miter saw. Note: bottom left image—after I get the angle perfect, then I mark and do the straight cut. NEVER try to cut small pieces of molding. Keep your fingers—be SAFE! I used Gorilla Wood Glue and my nail gun to complete the job.
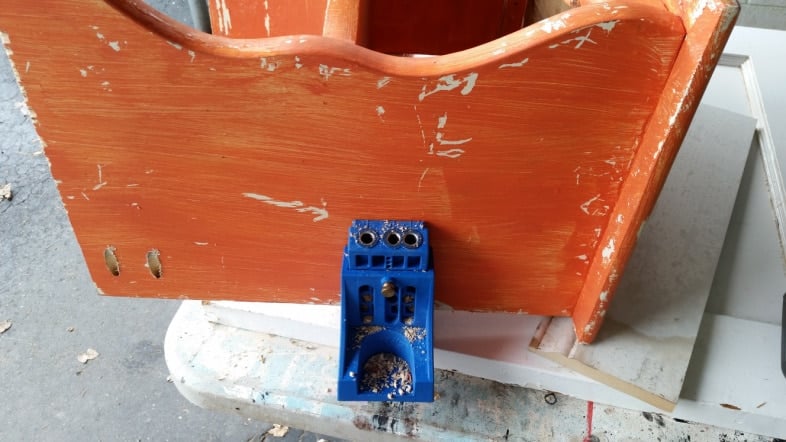
I used the Kreg Jig to make pocket holes on the outside of the seat. It means I’ll have to patch them well because they’re visible, but when I did a dry fit, the inside of the “seat” met the panel of the door, and wouldn’t give a secure hold. Doing it this way allowed a better “bite” to the screws.
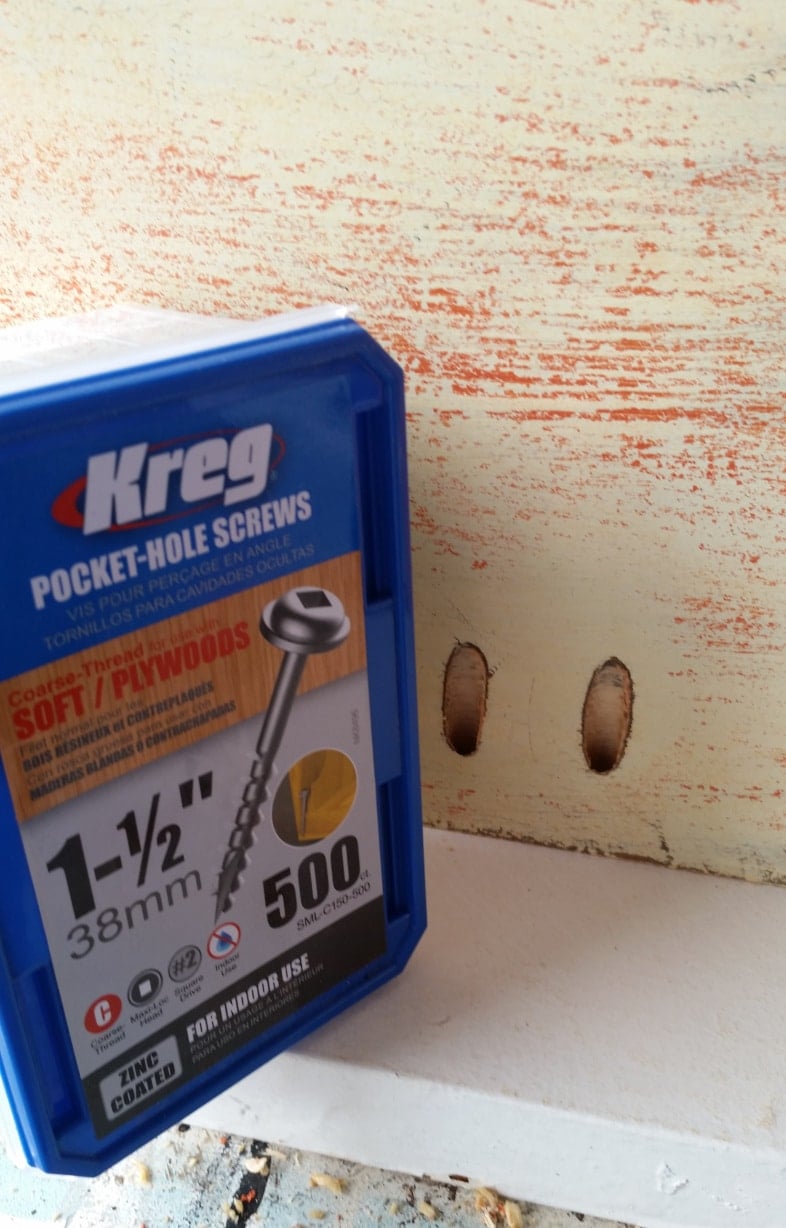
The nightstand wasn’t thick, but because the door was, and I wanted a good hold, I used slightly longer pocket hole screws than I normally do.
NOTE: If you don’t have a Kreg Jig, you can use L brackets, which I recommend placing on the inside of the legs, where they will be less visible.
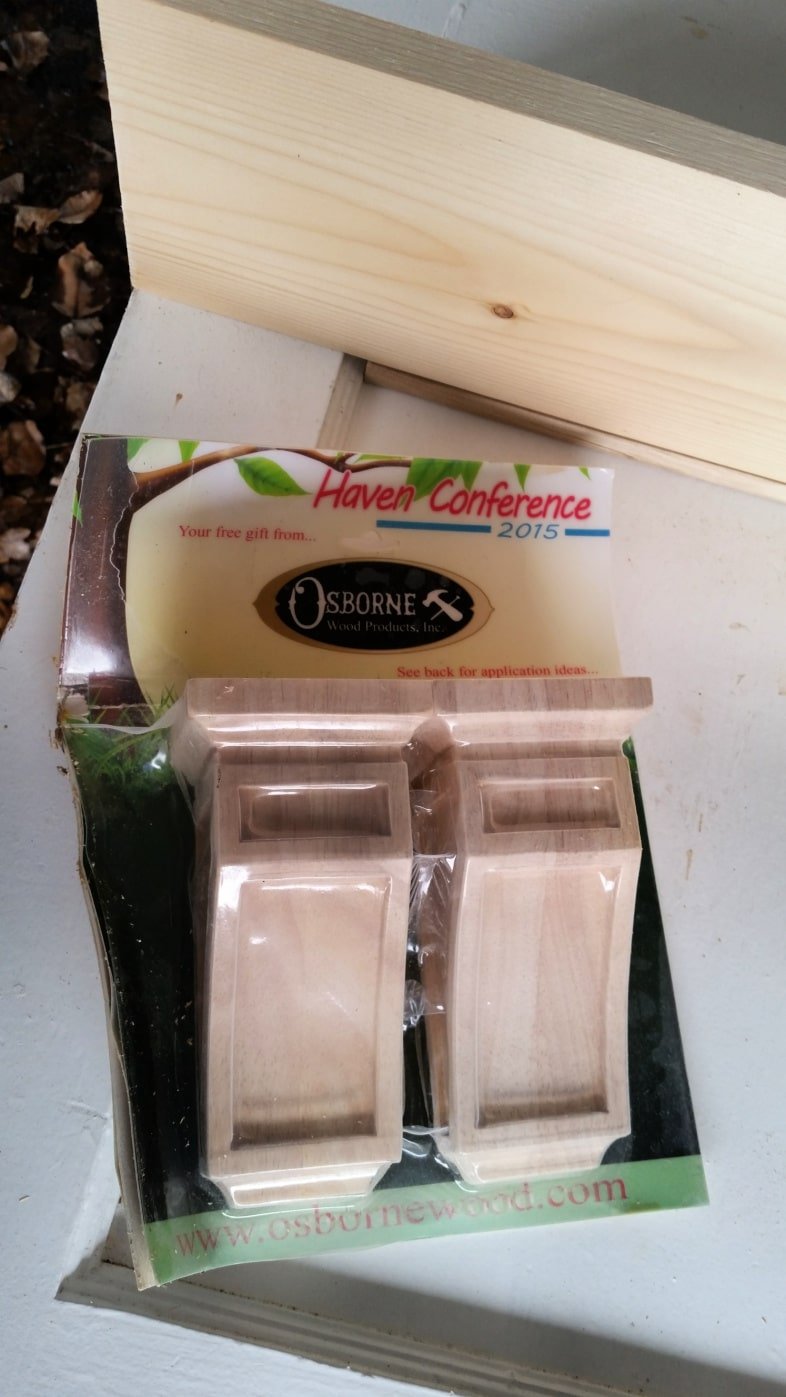
I have a tendency to hang on to things because I think if I use them, I’ll wish I had waited. You can see I got these shelf brackets from Osborne Wood in 2015. I felt they were perfect for this project!
Trying to figure out the placement of the brackets and the shelf. I wanted to ensure that I left enough room for someone to be seated without bumping their head. Again, those quick clamps come in so handy! Don’t you love my diy picket fence?
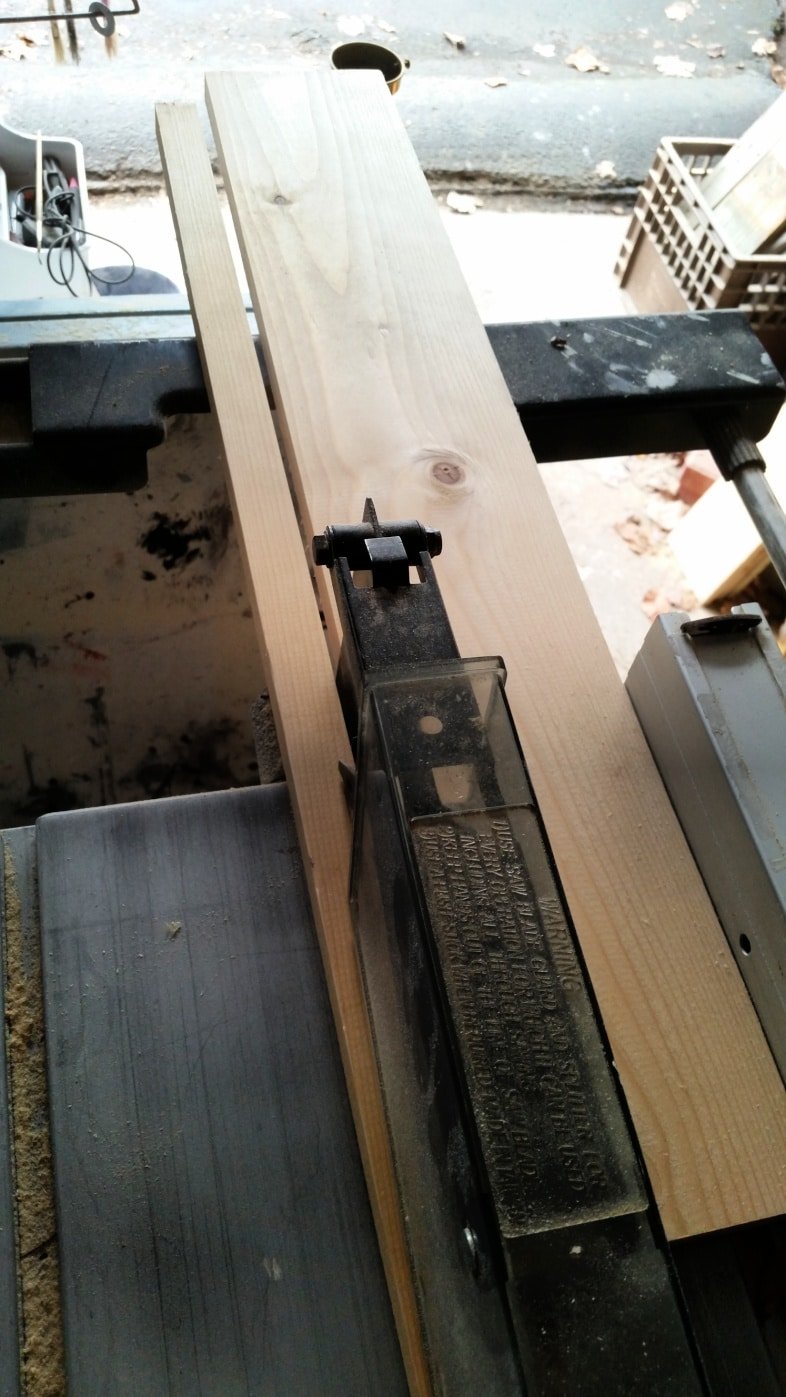
After determining the placement, it was time to select a board for the shelf. A 1×4 was not deep enough, and a 1×6 was too deep, so I ripped a little bit off of the 1×6 on the table saw.
Next, it was on to trying to make the doorknob situation look better or go away. I opted for it to “go away”.
Patch the Doorknob Hole on an Old Door
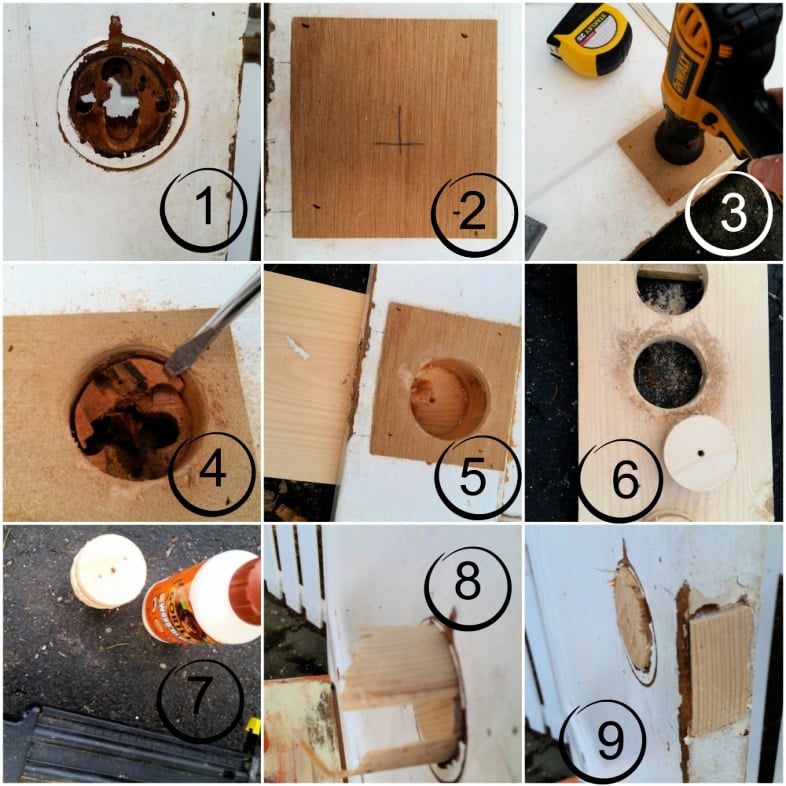
- Remove the old doorknob
- Cut a small square out of thin plywood (to give the hole saw something to grab onto). Mark the center so you know where to start drilling out the old door knob hole
- Drill through thin plywood with a hole saw
- Because the hole saw isn’t deep enough to cut through the entire door, chisel out pieces.
- Continue to finish cutting through the thickness of the door
- Cut out two plugs from 1x material
- Glue and nail the plugs together
- Use shims or thin pieces of wood to fill the gaps
- Break off the shims and allow it to set up
To explain further, the hole saw needs something to “bite” into to prevent it from jumping all around. That is why I chose the thin plywood. This wouldn’t have turned out so well without some help from Rodney. I love it when he helps me, because he coaches and teaches me, which allows me to pass this information on to YOU! Thanks neighbor!
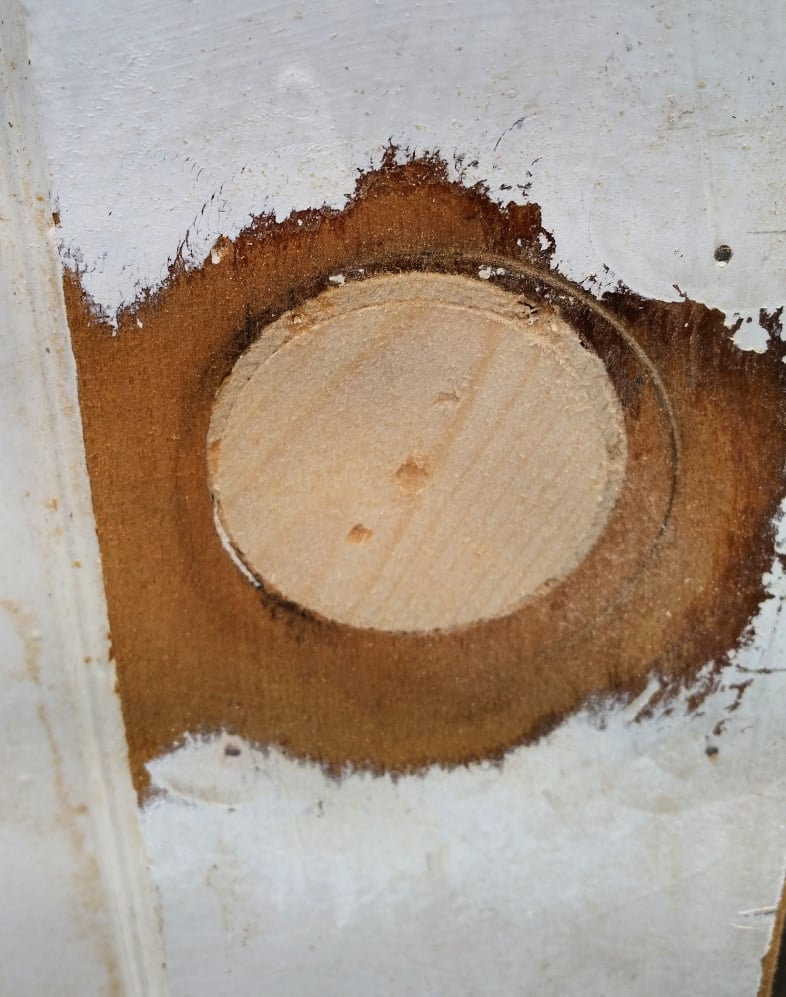
This is after I trimmed the shims and performed some rough sanding. I ended up patching with some wood putty and then some drywall spackling to get the look I was going for. ![]()
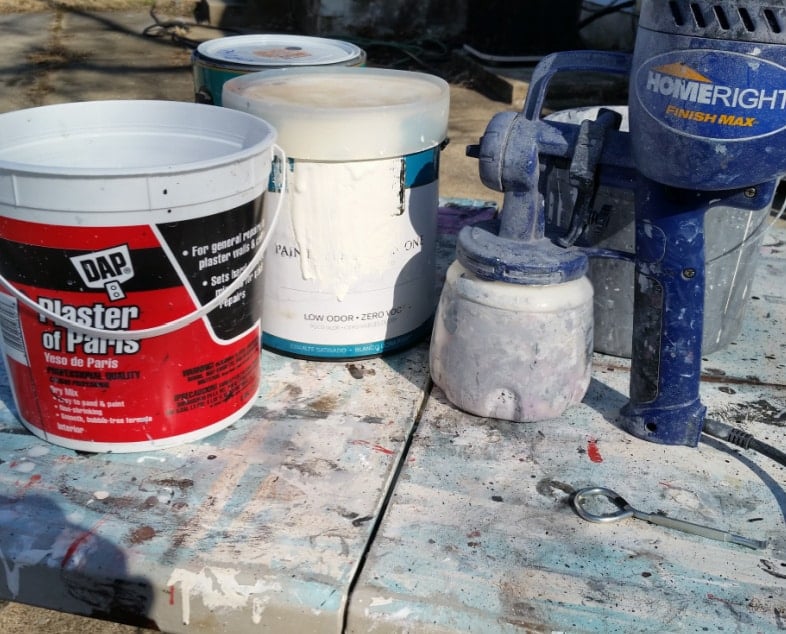
A couple of weeks passed, and finally, we got a day in the 50s with some sunshine, and I was able to get some primer on this bad boy. When I marry pieces together and make frankenfurniture, putting that first coat of primer on it makes all the difference in the world. In this case, I couldn’t wait to get rid of that orange mess! I mixed up some diy chalky paint primer with Behr (polished pearl) and some plaster of Paris.
Ready for the Homeright Finish Max treatment! Note to self… when you’re struggling to get paint out, check the thumb dial to ensure you haven’t dialed it back for another project. duh! After I got that straightened out, this project was primed in record time!
TIP: When it’s cold outside, make sure you warm up your project, paint, and sprayer in the sunshine. It’s also a good idea to dilute with warm water instead of cold water.
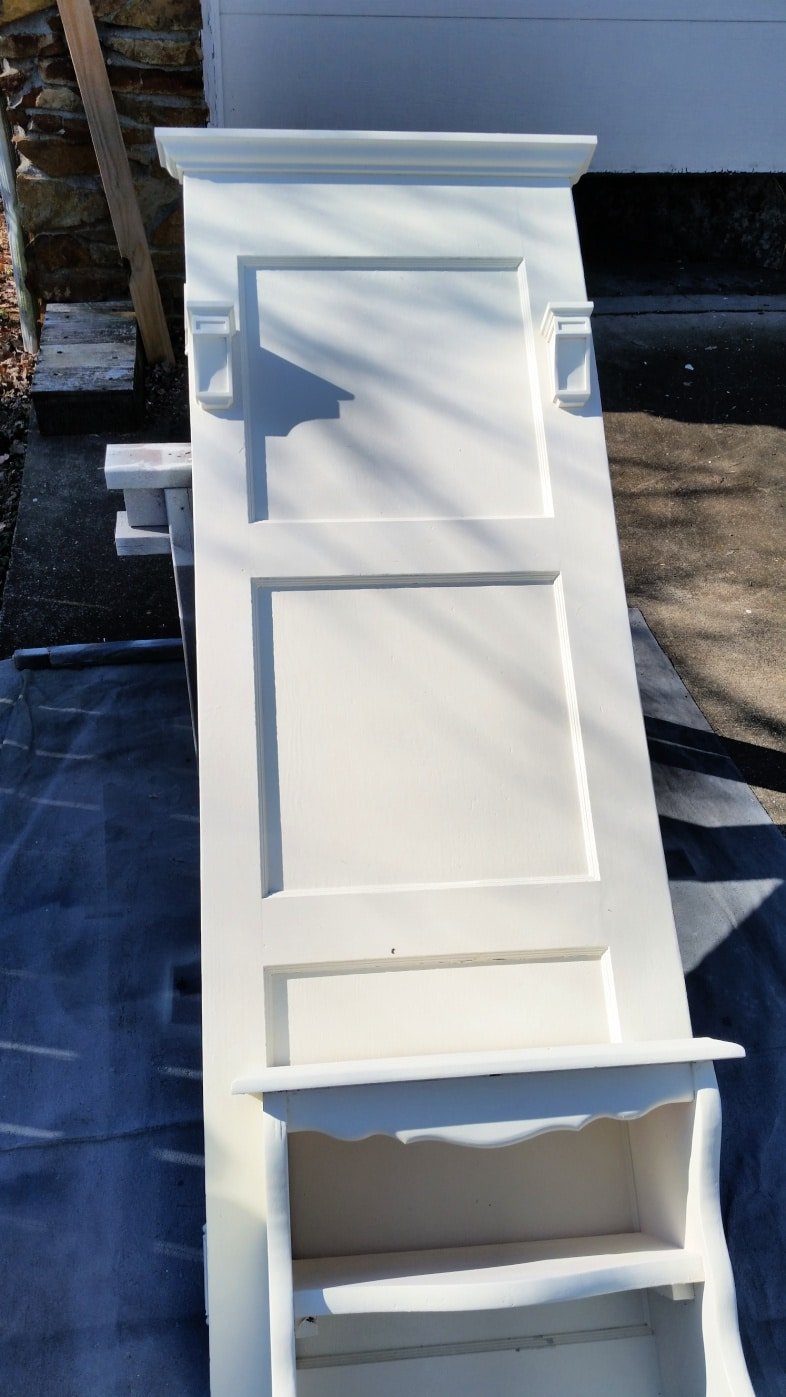
Finally, I got this baby painted! I set it aside and worked on another project while this dried. While I was tempted to leave it Polished Pearl, I went looking for a little “color”.
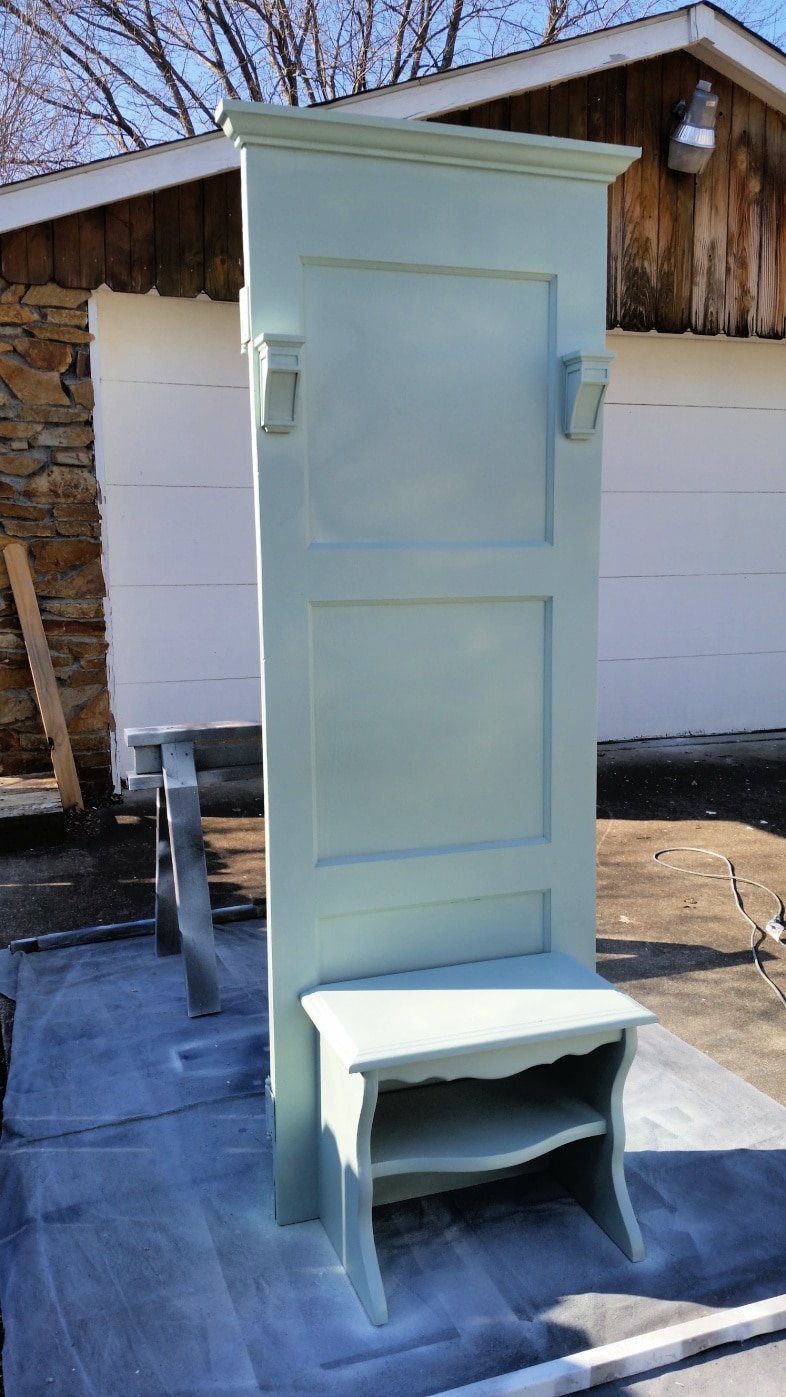
I found a light green that I had bought at the local ReStore. I knew I needed to use a light color on this project because that door has some FLAWS in it. This is after one light coat of the green, which I had just poured into the paint cup on top of the leftover polished pearl.
Then I did two more light coats of the green (semi-gloss) over the entire piece. I really wanted to get the hooks on it, but it was getting late, the sun was setting, and it was turning cold when I applied the final coat of color.
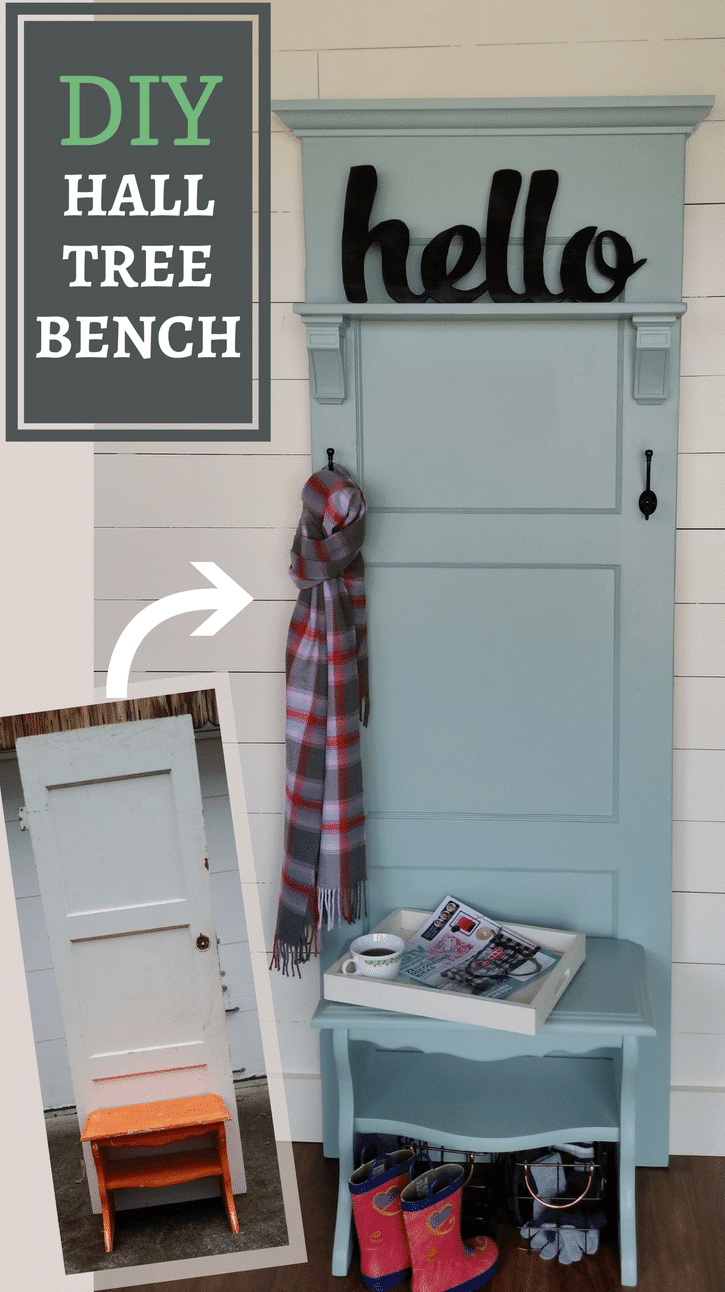
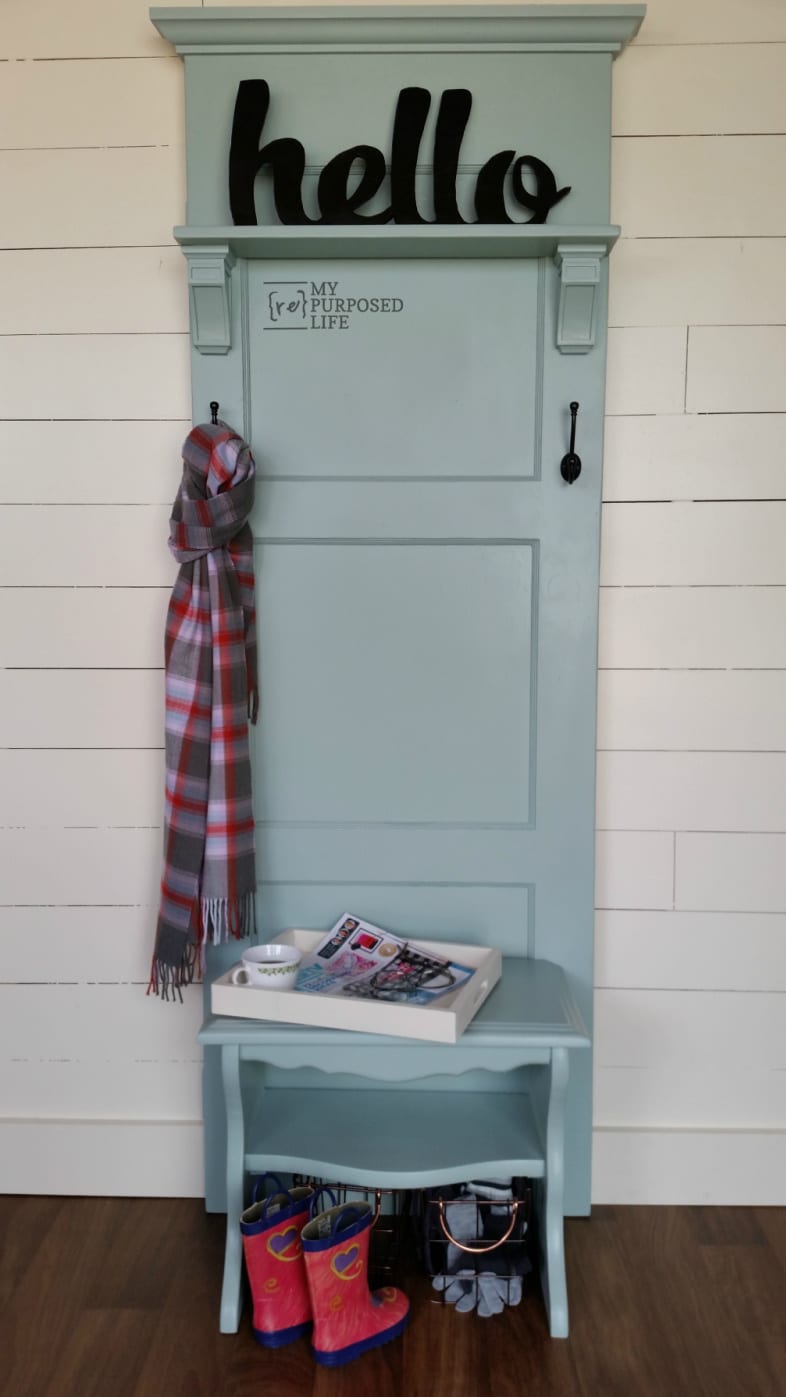
I used black ball hooks from D. Lawless Hardware –I think they look great against the light green color. I love how small and narrow this seated hall tree is, perfect for a narrow entryway or hallway, even in a small home or apartment. I’m thrilled with how beautiful the shelf brackets look. I still have more doors, so look for a couple of other ideas using doors for hall trees in the near future.
See the details of the black hello sign.
Have you made a hall tree?
gail
See More Hall Tree Project Ideas Here
Related Content: Small White Bench
Oh, my gosh, I love this “tree”. I have difficulty finding old doors for a reasonable price. May end up with no doors to the bedrooms here at home. 😉 Love all of your projects.
Thank you Kaye for your sweet comment! Have you looked at the Habitat ReStore? If you’re on Facebook, post it so your friends and family know you’d like to score some doors. 🙂
good luck!
gail
You create such great pieces. Always love seeing what people make with old doors. And, I love hall trees.
Thanks for sharing your work.
Love it!