How to cut glass
As an Amazon Associate, I earn from qualifying purchases.
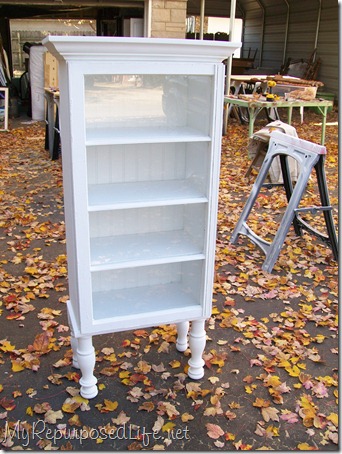
You may remember that I broke one of the panes when I was building this window cupboard for Mary.
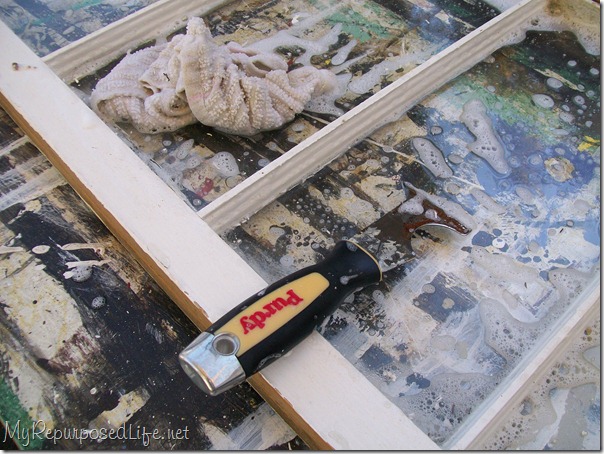
I washed the panes.
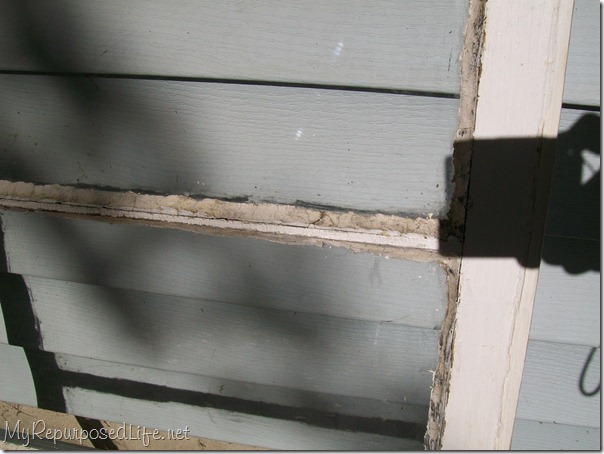
Look at that putty!
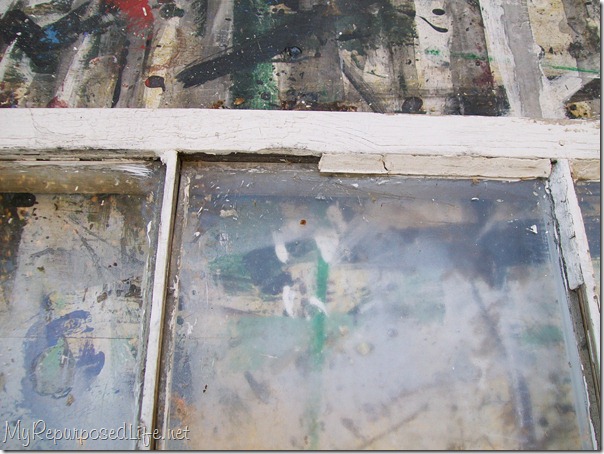
While removing the putty I cracked one of the panes.
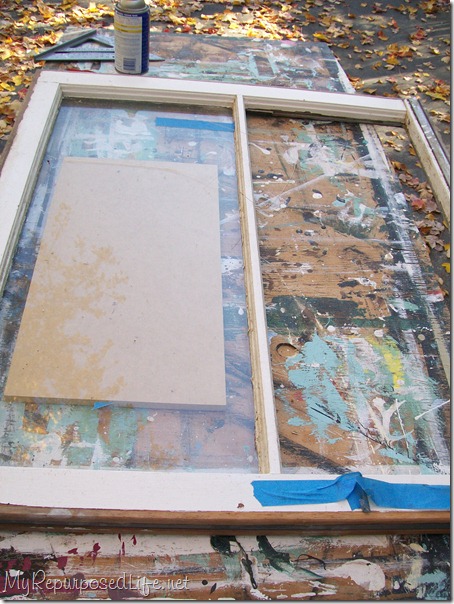
I grabbed a window from my stash that was missing a pane already.
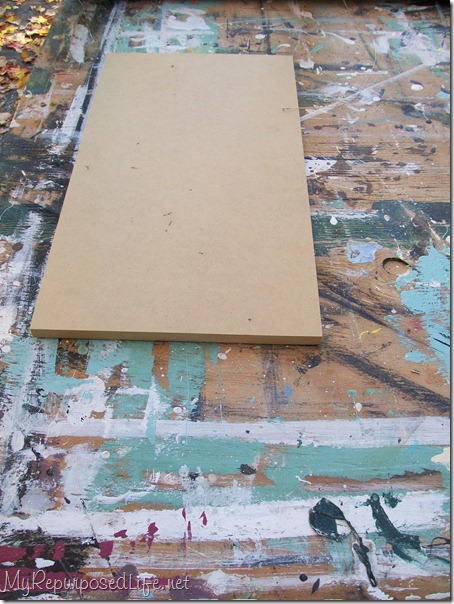
One of the most important things when getting a nice cut on glass without accidently breaking it is to always keep the glass on a smooth surface. My paint covered work bench does not quite fit the bill. I chose a piece of scrap MDF for the job.
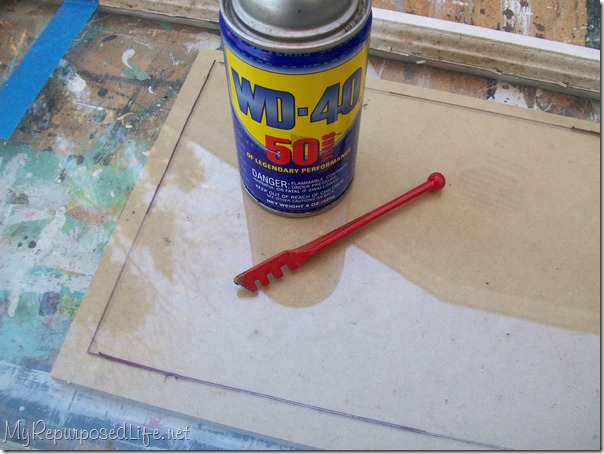
The glass cutter is a very inexpensive tool to add to your arsenal. The directions say to use oil on the blade. I didn’t have any handy so I tried WD-40.
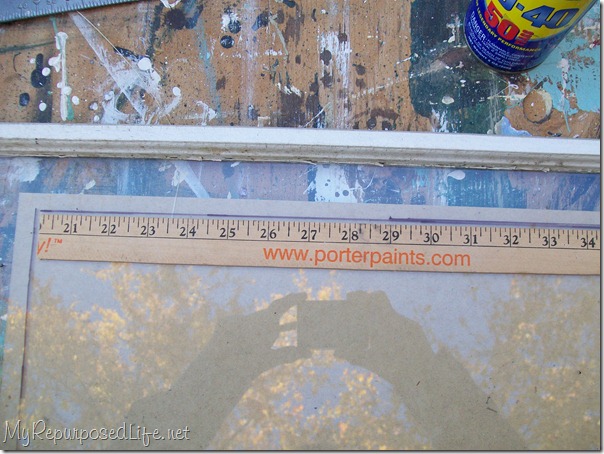
I also tried to cut the pane while it was still in the window. That didn’t work.
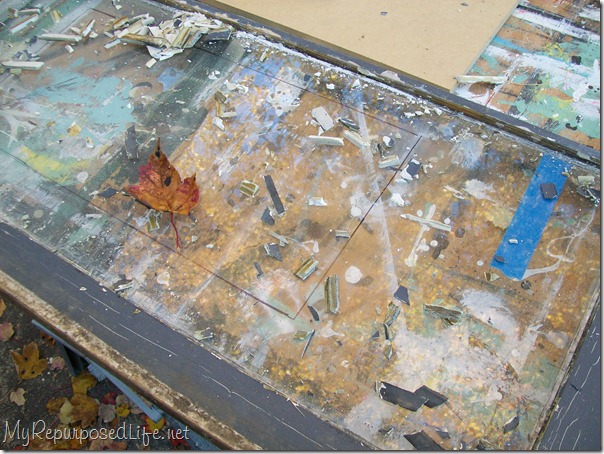
I had to remove all the putty from the window and remove the pane from the frame.
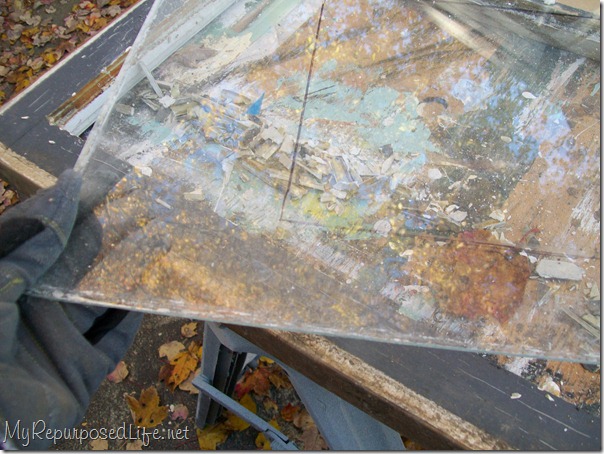
Wearing gloves to protect my hands I carefully removed the pane from the frame.
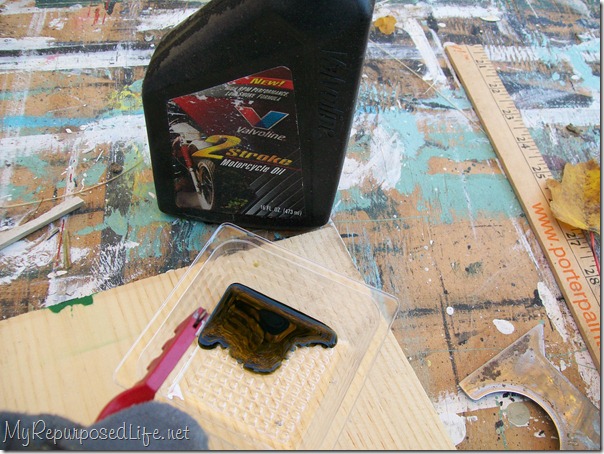
The WD-40 did not work, so I borrowed some oil from a neighbor.
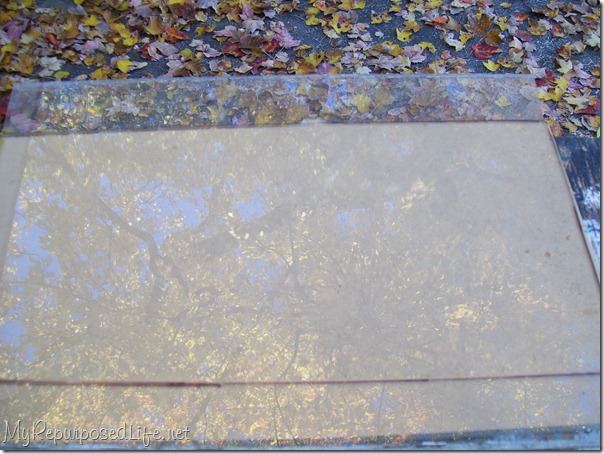
I went over the original lines again with the oiled blade. You will hear a slight grinding sound as you run the blade along the glass.
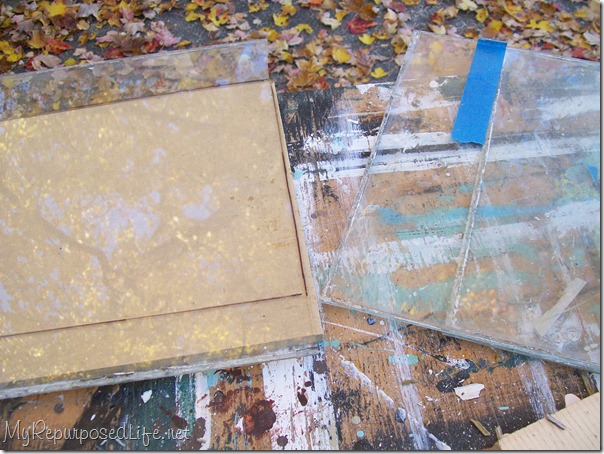
You’ve probably seen people tap the glass and snap the glass. I’m a member of the “snap” club. Using the nice piece of MDF I lay the glass on it and snap the piece right off. Look closely, see those crumbs on the table? Those small crumbs can be disastrous for glass. If you lay your glass down on top of something like that, you won’t get a “clean” cut. Believe me, I’ve learned the hard way.

Here’s the new pane!
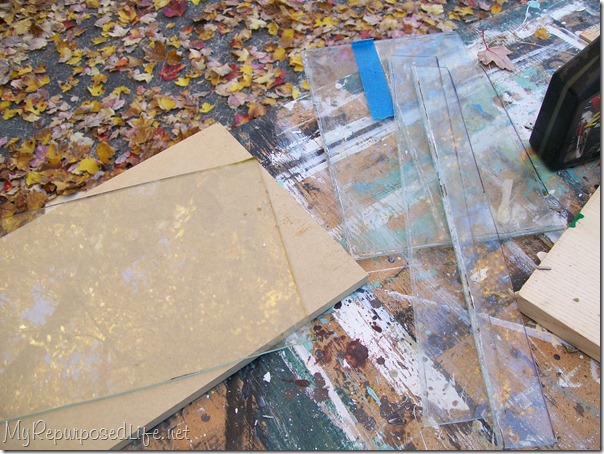
And the pieces I snapped off.
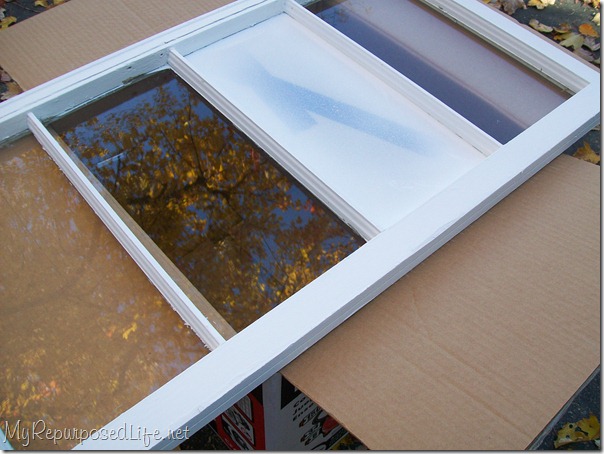
Here’s the window with the cracked pane. I had put a piece of tape on it while spray painting it just so I might not have any mishaps. I laid it over a box.

I used the window tapper to tap and break the glass…. that didn’t work. I ended up carefully using a hammer. I was wearing protection on my eyes and gloves when I did this.
Look at the reflection in the glass. Look at ALL of those leaves still on the tree! Needless to say I will have to do more leaf cleanup when they all fall.
Cutting a mirror is pretty much the same way. I’ve done that. The mirror is where I learned my lesson about cutting glass on a clean work surface. You can see how I did the mirror in my post Faux Window. I just glanced at that post and I mention you should NOT hear a ripping sound. I disagree with myself. LOL I think it works best if you hear a faint grinding.
The kitchen floor is coming along. I worked all day Tuesday crawling around taping and painting. I’m about half way done. Would you like to see a sneak peek?
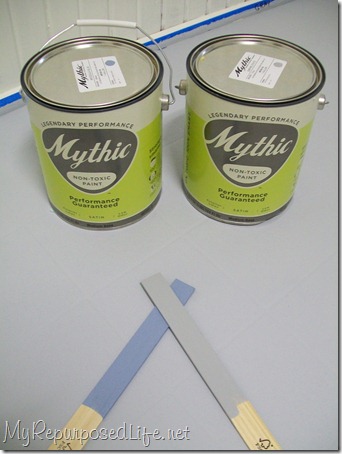
Here are the colors I’m using.

This was in the middle of the day Tuesday. Isn’t she gorgeous? So much better than the last picture you saw of her.
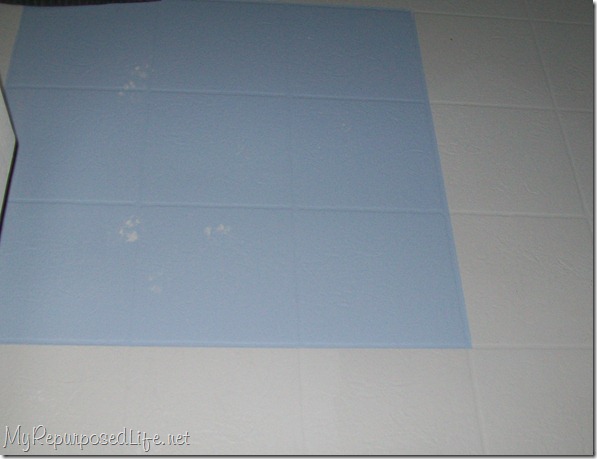
This was Tuesday night about 10:00 pm. That little lady walked through the gray and right across the blue! Silly Kitty!
Related Content How to use an EZ Cut Tool
gail
linking to:


Thank you so much for this advice! I never really knew if I should get a glass cutter or not! And hearing that they are inexpensive, is a relief. I’ll be sure to keep my eye out for the small crumbs!
be safe and have fun!
gail
I have a glass cutter tool and have never been able to get it to cut. Now I know that it was my prep that was the issue. I didn’t know about keeping it on a level surface. And even thought the directions that came with it clearly say don’t go over it more than once, I always do, thinking I didn’t press hard enough. That didn’t work either!
And the oil part? Didn’t know that. I may just have to try my hand at cutting glass one more time, armed with these great instructions!
thank you for telling us how to cut glass, that will come in handy as it is so expensive to get it cut. I can’t wait to see the floor done. Here kitty, kitty!!
Carol
Hey, Gail…I have two horrible bathroom floors, both the same shiny white-ish tile. Do you think I can paint those? With Superman out of the country, I’ve been a bit too intimidated to tackle the bathrooms by myself, but I would definitely be willing to tackle painting them. What do you think? Can I make it work over shiny tile?
that looks like quite a pain, pun intended! 😉
that looks like quite a pain, pun intended! 😉
Gail, You amaze me. I’m so happy I follow your blog. You keep my mind actively learning.
Ok glass cutting just seems harder than that. You must have had lots of practice– don’t know if I’m up to that, in fact I still have windowless pains in the door I installed last year!
Kudos on the floor– can’t wait to see it finished!
Great job on the the glass cutting…I just thought you bought another piece..you’re a smart chic! 🙂 The floor is looking fabulous! (even the kitty prints are sweet) 🙂 I’m off to go do some decorating…it takes me at least 1, if not 2 weeks to decorate for Christmas! I’m a nut! lolHave a great day!HUGS!
I’m so excited you are painting your floor… I am going to help my mother redo her kitchen when I’m home for christmas and I REALLY want to paint her floor, but shes skeptical.
Keep the awesome pictures coming, so I can show her how much of a good idea it is!
Thanks for the tutorial on cutting glass. I am going to get one of those tools just in case I need to do this. The floor colors are beautiful so far. The kitty prints remind me of when you pour concrete and you have your kids write their name in the wet concrete.
Seriously, Gail. Is there ANYTHING you don’t know how to do?
Love the kitty prints across the blue floor! He/she wanted to express artistic ability too!