How to remove a vintage sewing machine
As an Amazon Associate, I earn from qualifying purchases.
How to remove a vintage sewing machine from it’s cabinet. At first glance it seems like it would be an easy task. Removing this machine from it’s cabinet actually took me over an hour.
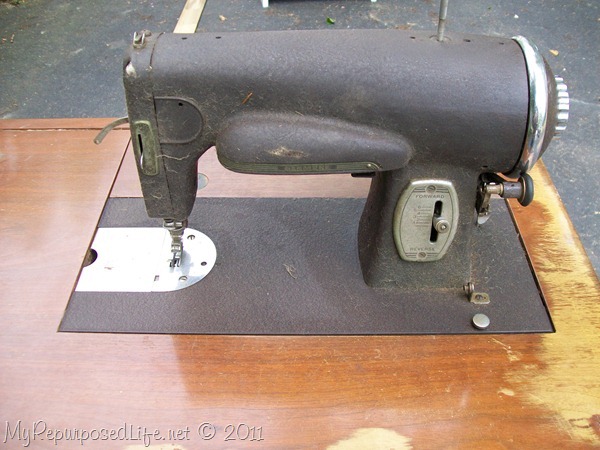
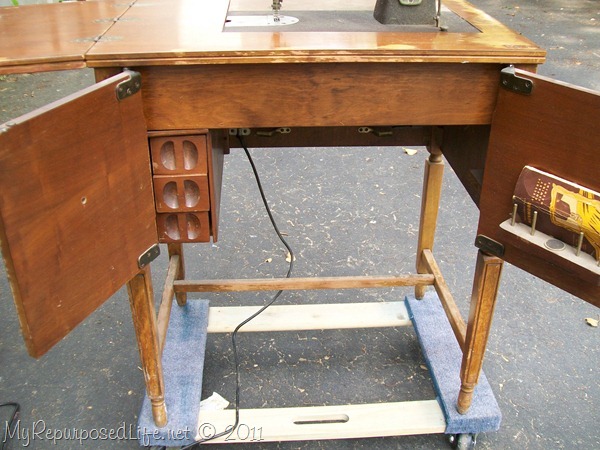
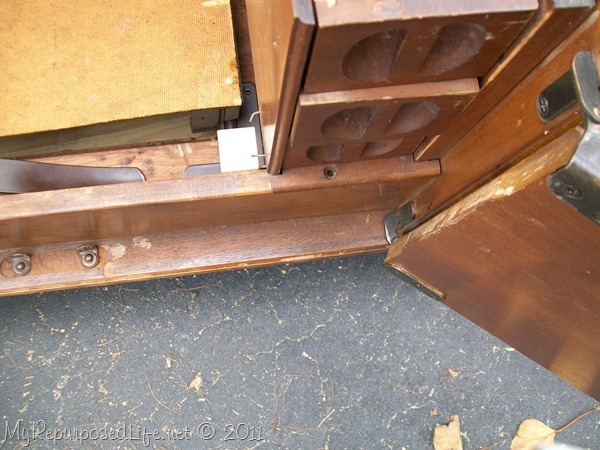
I looked under it to try to figure it out. I knew that it wasn’t that difficult, I just forgot how to do it.
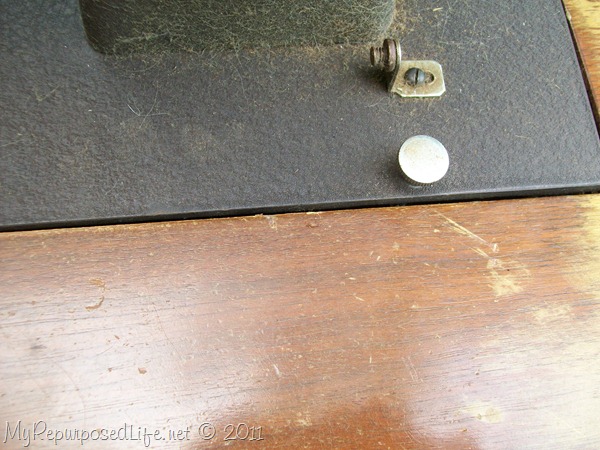
Unscrewing this screw allows the machine to be lifted up (and toward the back of the cabinet.)
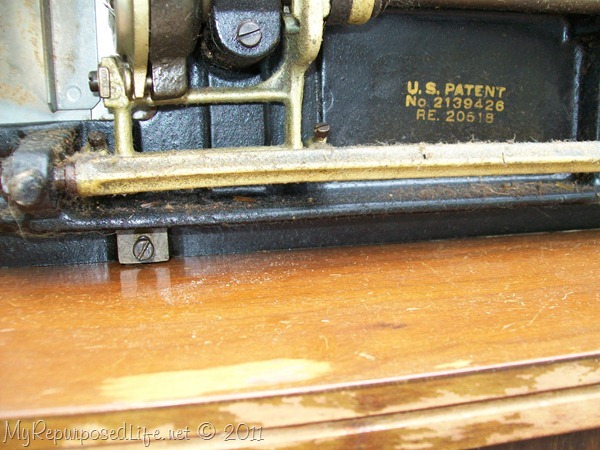
Once the machine is lifted up, there are two small screws that release the machine from the “hinges”.
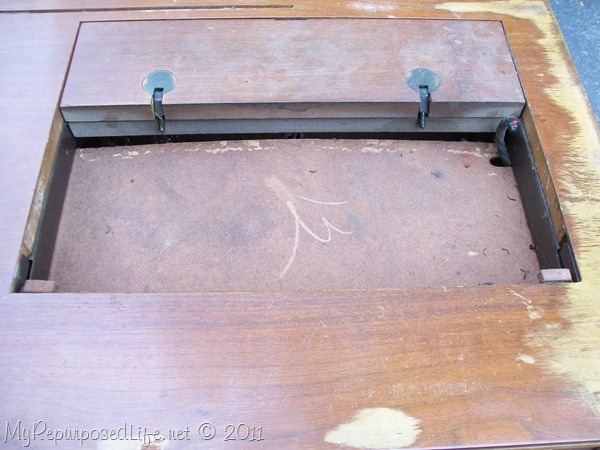
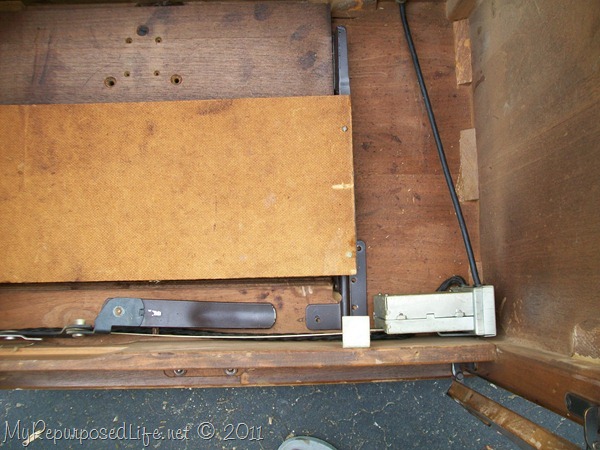
You can see the hinges here, where I removed the machine. That was the easiest part.
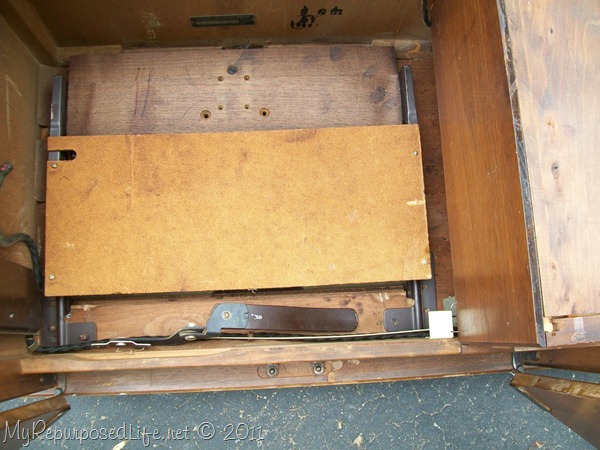
In this picture I have the cabinet turned upside down, looking into all the stuff that needs to be removed.
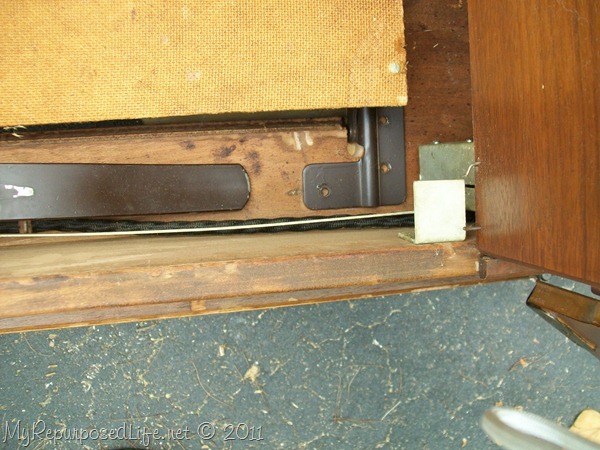
Basically you will remove EVERY screw you see.
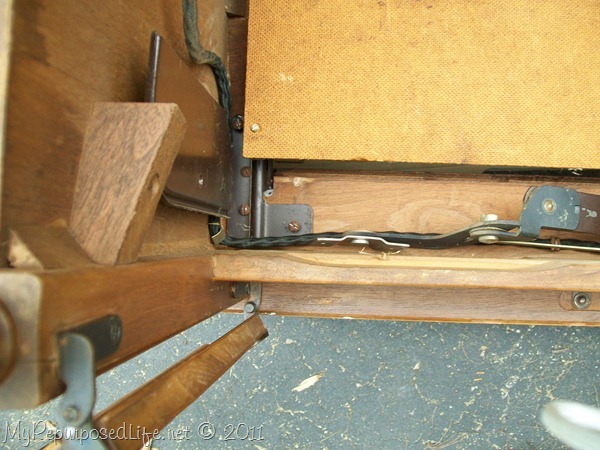
There are a LOT of screws.
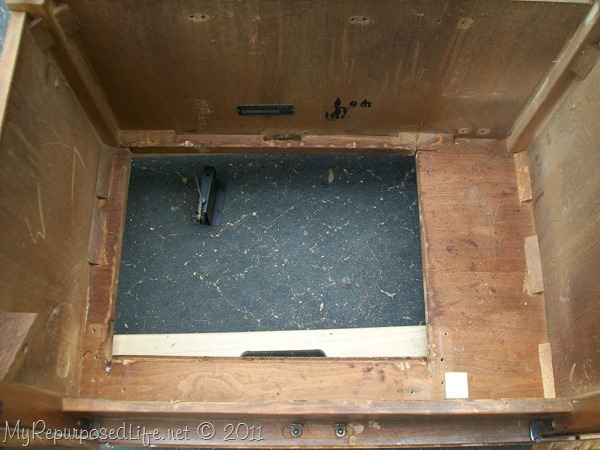
Voila! all of the screws and their hardware are finally gone.
gail
Related content: Sewing Machine Cabinet Ideas


Hello. I have the same table/sewing machine. Do you know if I could cancel the machine from lifting? And still open it?
Instead of removing it like you…
Thank you.
Lucia,
I really don’t think you can do that. But you could try removing that one piece that actually uprights the machine. Lay the machine cabinet down, and watch what happens when the lid is open. I hope this helps!
gail
For Lynne about the 120-49 Kenmore:
Even though it’s not functioning well I’m still interested. Would you be willing to discuss this?
If so, would you please call me? Best time to reach me is between Noon and 4PM on 8/1 or between Noon and 3PM on 8/2. Please. 484-343-1053.
Gail Darlin’,
You just keep on SAWING – your work is BEAUTIFUL, you do it very well and are AMAZINGLY creative!!! Those of us who are passionate about sewing will hold up that end for you!!
Sounds great Suzanne!!! 🙂
Hi Suzanne! I wouldn’t even begin to know what the old thing is worth!!! It comes on, and runs… ever so slowly… and smokes some. No telling how long it had been sitting when I bought it! I got it for the cabinet because it fits my old 70’s model kenmore machine that I use daily!!! So I have this paperweight of a machine in storage! LOL
Hi again Lynne! Would you like to sell it?
Hi All! YEs!! I’m using the old cabinet daily, and still have the dinasour that came out of it!!! LOL Not real sure what I will ever do with it, but it’s in storage at our body shop!!! LOL Just can’t bring myself to get rid of the old thing!! LOL
Hey Lynne, I’m curious. I realize it’s been a l-o-n-g time, but whatever did you do with your Kenmore 120-49? That model is a fabulous old machine with a chain drive and a very powerful motor. It will sew through almost anything!
The knee switch you mentioned is actually a knee lever. Many old machines were designed that way – you pushed your knee against it to run the machine. I learned to sew on my mother’s 1948 White Rotary model 77 in a similar cabinet, and with a knee pedal. Eventually, I had quite a hard time adjusting to the foot pedal on my first very own machine, a 1969 Kenmore 158-14001. (Mom & dad gave it to me so mom could have the use of her machine back!)
I still have that same model ’69 Kenmore, it’s old of course, but still works perfectly. I’m old too, almost the same age as the 120-49, and I wish I still worked well as those machines do. (Sigh!) 😉
Yep, it’s been a long time. I honestly have no idea where that machine is. I have a better appreciation for them now then I did back in the day. I will be parting out one more machine that I have in storage. I can’t even tell you anything about it. I’ve had it for a couple of years now.
I hear ya about the machines working longer than we do! I’m thrilled that you still have that and love it so much. I have a $99 singer from the early 80’s. It’s okay, but I never can get the tension set right. Most people know I’d rather be SAWING than SEWING! 🙂
thanks for stopping by!!
gail
We got it out!!!! There was a hidden clamp on the side.. just took a good prying with the screwdriver and it popped right off!!! Yea!! Now to find a collector of vintage sewing machines! lol
I’m so happy to hear that Lynne! Thanks for the update.
I sure hope you can re-home it!
Happy New Year,
gail
I just rescued an old Kenmore 120-49 from a thrift store… I actually wanted the cabinet for my 70’s model Kenmore. Trying to remove it from the cabinet I found something I’ve never encountered before! A knee “switch” box… no pedal. My question is… how pray tell do you get that thing out without destroying the wiring!!! Not sure what I’m going to do with the machine itself, but I have all the original accessories and books that came with it. Just don’t want to ruin it trying to get it out of the cabinet!!! All the screws are hidden and not easily accessable! Any help out there!!
My best advice is to turn it upside down or use a flashlight. They are generally pretty easy if you investigate well. Someone put it together, so it has to come apart.
I’ve had a knee switch box, but I can’t remember on which machine it was.
Wishing you lots of luck!
gail
Please tell me you didn’t 1) throw out the machine, 2) recycle the machine for it’s medal, or 3) toss the machine and all the assorted cabinet parts out.
As a new restorer of vintage sewing machines, I hate seeing this old, all-metal beasties going to waste. They last far longer than then new made in China plastic stuff, sew thru anything, and will continue to work for decades when maintained properly. (Kind of like my 20+ year old pickup).
I know your comment is super old but I feel the same way when I see all these “quirky girls” gutting beautiful old vintage sewing machines from their cabinets to make “shabby chic” junk. It’s truly distressing but I shouldn’t be surprised with America’s disgusting wasteful attitude towards old things. Such a shame. The old machines and furniture are far more beautiful and longer lasting than modern contraptions.
I just picked up what seems like that exact same machine and cabinet! Is yours a Kenmore too?
I love your blog! I think we must be kindred spirits!
Are you using the machine or just the cabinet or both? Can’t wait to see how you repurpose the cabinet.
I’m curious to see what you do with the cabinet! I recently purchased a sewing machine cabinet to put in an entryway or hallway. Hopefully it will look nice once the top and door are glued shut and a nice coat of paint.
Well, let’s hope that tree doesn’t land anywhere it shouldn’t!
Thanks for posting this, Gail. These do look a little tricky to remove!