How to repair pedestals
As an Amazon Associate, I earn from qualifying purchases.
Sometimes, while thrift shopping, you may get so excited to spot a good deal that you don’t realize your purchase is imperfect.
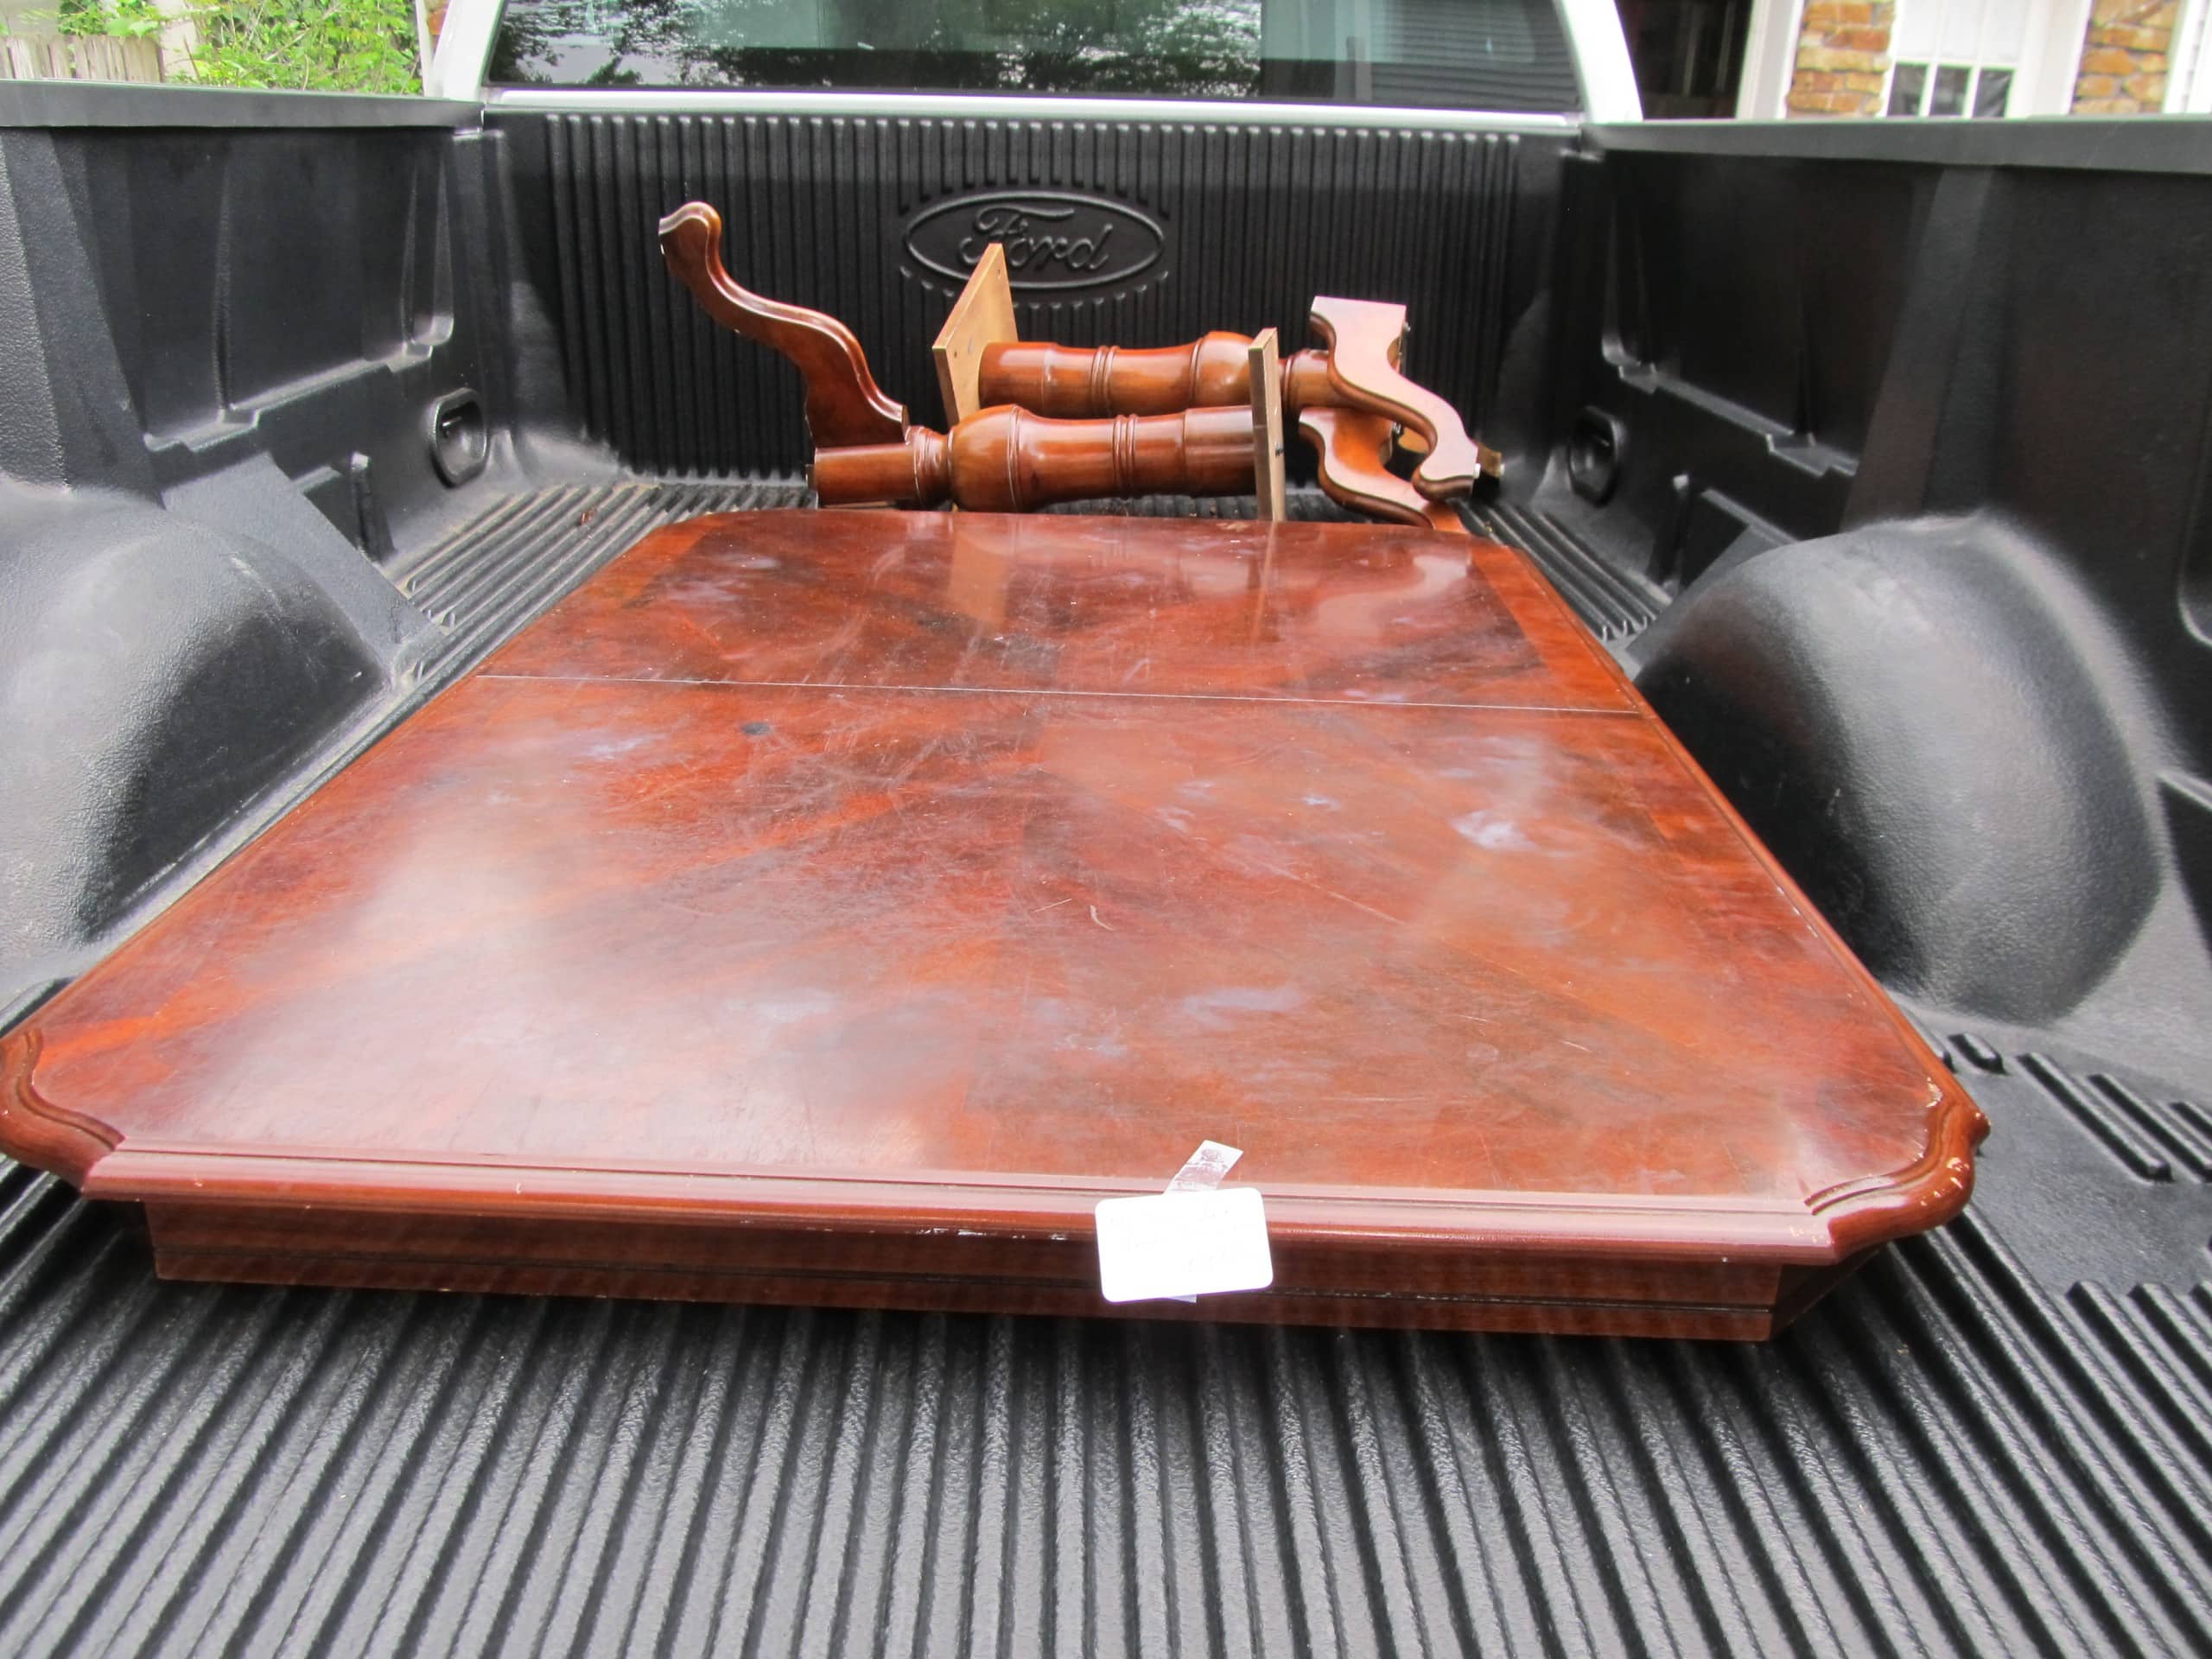
That is exactly what happened to me. I got this old table at a yard sale for $10. Since it was taken apart, I really didn’t know how bad the pedestals were. You can see the legs are a little wonky…. attached but off-kilter.
When I got it out to paint, I realized why it was so cheap. I didn’t know the problem until I turned them upside down and investigated.
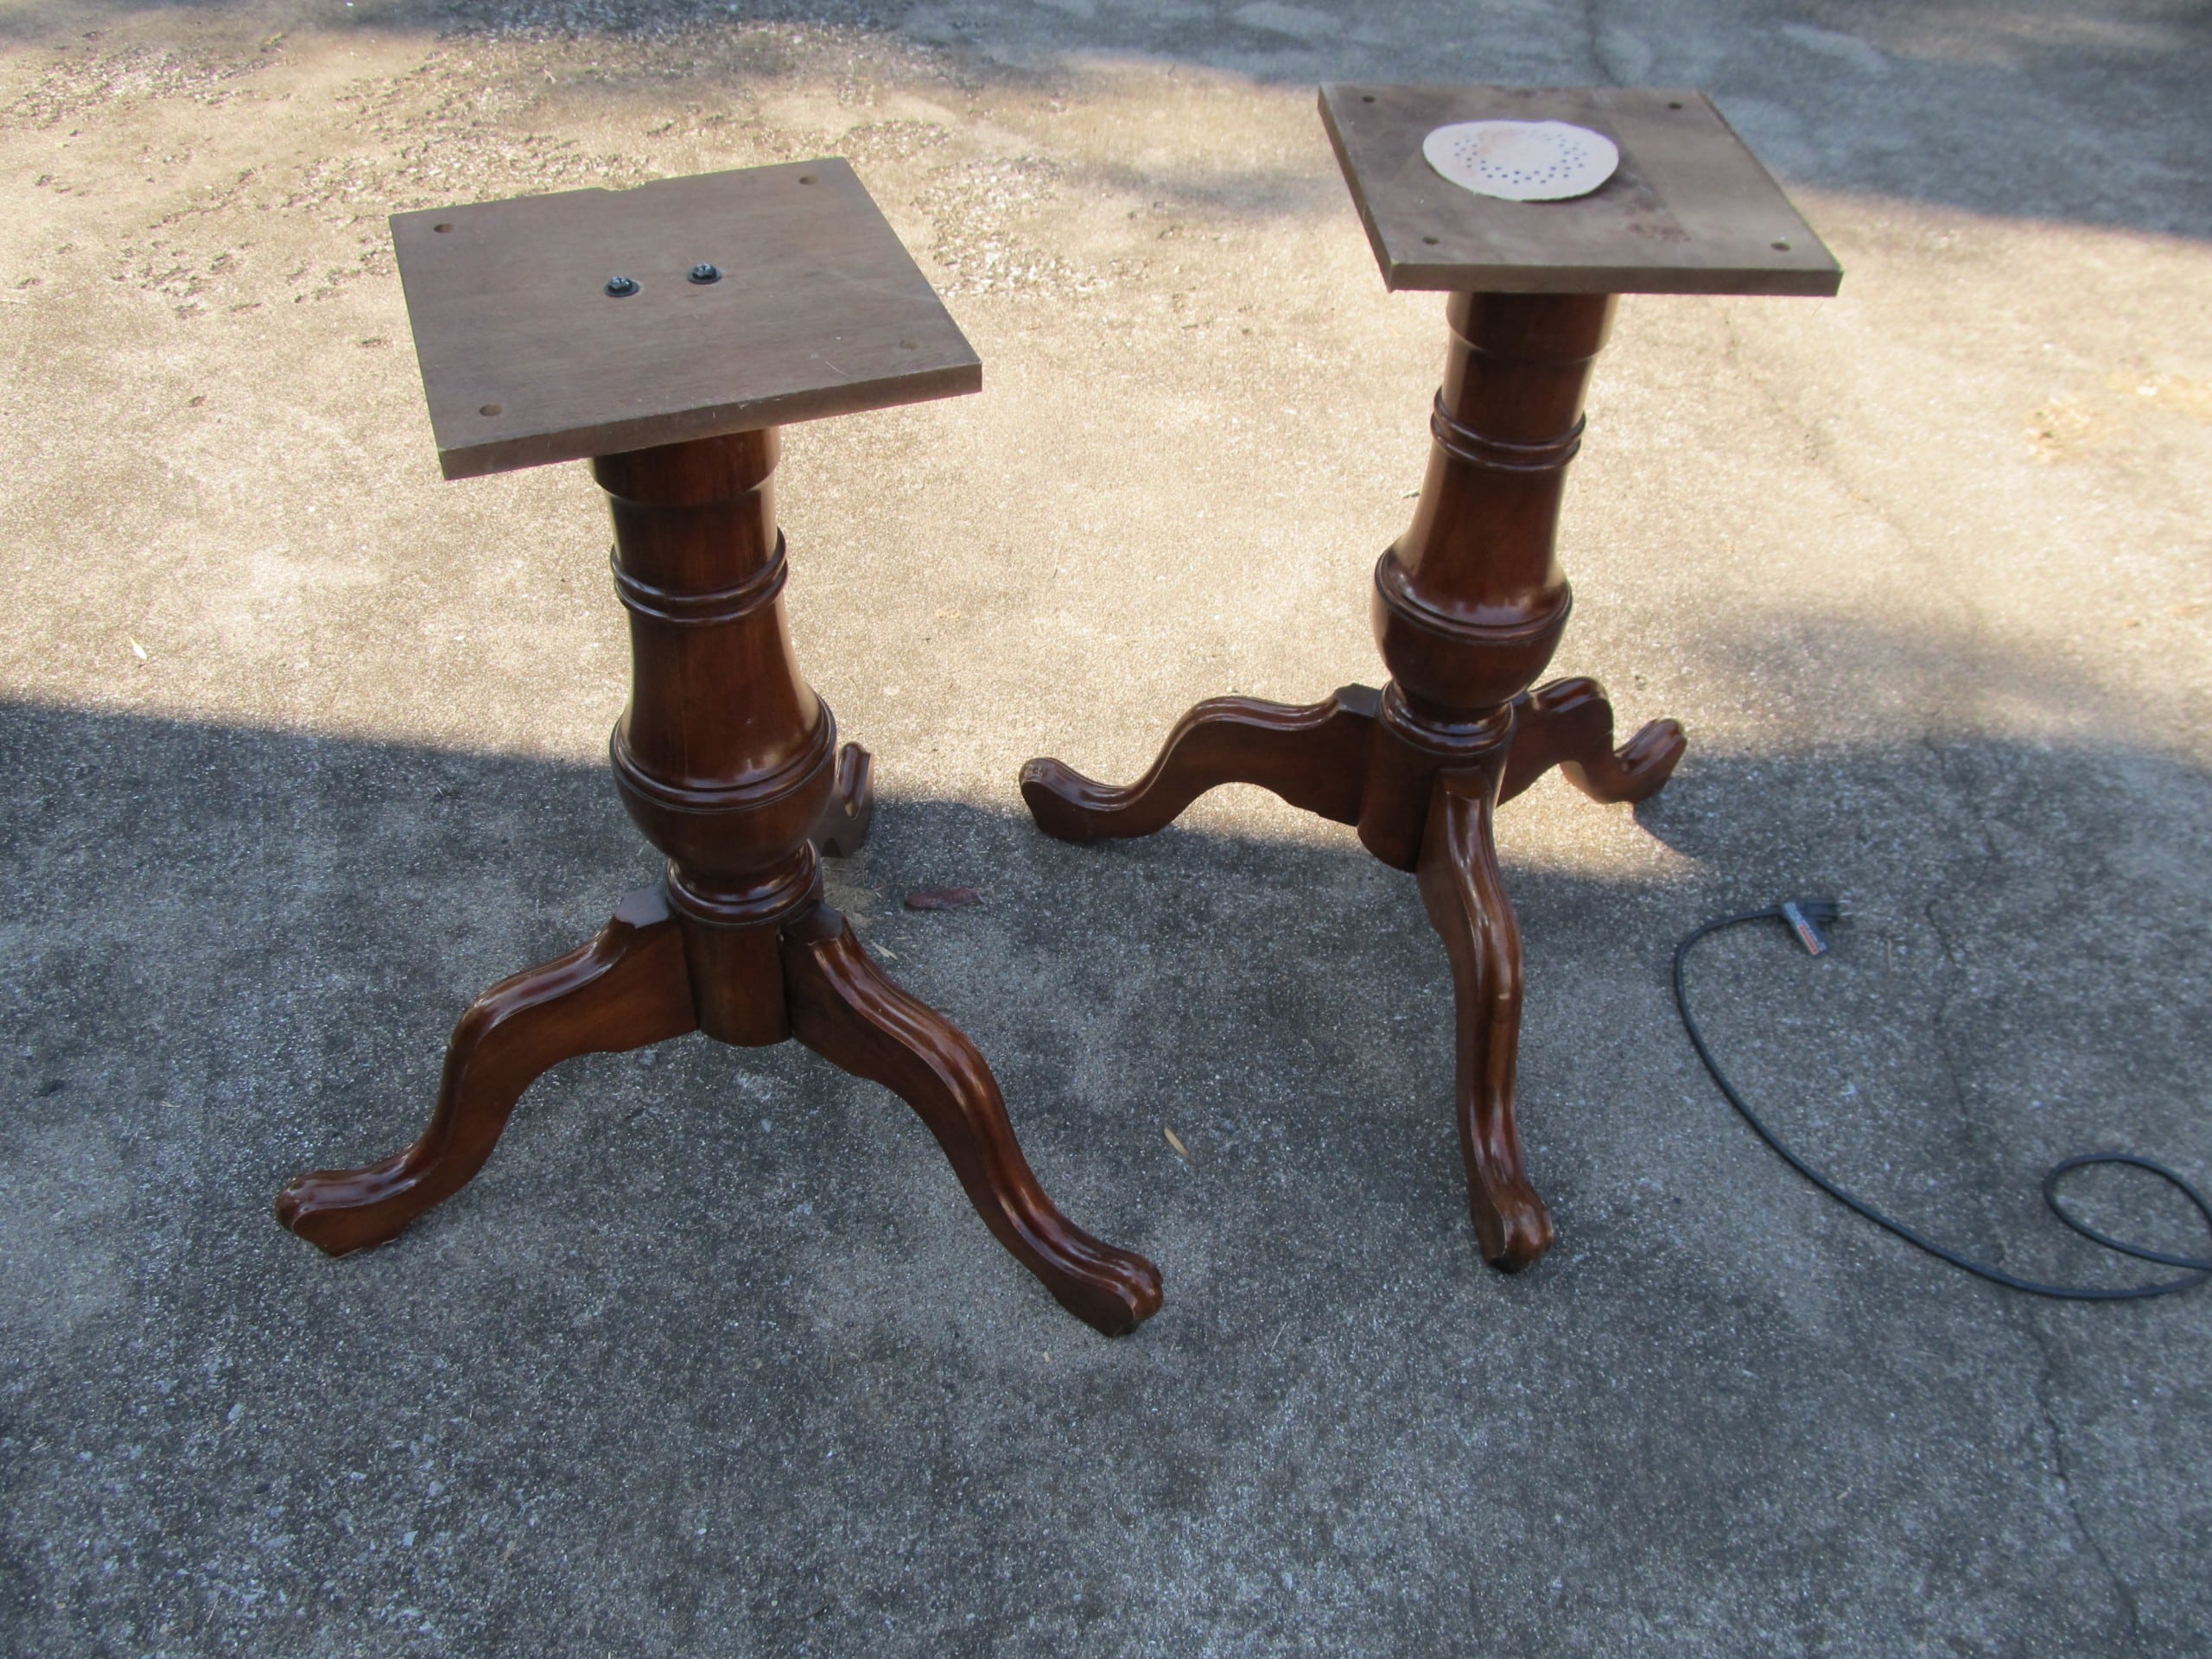
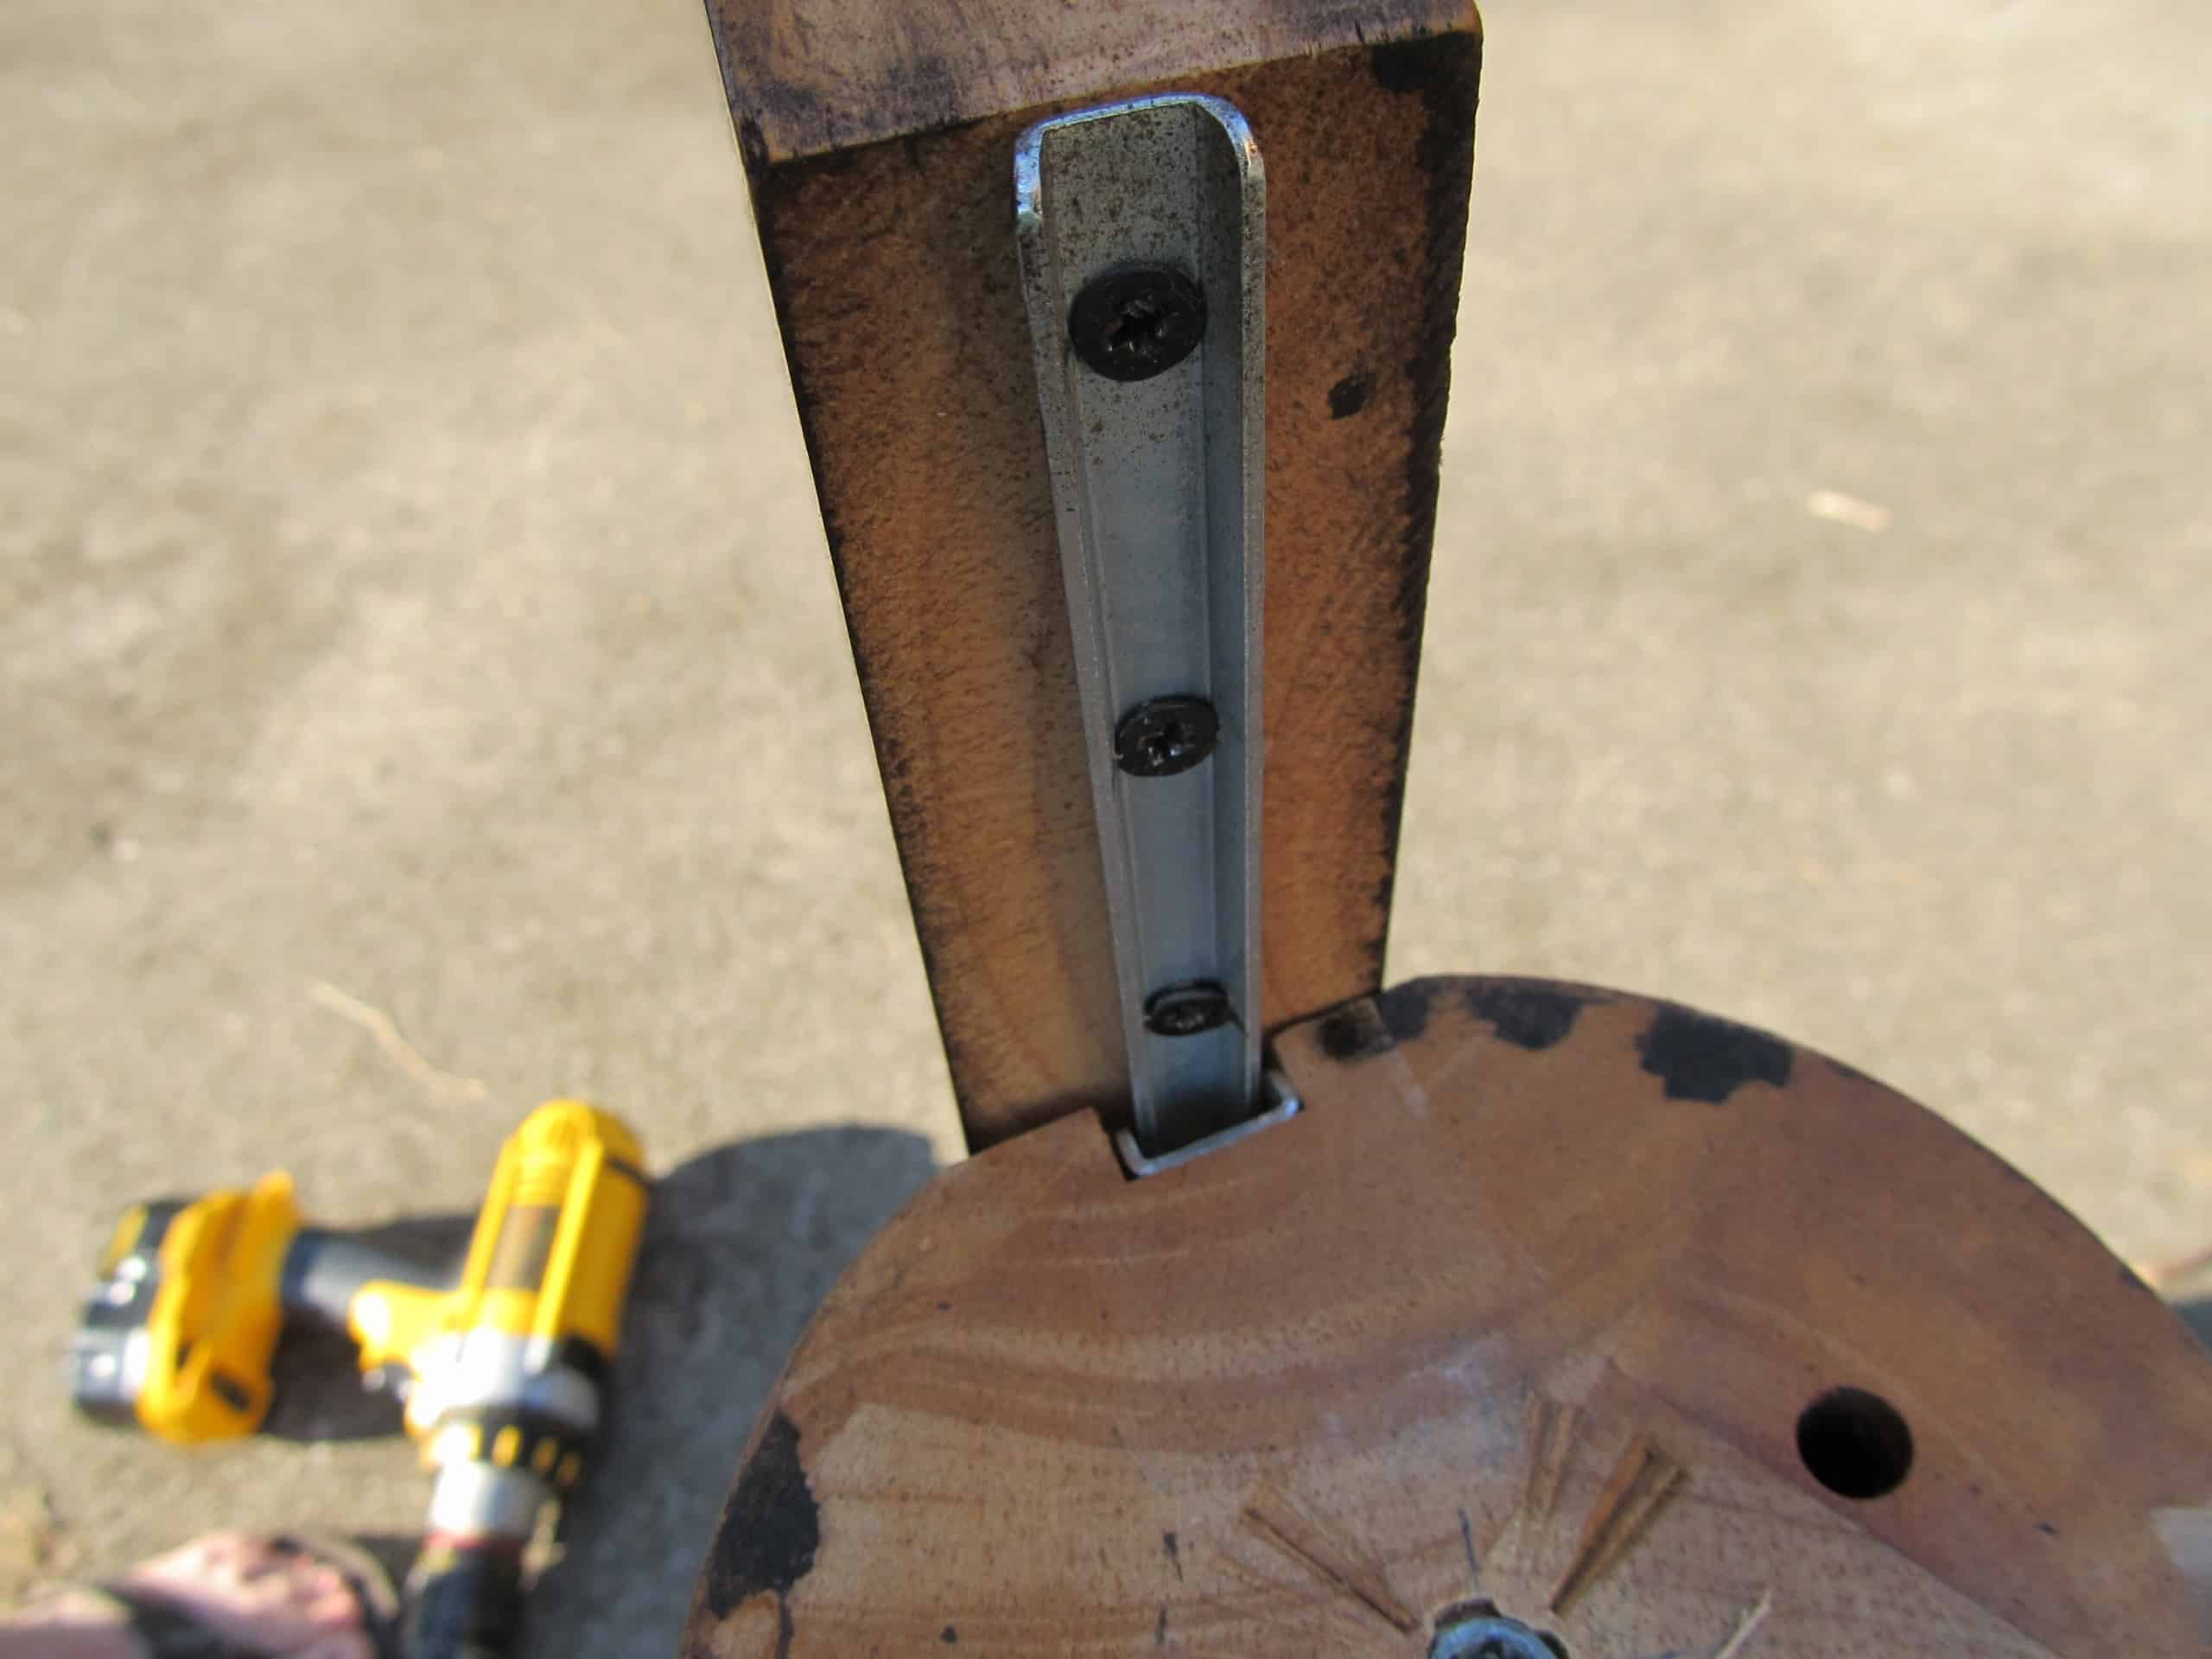
Not shown in the picture is a big metal plate that connects the pedestal to all three legs. A couple of the metal brackets just needed the screws tightened. The legs slide up and out.
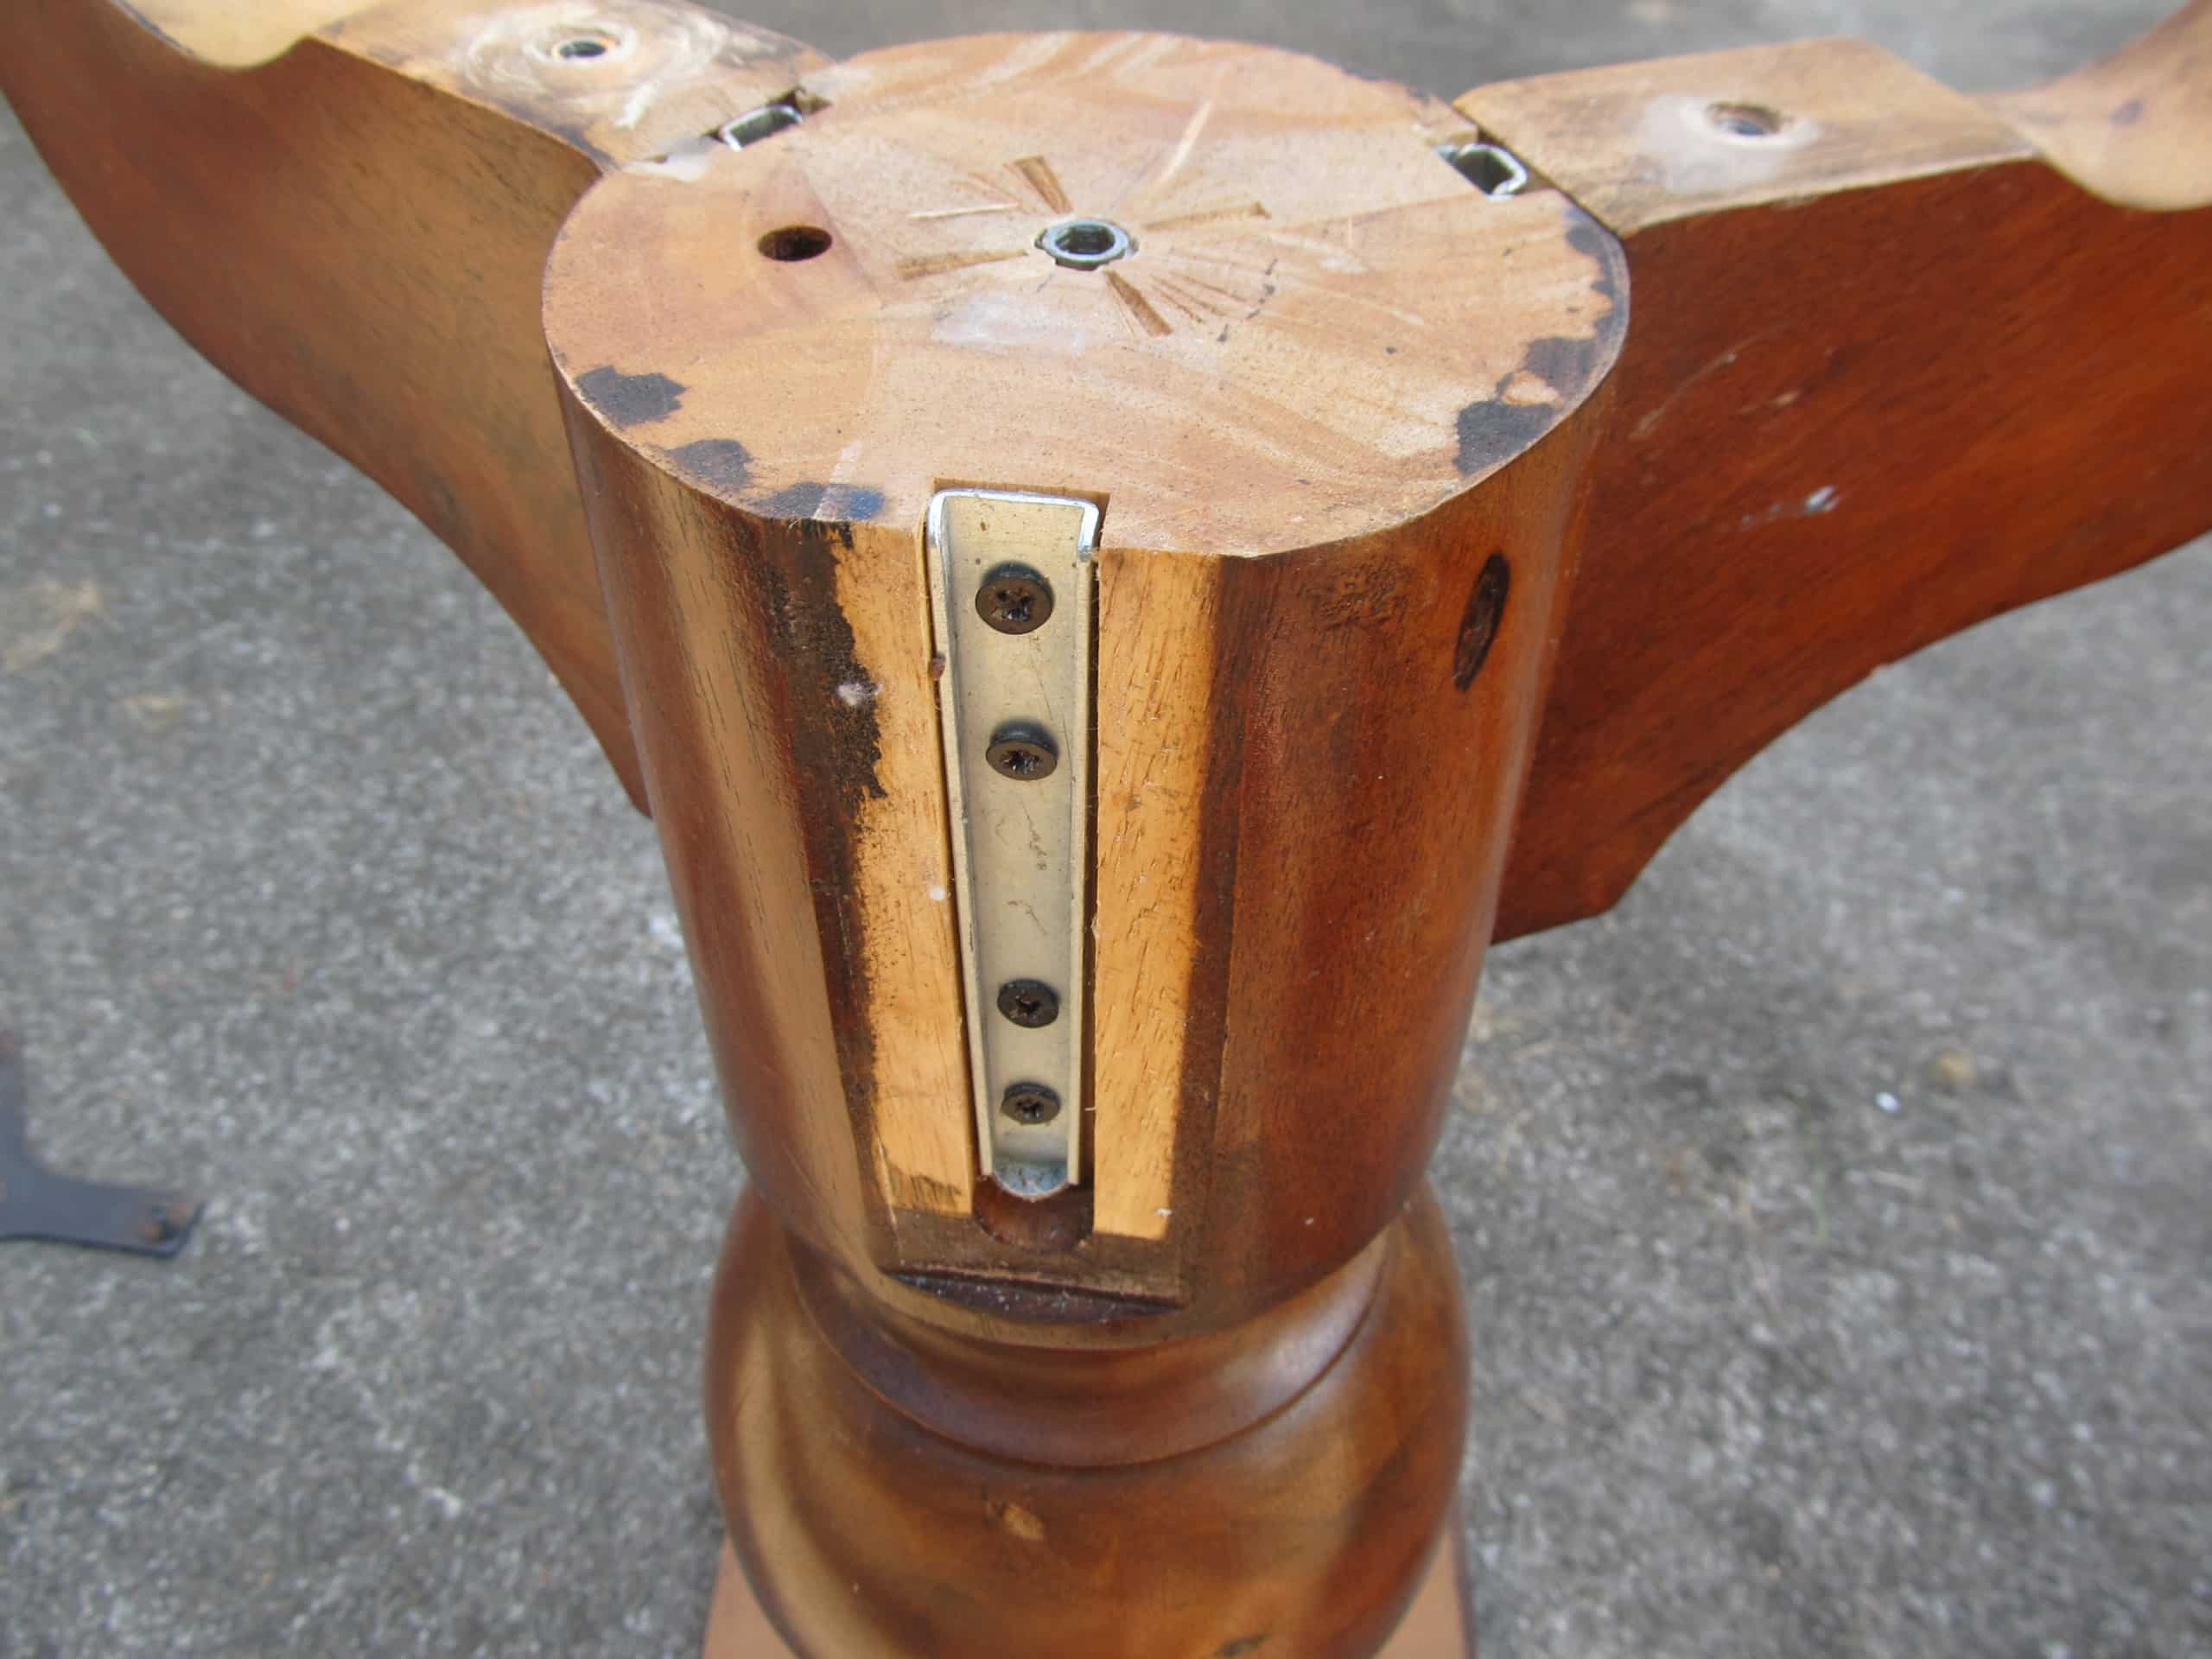
This little guy needed some TLC. These screw holes were stripped. I removed the screws.
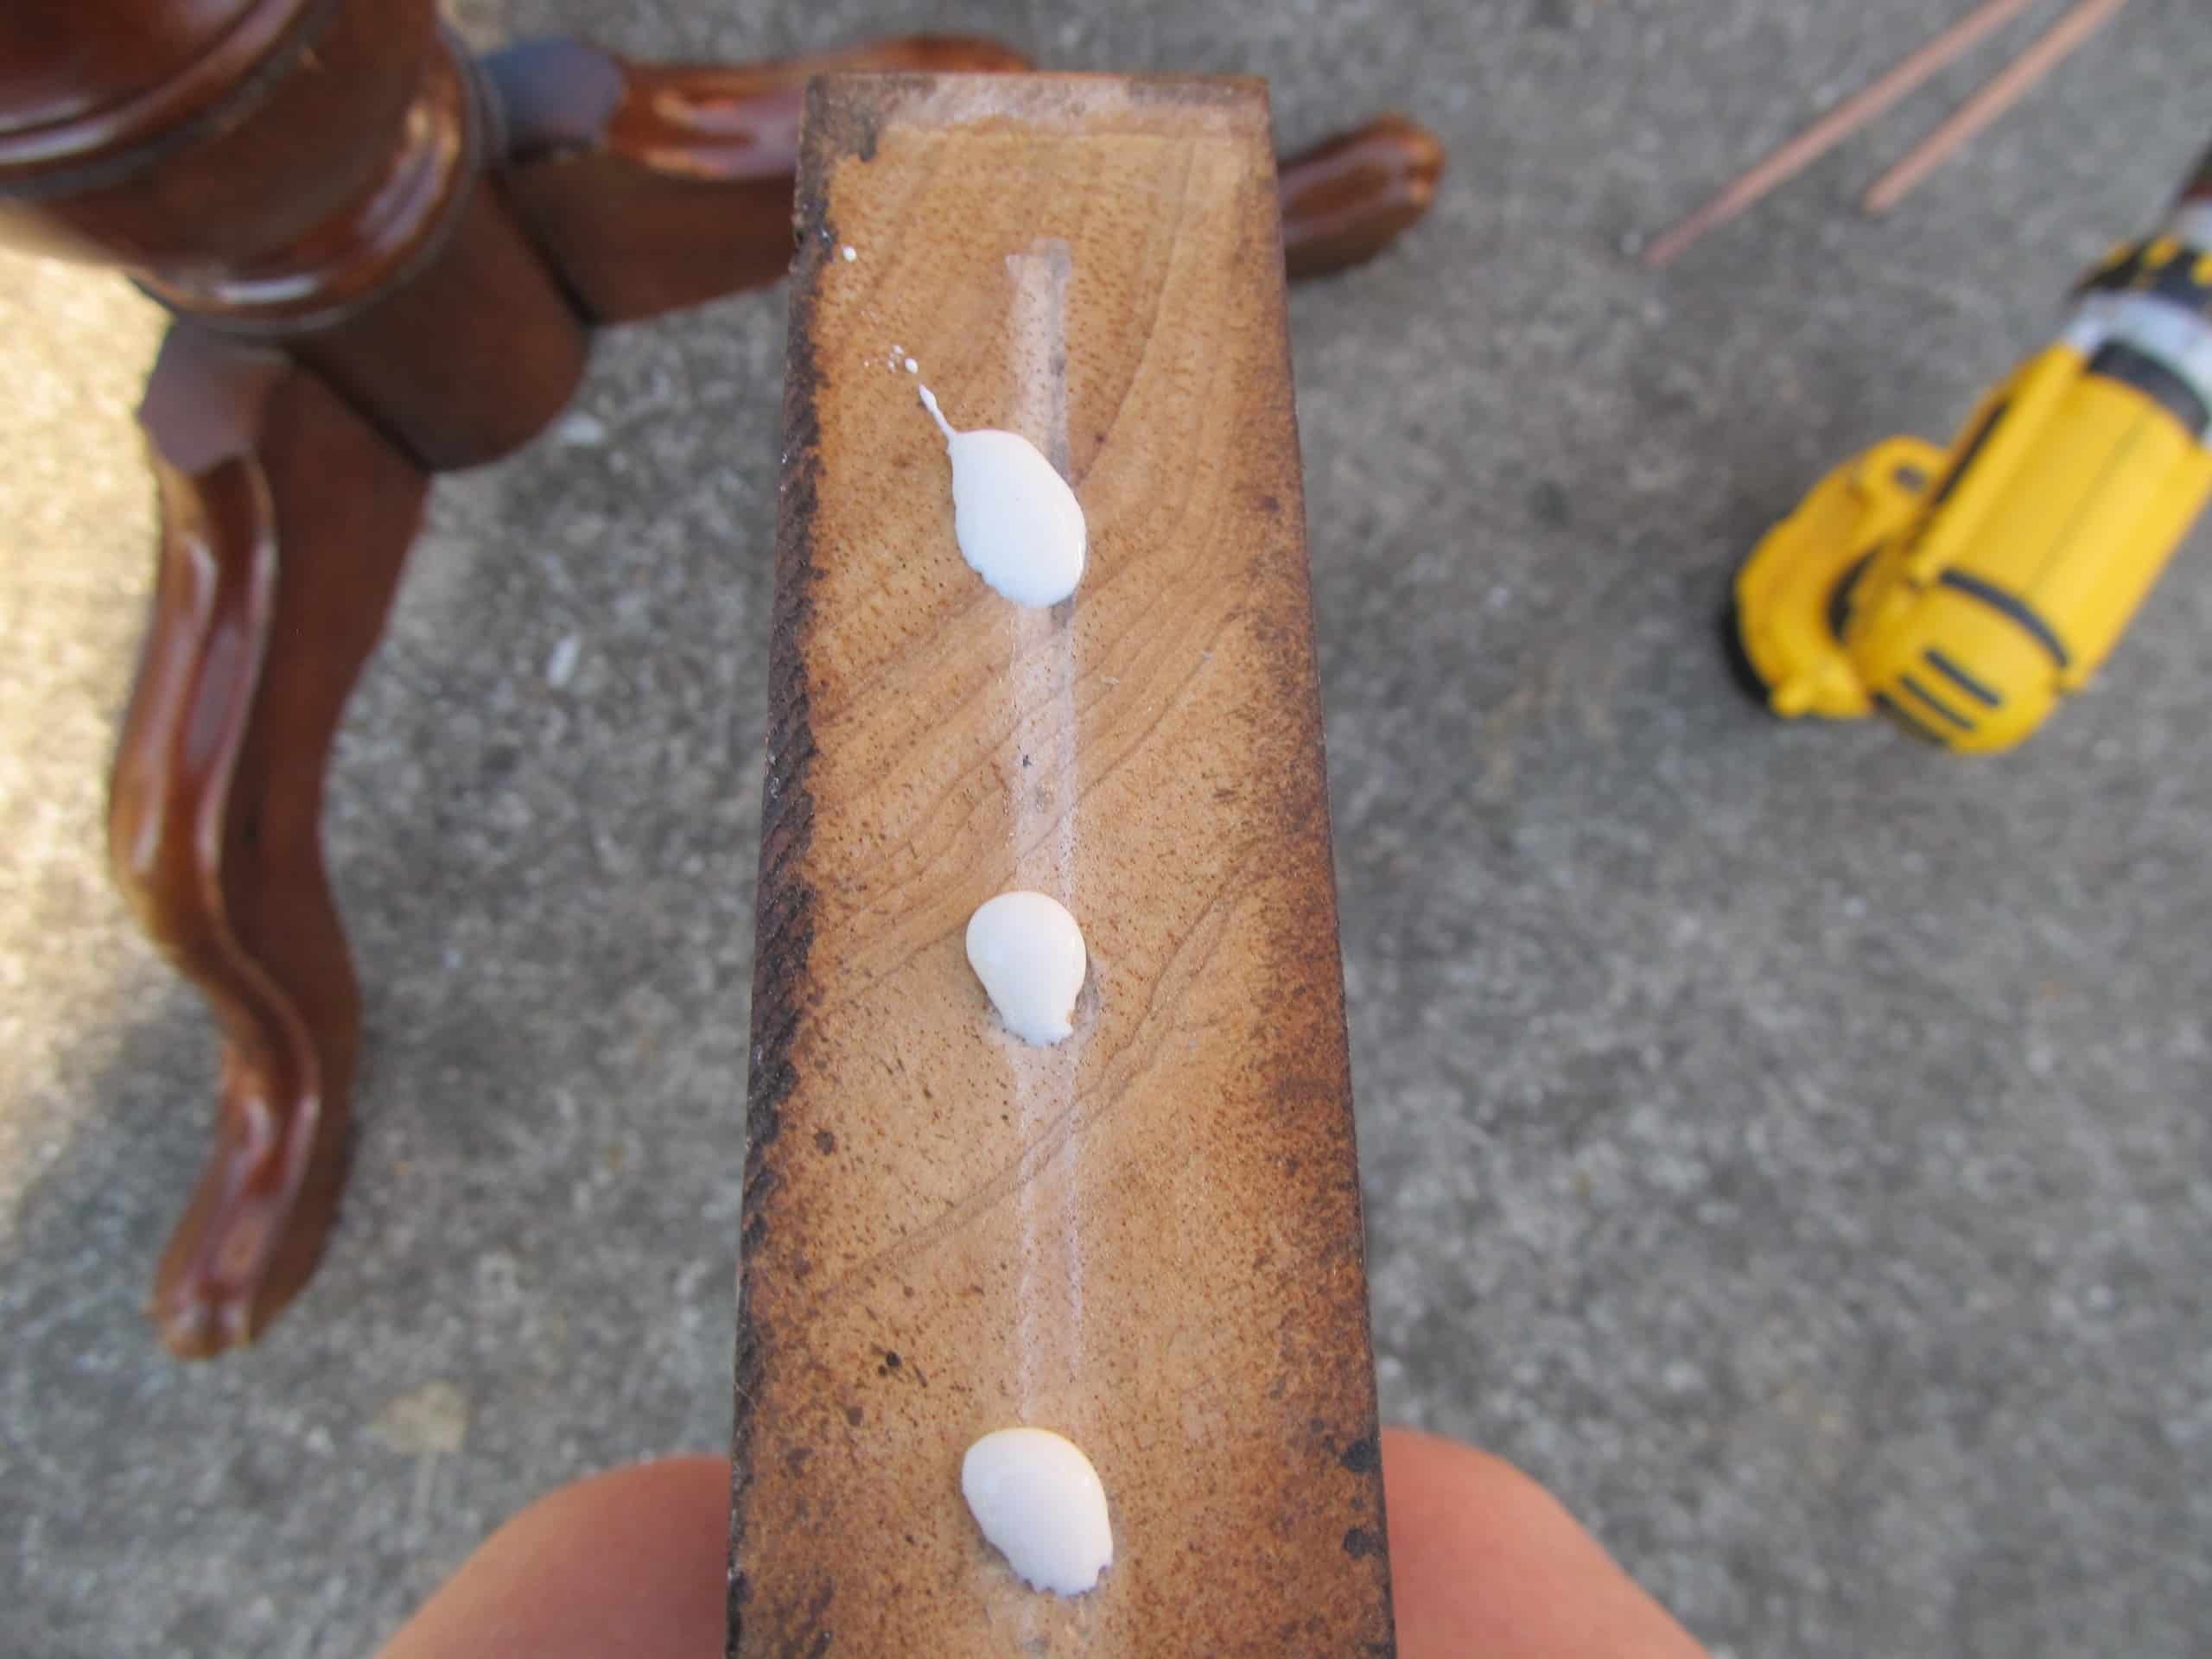
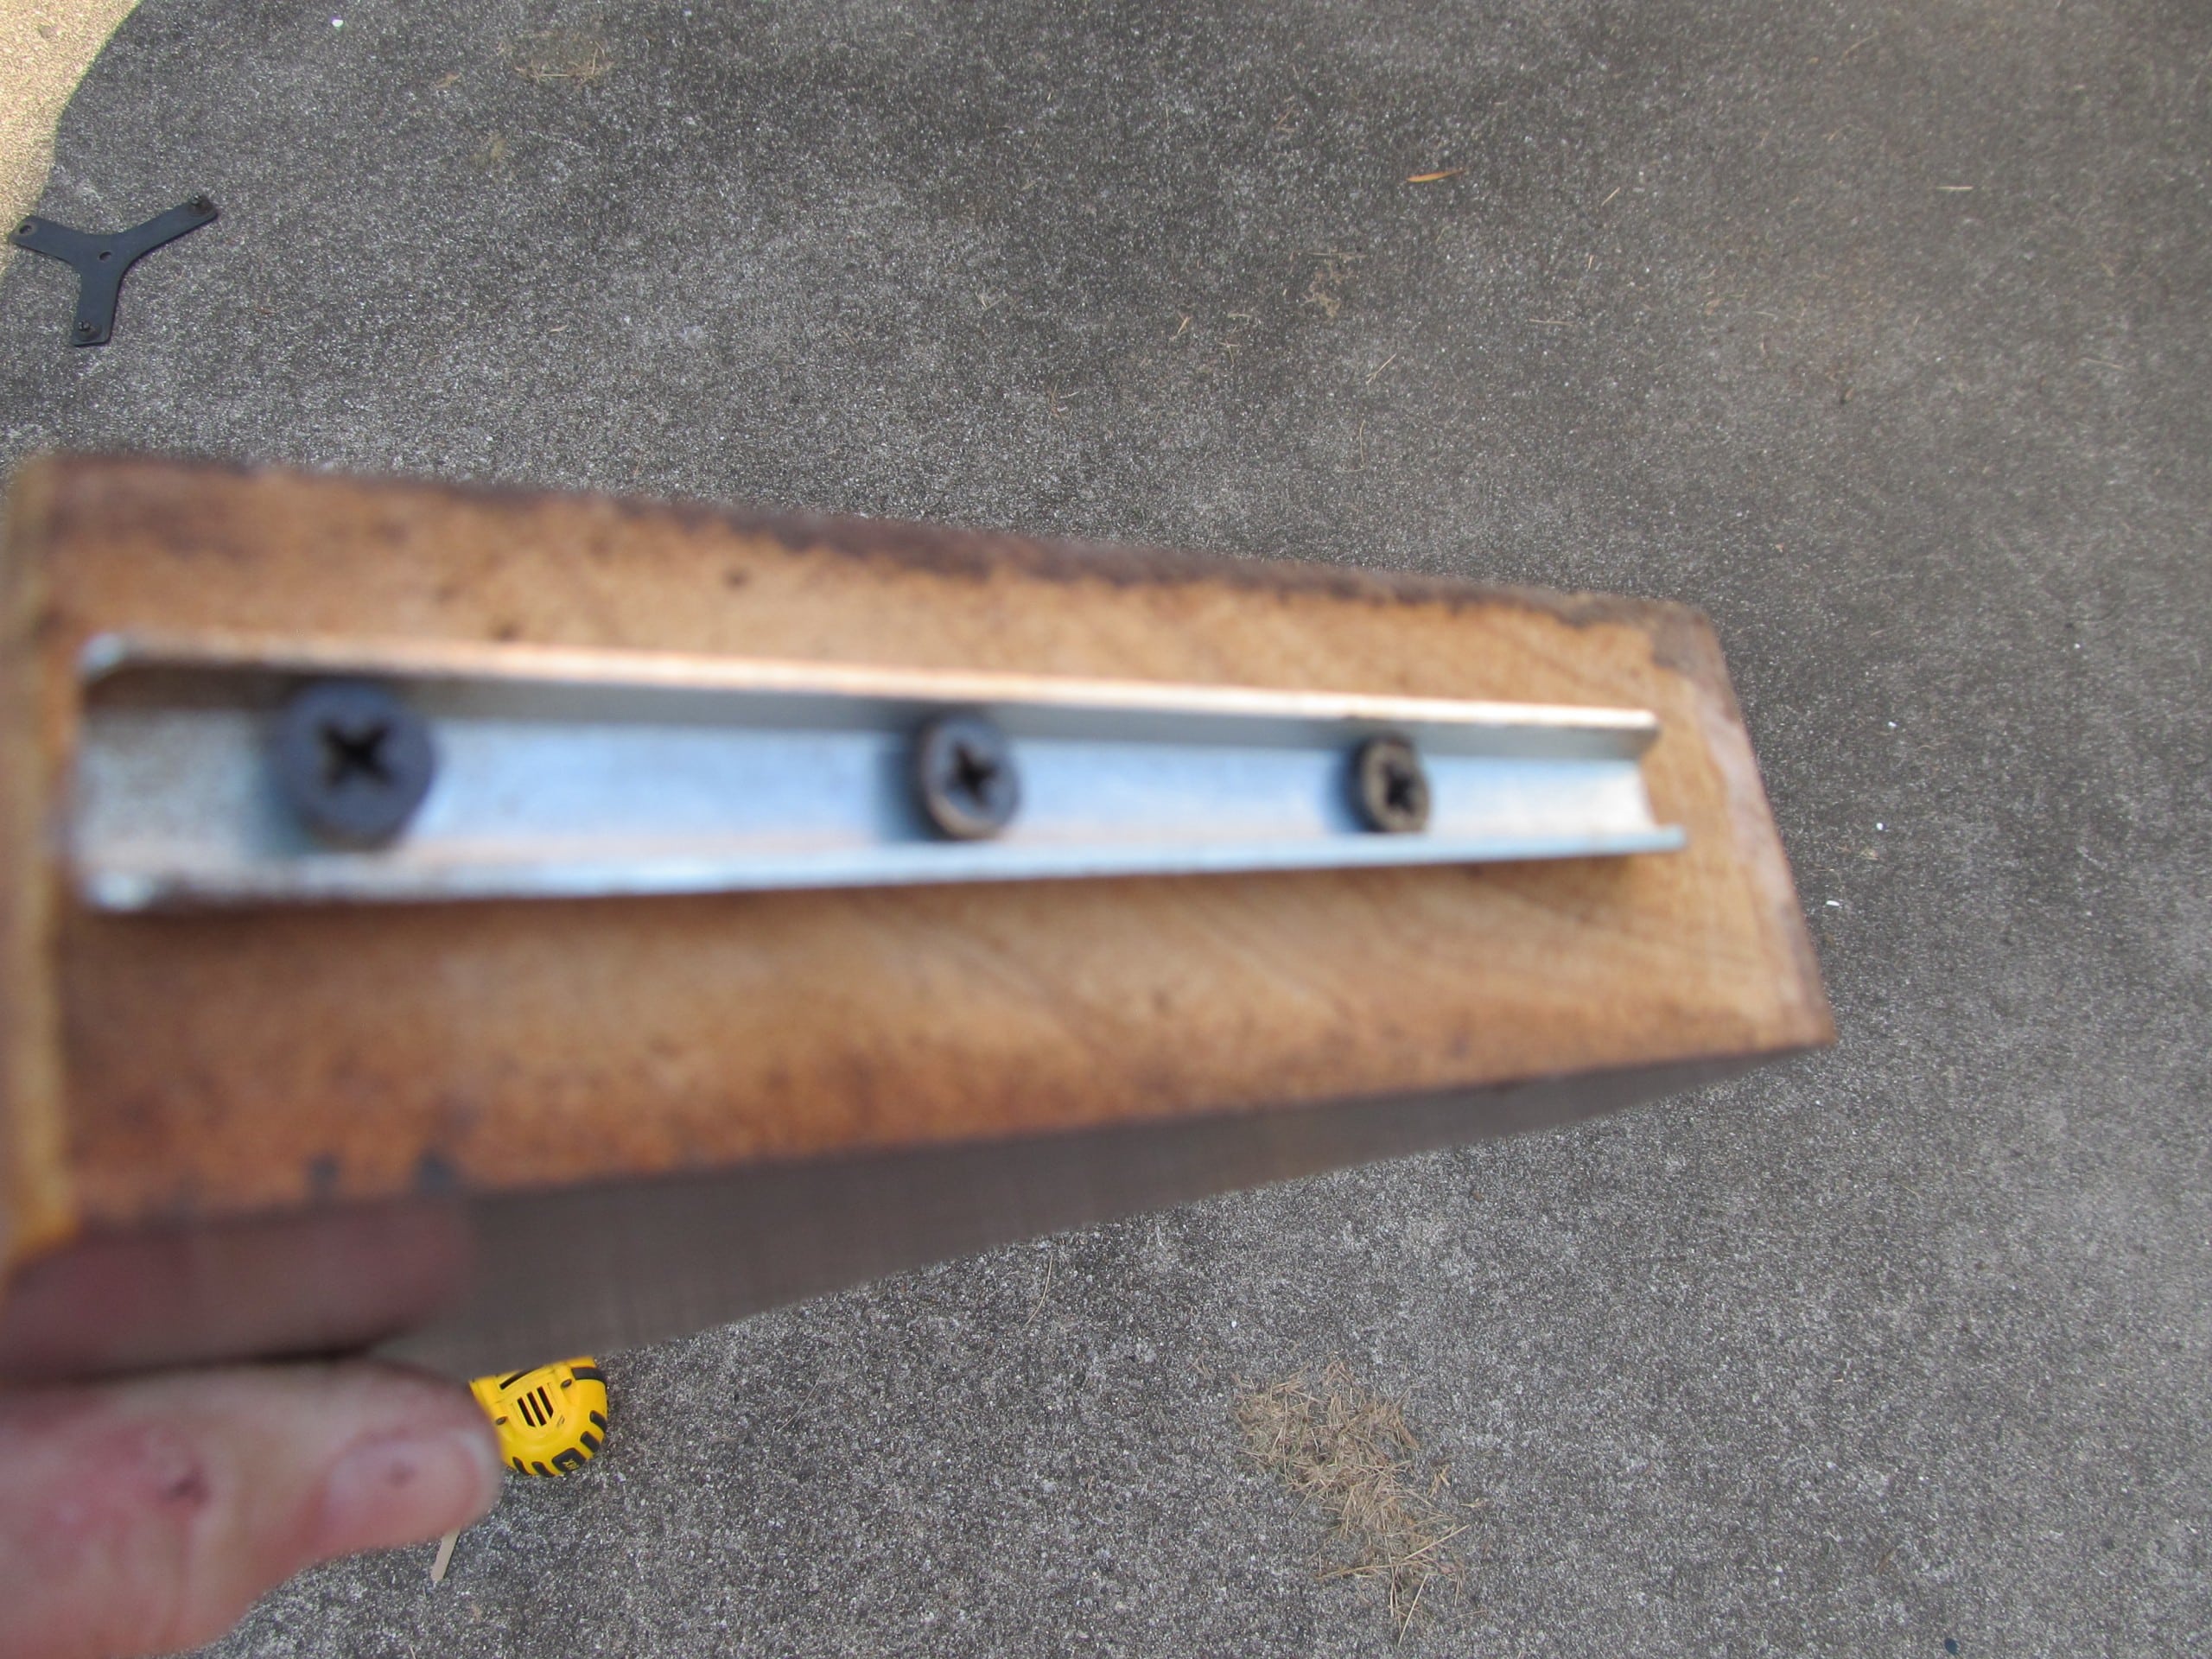
Then, I filled the holes with wood glue….
 Lastly, I then inserted a toothpick.
Now, both pedestals are all fixed up.
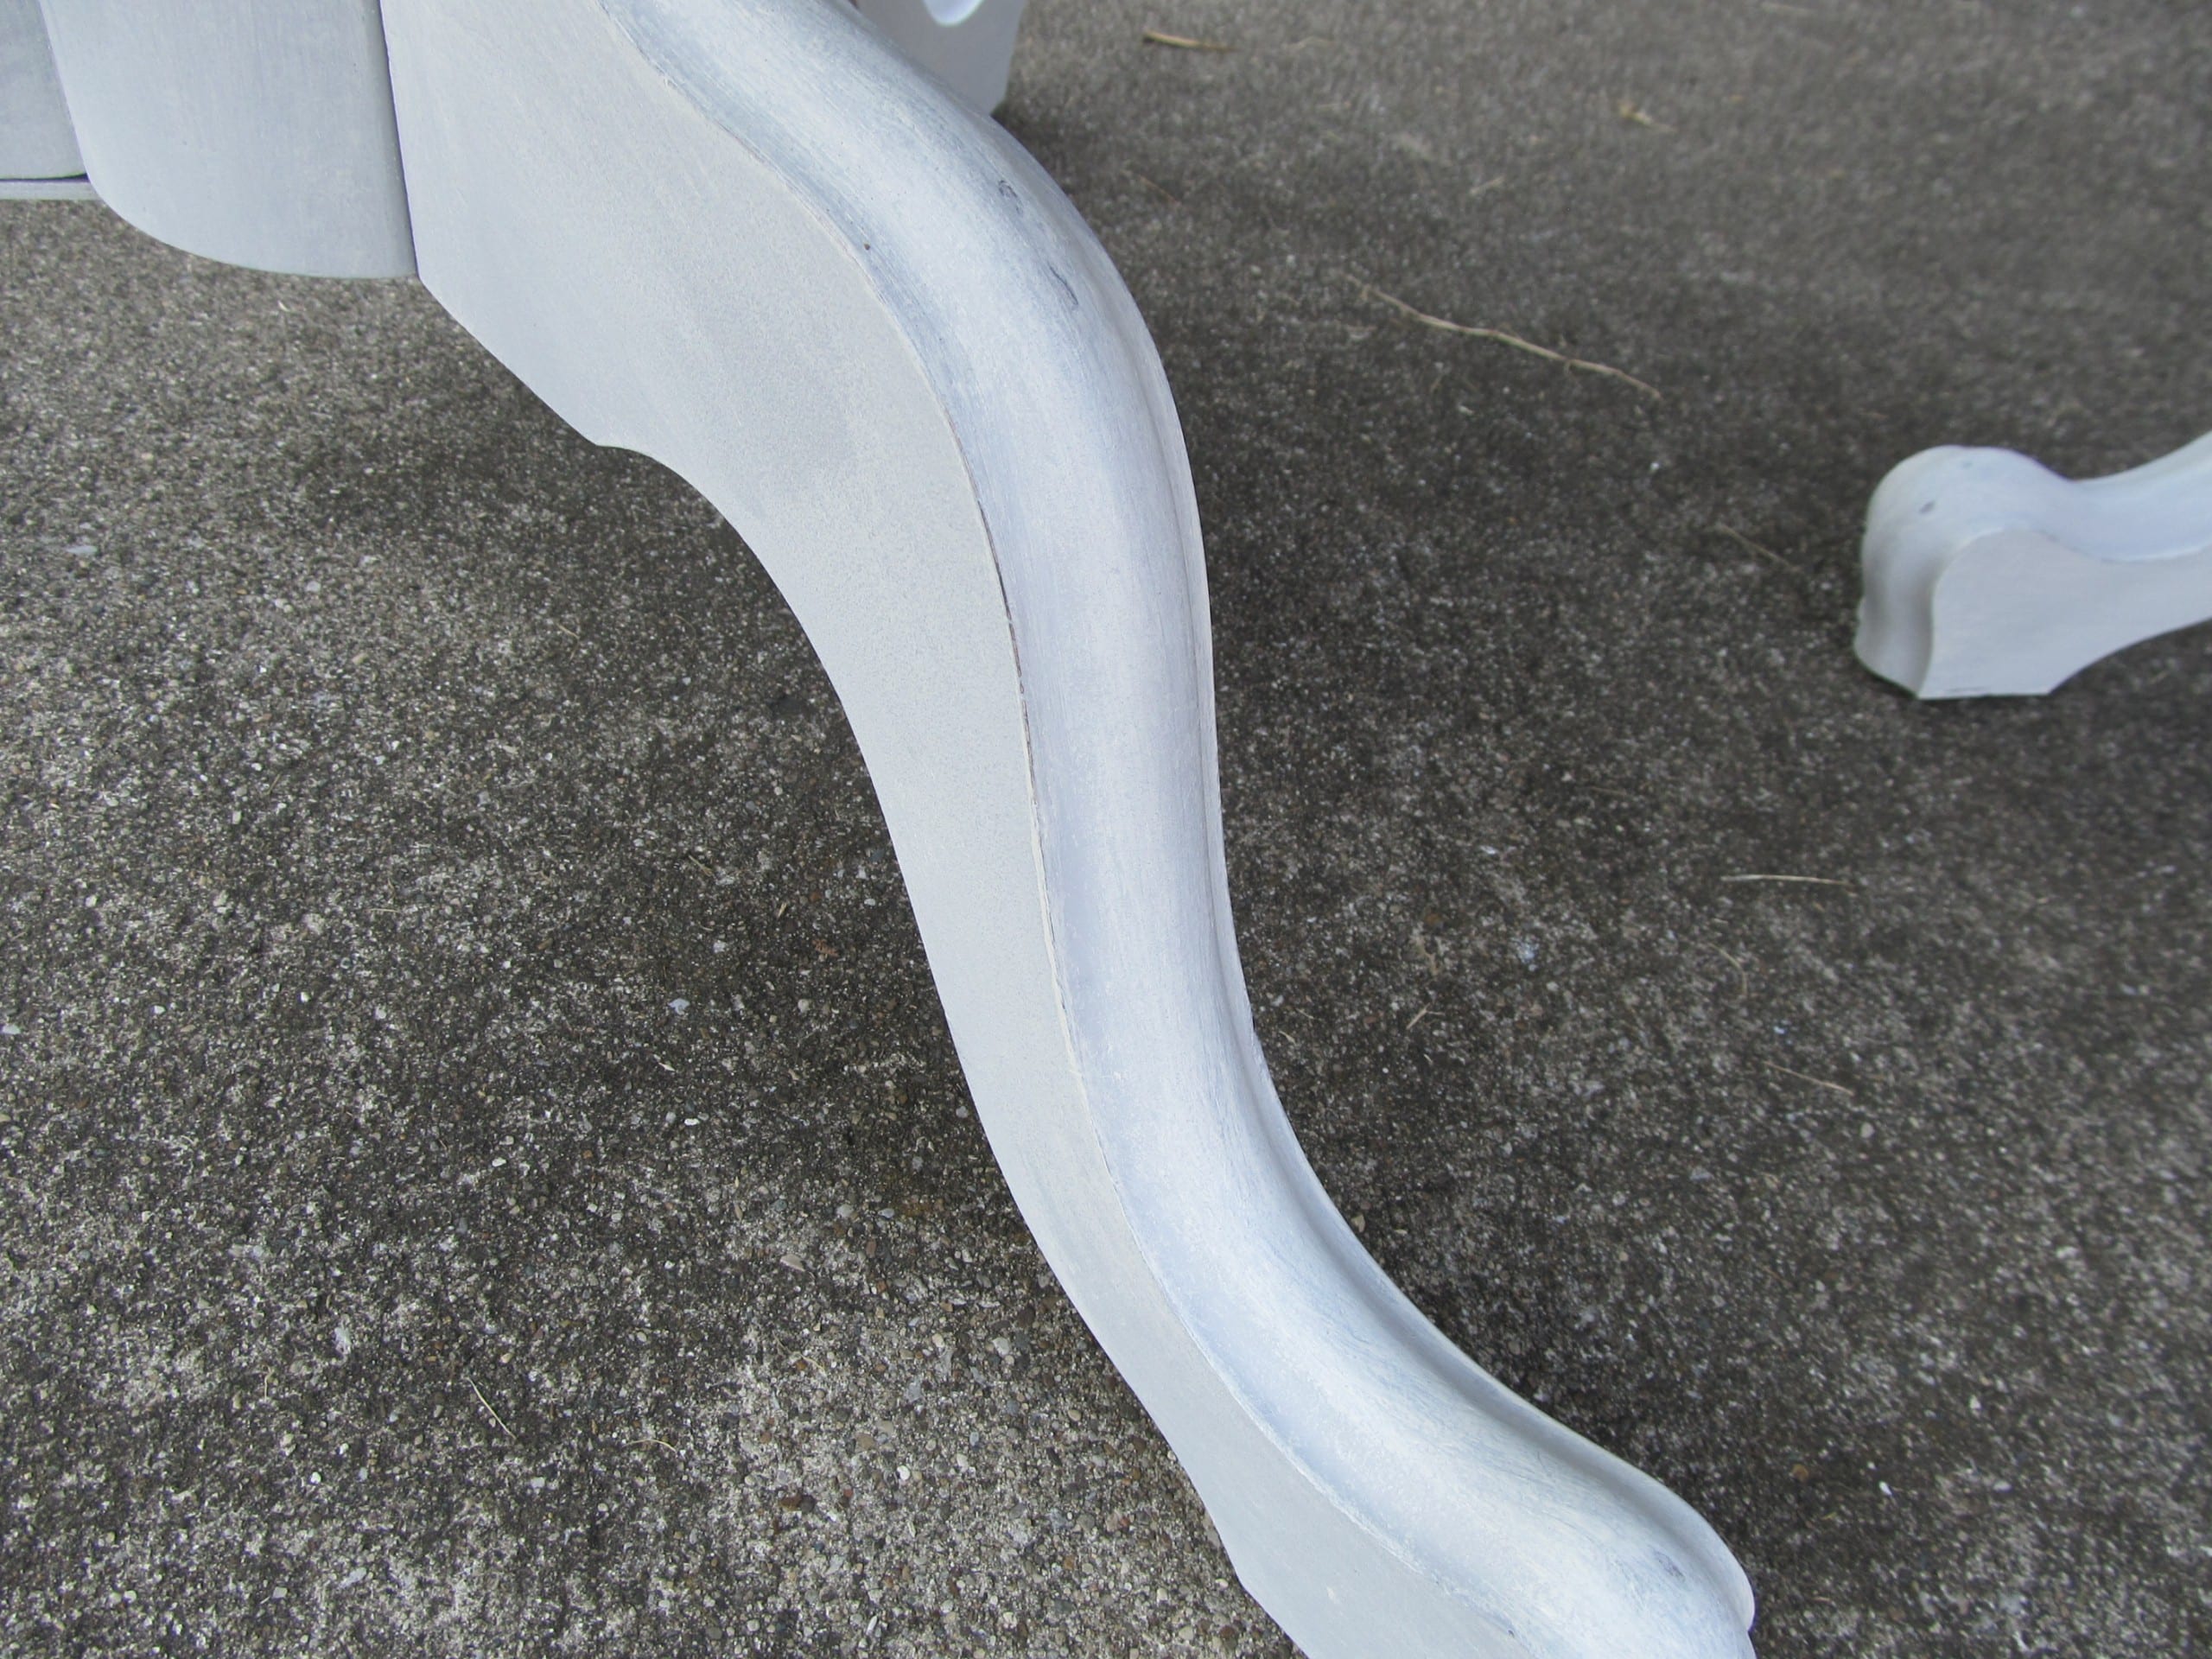
This is how she looks all painted, waxed, and buffed.
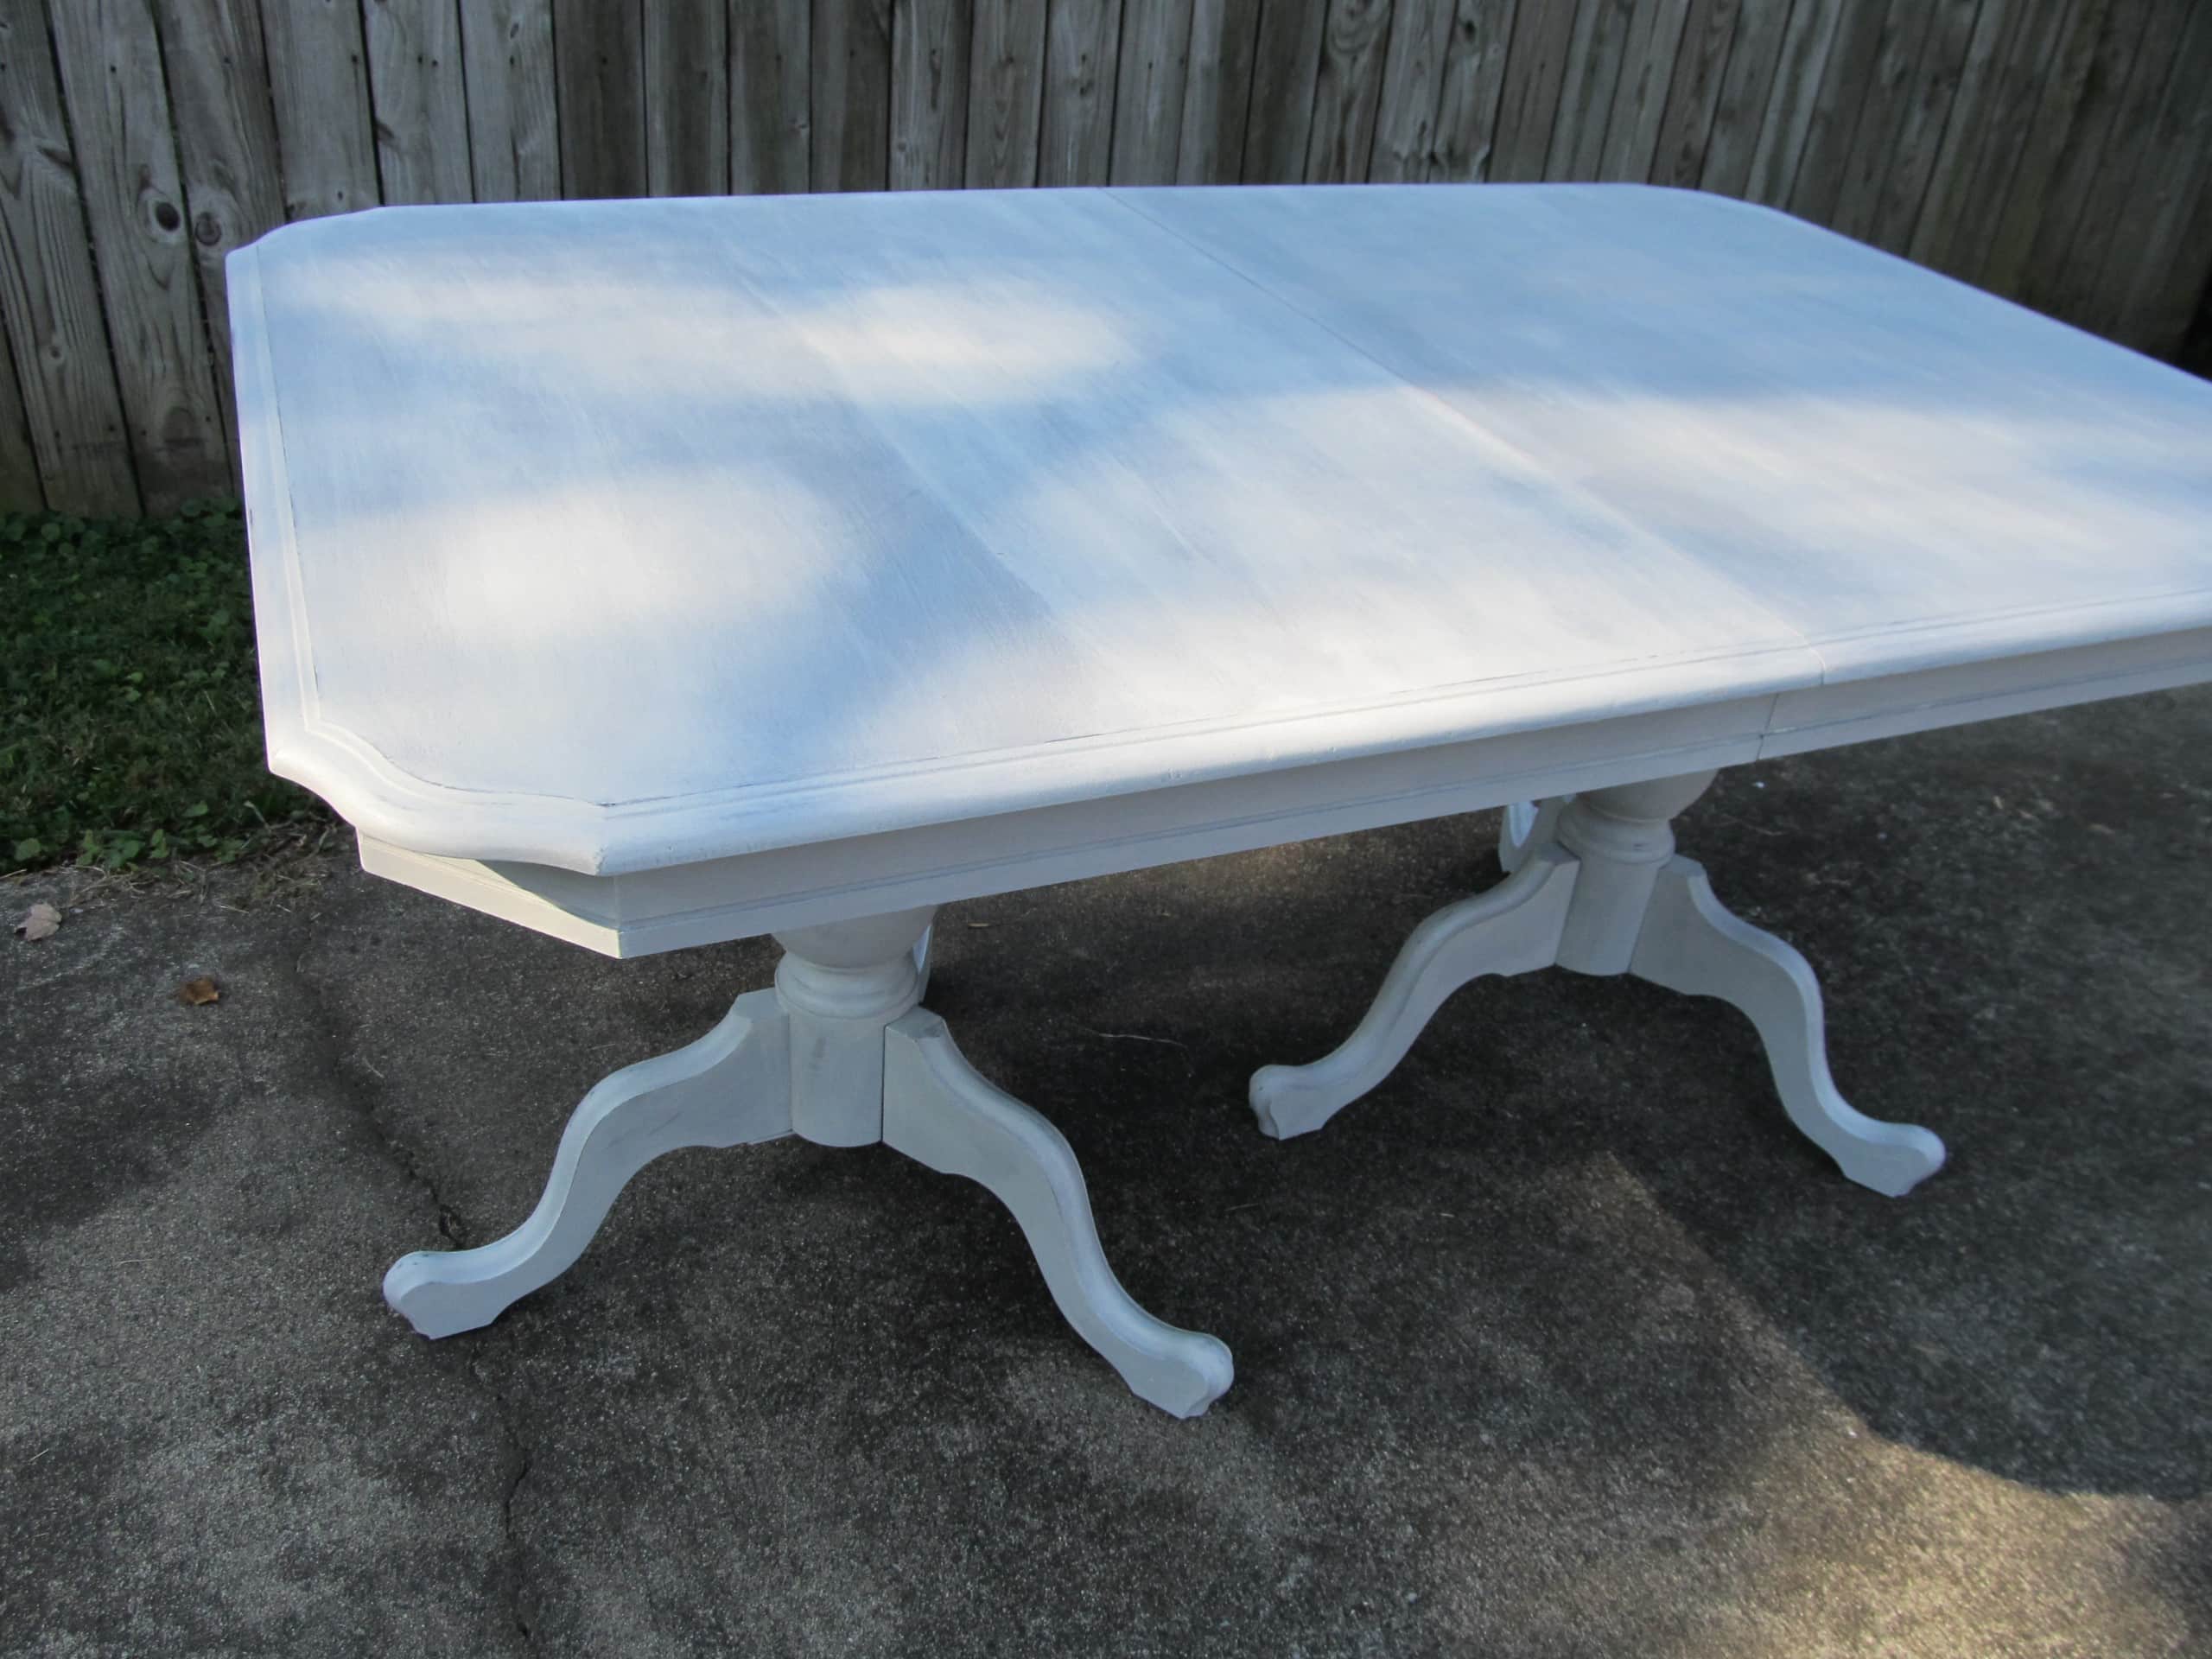
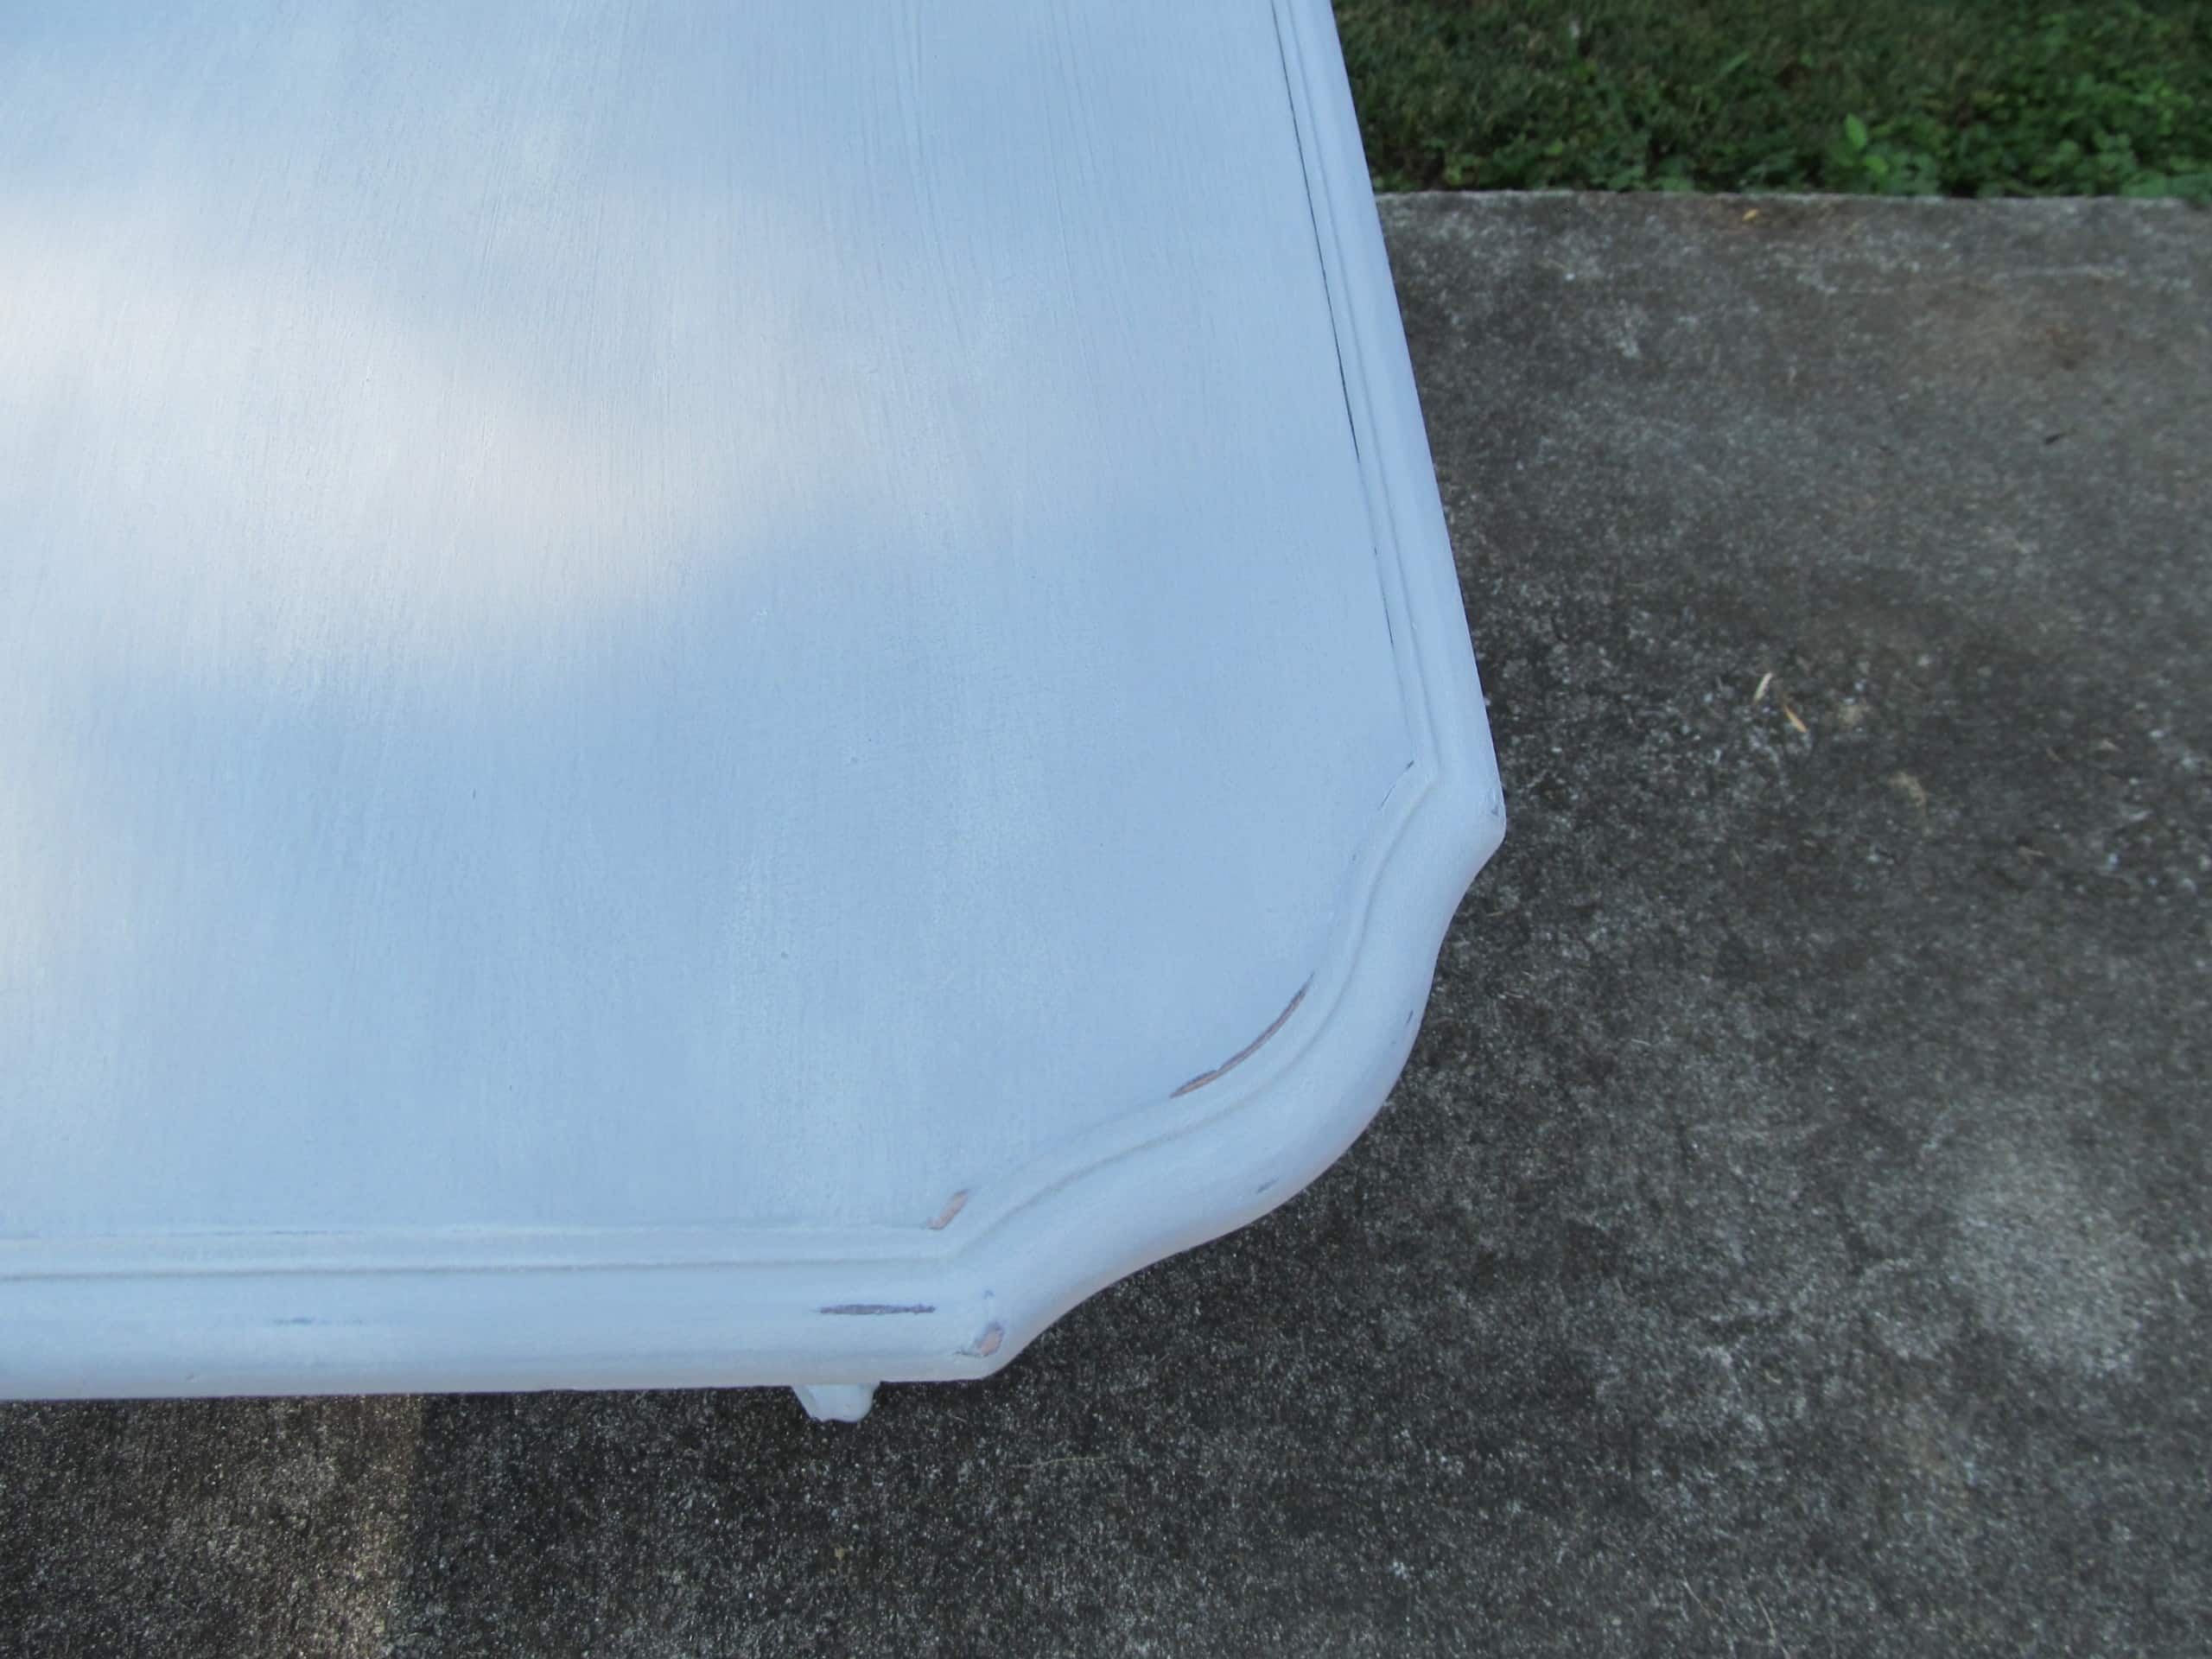
I lightly distressed this table. I’ve been looking for some chairs to go with it, but haven’t found any. If I can’t sell it as is, I may take it apart and use the pedestals to make two separate tables.
I painted this sweet table using Annie Sloan Chalk Paint in my HomeRight sprayer. It was so easy! You can read the details in my post, ASCP in a HomeRight Finish Max.
Have you used the “toothpick trick” to repair pedestals or other wood furniture? It sure does work great!
gail
related content: repair a vintage headboard
Works great on stripped door hinges as well.
Matt,
Indeed it does! Thanks for adding that tidbit.
gail
Ok so we bought a table brand new. It’s a round drop leaf pedestal table. Well we put it together and the bolts dont hold the pedestal this long base that attaches to the table top. The bolts just slide right out. My thoughts are to buy some wooden dowels and use those instead of bolts by gluing them in the pedestal bolt holes and into the table top underneath where it’s all screwed in. I have used wood glue in many instances and that stuff holds better than cement. My question is do you think it would work? The table is a very heavy strong table and so are the chairs. It would be done very much like you showed us in the photos here. Thanks and I love the table you got for a mere 10 bucks. Its awesome.
Marlene,
I’m thinking you should contact someone about this! It’s awful that you have a brand new table not working right. I would hate for you to use dowel and wood glue because then you can NEVER move the table out of the room, let alone the house.
Could you go to Home Depot and get different bolts? If you want to email me pictures, I will try to help further.
gail
Wooden BBQ skewers also work great!