How to Stain Vintage Hardwood Floors
As an Amazon Associate, I earn from qualifying purchases.
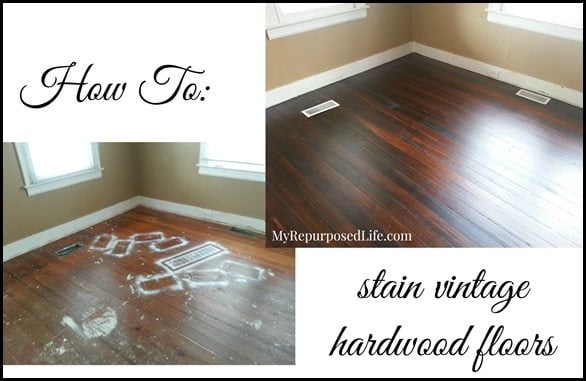

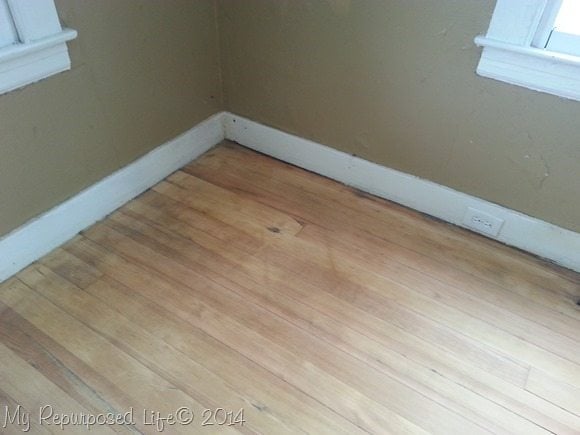 Over the last couple of weeks I’ve shown you how to Remove Carpet and Padding, and gave you tips for Sanding Vintage Hardwood Floors. You can see that the floor is now ready for stain.
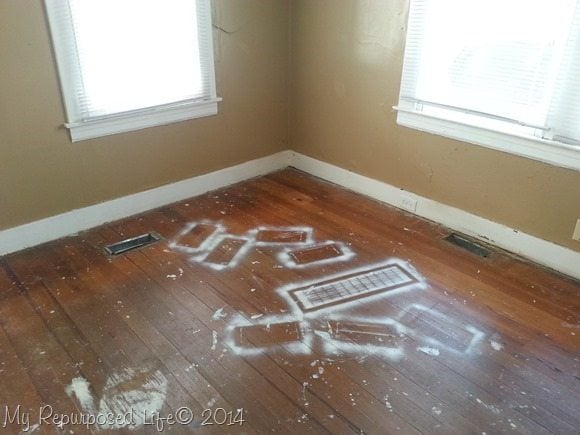 Looking at the before photo you will notice that the original floors were pretty dark, with so much natural light I decided it would be great to stain them Walnut.
These are the things you’ll need should you decide to do this DIY task.
- Garden Kneeler or Knee Pads
- Natural bristle brush
- Rags or soft cloths
- Minwax Walnut Stain (about 1 quart per room)
- Small paint tray for stain
- Minwax Super Fast Drying Polyurethane (I used about 1.5 gallons for 3 rooms)
- Lamb’s Wool Applicator
- Metal paint tray for Poly
- Latex Gloves
- Paint Thinner
- Respirator for dust and stain
- Tack Cloths
- Optional Shop Vac
- Optional—small soft bristle hand broom
- Optional stylish shower cap (to keep dust out of your hair)
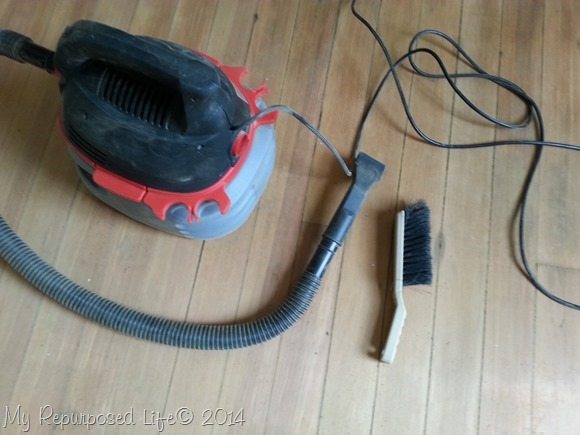 If you have ever taken on any project that needed sanding, you know there is a ton of dust. That is pretty much an understatement after sanding hardwood floors. The rented sanders have great dust collection capabilities, but there is still tons of dust on the floor. You can’t stain until you remove all of the dust. I used everything imaginable including a shop vac, and this small handled brush to get into the corners.
TIP: turn off your HVAC while applying stain and poly.
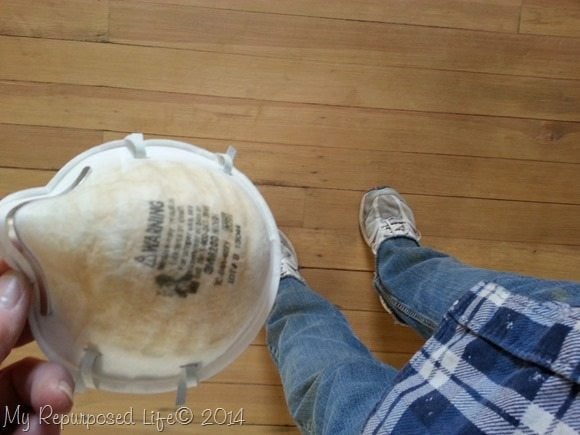 See all that dust on the respirator? Do NOT skip this item.
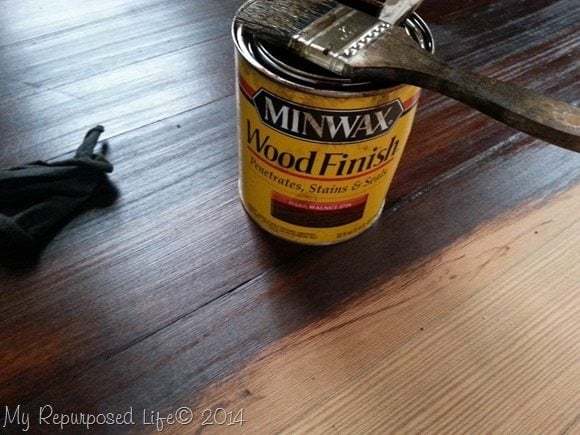 I used a small chip brush to get into the corners, and a wider chip brush to apply the stain with the grain of the wood, then wiping off the stain as I went. I worked from bedroom #1, through the living room, into bedroom #2, which led me to the kitchen for an easy exit out the back door. Then, I followed this pattern for staining and sealing.
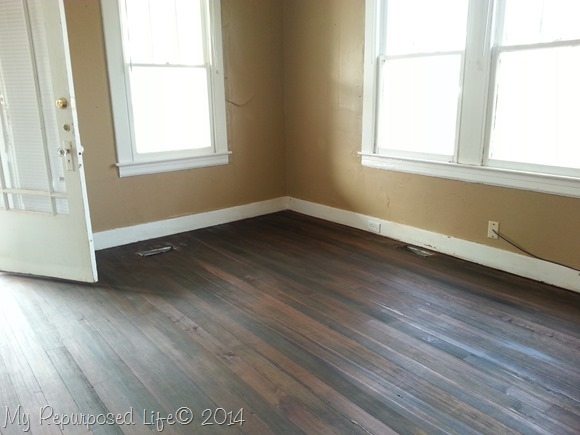 I applied one coat of stain to each of the three rooms, and allowed them to dry for a couple of days since the project house was unoccupied.
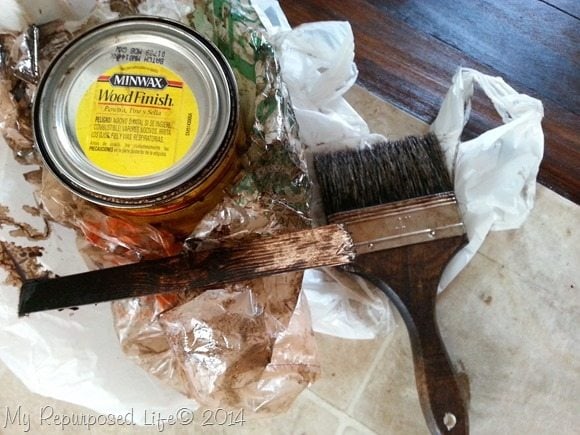 Be sure to stir your stain every 10-15 minutes. You can see the wide brush I used. It didn’t fit the can, so I poured the stain onto the floor in small puddles. I suggest you use a small paint tray.
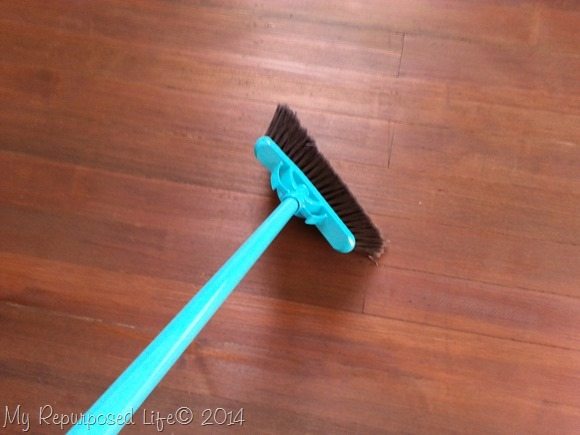 Before applying the poly, I used a brand new broom to sweep the floor. The rag had left some fuzziness, and there was random dirt on the floor.
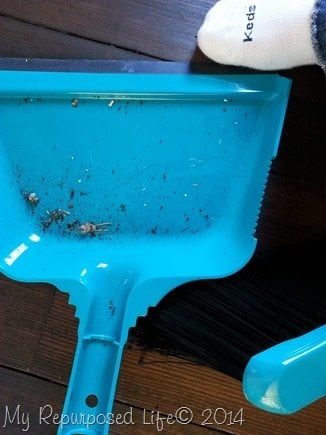 TIP: you should not wear shoes on your newly stained floors, I wore socks. You can see how much dirt I swept up in just one room.
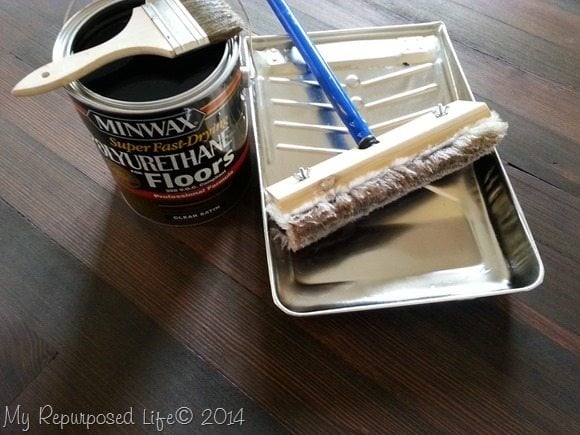 I chose to use Minwax Super Fast-Drying Polyurethane for floors. To apply it I used a wide natural bristle brush and a lamb’s wood applicator.
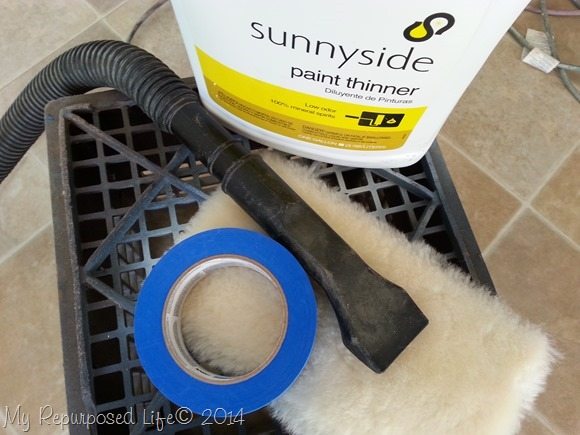 TIP: be sure to remove as much fuzz as possible from your lamb’s wool. It’s suggested to use painter’s tape, a shop vac, or some paint thinner. I didn’t know that with the first one I tried and it got fuzz all in my poly! ugh! Learn from my mistakes. On the second applicator (I just bought a refill, and used the same handle) I did all of the above to remove the fuzz. I wasn’t taking any chances.
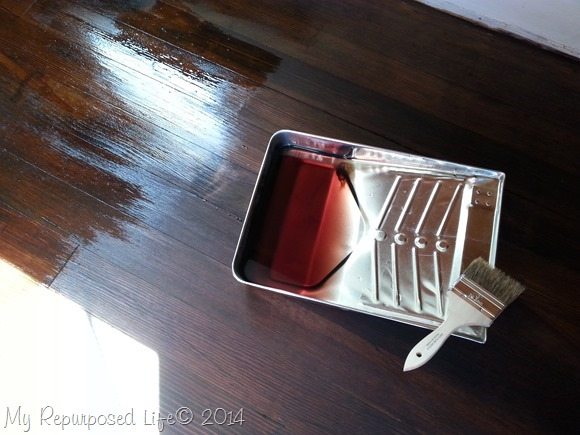 The Minwax Super Fast-Drying Poly is purple, but I assure you it dries clear.
 ![]() I did two coats of Poly. With Minwax Super Fast-Drying Poyurethane, there is no need to sand in between coats. Follow the directions on the can for drying times.
I did two coats of Poly. With Minwax Super Fast-Drying Poyurethane, there is no need to sand in between coats. Follow the directions on the can for drying times.
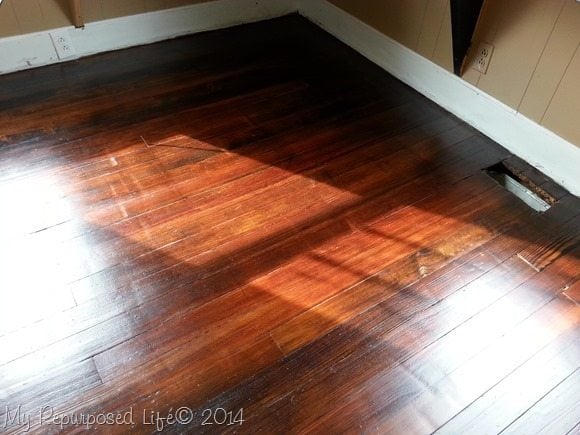 This is the front bedroom. Are the floors perfectly new looking? No, they are not, but they turned out exactly as I planned. They still have character and charm that match this very old home.
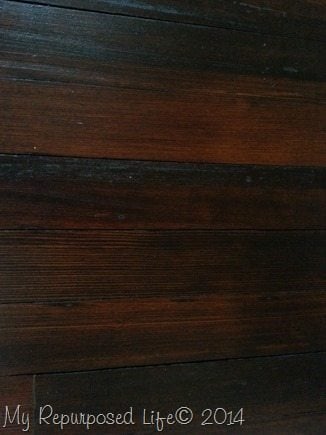 I love the deep/rich color of these very old hardwood floors.
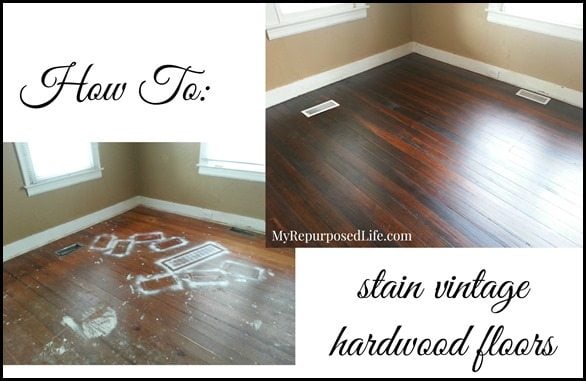
Are you amazed? I am! I’m loving how these floors turned out. Have YOU redone any hardwood floors? Would you do it again? I would if I were 20 years younger. 🙂
You can reach out to True Value on Facebook and Twitter. Need some visual inspiration? It’s gotta be Pinterest!
gail
I was one of the bloggers selected by True Value to work on the DIY Squad. Thus I have been compensated for my time commitment to the program as well as writing about my experience. I have also been compensated for the materials needed for my DIY project. However, my opinions are entirely my own and I have not been paid to publish positive comments.


Hello,
This article was very very helpful to me. I’m redoing old hardwood floors in a few weeks in my home, and your choice of stain is exactly what I’ve been looking for, as my floors have some flaws from carpet seamers and carpet glue stains.
I do want to point out however that you may want to stress to your readers the info. I learned about which poly finish to choose. Satin is best to show less dirt and helps hide the flaws. You didn’t specify the specific type of poly sheen you used.
Thanks, Mark
Mark
Looking at the can, it is a Satin finish. I’m not a high gloss kind of gal. 🙂
Thanks for stopping by and taking the time to leave a comment.
gail
Fantastic job, Gail. What a difference refinishing wood floors makes in a room. Congratulations! Your hard work was definitely worth it. -Bruce
I wish I had known about this fast drying poly…I’m doing the stairs and it.’s hard to say don’t go downstairs the stairs are wet.
Oh PRETTY!
You did a fantastic job Gail. Love the darker color stain, rather than the lighter honey color.
Patricia
Gail, you’ve gone and done it , again! Love that you kept the charm of the old wood floor. They are not new and shouldn’t look that way. I’m sure, whoever laid that floor, would be glad to know it was restored.
Wow, the floors look so beautiful! I know this was a huge job, but so worth it! Great tutorial and tips Gail!
I can’t believe you did that with a small brush like that! It looks amazing. And matches the house.
Oh what a super job. I love the finished floor and wish I had wood floors. Thanks for sharing.
Nice job! Personally I’m not a fan of dark floors, I would have done a clear coat. But what a difference!!!
Fantastic job…..you are a work horse woman! I love the darker floors anyway and those turned out amazing.
These floors turned out gorgeous! It must be a great feeling of accomplishment to uncover and refinish such beautiful wood for display. We’re hoping to refinish the wood floors in our master bedroom, and I’ll be a happy camper if they turn out half as nice as these did! I always appreciate your attention to detail in your tutorials. There are great tips here I’ve never seen before, like wearing socks and delinting your applicator. Thanks!
So beautiful!
Wow…these floors look amazing! I love the color you chose! Great job!
Wow! Those floors are fabulous. I love the “not new imperfect” condition. The floors have the patina they should have but with a new protective poly coat. Love, love, love them.
Holy crow how beautiful they turned out too!! What a great job! I finally painted the vinyl floor in my bathroom, thanks to your encouragement – now I need to pull up the laminate in my living/dining rooms and deal with the old fir floor. I’m very nervous…
xoxo
Absolutely gorgeous! I truly don’t know what else to say.
Looks fabulous Gail. I love the old real wood floors!
Oh WOW! The floors turned out beautifully. I would have loved to have done that with my floors but they were in such bad shape. Great job Gail!
The floors turned out beautiful! It makes me want to do mine …