How to line a vintage picnic basket
As an Amazon Associate, I earn from qualifying purchases.
This isn’t a repurpose, it’s more of a fix up of a vintage picnic basket.
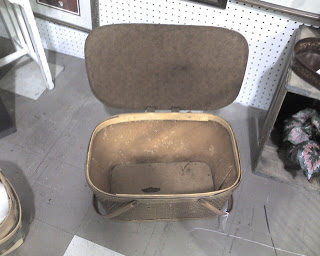 My daughter Jamie was really wanting a vintage picnic basket. I was shopping at my favorite Peddler’s Mall, and found this one. I took a pic with my phone and sent the picture to her via e-mail. This basket was selling for about $13.00. She wasn’t really impressed.
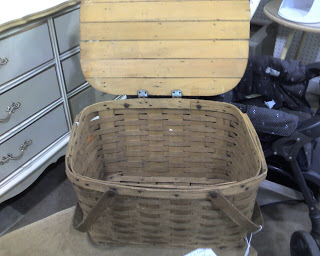 I walked a little further, and found this sweet basket for $9.85. I sent her this picture, and immediately she texted me back, “get it”.
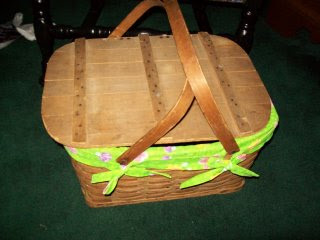 As the title states, I really don’t like to sew. I have never sewn a basket lining before. I made a prototype with this very inexpensive green fabric. One of Joey’s specials at $2.96 for about 5 yards. I turned the basket over, laid the fabric on the basket wrong side out, and pinned the heck out of it! I had pins everywhere. I then sewed it, and made some little ties for it. I also made a prototype for the cover of the lid.
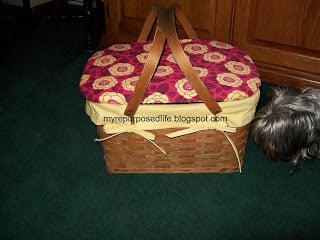 This is the finished product. Louie (the grandog) is checking it out to make sure his “mops” did a good job. If Louie were smaller or the basket larger, we could put him in there just like Toto on the Wizard of Oz. Louie spent about 6 weeks with me, because my daughter Jamie had a lot of travel plans. He has gone back home now, and I miss him. However, Miss Kitty and Matt Dillon may be glad he’s gone.
 There was quite a bit of fabric that I cut off the parts that I pinned. Four corners, four pieces of fabric. I did a little hem in them for napkins. But after I made all four of them, I decided to use them in a different way. I sewed two of them together on 3 sides to use as a little pouch for paper plates and napkins. Another one, I folded over to make a pouch for plastic cutlery. I used adhesive Velcro on both so that the things wouldn’t spill out.
- a journal
- salt and pepper
- cutlery
- plates and napkins
- sunscreen
- cork screw
- a small basket to put the cutlery in
Jamie was very happy with how it turned out. I hope that she has lots of fun on her picnic adventures!
Oh I bet your daughter was thrilled with the end result… it is gorgeous… I am sure she will treasure that for many years.
Nice sewing job! The basket definitely looks great and has its own very special custom look.