JOY Christmas letters
As an Amazon Associate, I earn from qualifying purchases.
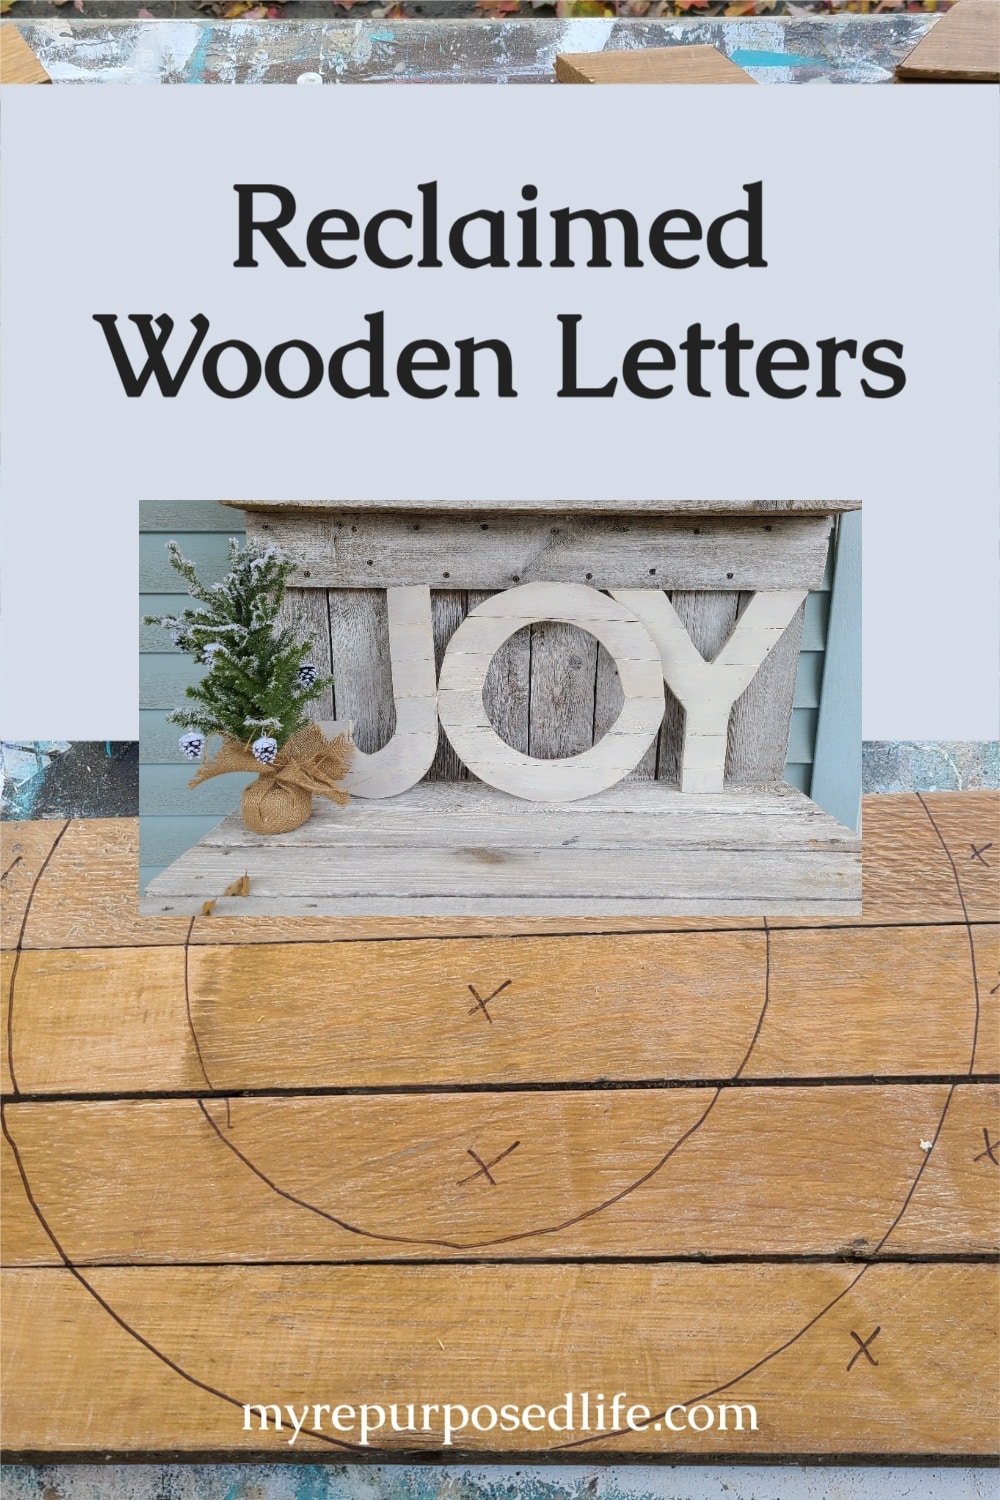
I’ve wanted to make JOY wooden Christmas letters for a few years now. A few months ago, I got a pile of reclaimed flooring from my neighbor Rodney. Suddenly, it hit me that this would be the perfect time to make monogram-like letters spelling JOY for Christmas! They aren’t perfect, but I think they have a certain charm, being handmade instead of manufactured.
JOY Christmas Letters

Here they are, hanging on my fence. Have you been enjoying Spring-like weather in November like I have? Let’s see how the JOY letters came together.
Prep Reclaimed Oak Flooring

The reclaimed oak wood flooring is ancient. First, I had to remove any nails and staples. Then, I gave it a light sanding to make the wood a little smoother.
Make Letter Templates

I get a lot of these large cardboard envelopes when I order transfers from The Junky Chalker Shop. Who knew this type of cardboard would be the BEST for making my JOY Christmas letters template?
If your printer will print poster-sized, you can skip this part by designing and printing oversized letters. However, my latest printer could not do that.

My letters are about 12” tall. The reclaimed oak flooring is tongue-and-groove, so I did the best I could to match the pieces.
Trace JOY Christmas Letters

Using a sharpie, I traced the letters onto the wood. I did the same for the letter O.
TIP: if you have letter cutouts from the craft store, you could trace those a little larger, then glue your pieces onto the original craft letter for a secure hold.
Visit the My Repurposed Life Amazon Store to shop my favorite items.
Cut Reclaimed Flooring

Because it can become very confusing, I cut out one letter, one board at a time, with my jigsaw.

I advise you to mark an X on the pieces you won’t use (as shown here).

I used the same method for cutting each board at a time on my Hello Fall Rustic Pumpkin Sign.
Clean Tongue & Groove on Reclaimed Oak Flooring

Since this reclaimed flooring was very old, I used a small screwdriver to remove the dirt from the tongue-and-groove sections.

The small screwdriver quickly removed all of the debris from the tongue ends of the reclaimed flooring. The tape measure serves no purpose here, I used it to prop up the piece so I could take a picture.
Time to Glue JOY Christmas Letters Together
")
Being an impatient person, I used Gorilla Wood Glue for durability and hot glue for a quick hold. I love my Robi Glue Gun! It does take a little longer to heat up, but it gets hot and works great.

To ensure the letters would set up, I glued them in sections, then glued the sections together the next day and let them set up overnight.

I wanted to be gentle with the glued pieces. To sand them, I placed them on a flat board. My plastic table has very uneven places.

For smaller areas, I switched to a mouse sander.
NOTE: I have round sandpaper on the mouse. ![]()
Ready for Paint

The letters were painted with Miss Mustard Seed Milk Paint.
Nailess Saw Tooth Picture Hangers

These are the saw tooth hangers I used for the JOY Christmas letters.

On most projects, I use d rings. However because these JOY letters are not heavy, I knew these hangers would be best!
")
The JOY letters are not perfect but full of country charm.

I do believe that if I had craft letters to trace and glue to, this would have been a much easier job. It’s easier to cut one board at a time when you can.
This JOY Christmas letter tutorial could easily be used for monogram letters!
gail
Looks great, but I would NEVER be patient enough to do all that! Hobby Lobby is my go-to:) You are just so danged crafty…good for you:)
Cheri,
It was fun to do (for me) But I just love sawing wood!
gail
that is so crafty and they look so good!
You’re too kind Nova….. they definitely have their own charm! lol