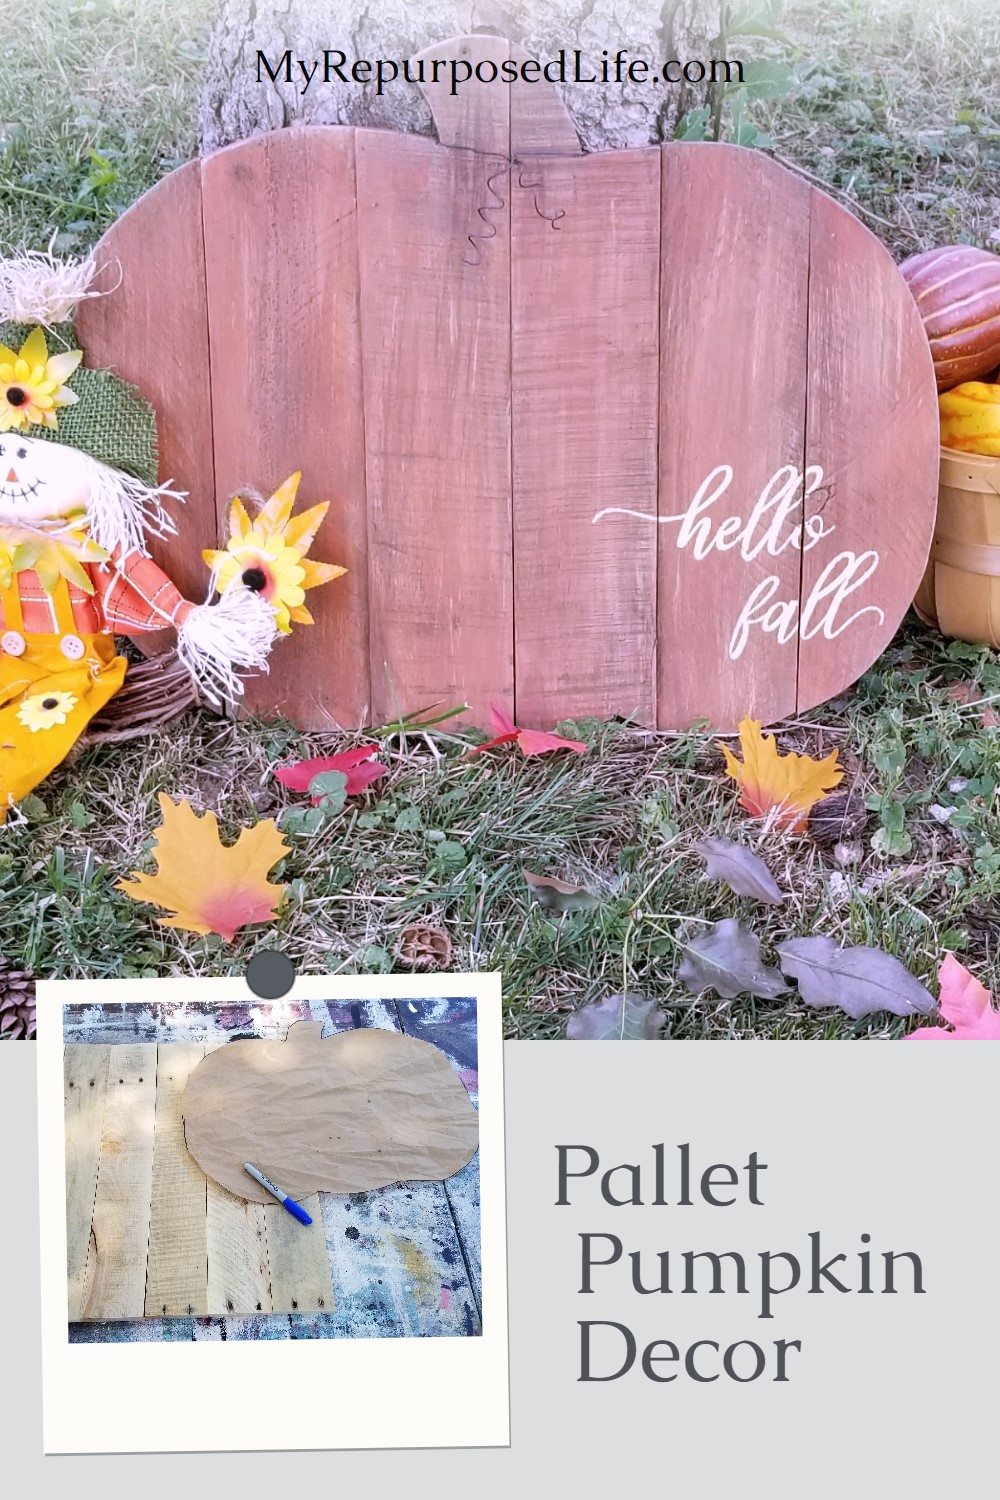
Hello Fall Rustic Pumpkin Sign
As an Amazon Associate, I earn from qualifying purchases.
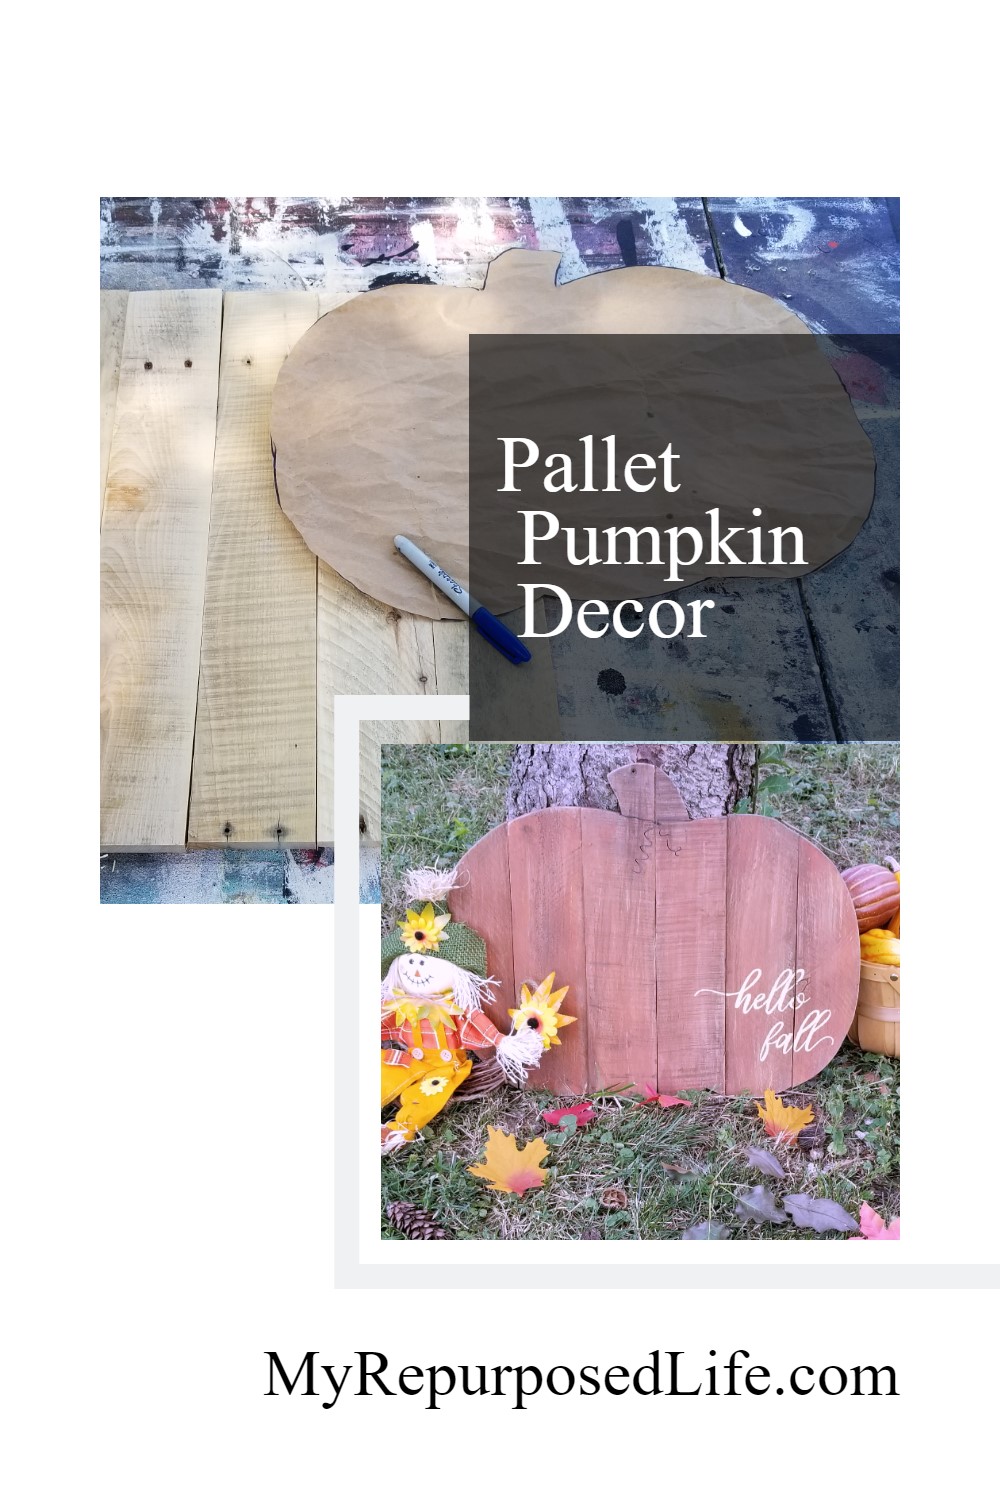
Fall is my favorite season to get crafty—and this rustic “Hello Fall” pumpkin sign quickly became one of my go-to fall décor pieces. I grabbed a few pieces of old pallet wood, traced out a simple pumpkin shape, and transformed it with stain, a little sanding, and some hand-painted touches. Not only is it budget-friendly and easy to make, it brings the perfect cozy, handmade vibe to my porch (and gets plenty of “wows” when friends stop by).
I made this small rustic pumpkin sign from pallet boards for this month’s Power Tool Challenge. The pallet boards were originally intended for use on the reclaimed wood coffee table. But that didn’t work out. Honestly, I couldn’t be happier with how this project turned out. It’s easy enough for a beginner, using minimal tools.
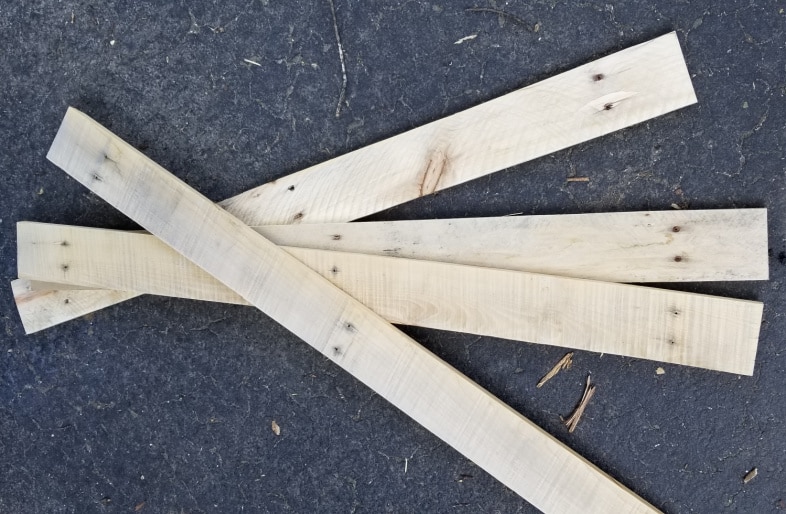
I gathered four pallet boards but ended up only using three of them—cut in half on the miter saw. Depending on the size of the wood you have, your sign may vary. Of course, you can make your Hello Fall sign as large or as small as you like.
Duckbill Deck Wrecker
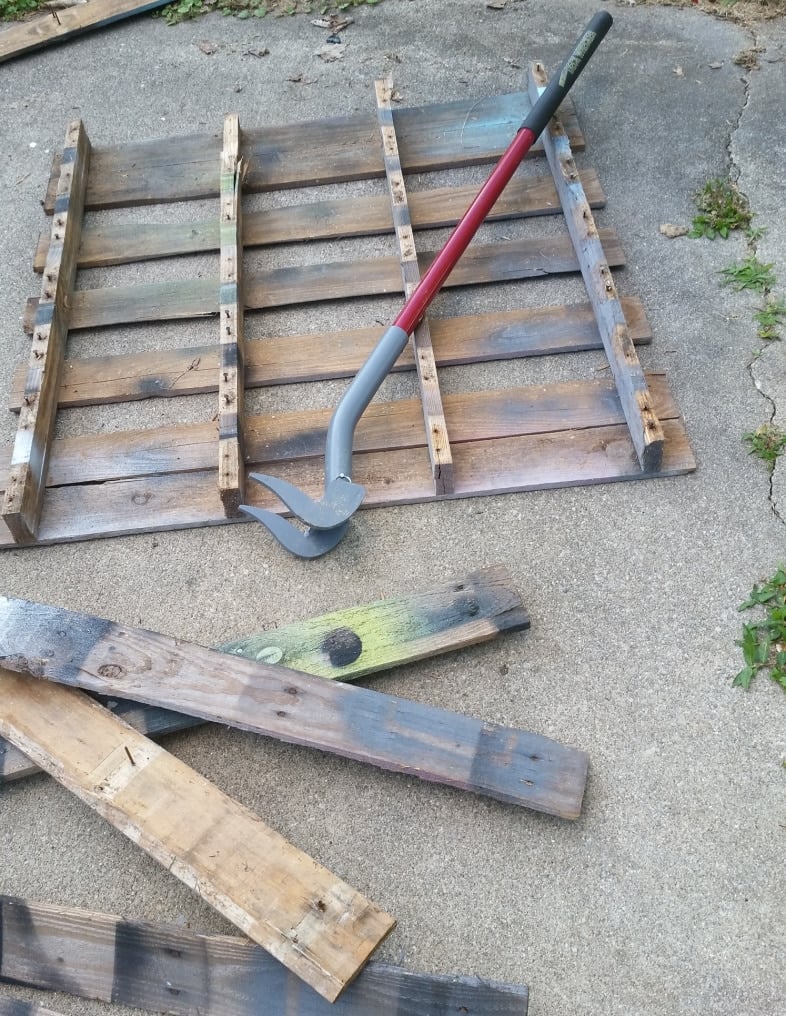
How do you disassemble your pallets? I use the fabulous Duckbill Deck Wrecker. It never lets me down! You can learn more about it and other pallet projects in my post Pallet Projects and Tips for Dismantling Pallets.
Trace Your Shape onto Pallet Boards
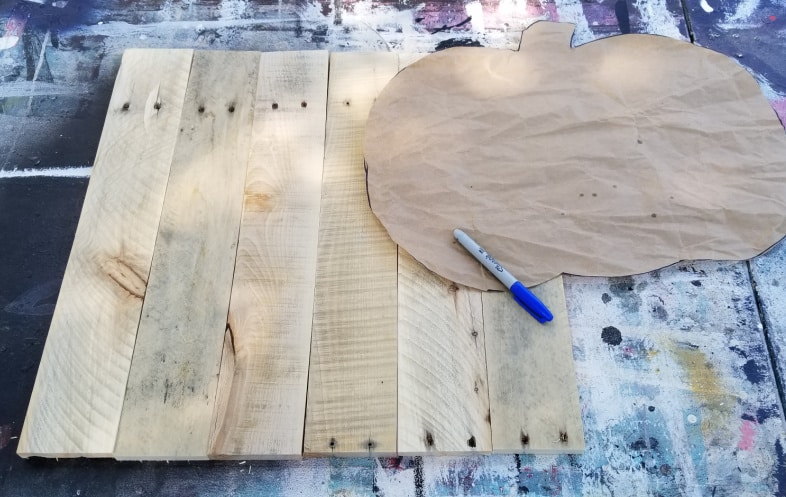
I drew out a pumpkin shape on scrap brown craft paper.
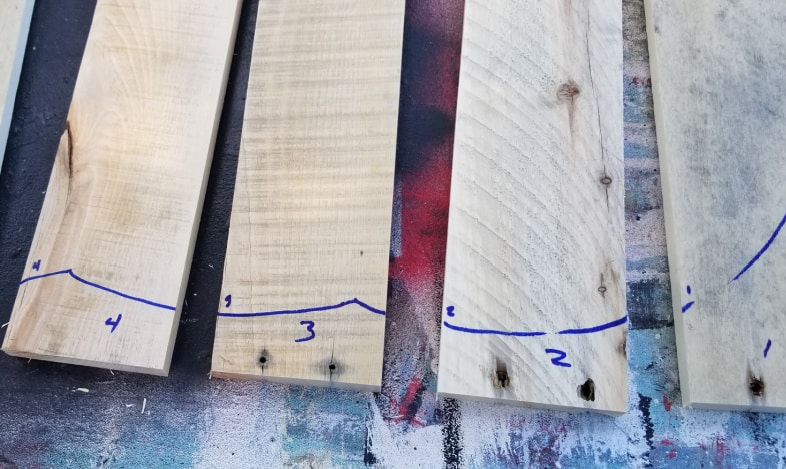
Looking back on this, I should have used an orange Sharpie to trace the outline of the pumpkin. I traced the pumpkin on the BACK of the pallet boards.
You will enjoy this Pallet Wood Shelf if you like pallet wood projects.
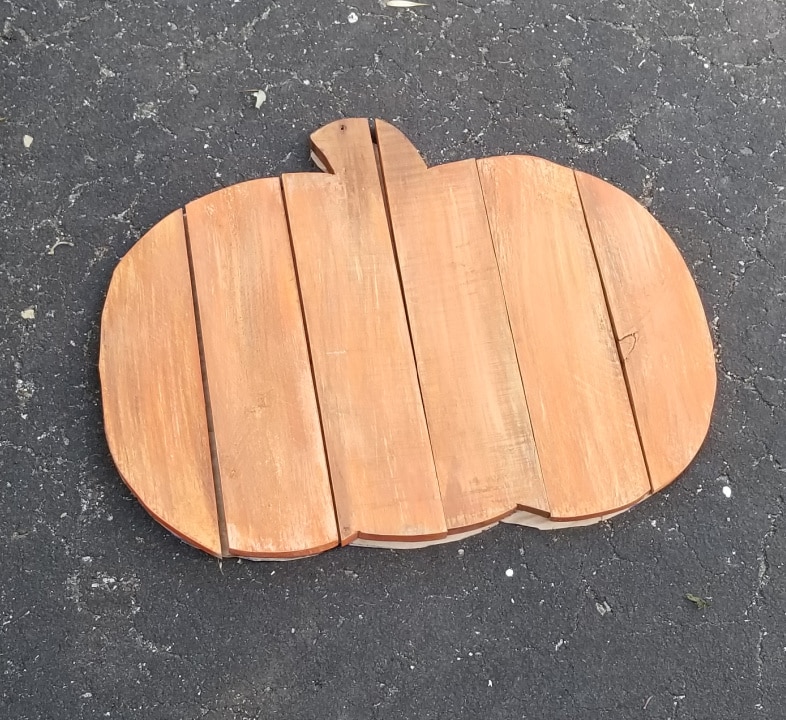
Cut the Pallet Boards With a Jigsaw or Scroll Saw
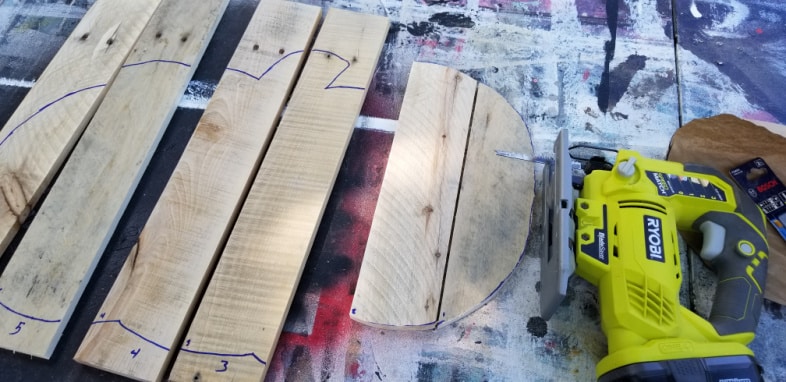
The jigsaw was perfect for cutting out this pallet board pumpkin, one board at a time. Doing it this way allows more control to stay on the lines.
The boards were sanded lightly, where the jigsaw left some shavings.
TIP: Keeping a sanding sponge near your saw is a good idea to handle those pesky shavings.
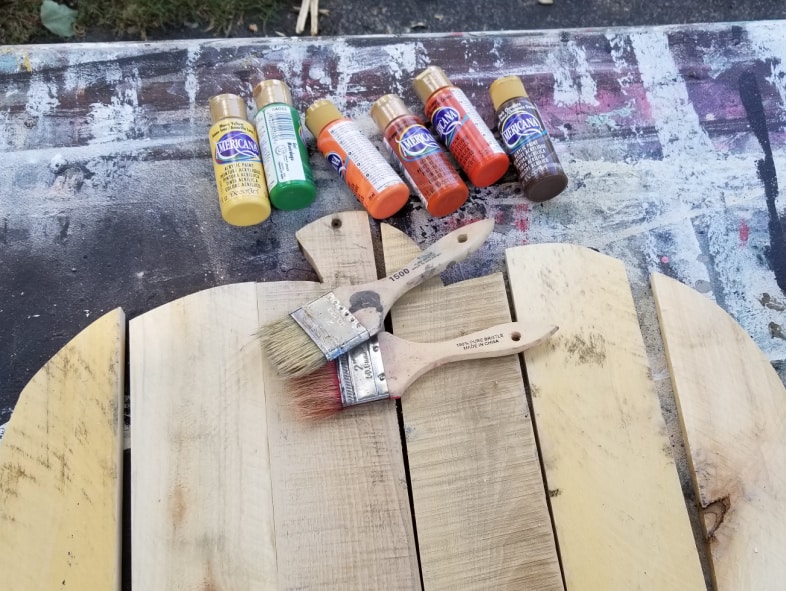
I gathered some fall paint colors, a couple of cheap chip brushes, and a small tub of water for diluting the colors.
Paint the Pallet Board Pumpkin Hello Fall Sign
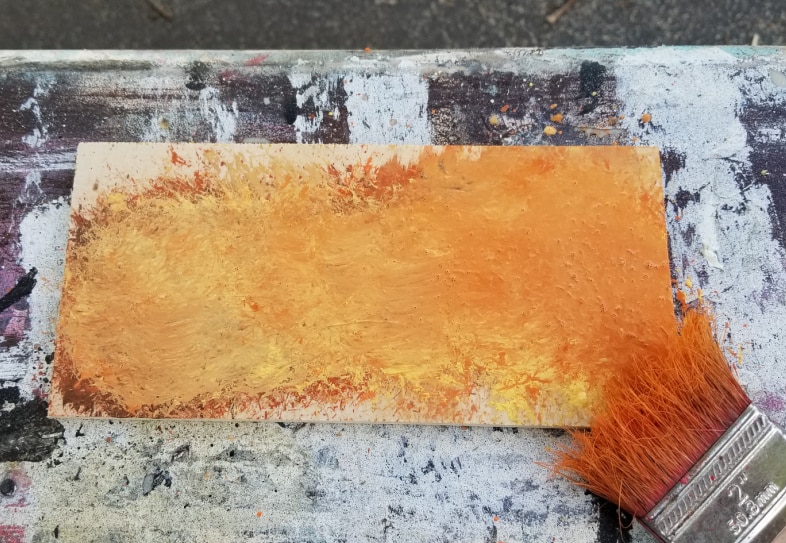
A small piece of scrap wood was used as a paint palette. I used it to blend the colors as I worked on each board. Have you ever done this before?
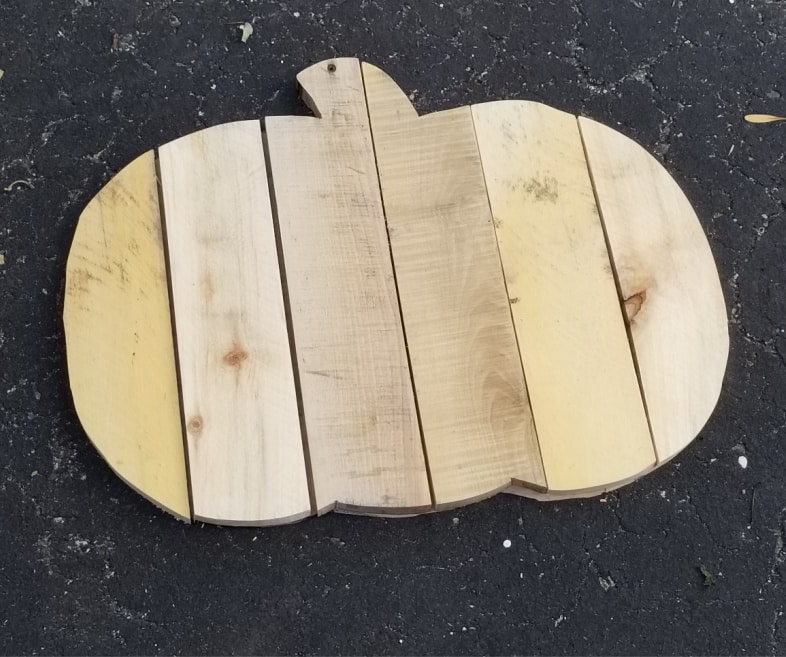
First, I laid the boards out to ensure the colors blended well.
Attach the Pallet Pieces to the Scrap Boards
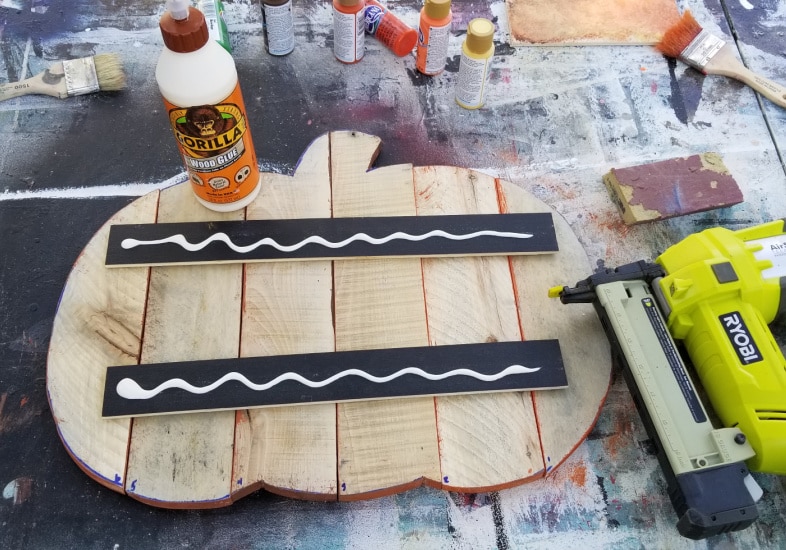
I used Gorilla wood glue and my nail gun to secure some scrap plywood, which will hold the sign boards together.
Paint the Back of the DIY Sign

The back of the pumpkin sign was painted to give it a more finished look.
Smoked Glaze Gives Character to the Old Pallet Wood
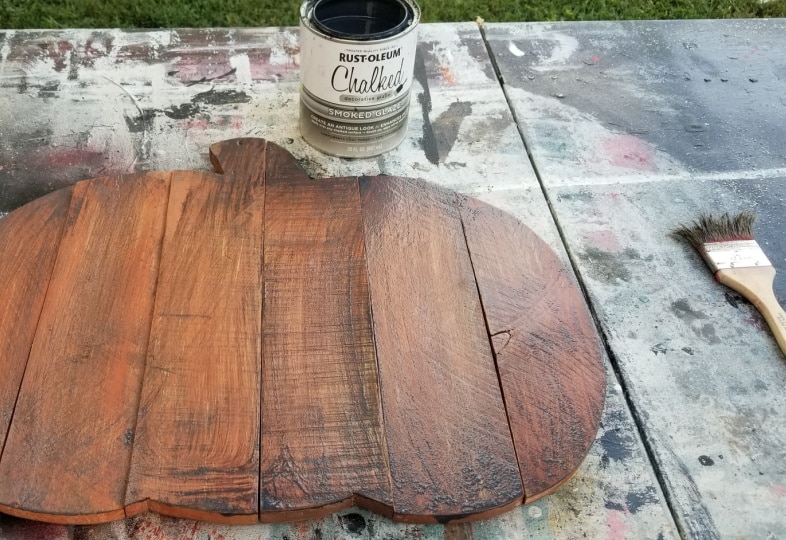
Of course, I tried to leave it as is, but I knew it would gain more character if I glazed it with my favorite smoked glaze.
Contact Paper Stencil for Hello Fall sign

A “hello fall” stencil was made using contact paper and my Silhouette Portrait. However, you can use a paintbrush or marker if you have pretty handwriting.
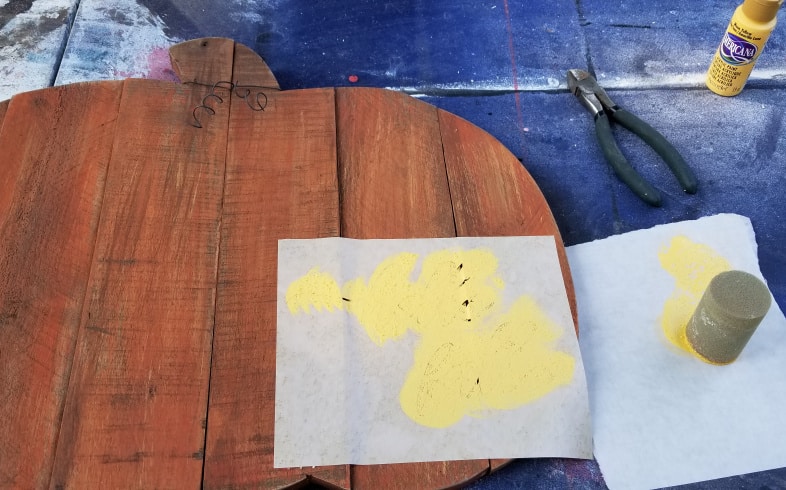
These Martha Stewart foam pouncers are my favorite way to stencil. I chose a light yellow for the words “Hello Fall.”
I used some annealed wire around the stem.

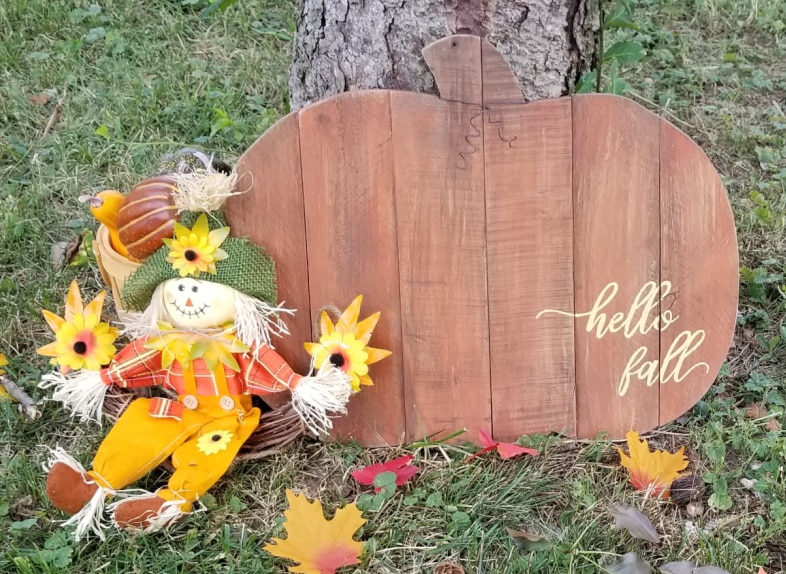
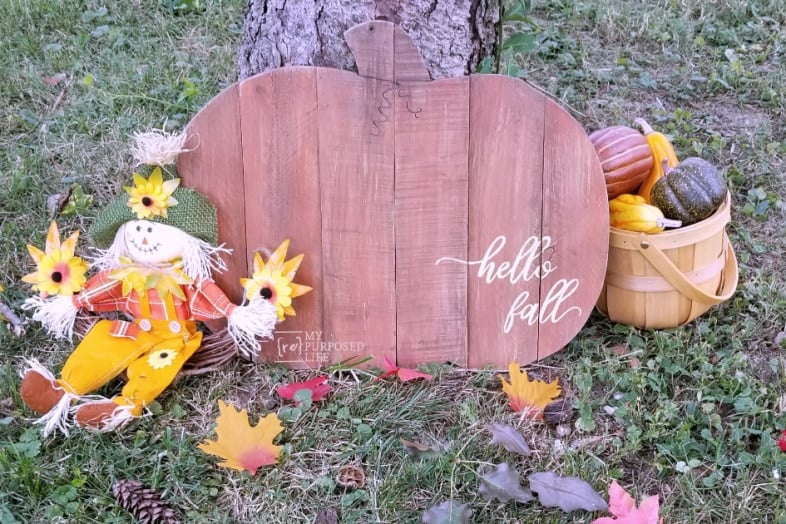
The Hello Fall Sign is Perfect for Yard or Porch Decor
I love how this rustic ‘Hello Fall’ sign makes me smile. Fall is my second favorite season, with Spring taking first place.
Check out these other great DIY signs from my talented woodworking blogging friends.

Virginia Sweet Pea – How to Make a Pallet Wood Arrow Sign
Create and Babble – How to Make Double-Sided Framed Wood Sign
My Repurposed Life – Hello Fall Rustic Pumpkin Sign
Designed Decor – Framed Laundry Room Sign
H2OBungalow – Large Modern Wall Decor Sign Tutorial
Domestically Speaking – Beach Signs
Refresh Restyle – How to Make a Two-Sided Sign
The DIY Village – DIY Raised Wood-Lettered Sign
I hope you find something to make real soon!
gail
Can you tell me what colors you mixed together to get your great orange? Thanks
Sallie,
I used some oranges and browns. It’s hard to say exactly, but the end result is because of the glaze! It gives it such a nice aged look. 🙂
gail
I love your pumpkin. I made some last week and one of them looks somewhat like yours. Wish I could attach pictures of mine.
Awesome Sally! great minds think alike, eh?
if you made them for selling, lots of luck!
gail
This is so sweet! I need one of these…actually two of them for the North House! I’m decorating for fall here now. Love your tutorial, as always! Pinned and tweeted 🙂
I love this Gail, just learning my Ryobi jigsaw so this will be simple enough to try. I love everything about Fall. Love the step by step instructions you always give. Hope all is going well on your end. Won’t this be the first Christmas with the grand baby?
Bonnie
This is adorable! I’ve got pallet wood on the back of my truck and I’d love to make one of these for fall.
I love the look with that smokey glaze… .super cute!
so nice! love the colors and how the wax finishes it off!
Thanks Nova! Maybe you’ll see it at Glendale…. It will be here before we know it!
gail
Great Pumpkin,I always like your projects.Especially the way you go into detail on the “how to’s.Looking forward to the next one👍.
Thanks neighbor! I really do love how this turned out. It might be difficult to let it go at Glendale. 😉
gail