tips and tricks for painting kitchen cabinets
As an Amazon Associate, I earn from qualifying purchases.
First, let me tell you I cannot wait until this project is finished!
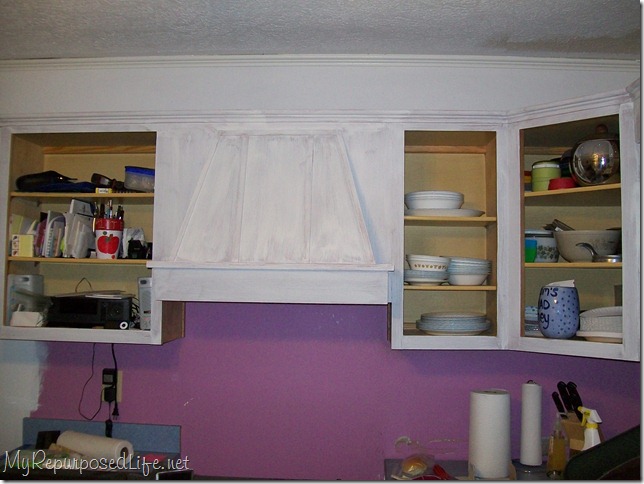
This is after primer. Funny how you take pictures and see things you don’t see with the naked eye. I only got half the kitchen done on the first day. I just pooped out! I started out the day sanding. After I got the sanding and the cleanup done, I just couldn’t go any further than half. See that portion of the ceiling over the cabinets in the corner? It is NOT that noticeable IRL. I didn’t notice it for DAYS. I still have not touched it up. I plan to remove the light fixture, so I will do all the ceiling touch-ups at one time.
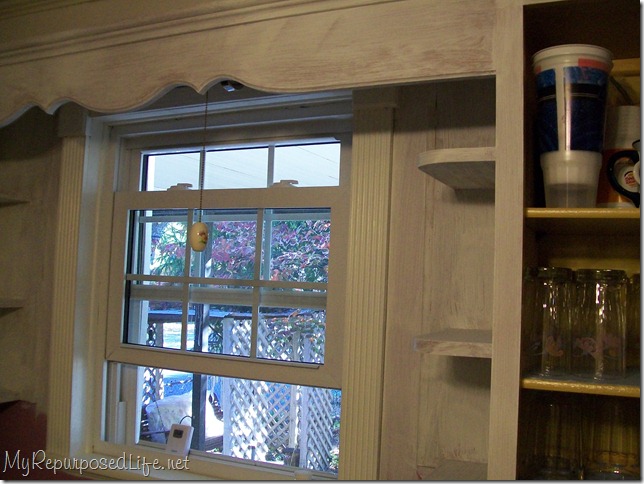
Why does primer always look so bad? Oh, yeah, and why does it smell so bad! That’s why the window is open.
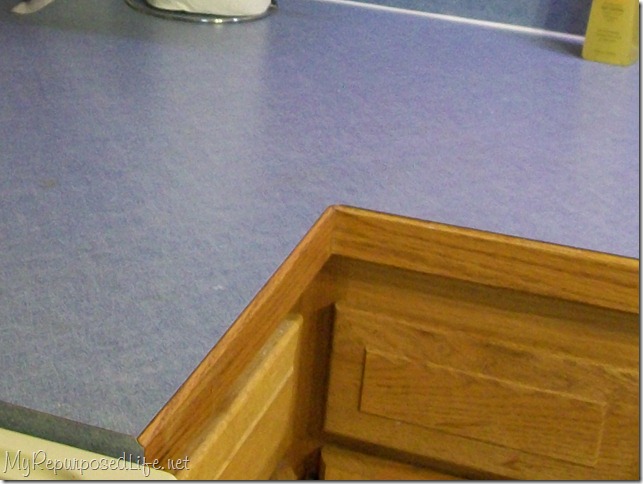
Do you see the trim on my counter top? I thought it would be impossible to paint.
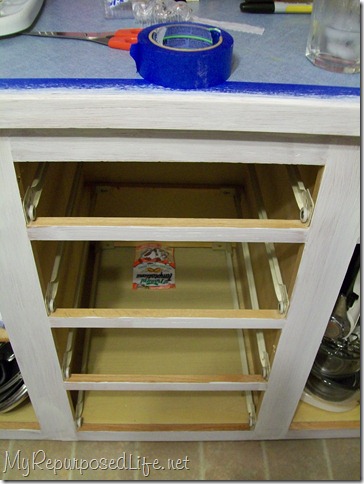
Scotch Blue to the rescue! I very carefully taped it all off.
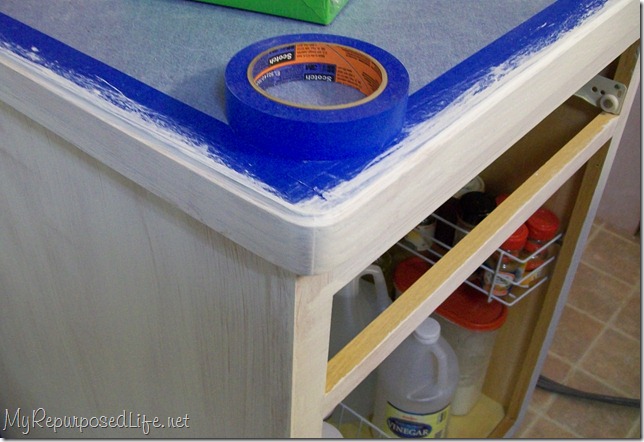
After primer.
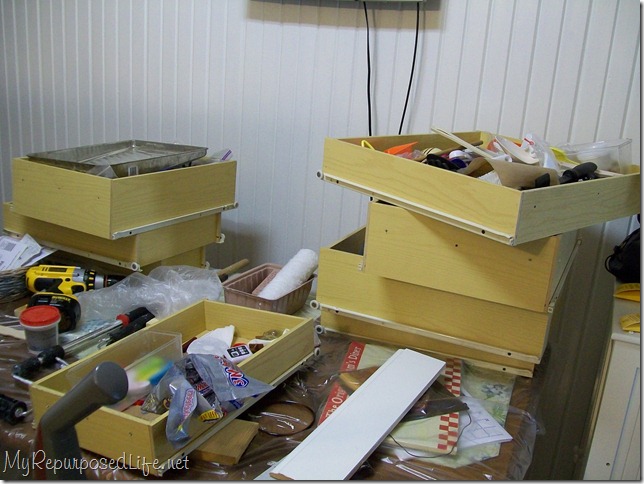
The mess!
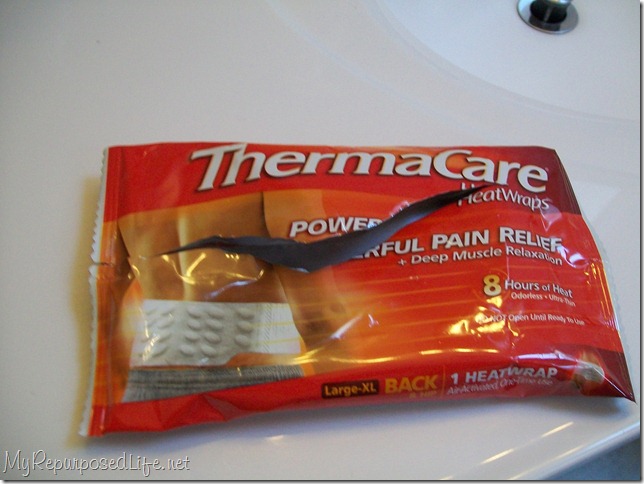
After day one, I was unable to get out of bed until I ripped this baby open. If you have never tried these I highly recommend them.
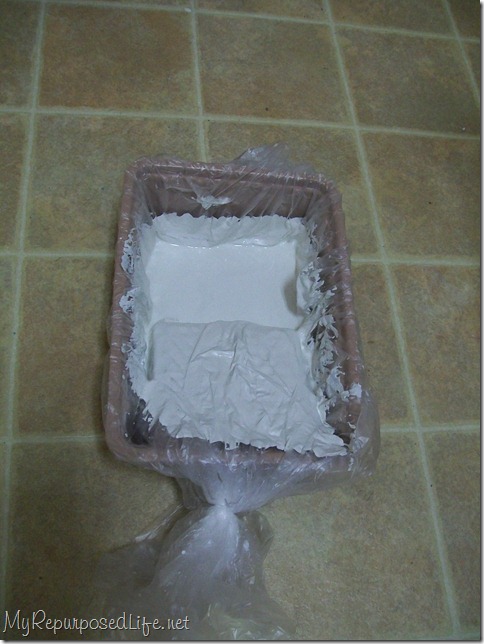
I only bought one of these little trays for rolling the cabinets. Counting the primer, I needed two. Since the primer was oil based and nearly impossible to clean up I came up with this solution. I tied a small garbage bag over the entire tray.
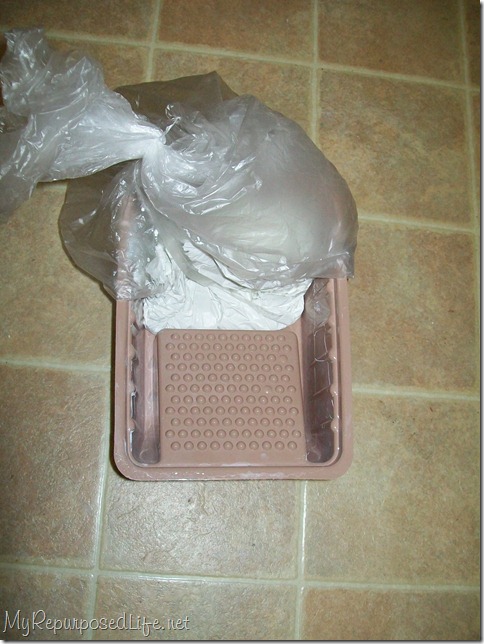
Cleanup was a breeze!
I was so busy with prepping the cabinets I didn’t take any pictures. I wanted to tell you that I had a ton of those small garbage bags so I used them to cover all the contents of each cabinet while I did the sanding. I cut them open and spread them out. After I finished sanding I carefully pulled them out and threw them away.
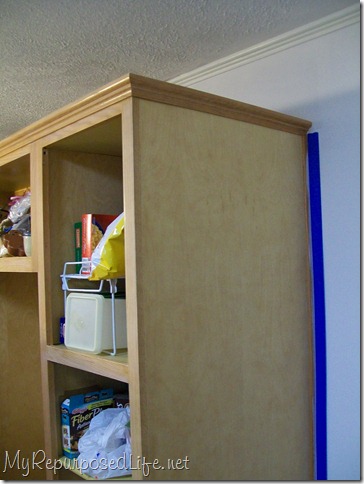
I don’t usually tape when I paint. But since I am doing this project “by the book” I did tape off the places where the cabinets meet the walls and floors. I did not tape off any of the front facings. I was extremely careful while painting those. I used a small foam roller.
As of today, I think I’m mostly finished painting. I do have those ceiling touchups to do, and a few touchups around the crown molding where I caulked. I don’t think I will be putting the doors and drawer fronts back on until next weekend. I did clean out the drawers and put them back in their homes to get them off the kitchen table. The stove was moved back on Saturday and the fridge was moved on Sunday. The kitchen looks huge! I’m not sure if it’s cause I’m not walking around the fridge and stove in the middle of the room or because the white opens it up and makes it look brighter and larger. Maybe a little of both.
I still have a lot of changes I want to make to the kitchen. But as with most large projects I think it will be a work in progress.
Kitchen pt 2 (prepping the cabinets)
gail


Oh my goodness, you are one brave girl. I get overwhelmed at painting projects that big. You are doing a great job with all the details.
Have definitely used the therma care patches but be careful to read the warnings because too many can be lethal–toxic to the blood. Congrats on your win too!!
GAIL – YOU WON!!!!!!!!!!!!! A BIG congratulations to you! I’m so happy that you won…it was well deserved! Have fun shopping!
Gail, I always get more ideas and inspiration when I visit you. LOVE the fact that you saved the paint. The kitchen is really looking great. I am so anxious to see it done, as I’m sure you are. I’m learning a lot from you, and really want to thank you! I also appreciate you taking the time to link to the Boardwalk Bragfest.
I am getting ready to do the very same thing!!! Cannot wait to see your finished pics!
WooHOO!!! I am so excited that you won! You deserve it. Me oh my, your kitchen project has come a long way! It looks great. I do use those heating pads, they are the best. I wish I lived closer so I could come help you, and then we could both strut our Thermacare patches together.
What a lot of work.I am sure everything will be gorgeous!
YOu are always so very busy! I can’t even get myself up to paint a room.
Can’t wait to see the final project! it will make me get off my but and do it too! 🙂
It looks great so far! I’m glad to hear you see the finish line!
I’m sure it does seem bigger. Our kitchen was solid wood too. I even painted mine midnight blue with white cabinets and trim– it was still more open than the 100% wood everything!
Hey Gail!! I’m SO excited for you that you won the DIY project…I voted for you cause I really thought yours was the best! (but I would have voted for you anyway! lol)I have done the plastic bag over the paint tray for years….cause I HATE to clean those trays..Oh the horror! ;0) Your kitchen is looking wonderful…so bright and airy! My kitchen looked MUCH bigger after I painted all my cabinets white….I think white paint just opens things up like that. I can’t wait to hear what you won….spill the beans girl! lolHope your back is all better now…I know the pain of suffering with back issues, so hope you’re good as new now! :)TTYL!HUGSMissy :)PS, have you gotten your CSN item yet?
Gail, So happy for your DIY Club win!! You TOTALLY deserved it. The toddler bed rocked the house! Can’t wait to see what you do with all your booty! 🙂
Congrats on the win!! I am so excited for you! What are your plans for the tile?
The kitchen is coming along really well. Can’t wait to see it all done.
Yay,, I’m so glad you won. I know you’ll do something great with those prizes. Cant wait to see the reveal of the kitchen.
Oh Gail, I can feel your pain. You have really worked hard on this one… can’t wait to see the big reveal. Love the idea with the plastic bag… that’s my idea of an easy cleanup.
Have a great day…
Hugs, Deb
it;s really coming along nicely. and by the way, CONGRATS ON BEING DIY WINNER!!!!!! aaah! i am so excited for you!!!
it;s really coming along nicely. and by the way, CONGRATS ON BEING DIY WINNER!!!!!! aaah! i am so excited for you!!!
Wow, Gail!! That is a heck of a lot of work ~ I know you’ll be thrilled with the final outcome, though. You’re inspiring me again… our kitchen has white cabinets already (which I love) but the previous owners chose cabinet doors with a ‘wrapping’ of this plasticy stuff on them. So they are shiny, and the plastic is starting to crack & peel. Nightmare!!
Oh it will be so worth it! I remember when I was doing mine…it was like I was in limbo for the time. I was home alone while Mike was at camp..and had the week all to myself. I remember getting up and just starting for the day became difficult…luckily a Golden Girls and Project Runway marathon were happening.
It will be divine my dear!
Cheers~
e
LOOKING FORWARD TO THE REVEAL!
What a project! I desperately need to do the very same in my kitchen… I’m just draggin’ my feet. What a great idea… paint in a bag! I’ve wrapped my entire paint tray in plastic, but never thought to package just the paint – excellent! Can’t wait to see your “all done” pictures – maybe it will get me going!
Tell me about it Ms. Girlie! I use the Thermo Pack every other weekend that I am off to do a heavy project myself!!! I have a large drawer filled with them!!!
Melissa
Your kitchen is comming out beautiful! Keep it up!