Letter Holder | Key Cabinet
As an Amazon Associate, I earn from qualifying purchases.
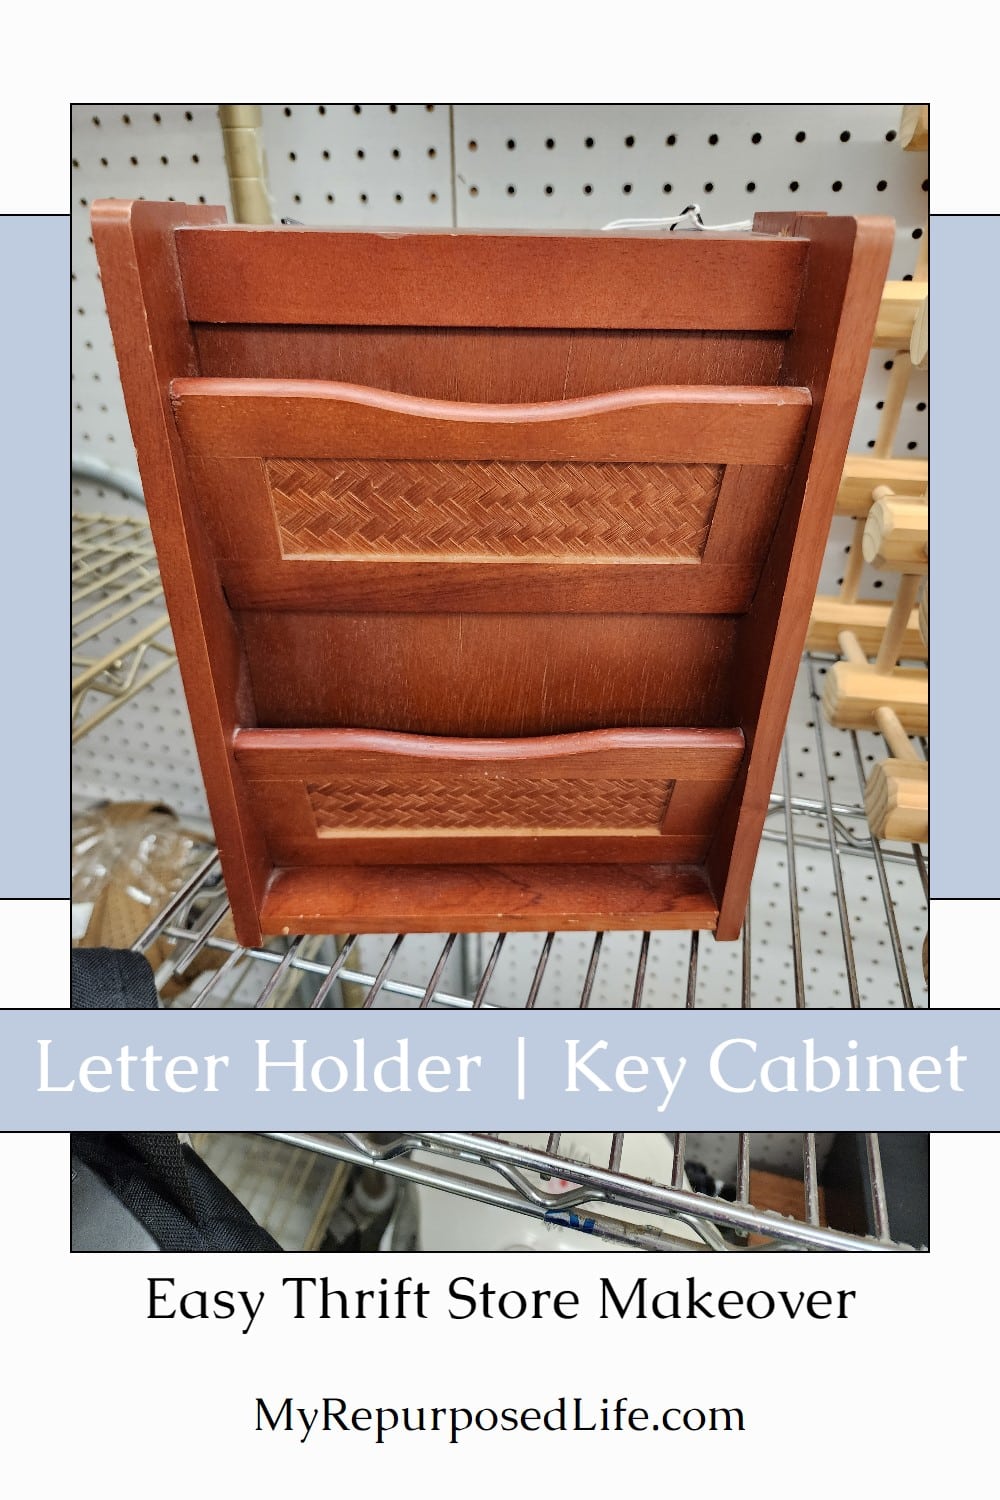
This small letter holder key cabinet was a little more than I usually pay for small thrift store items. However, I knew it would be a simple flip and makeover.
Thrift Store Letter Holder | Key Cabinet
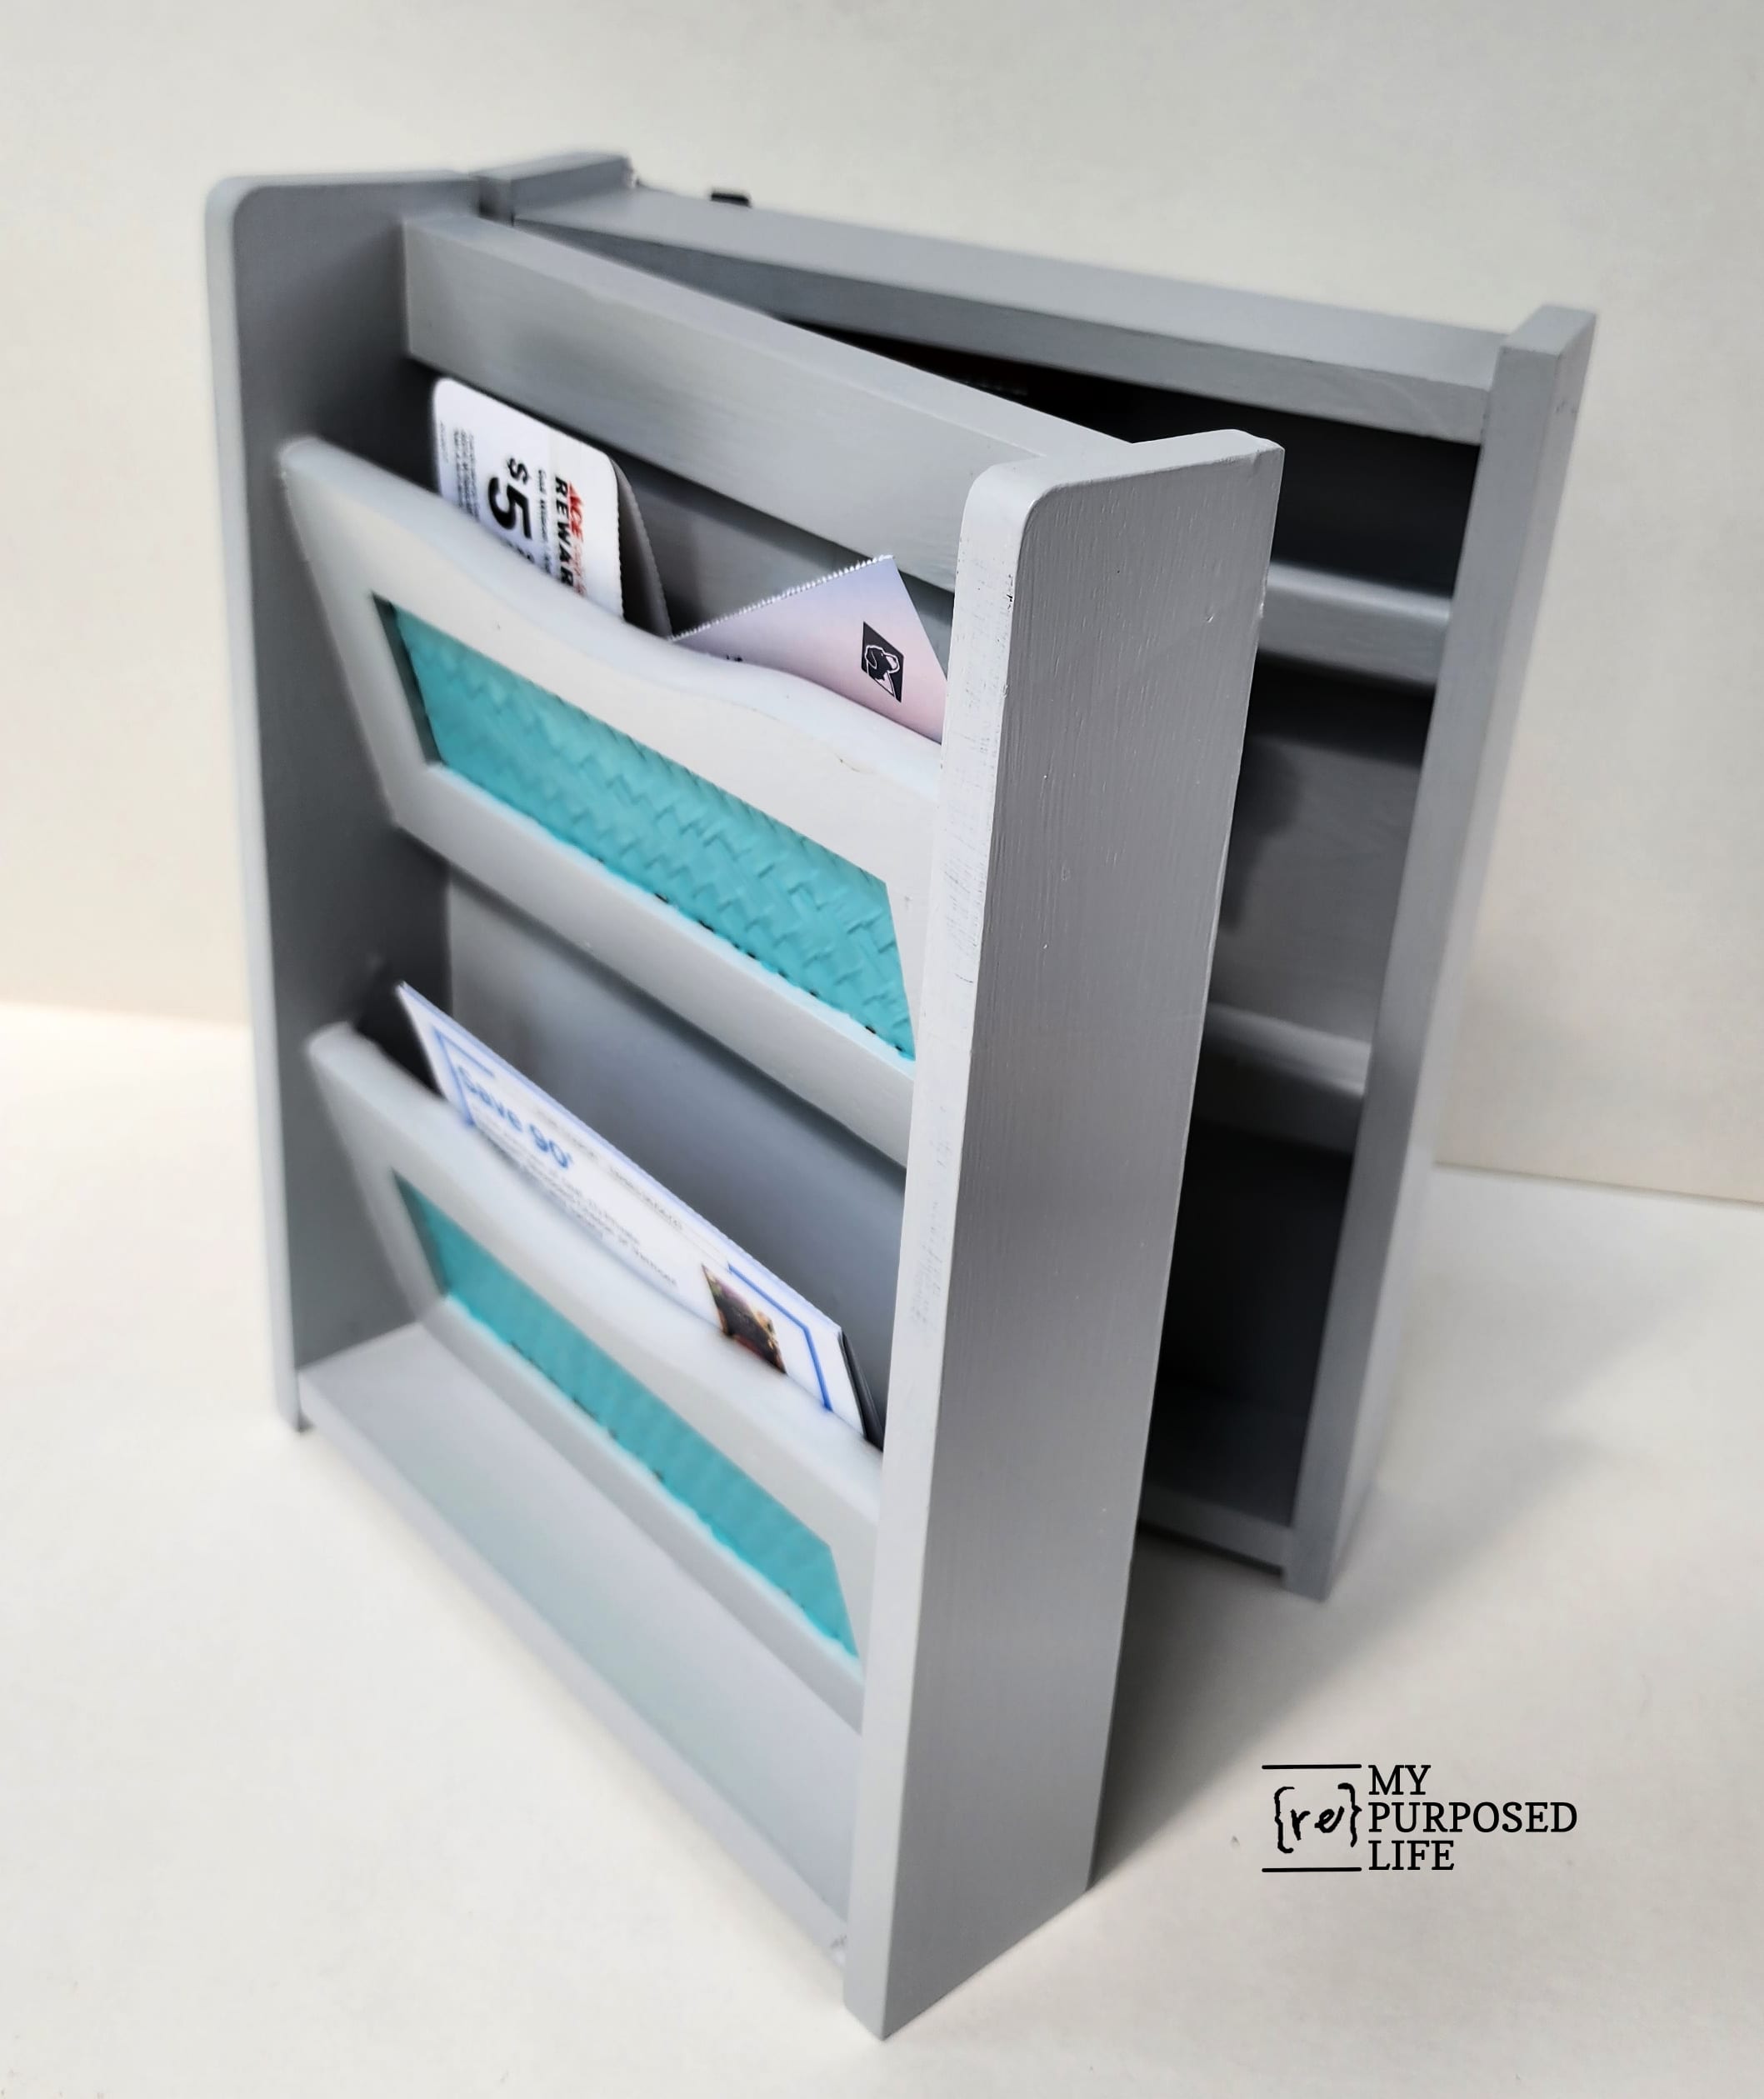
It’s difficult to tell its size in the photo. The wooden letterbox is approximately ten inches tall.
This is our Thrift Store Day. Be sure to check out all the projects below.
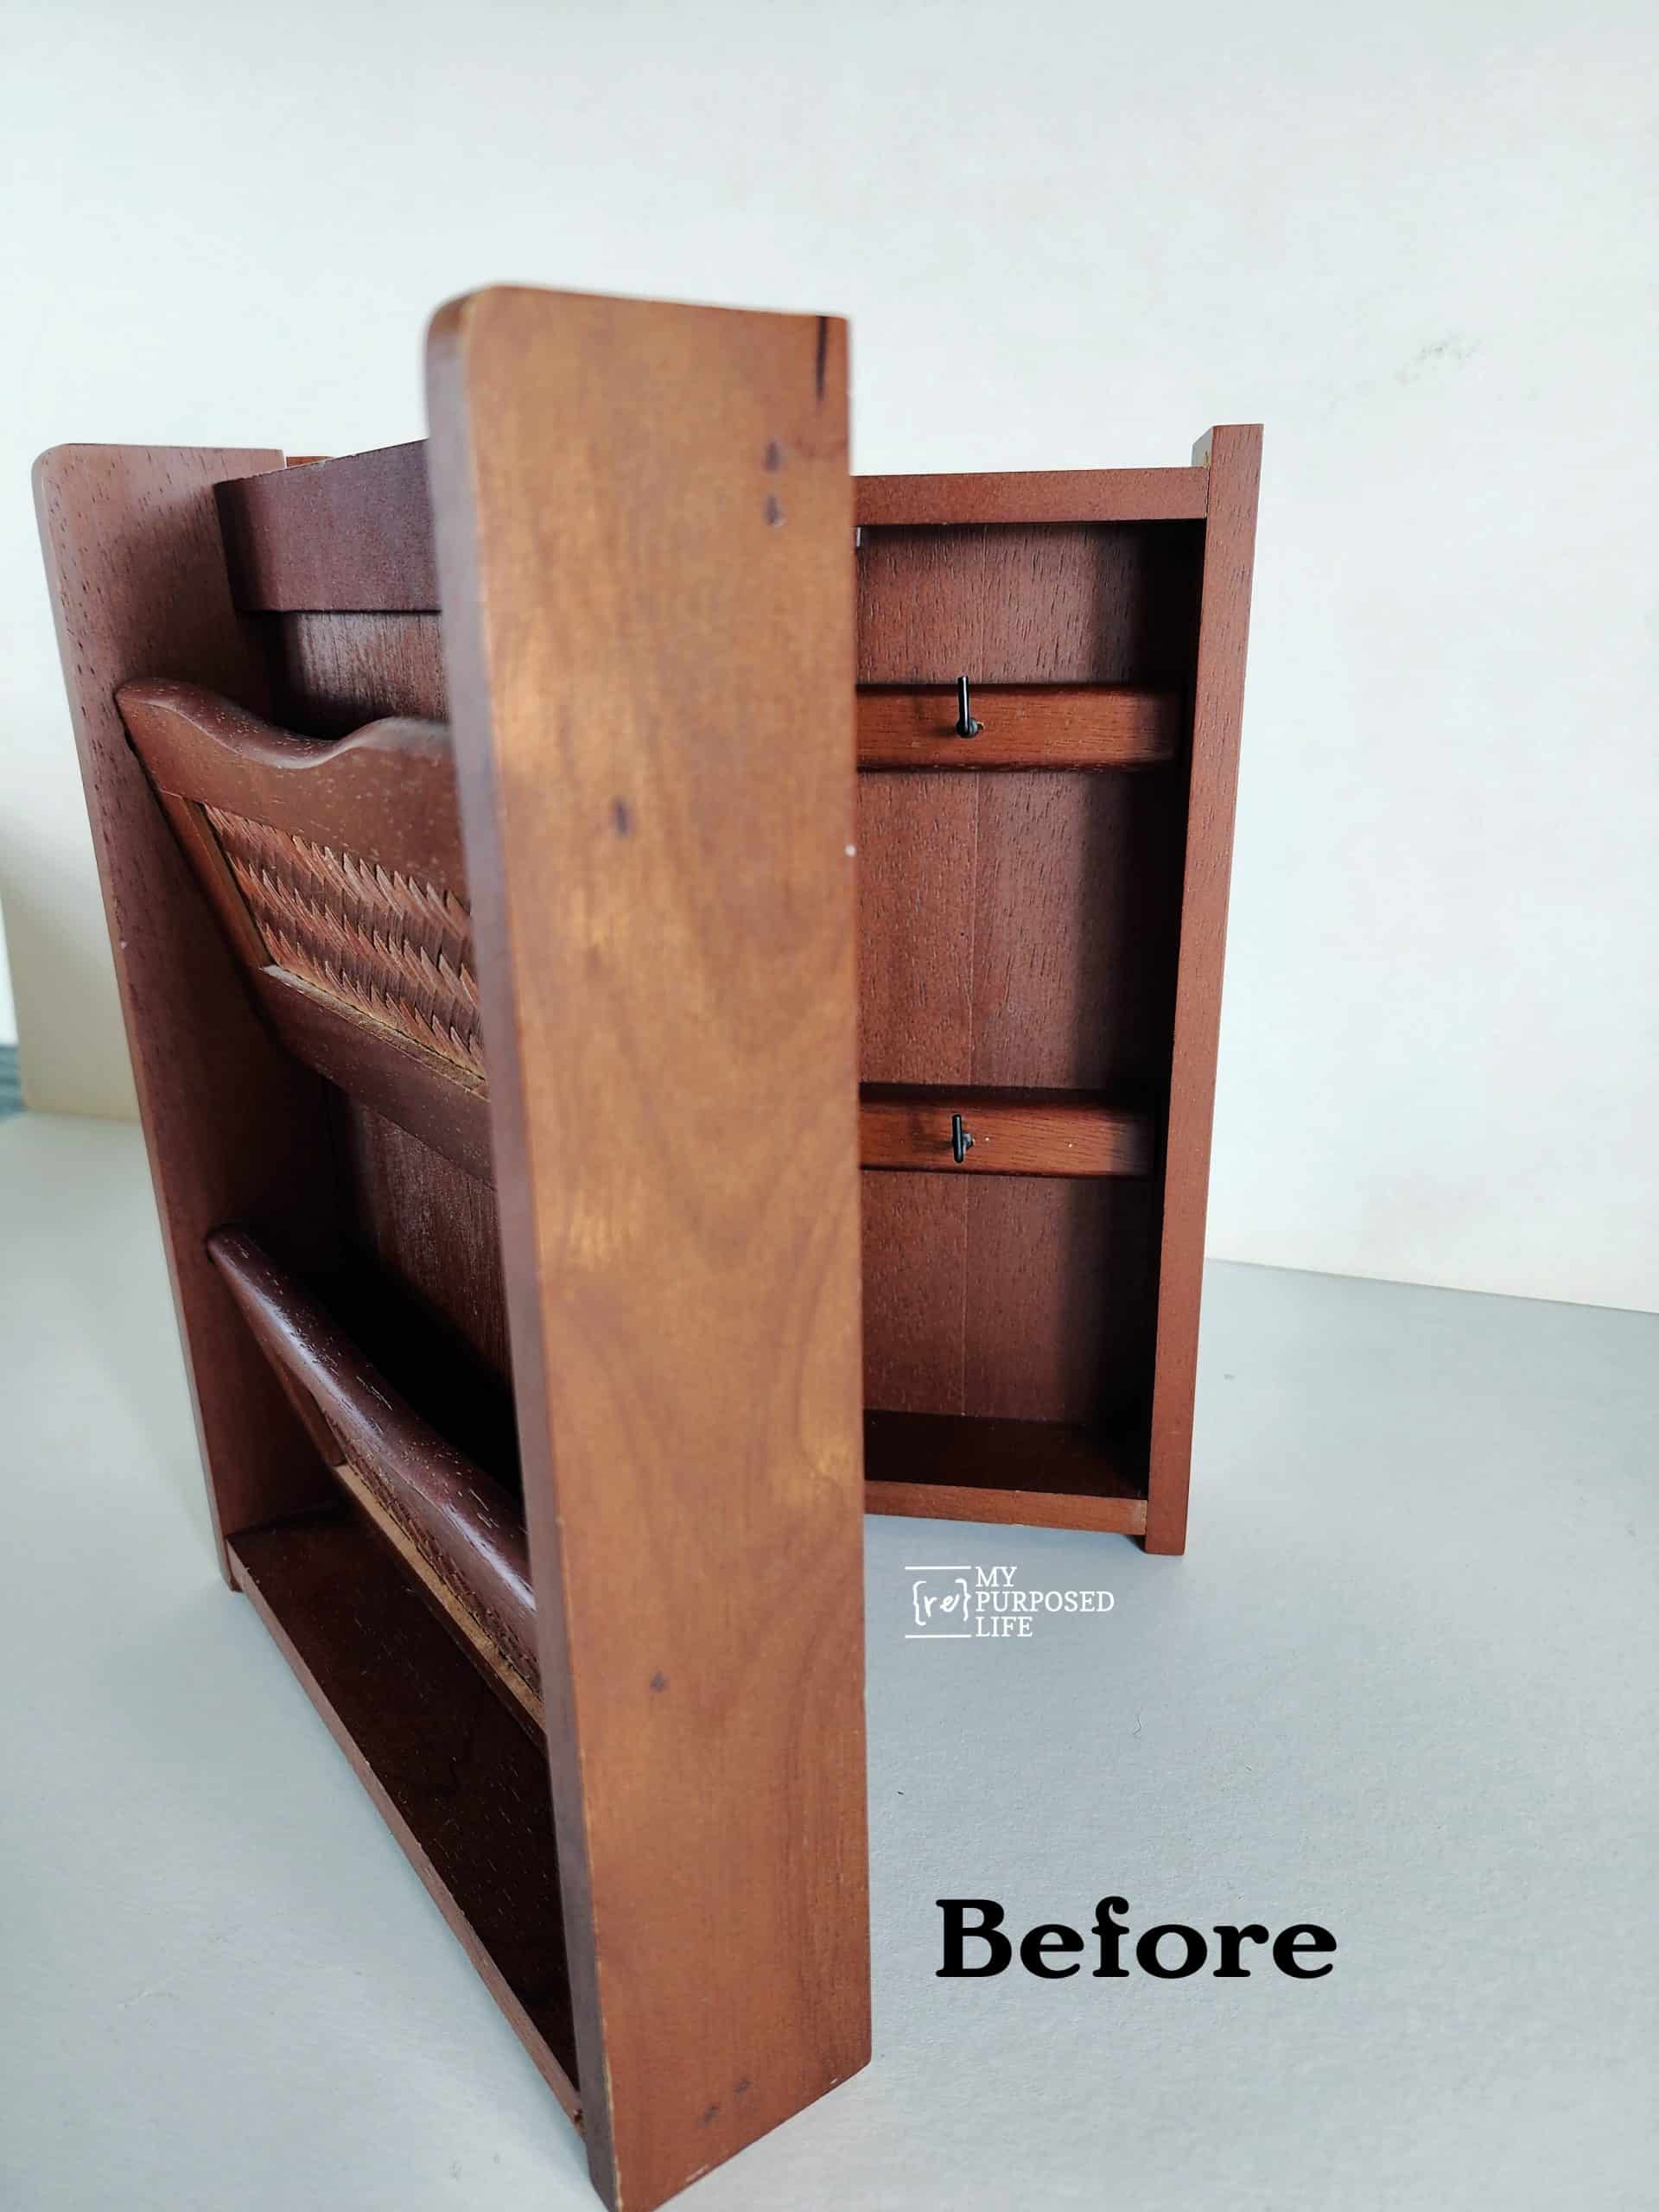
The price for this thrift store key cabinet was $6. It was in decent condition, but of course, you know I will paint it.
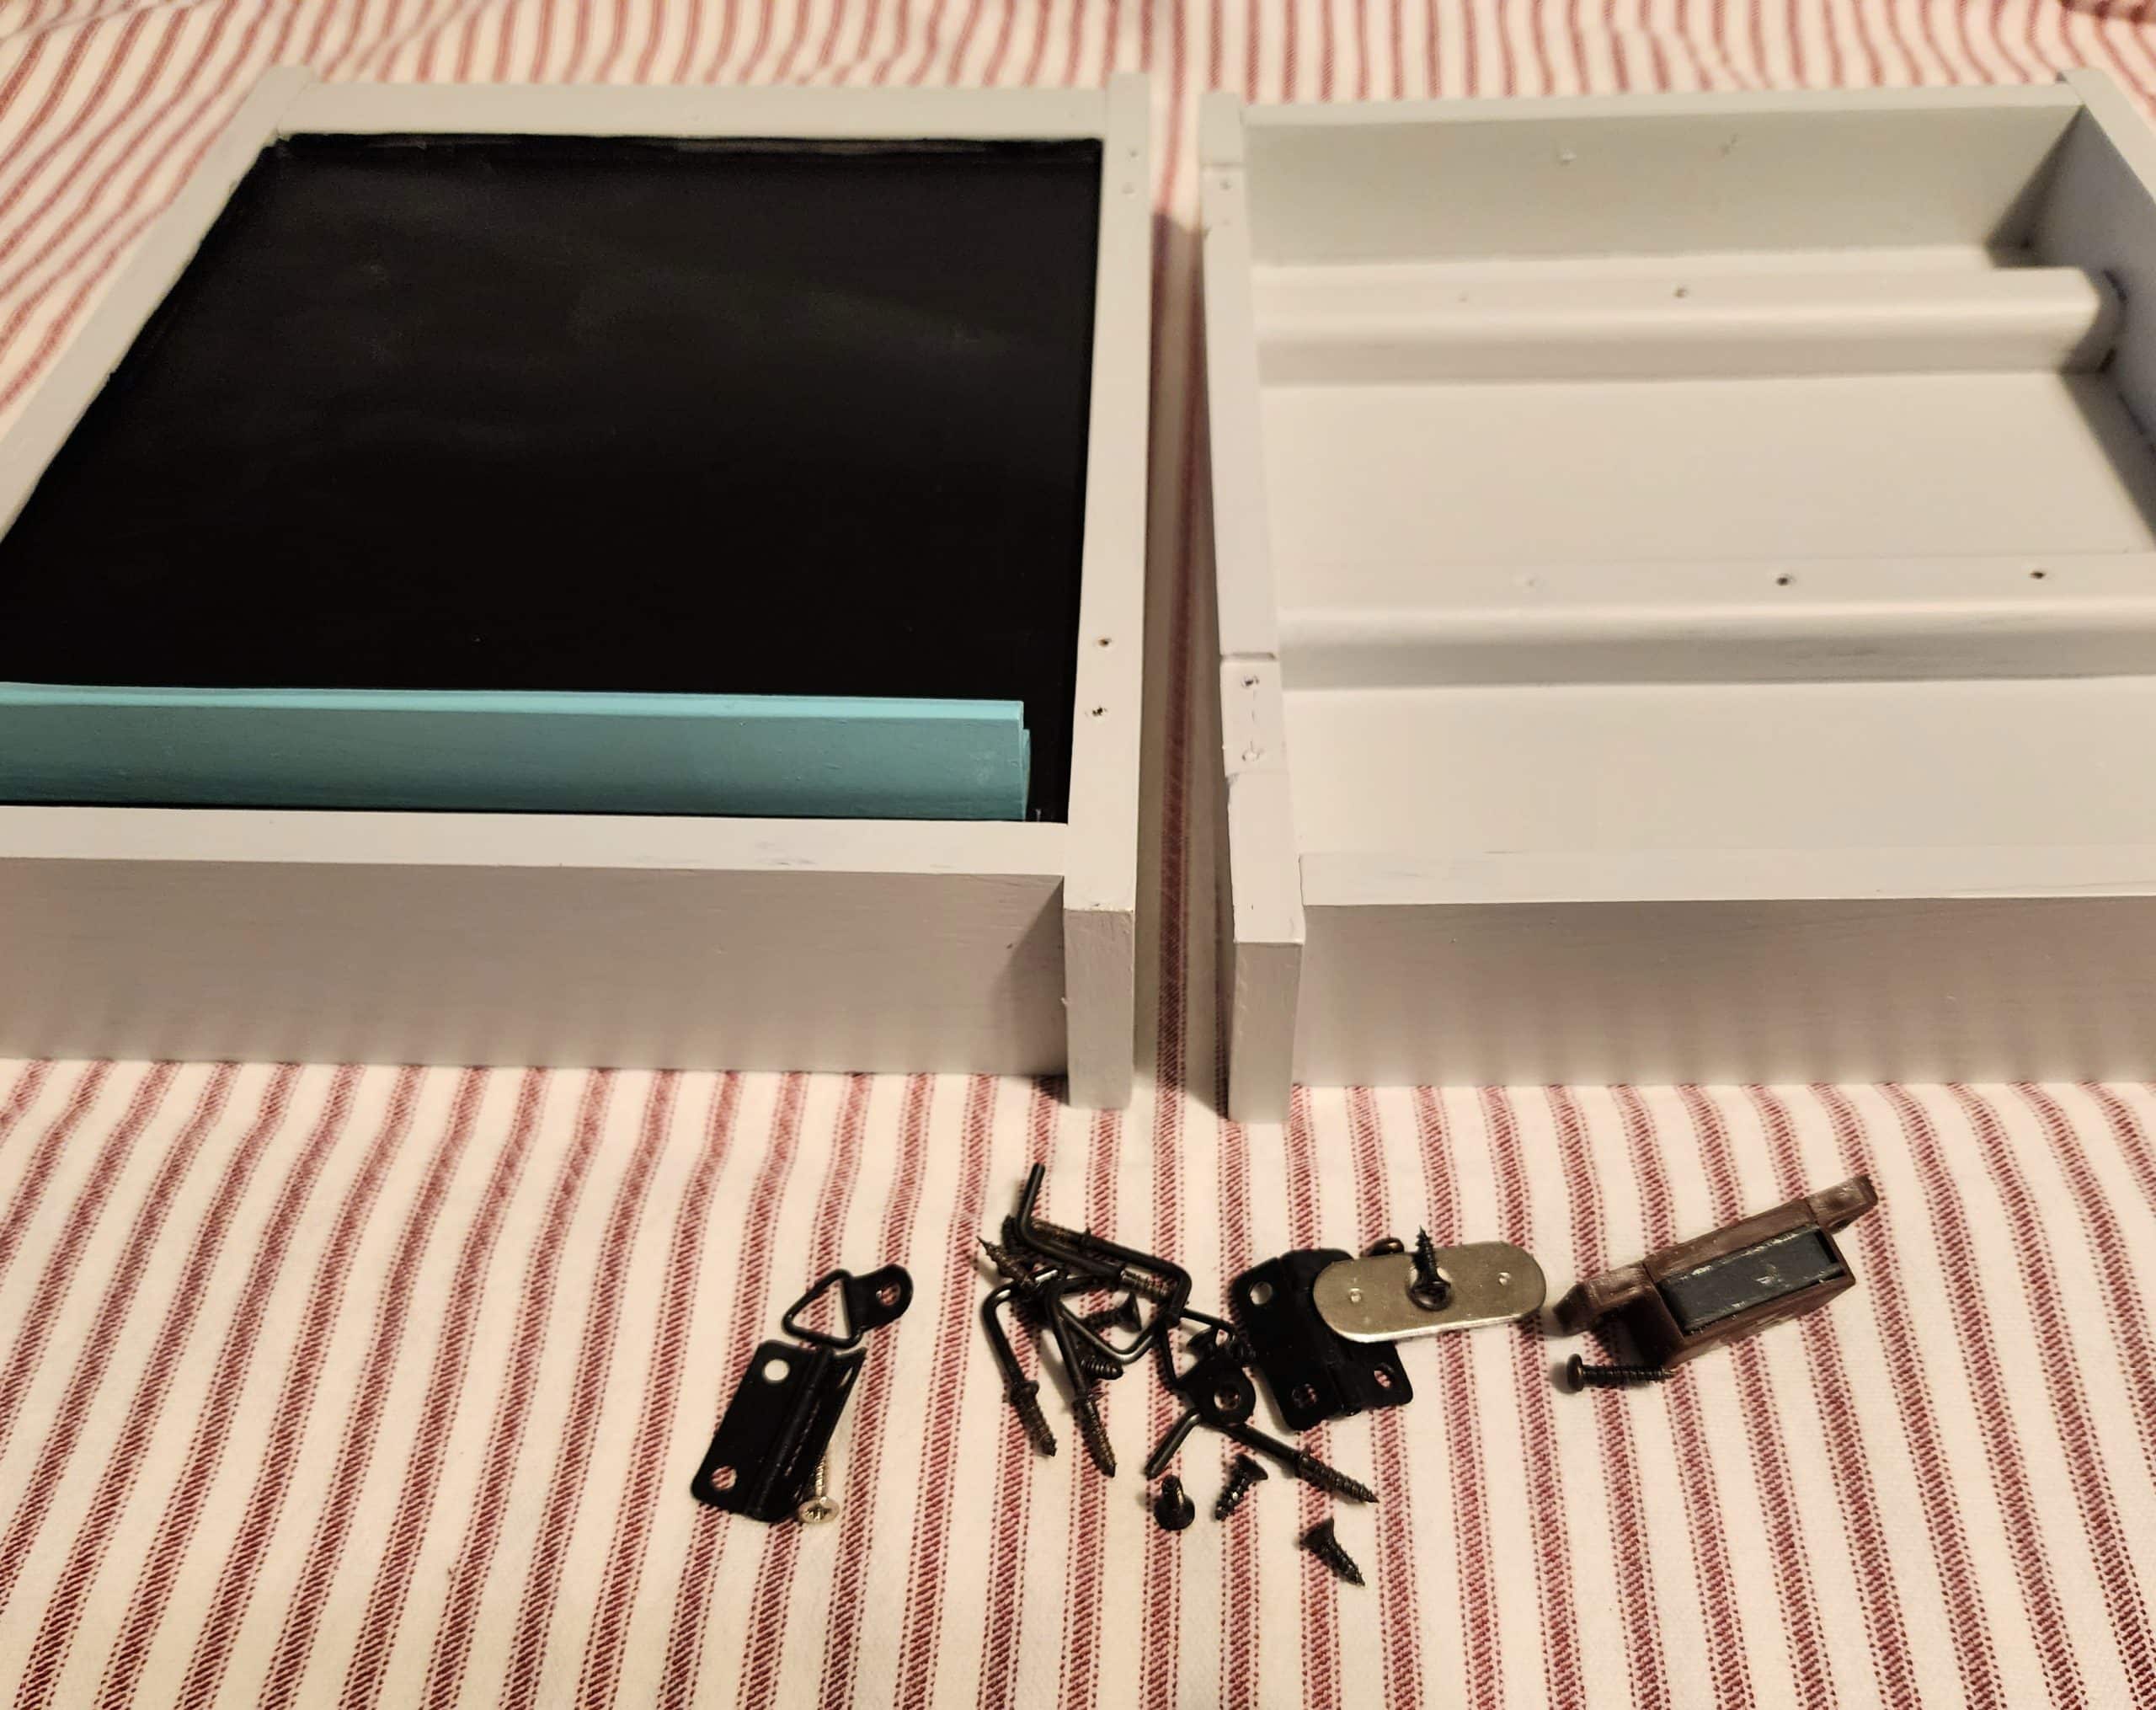
Dismantle Letter Box
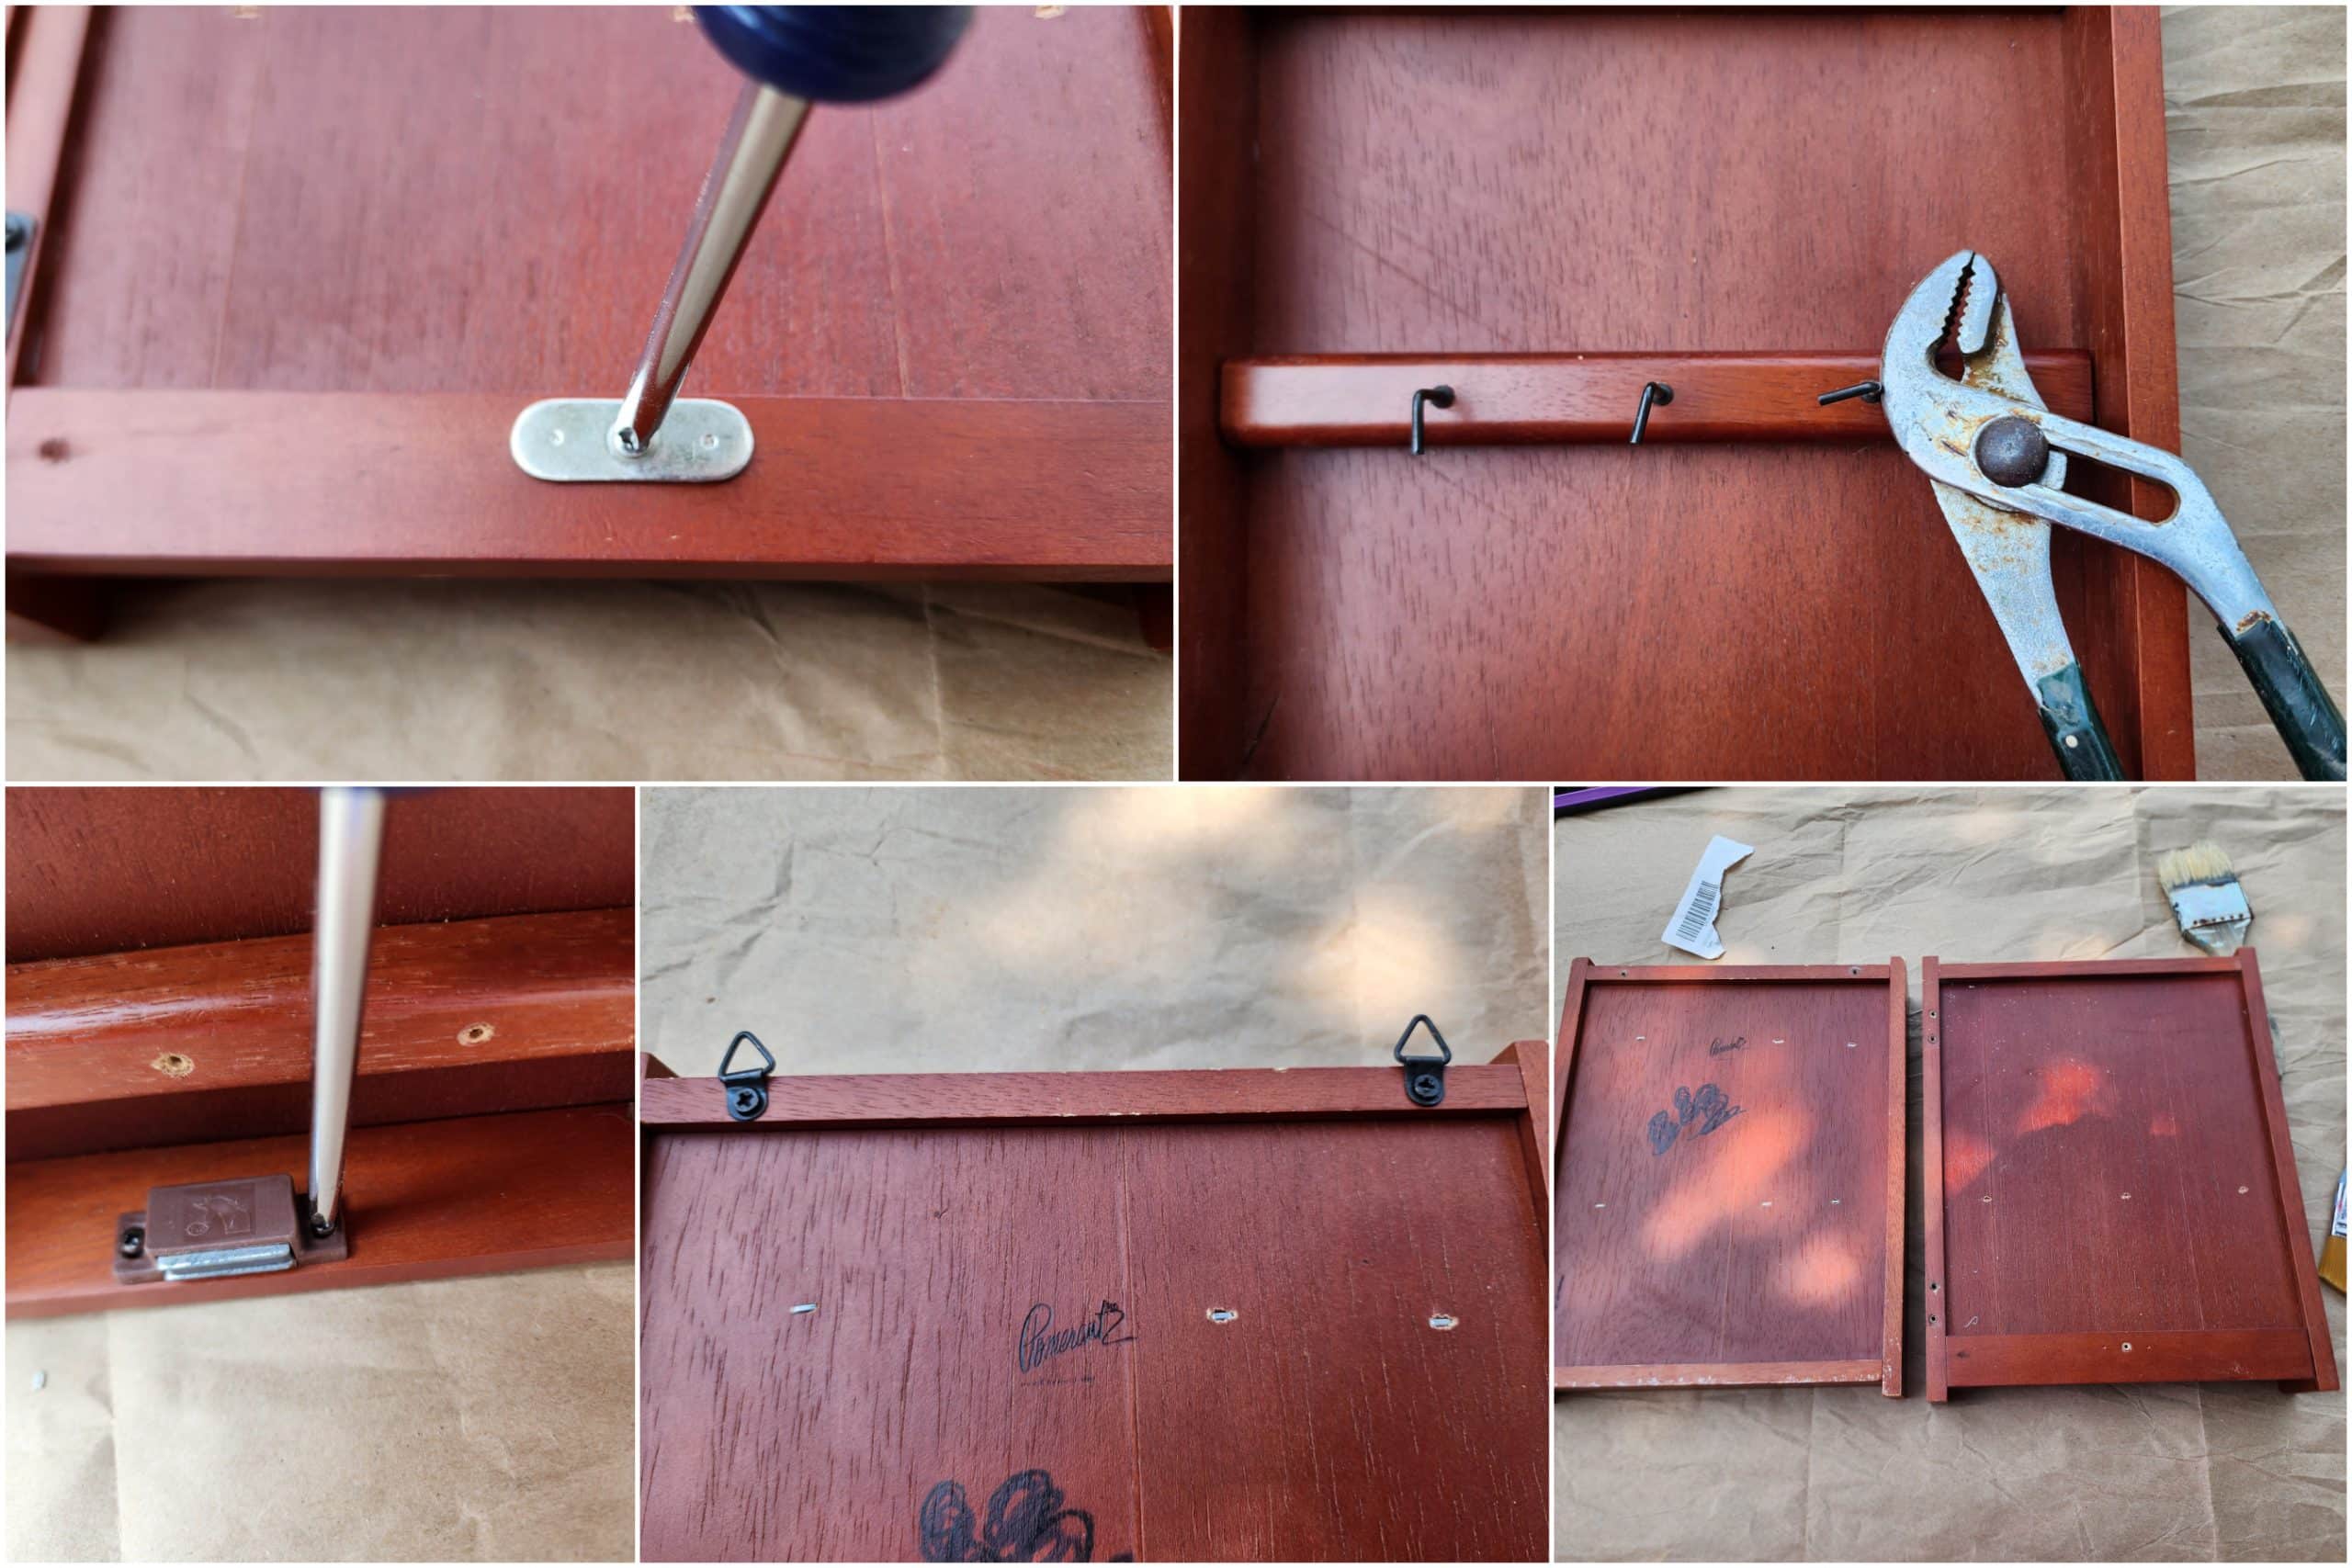
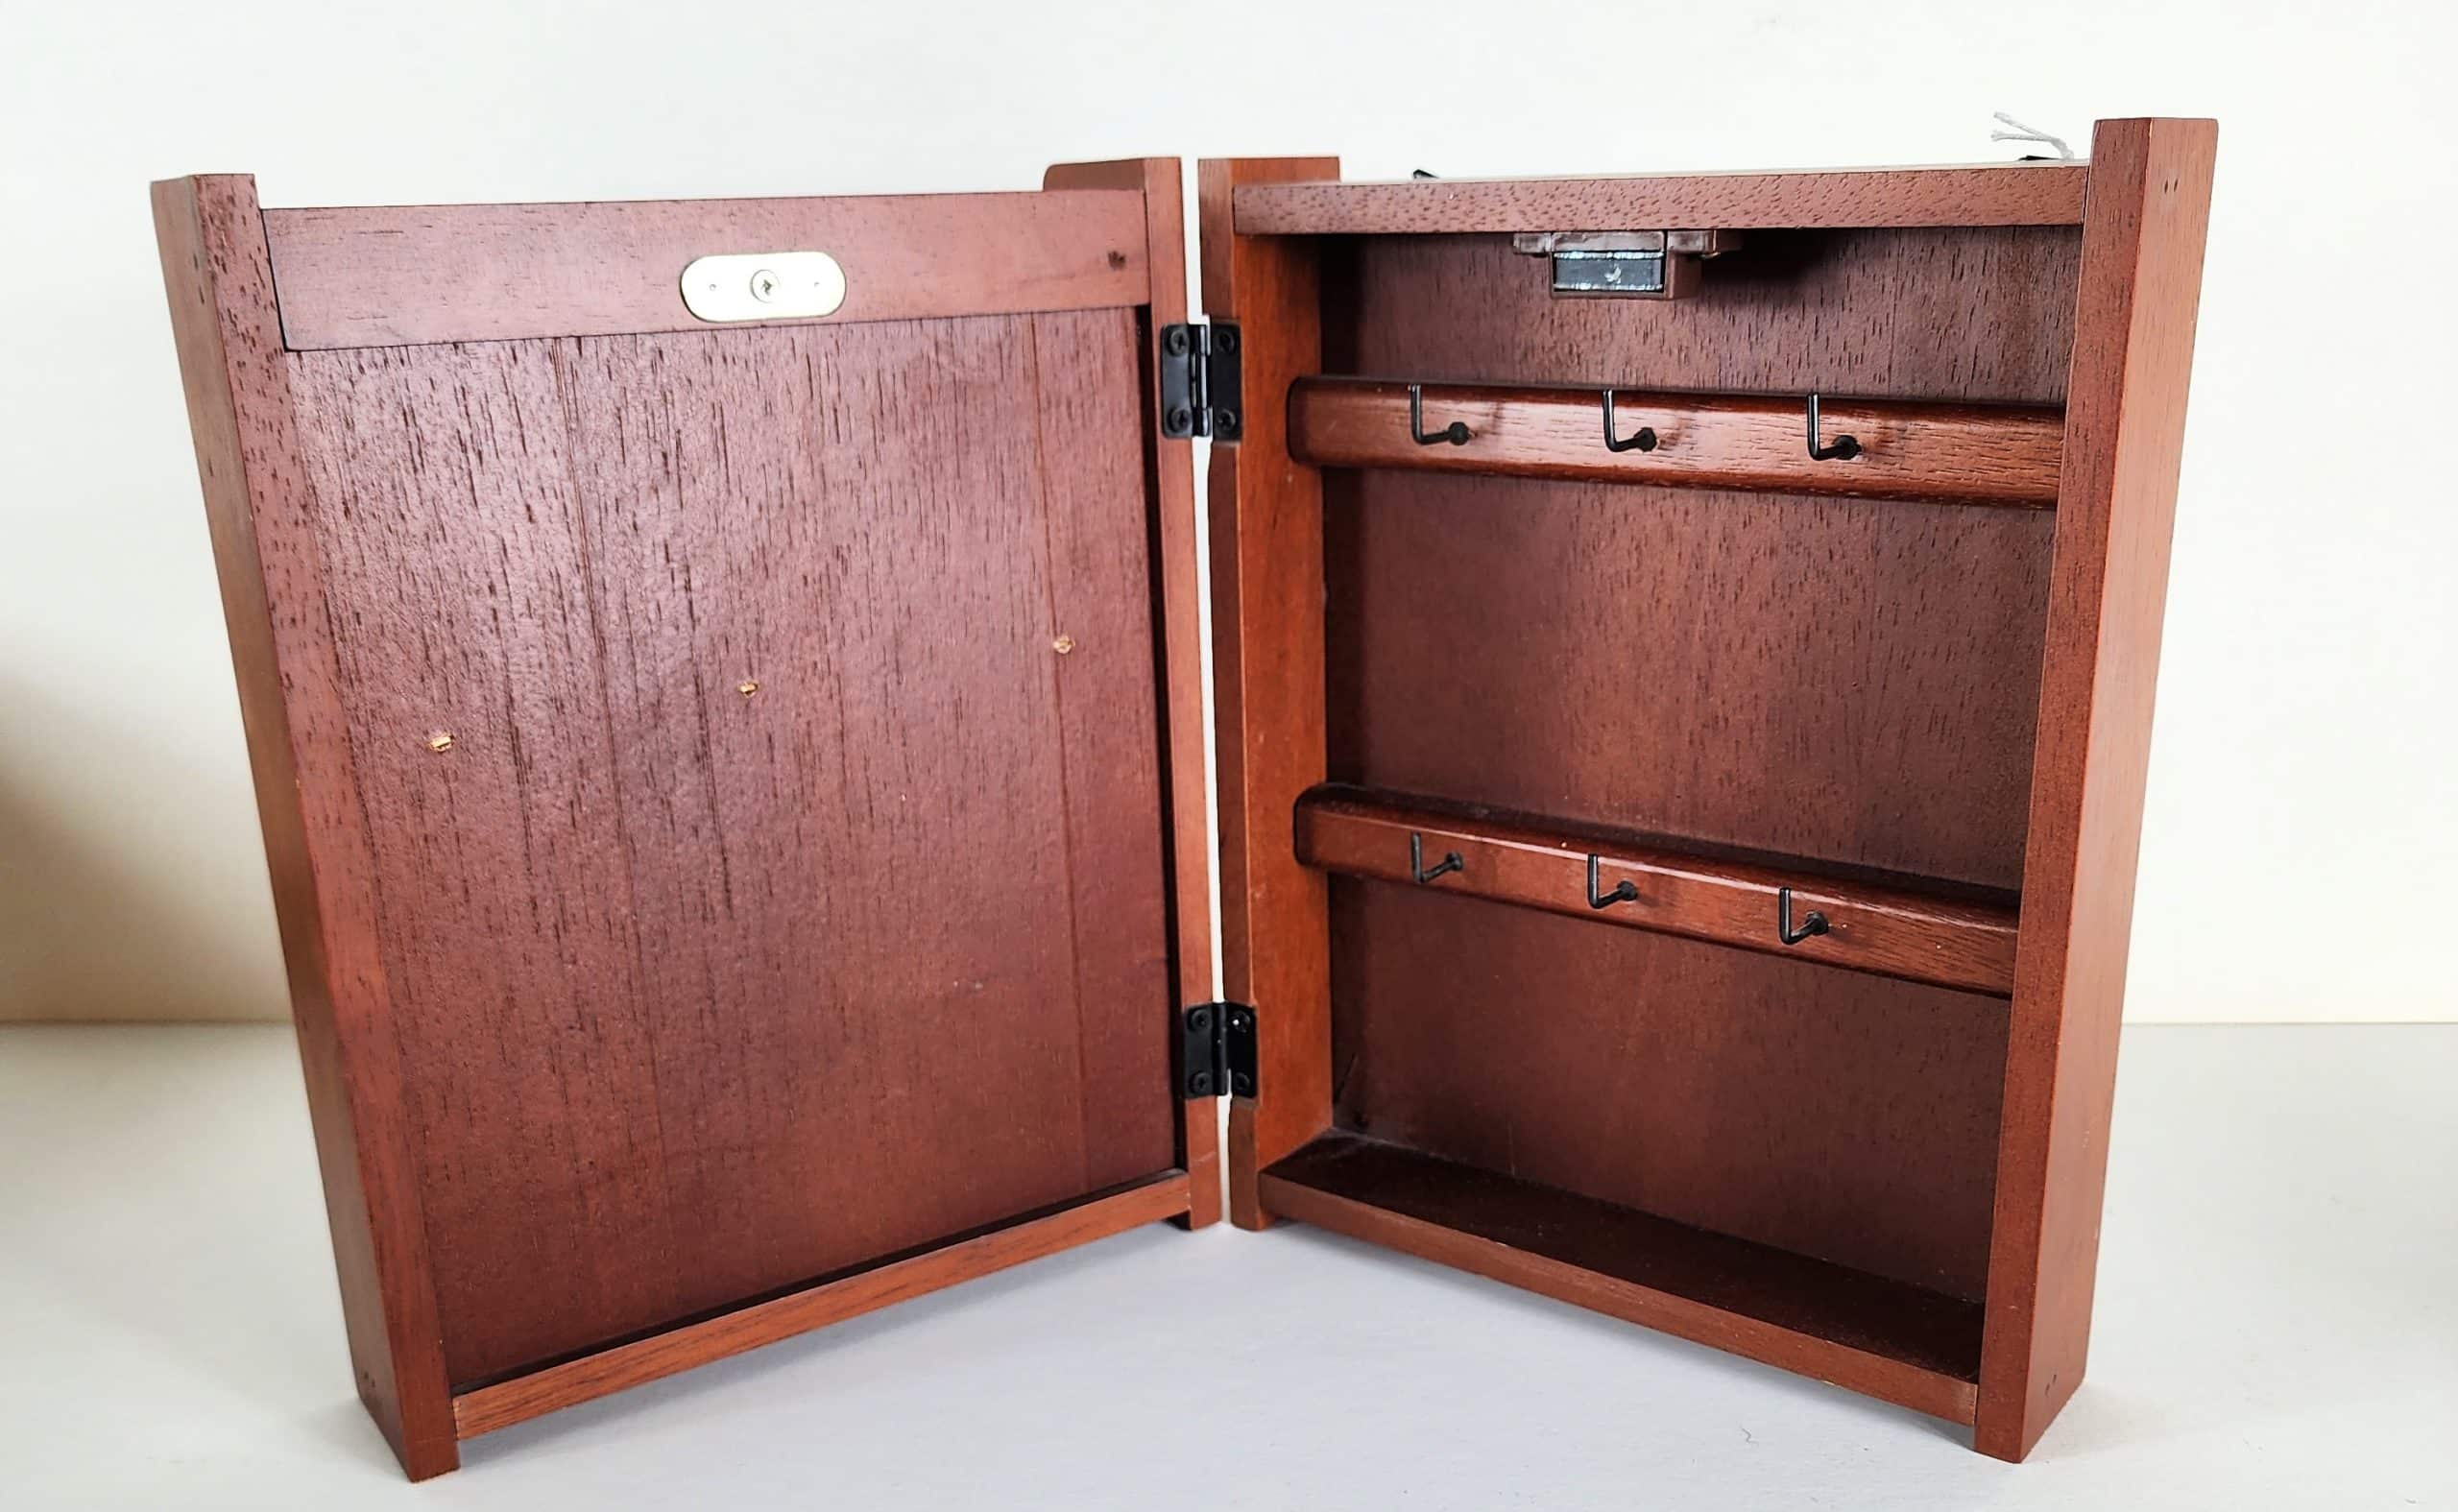
Because I wanted this to be an easy makeover, I dismantled it by removing all the hardware, including the magnetic catch, key hooks, hinges, and d ring hangers.
Apply Surface Prep (Deglosser)
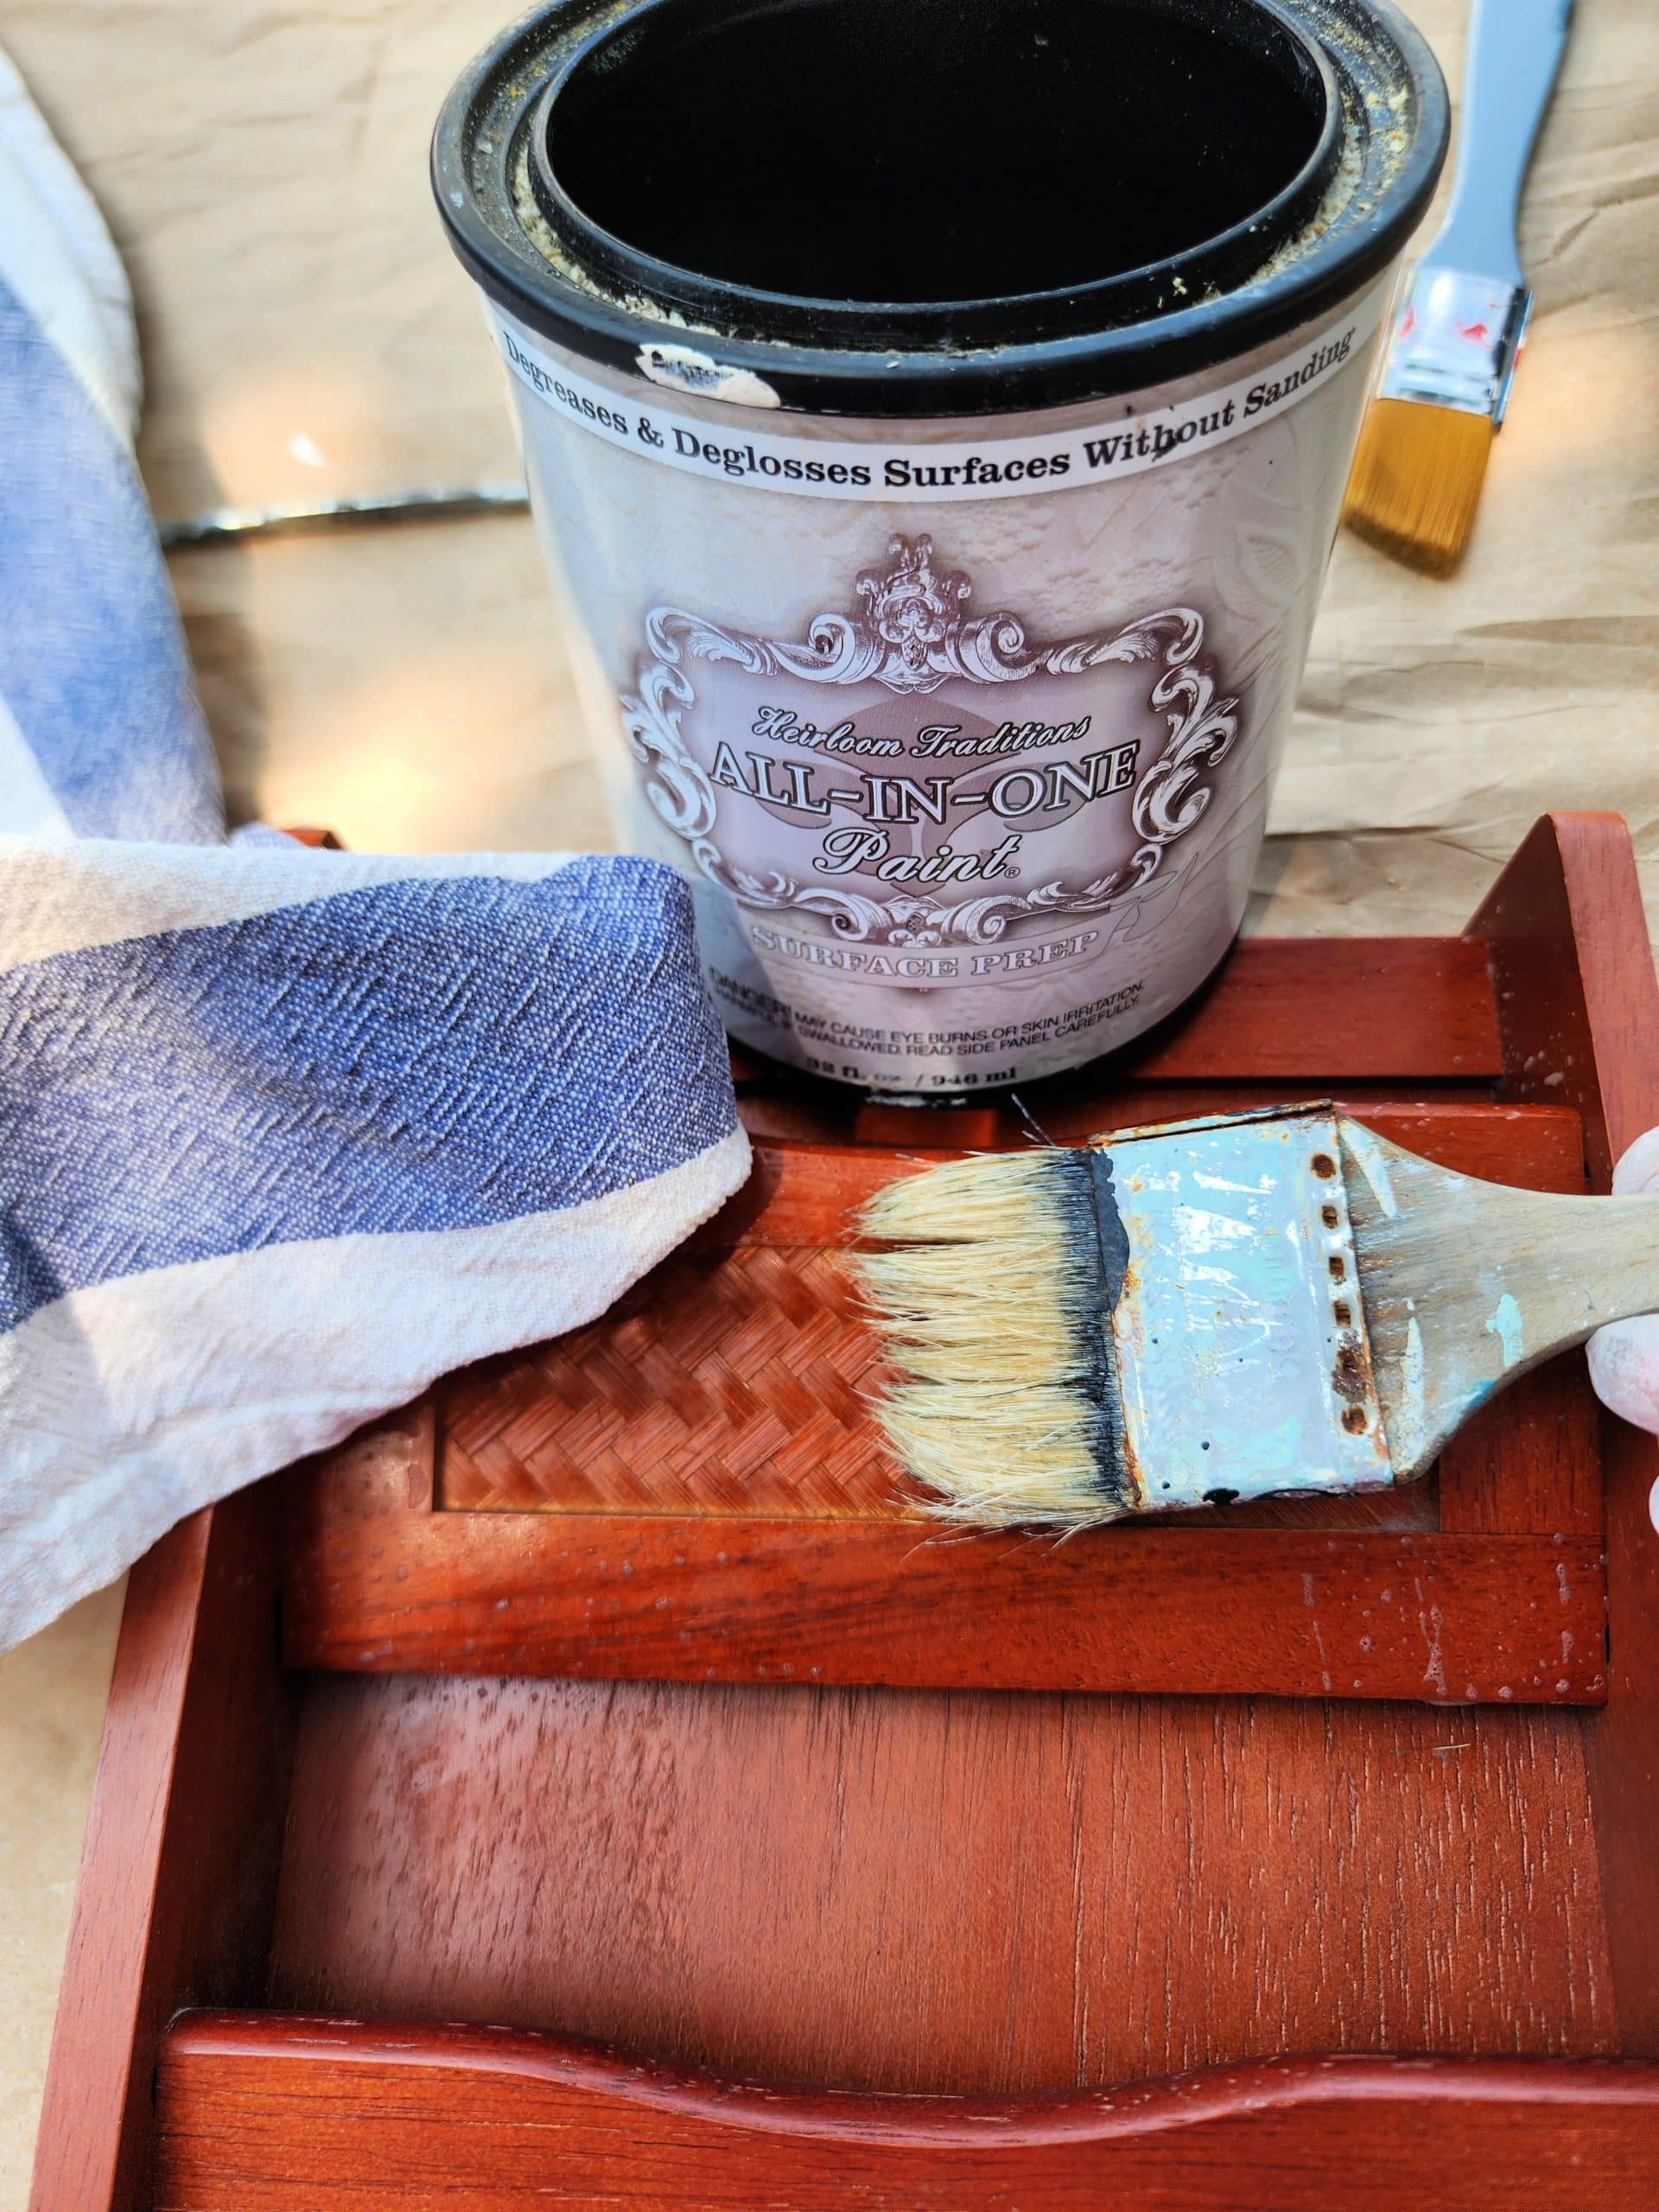
Because you don’t know where a thrift store item comes from, it must have a good cleaning. I like to use HTP Surface Prep. It cleans and deglosses in one step and doesn’t need to be rinsed. I applied it with a brush and wiped it back with a cloth for this project. If your project is grimy, see my article below:
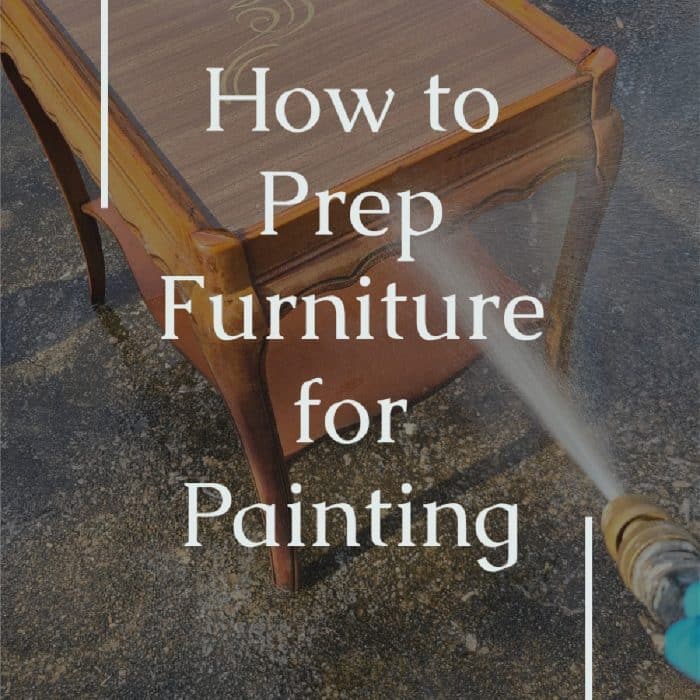
If your furniture is grimy or has excessive amounts of nicotine, be sure to check out the article: How to Prep Furniture for Painting
Easy Paint Project
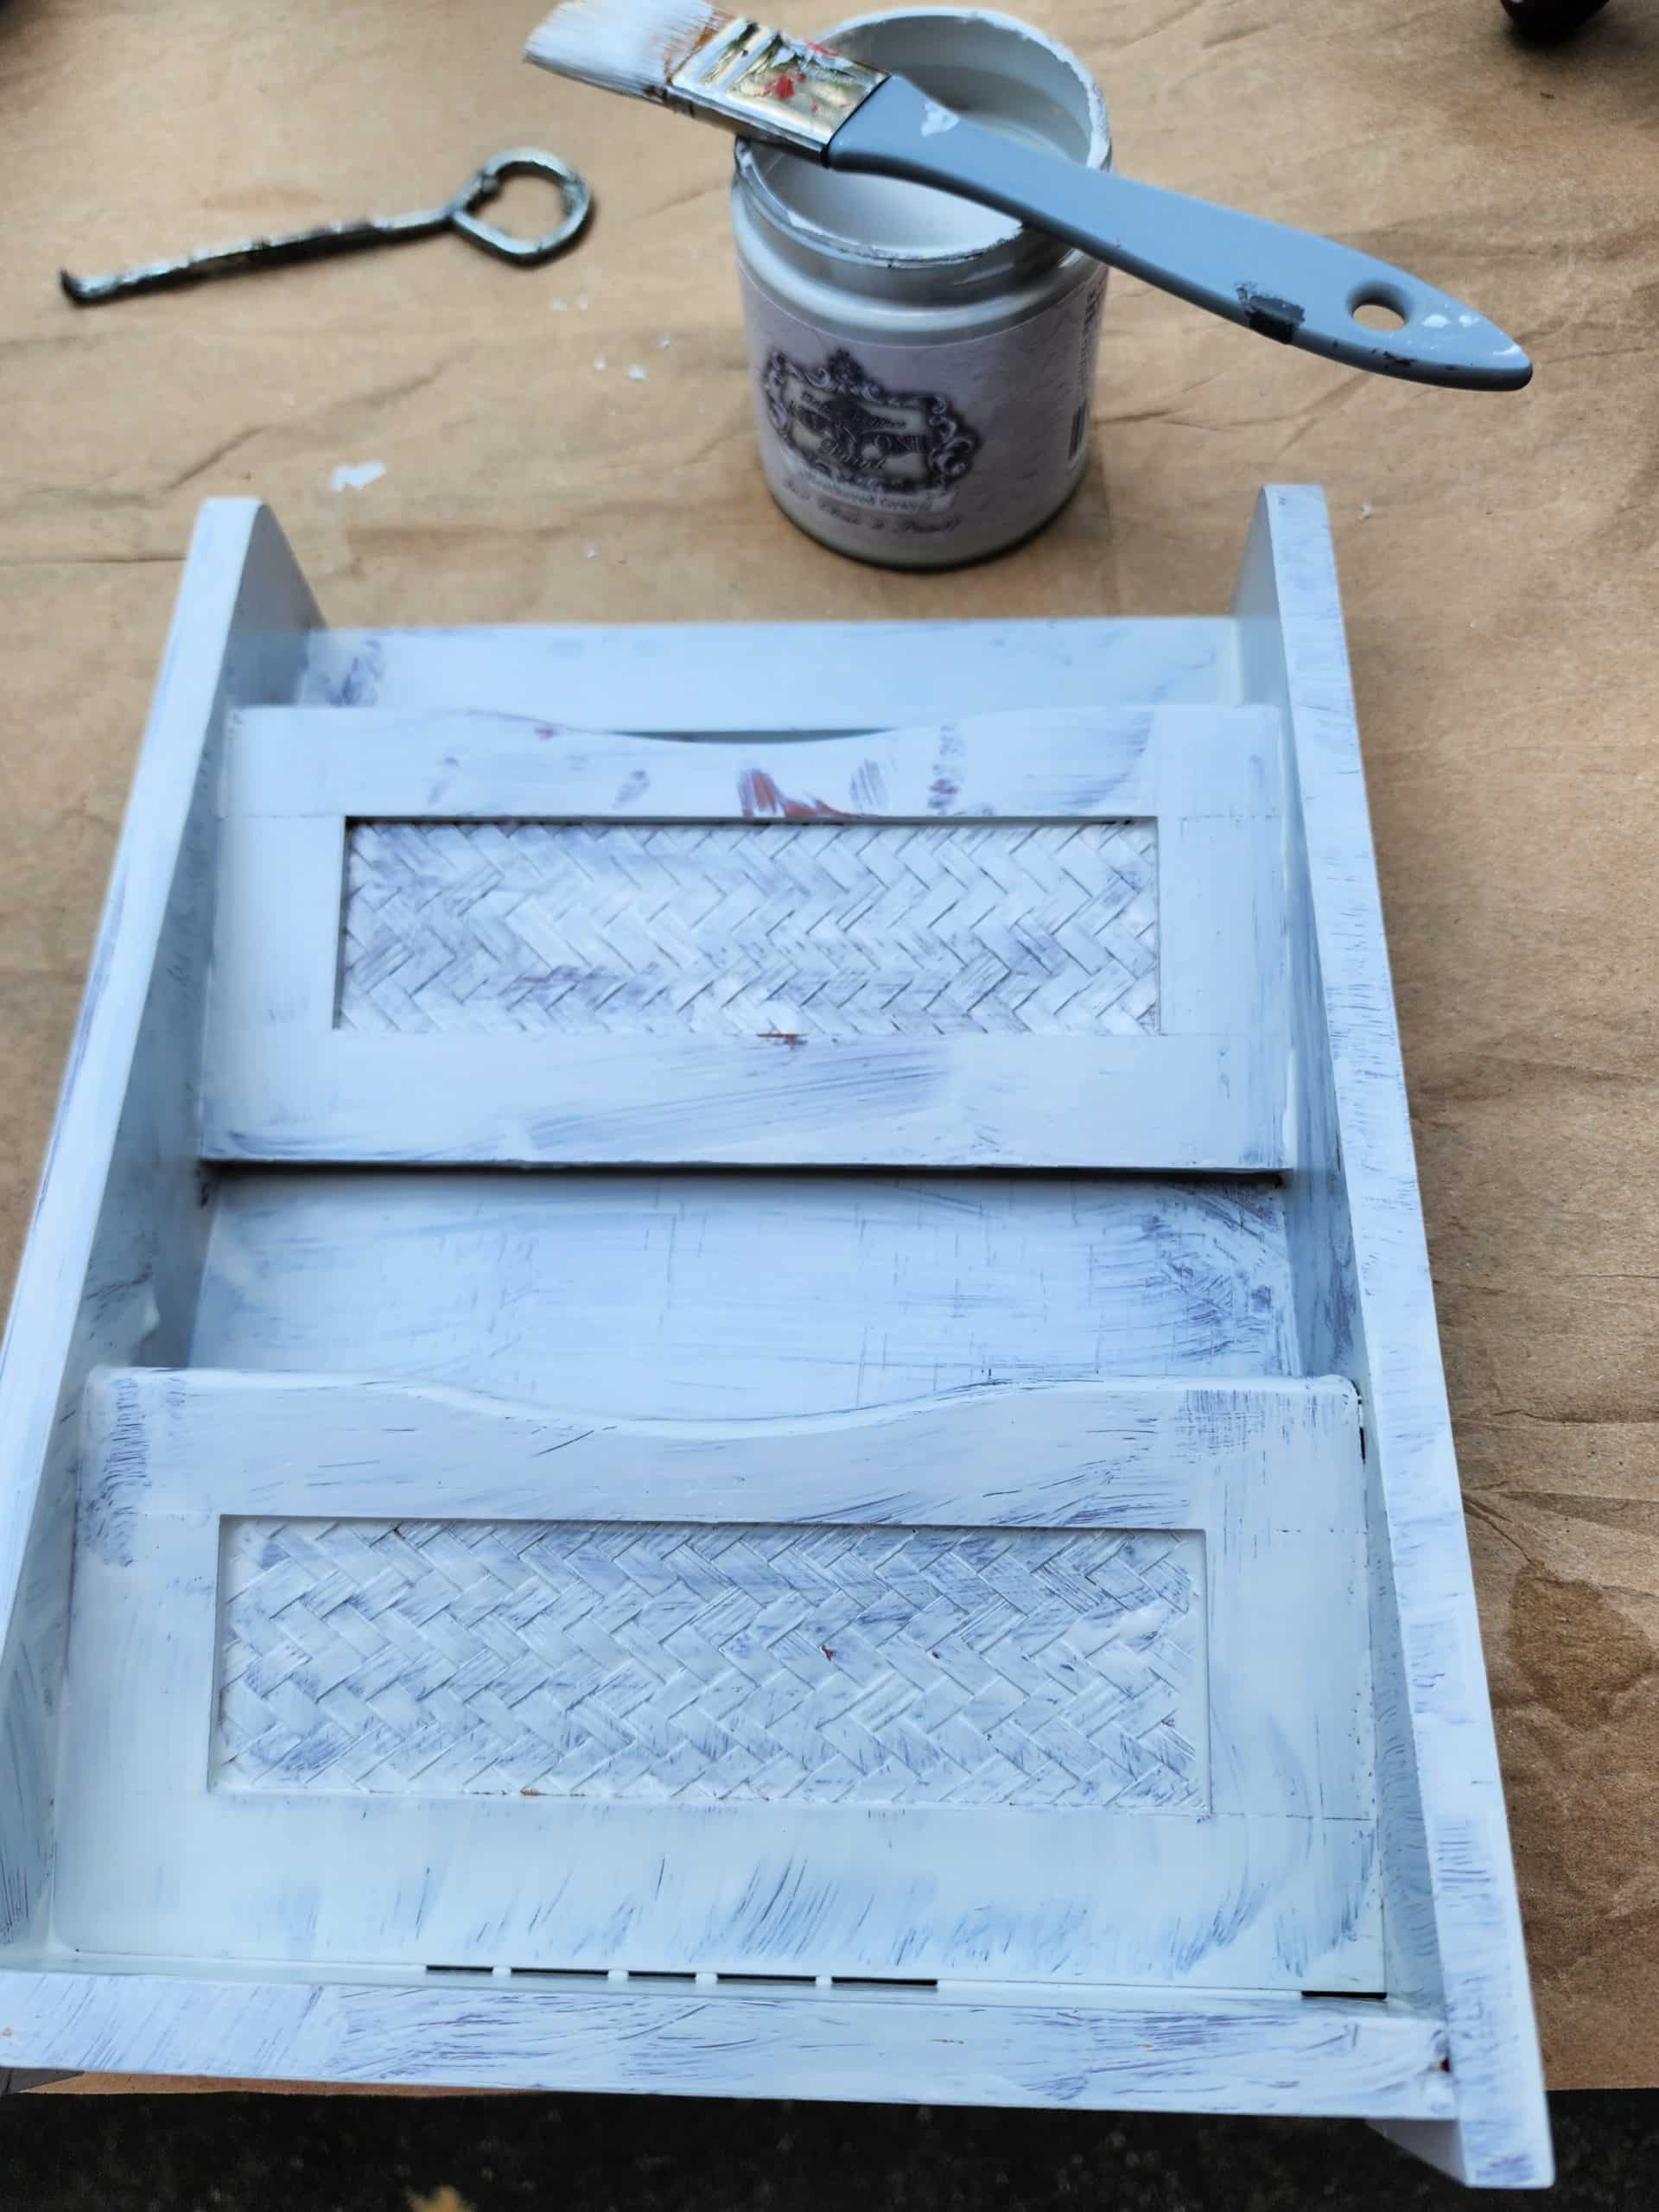
Since I chose to remove all of the hardware, painting the key cabinet with a small brush was effortless. The most important thing to remember when painting an object is patience and light coats of paint. The first coat of paint won’t be beautiful, but you’re trying to get a base coat so the next coat of paint will adhere properly.
I finished the key cabinet with my regular 2.5 coats. That means two full coats and a third coat touching up where needed.
Add a Little Color to Your Project
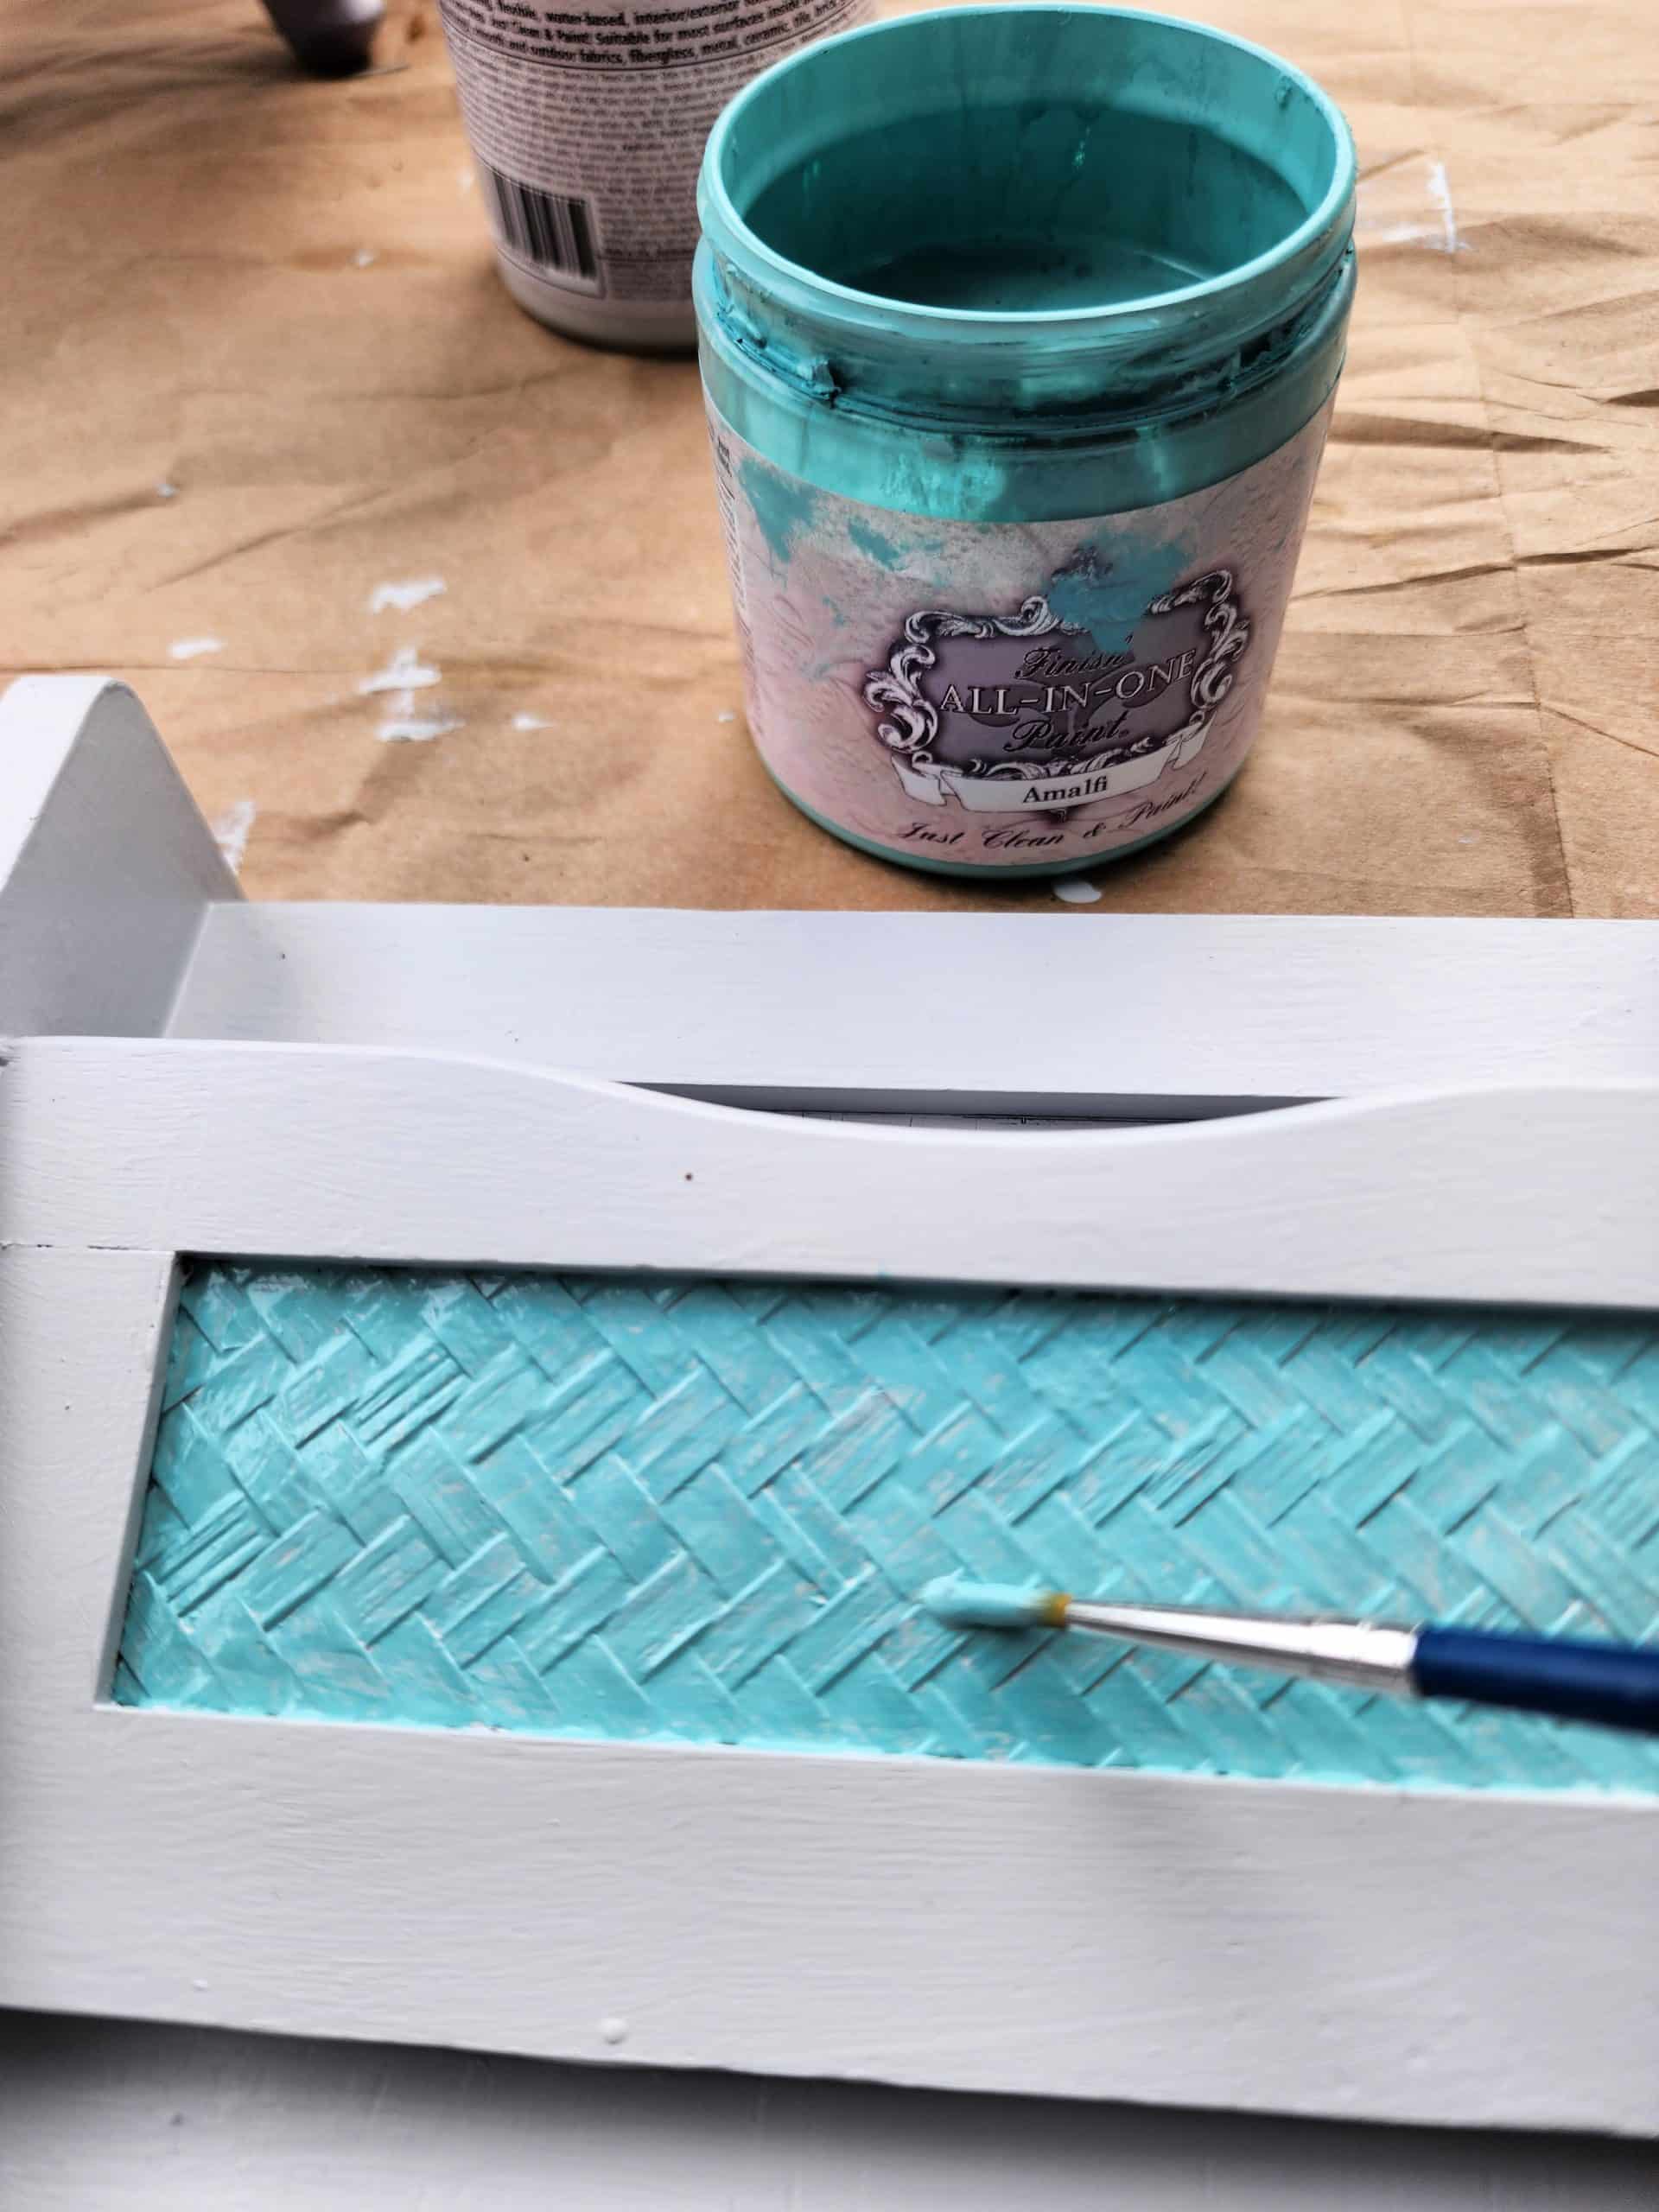
Using an artist’s brush, I added Amalfi to the insets on the front of the letter holder. I think it goes well with the heathered gray, don’t you?
Not shown, I used the same color on a Scrabble tile holder for the inside of the cabinet.
Add a Chalkboard
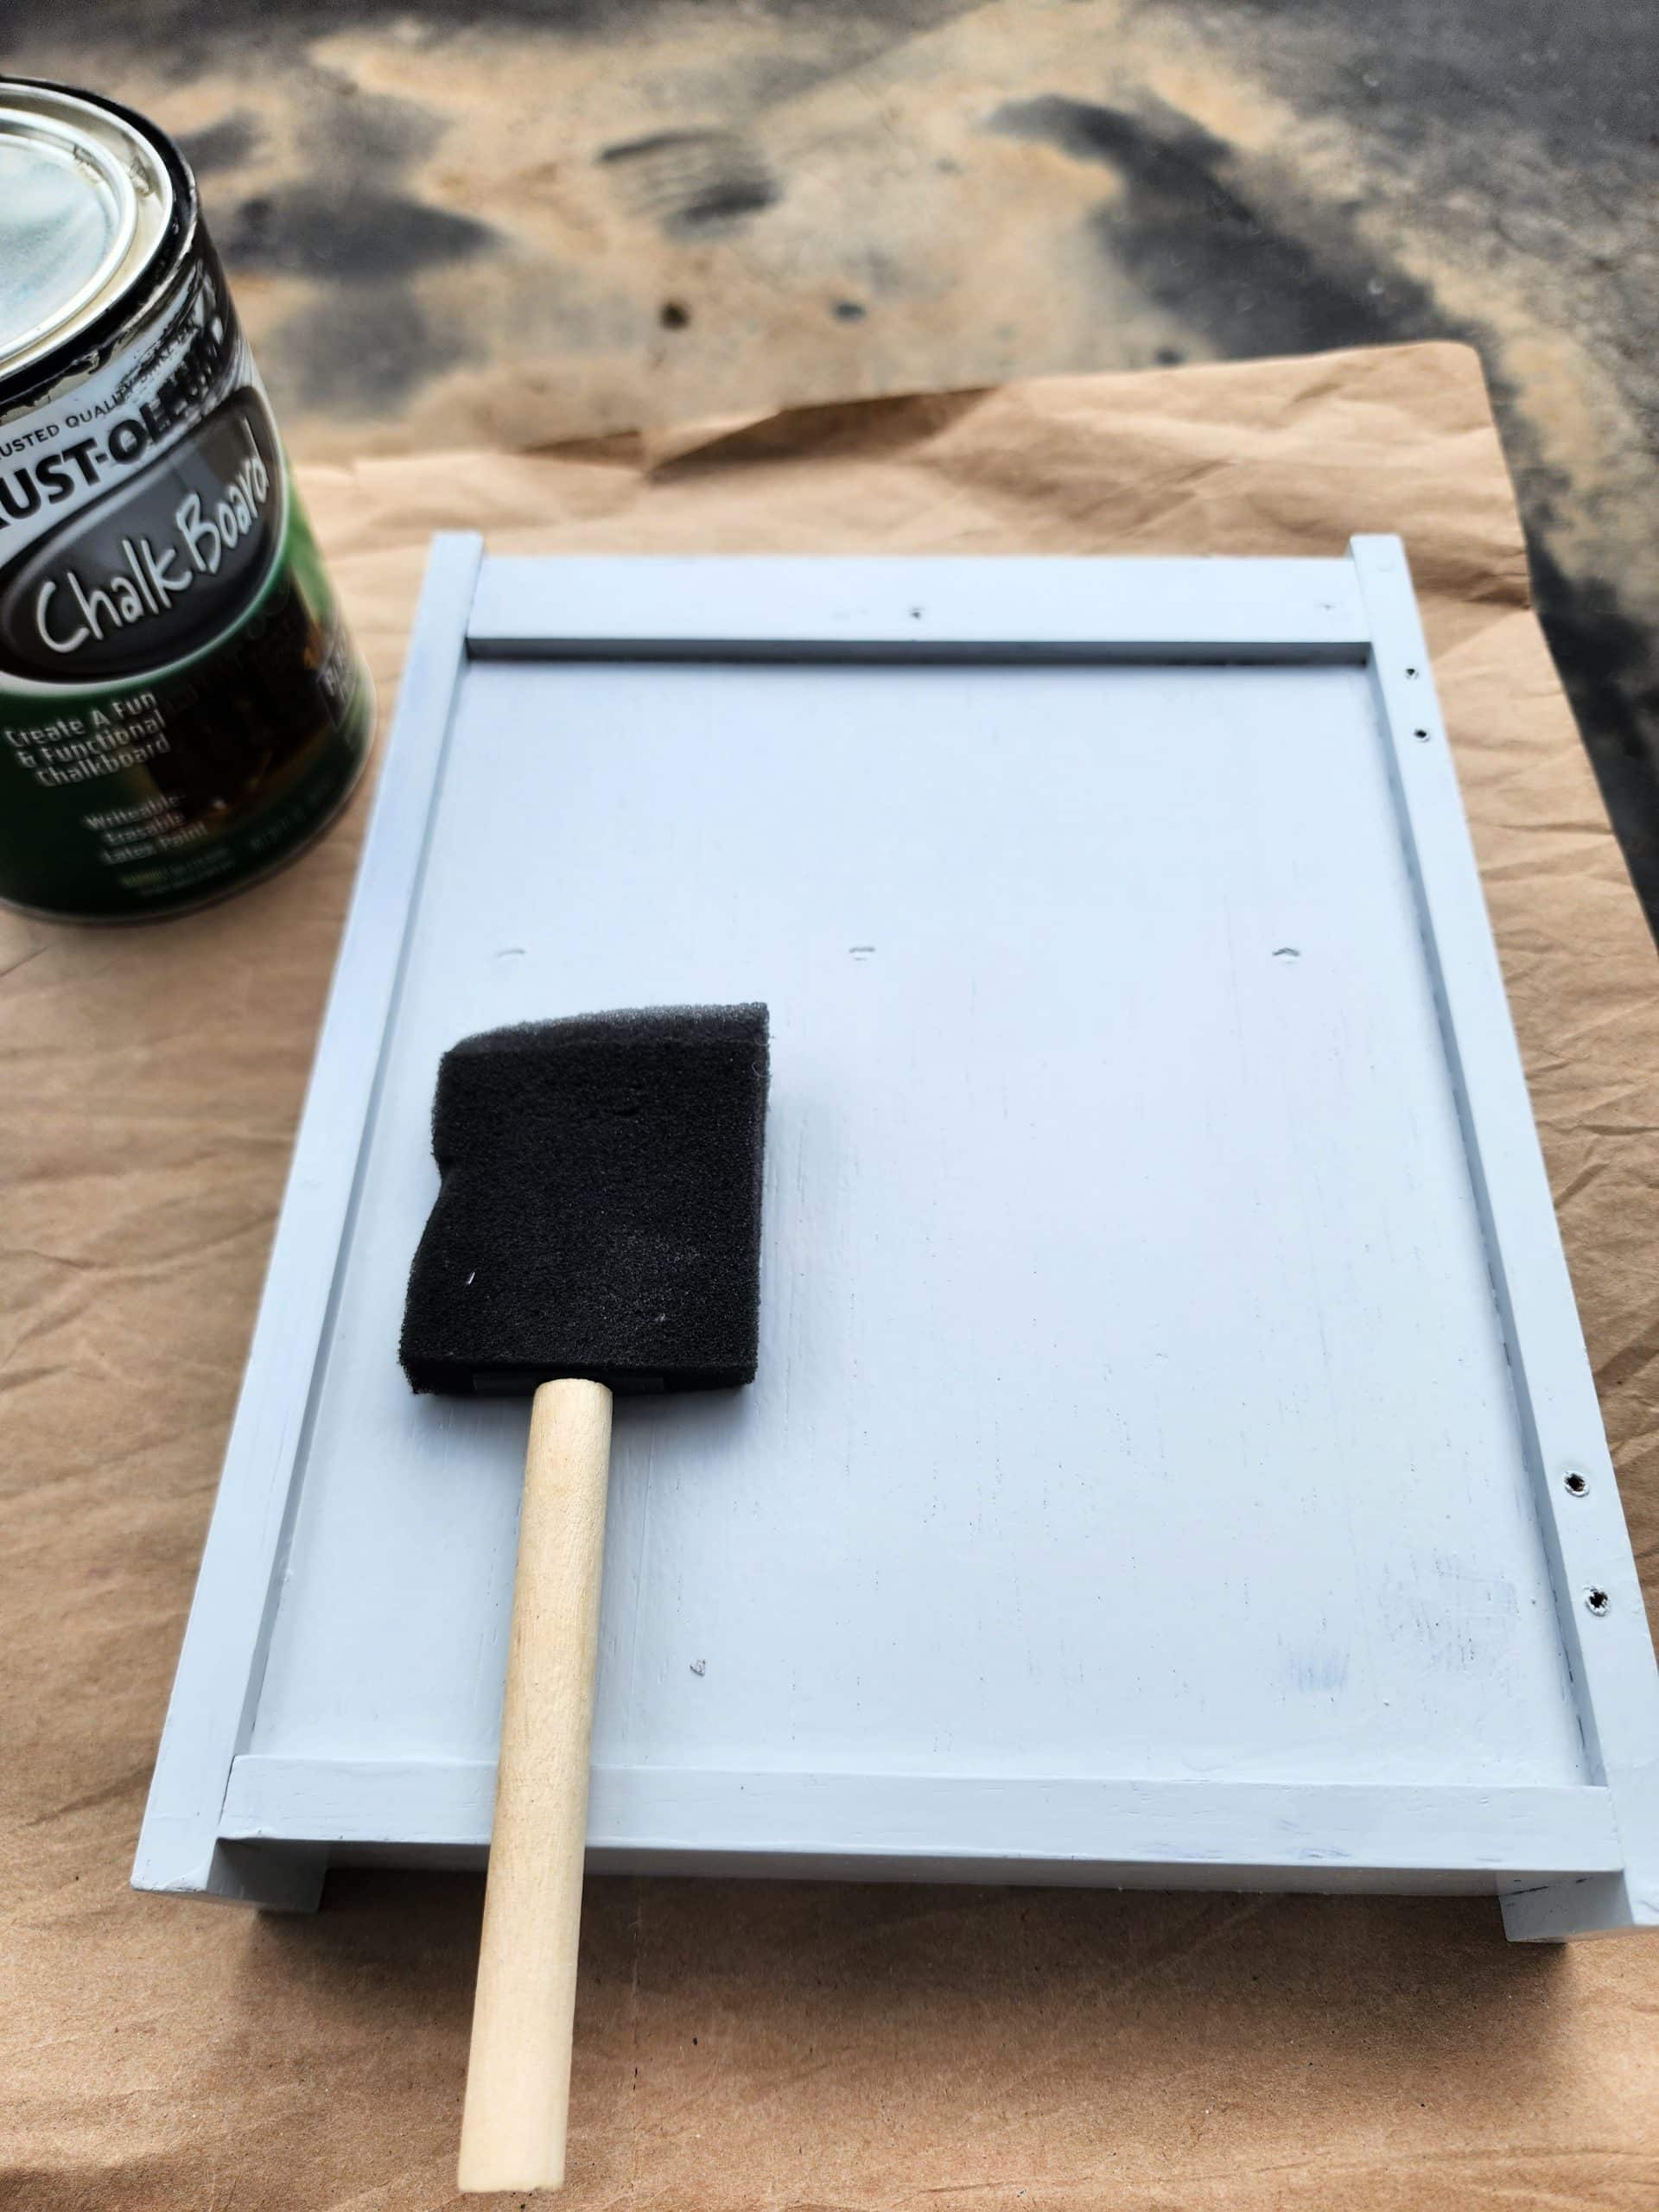
The inside of the letter holder box had a plain flat panel, perfect for a chalkboard.
Can You Use Nail Polish as Paint?
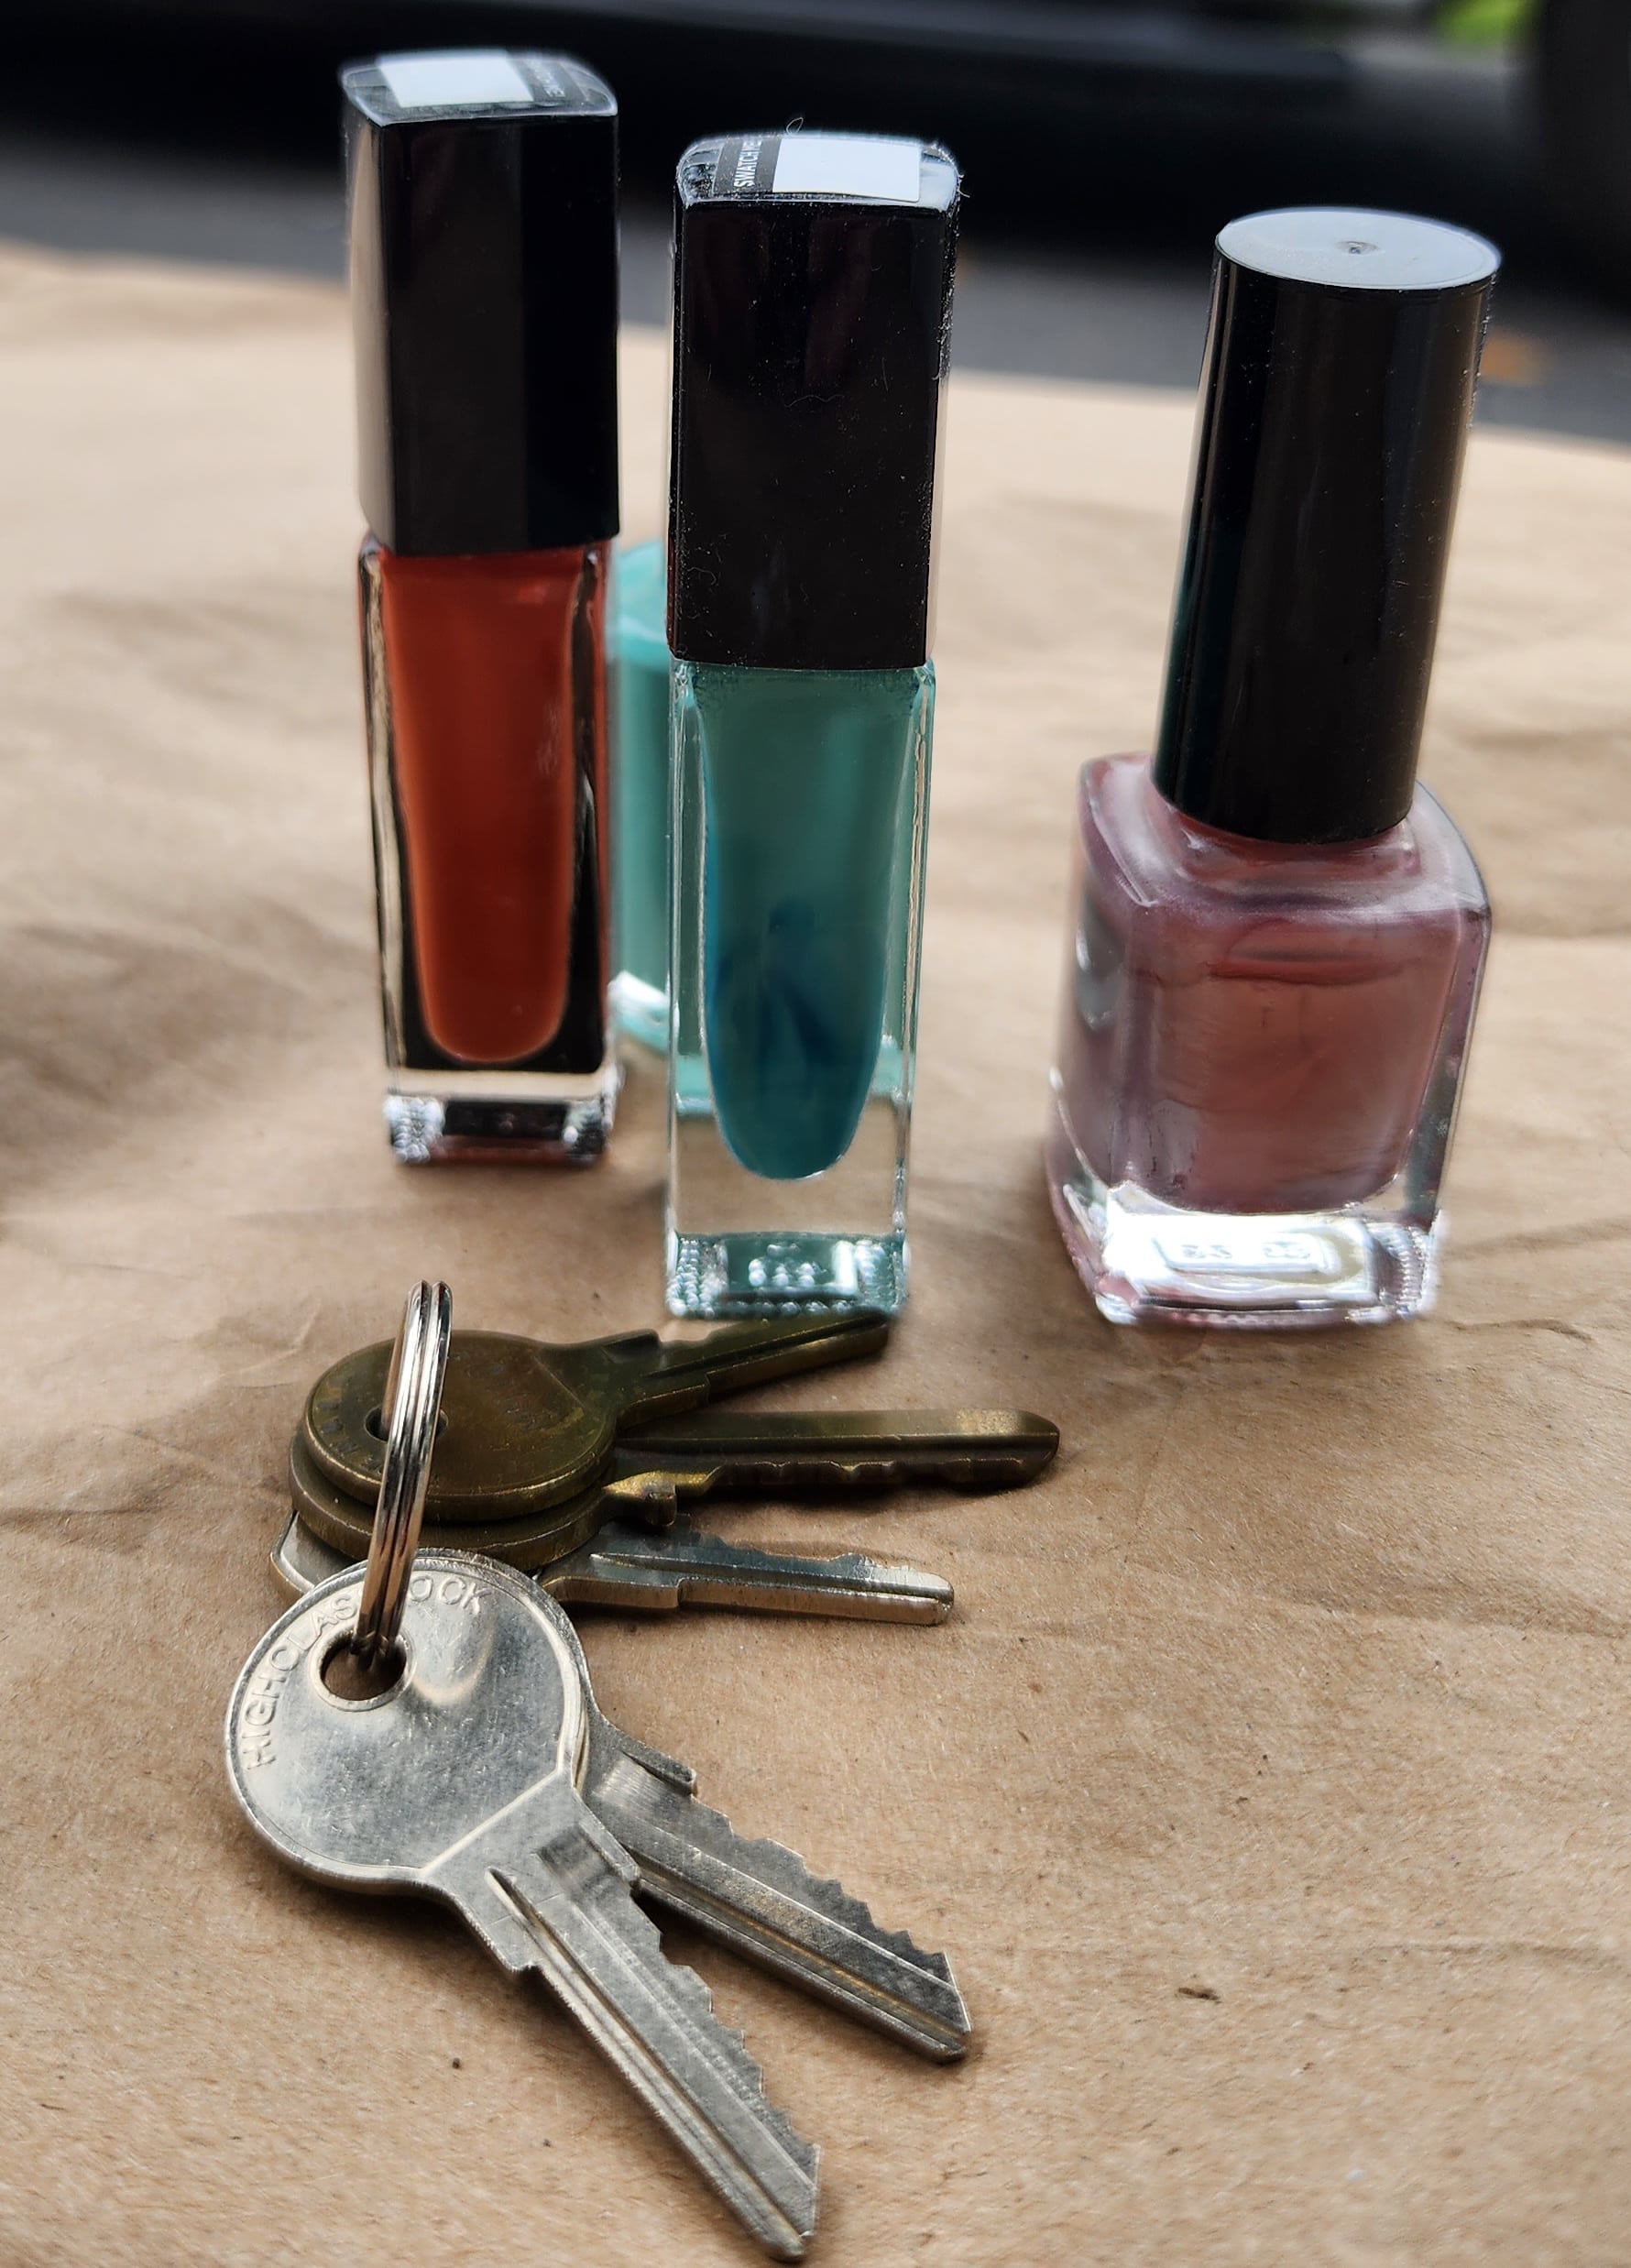
Yes, you can use nail polish as paint. Have you seen my painted acorns?
Identify Keys Using Nail Polish
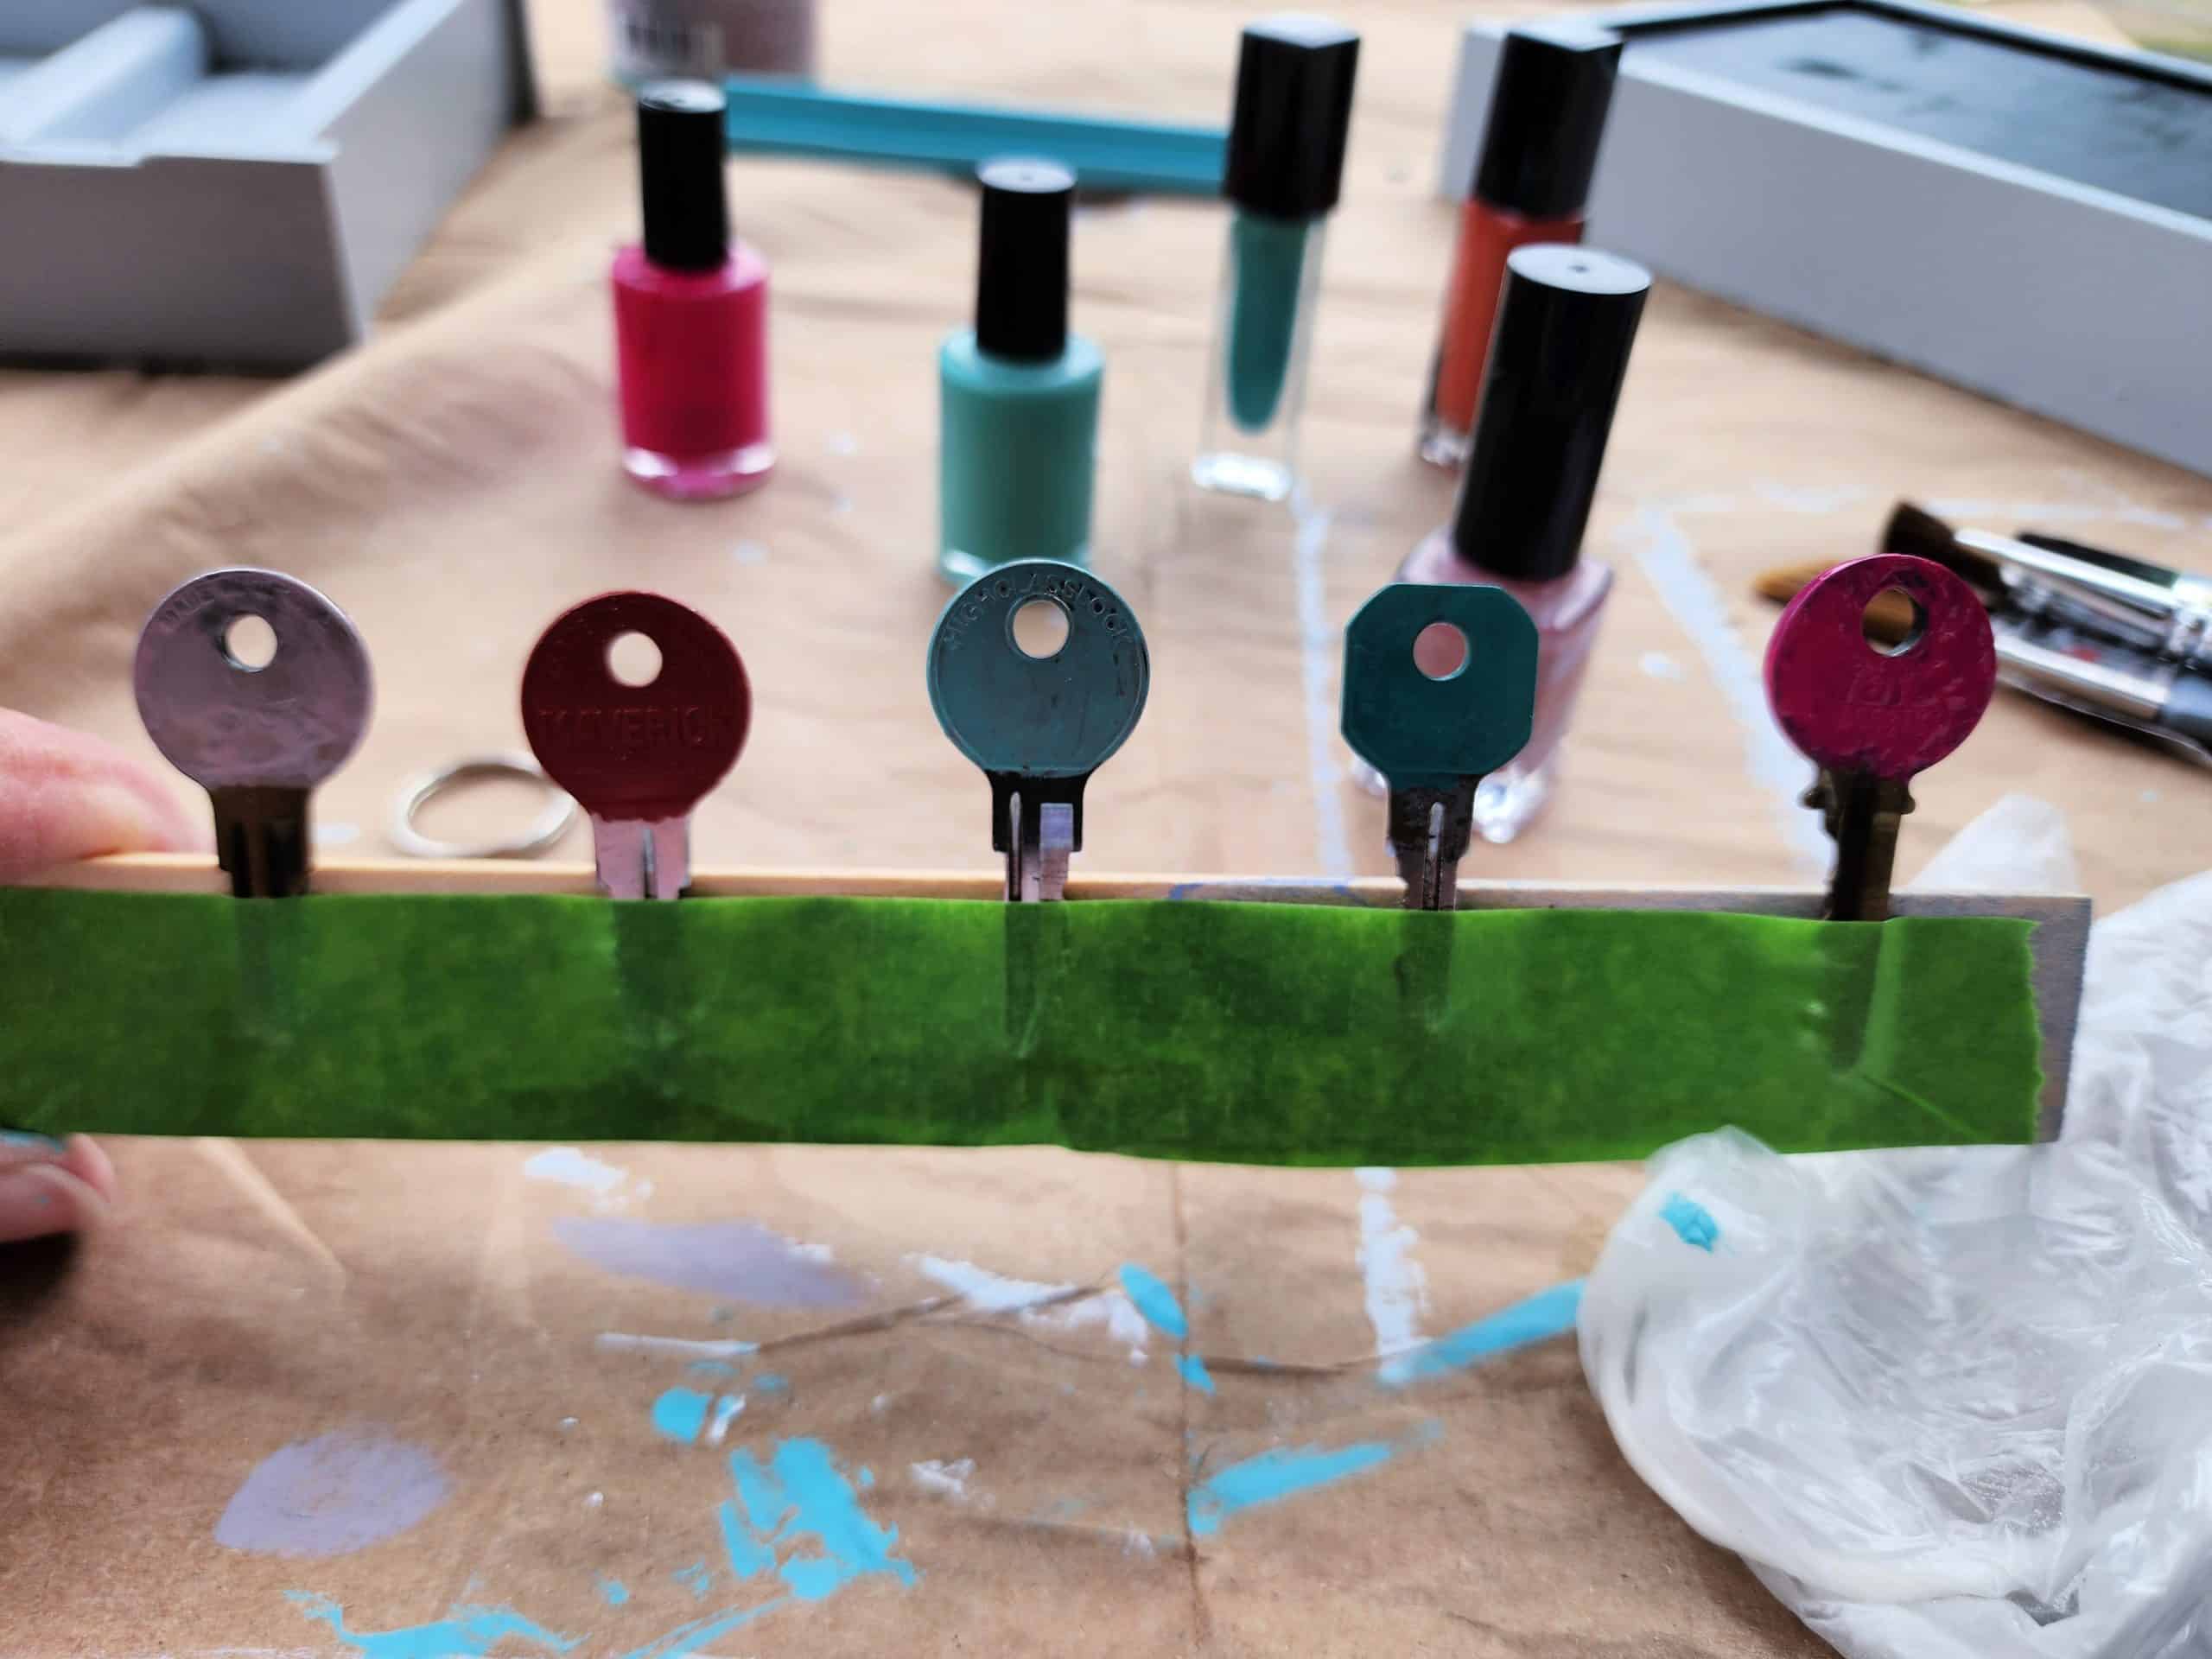
When you have a bunch of small keys, it isn’t easy to know which is which. The solution? Make each key a unique color using nail polish.
Reassemble Mail Holder
After the mail holder was painted and dry, it was time to reassemble it. It’s imperative to keep track of all your hardware while completing your project. I have misplaced pieces more than once.
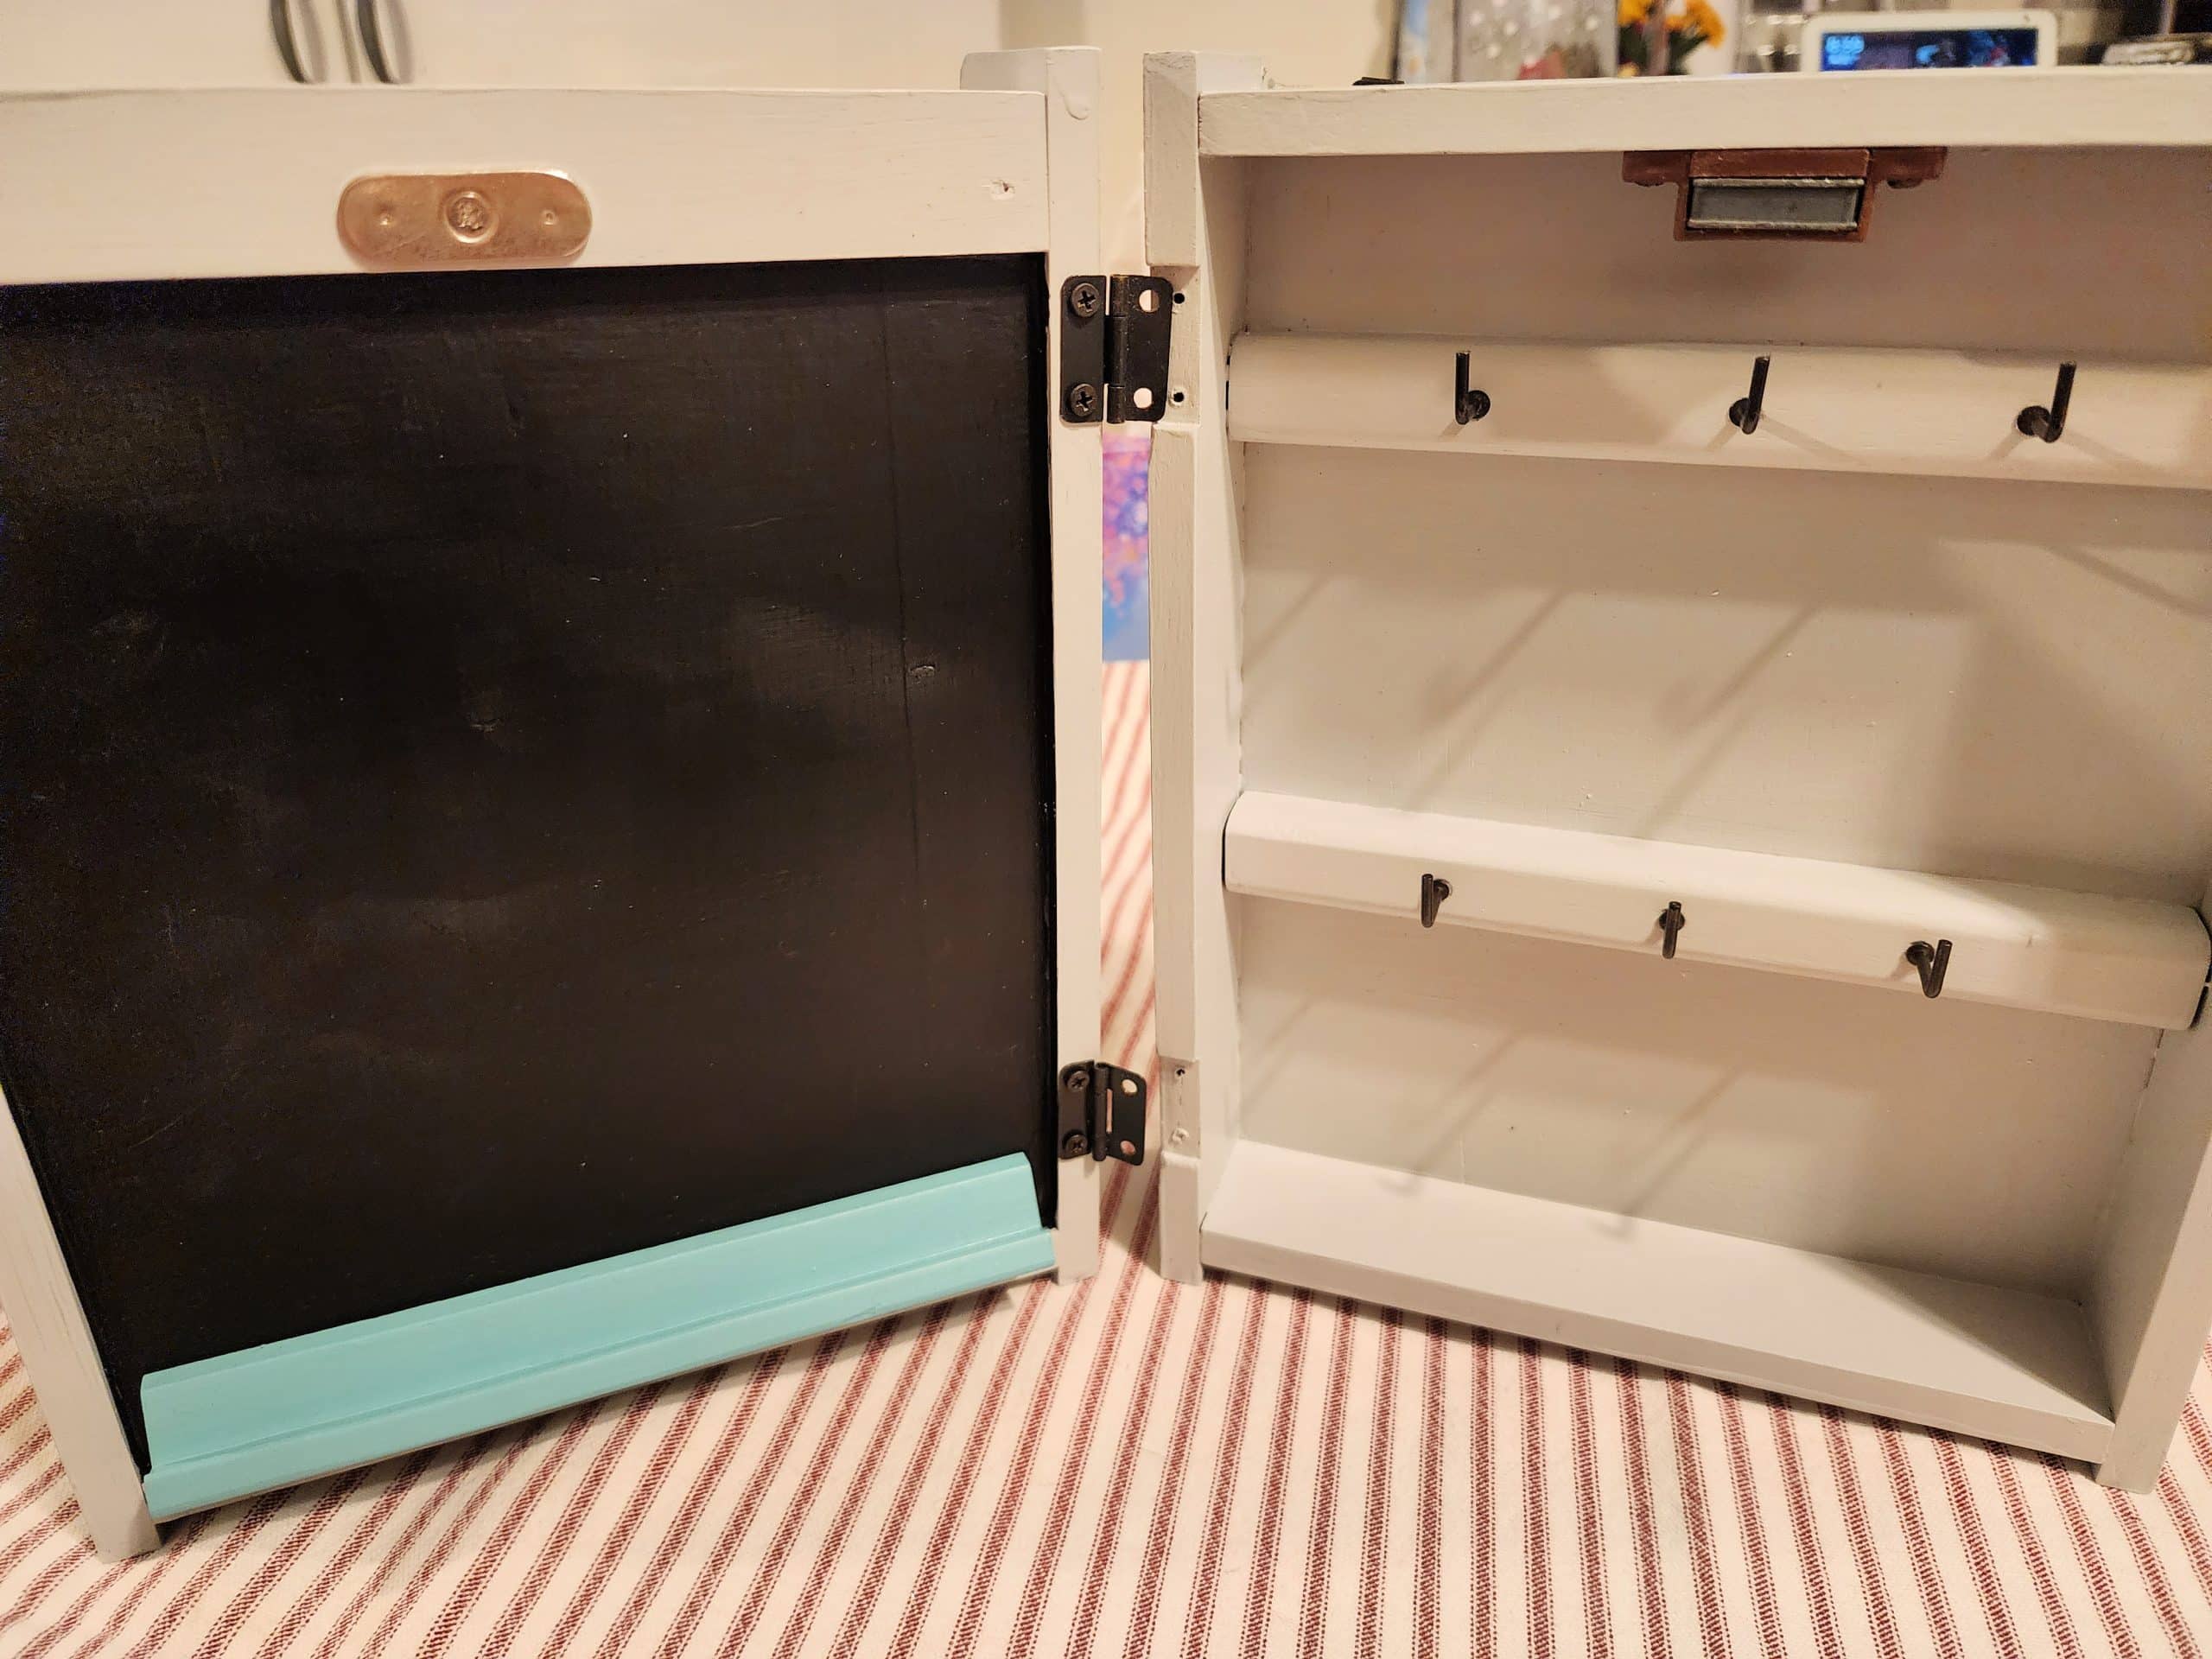
I purposely saved the hinges for last. Keeping the box separate made installing the hooks and other hardware simple and quick.
Note the Scrabble tile holder. It was attached using wood glue.
Chalk Couture Chalk Paste and Transfer
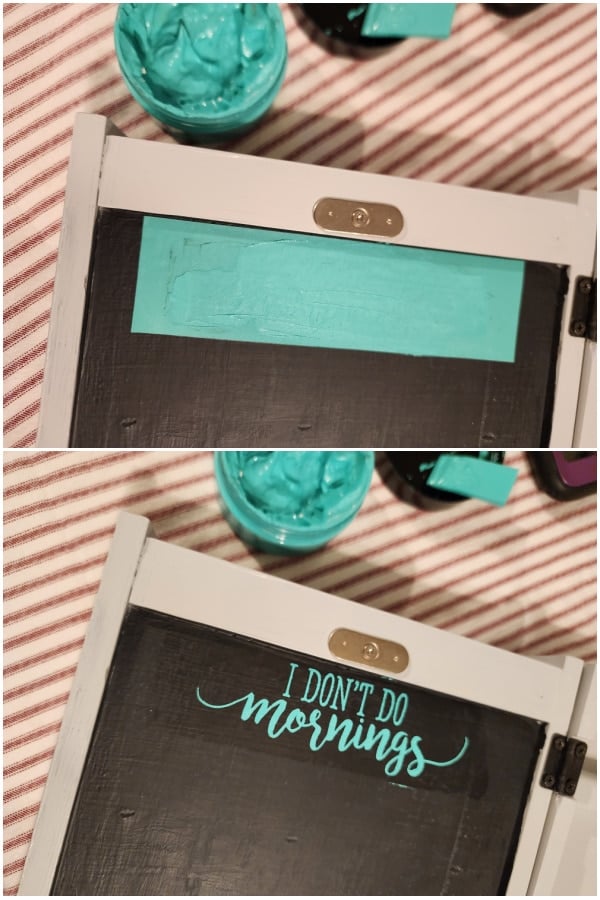
Did you know I’m a Chalk Couture Designer? I love embellishing my projects whenever I can. In my opinion, it’s so much easier than stenciling.
Mail Holder-Key Storage Cabinet
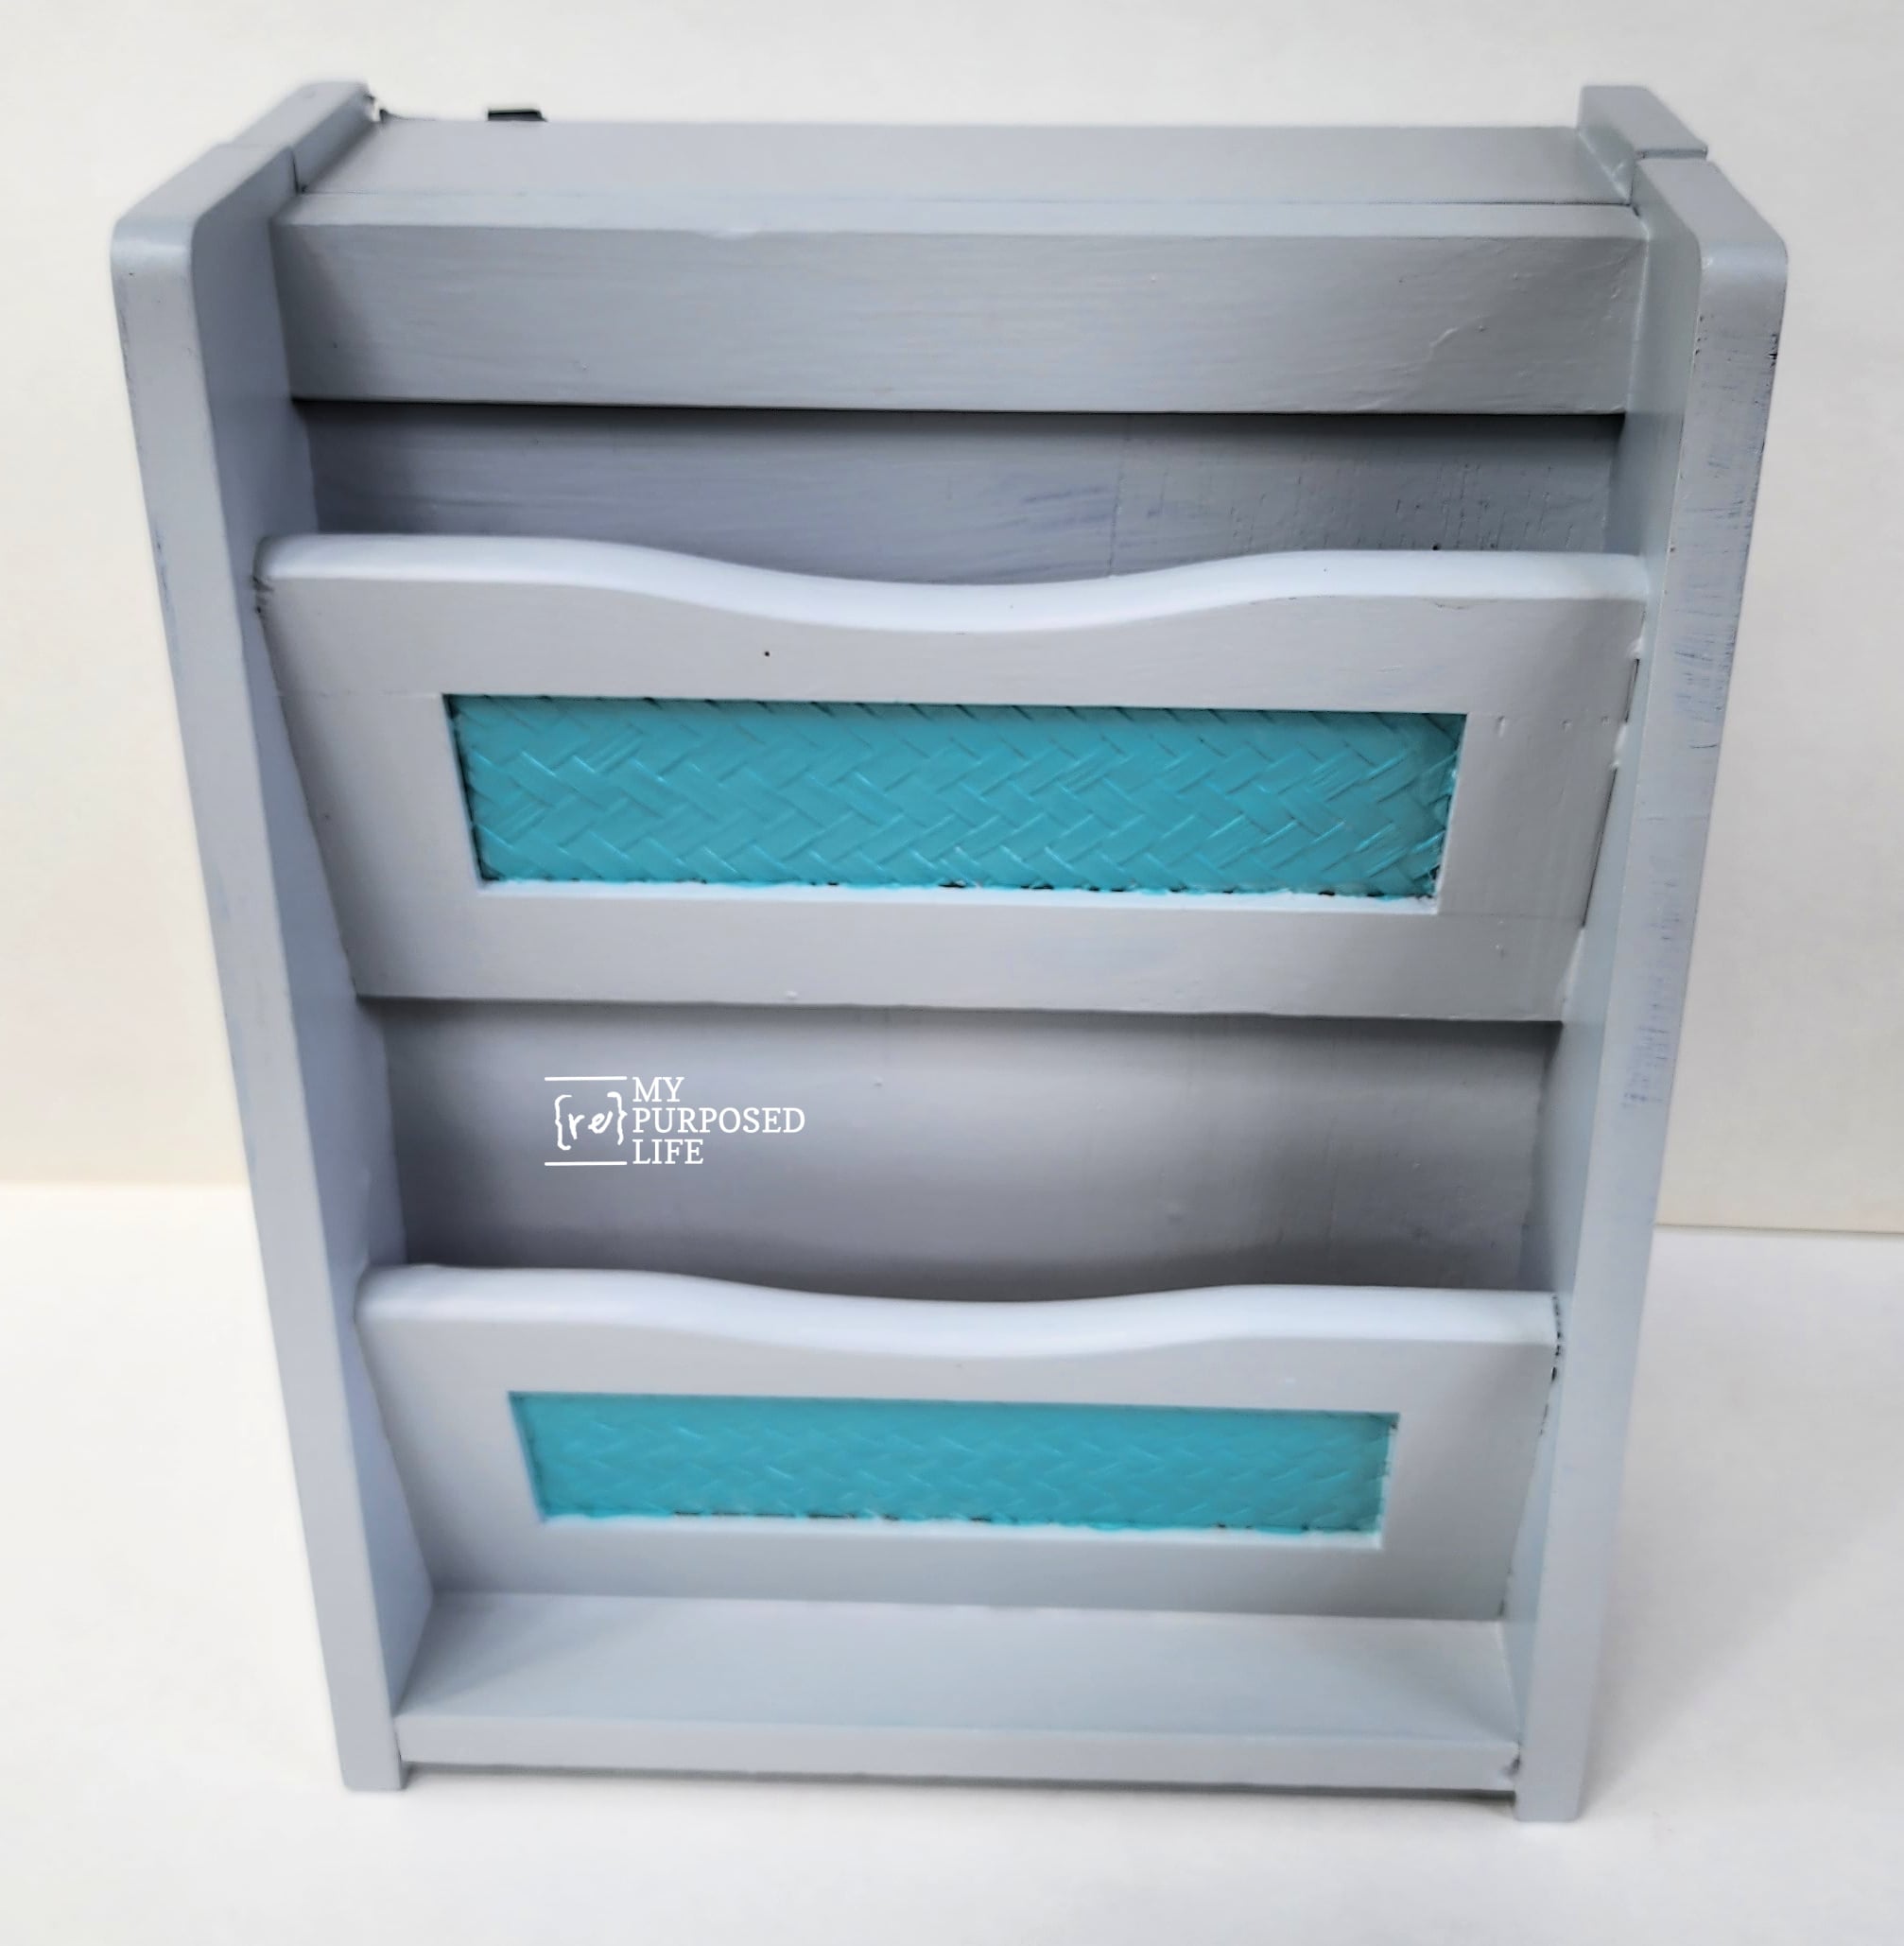
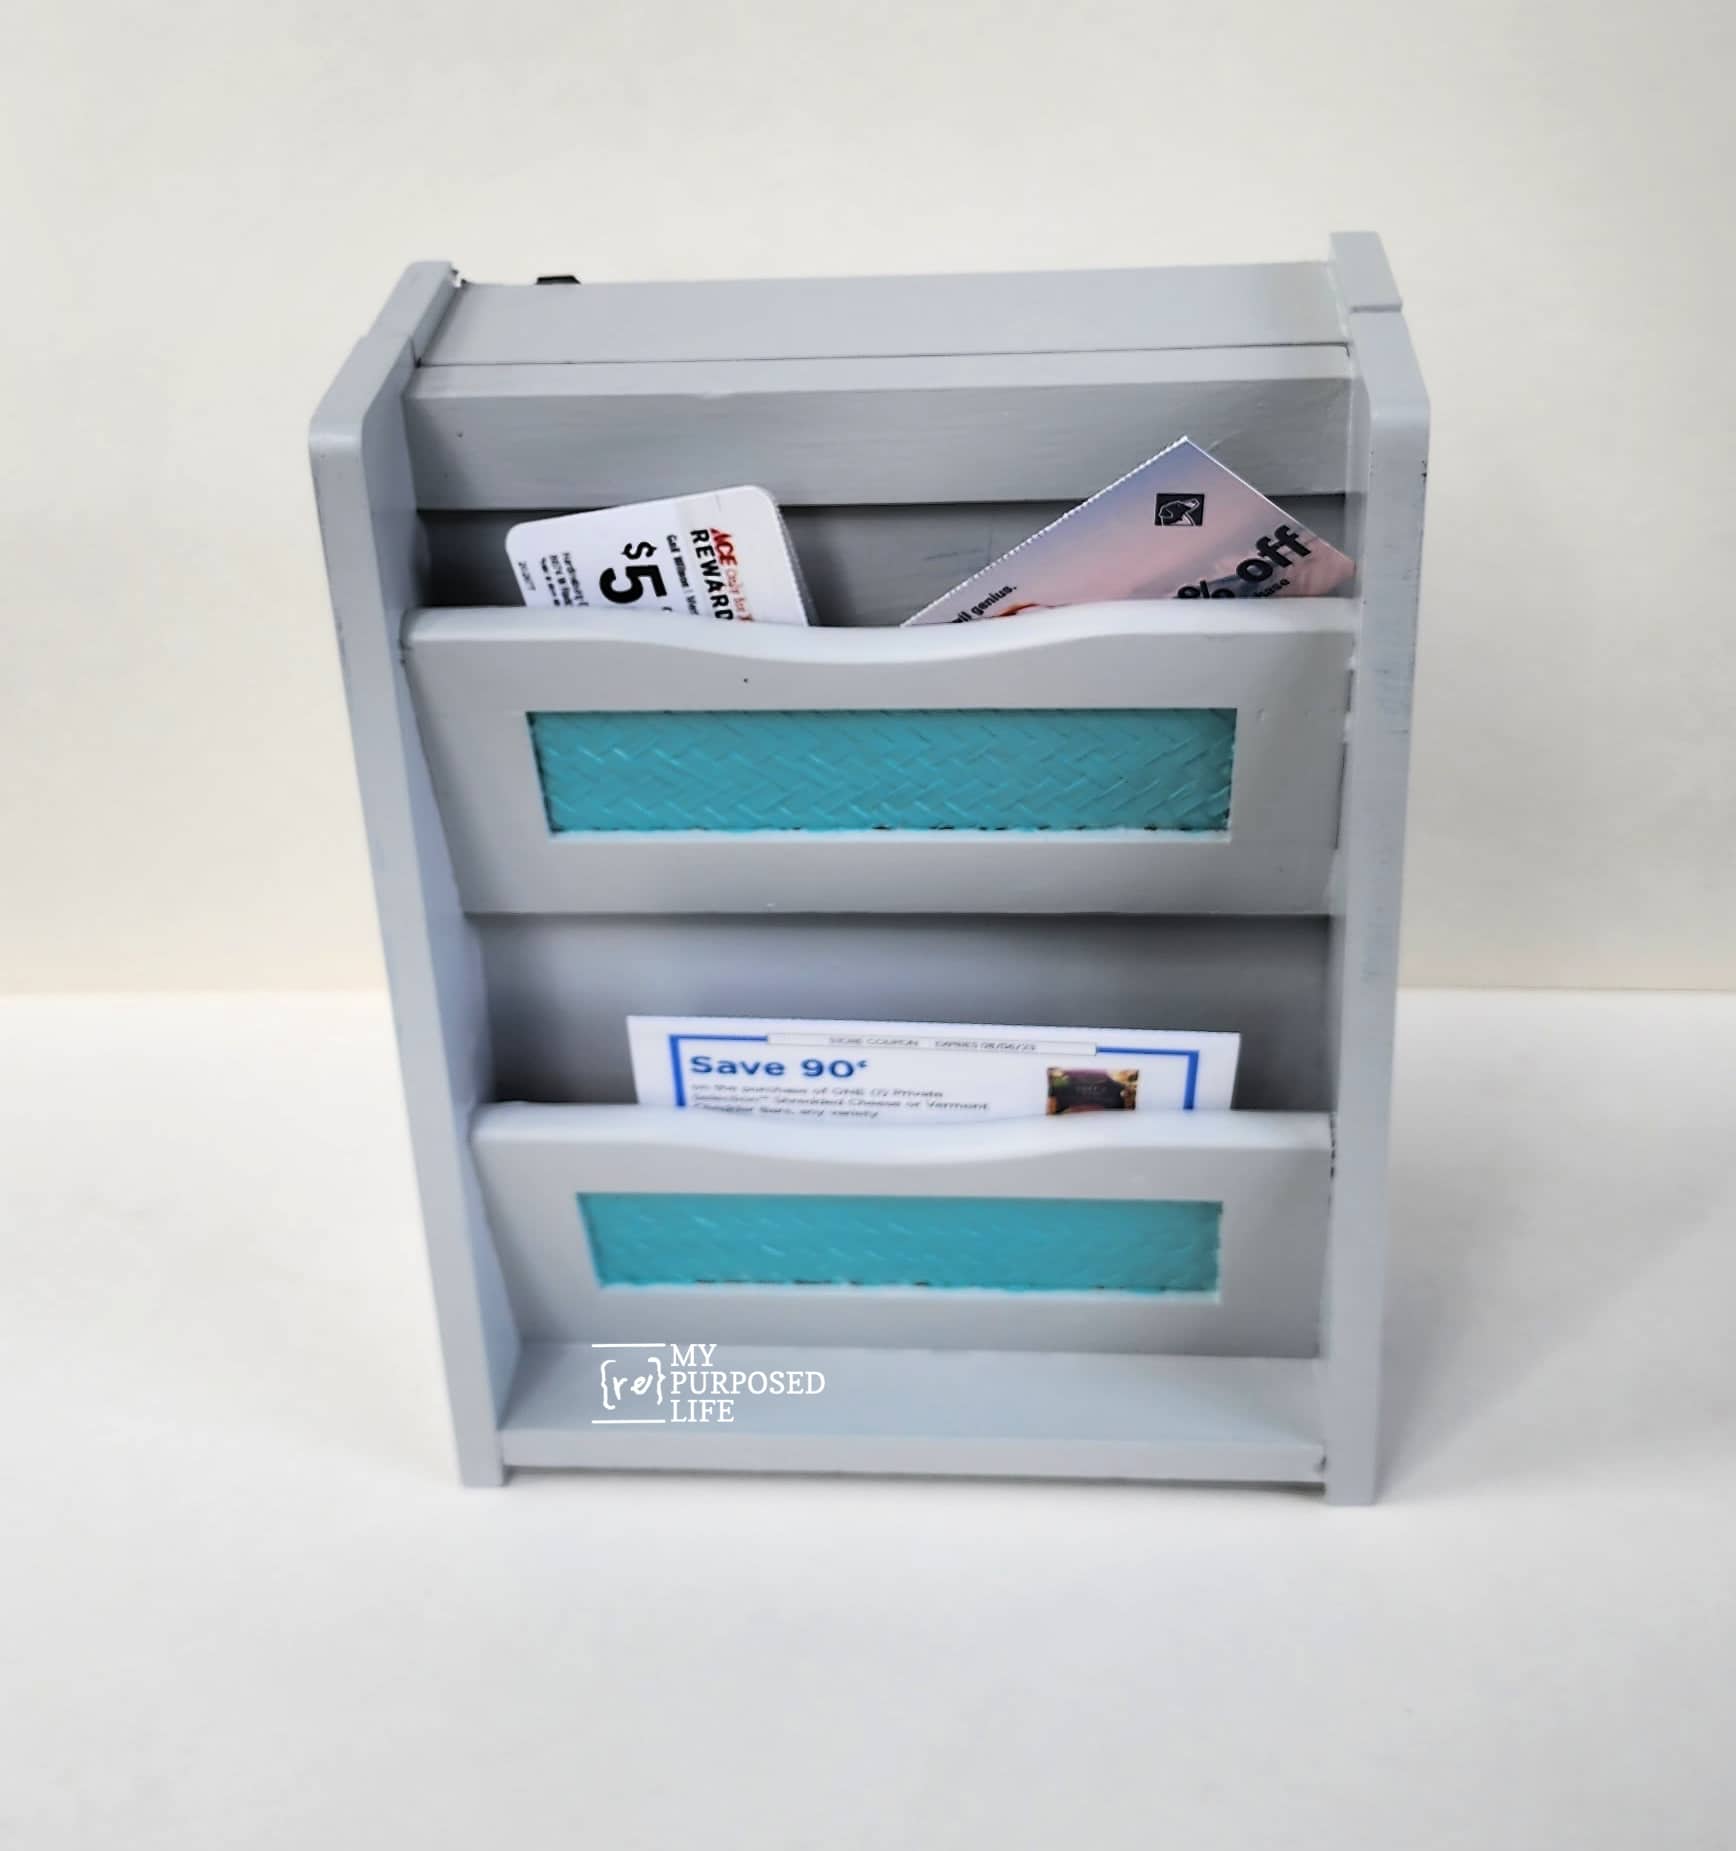
The small mail slots are perfect for small items such as photos, coupons, stamps, etc.
Inside the Key Cabinet
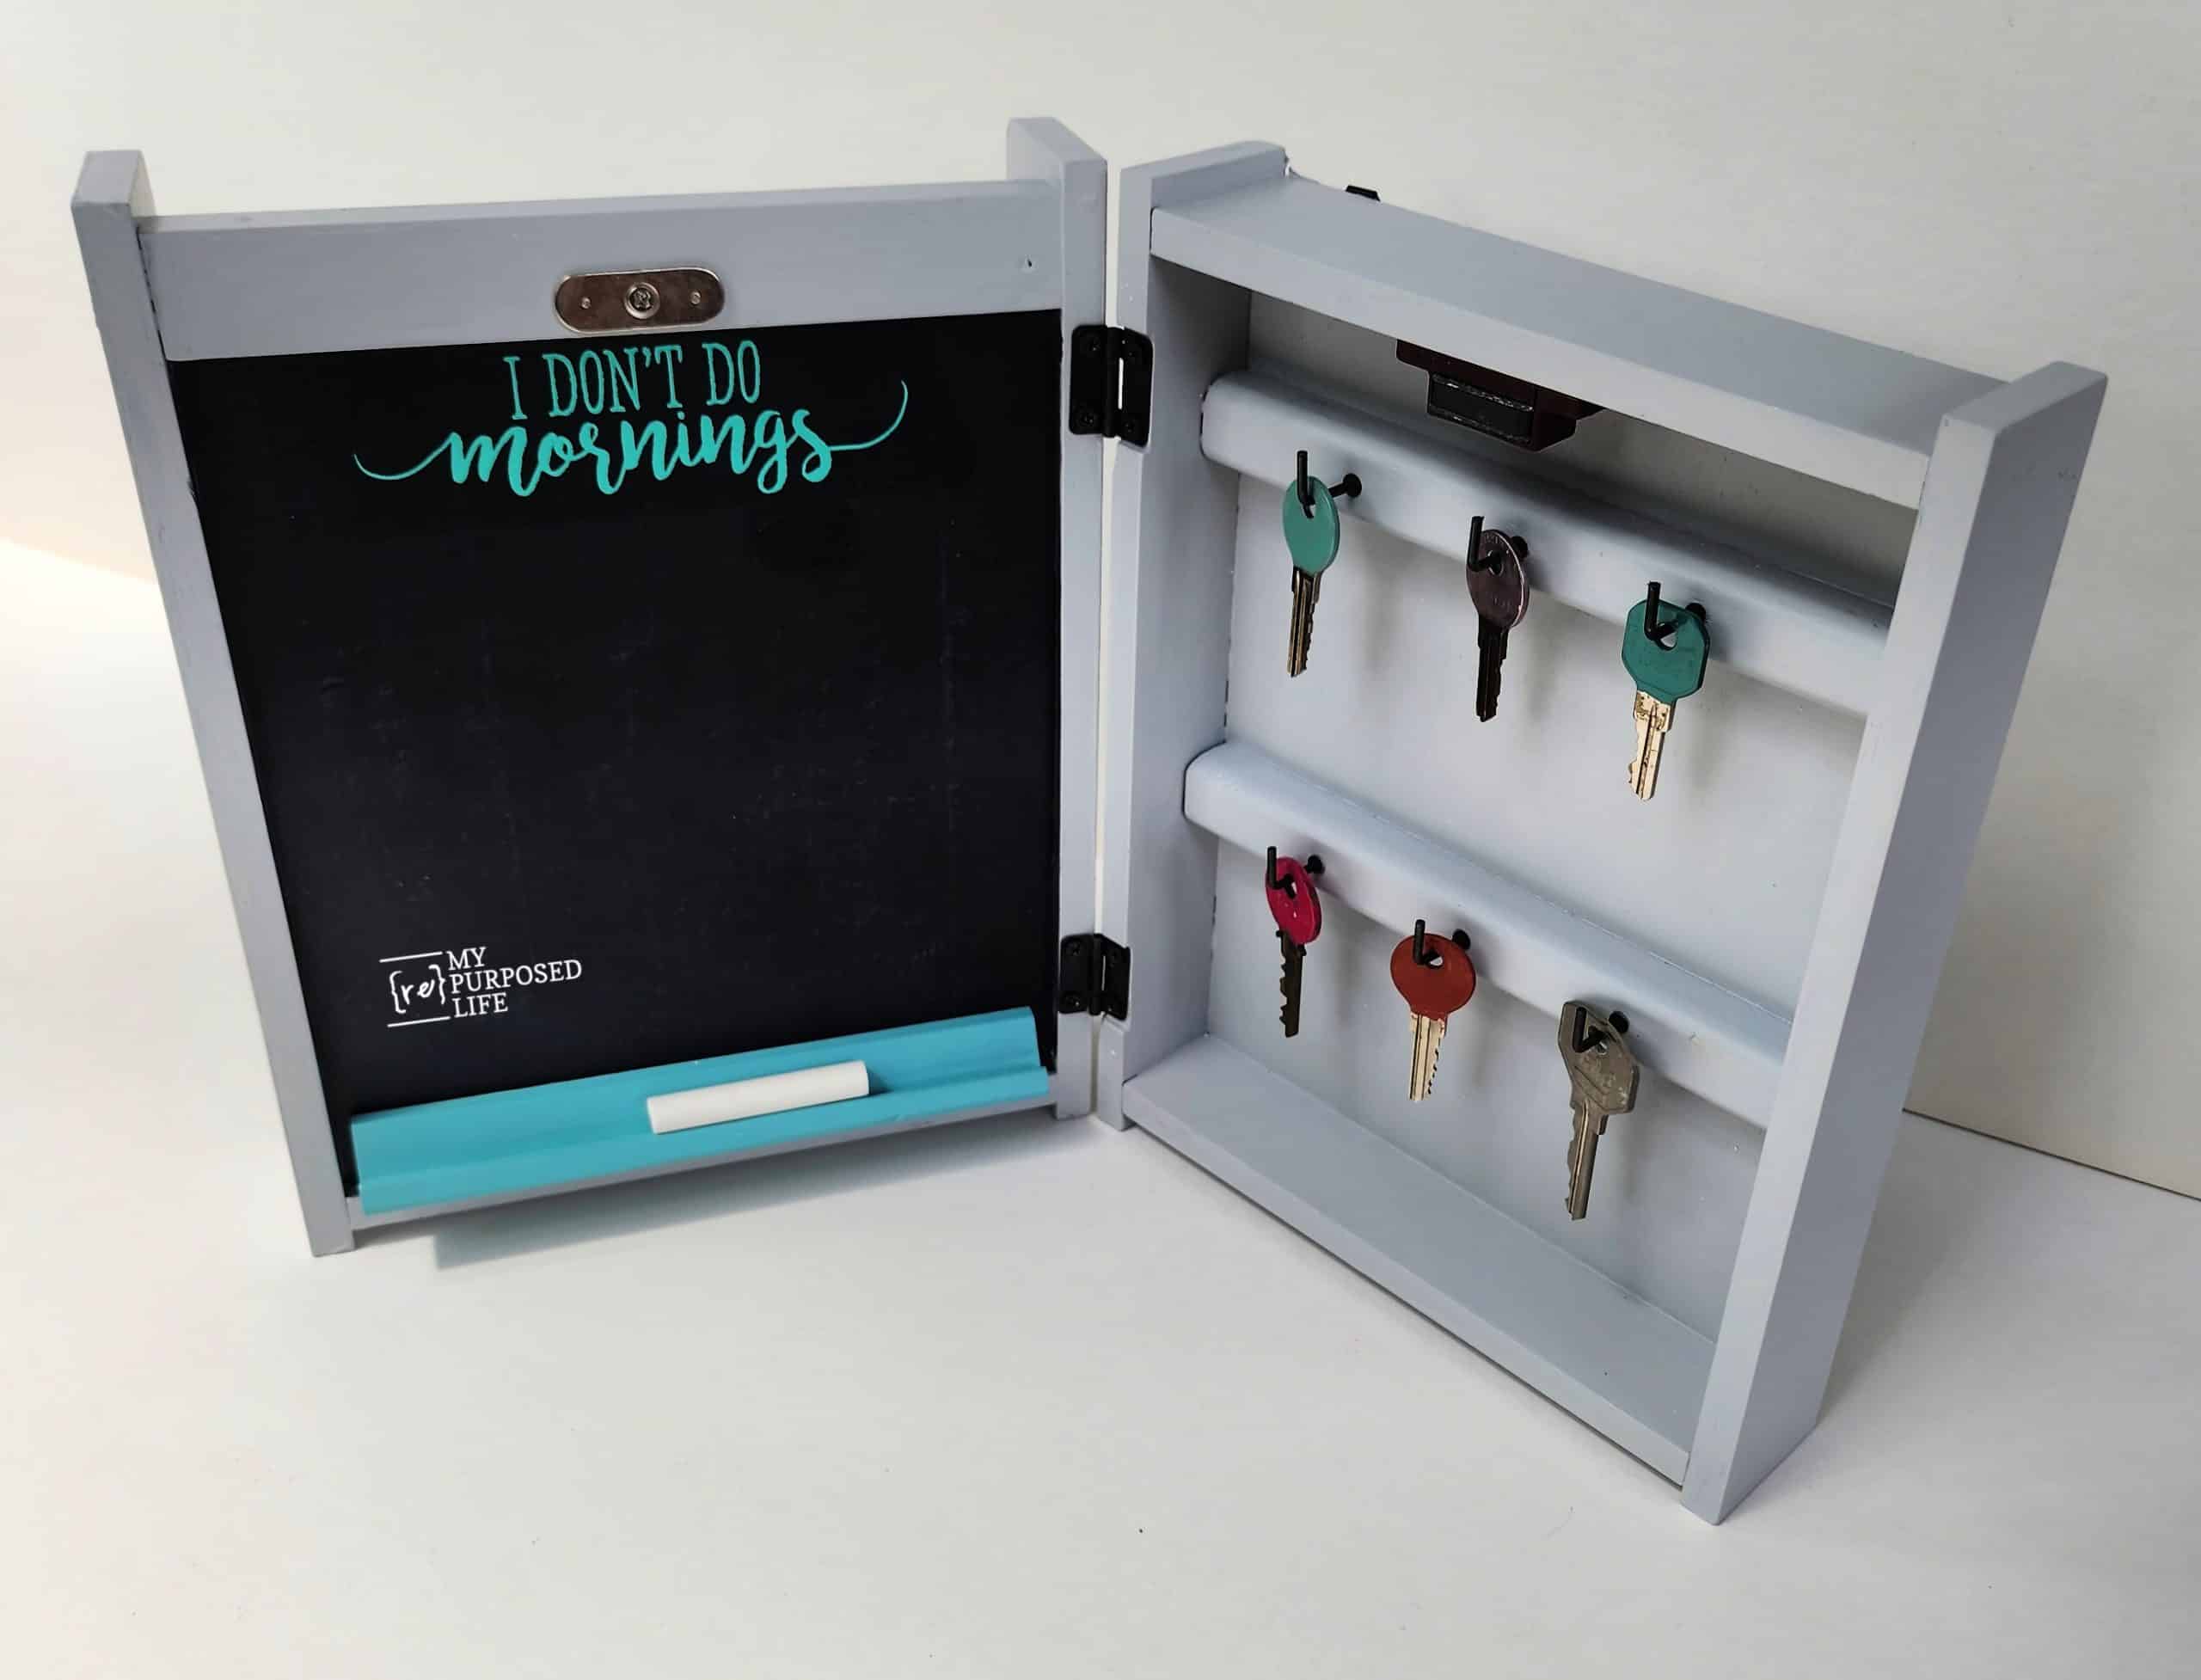
Voila! Now I have a chalkboard and an organized key storage!
More Thrift Store Ideas From My Friends
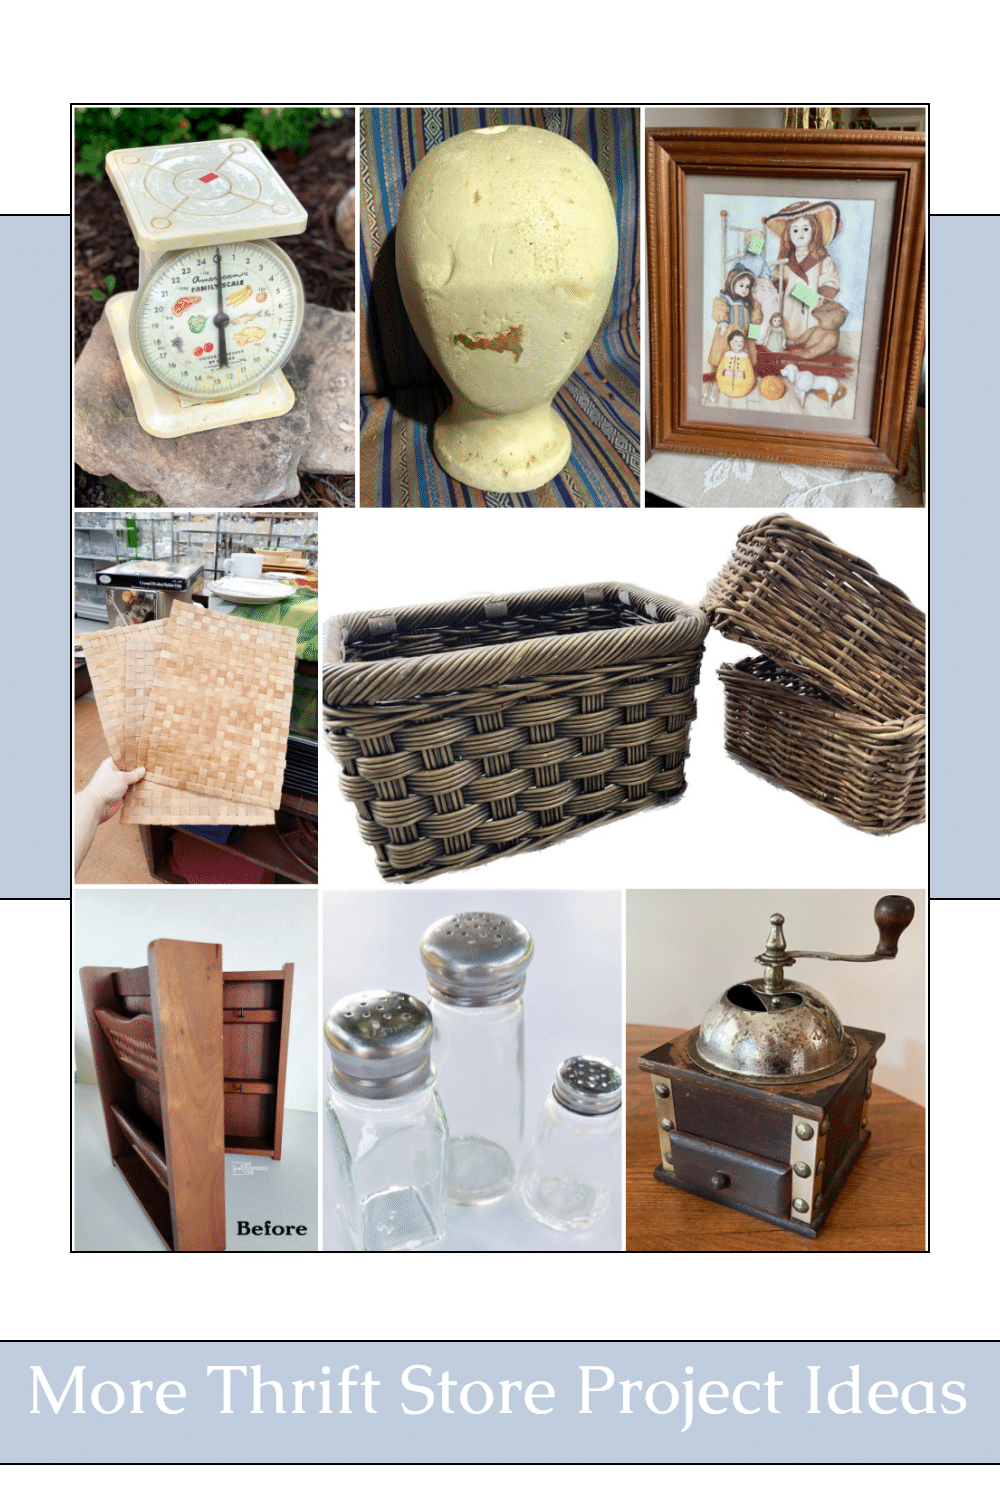
- Vintage Scale Repurpose House of Hawthornes
- Decoupaged Mannequin Head Shop At Blu
- DIY Haloween Art Our Southern Home
- Botanical Prints on Woven Mats Sadie Seasongoods
- Update wicker baskets with paint to look like natural rattan My Uncommon Slice of Suburbia
- Key Cabinet|Easy Makeover My Repurposed Life
- DIY Sea Glass Bottles Petticoat Junktion
- Thrifted Coffee Grinder Makeover Organized Clutter
I’ve never seen one of these while thrifting. Will be on the lookout. This is a fabulous idea. I like All in One Paint too. I find that after ‘curing’ it is a sturdy paint!
LOVE this upcycle, Gail!!
I’d love for you to join us over at the Creative Crafts Linky Party every Wednesday through Sunday
https://creativelybeth.com/creative-crafts-linky-party/
Followed and Pinned!
Creatively, Beth
I really love how this turned out and the colors you used! Great tip on using nail polish to tell the difference between each key. I had one of these when we first got married, wish I would have saved it!
Love the key holder/chalkboard after the refresh! Pinned!