Lumber Storage Bench
As an Amazon Associate, I earn from qualifying purchases.
I showed you the lumber storage bench I built yesterday from the Family Handyman site. Today, I’m going to show you how I modified it to make bench #2.
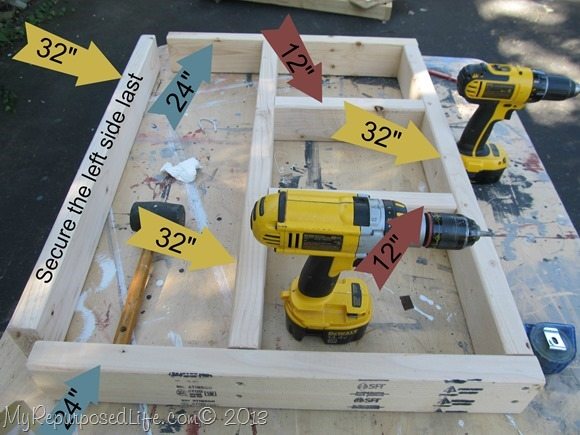 I needed another bench to store my scrap lumber. I have another 2 ft wide piece of scrap plywood from that 70’s waterbed that I wanted to use for the top of the bench.
I built three of these pieces.
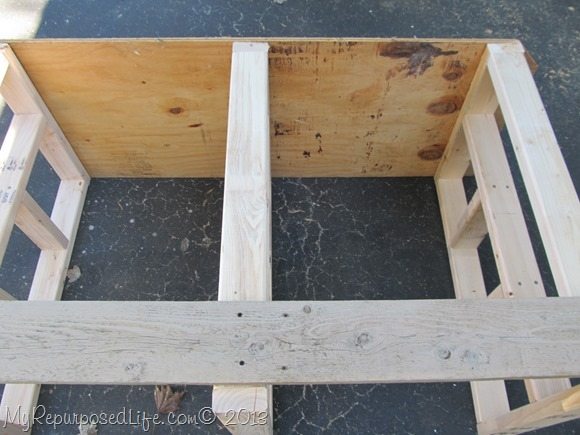 I made the top from that scrap I had, 5 ft x 24”. I used old fence boards to add extra support near the bottom on the front and the back. You could use 1×6 or other lumber. I wanted to do this as cheap as possible.
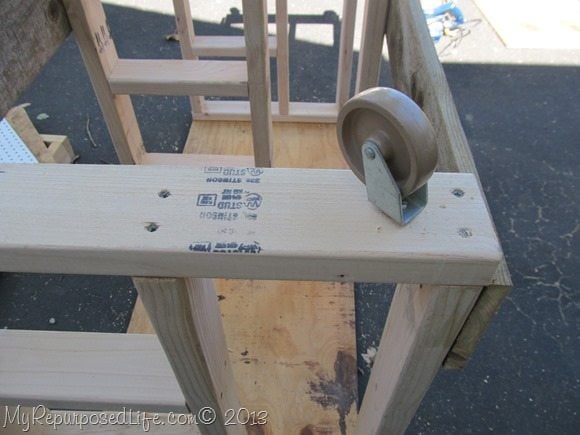 You can see my fence boards on the front and back. I added wheels on each of the three components.
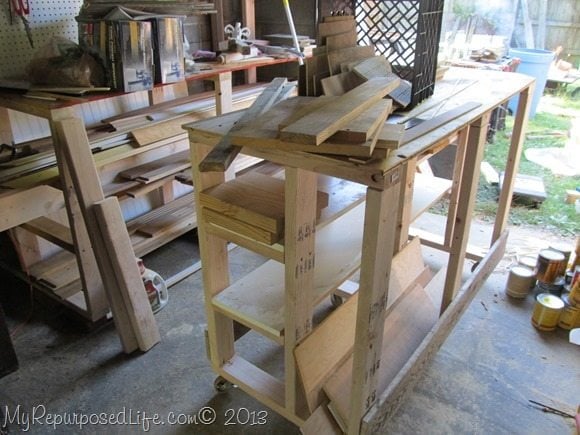 Here is my new lumber storage bench in place near the one I built yesterday. I added laminate shelving (that I found in the rafters yesterday) to the first and second shelving area on the left.
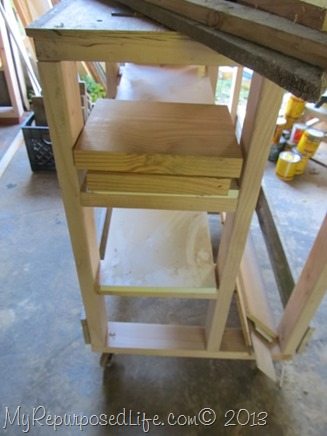 You can see that I have some small pieces of plywood in place on the right. They were slipping through the cracks….
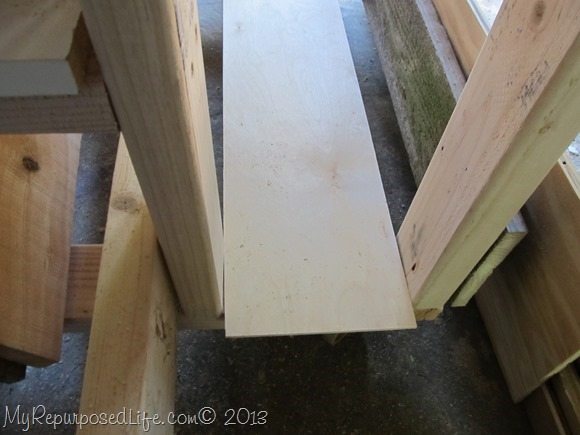 ….so I added a thin piece of plywood to the bottom, all the way across. Now I can fill it up without anything falling through.
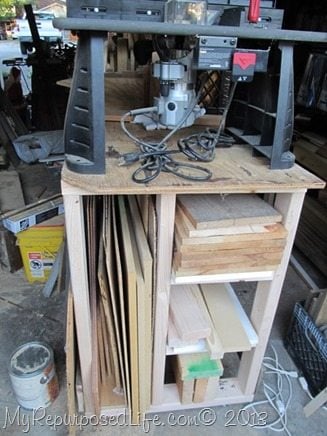 You can see I have put my new bench to work. It is loaded down with lumber, and will be a nice work surface, or a place to hold some tools.
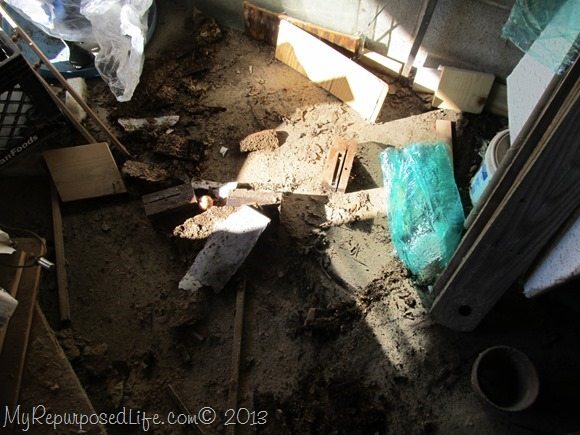 Much of the lumber that is now on my new bench came from this spot. It’s the area I showed you in yesterday’s post about what was on today’s list of things to do.
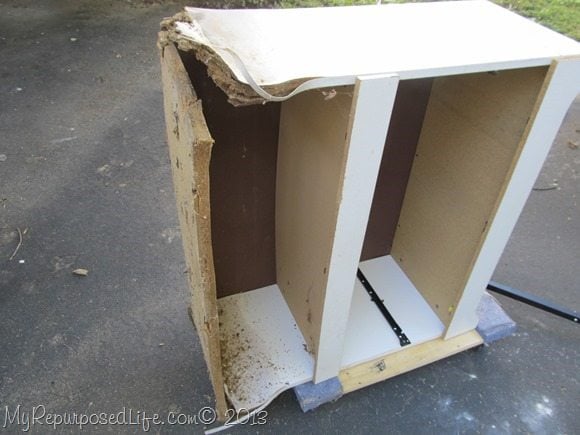 This is the piece that held some gardening tools, painting tools, and smaller pieces of scrap lumber.
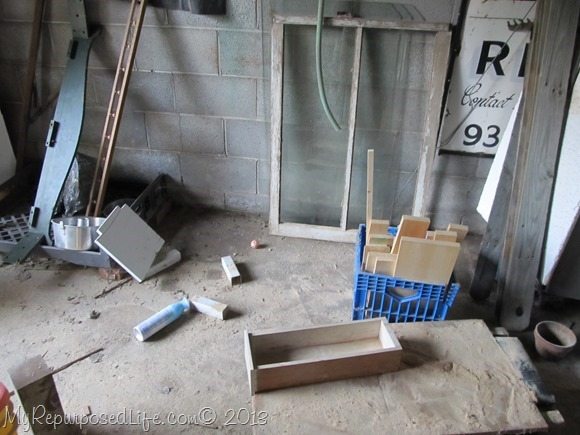 Now the area is mostly cleaned up. Today I will buy a couple of metal shelving units, one of which will go here to hold more small pieces of lumber.
The other will be holding spray paint and stains, although I am not exactly sure where it will go yet. It will be replacing an old Sauder piece that has been in the family for years. I somehow haven’t really taken a picture of that area yet.
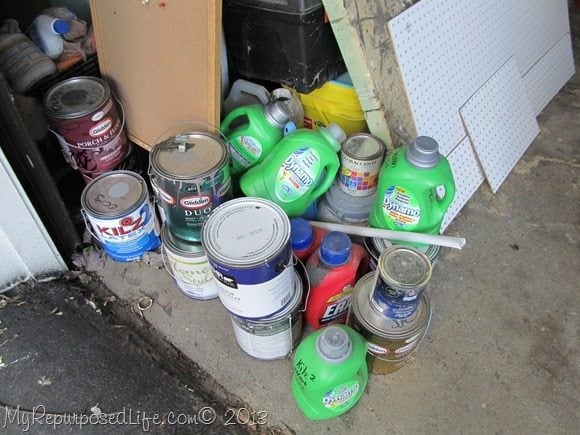 Today’s job is to fill up those new shelves.
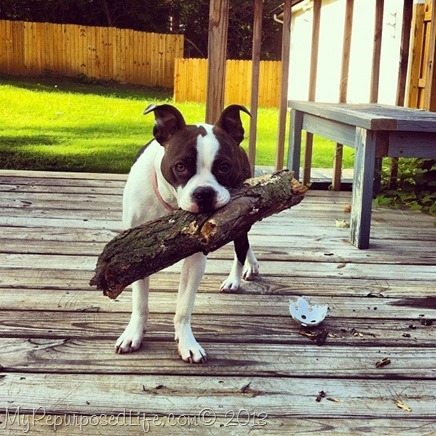
I get to take a little break today, as my daughter Jamie is driving through Louisville on her way to Indiana, and will be dropping off her little Lucy so I can babysit her till the weekend. Isn’t she adorable?
Hoping to have more news about progress tomorrow!
gail


How on earth did I miss this post until now? I saw it linked to your new cool dresser/bench project today. This is such a GREAT idea for storing wood! I have wood strewn all over the place and it drives me nuts. You’re so smart!
I am going to have to try and build this myself, thanks for the article!. Cute dog btw.
I’ve been ogling that workbench plan too! But since my setup is in the basement (we need the garage for keeping the cars snow-free), a more petite model is a better fit. One question – do you have any tips for teaching your dog to retrieve stuff? We just adopted a 9 yo lab and I don’t think the poor boy has any idea how to play with toys!
Whew!
Way to go getting this all done. You Have officially moved The To-do’s ….2 …The TO DONE list!
Woot-woot…you know you’re my hero, right?
Patricia
It’s looking good! That bench you made is awesome, you have such talent building things. It amazes me. Here I am trying to make a little canopy out of wood and it has taken me 2 days and I am not even finished. LOL We all have our strengths, and building things is not one of mine 🙂
great clean-up and re-organization job! i love that little doggie, Lucy! so cute!!!!
Great job! I need one of these, but I won’t even pretend like I am ambitious enough to make one, lol!
Nice job Gail! I hope your arm is better now 🙂
xox
It’s all looking great! Have fun seeing Jamie and babysitting Lucy!