Outdoor DIY Beverage Holder for Corn Hole
As an Amazon Associate, I earn from qualifying purchases.
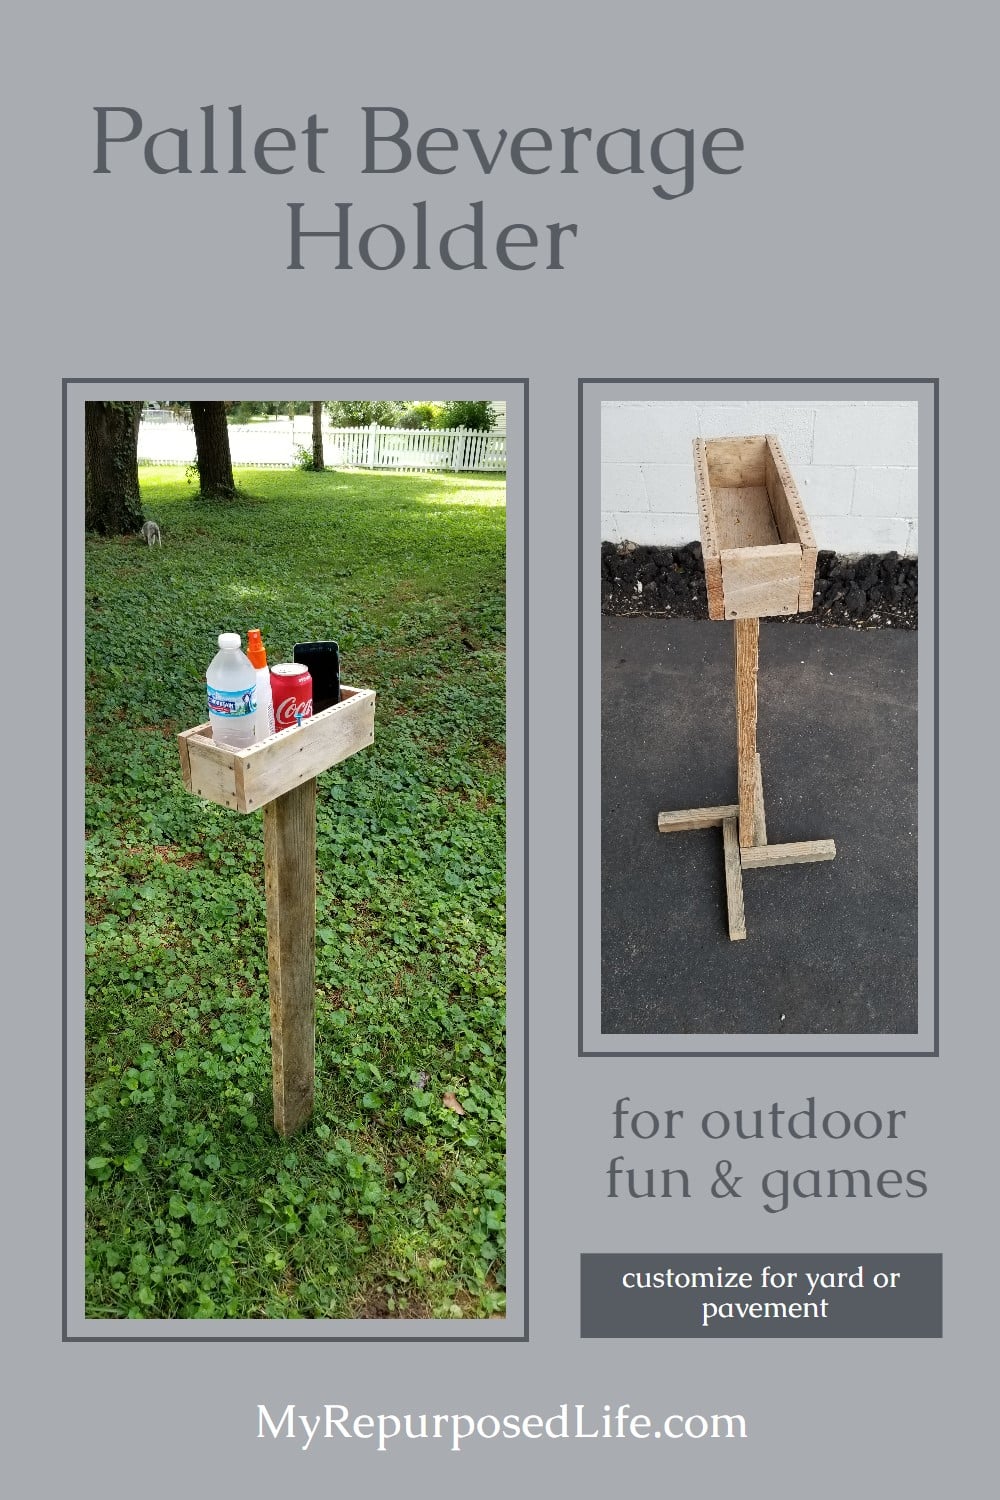

Looking to level up your backyard cornhole game? This DIY outdoor beverage holder is a total game-changer—literally. Not only does it give your drinks a cozy little spot to hang out, but it also keeps score, so there’s no arguing over who’s winning (we see you, competitive cousins). With a little reclaimed wood and a splash of creativity, you’ll be ready to impress your guests and keep the good times rollin’ all summer long.
Materials to Make DIY Beverage Holder
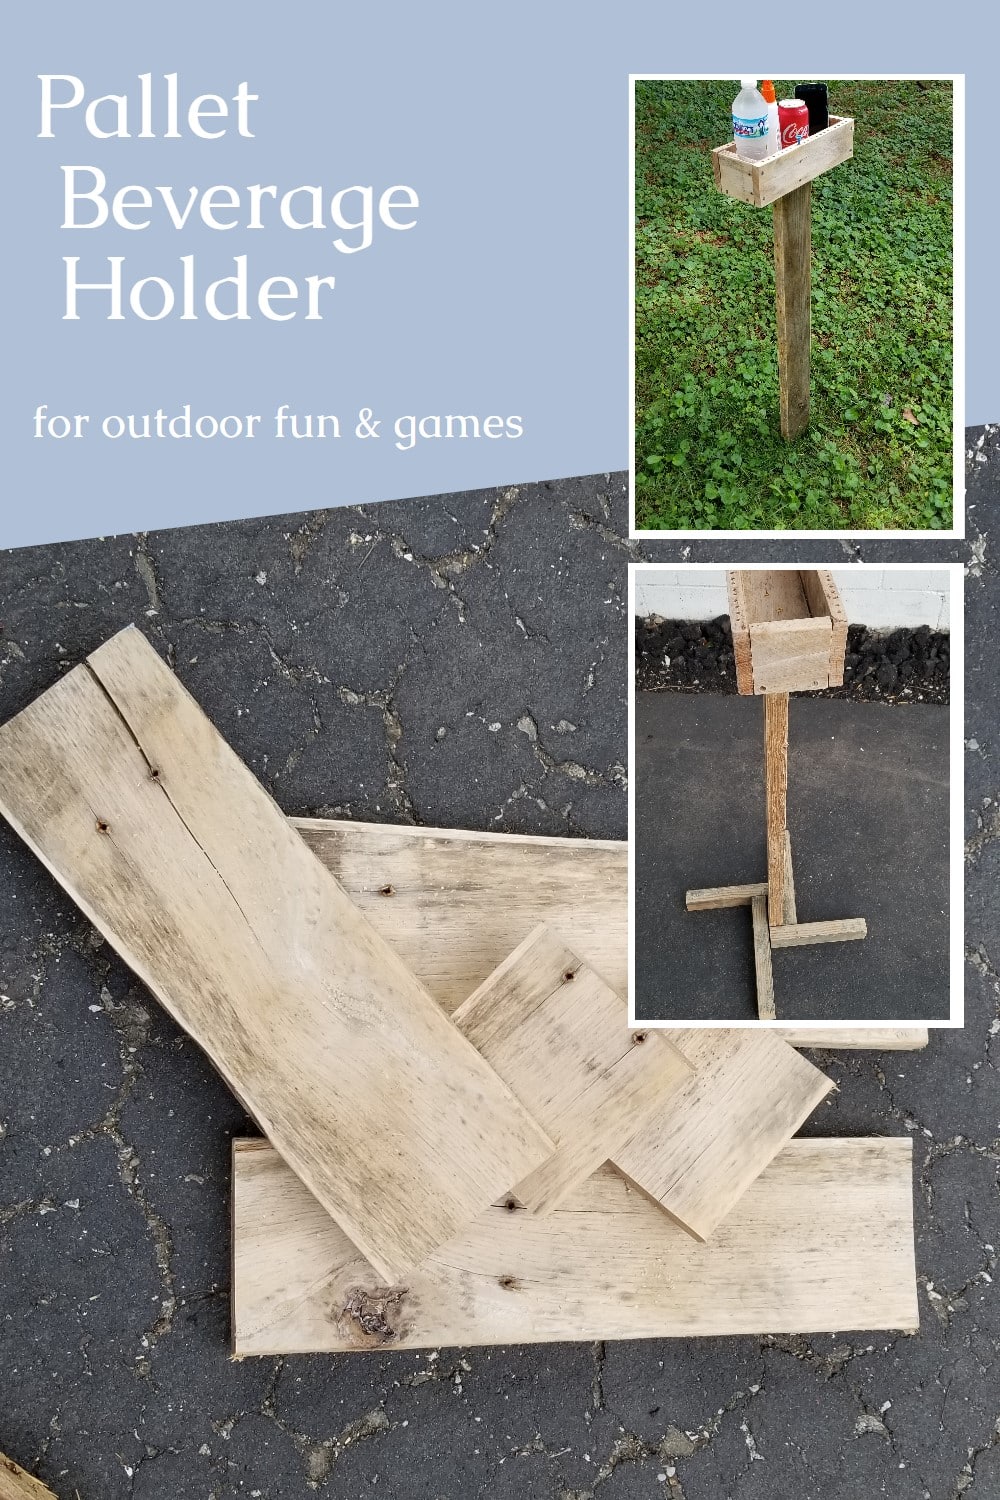
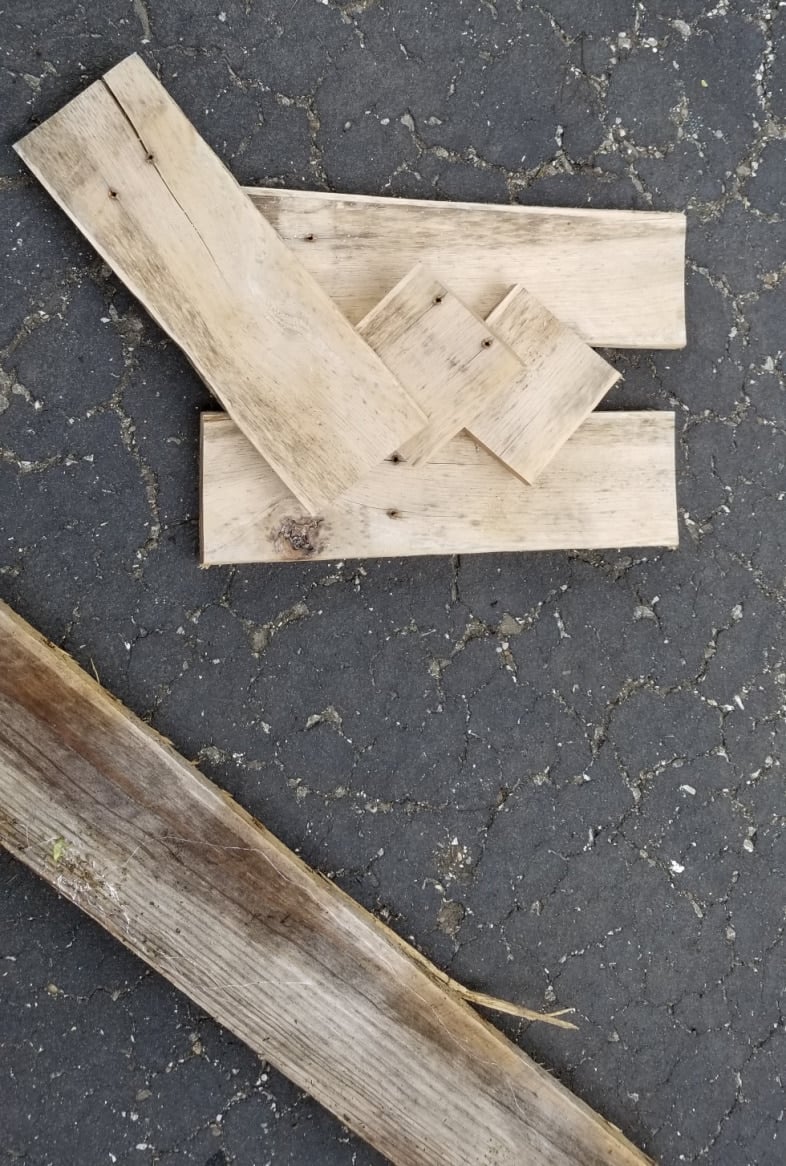
You could use new materials for this project, but I used reclaimed materials. I used pallet boards and pallet 2x4s. In addition, I used rods that were left over from the crib sides. They originally had screw sections on them to hold them to the crib, but that has been cut off for years. If you don’t have these rods, you could use rebar.
Visit the My Repurposed Life Amazon Store to shop my favorite items.
After sanding the pallet board, I cut the following sizes for each project.
- 12” (2) sides
- 10 1/2 “ (1) bottom
- 3 1/2” (2) ends
36” 2×4
Your ends will depend on how wide your board is at the bottom.
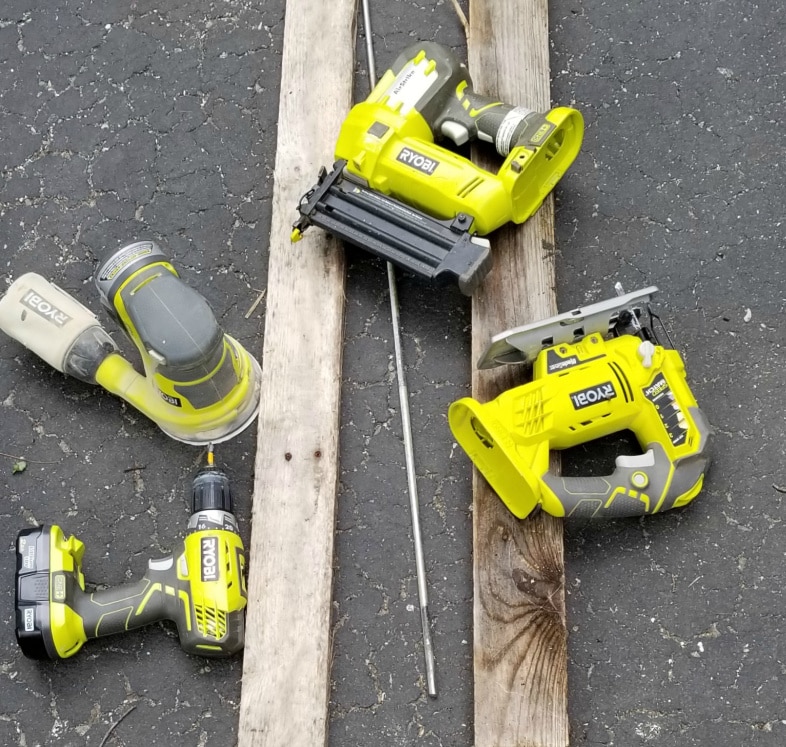
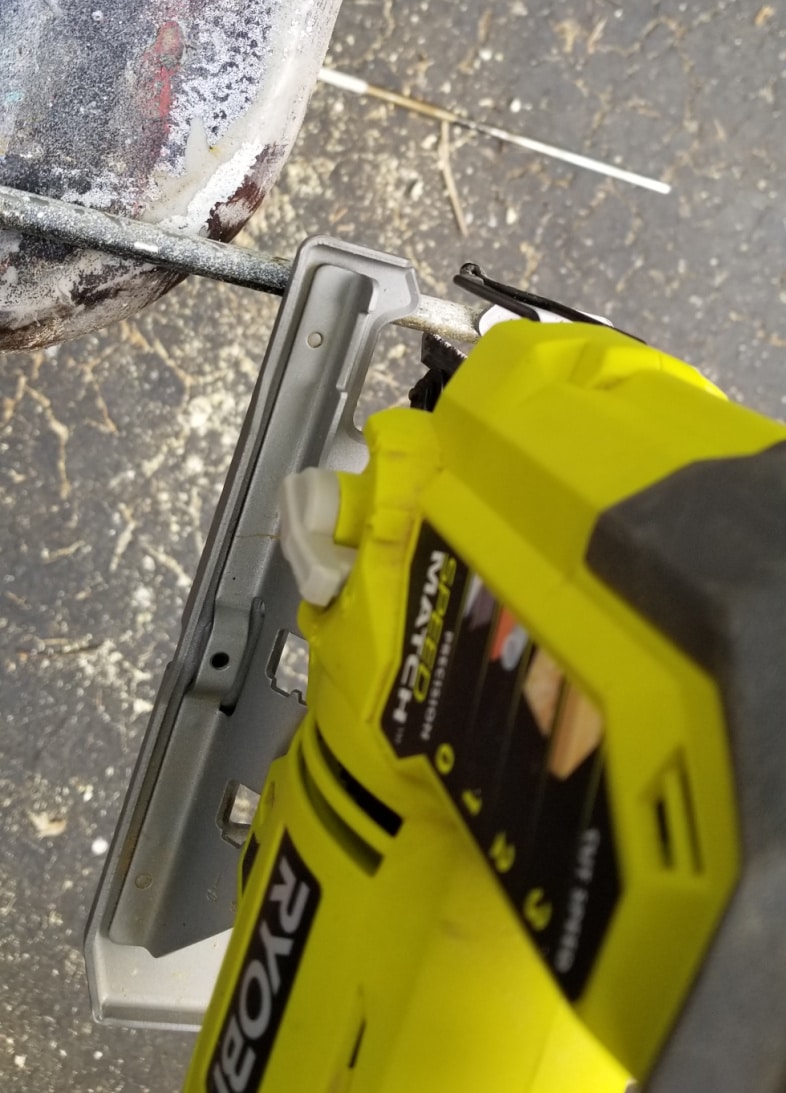
Clamp and Use a Nail Gun for a Temporary Hold
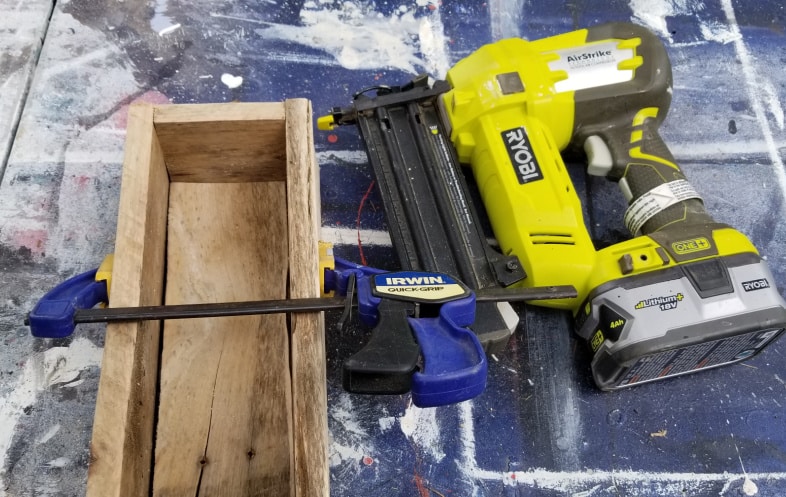
I like to use Irwin quick clamps and my nail gun to give a temporary hold until I can secure the joints with wood screws.
Drill Countersink Holes
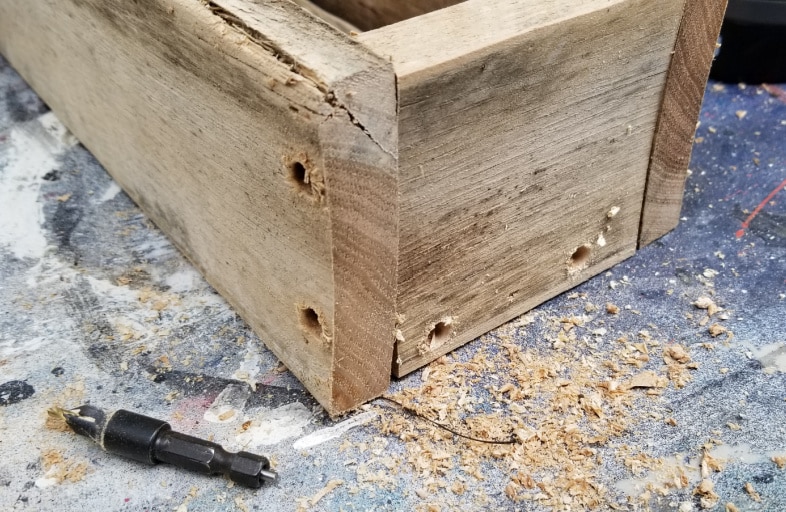
Using a countersink bit aids in giving a good look when securing the wood screws. I drilled all the holes, then added the screws all at one time. The brad nails give a hold until I can secure the screws.
Secure with Screws

The screws fit well into the countersink holes.
Sand Pallet Beverage Holder
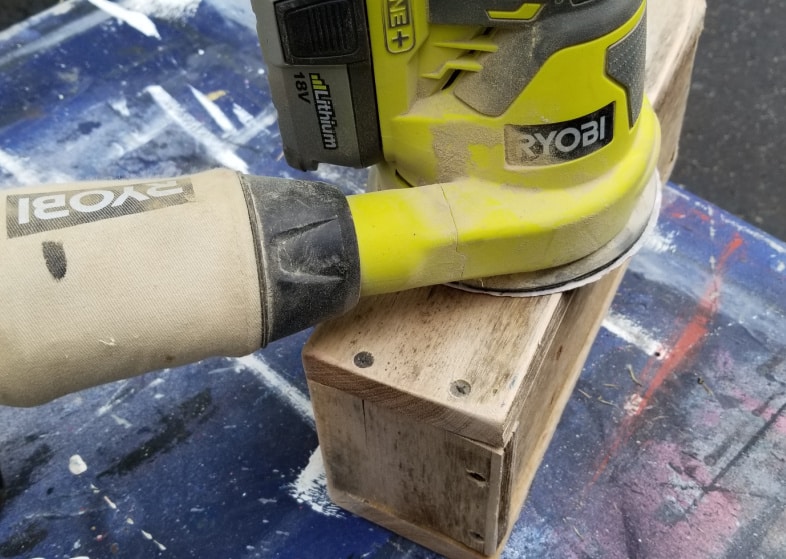
After installing all the pieces, everything gets a good sanding. I like to round over my corners to remove any sharp edges. If you want something a little less rustic, you may want to use new lumber. I’m okay with less than perfect.
Cut Metal Rod with Jigsaw
A jigsaw was used to cut the metal rod in half, leaving two pieces around 17” in length.
Drill Two Holes in the bottom of the 2×4
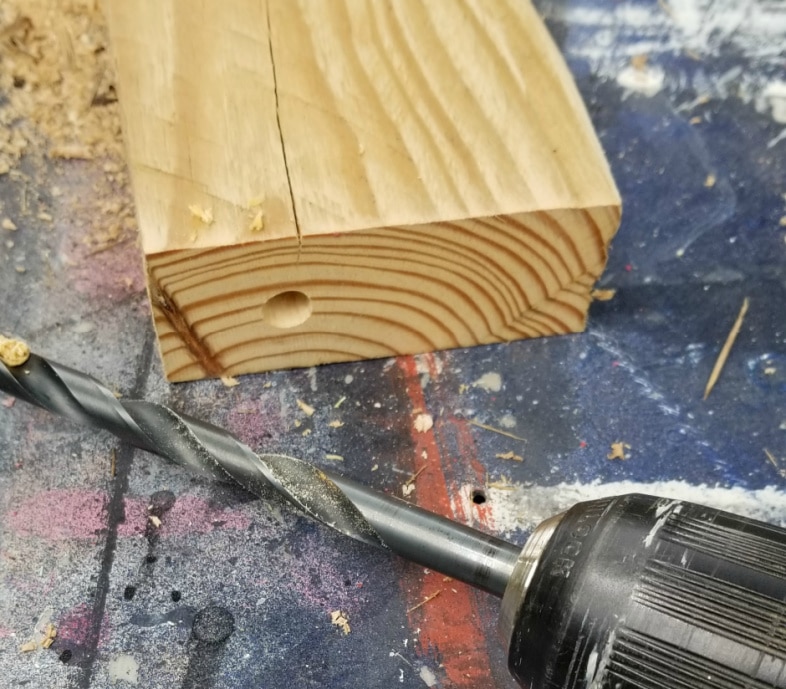
Drill two holes in the bottom of each 2×4 stand to insert metal rods. The size will depend on what size rods you are using. Getting these holes straight is a little challenging. Keep your drill level and go slow. You may have to bring your bit out to release the wood chips.
Insert Rods Into 2×4
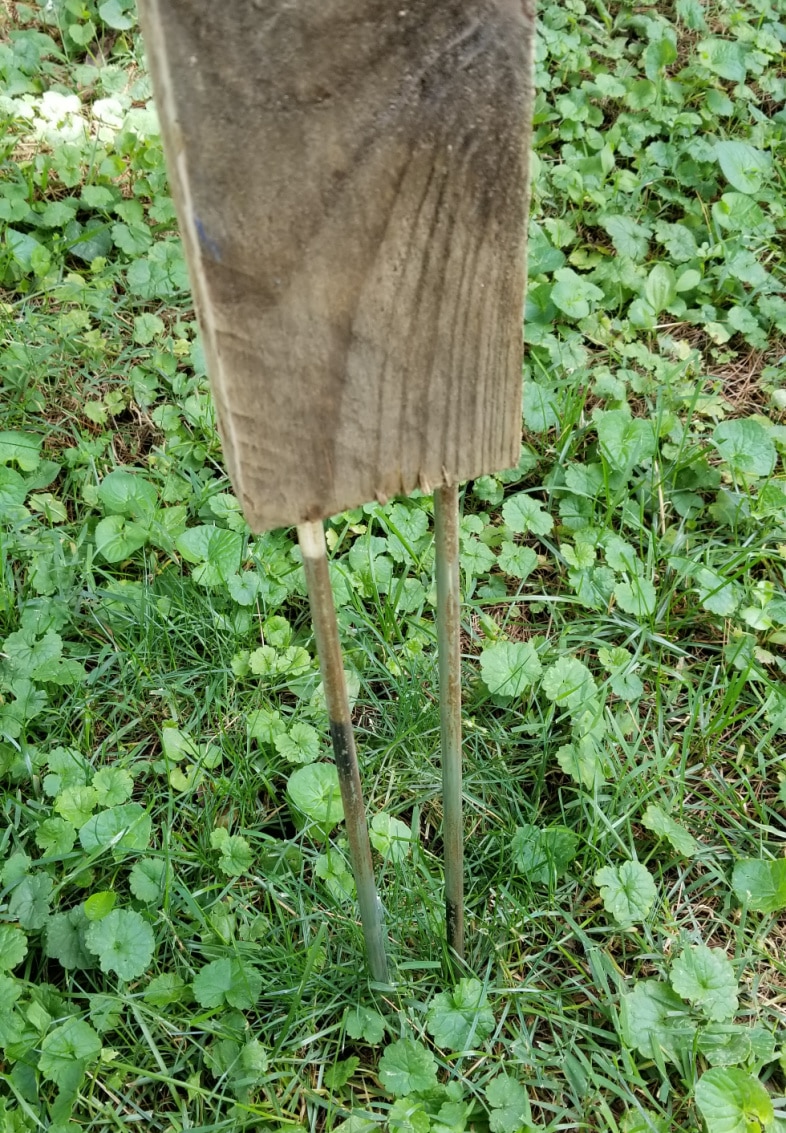
After inserting the rods, push or hammer 2×4 into the ground.
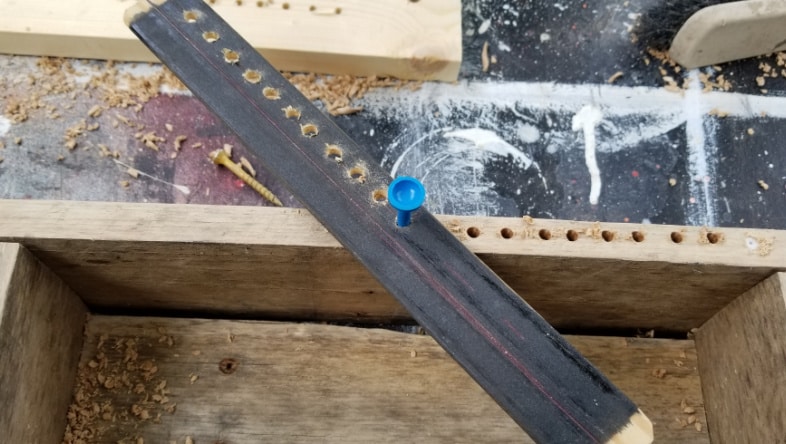
Drill Scorekeeping Peg Holes in DIY Beverage Holder
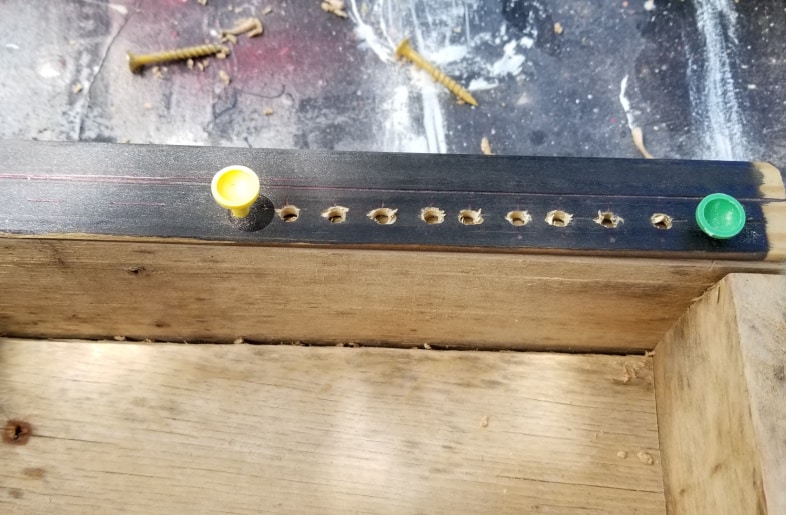
I made a template from a shutter slat for the scorekeeping peg holes. After drilling the first hole, I added a peg to align the template. Then I drilled the furthest hole and inserted a peg there as well. Finally, I drilled all the other holes.
After a couple of boxes, I realized it was easiest to spin the jig around to do the other side.
Continue drilling holes and sand smooth.
Mark a 2×4 Pattern on the Bottom of the Wooden Box
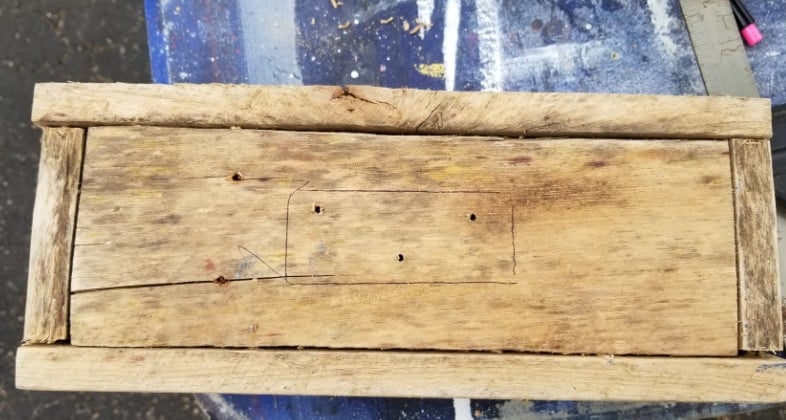
Using my combination square, I centered a scrap 2×4 and marked it for drilling pilot holes.
Drill Countersink Holes
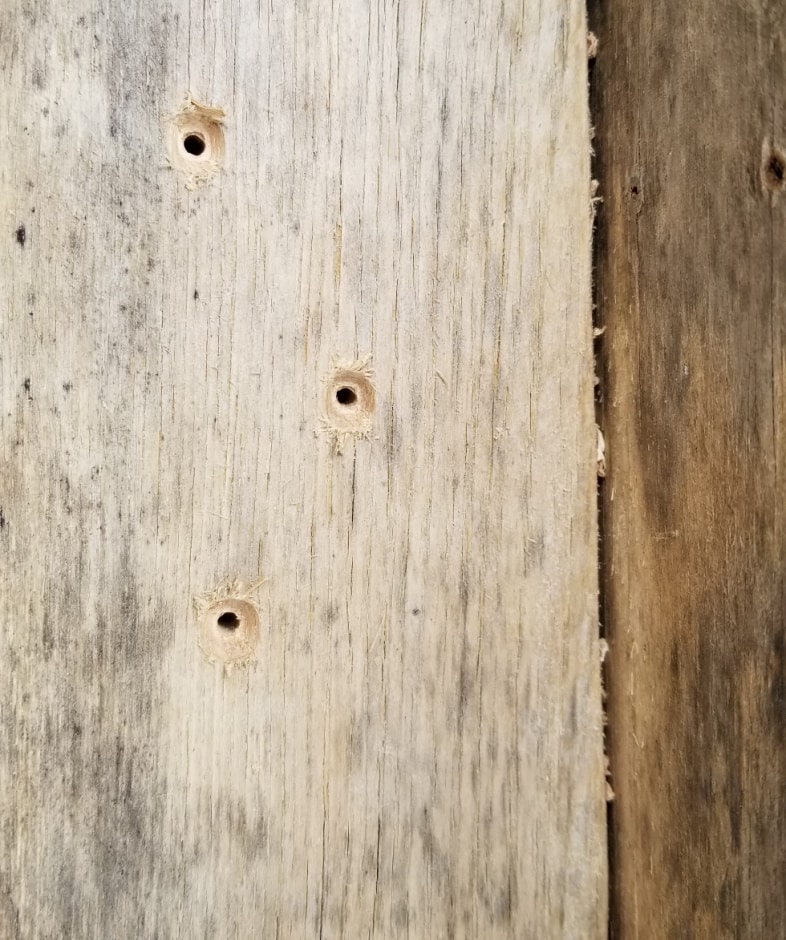
Using the pilot holes as a guide, I drilled countersink holes to allow the screws in the diy beverage holder to be out of the way. Attach the box to the top of the 2×4 stand.
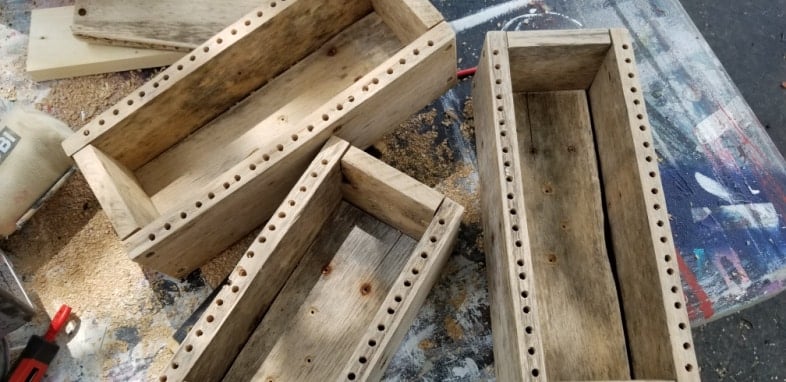
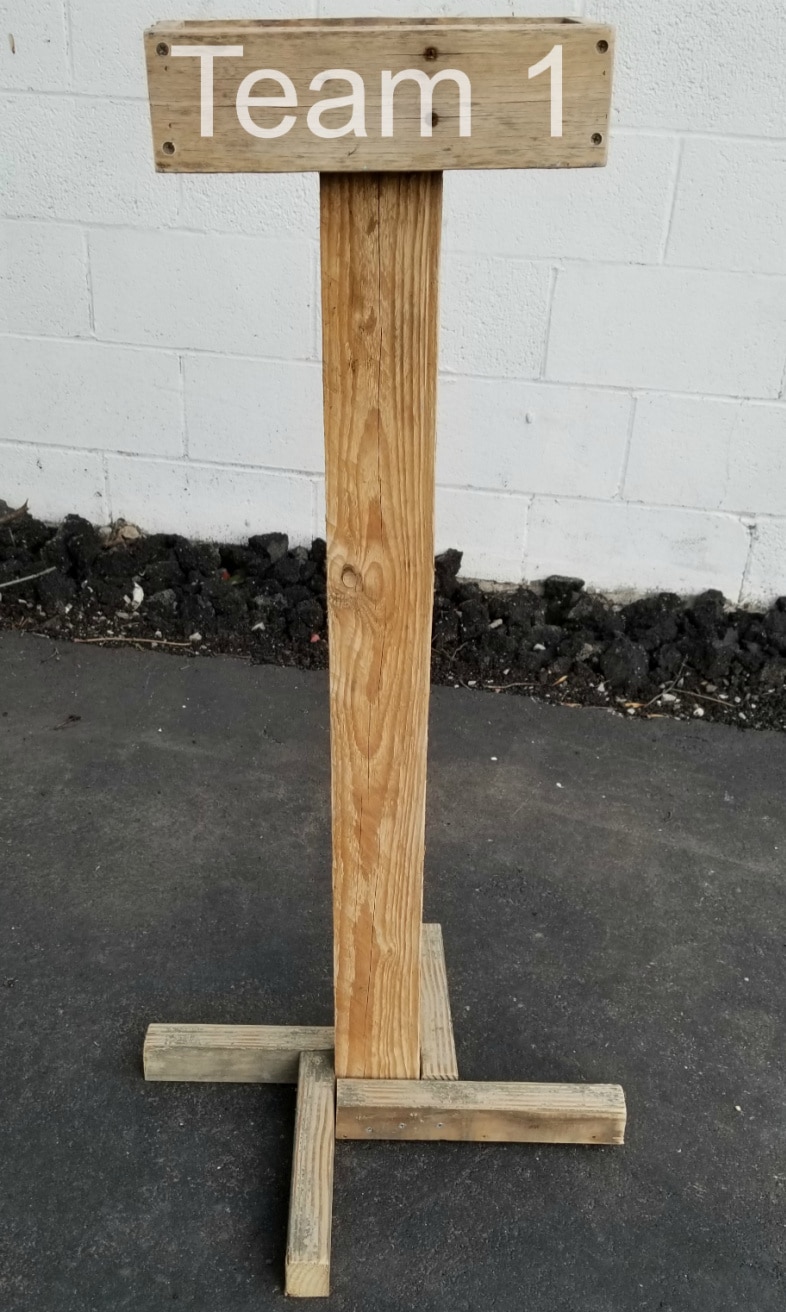
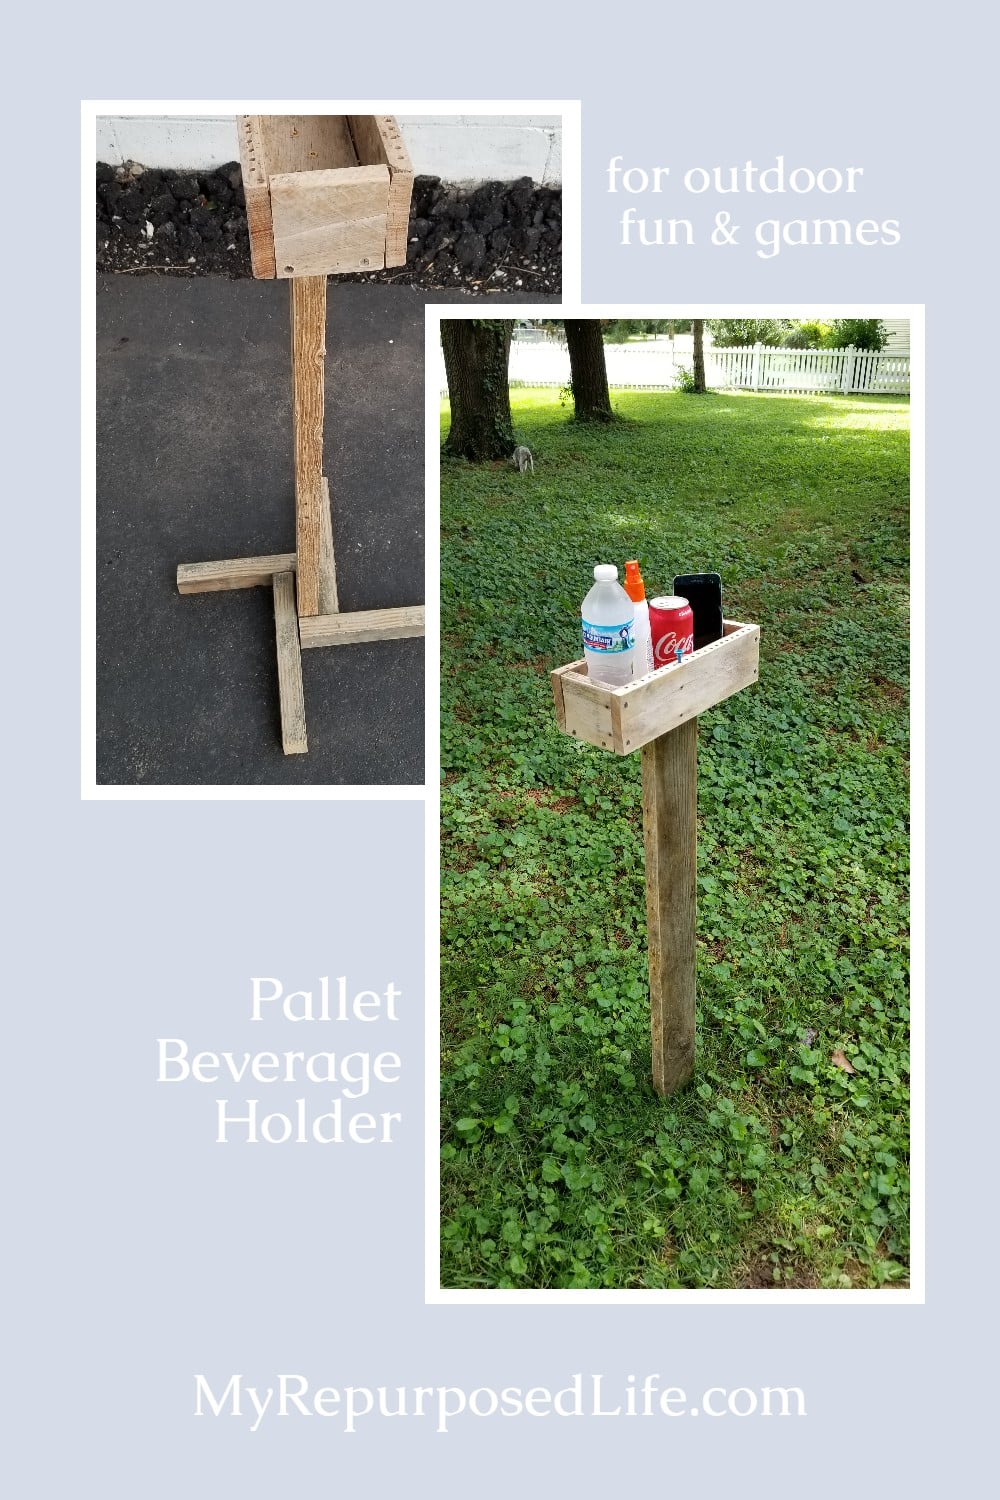
Assembled DIY Beverage Holder
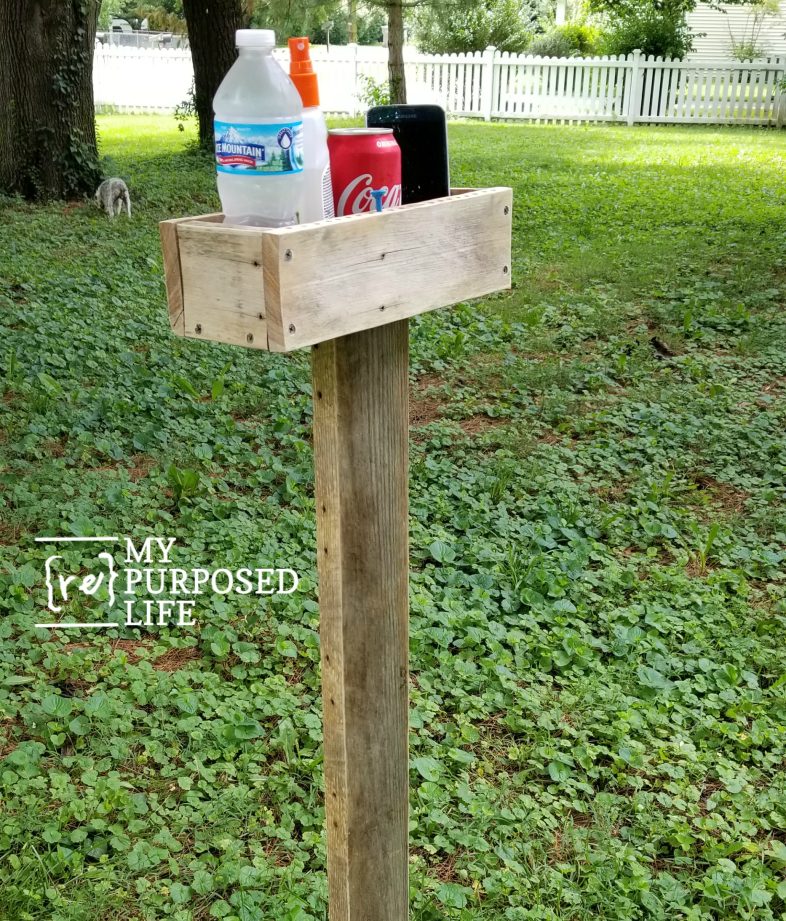
I love how clean and unobtrusive the DIY beverage holders are in the ground. Because the box has no dividers, there is plenty of room for drinks, bug spray, and even your phone!
You may want to paint your backyard beverage holders. For now, I chose to leave mine natural.
Pegs for DIY Beverage Holders
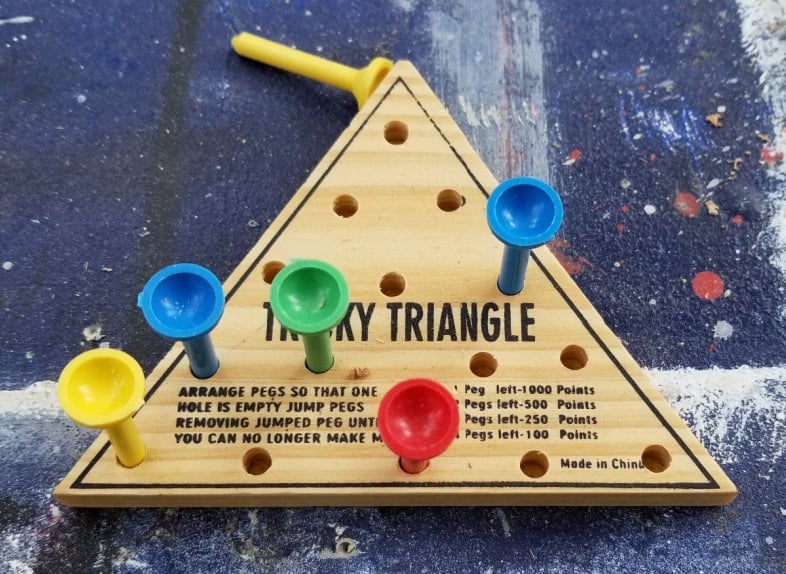
This is where I scored the plastic pegs for the peg holes in the beverage holders.
Add a Base to DIY Beverage Holders
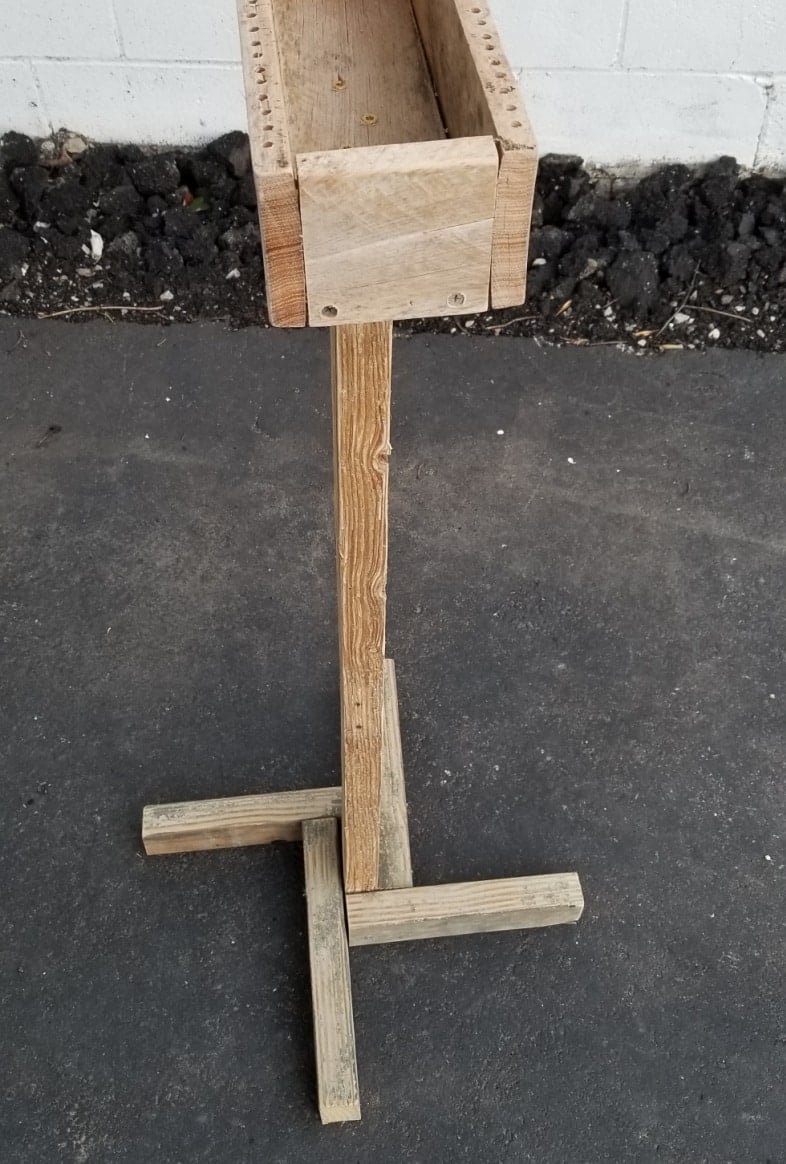
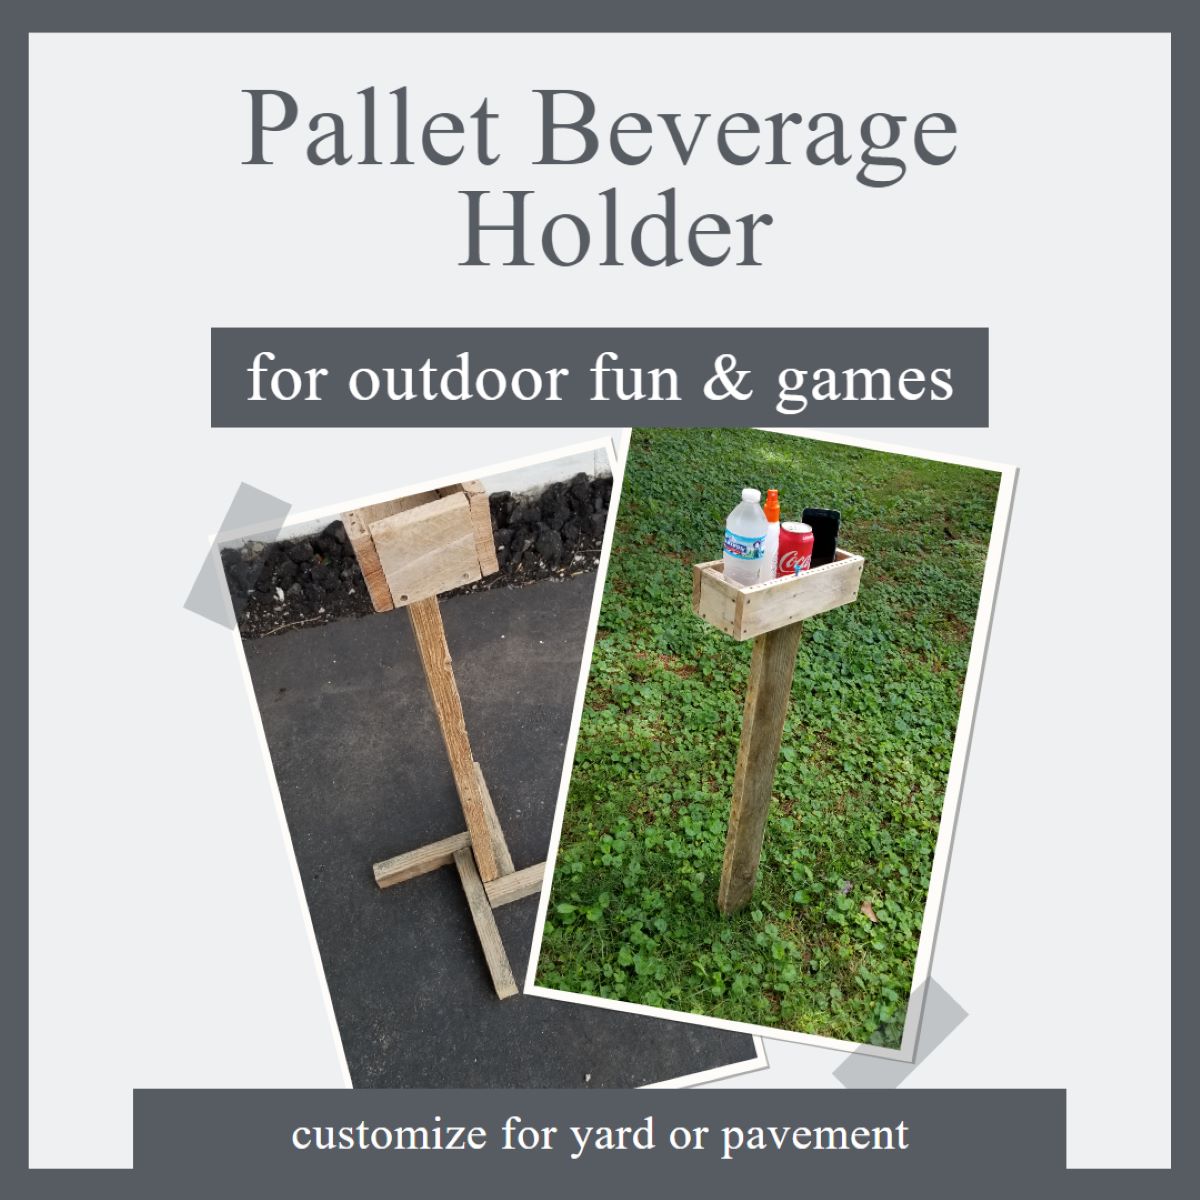
My friend requested that one of the beverage holders have a base for ping pong use in the garage. So, they have four stands that will rest on the ground, and this one will be perfect for the garage.
The beverage holders can be customized so folks can keep up with the scoring.
And there you have it—your new favorite cornhole sidekick! This outdoor beverage holder brings the fun, the function, and just the right amount of DIY charm to your yard. It’s proof that a few simple supplies (and a dash of imagination) can go a long way. So grab your tools, grab your cold drinks, and get ready to play like a pro—scorekeeping and all. Cheers to backyard fun!
see more great pallet projects here
Need help dismantling pallets?
How fun is this for the Arizona winter. I love the rustic look, but my husband would want something that could be hosed off, and the termites wouldn’t eat. We do have terrible termites. So he would make a metal bottom. Sometimes I think his logic, although correct, is no fun 😂
By the way I forgot to mention that Amazon sells several different types of game pegs for the game purposes. I just typed in plastic game pegs.
This brings back so many memories of the ones I made simply years ago for our outdoor drinks, snacks and actually the landline portable phones..lol. I don’t think cell phones were even a thing yet. They were box like but I also would use them by adding a tray to the top of an unused one for drinks and snacks and ashtrays for those who smoked, when we had several people over. They are so nice and convenient!! I must say though I think I just might make some like yours with the corn hole pegs for Xmas gifts this year as my son plays corn hole weekly with relatives and he’s also in championship games in his local area. I bet this would be nice for them to have around so thanks for the idea and the memories! 🙃
I so enjoyed reading your comment Shirley! Isn’t it fun to remember the good old days? 🙂 I think that’s a great idea to make these as Christmas gifts.
gail
Love this! Could you provide the measurements for the pieces of wood that you used on the added base? Thank you!
I’m sorry, I don’t have the measurements. You can see there are two pieces that are longer, with the other two being shorter. I’m guessing they might be 18″ and about 12″. I just used scrap pieces.
good luck, have fun!!!
gail
Such a clever idea, Gail! I just linked up at Talk of the Town… Thank you for being such a wonderful hostess!
Oh, this would have been fabulous when I was a kid. We were a large Italian family. At get together there was bocce ball, horse shoes, or a game that had a board with holes, numbers an these small hard leather balls. I don’t remember what my grandfather called it. Oh, makes me think about how we’ve all scattered all over the US. I’m making my grandson a bean bag game with holes and numbers. He loves to throw and kick balls. So fun