Painting Knotty Pine
As an Amazon Associate, I earn from qualifying purchases.
Are you afraid of painting knotty pine? I’ll show you WHY you should paint knotty pine.
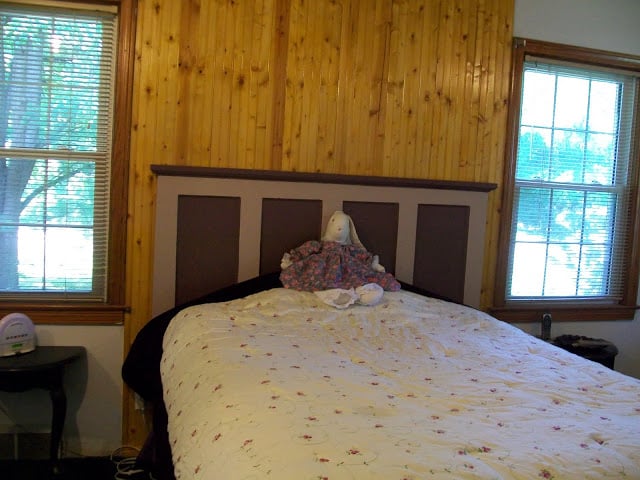
Before
(note the ugly brown window frames, lack of baseboard, knotty pine and 30 year old brown aluminum mini blinds)
Do it! Painting Knotty Pine
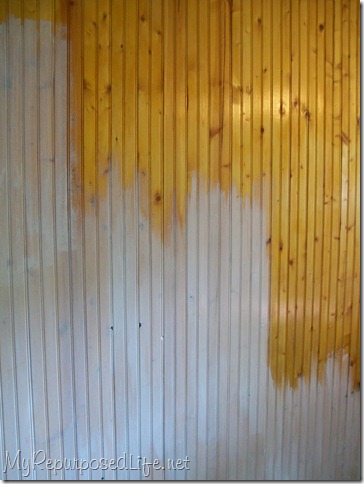
I started with Kilz primer.
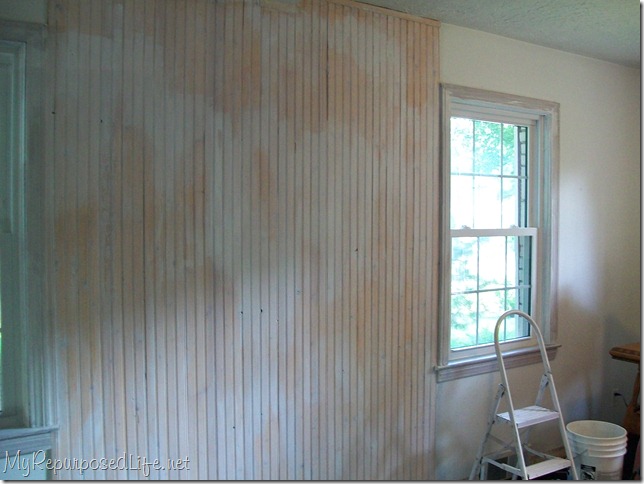
After first coat of Kilz. I did 3 thin coats.
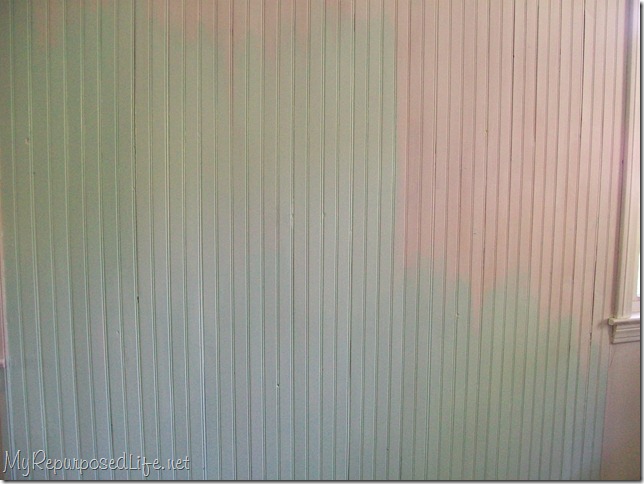
First coat of green going on. I ended up doing 2 coats of green. A paint brush instead of a roller. See, you really should not be afraid of painting knotty pine!
Thrift Store Picture Frames
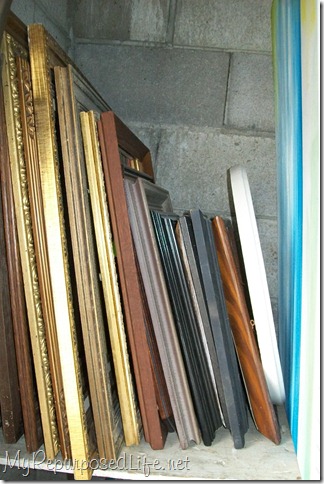
I went to the “frame” dept. to choose some frames.
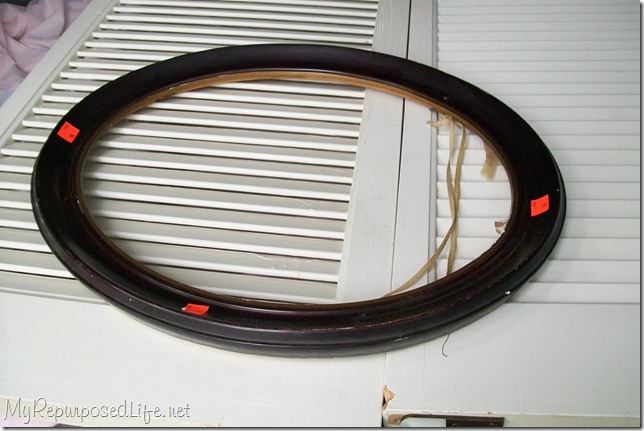
So, I used this one I got from Joey in the Spring. (.96)
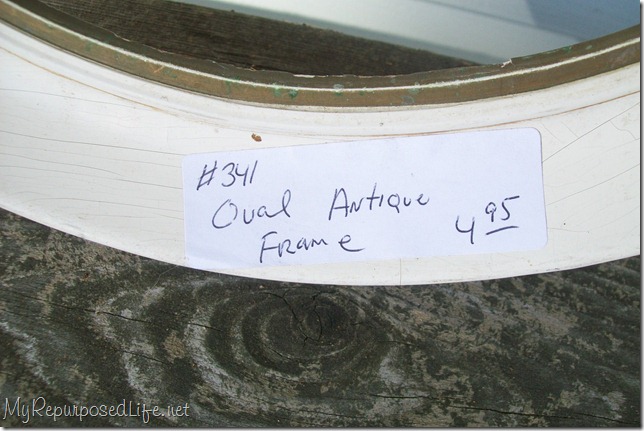
And this one I also got at the Peddler’s mall, but as you can see it was not from Joey’s booth.
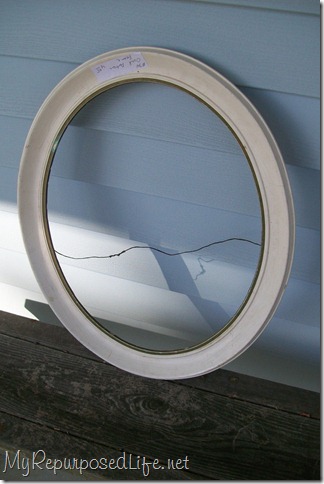
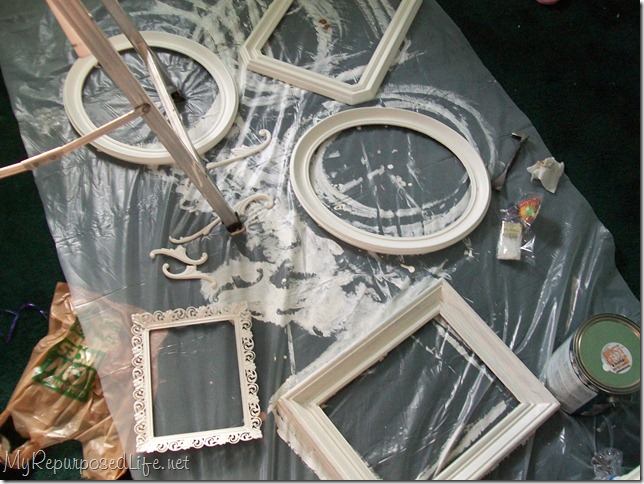
I spread out some plastic and got to work painting. You can also see the appliques I used on the headboard.
Empty Frames | Gallery Wall
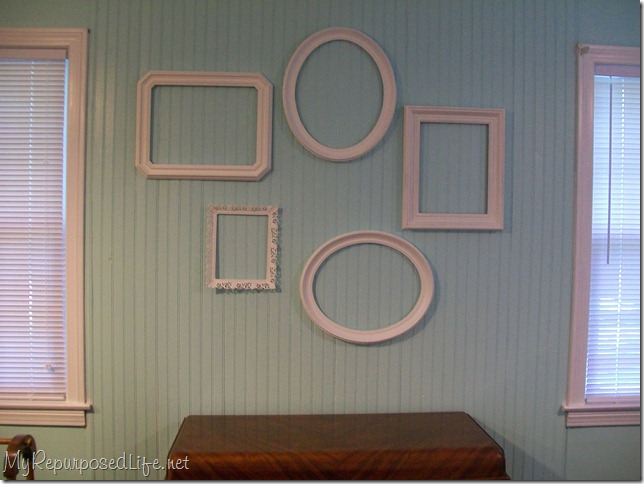 So, here they are in the first layout.
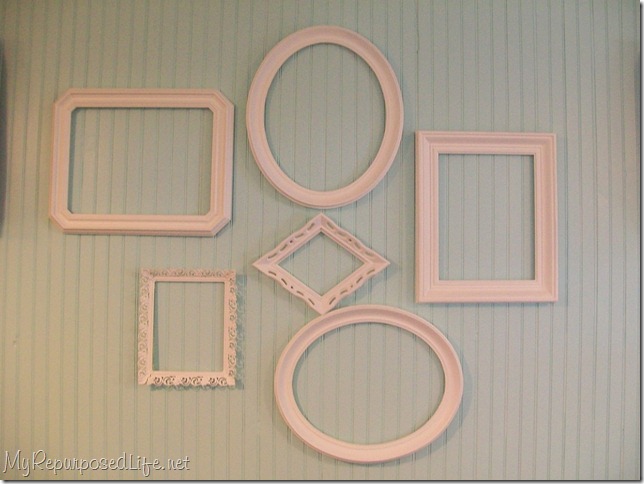
The second layout.
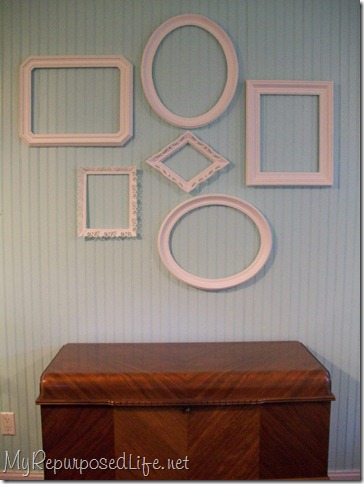
The third.
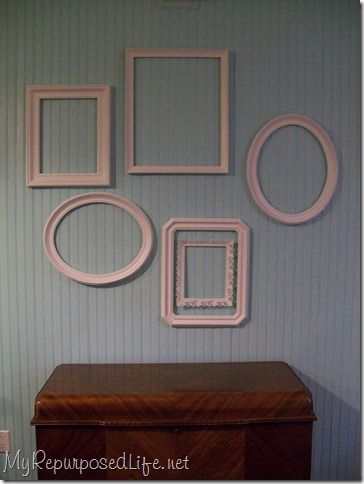
(edited to add)
Out of order, but layout # 6
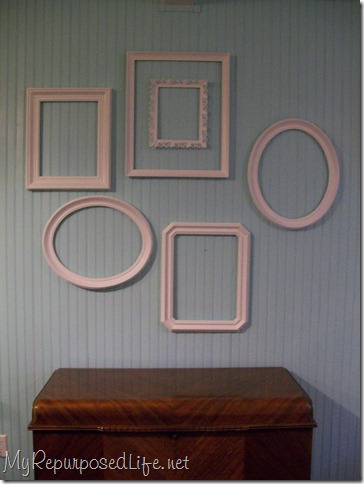
The fourth.
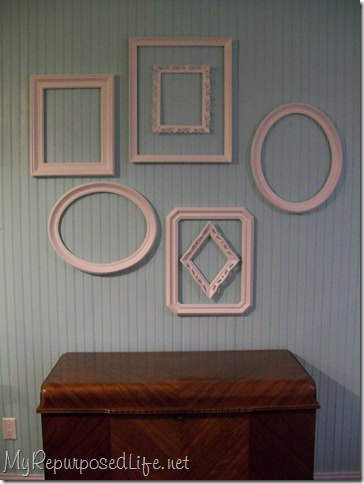
The fifth.
I don’t usually have a difficult time making up my mind. Each time I think I like it until I take pictures and put them on the computer. Then I find something I don’t like. But that’s okay, it’s a simple fix and easy to change. I still do not know how I’m going to arrange the frames.
For now the cedar chest will be staying in my bedroom. I hope to eventually put it in Jamie’s room, which I suppose should be called the “guest room”. Jamie went away to college 10 years ago. She visits a few times a year. (love ya girl)
The cedar chest belonged to my aunt for whom I was named. I got it when I was 16 years old. It is very near and dear to my heart.
Hopefully it will all make sense when you see the big reveal next week. Just a reminder, I will be having a few giveaways next week to celebrate my blogiversary.
Now we know that painting knotty pine is not scary at all!
gail
ps don’t forget to check out my other bedroom updates:


Linda,
I did this project in 2010. Painting over that knotty pine, especially if it’s orange is a lot of work, but I’m so happy I did it. I’m a firm believer in many light coats instead of glopping on heavy coats of paint.
I haven’t whitewashed brick, but I did paint my hideous old brick fireplace during the same time period. https://www.myrepurposedlife.com/painted-brick-fireplace-makeover/
I did more than just paint it. It’s no longer a working fireplace, but I’m perfectly fine with that. Living alone, I’m not one to haul wood inside and I’m not the one who wanted the fireplace in the first place. 😉
gail