Penny Top Tables | Stacking Metal Tables
As an Amazon Associate, I earn from qualifying purchases.
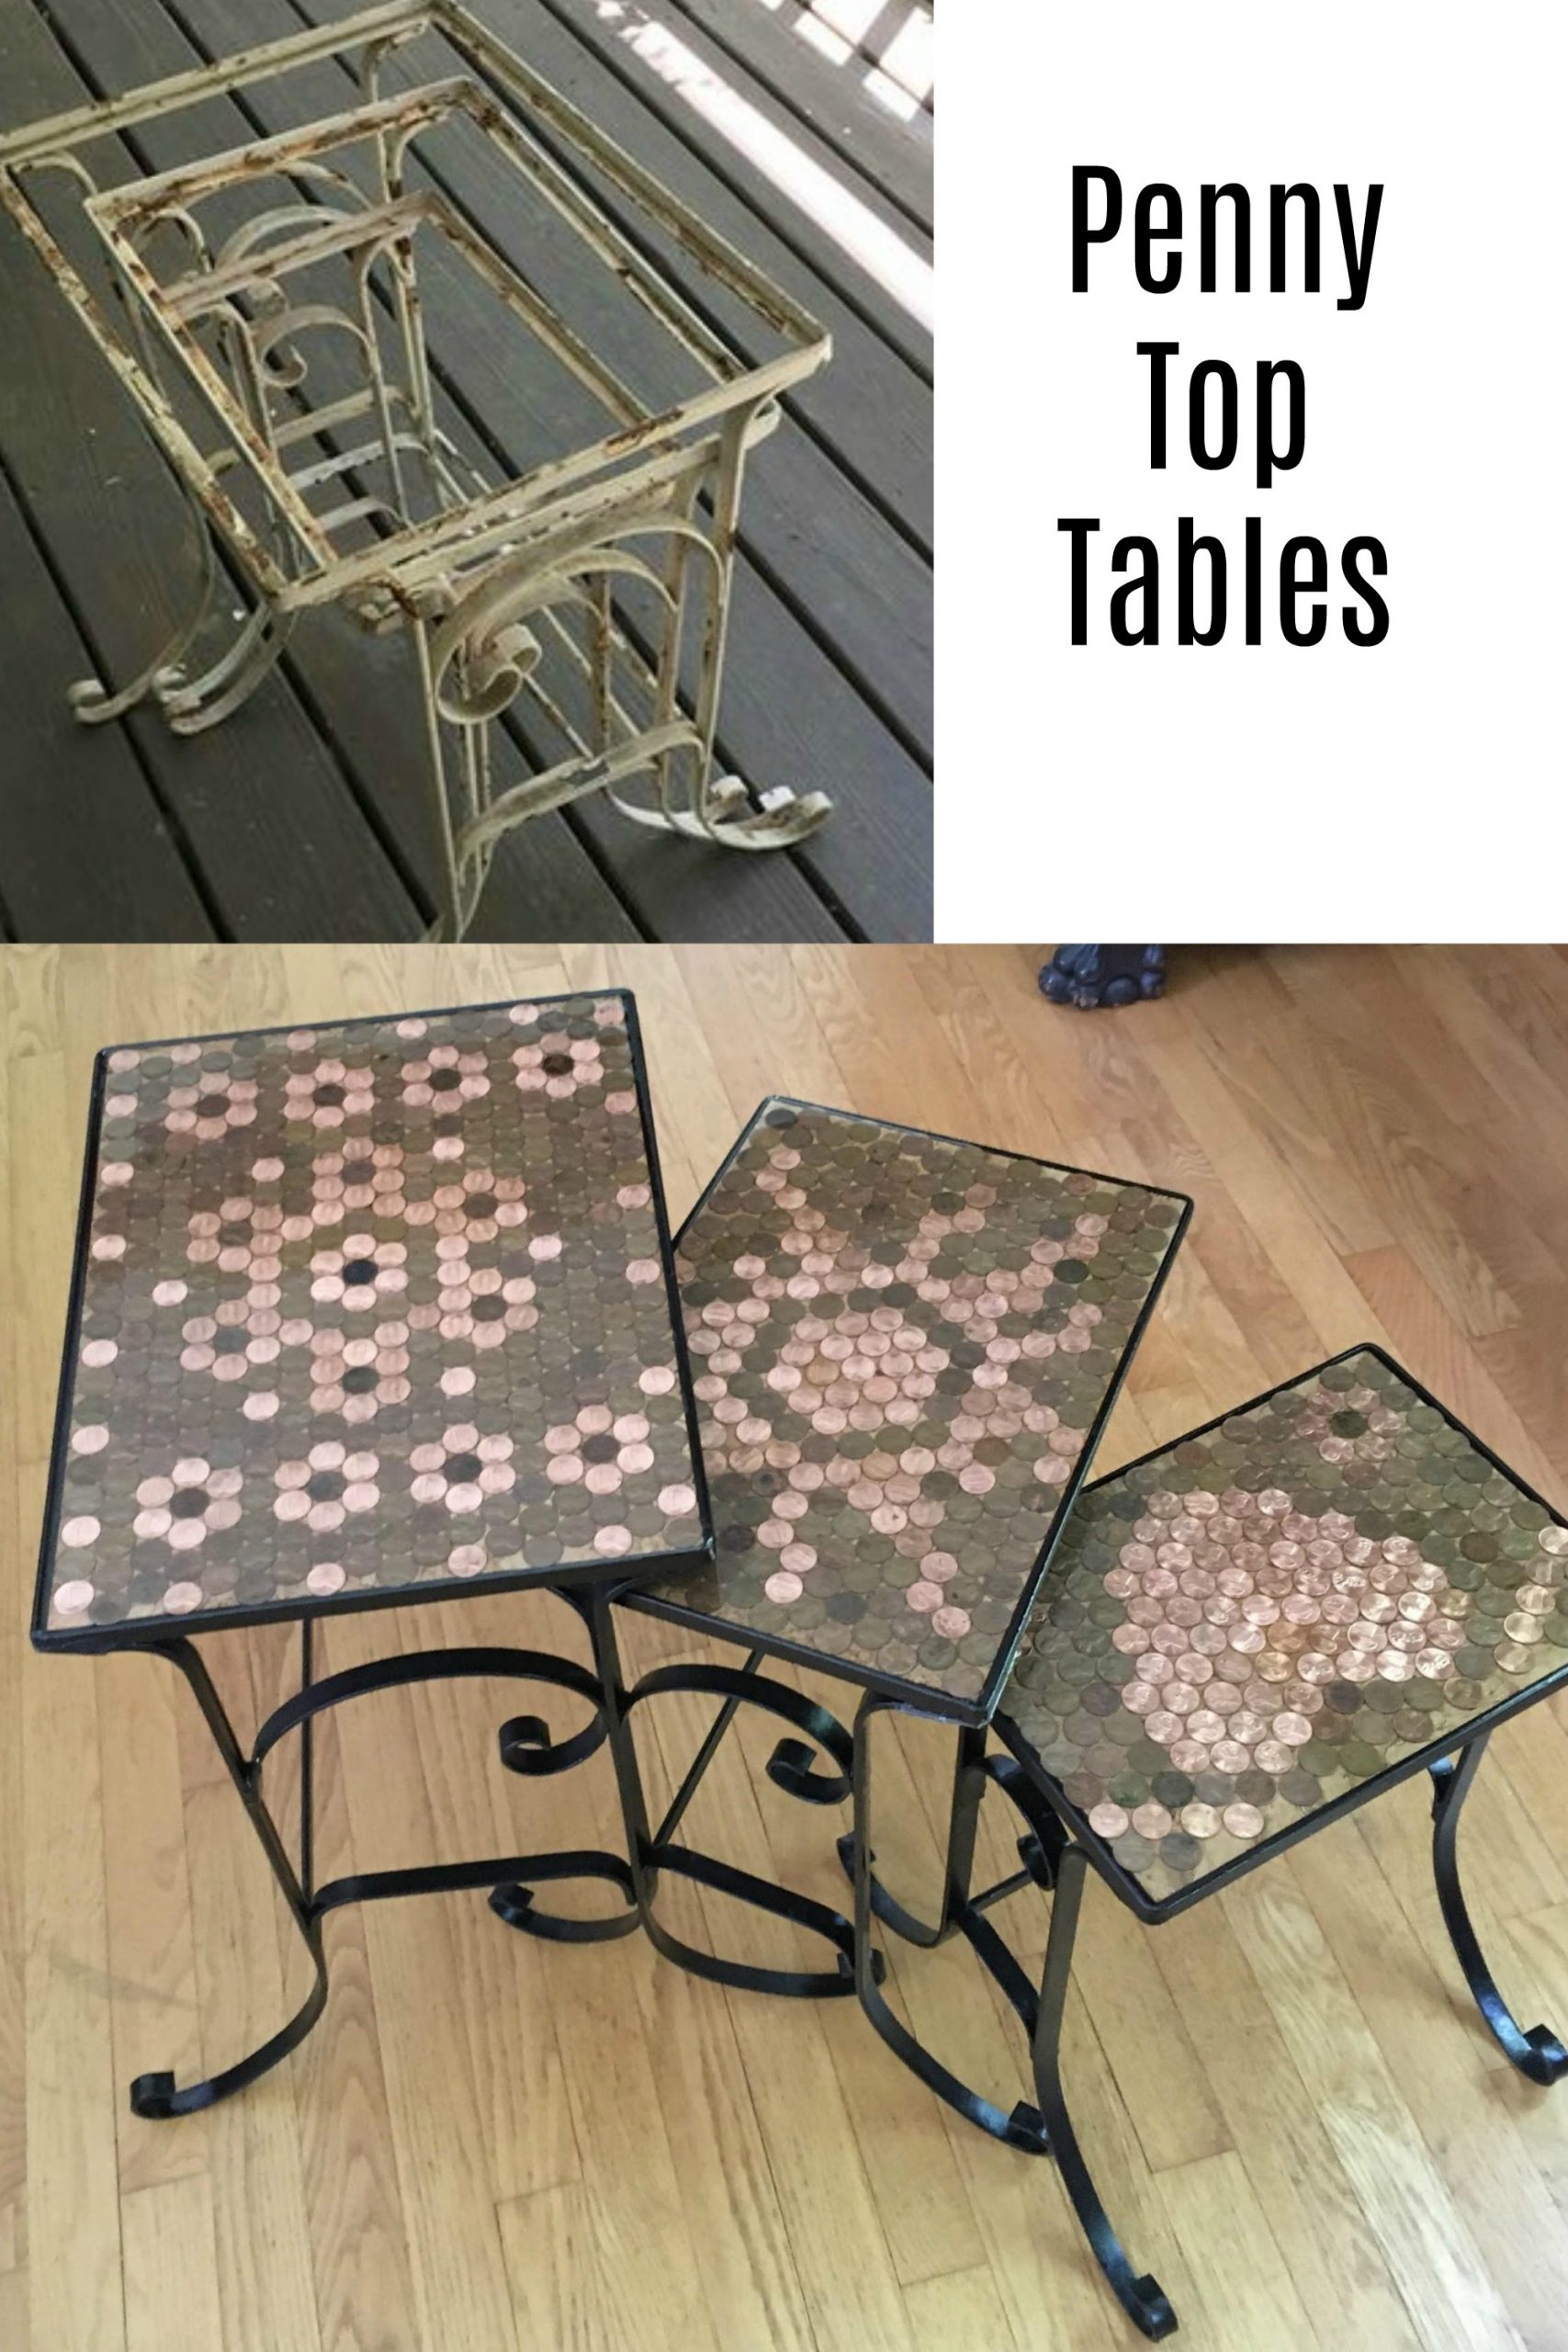
A reader reached out to me after seeing my post Pallet Top Side Tables. Jacqueline had picked up some nesting tables very similar to one of mine. We chatted about her tables, and I asked her to share them with YOU here on the blog.

Her tutorial follows . . .
Nesting Metal Tables
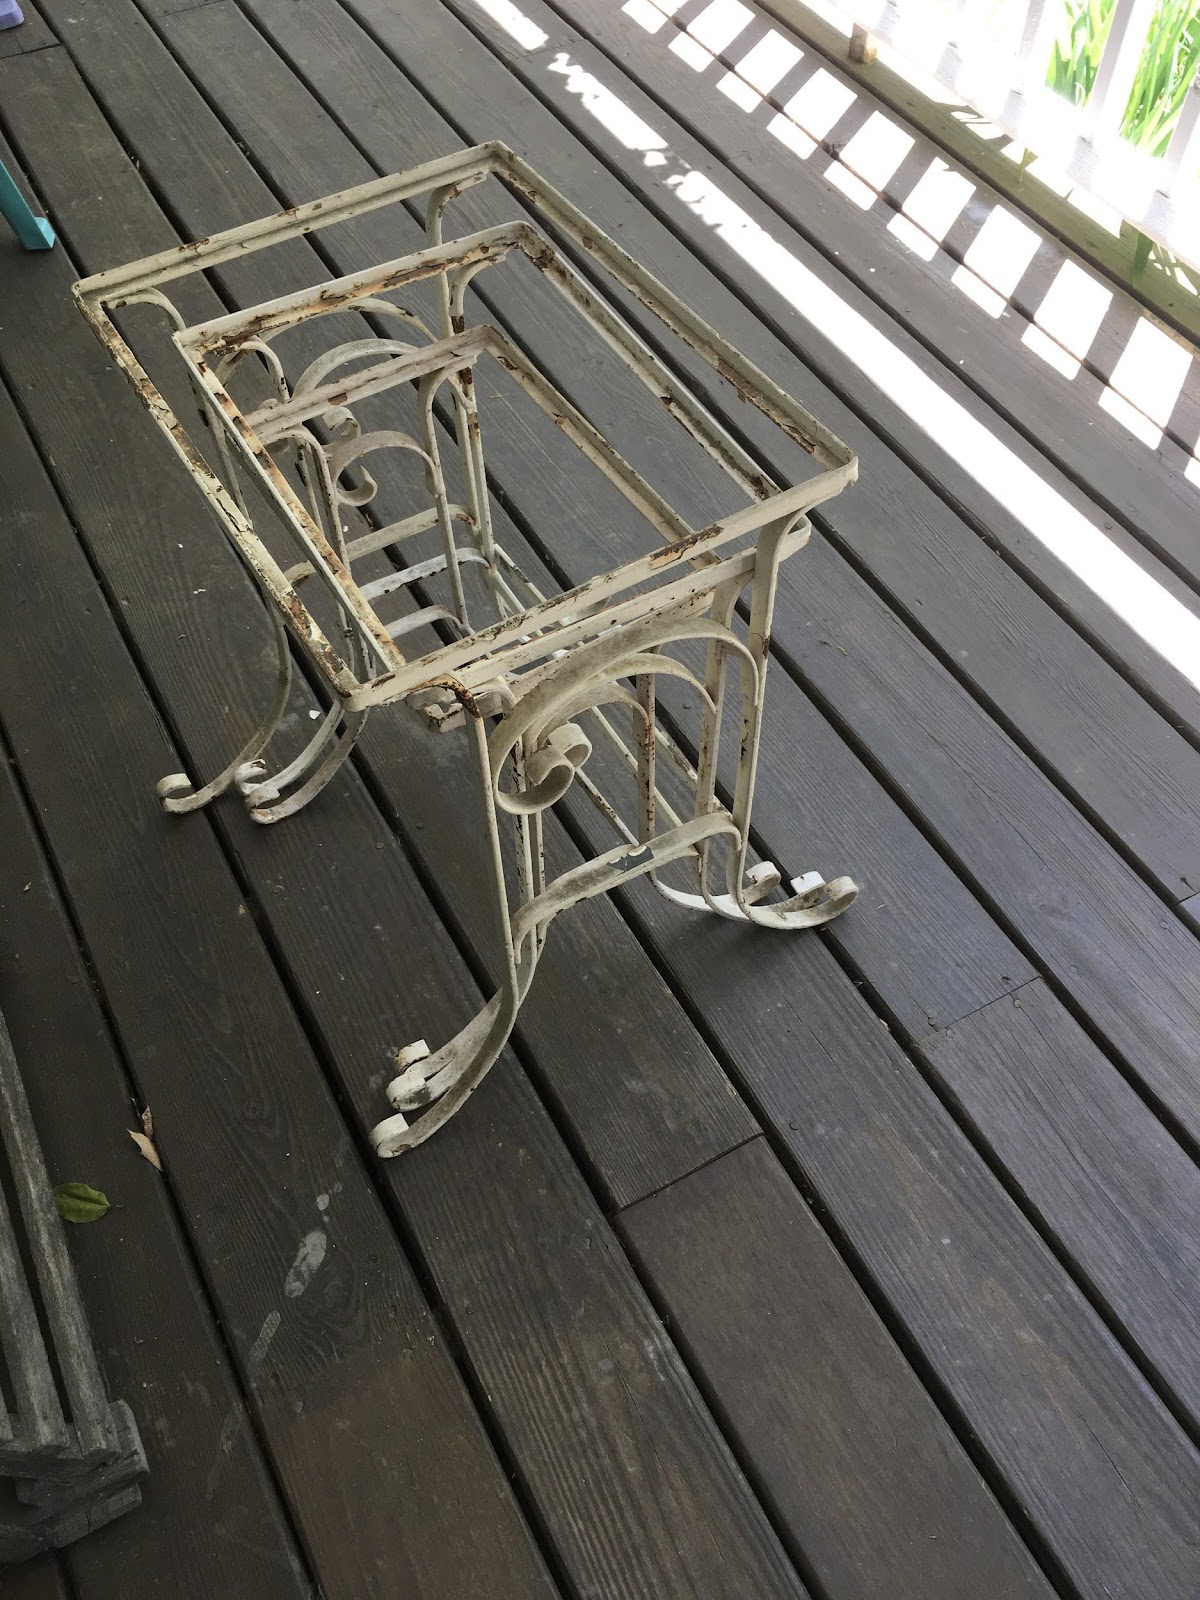
I found some great antique metal stacking tables that needed some creativity and TLC to be brought back to life. The antique tables were advertised in a local online Facebook yard sale. So, the support beam located on each side had me thinking, that’s when I realized the tables nest! The seller didn’t even realize they stacked.
After a lot of scraping, using an air dremel and metal putty knife the old white paint was removed.
*this post contains affiliate links, read more here*
Supplies for Penny Top Tables
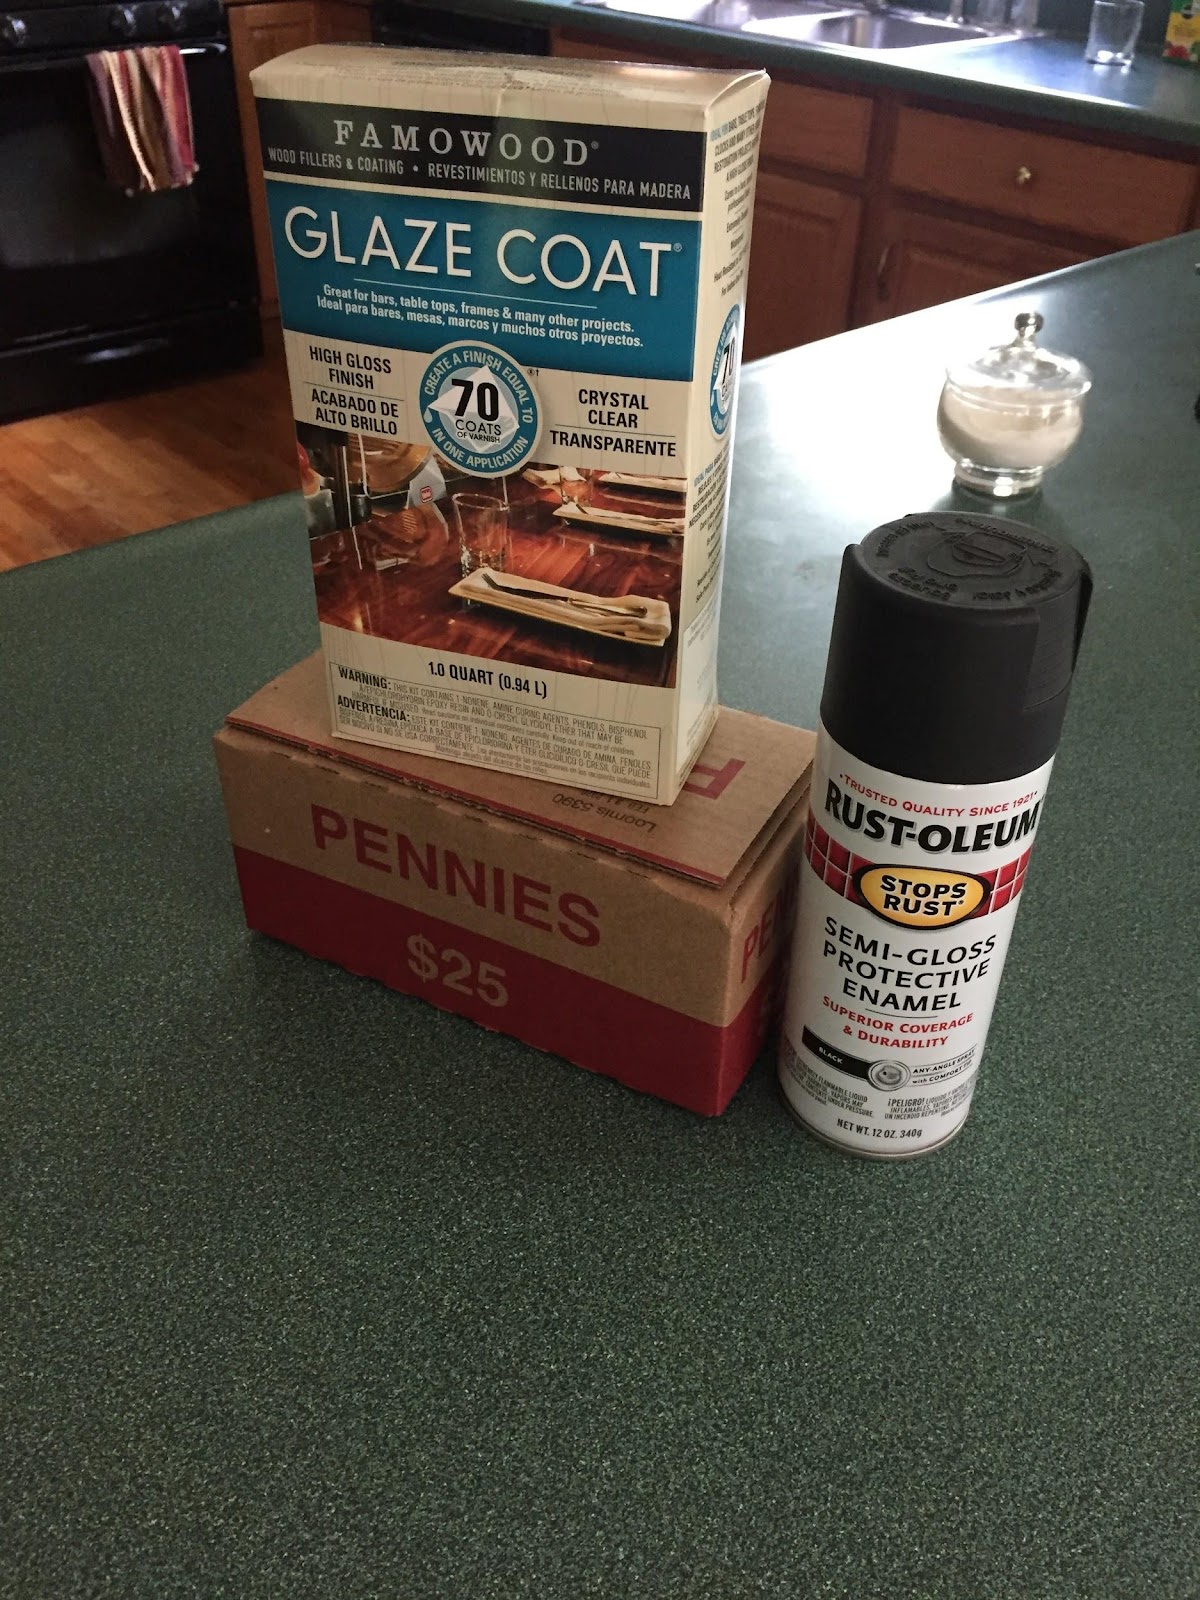
- A box of rolled pennies from local bank ( sometimes you luck out with a few brand new penny rolls)
- Semi-gloss spray paint ( we ended up needing two),
- A tube of clear sealant to attach a wood background to the metal frame (not pictured in photo)
- 1 quart of epoxy ( available at Home Depot or Amazon- probably other hardware stores as well)
Spray Paint Nesting Tables
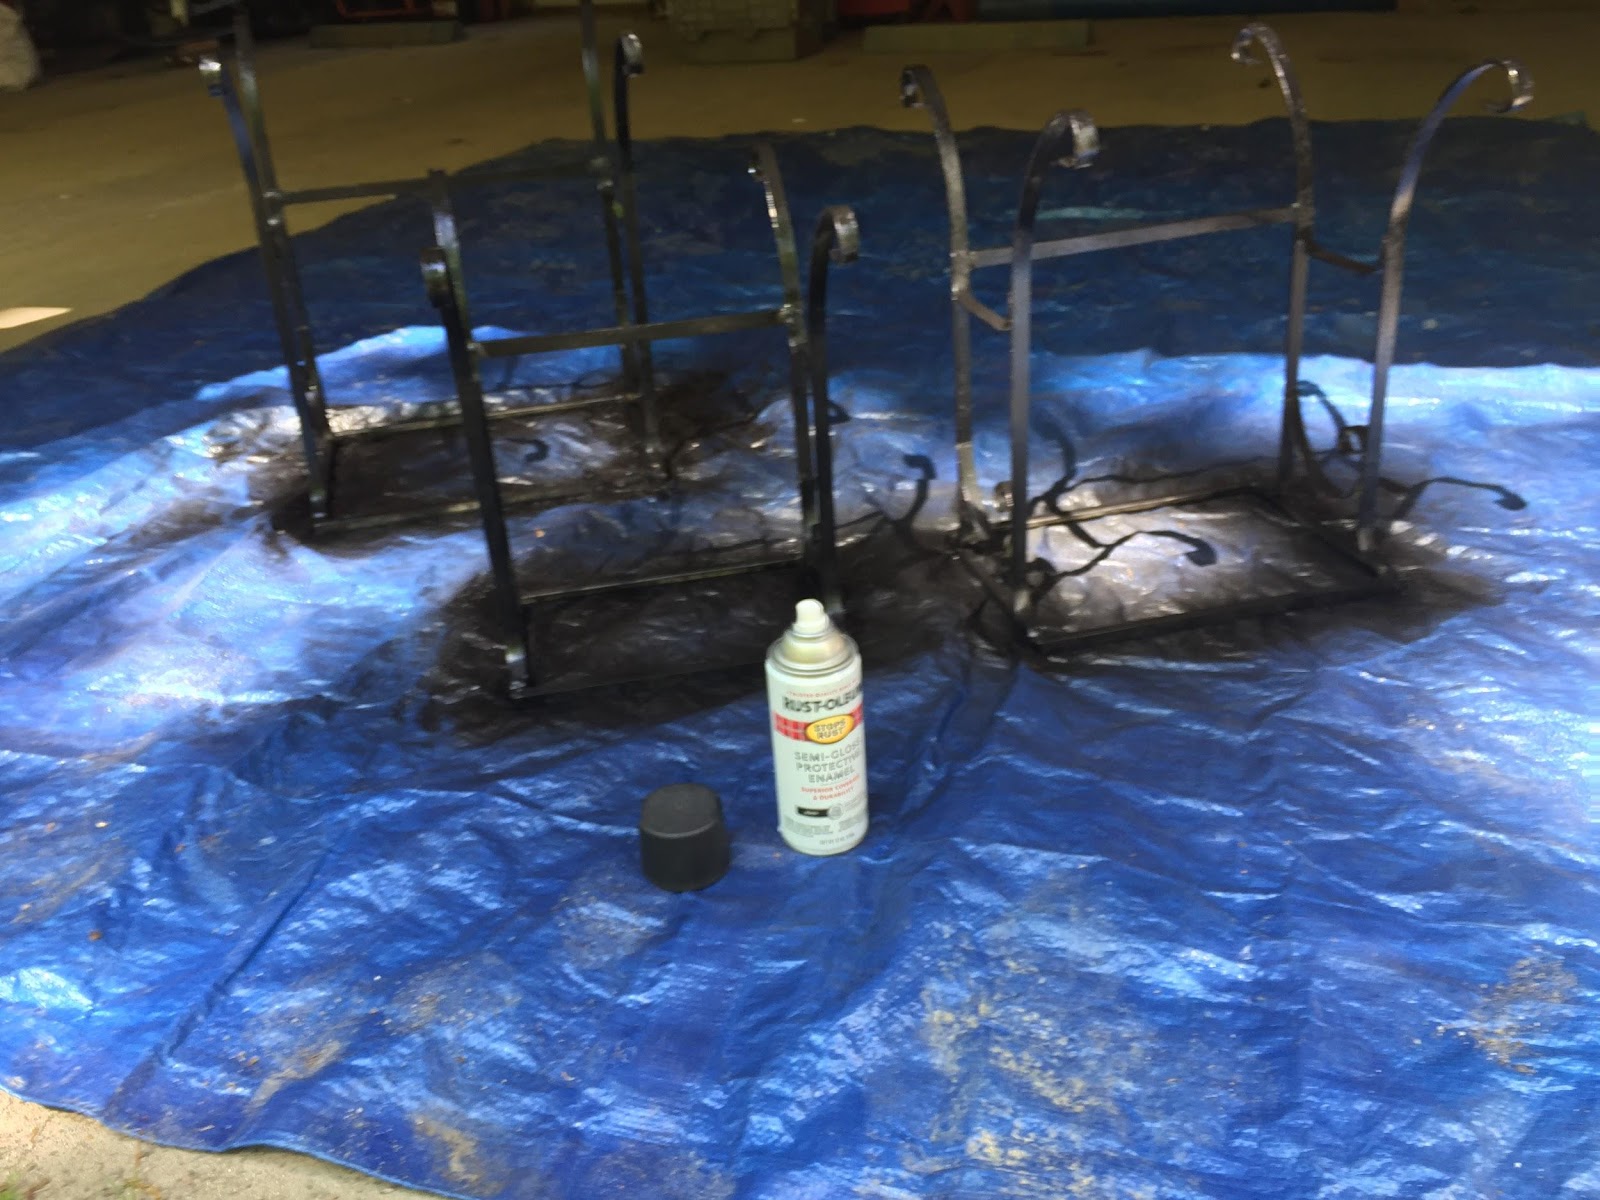
Somewhere I read that if you start by painting the pieces upside down. (that may have been right here on MRL, I always paint the underneath side of my projects first)
Decide on a Base to Hold Pennies

My husband cut to fit and planed to the proper thickness some cork board flooring we had lying around. We wanted the frame to have a small lip to hold in the epoxy. I sealed the cork board to the metal frame with clear sealant. I then let it dry with weights on top to make a tight seal. Next time I will be more generous with the sealant since I found small leaks later with the epoxy.
Lay Out Your Penny Pattern
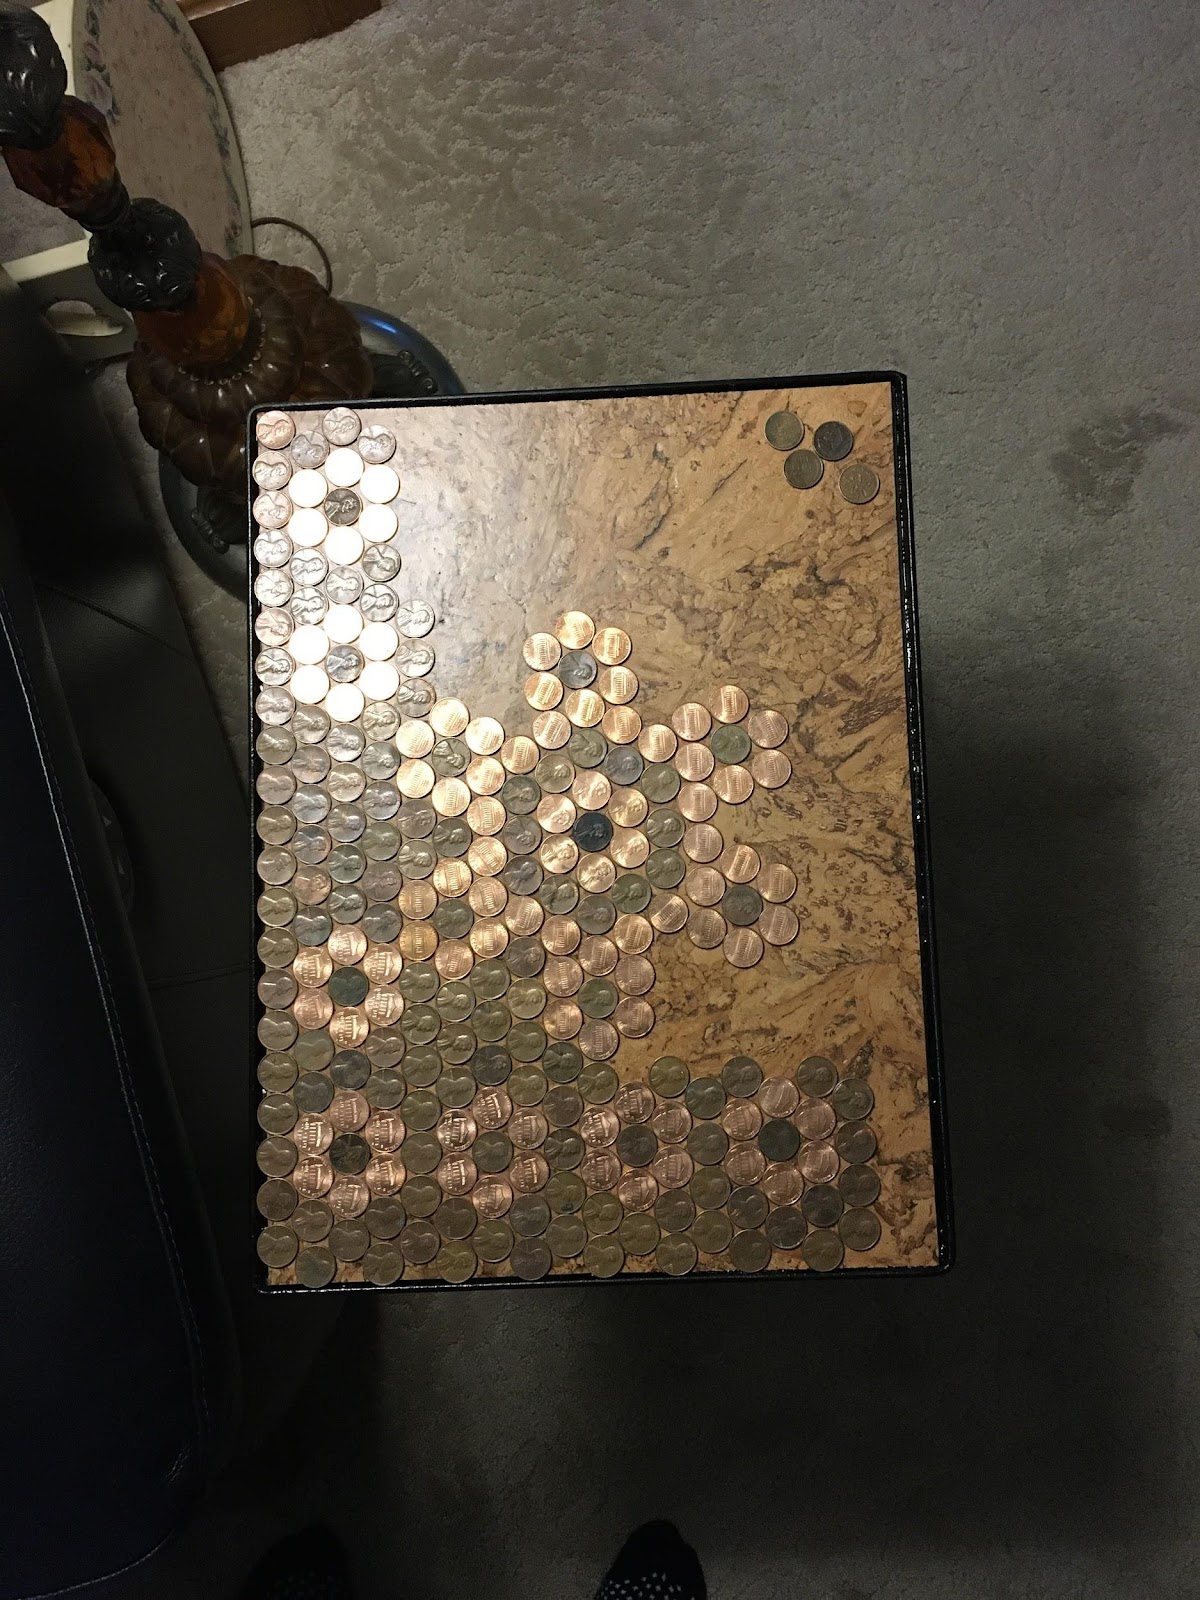
Playing with the pattern, the pennies can be laid in straight rows or an offset pattern. This design was using offset pattern.
Once pennies are laid all out you can play with the design and borders a little bit.
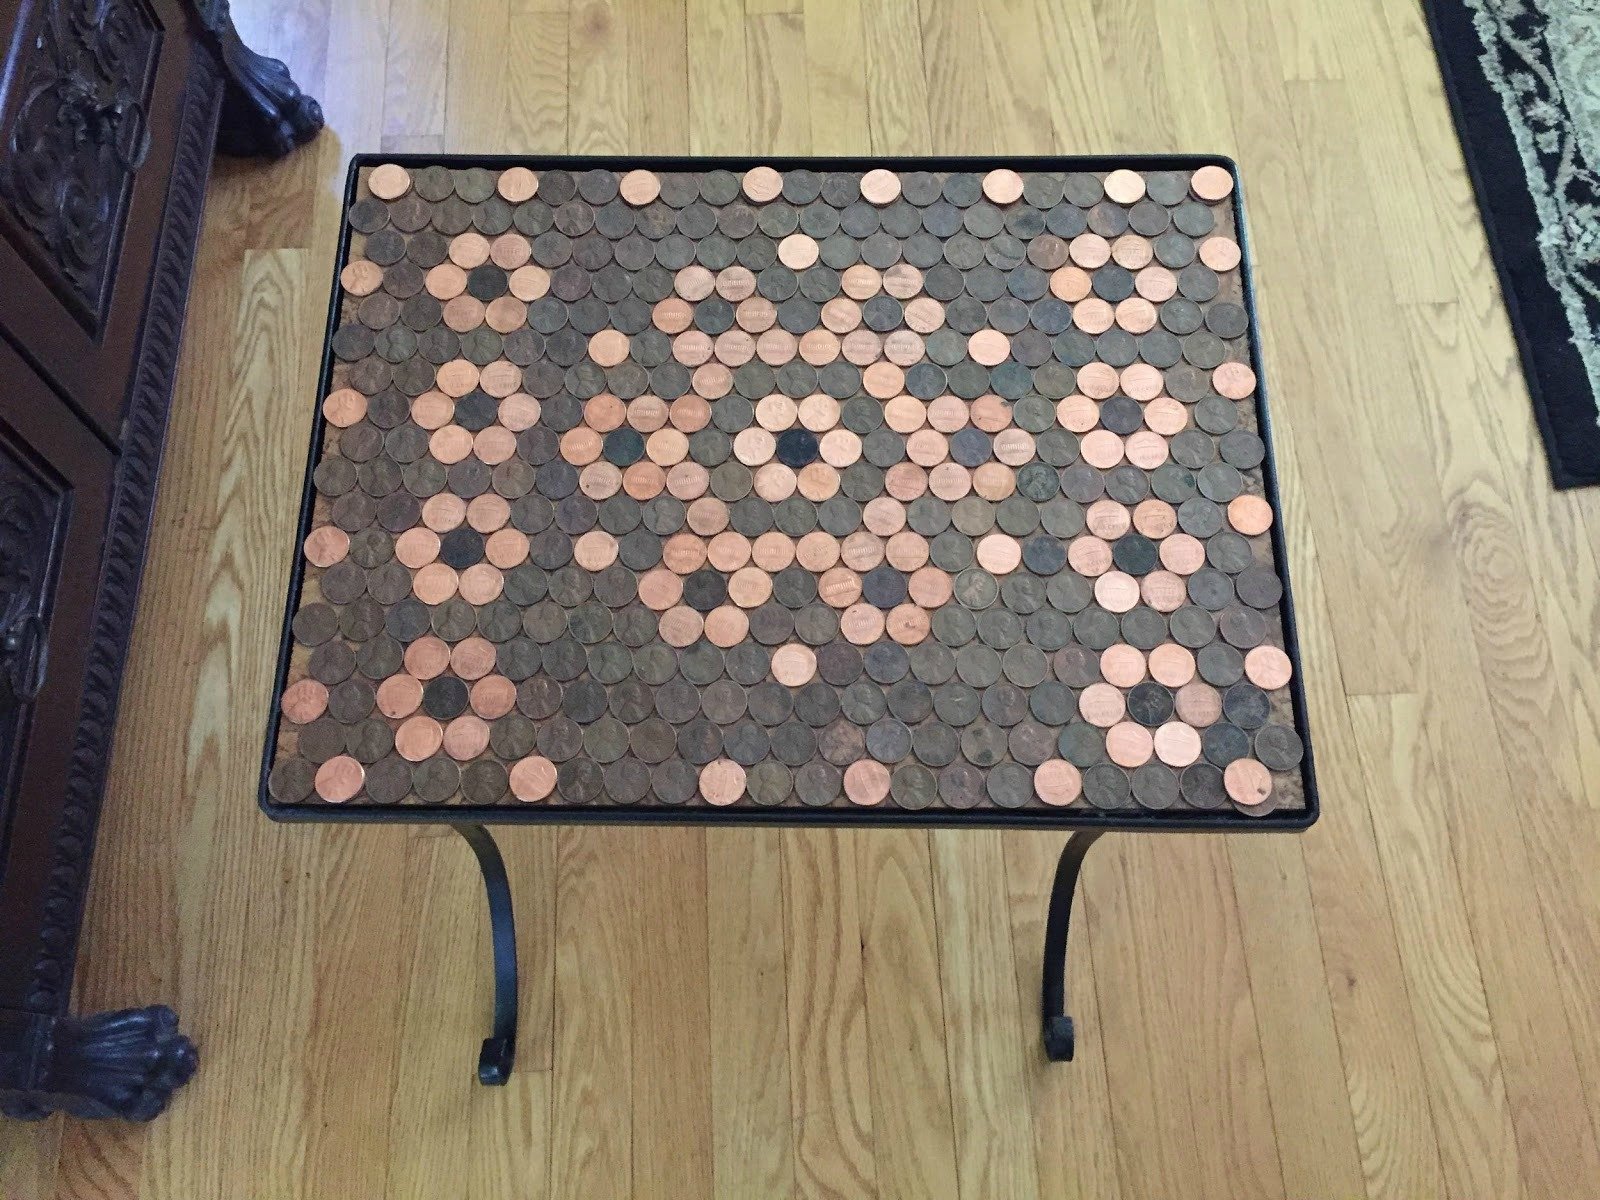
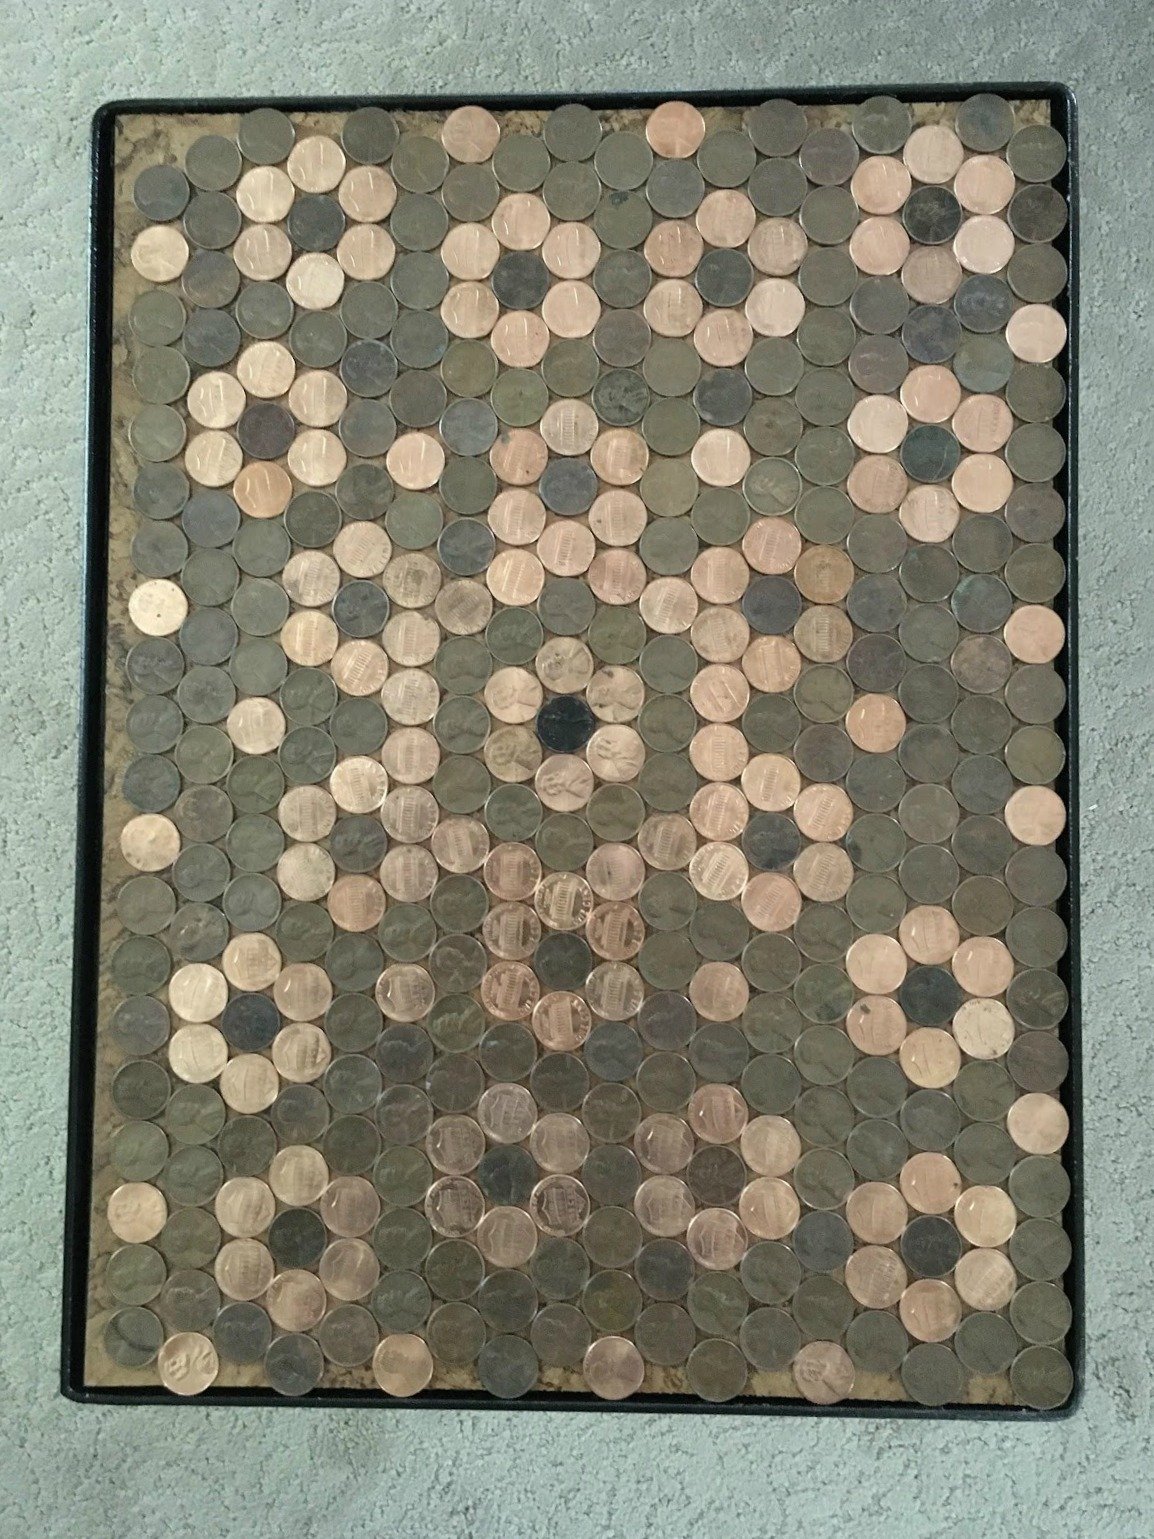
Table two sunburst design
The design stage is the best part, you can use all new pennies, or mix old pennies with new on your Penny Top Tables.

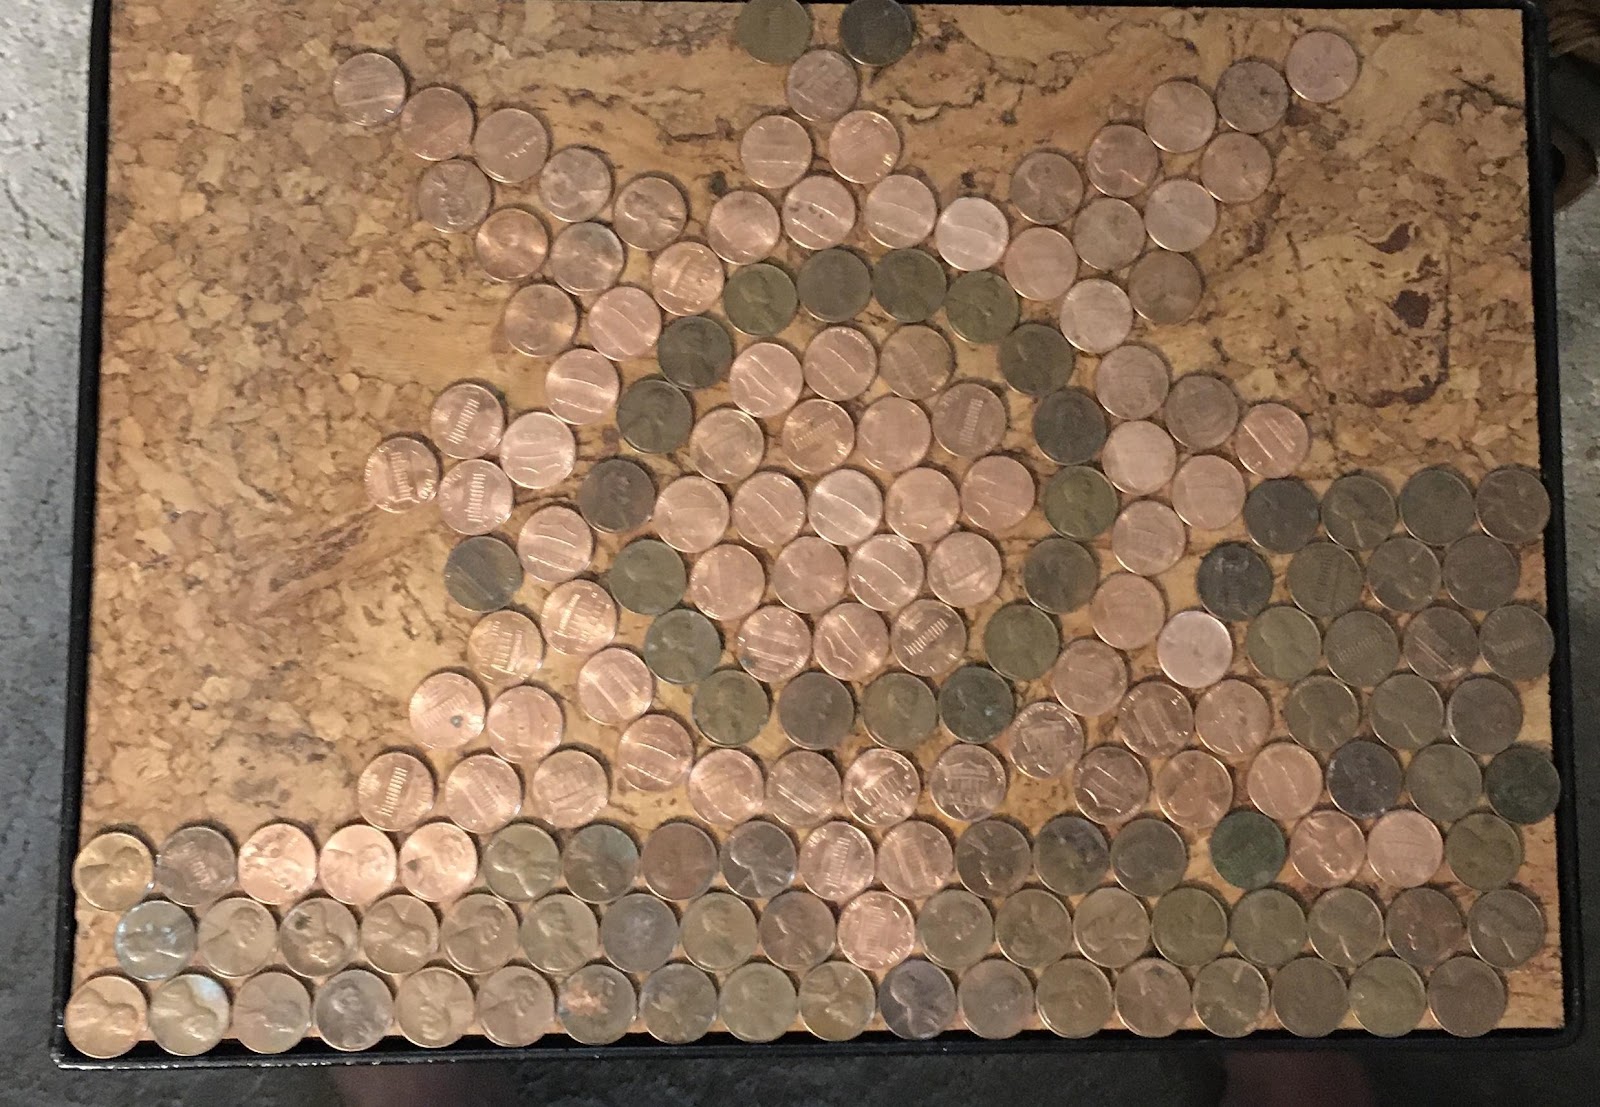
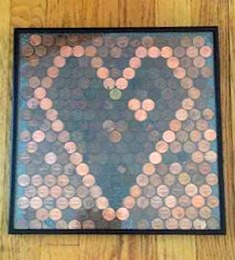
Penny Top Table # 3 | Heart Design

The third and smallest table is a heart design. Sorta like the live, love, laugh theme. We mixed one quart of the epoxy, followed the directions and did all three tables at the same time.
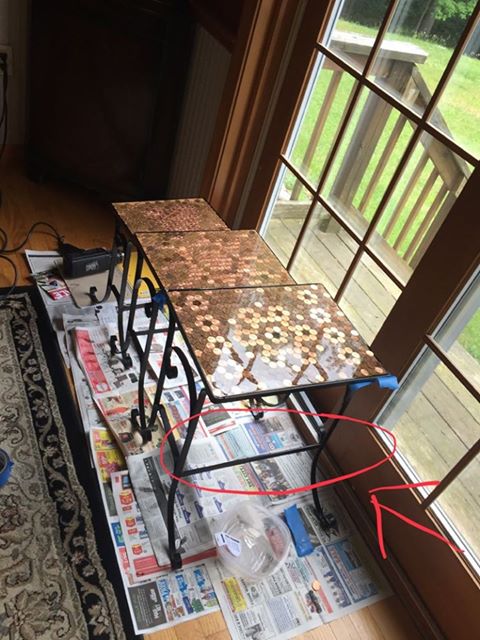
There were some leveling issues. Small leaks were quickly fixed by putting a shim under one leg and using painters tape to provide a quick seal with the leak under the table.
Three Penny Top Tables


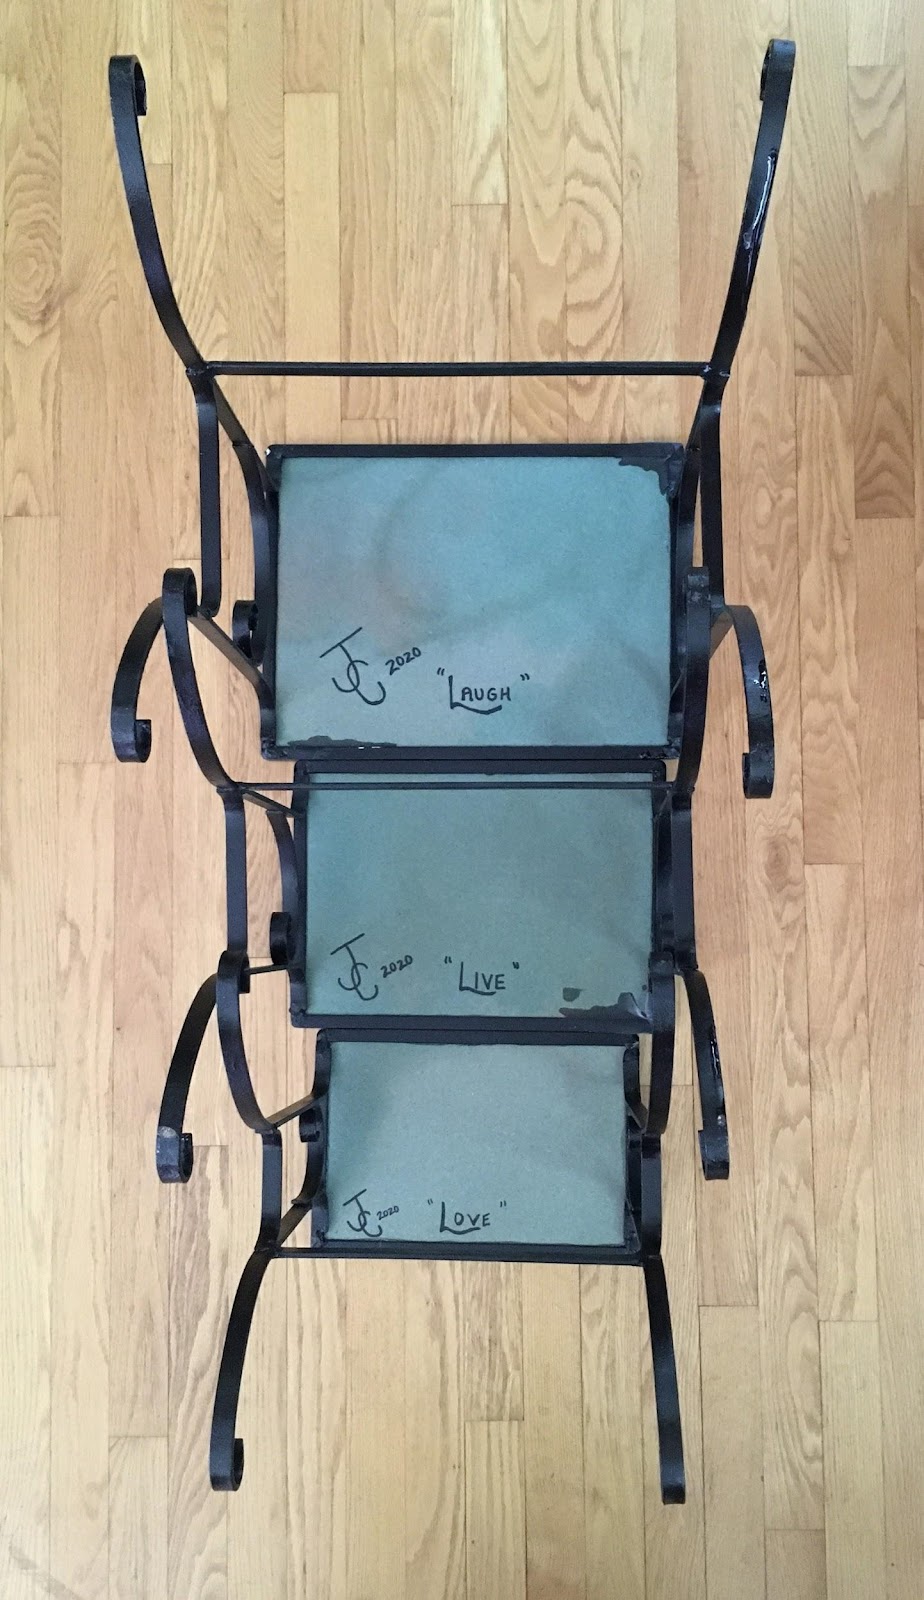
The tables were signed, dated and titled.


More Penny Projects
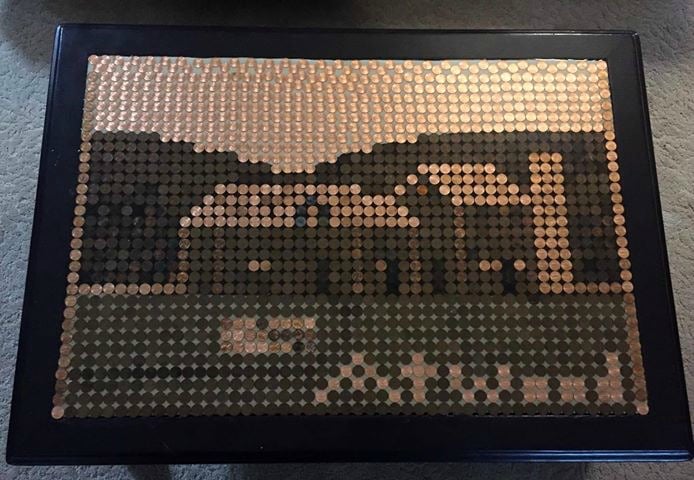
Penny Top Coffee Table
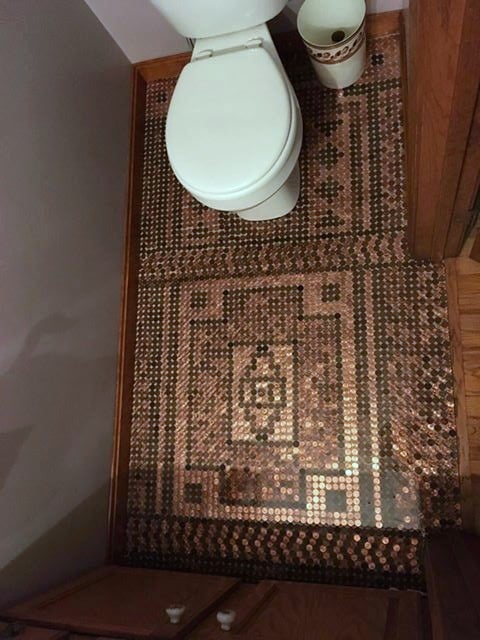
Penny Floor in a Bathroom
Heart Shape Pennies in a Picture Frame
Jacqueline Atwood | J & C Treasures | Chesterfield, NH
I would love to thank Jacqueline for sharing her awesome projects with us today!! It’s hard for me to choose a favorite, what about you? We would love to hear your thoughts in a comment below!
gail
These penny tables are definitely a work of art!❤️
I totally agree Annie! Jacqueline did a fabulous job!
gail