Plastic Cabinet Makeover | Console
As an Amazon Associate, I earn from qualifying purchases.
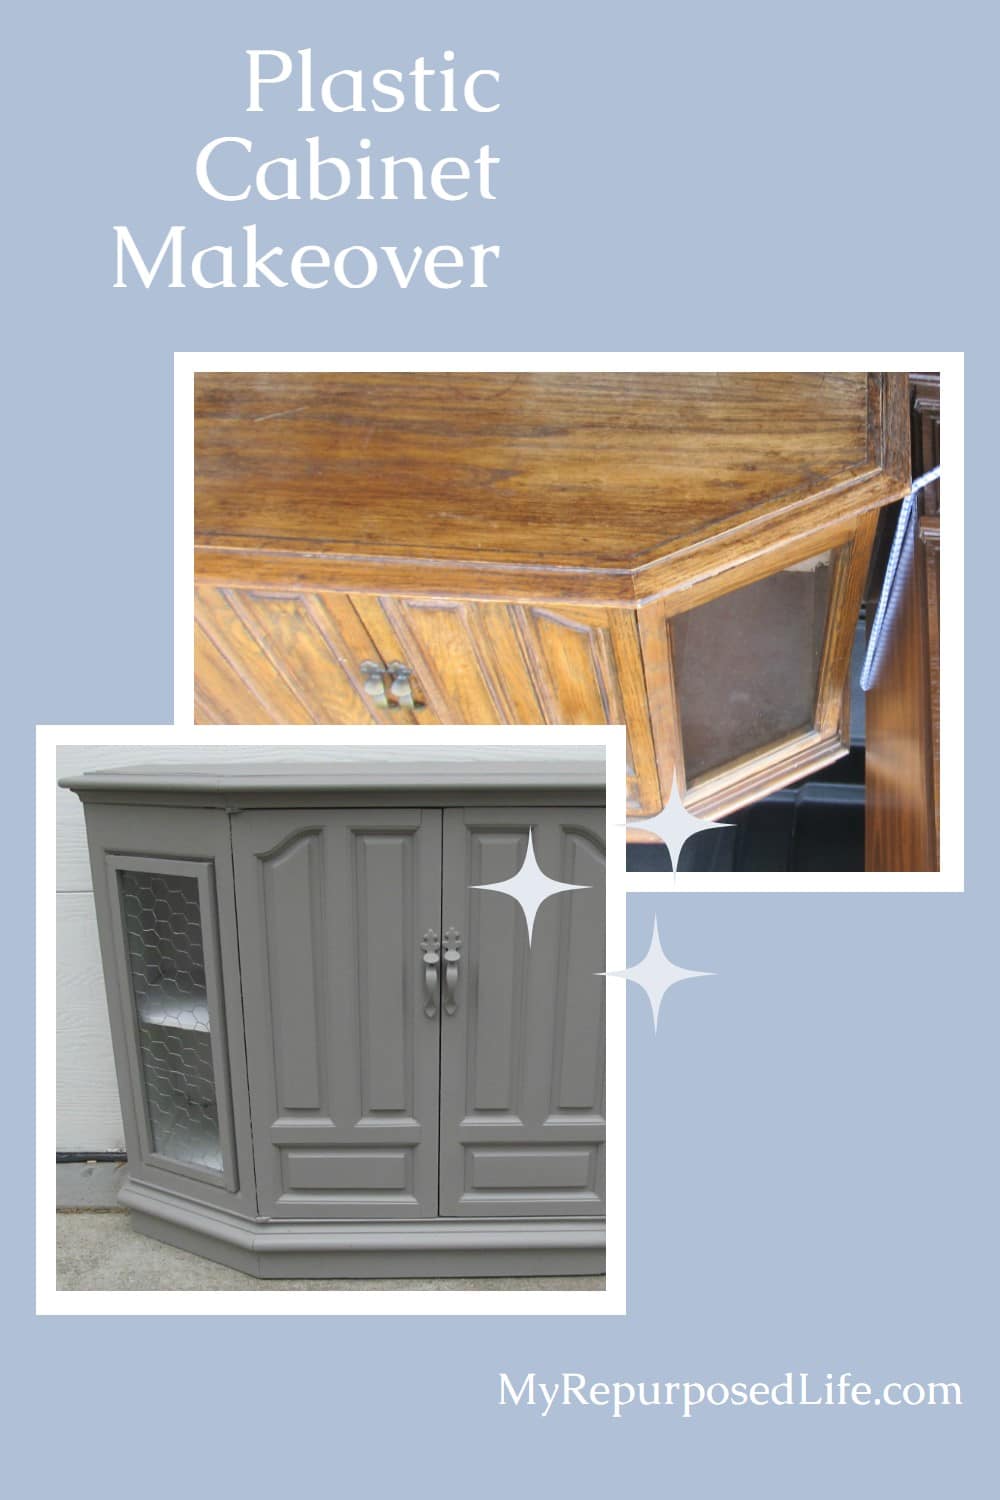
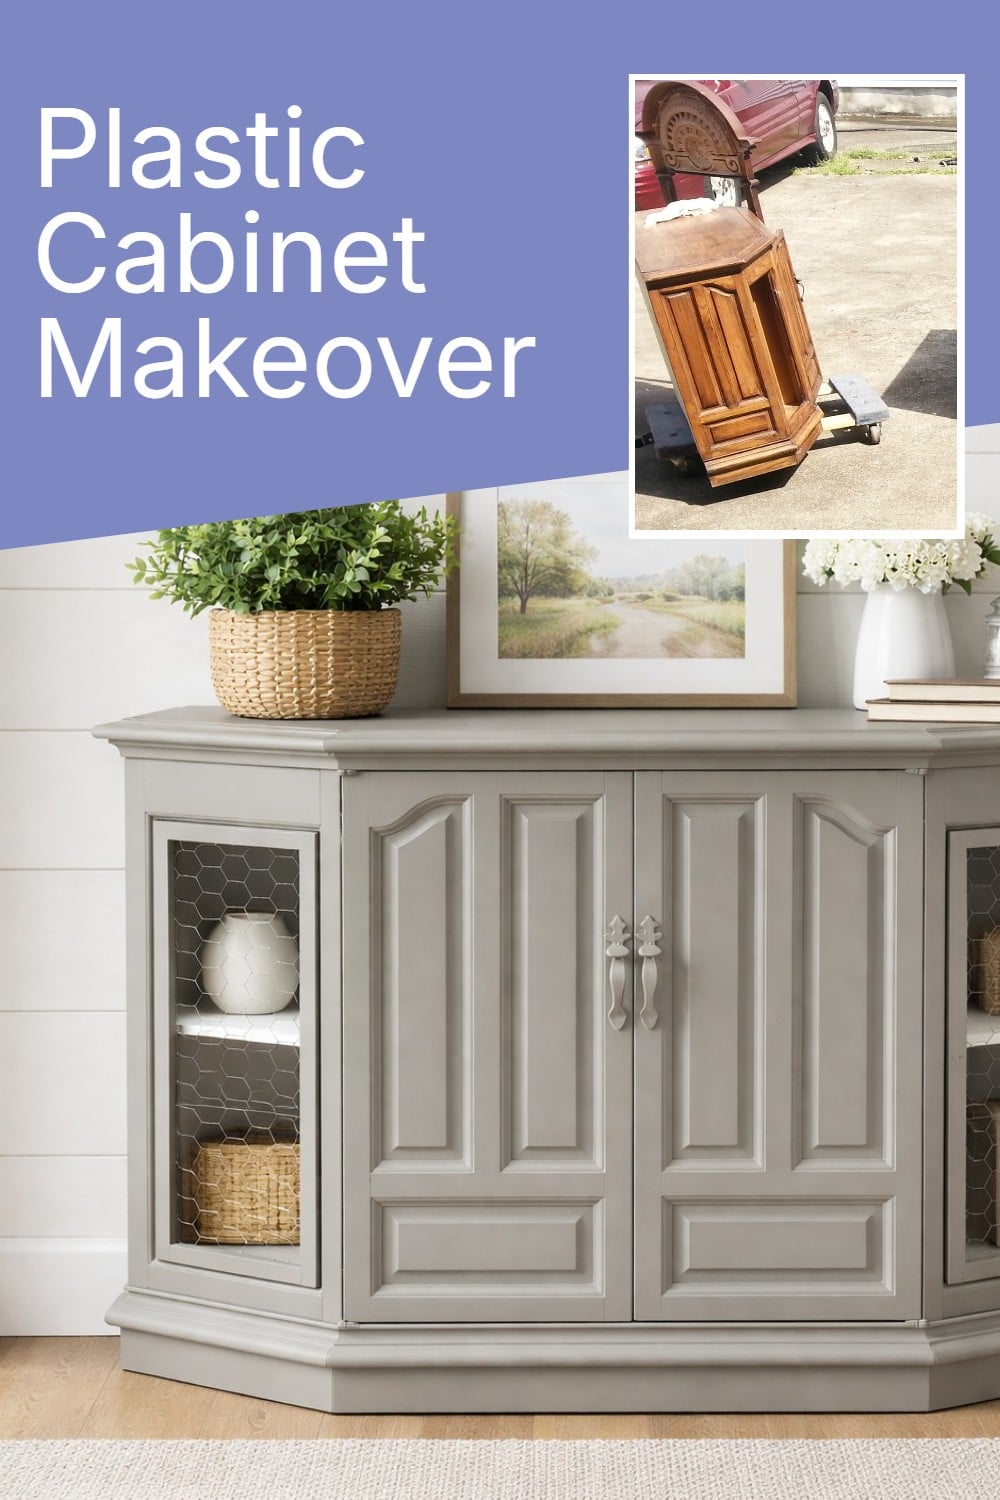
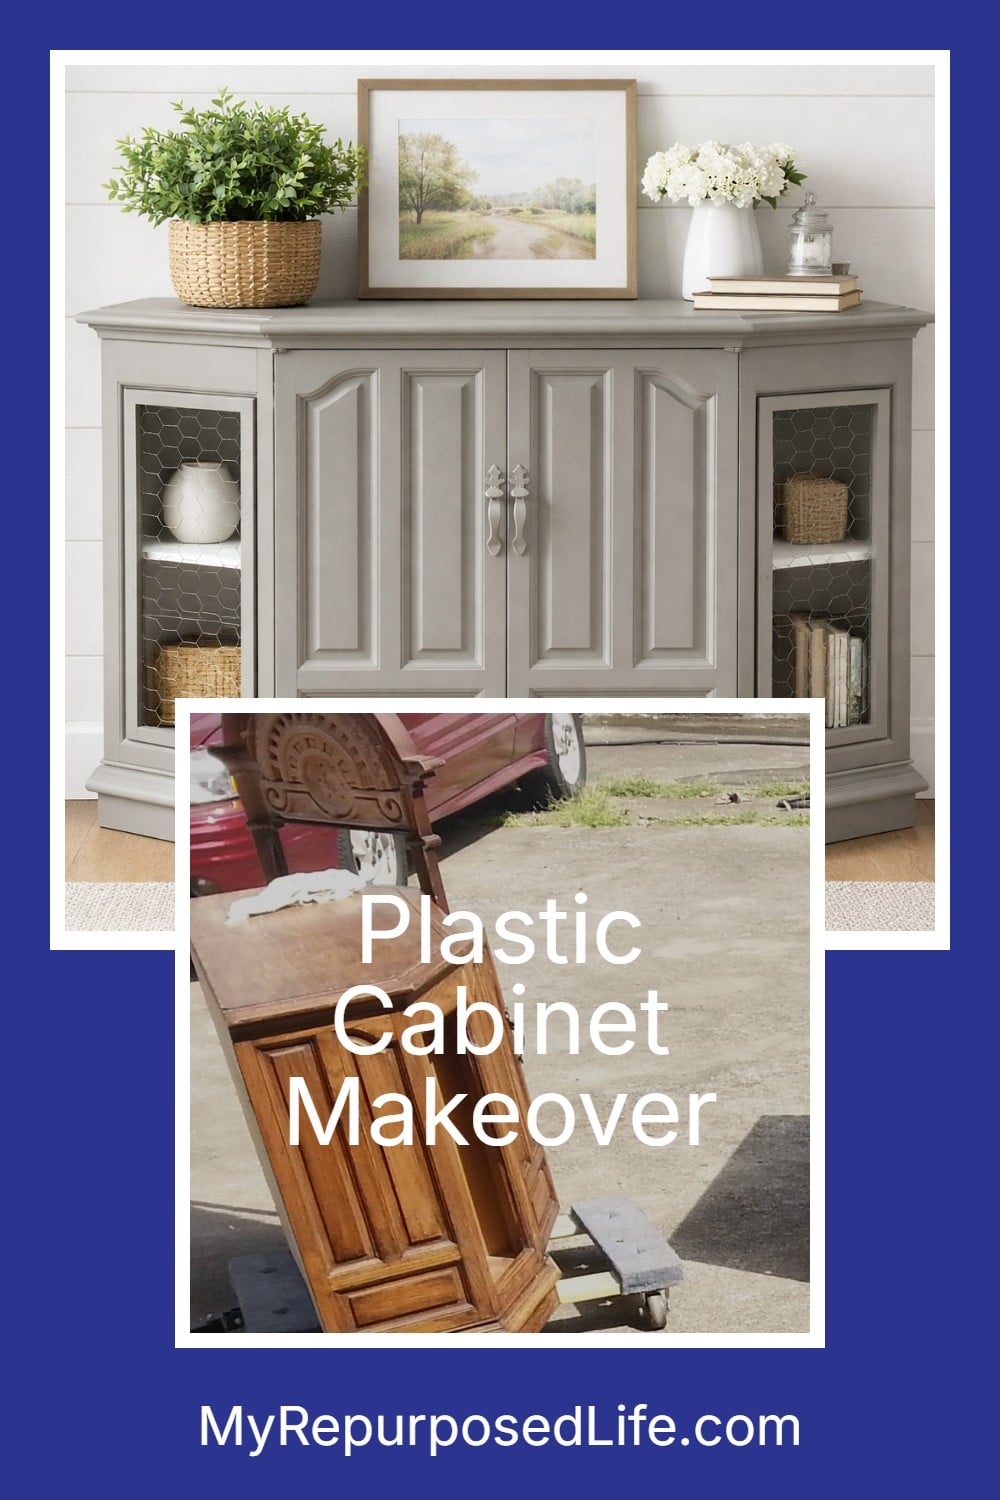
You know I love a challenge, and this one definitely qualified. What started as an outdated plastic radio cabinet turned into a surprisingly stylish console with a whole new look. A little vision, some paint, and a few simple upgrades made this unusual piece feel right at home.
Have you ever seen a plastic cabinet makeover? I’m not sure when or why they made plastic radio consoles. Maybe someone in your family had one years and years ago?
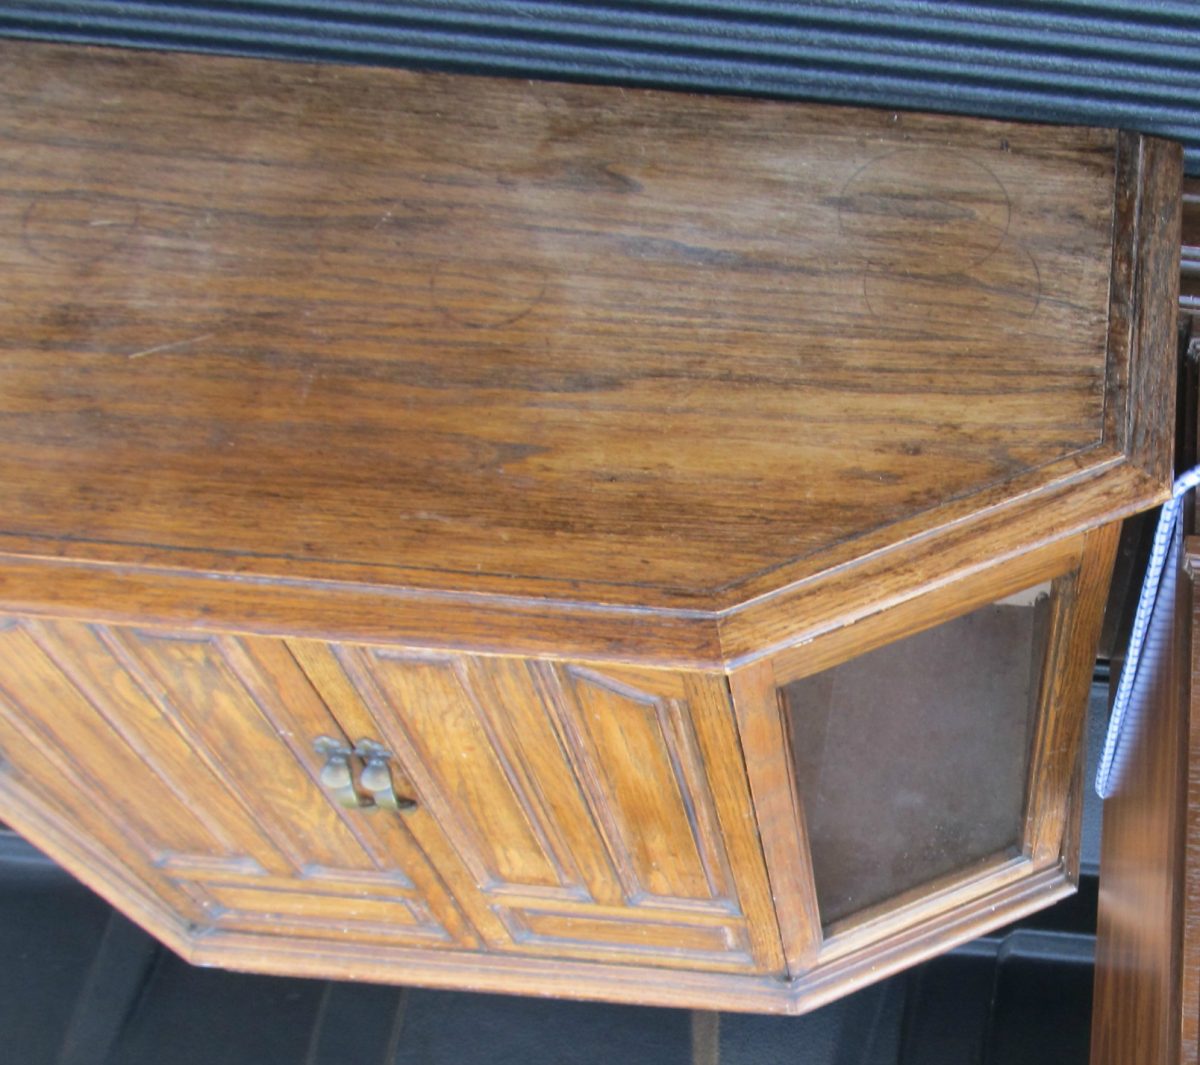
Do you remember this haul from last month at the Hardin County Habitat Restore?
Visit the My Repurposed Life Amazon Store to shop my favorite items.
Plastic Cabinet Makeover Tutorial
Begin Cabinet Makeover with Primer
This plastic cabinet was part of my painting marathon using my DIY chalk paint in my HomeRight Finish Max.
Make Necessary Repairs
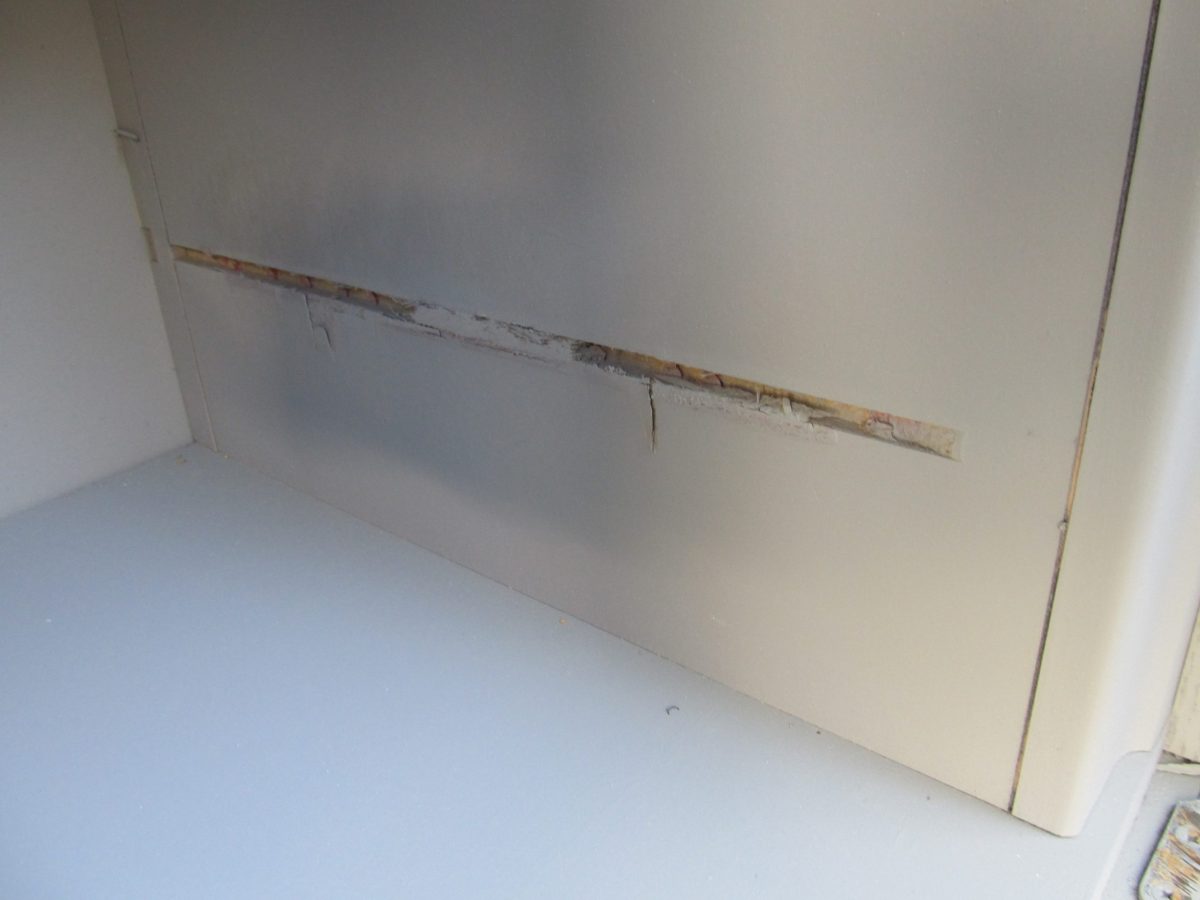
After priming, I decided to remove this lower shelf; it was too low to the bottom.
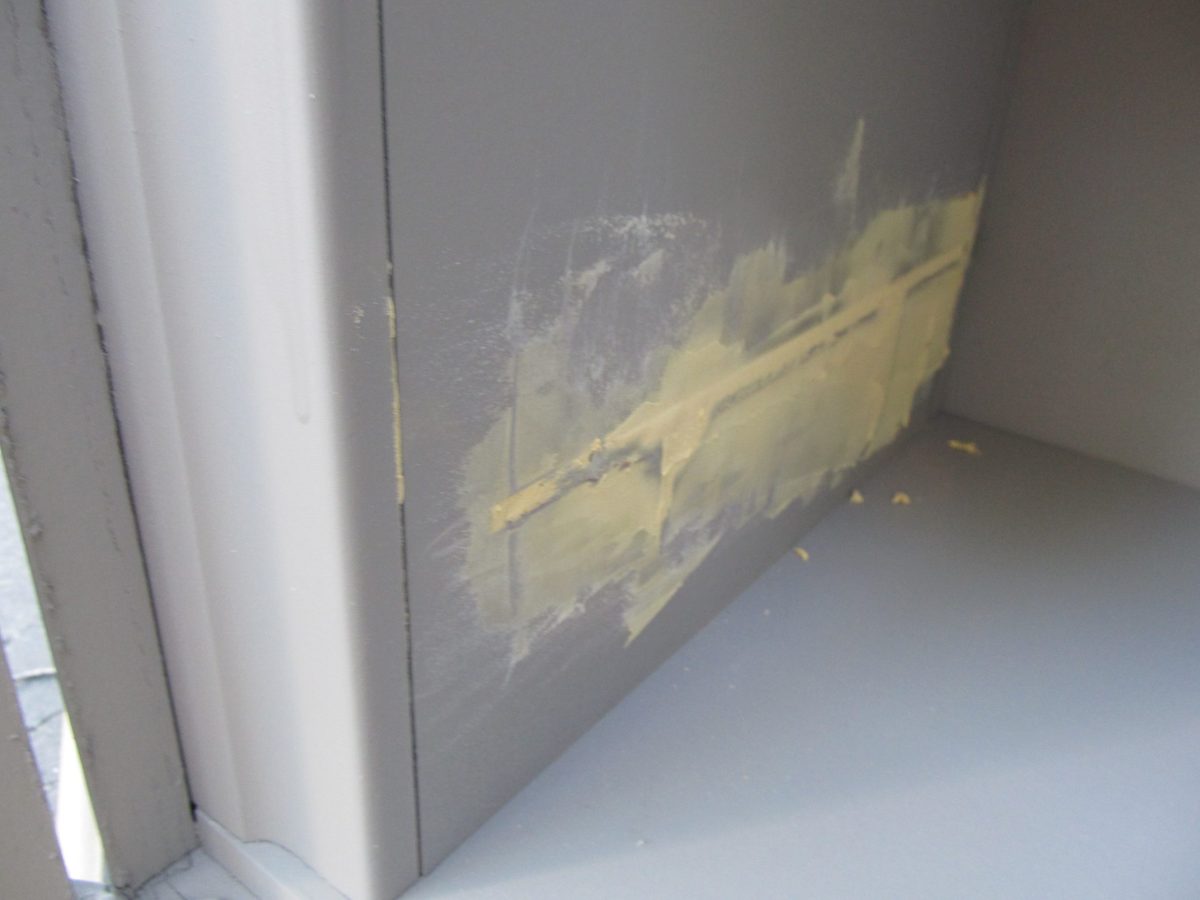
I patched, sanded, and patched again.
Then, I decided to leave this piece the original gray DIY chalk paint, but paint the inside white. I didn’t want to remove this shelf—I’ll figure something out.
Add Shelves
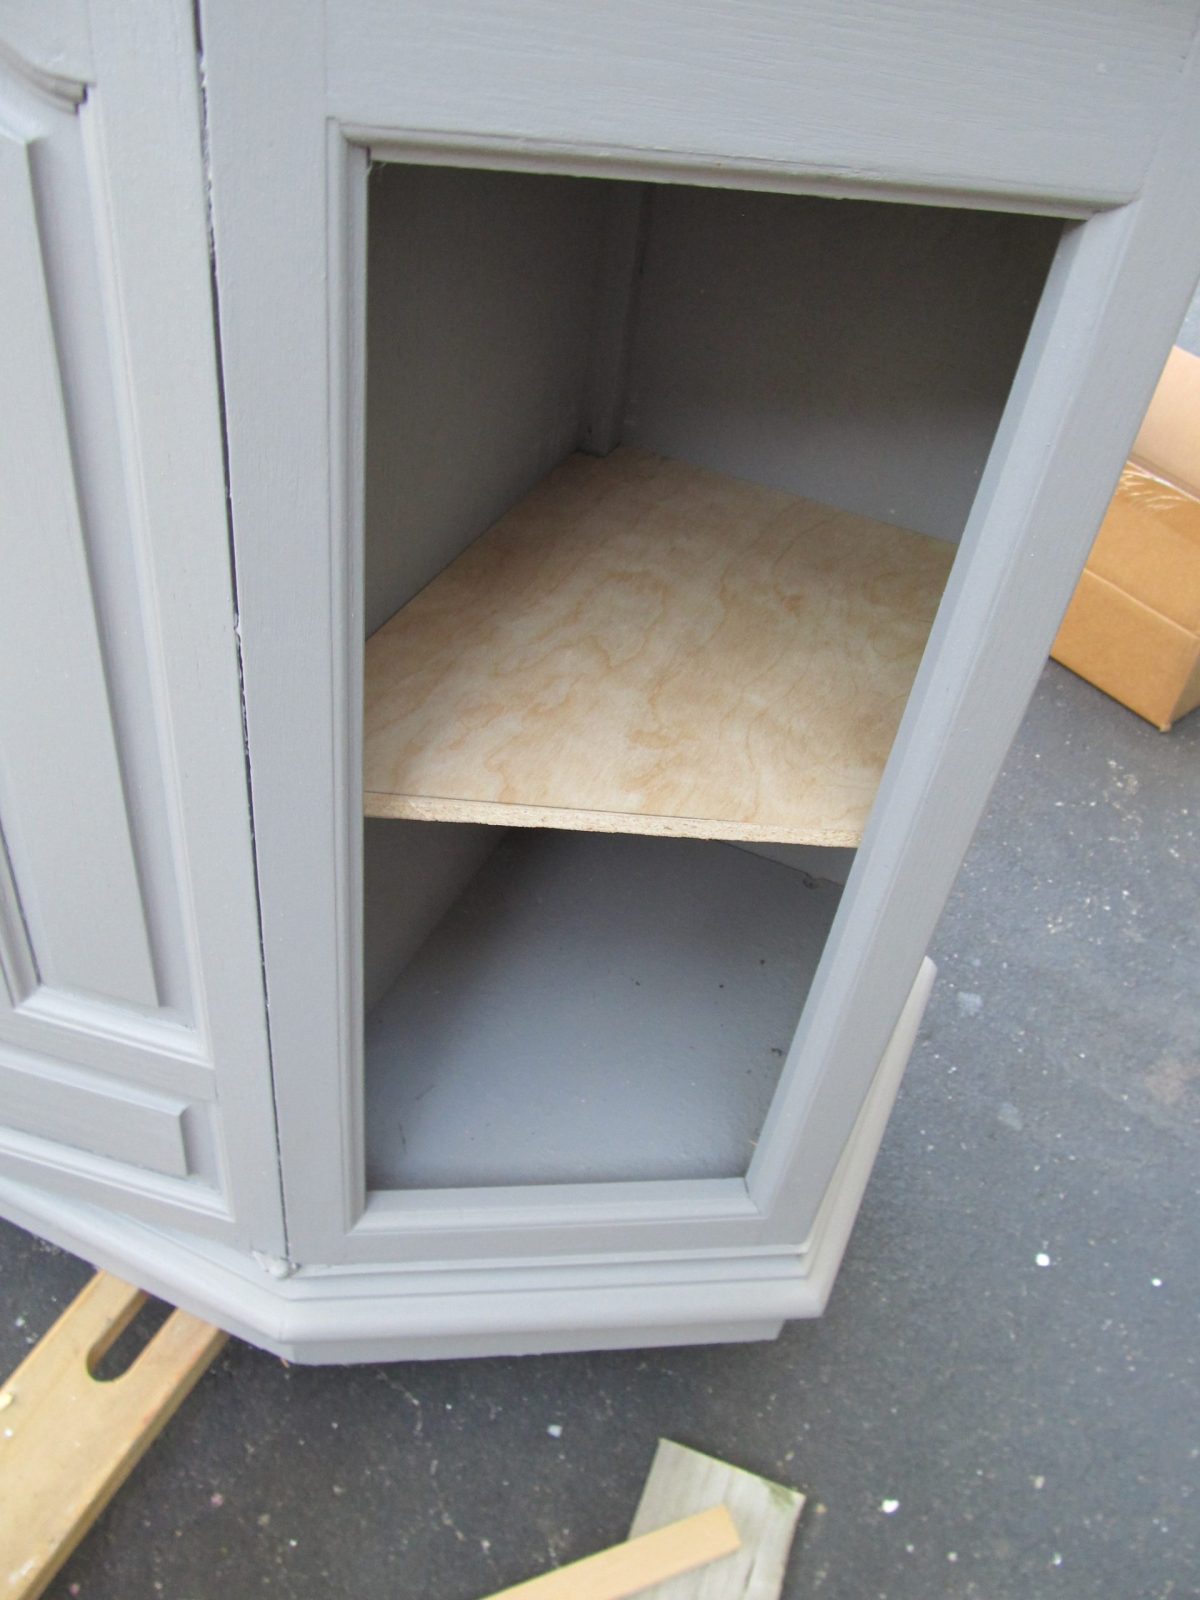
I’m thinking about adding shelves for this plastic cabinet makeover. The sides of this piece were probably speakers, as there were no doors.
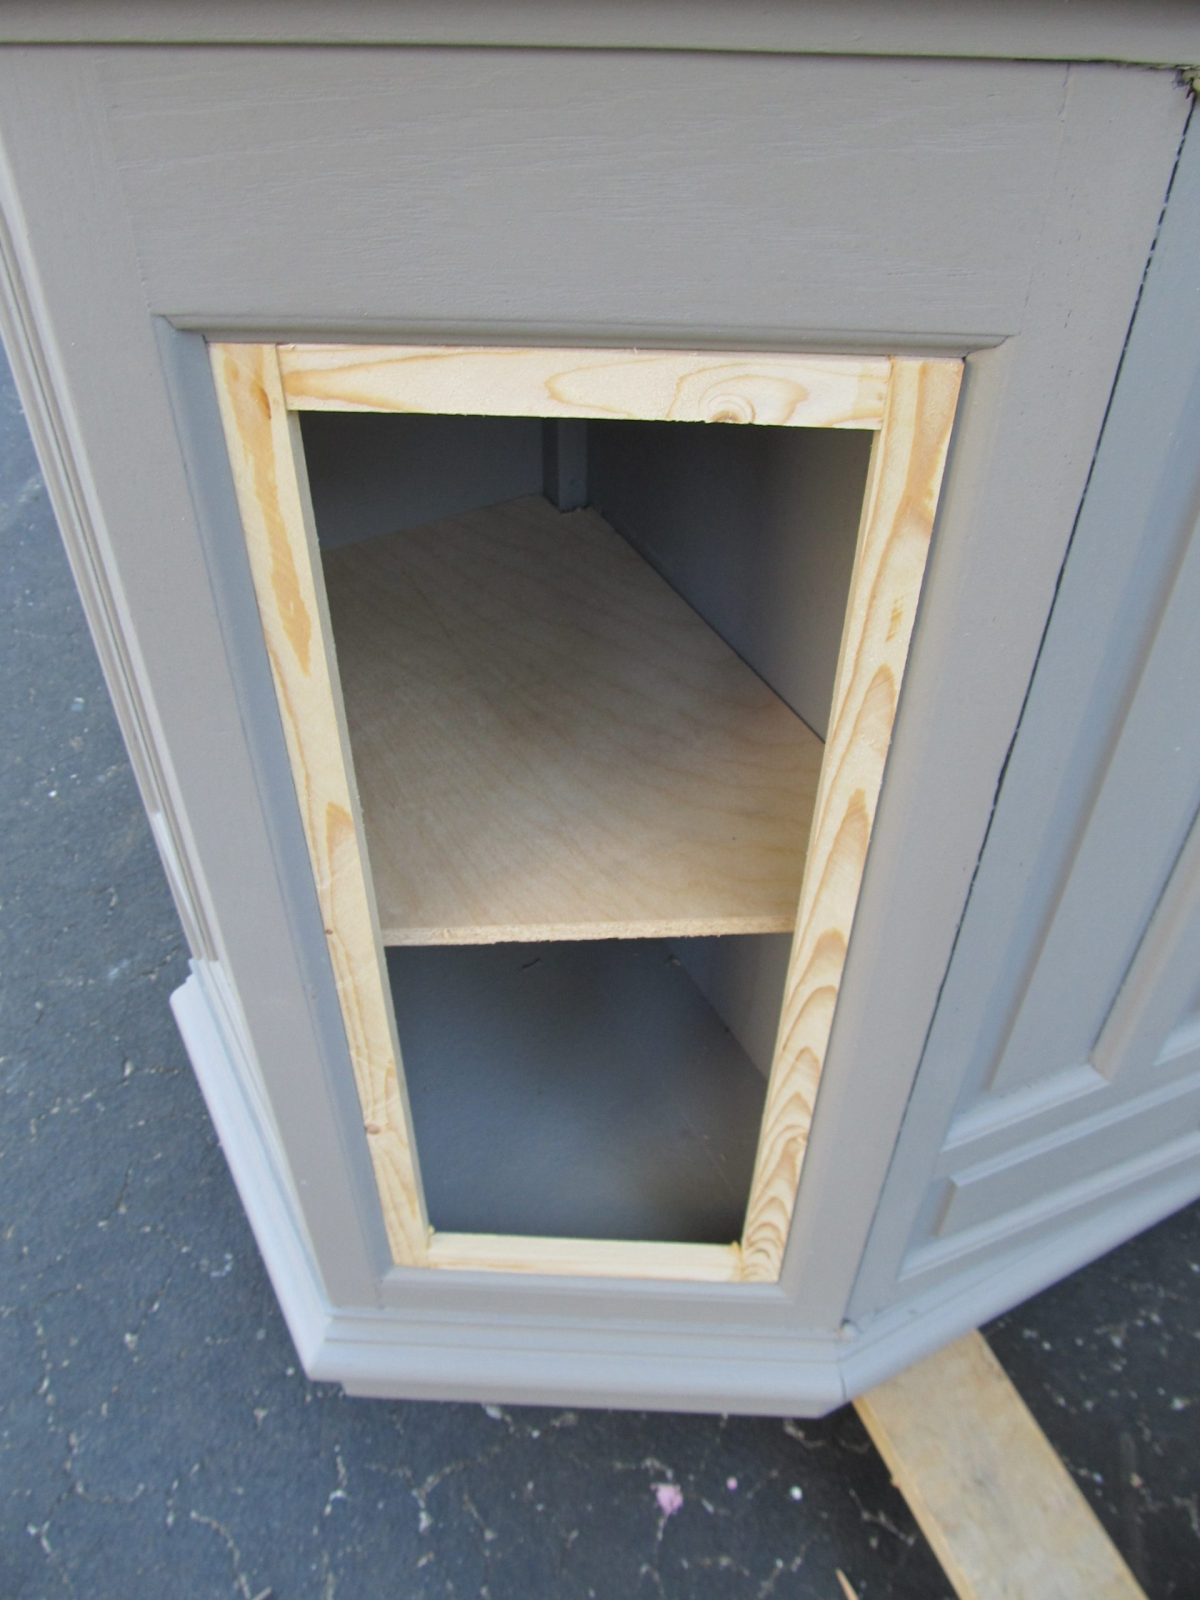
I also made a little frame—a faux door for the sides.

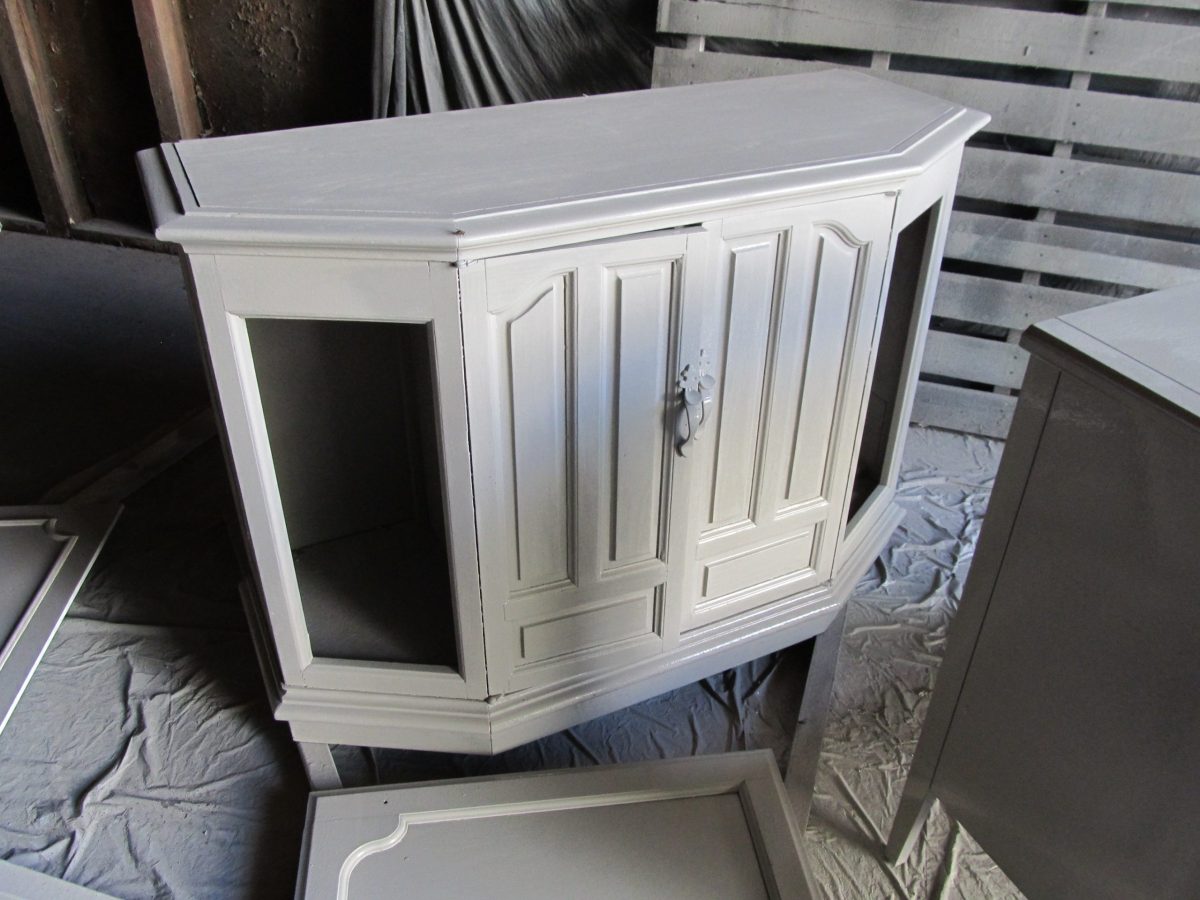
The plastic cabinet makeover is coming right along, eh? Here, you can see that I painted each side white, and the cleats I installed to hold up the new shelves I made.
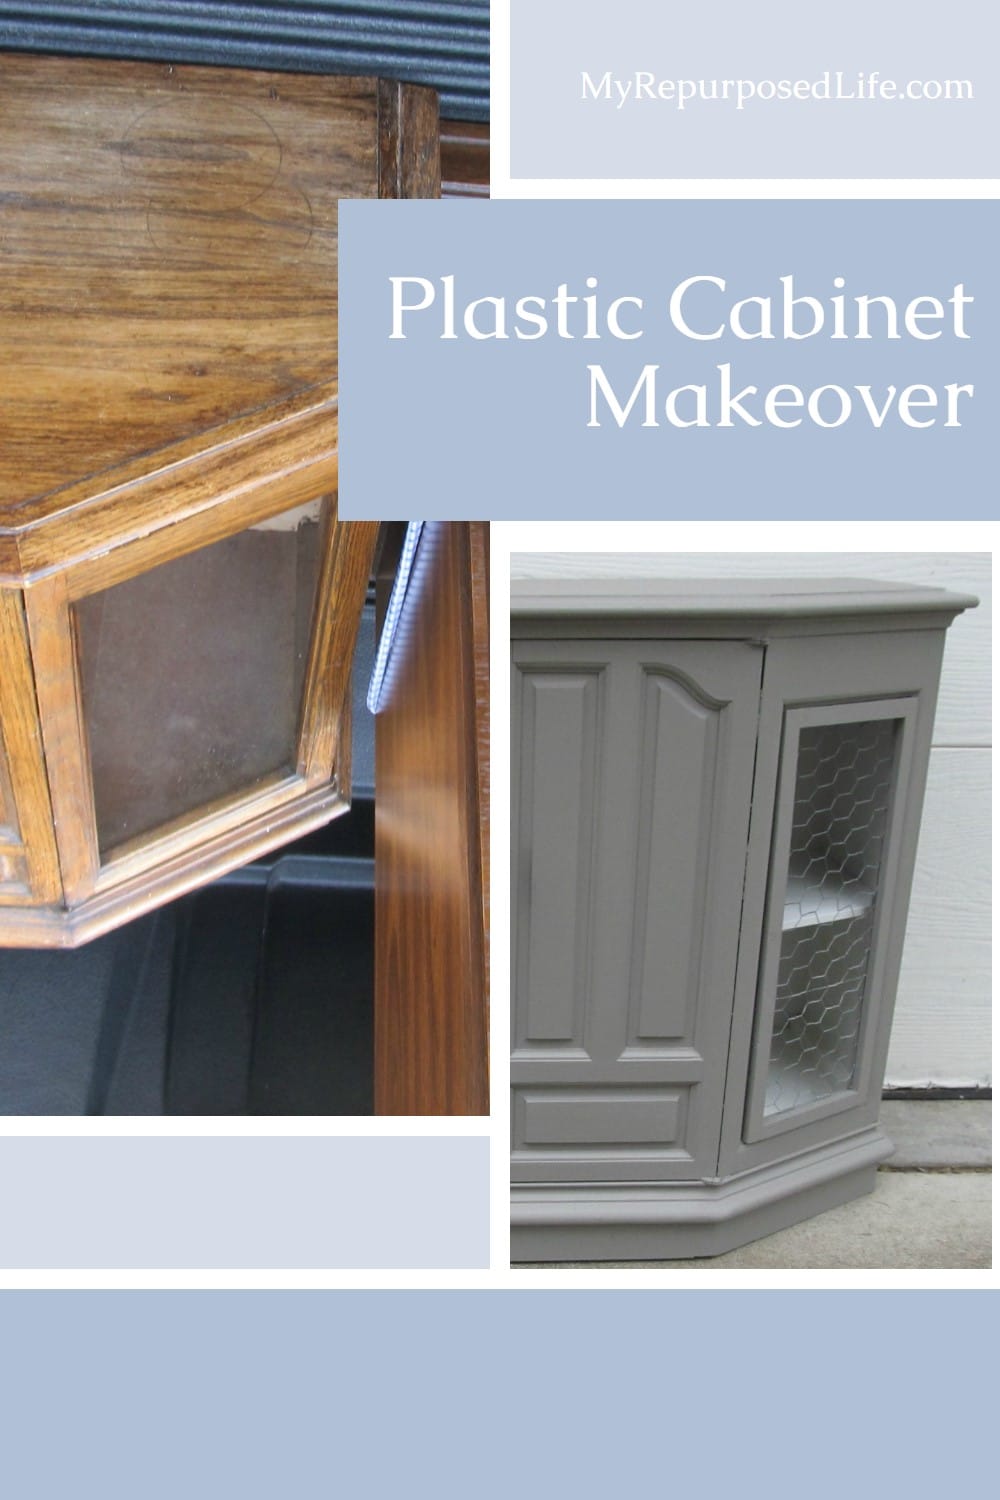
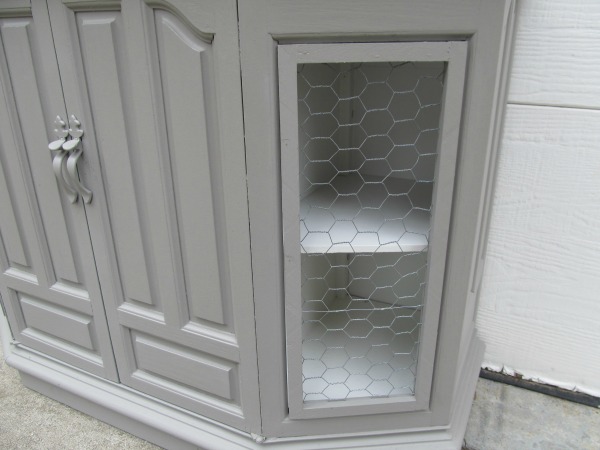
Install Chicken Wire to Plastic Cabinet Faux Doors
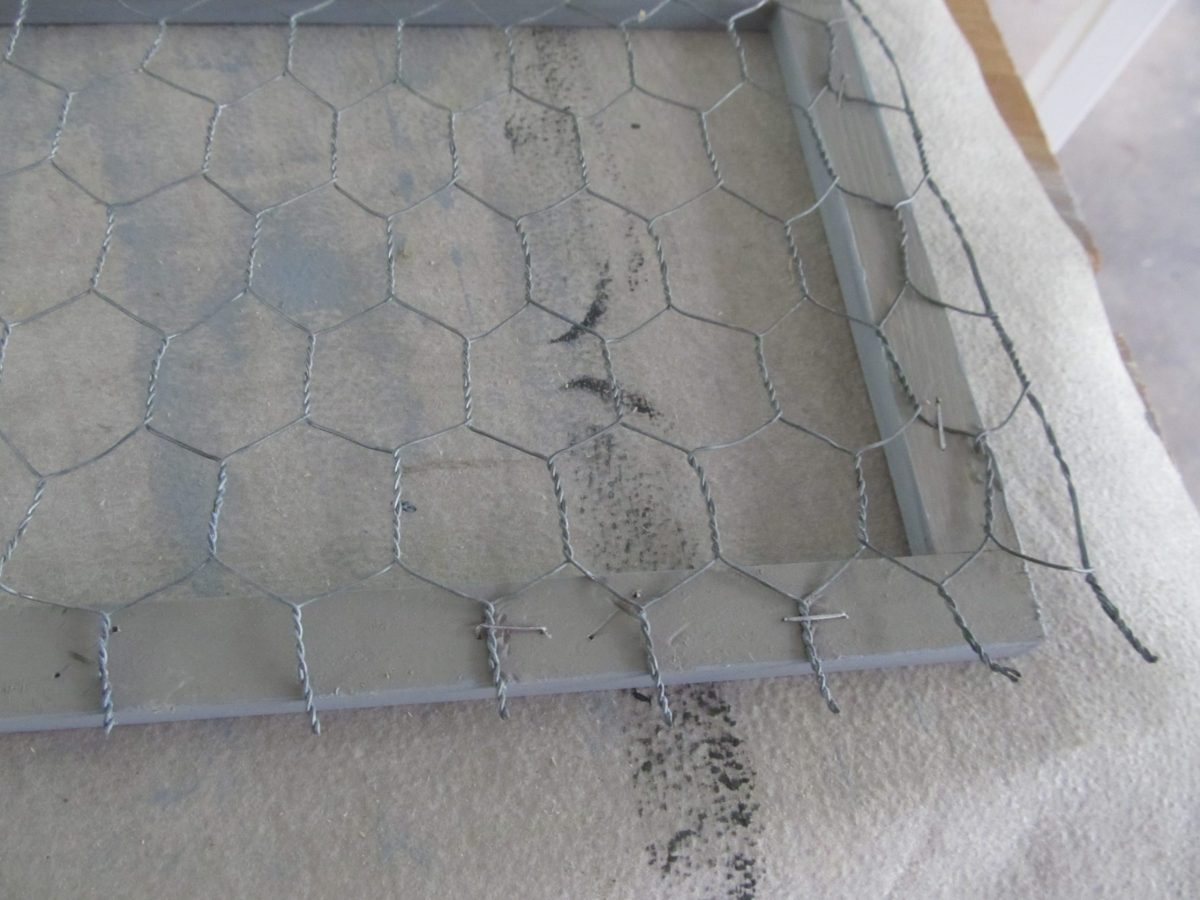
It’s time for some chicken wire! I attached it with my staple gun.
Because chicken wire drives me crazy, I decided to cut some pieces to help hold it in place.
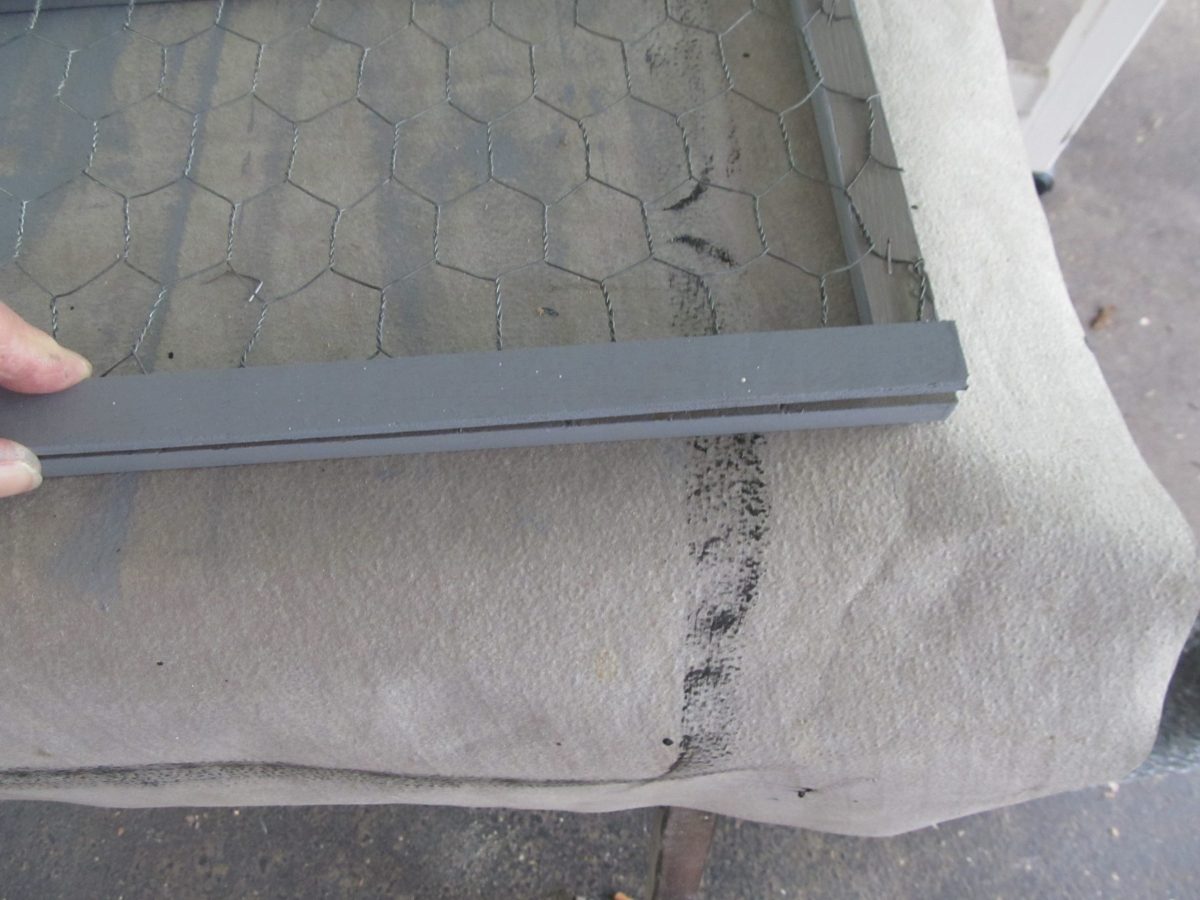
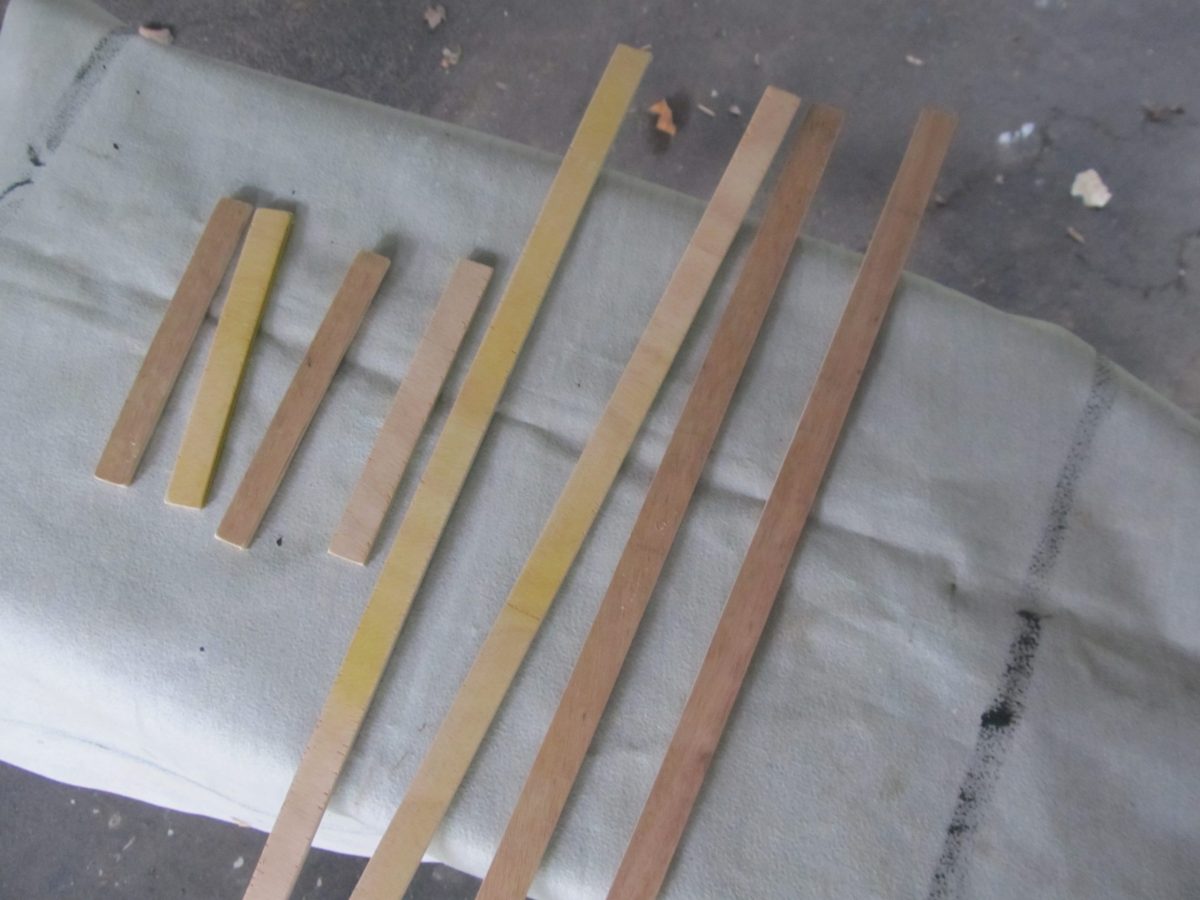
I painted the newly cut pieces of luan and tested them to make sure they would work and allow me to insert the faux doors into the sides of the plastic cabinet.
Uh oh! I painted the frames and Luan pieces on a gloomy day. The next day, when I was putting it all together to do a dry fit, I immediately noticed I had used the WRONG shade of gray! Ugh! I had to take the little luan piece off, remove the chicken wire, and repaint all of those pieces.
Time To Wax the DIY Chalk Paint
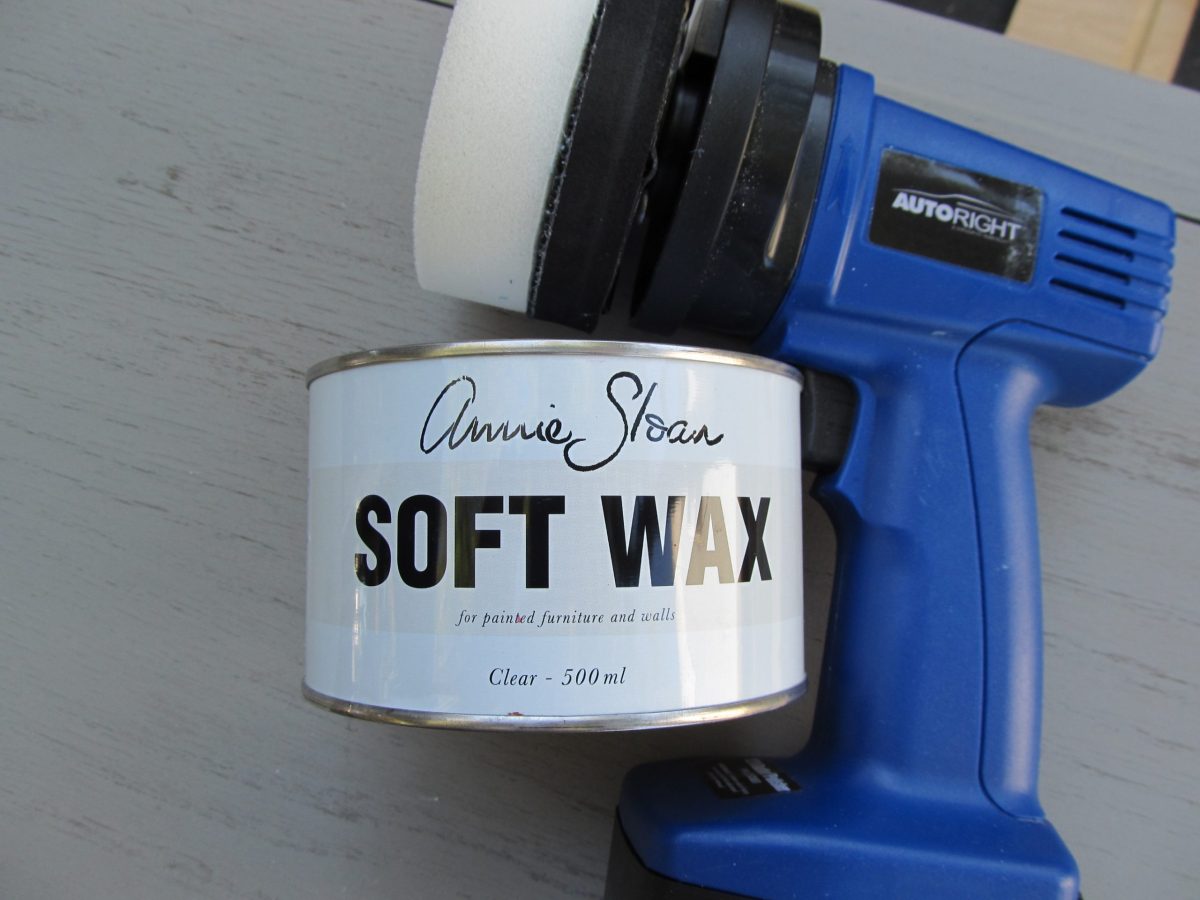
While that paint was drying, I started waxing the DIY chalk paint. I used ASCP soft wax (clear) with my NEW best friend. Let me introduce you to the HomeRight AutoRight car buffer! I used this thick, soft applicator sponge to apply the wax.
This Buffer is now available on Amazon.com

The thick, soft applicator sponge is great for getting into the recessed areas!
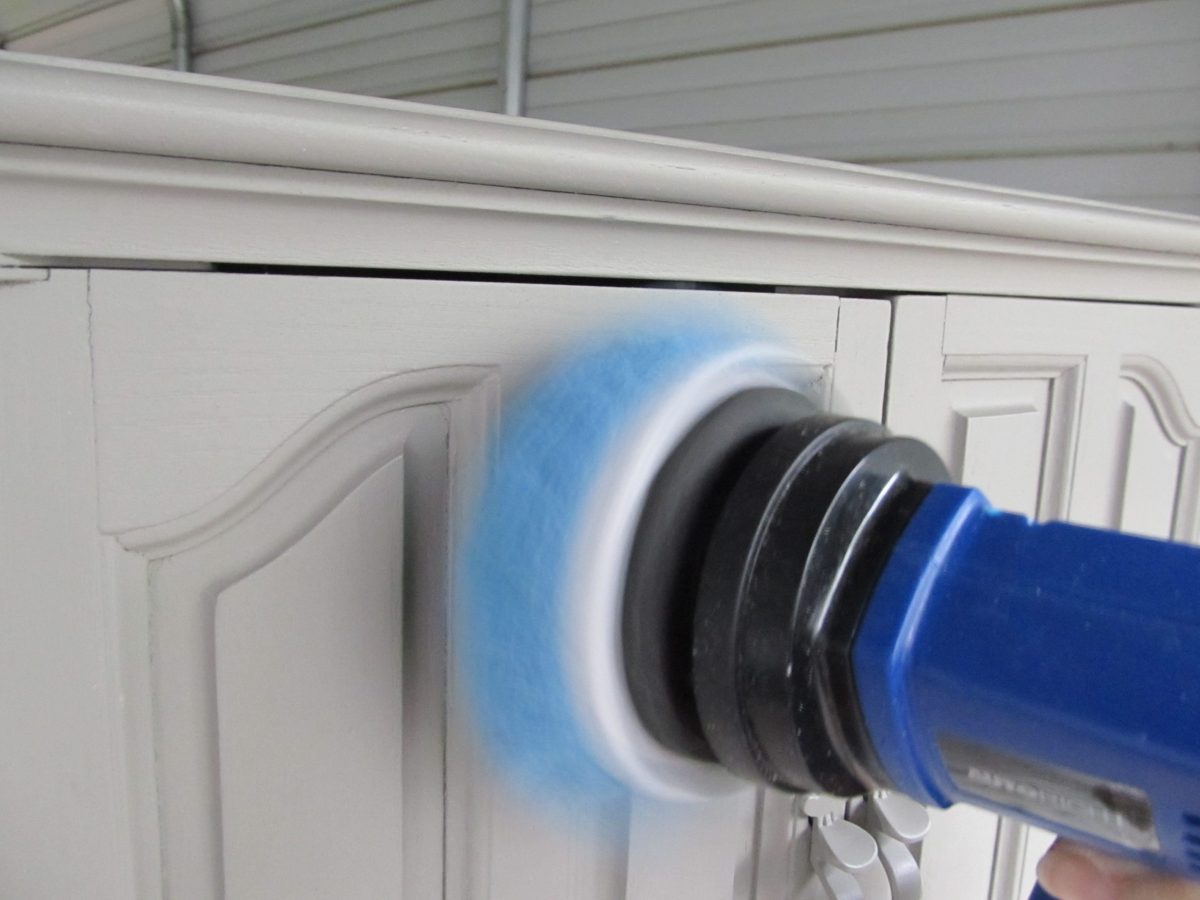
After the wax set, I used this blue bonnet to polish it. It was quick and easy to use. This buffer is battery-powered, and the battery lasted the entire project. I also like to use a clean white applicator sponge to buff.
I store my waxing sponge in a plastic bag. I’ve used it on several projects besides this plastic cabinet makeover.
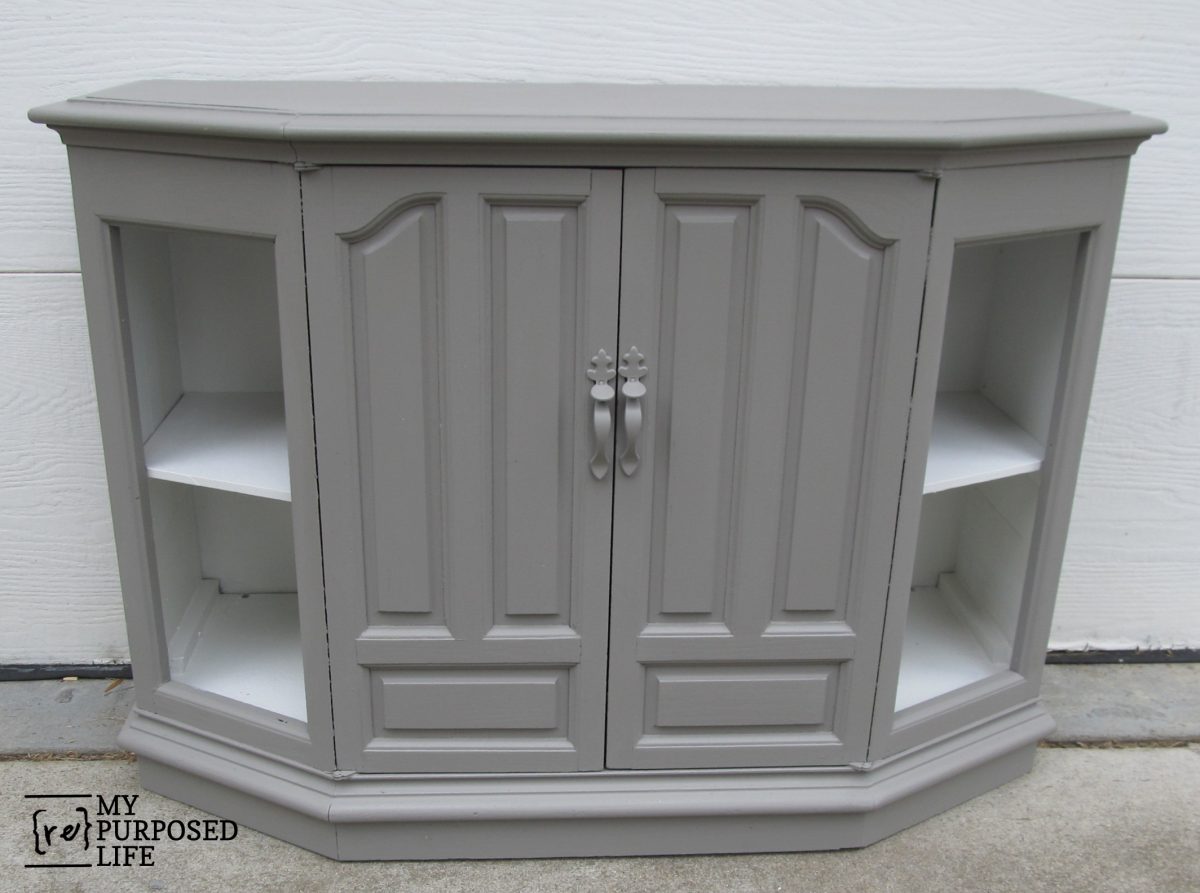
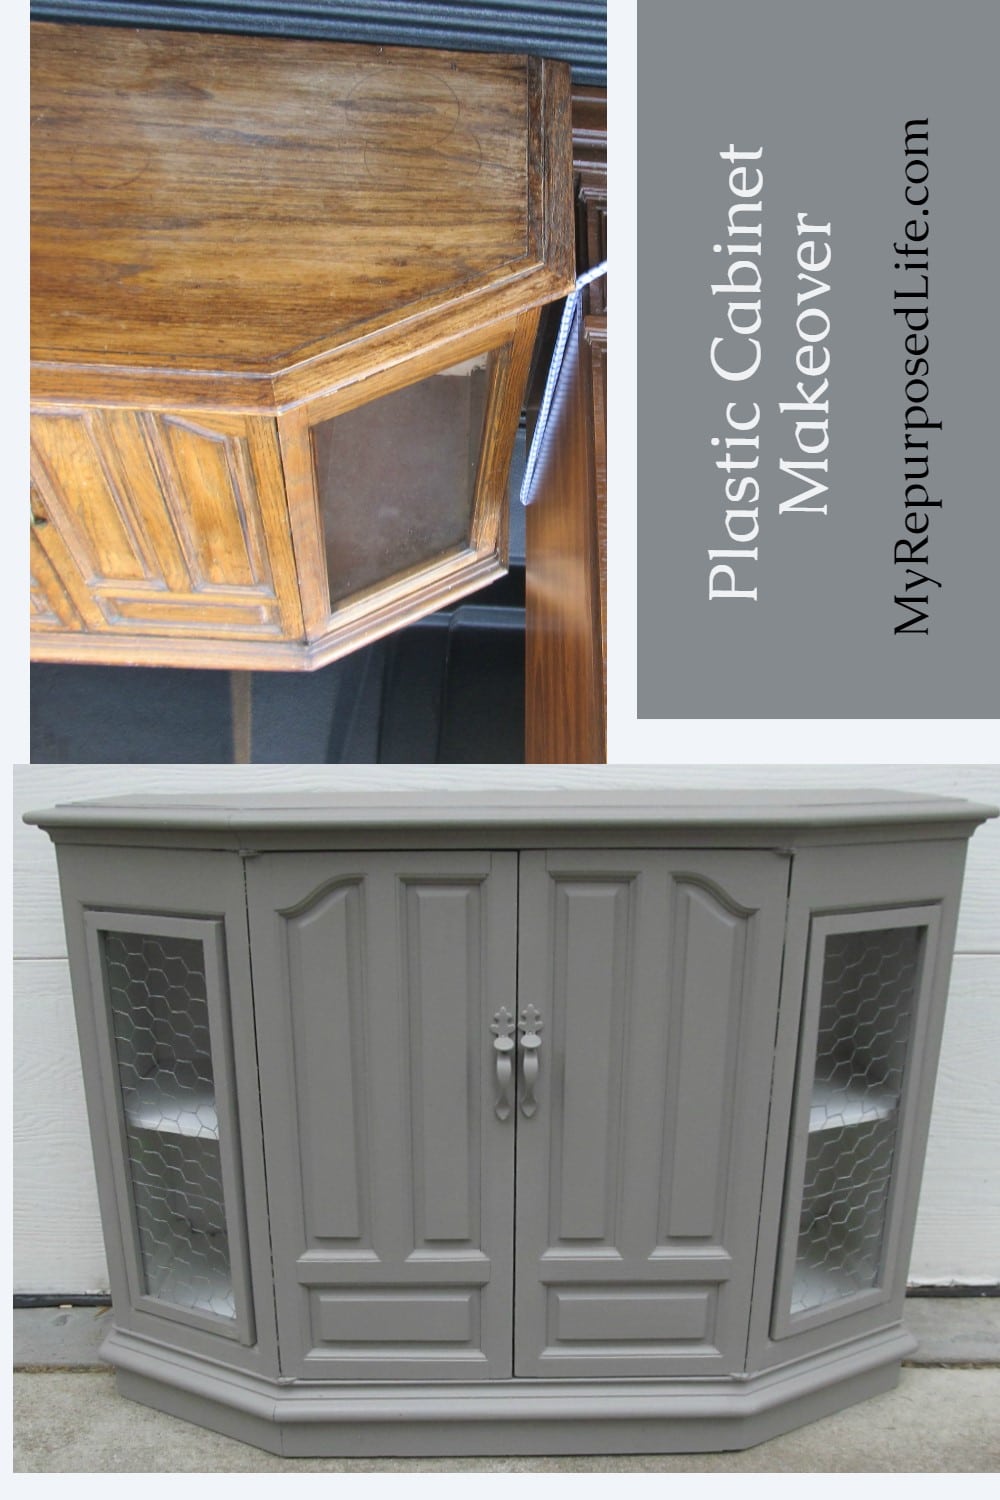
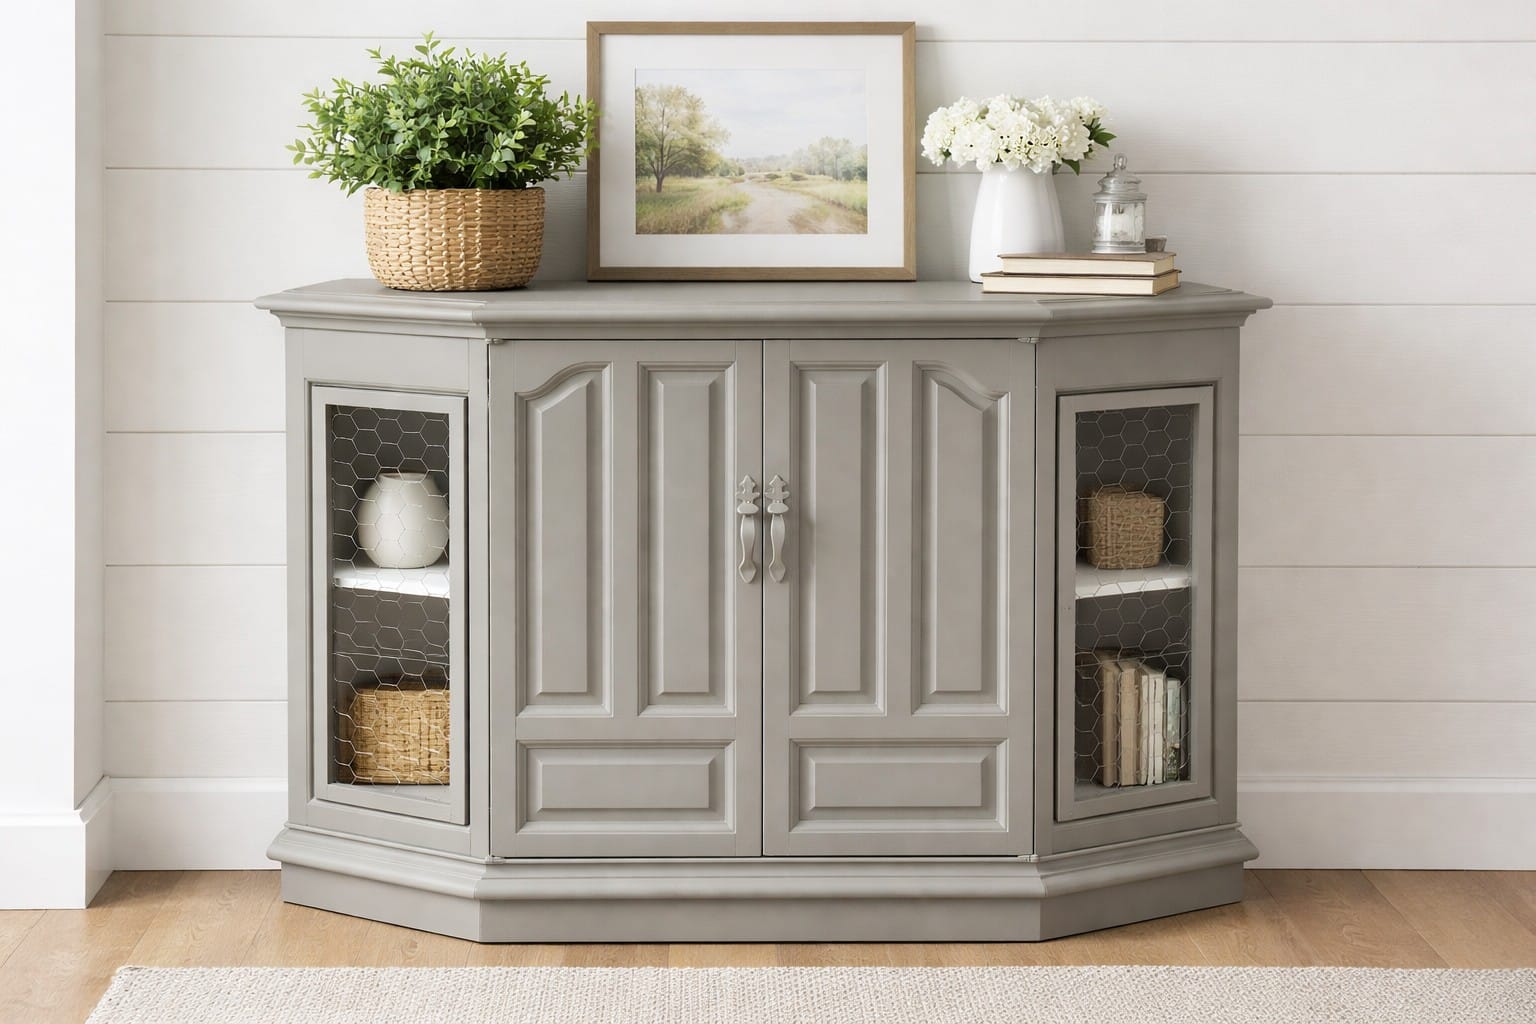
The console/cabinet is all finished, with shelves, but without the little faux chicken-wire doors.
Plastic Cabinet Makeover Complete
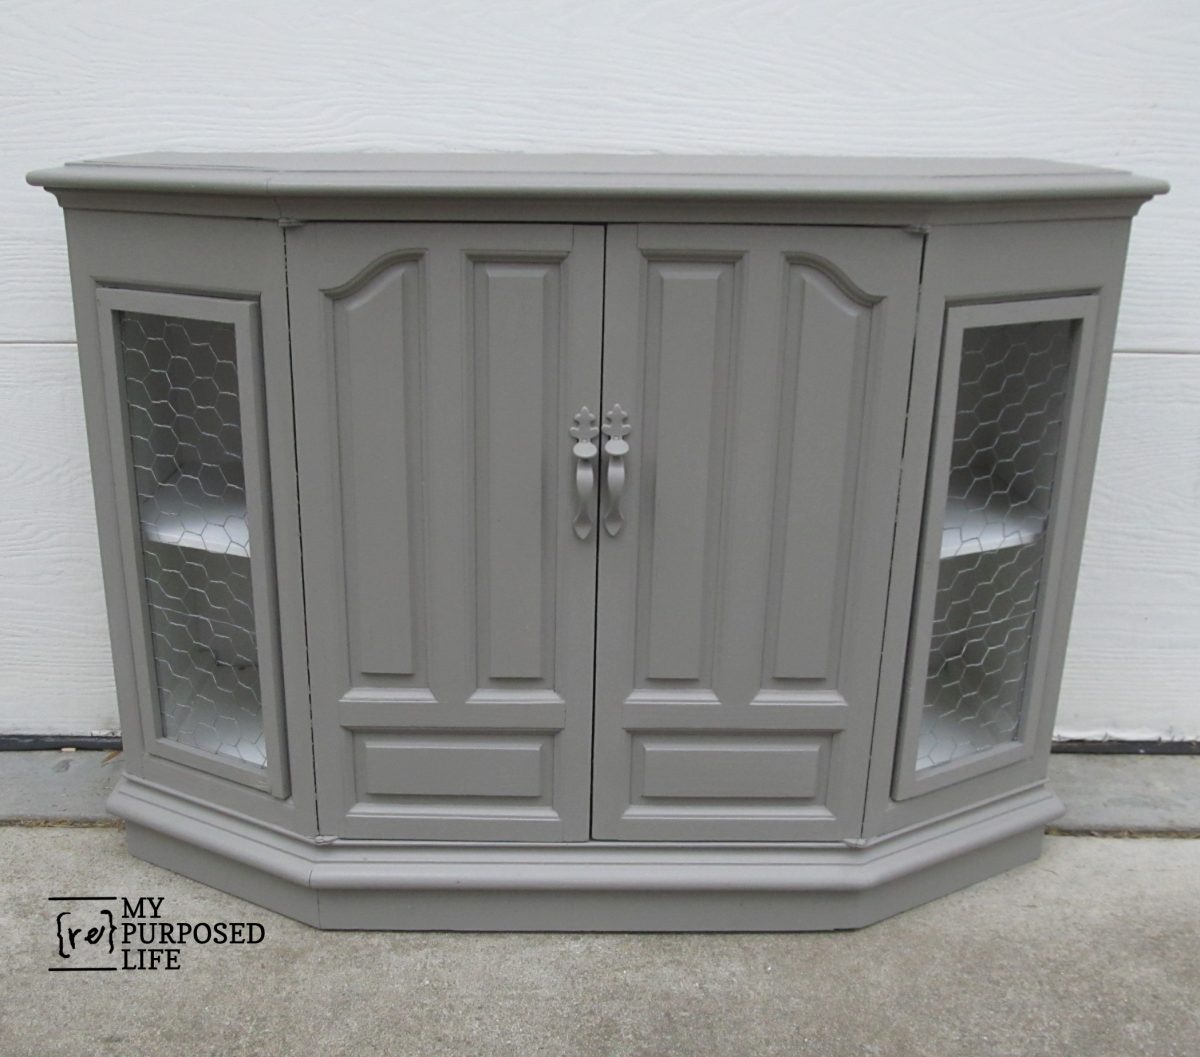
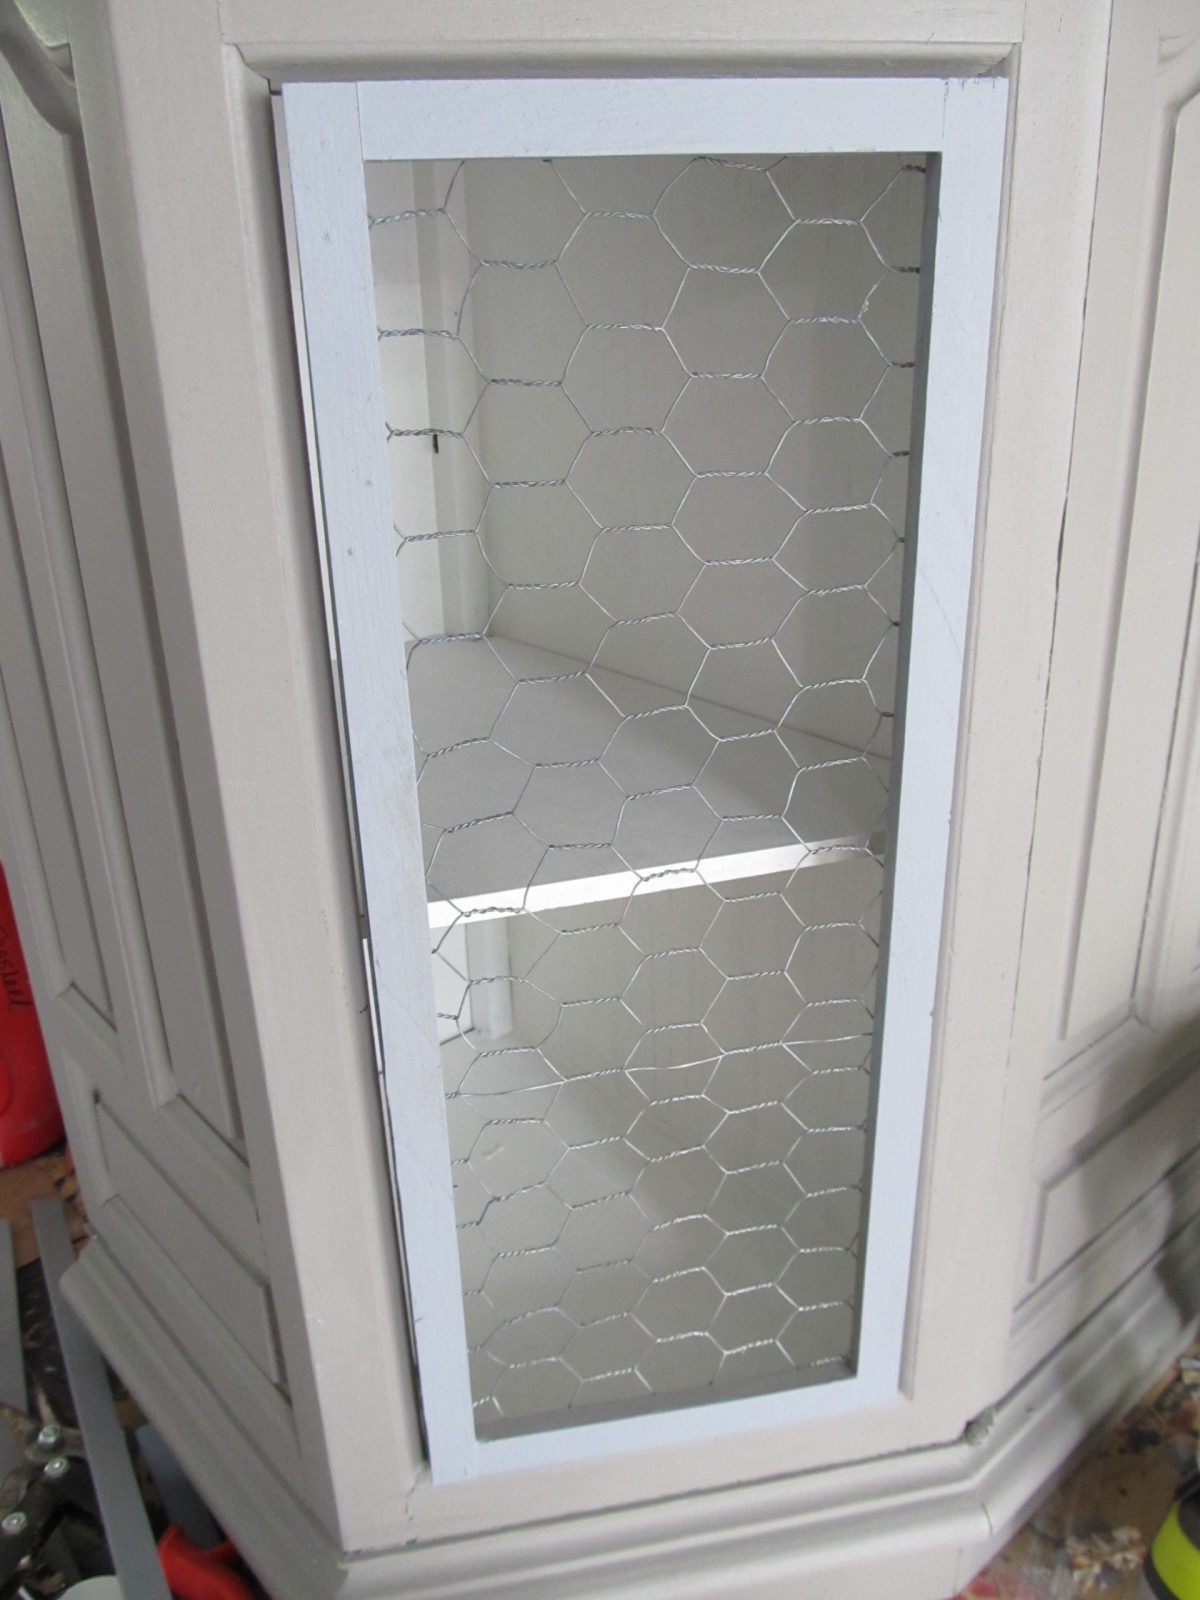
This image shows the cabinet with the little faux doors. They are easily removable if the new owner isn’t fond of chicken wire, but I think they are perfect for the plastic cabinet makeover!!!
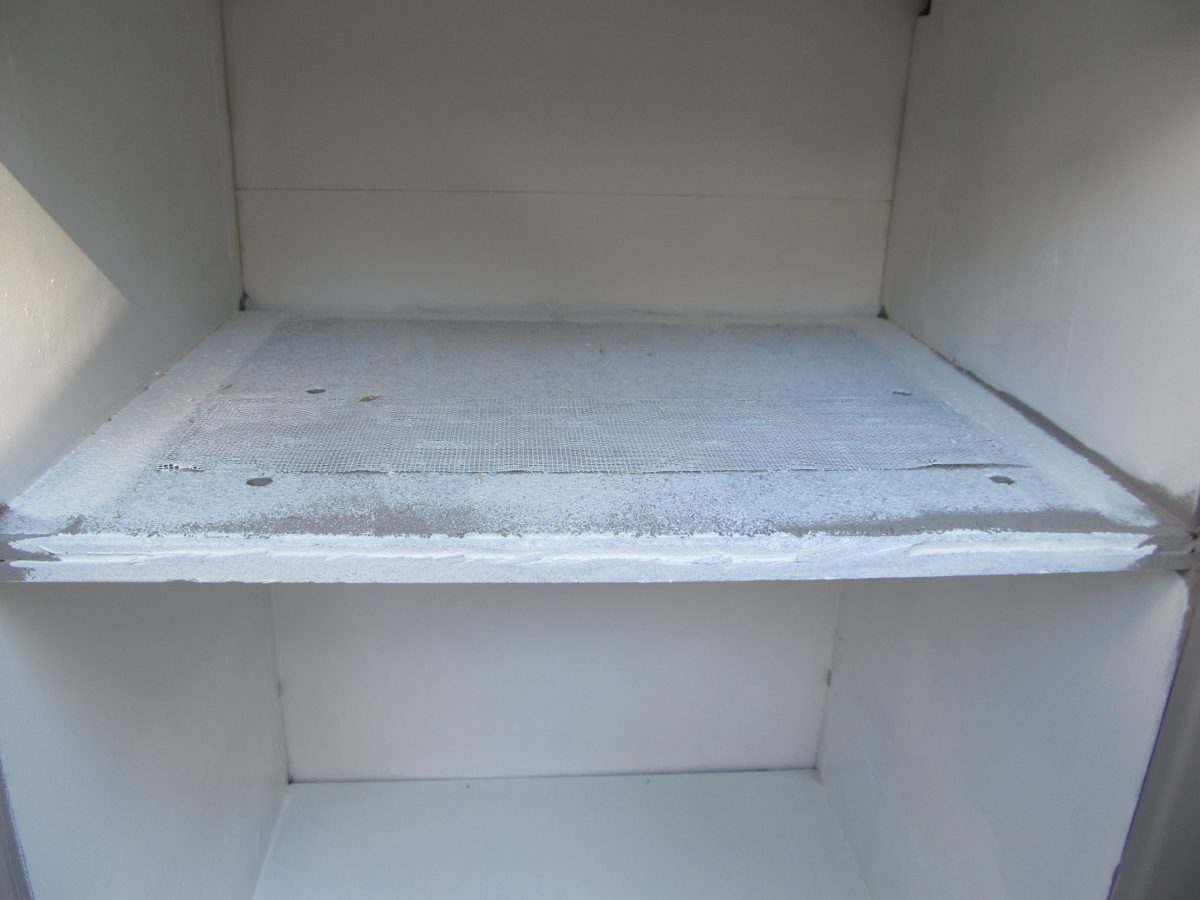
This is how I dealt with the ugly shelf. I covered it with gray-and-white chevron fabric, using spray adhesive to attach it.

I think this piece can be very versatile and used in many ways.
It amazes me how a piece of plastic furniture can be transformed with paint, wax, and chicken wire!
I really love the color, do you? How would you use it?
This makeover is a great reminder that even the most unlikely furniture can have a second chance. With a few budget-friendly changes, this plastic cabinet went from forgotten and dated to useful and full of character. It just goes to show that potential can hide in the most unexpected places.
gail
I’ve also painted a Plastic Dresser Mirror
WOW! Who would have thought? you could paint plastic! My Grandmother left me her plastic curio/cabinet in the 70’s. She also had plastic wall hangings. I’d love to paint the curio/cabinet! It wasn’t till 2016 I realized after all these years they were plastic they look so real! I’m going to paint it now! Thank You!
Wow!
I’m so, so happy you found my painted plastic project so useful! Good luck and have fun. I think it’s awesome you still have your grandmother’s plastic decor!
gail
Amazing transformation, never heard of a plastic cabinet to my knowledge, it is a gorgeous piece.
Hi it looks amazing! I have a vanity in my bathroom that is not wood but plastic, I dont know what it would be called. I wanted to paint it but was told I couldn’t. Can I?
If you don’t like it “as is” what do you have to lose? 🙂
I would use chalk paint or my chalky paint primer, doing several light coats, then several light coats of semi-gloss to protect it. It will take about 30 days for ANY painted project to fully cure. Until that point, it may easily scratch off. After that, I think it will be fine.
gail
Hi piece looks great !!! I just bought same finish max sprayer and read to do some chairs and I was wondering if u could share your homemade chalk paint recipe for me ?? Ty steve
Here’s the link Steve
https://www.myrepurposedlife.com/2013/08/diy-chalky-paint-recipe-makes-a-great-primer.html
Have fun!
Beautiful makeover! I’m fascinated by your ability to see the potential in your projects. Plastic console, I wouldn’t have looked twice. Now I think I’m going to challenge myself more when shopping.
Carol
It takes time to realize the beauty that is in these old pieces. Generally the prices are low enough that it’s worth the chance I take.
I hope you see things as they can be.
gail
How do you access the shelves behind the chicken wire if they aren’t real doors? They’d be great places to display a treasure or two but I don’t see how you get to that area since there’s a divider in the front section.
Mayim
The chicken wire pieces are basically inserts. You would put your treasures on the shelves, then put the inserts in place, and voila! you’re good to go! Of course it wouldn’t make sense to put something on the shelves that you want ot get to every day. 😉
I hope that makes sense.
gail