Porch Post Coat Rack made from a Newel Post
As an Amazon Associate, I earn from qualifying purchases.
I didn’t plan to make a porch post coat rack. But when I found these porch posts on a walk with Lulu Mae, I had to ask if they were throwing them out. They were at a flip house and being replaced with plain ole 4×4 posts. I did not drag these home, but I did get in my truck to go pick them up before someone snagged them up.
Reclaimed porch posts
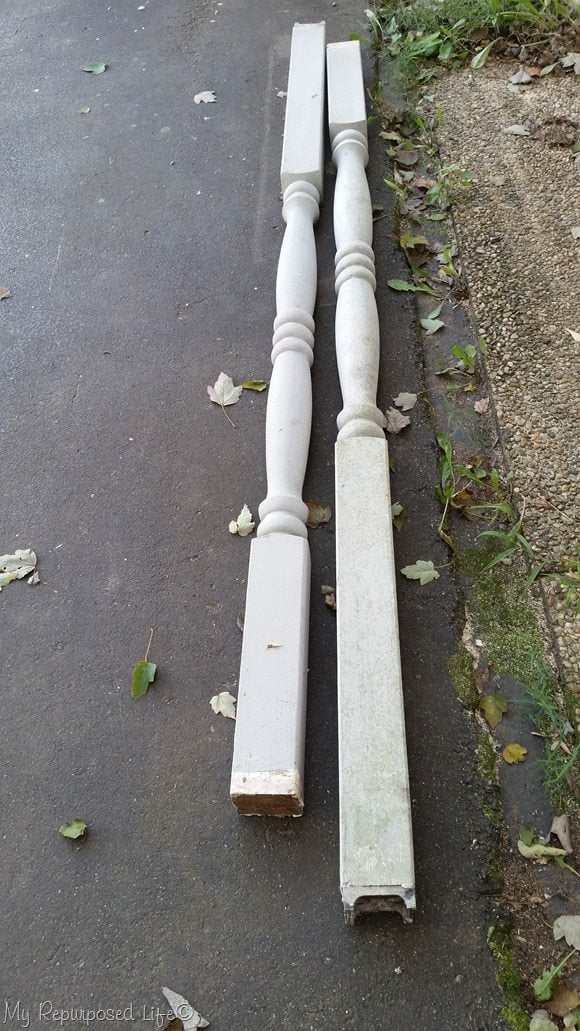
After getting them home they sat for a couple of weeks. One day as I was rummaging through my wood stash, I found something that would help turn the porch post into a coat rack! I threw a lot out when I cleaned and organized the garage, but there were a few things that I KNEW would come in handy.
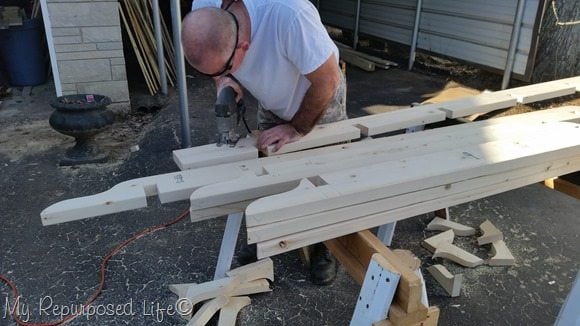
I kept most of these drop offs when my neighbor Rodney helped me put up the diy picket fence. Here, he’s actually cutting the front arbor pieces.
*this post contains affiliate links for your convenience, read more here*
Designing coat rack stand
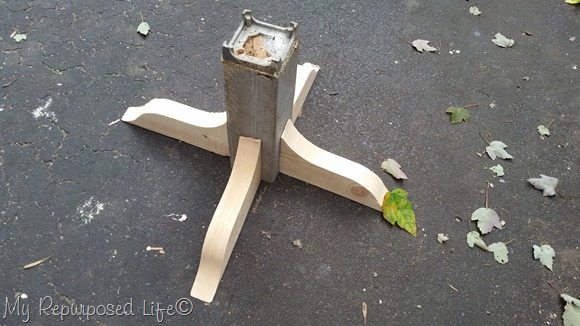
I cut the porch post to size and used the cut off end to see how the “feet” I’d chosen would look with the 4×4 porch post. I did some trimming on the drop off leg pieces after this photo was taken.
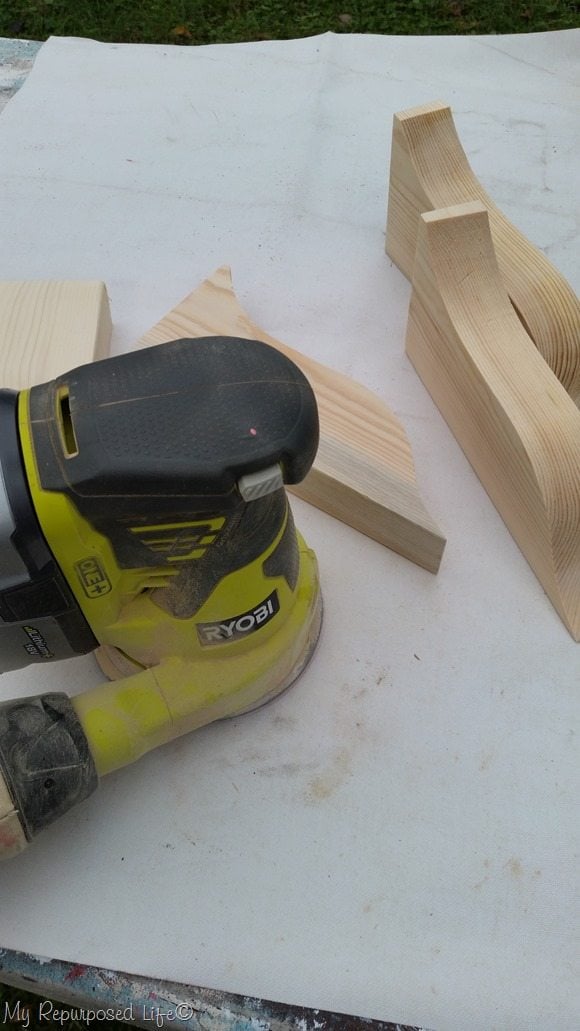
After trimming all the drop off pieces to match, I used my orbital sander to make them all look pretty!
Pocket hole screws attach feet to post
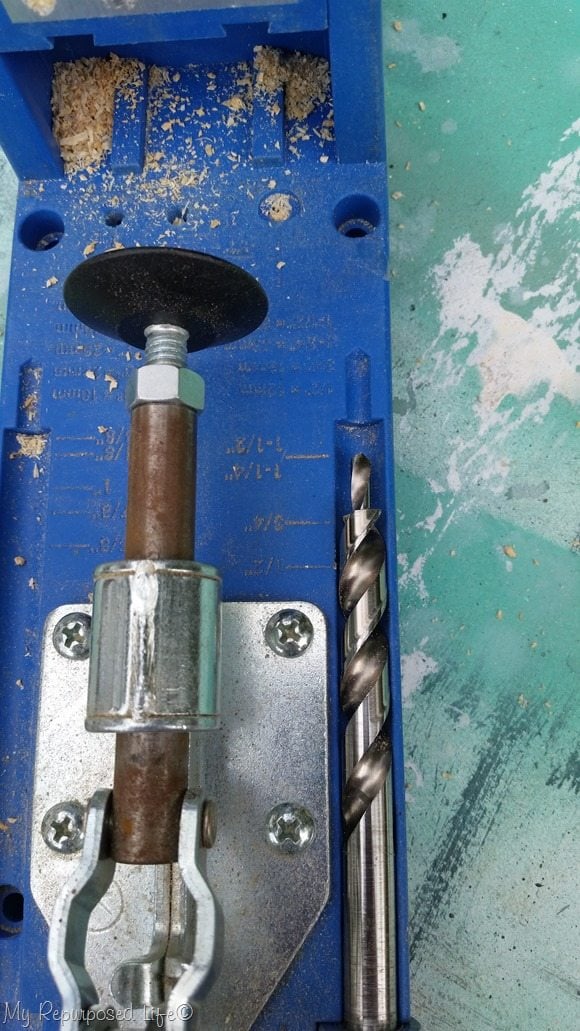
I keep my Kreg Jig bit set at 3/4 for 1x stock. For this, I changed it for 1.5” (2×4) size and drilled pocket holes in every leg. I drilled 1 pocket hole on one side of each leg and two pocket holes on the other side of each leg.
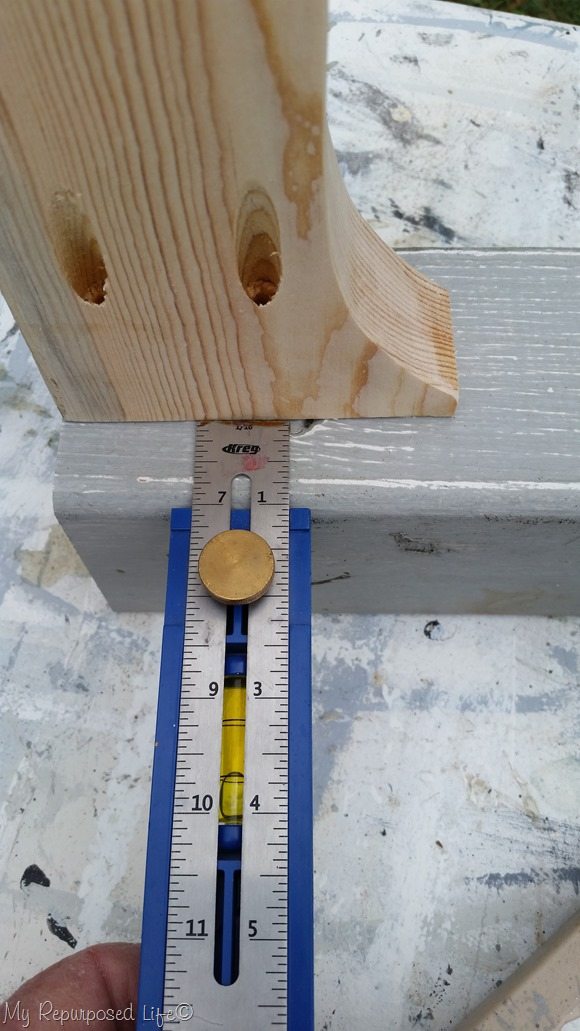
Using the Kreg Multi-mark tool insures that the spacing will be correct on all four legs.
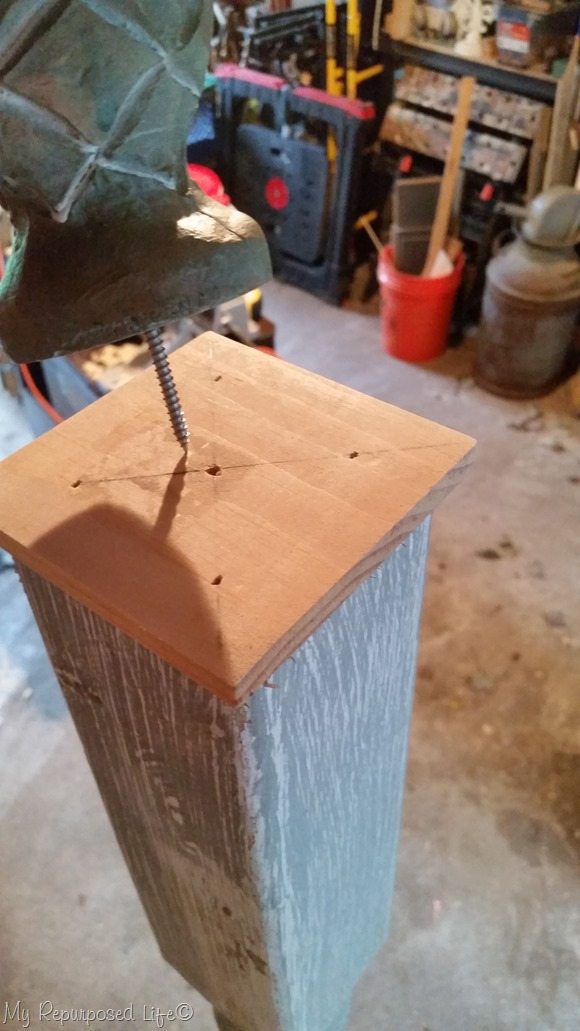
I experimented with a couple of versions to top off the top of the porch post coat rack.
Add trim to top of porch post coat rack
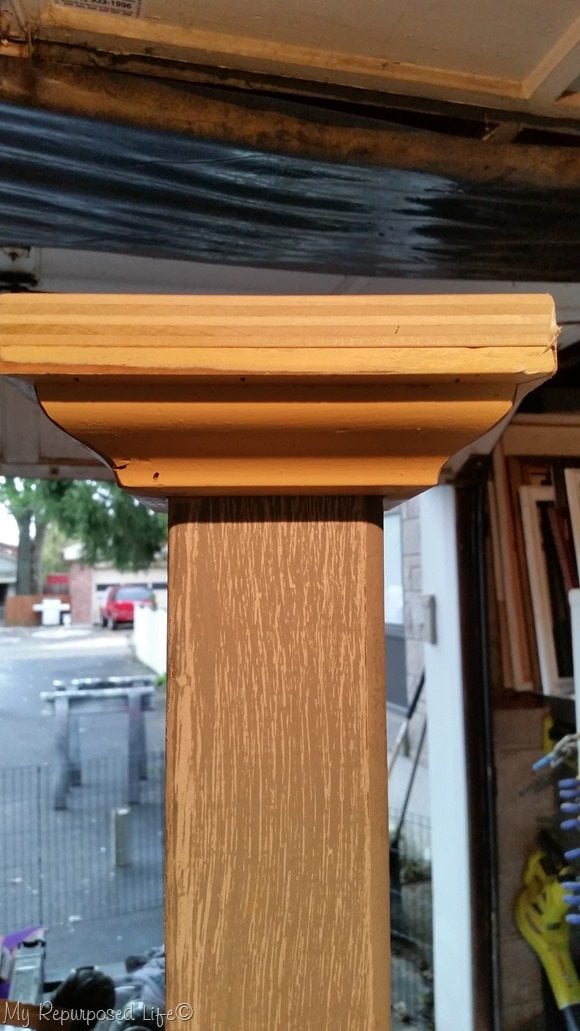
Second attempt—I added a 3/4 piece of plywood and small crown molding to make the cap for the porch post coat rack.
Time to patch and paint
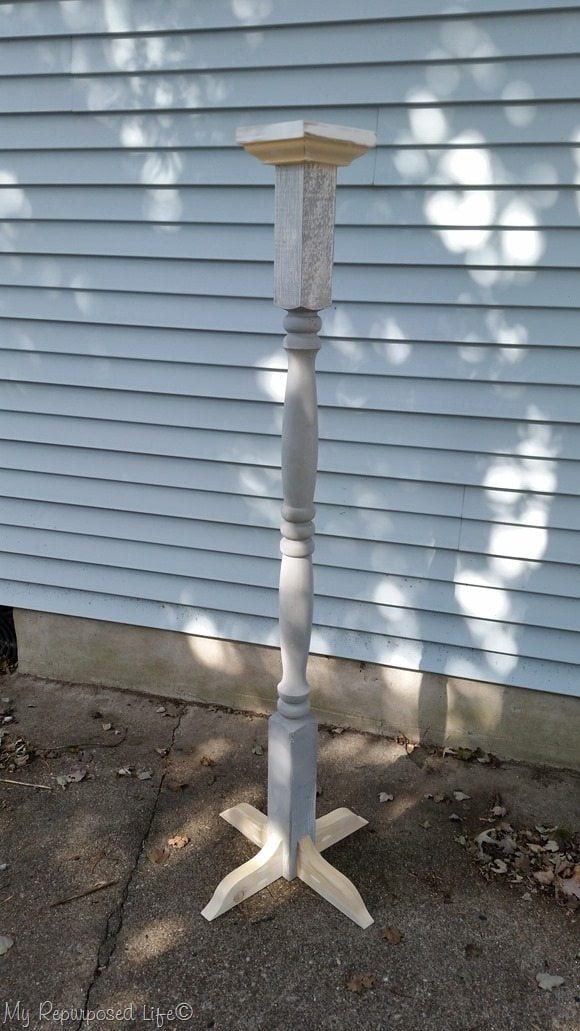
If you look closely you will see that the leg (front left) has two pocket holes, and the front right leg as one pocket hole. Remember, on each leg there are 3 pocket holes to make the legs extra sturdy.
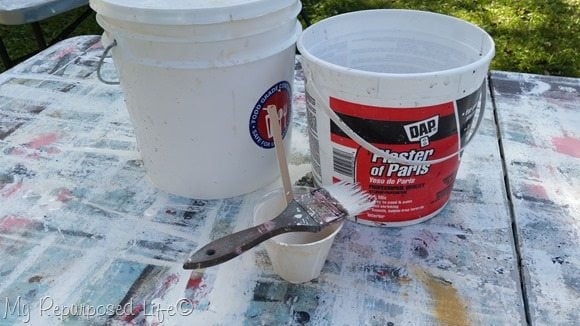
I mixed some diy chalky paint primer using off white oops paint and plaster of paris. It was applied using a cheap chip brush. I painted the lower portion while it was up on the work table.
Glaze over white paint
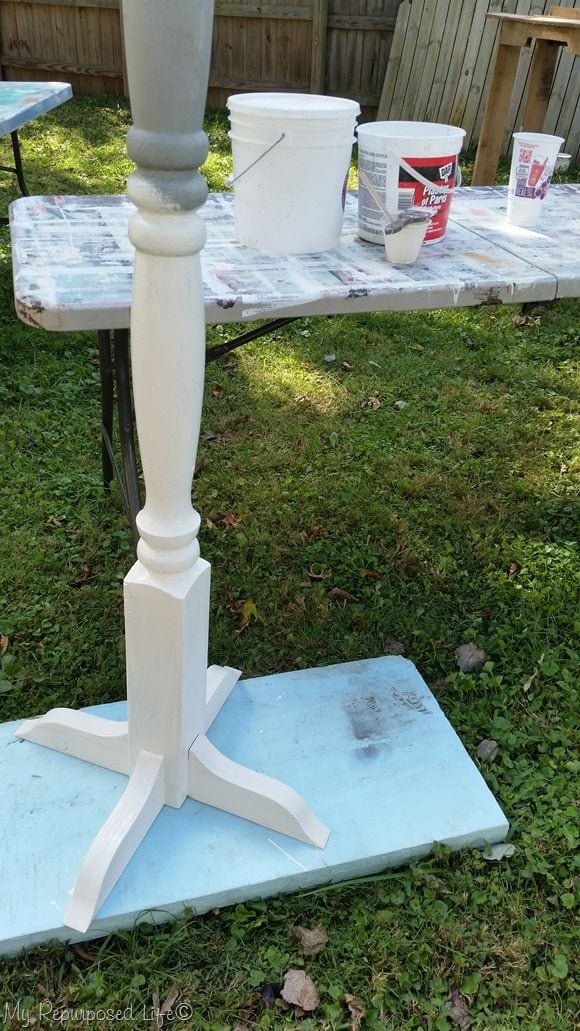
I rested the coat rack on a scrap piece of styrofoam insulation to pain the upper portion of the coat rack.
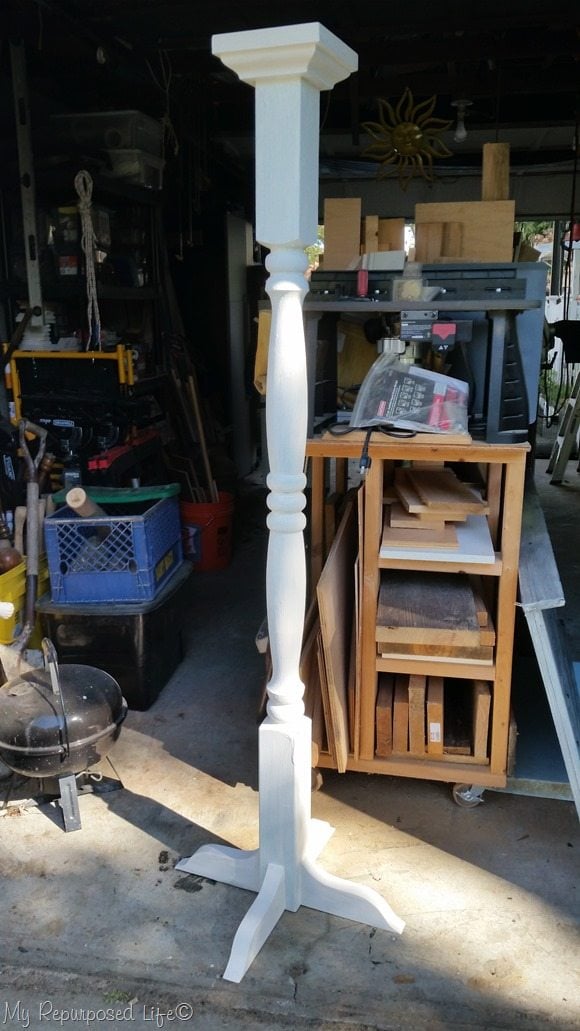
Although I like the coat rack white, but of course I had to use my new favorite paint technique!
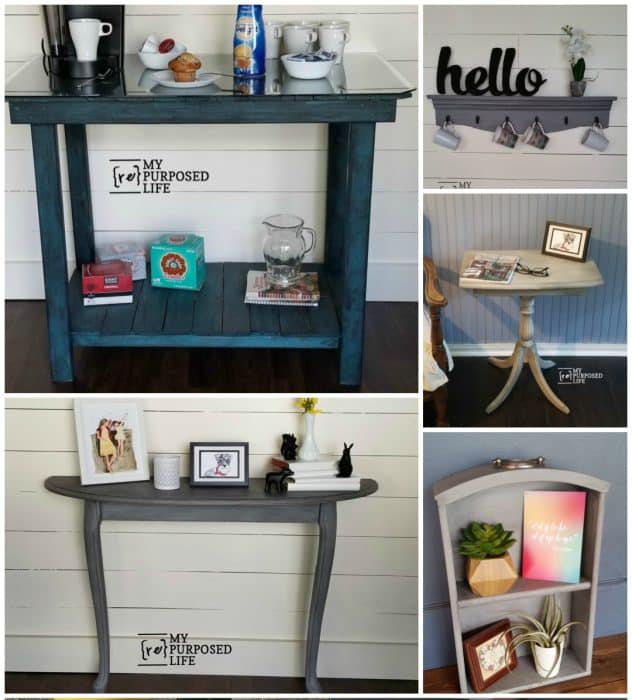
Project ideas and a video of “how to glaze painted furniture and more”
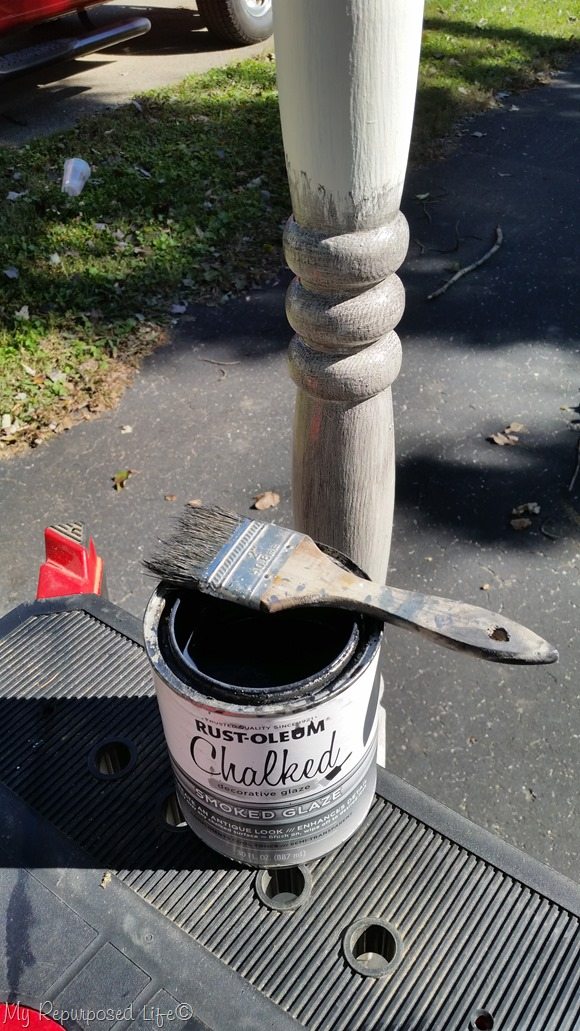
I used Chalked smoked glaze from Rust-Oleum. It’s so much better and easier than waxing! I apply it with the chip brush—if it gets too heavy, I brush it back off.
Watch my video of How To Glaze Painted Furniture
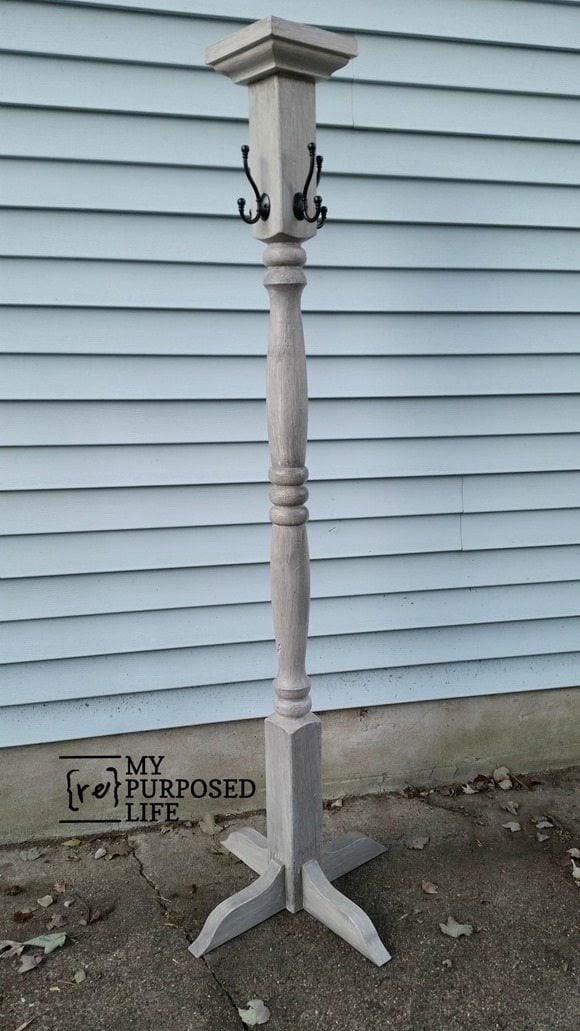
I added ball hooks from D Lawless Hardware . I buy them by the dozens. This was a last minute project for Glendale. It was something fun to do in while doing recent DIY kitchen and laundry reno projects. I LOVE how it turned out!
What do you think I should do with the other porch post?
gail


Believe this project will assist me with a deck rebuild, where I will require a posts to hold up the canvas awnings we had installed a few years ago. That coat rack is really pretty and love the upper crown molding as a finishing touch.
Your projects always inspire me to be on the look out for items that can be converted to usable every day pieces of furniture.
As always such a great job. Is there a right or wrong way to make chalk paint? Do you have a recipe for yours? Thanks for sharing all your great ideas.
Super pretty! I have a jig saw on my Christmas list — I see so many of your projects where you use it. Does the Rustoleum glaze leave a hard finish like wax?
Lauren,
Thank you! I think the glaze gives a better seal than the wax, and it’s so much easier to apply!
gail
Maybe it’s the distortion from the photo, but it looks a bit top heavy. It looks like it needs a wider base. Have you tried hanging coats on it to make sure it doesn’t topple? (I speak from oops experience.) Otherwise, it’s an ingenious use of a newel post and scraps!
I have no idea how you get the “vision” you do for your projects! Love this repurpose! Pinned :), of course!
Thank you for pinning Wendi! I so appreciate it. Having such a large stash of junk definitely helps with my “vision”. 🙂
I appreciate your visit.
gail
that turned out great. glad i was able to see it in person. maybe turn the other one into a solar light lightpost/lamppost. i am sure you will come up with something!
I was so happy to see you at the show! Thanks for taking pics. I have saved them and they will be appearing on the blog tomorrow. 😉
Thanks for your solar light suggestion.
take care friend,
gail