Porch Sign
As an Amazon Associate, I earn from qualifying purchases.
Who doesn’t love hanging out on the porch with friends, family and a cold drink? I know I love sitting outdoors when the weather permits visiting with neighbors. Recently my neighbor’s niece asked me to make her a porch sign. Her son saw one on Pinterest and she loved it. I think it originated from a former Etsy shop. I’m going to show you how I made this sign for her. I use my Silhouette Portrait to make stencils for signs several days a week. I’ve developed my own way of doing this, and if you ever do your own stencils, I think you can benefit from my tips.
On with the tute!
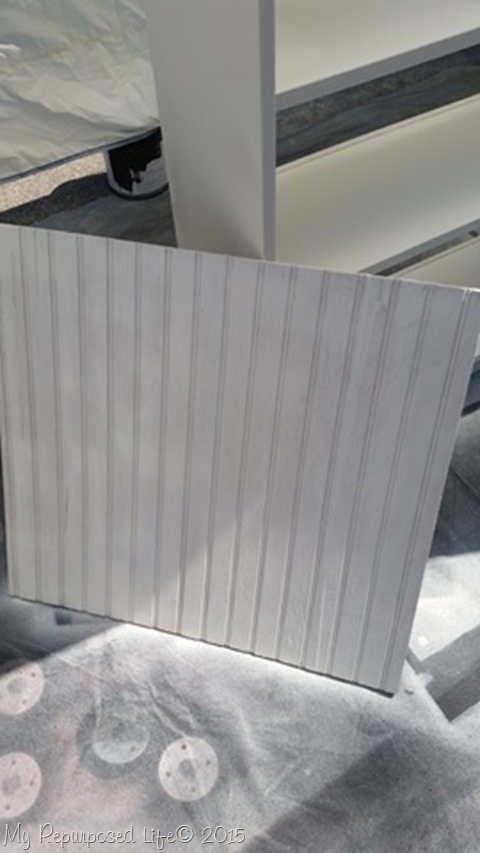 While I was painting my IKEA Billy bookcase, I painted this piece of 24×24” scrap bead board with French Vanilla chalk type paint from Heirloom Traditions.
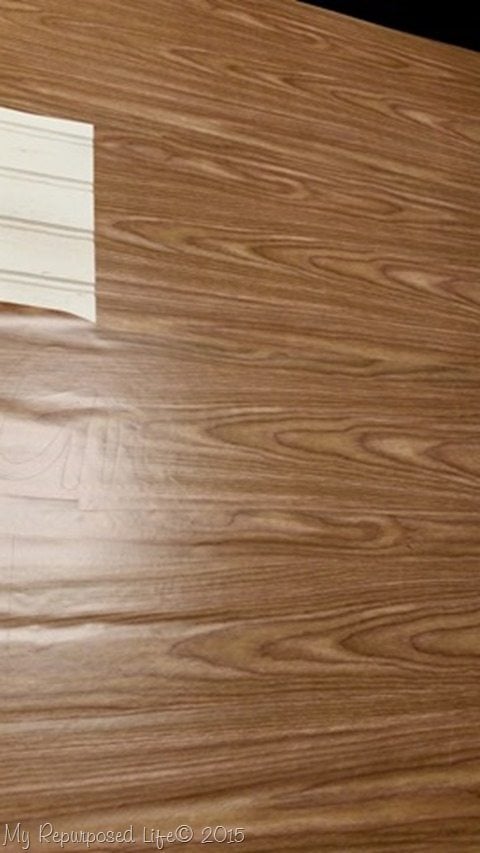
This is my stencil I cut on my Silhouette machine. Here’s my #1 tip for using a vinyl stencil made out of contact paper. Turn each section over and gently peel off the backing paper, leaving all of your oodles and boodles in place. (middle of a’s, e’s and o’s) I literally pull off the backing paper, and leave the entire stencil in tact. (one section at a time if it’s a large stencil)
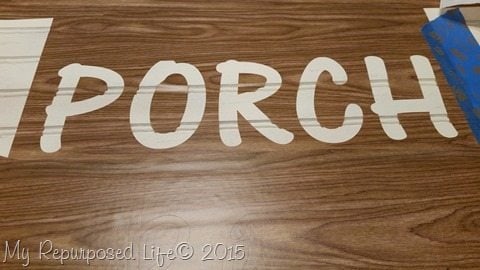 You can see that I have weeded the letters out of the word porch.
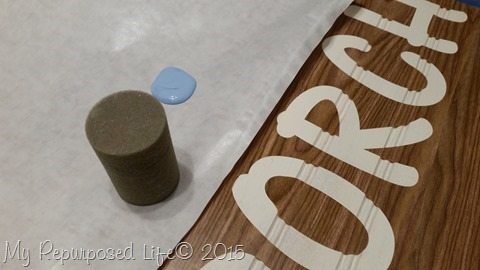 I make wedding signs all the time, and I use these Martha Stewart Pouncers for all of my stenciling. I generally dip the pouncer into my paint jar, but I used craft paint, and squirted it onto a scrap piece of the contact paper backing.
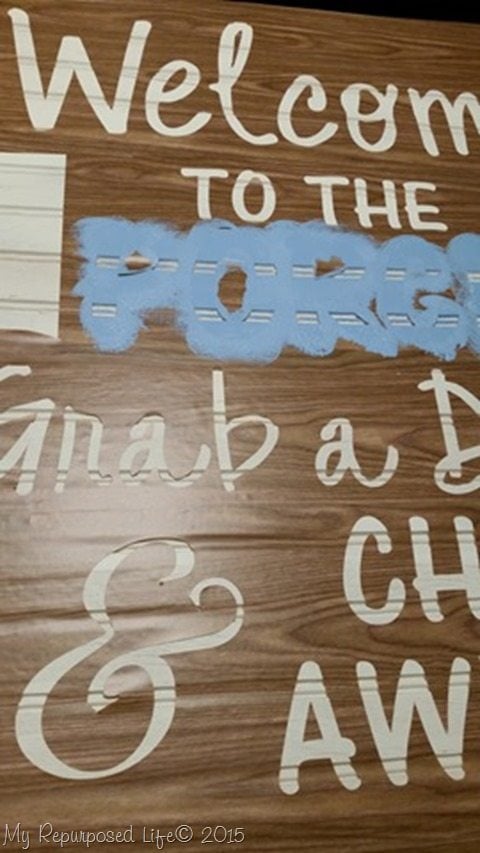 After using the pouncer to paint the word PORCH blue, I then weeded out the rest of the words.
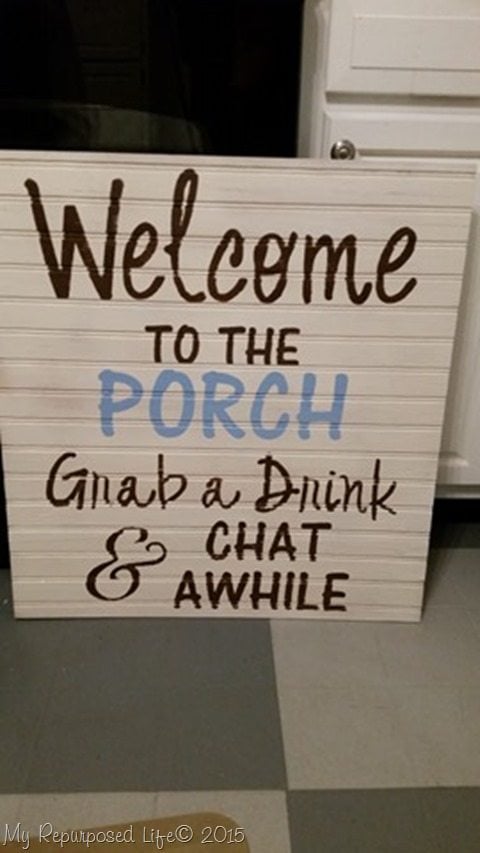 I used brown paint to pounce paint on all of the other words. Because I used bead board, I did have to fill in some of the “blanks” with a small artist’s brush.
I wanted to give the sign a more finished look, but it got H.O.T. I headed to the basement shop about a week later to finish off the sign.
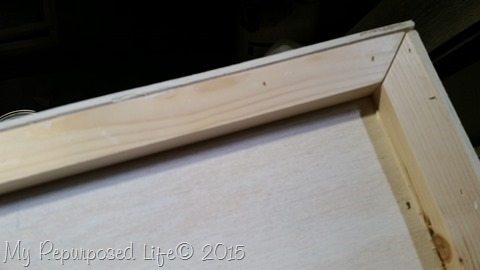 I used some Gorilla Wood Glue and my nail gun to attach small pieces of 1x’s to frame out the BACK of the sign. I mitered the corners to give it a better look.
You can see that I have also added some very thin scraps to frame out the sign. I used more wood glue and the nail gun to attach these. Because the bead board is thin, I had to use the larger 1x’s in order to have something to secure the thin frame to.
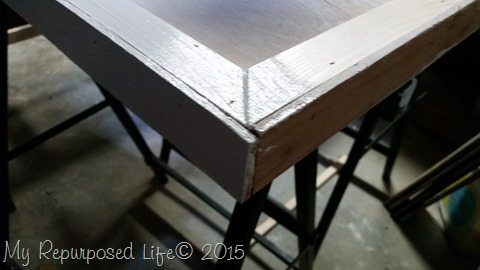
The thin boards are flush with the 1x’s on the back, but they extend past the bead board on the front to form a more finished looking frame.
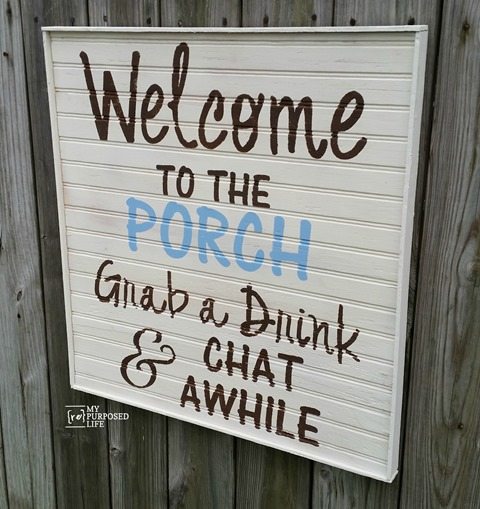 I hope it makes a little more sense now that you can see it finished. You can see that I didn’t have room on the front side to do a regular frame.
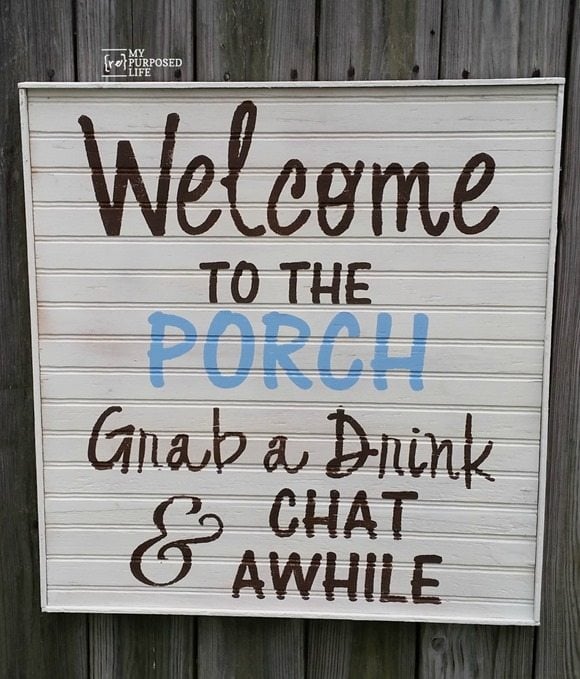 The neighbor’s niece loved her new sign! I wish I had a porch to sit and chat. I do have a patio, but it just doesn’t seem the same.
 ![]()
If you use vinyl (contact paper stencils) have you ever tried transferring the entire stencil (without weeding) by just pulling it up and NOT using transfer paper? After you get the hang of it, you will love it! It saves time, and effort for sure!
gail


Hi Gail and LOVE the sign! Not sure what size it is but since you do a lot of signs (as I do) with my Sil, I have a question.
With the oversized signs where the complete stencil will not fit and has to be done in sections, how do you keep the spacing even? I have tried to understand how and where to place “registration” marks” to help with this issue, but still don’t quite get exactly WHERE they would go on each of the sections????? Any help would be appreciated!!
Thanks, Donna
Donna,
I don’t use registration marks for vinyl or stenciling with contact paper. I lay it all out on my program, dragging the parts off the page, but not deleting them. So basically I end up with 4, 5, or 6 large pieces of contact paper, each very long holding it’s own line of text. Then I position it as I need to to get things spaced or centered correctly.
so for example. . . if your sign is 24″ wide and 20 inches tall. I would make the template 24″ wide (in the program) I would make each text box as tall as I want the letters to be, and do each line separately. So in the program, I might have 4 text boxes, but only ONE showing in the “cut area” at any given time. I would cut it, then I would drag it out of the way, and drag another one into the “cut area” and cut it. So on and so forth.
I sure hope that clears it up some.
gail
Love your “Porch Sign”. !!
Reading your article , you “weeded”
The word porch out… What does that mean???
Was ALL the lettering on with stencils??
Love your ideas!!
Sandy,
Weeding refers to picking the letters out in order to actually make the stencil. I find it easiest to put the entire piece on my board, then weed out the P O R C H, leaving room to paint those letters.
I hope that helps! If not, you can email me, or leave a reply to this comment.
gail
So cute! I am sure your friend loves it and you always have great tips Gail!
Thanks for giving us the details of stenciling on bead board and using vinyl.
My favorite part was on making the frame.
You rock girl!
JJ
–I really need to get a Silhouette, don’t I–?!?
Catherine
Thanks Gail Really Like My Sign Looks Good On My Porch Everyone That Seen It Fell In Love With It
Phyllis,
I am so happy you like your sign. 🙂 It was a fun project.
gail
Is that regular ole contact paper?? If so, what settings do you use ?
Yes, it is regular contact paper. I can tell you the settings, but all contact paper is not the same. I have 2 different versions of this wood grained contact paper, and the settings are different for each of them.
I typically have my blade on #2, and the settings on the program is depth 3. Try something small to see how it works. I use contact paper all the time for my stencils. I buy the large roll and cut it all the way down the middle giving me 2 9″ rolls for my silhouette.
gail
coukd you do a video of how you do the stencil, or more of a step by step process in pictures?
Thanks
Suzy,
Yes, I will definitely put that on my list of things to do. I will try to remember to contact you to let you know when it’s available. I make signs all the time, so it shouldn’t be too long.
gail
Good tip on the stencils, I have a Cameo but have yet to make any stencils. Need to try! Nice porch sign.
HAY YOU GET MORE COMPANY THEN YOU WANT JUST SAYING LOL.
Cute sign! I wish I had a porch or a deck to sit on too!
Beautiful sign… I wish I lived closer and I’d stop by for that drink!
Gail, the sign turned out perfect because you are a GENIUS! You are forever teaching me something new, thank you!