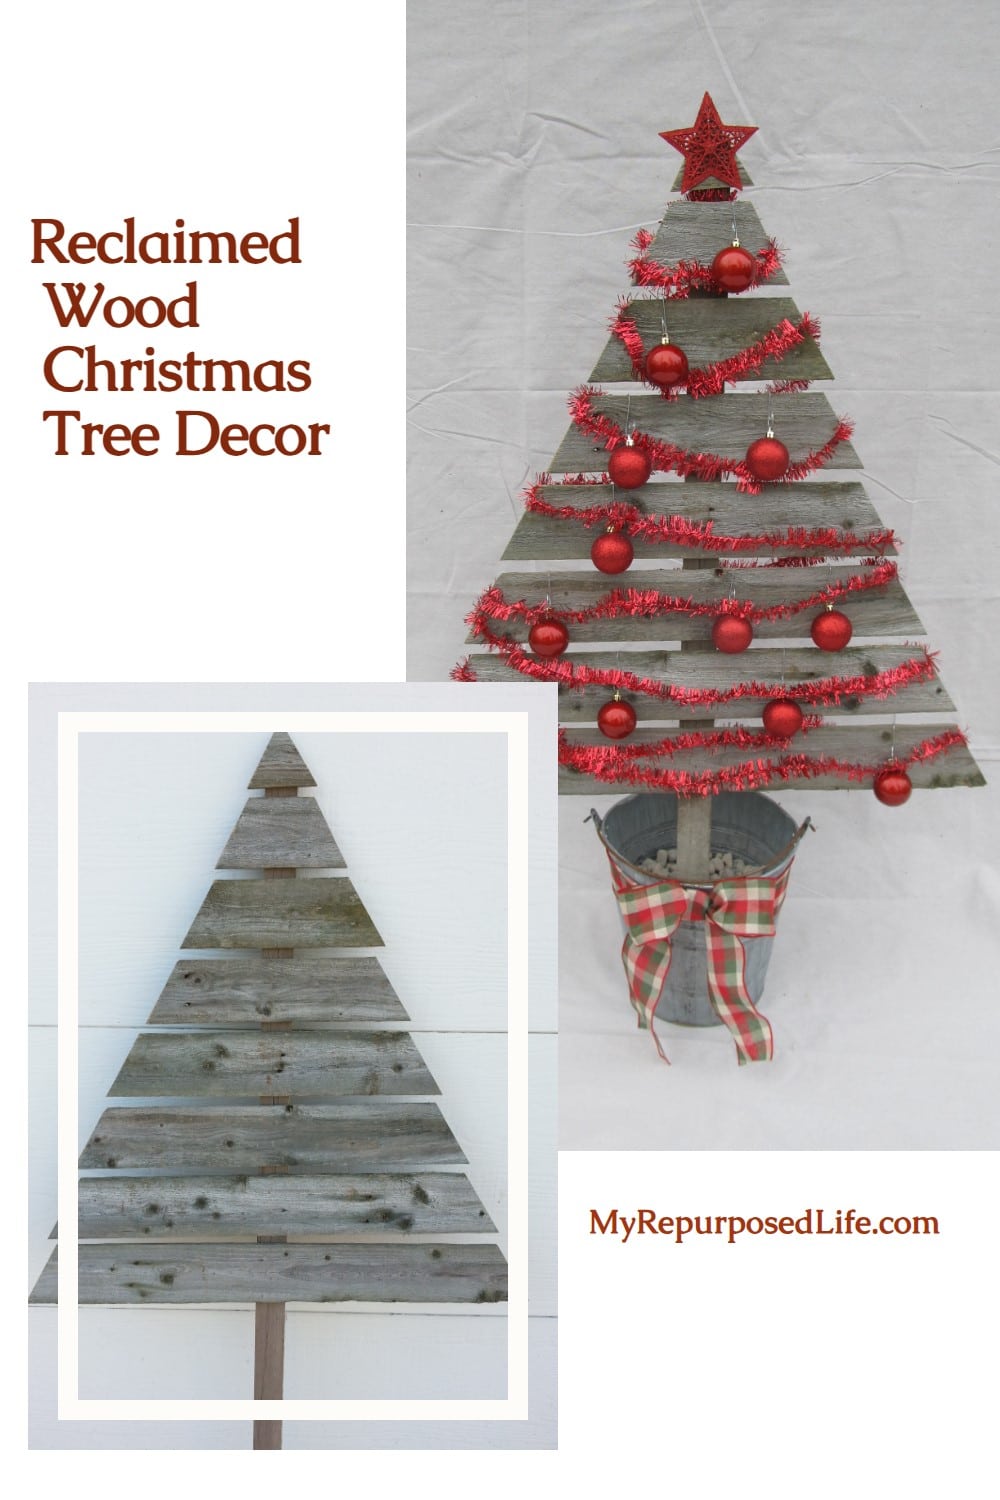
Reclaimed Wood Christmas Trees
As an Amazon Associate, I earn from qualifying purchases.
Upcycled fence boards are a fun and easy way to add to your outdoor holiday decor. Complete these projects in an afternoon and display them in your yard or porch/patio.
Reclaimed Fence Boards
My sister Jo gave me a lot of free weathered fencing. Reclaimed fencing is great for making many rustic wood projects.
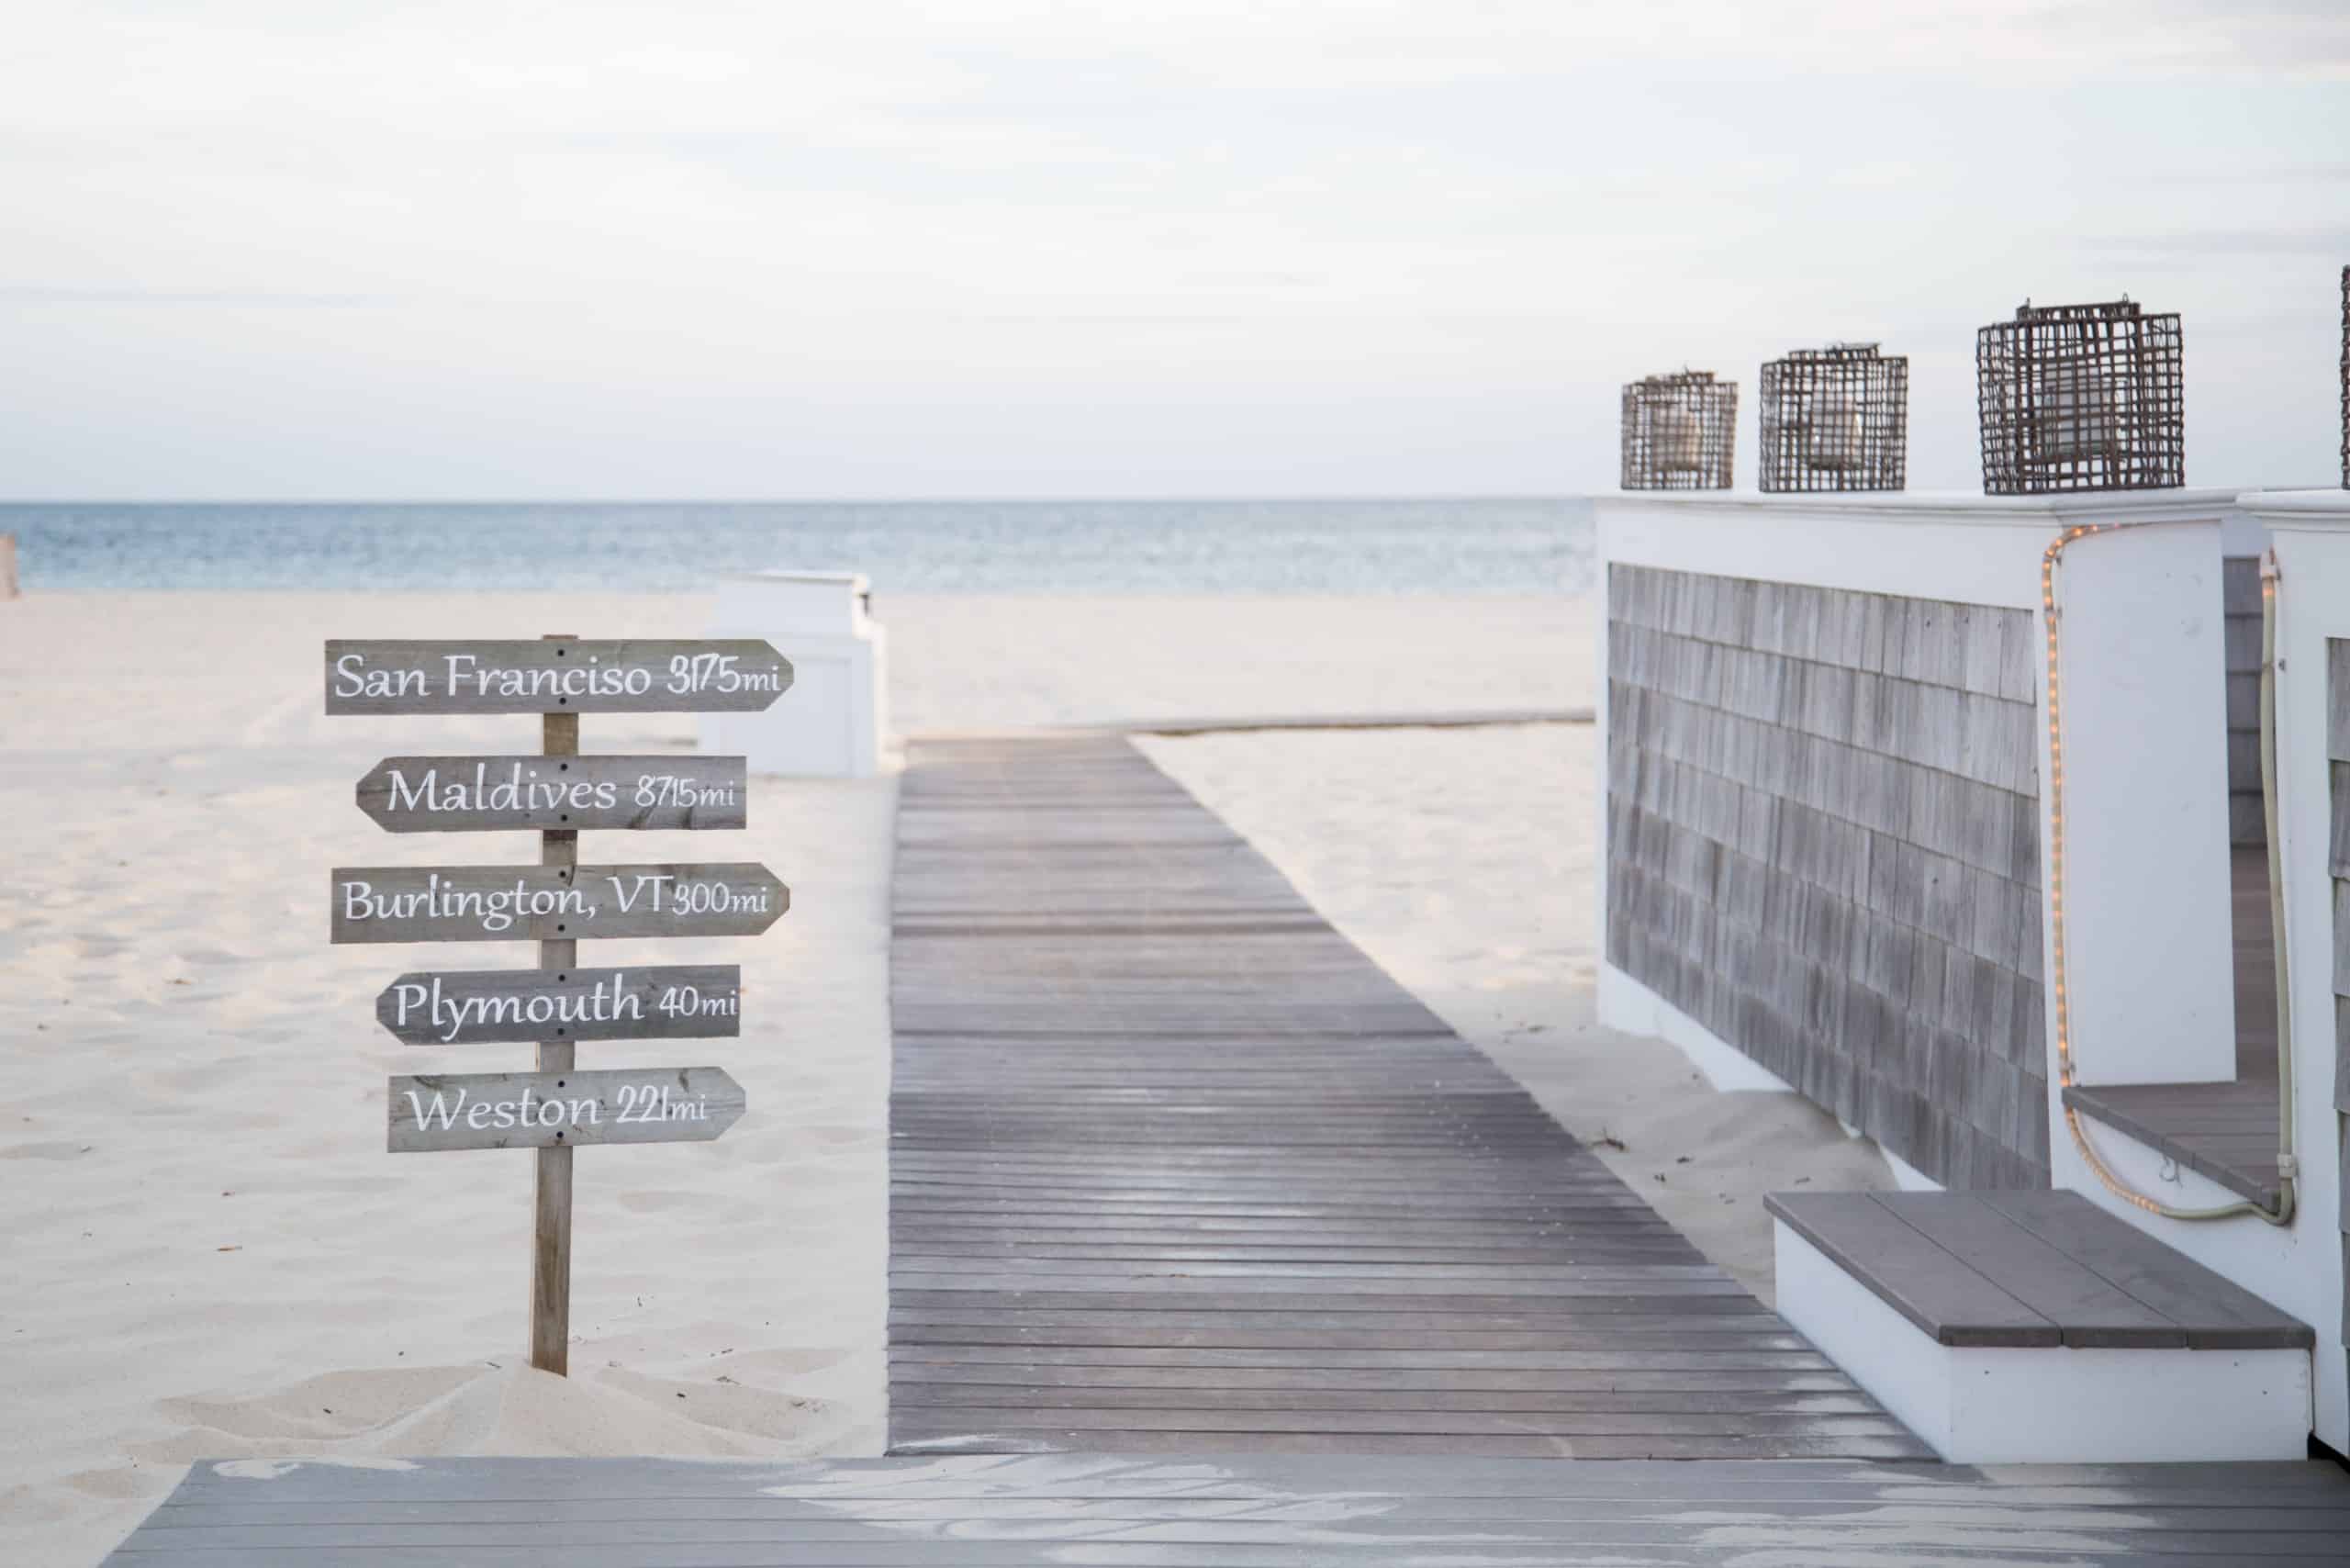
I use premium upcycled fence boards to make customized signs. This one was for a rehearsal dinner clambake.
Upcycled Fence Board Projects
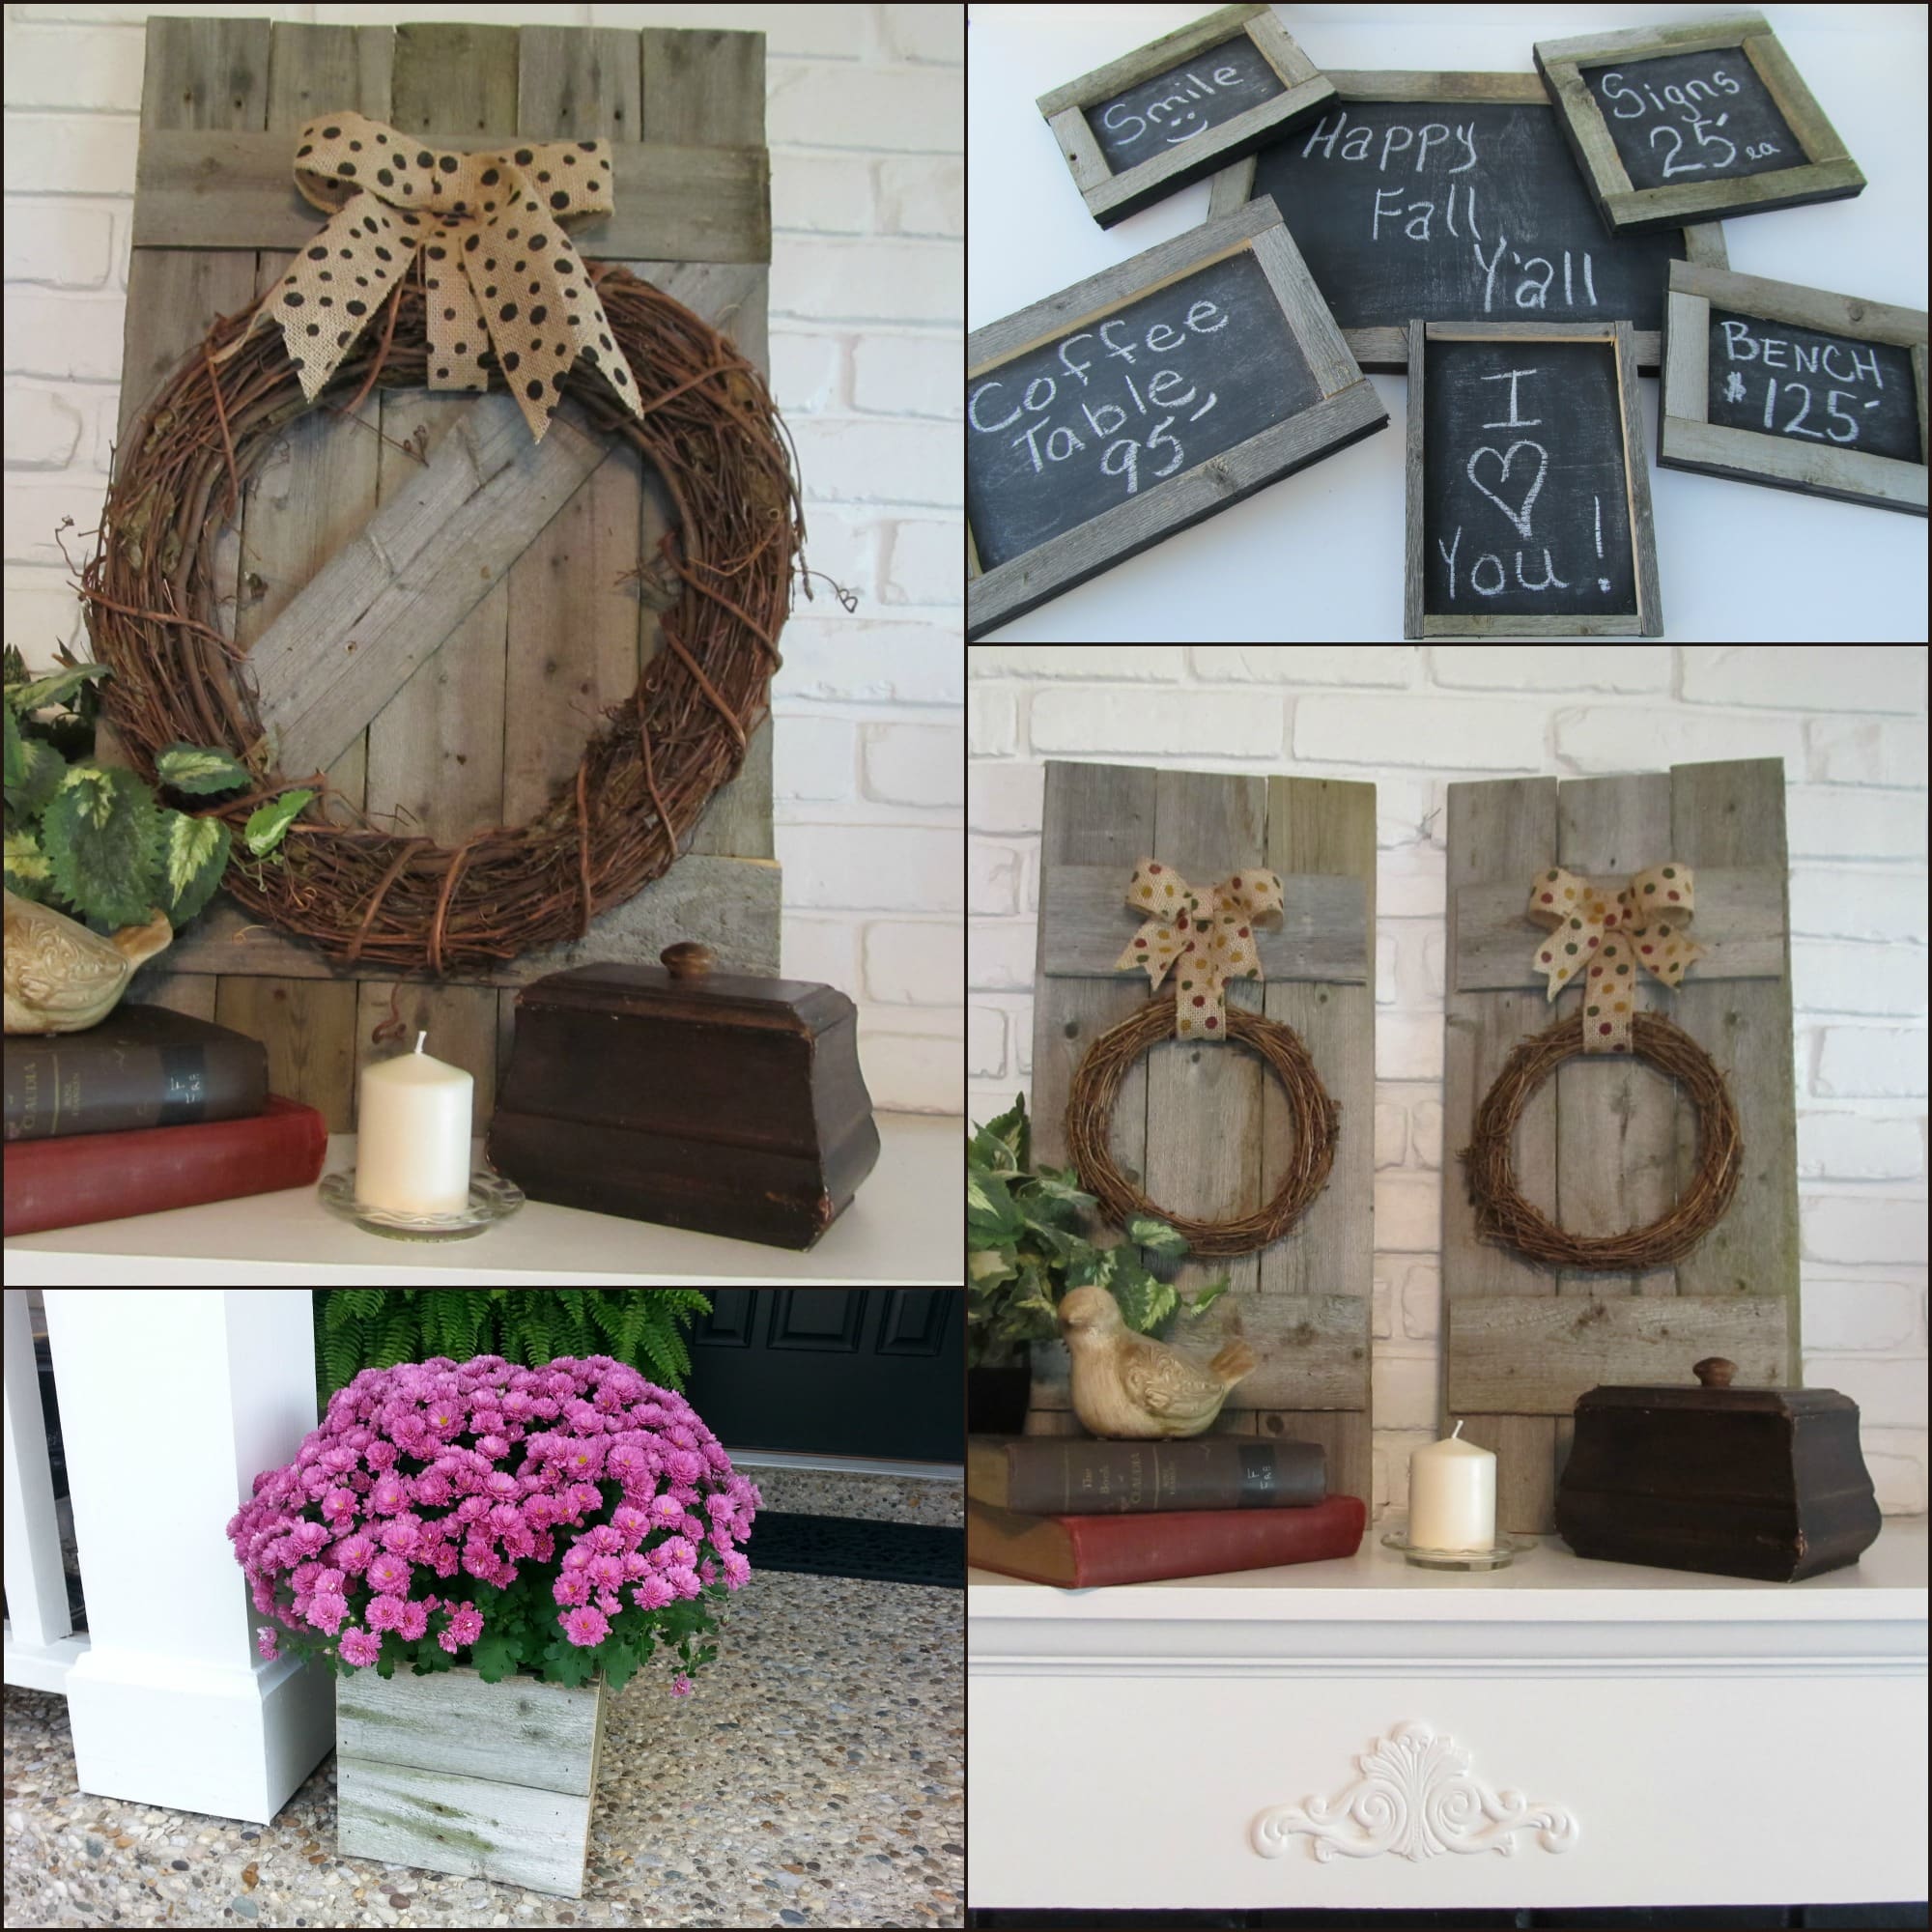
Many boards are too rough to paint, so I’ve been looking for other uses. I’ve made faux gates and shutters for mantel décor, rustic chalkboards, and some plant koozies/planters.
Upcycled Fence Board Christmas Tree
Wooden Christmas trees are all over Pinterest, so I decided to try my hand at some.
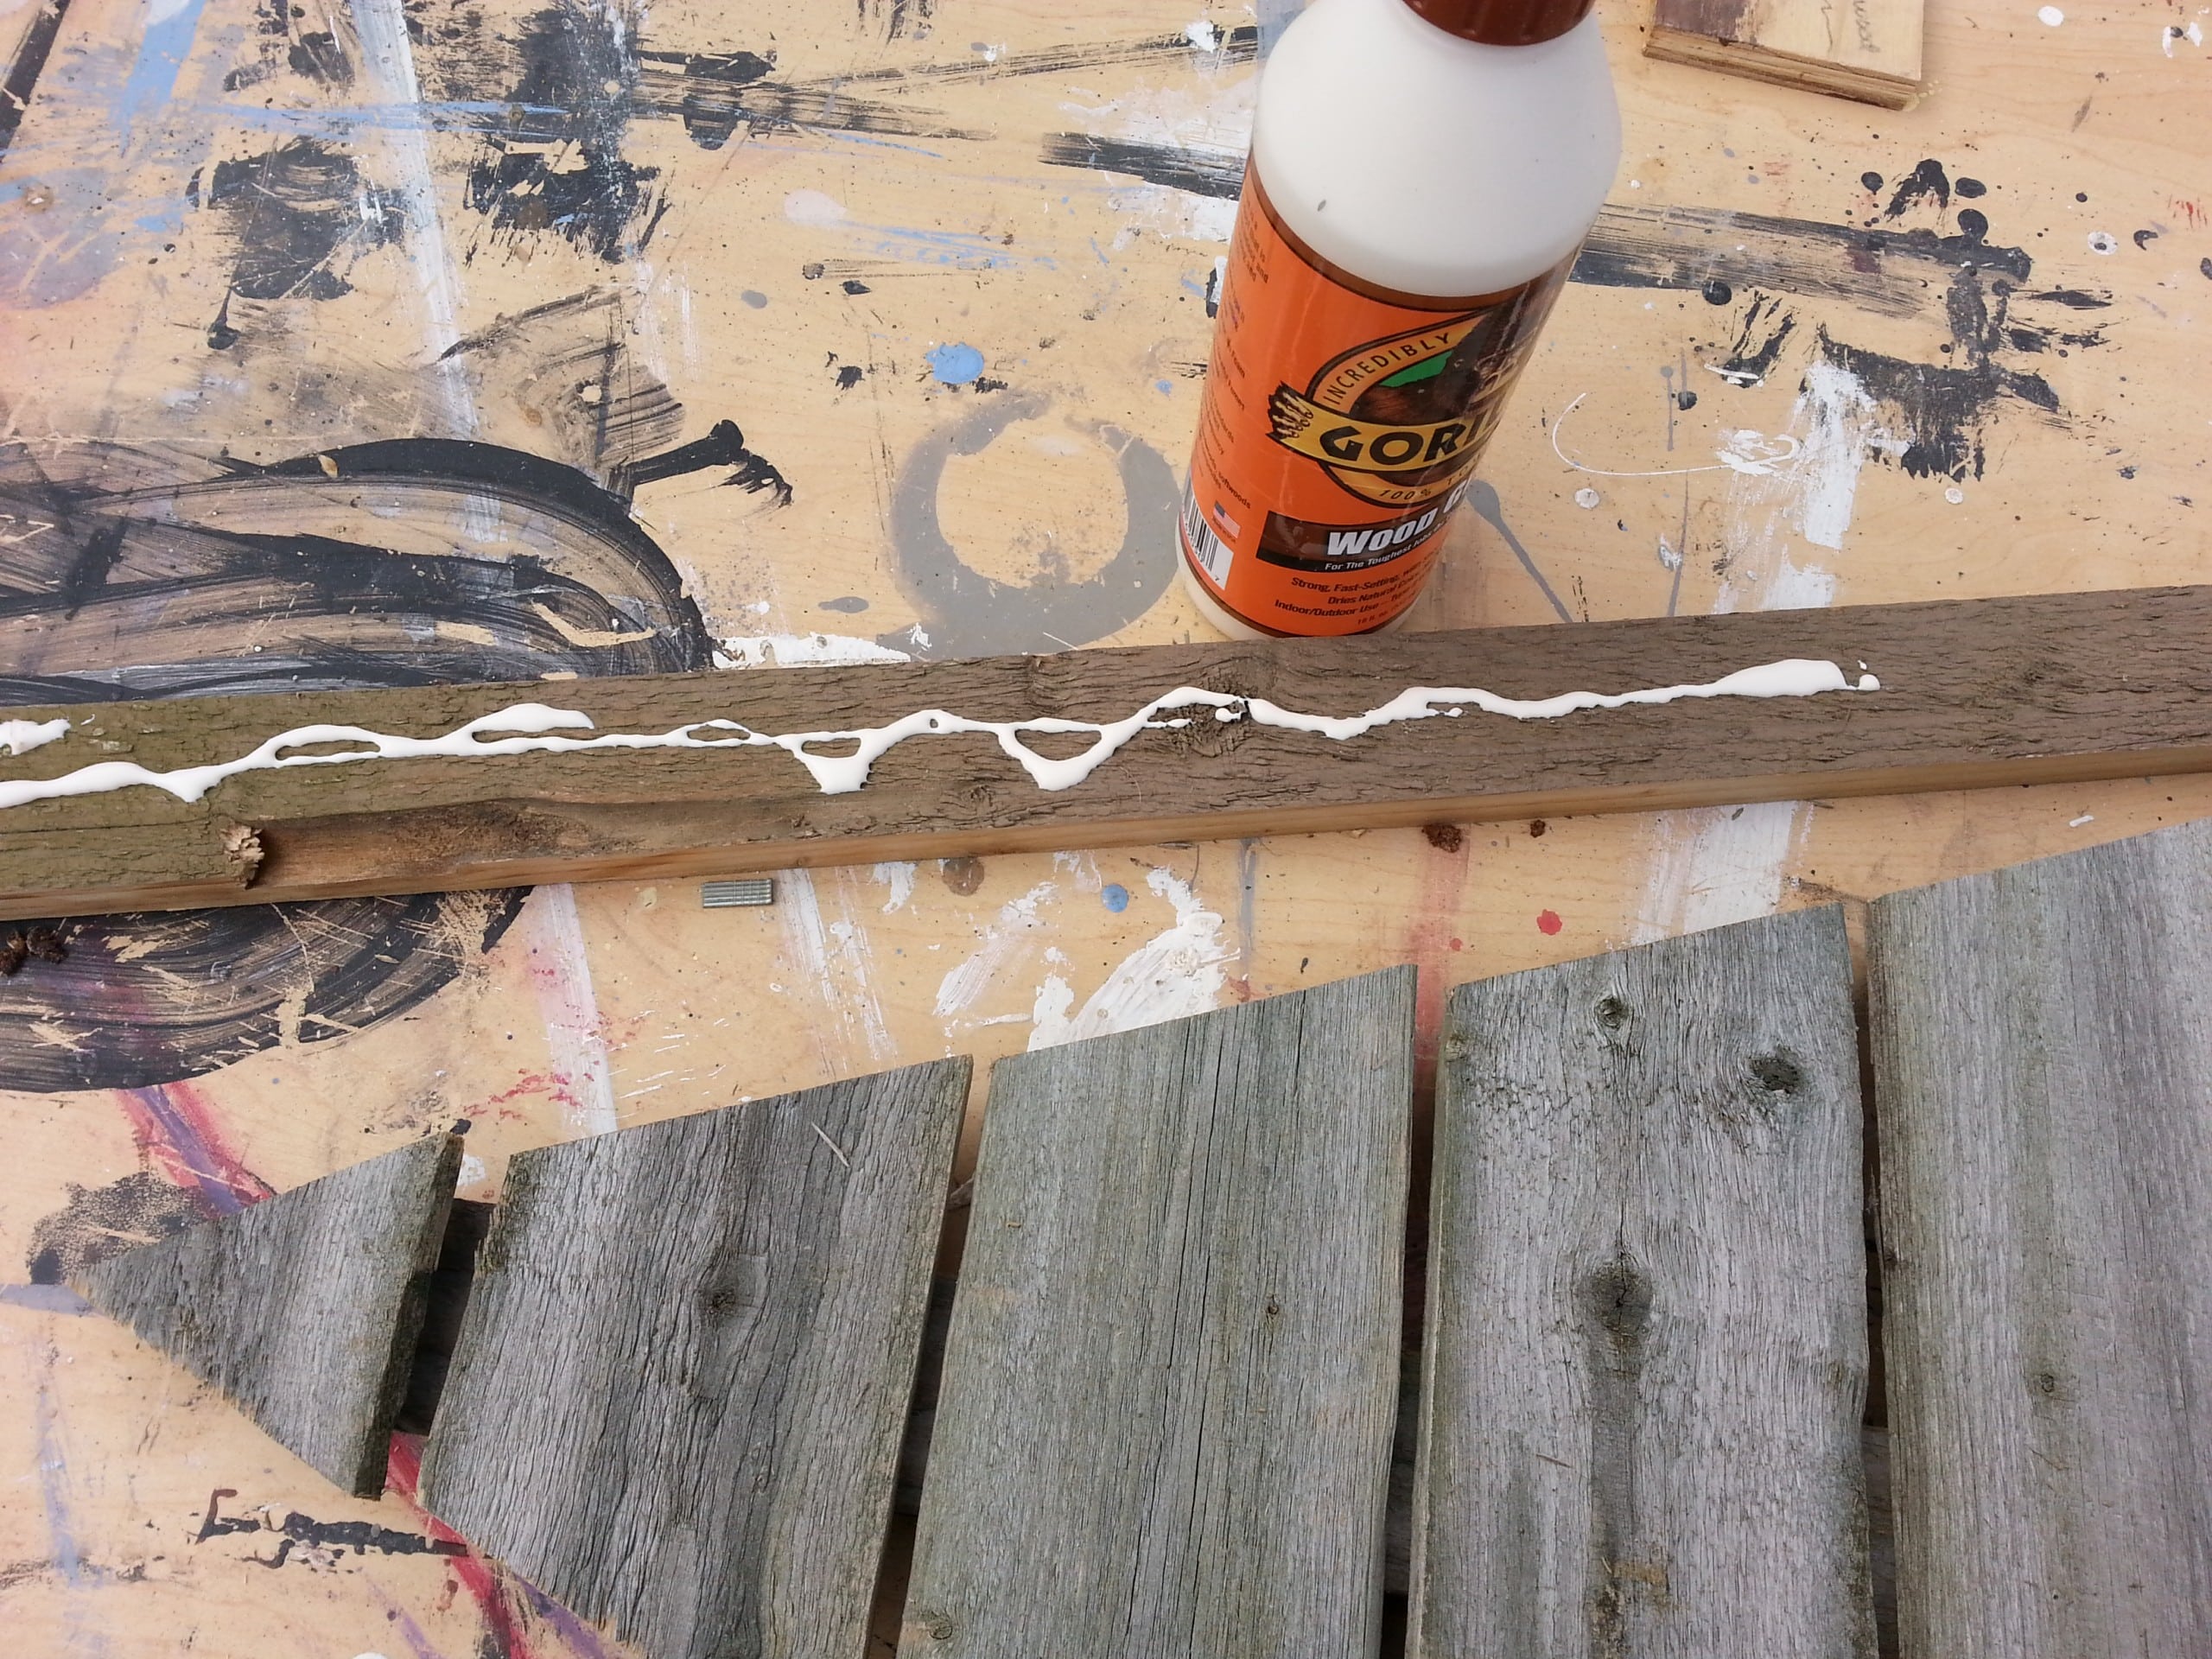
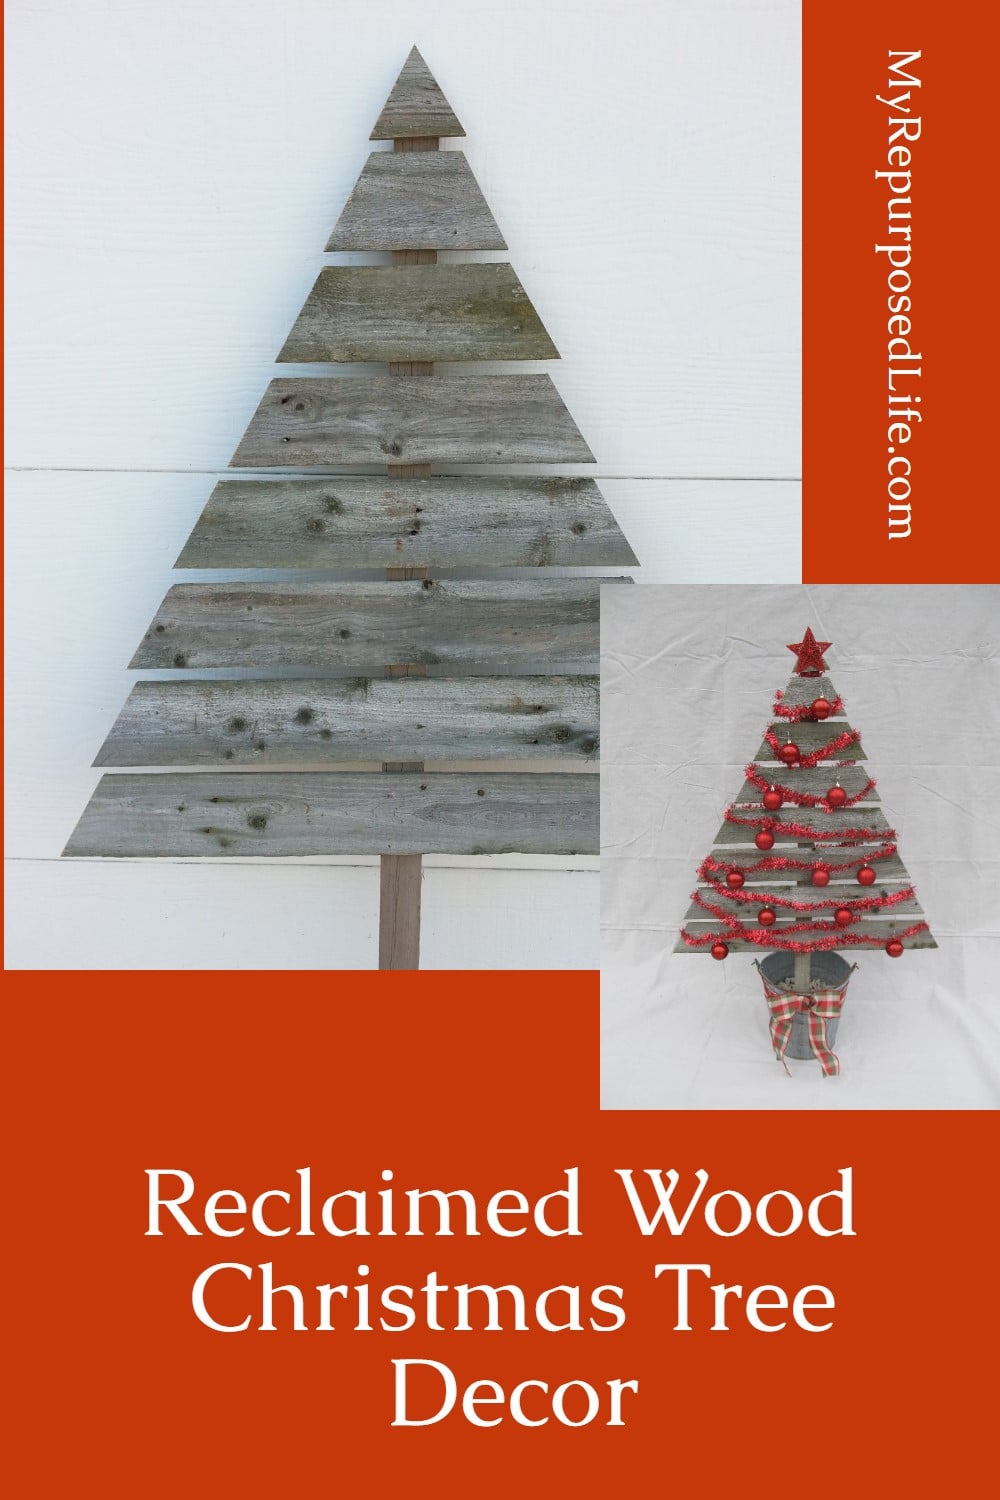
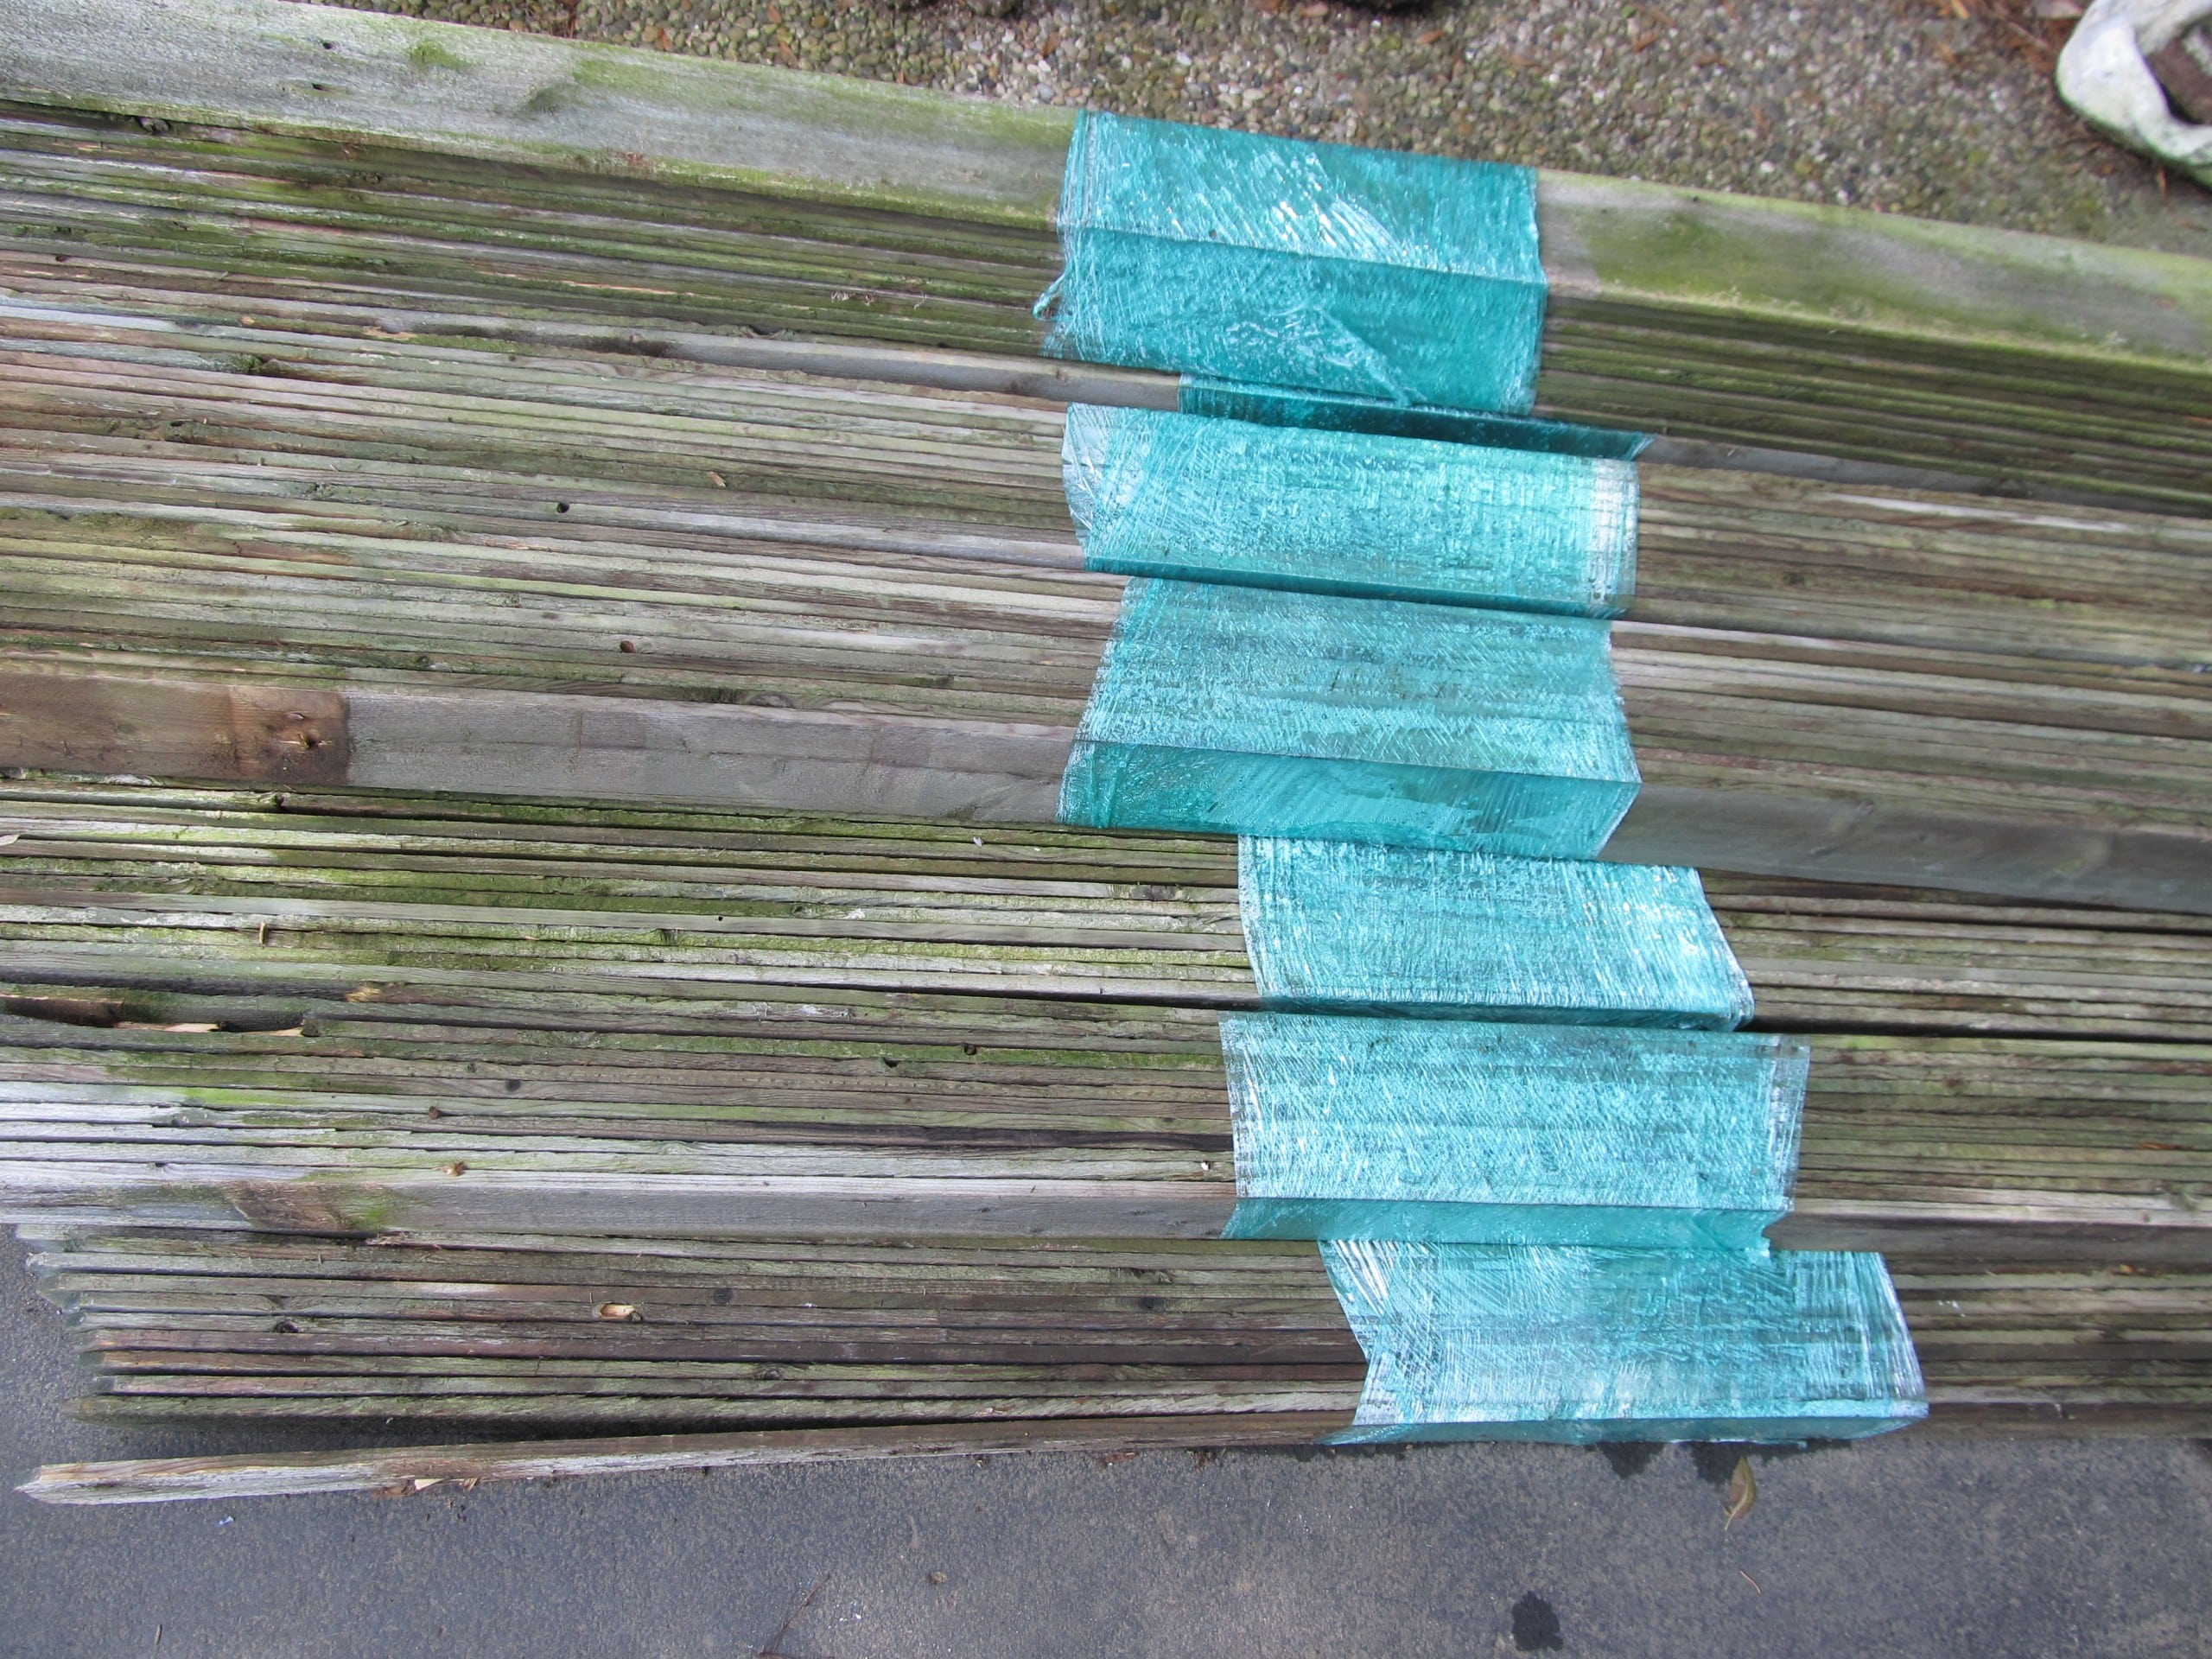
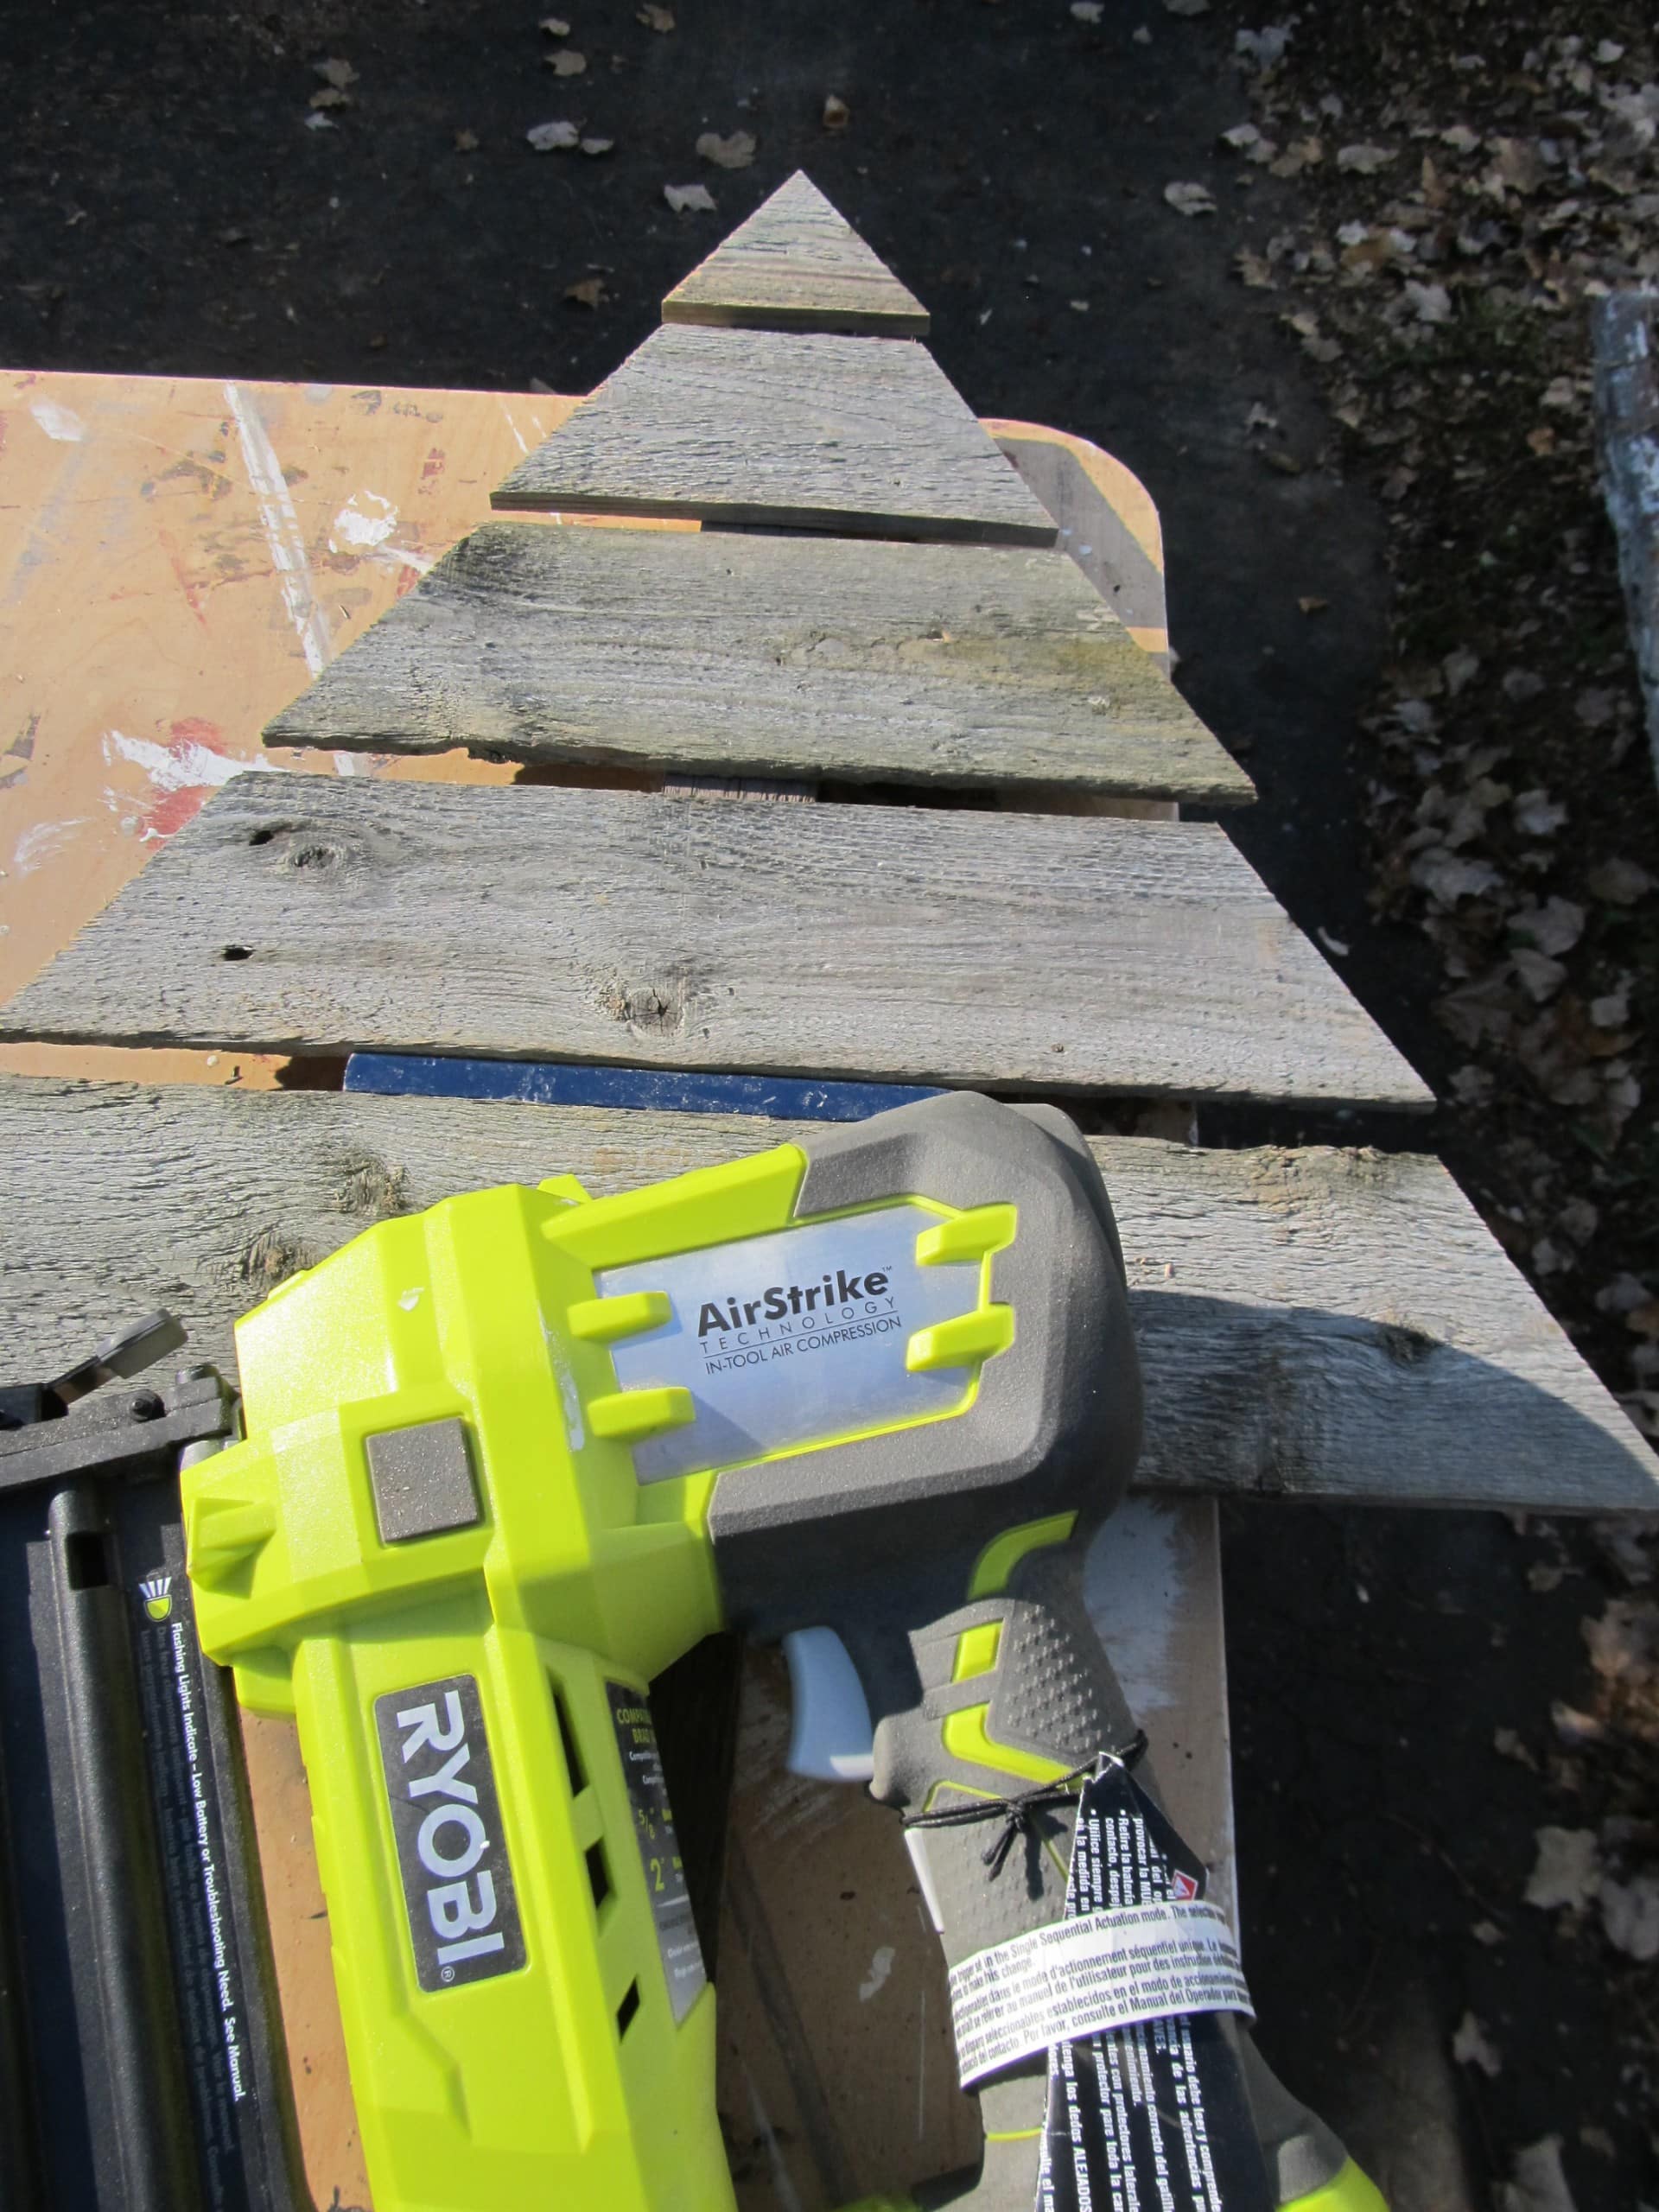
I randomly cut my upcycled fence boards, starting from the bottom and working from largest to smallest. After cutting the first board, I marked the next one so it would end where the larger one began. I glued and nailed the fence boards onto one of my stakes. You can drive wood screws from the stake into the fence board to keep screws from being visible.
Use Natural Elements to Adorn the Wooden Christmas Tree
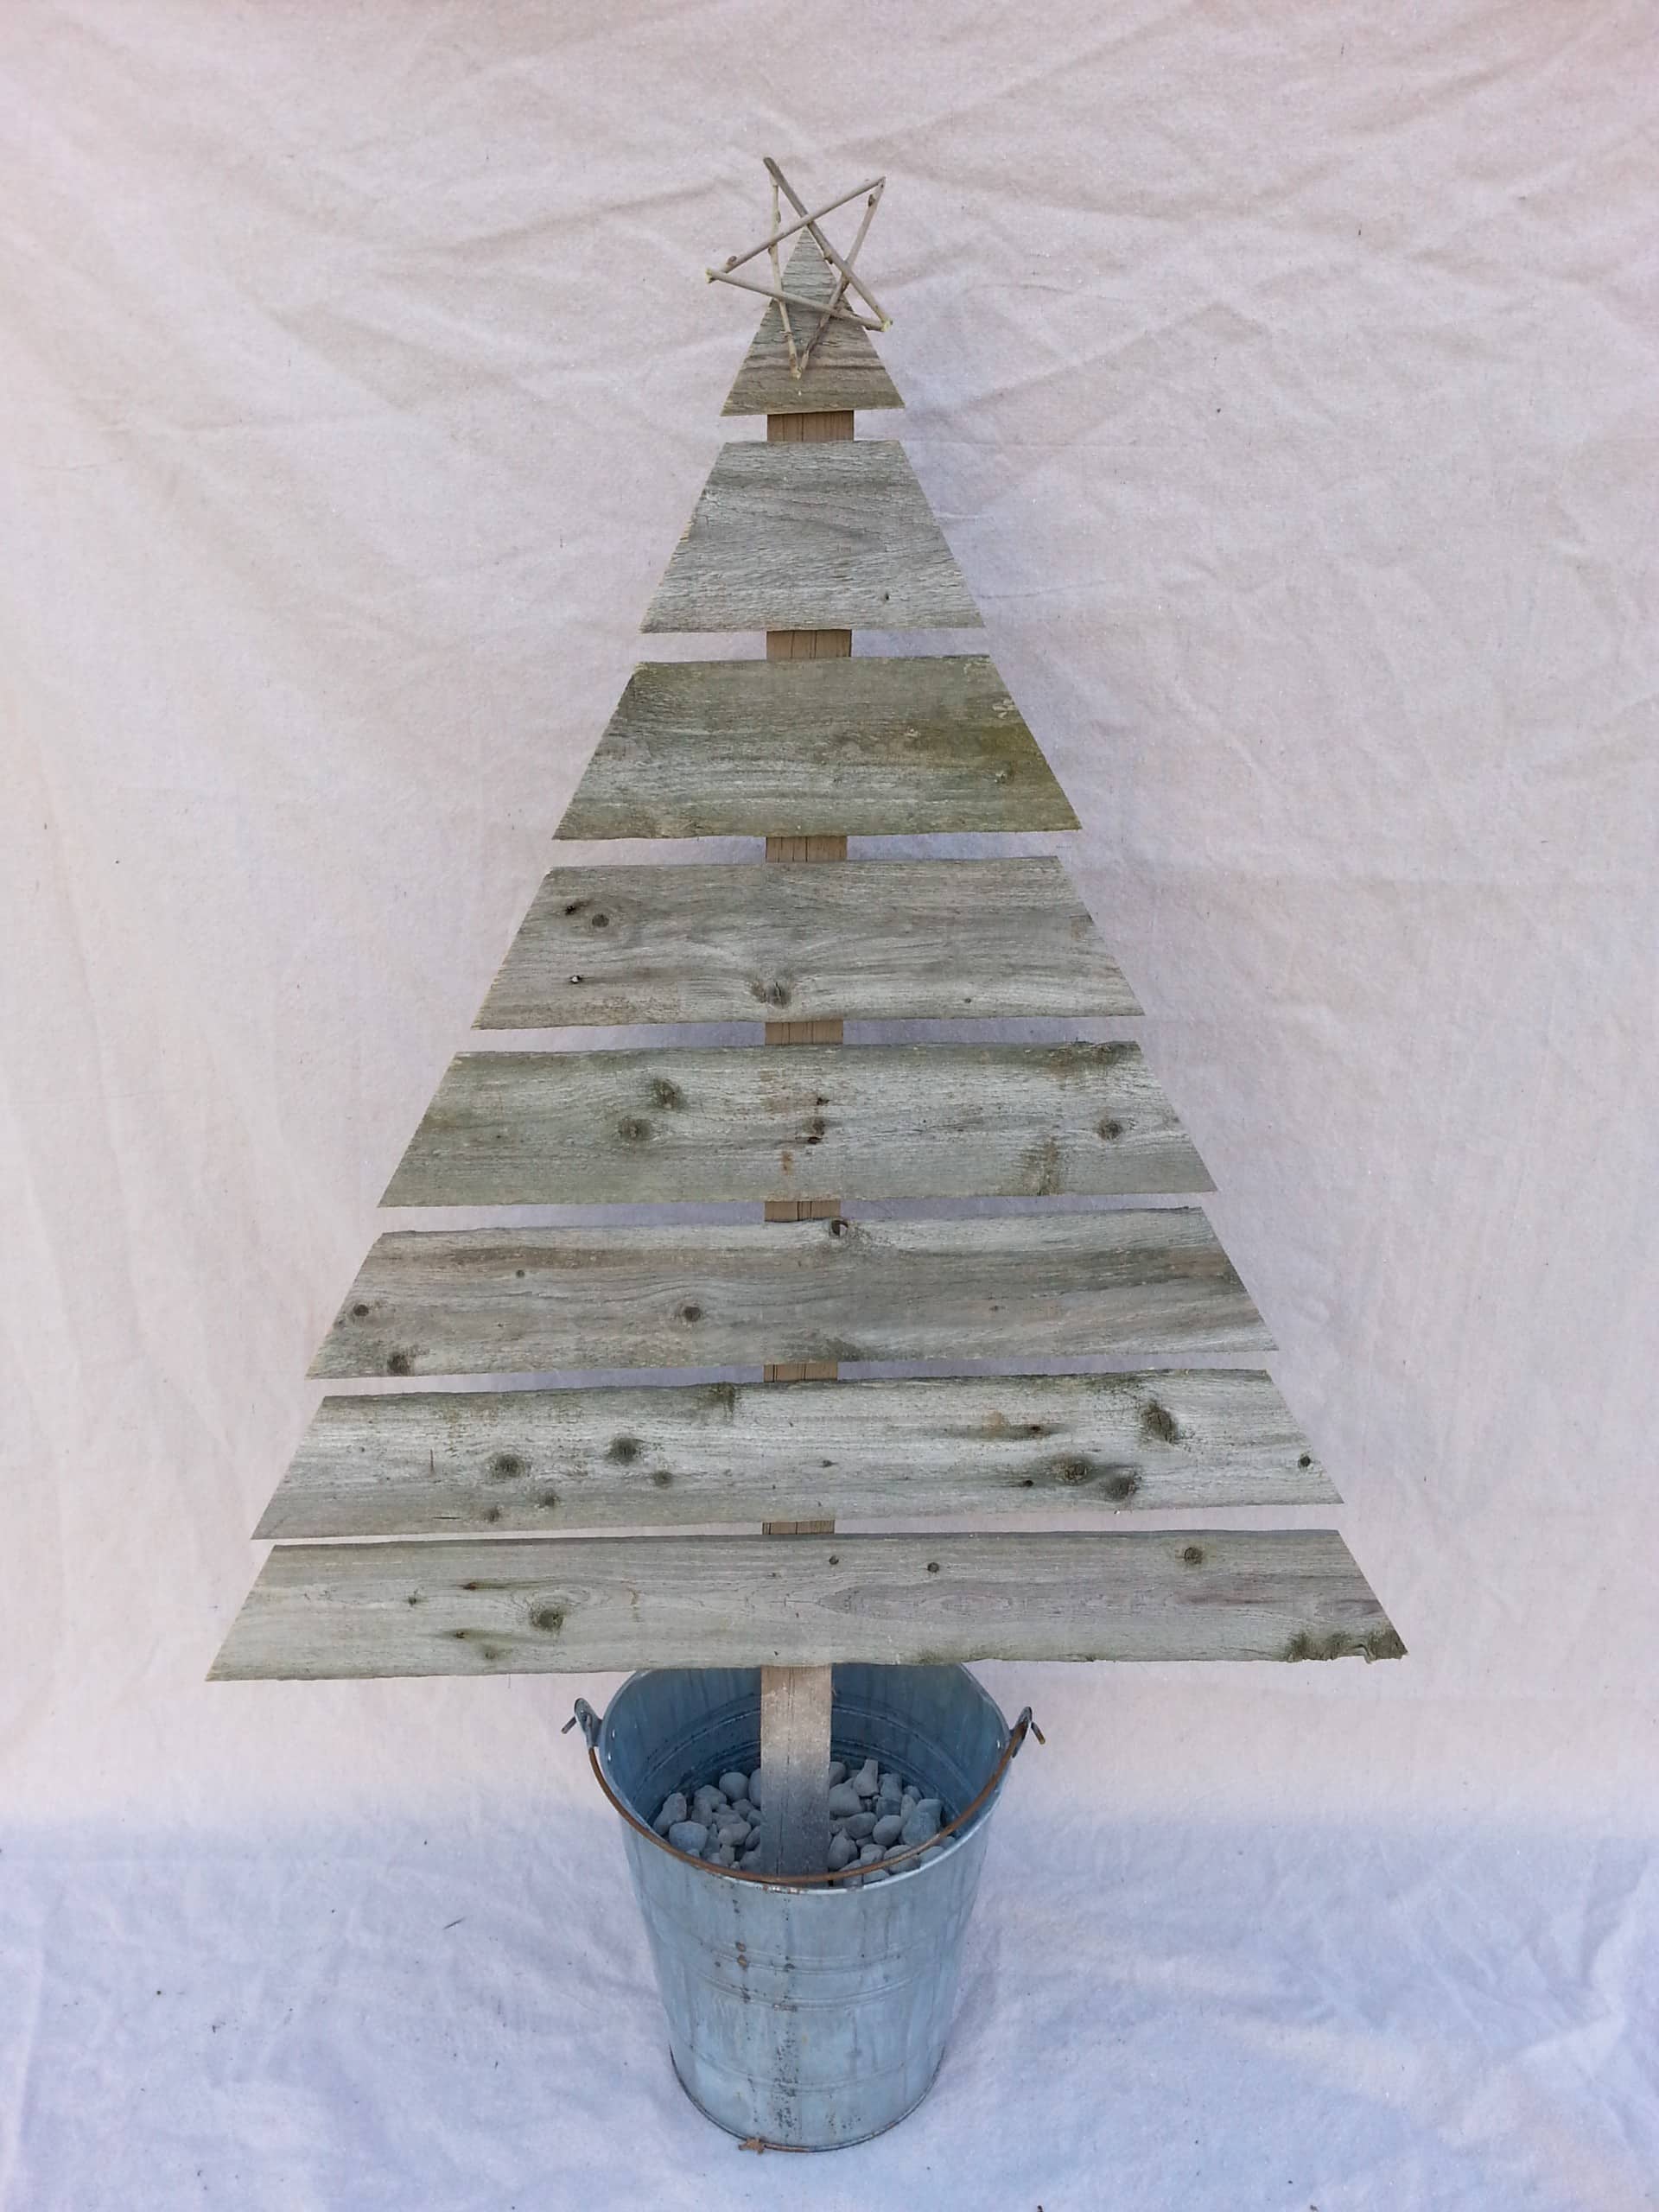
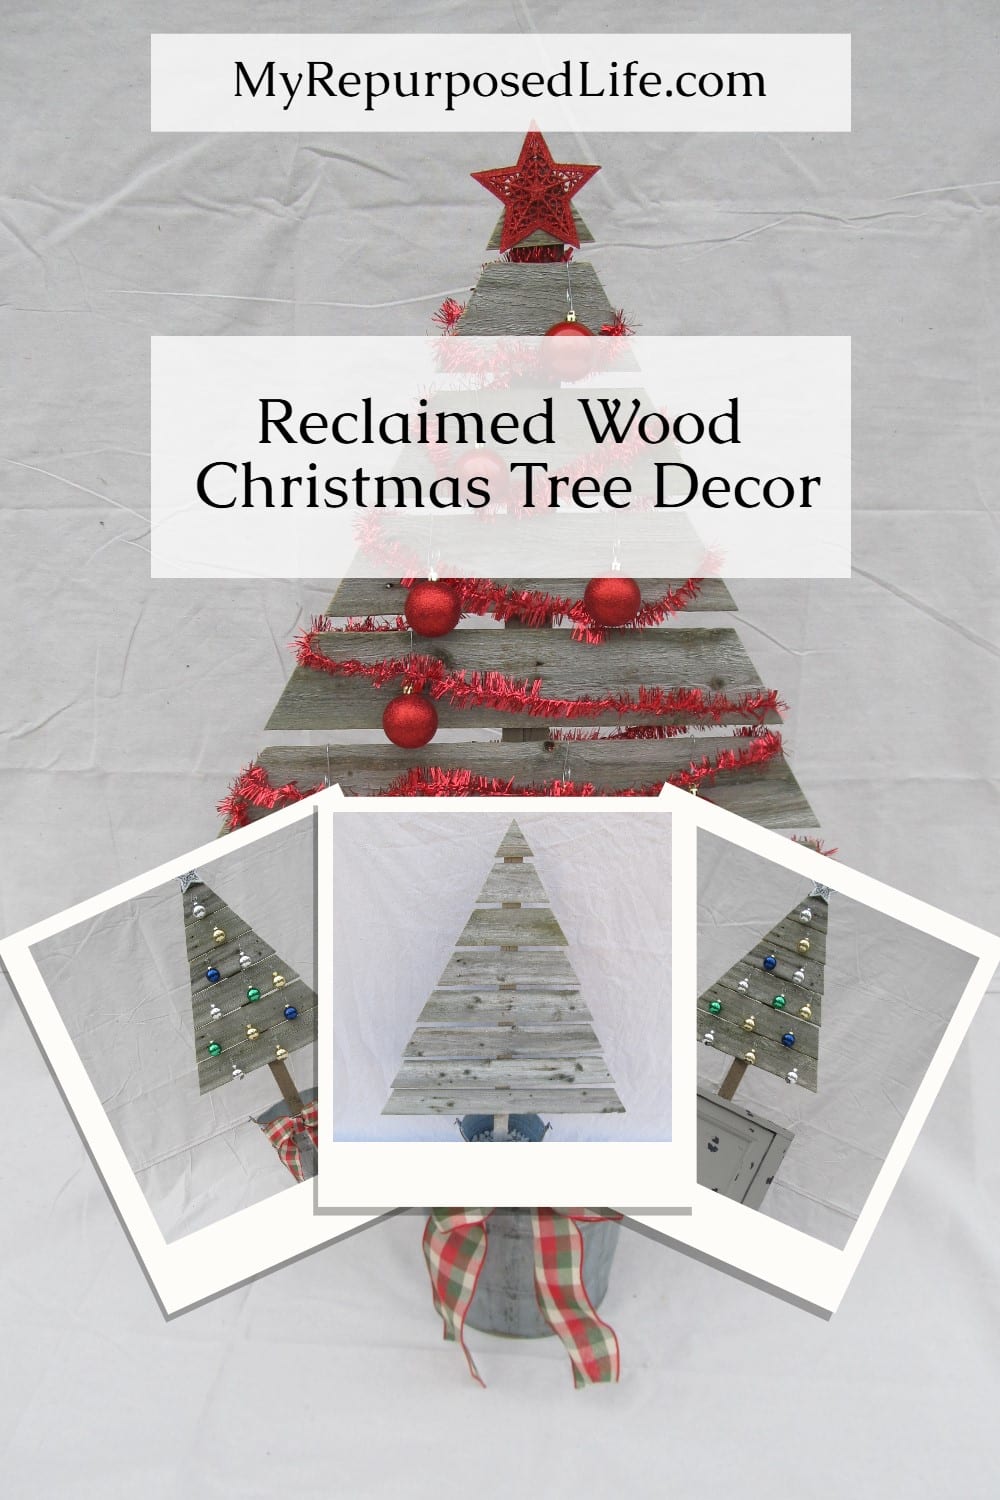
Do you love the little twig star for the top? I put the wooden stake into a galvanized bucket filled with rocks.
Decorate Outdoor Wooden Christmas Tree Using Dollar Store Decor
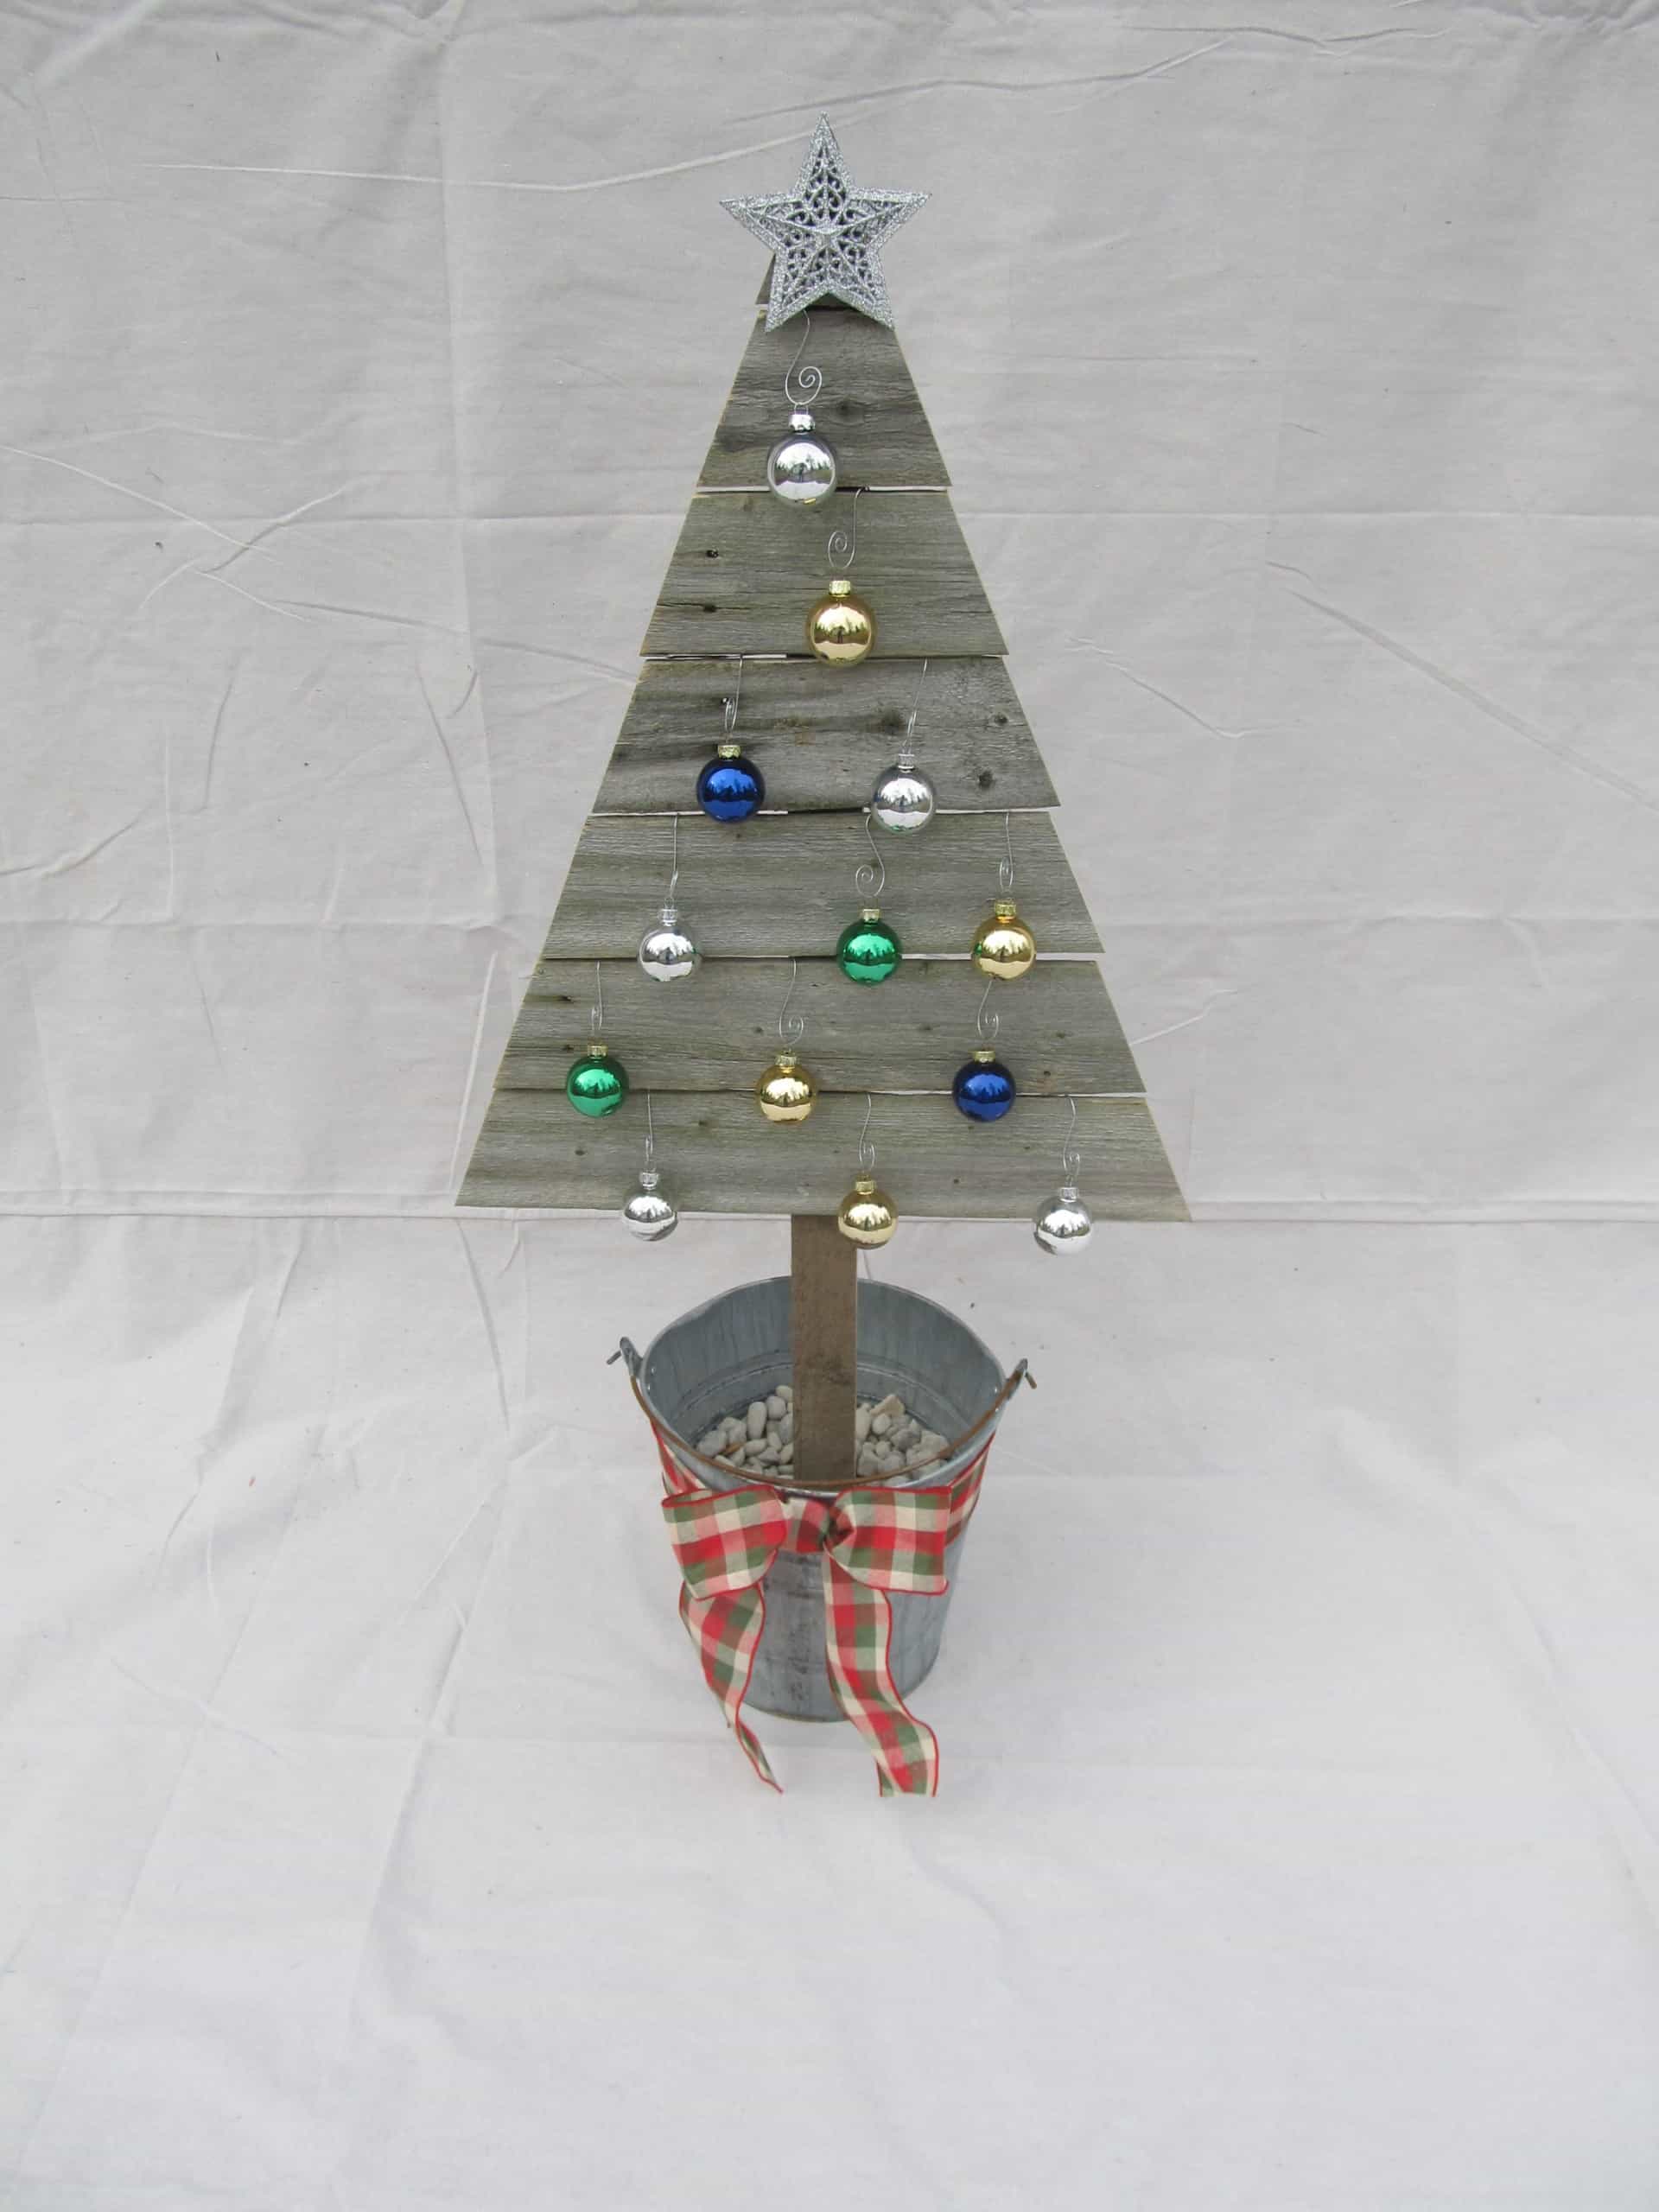
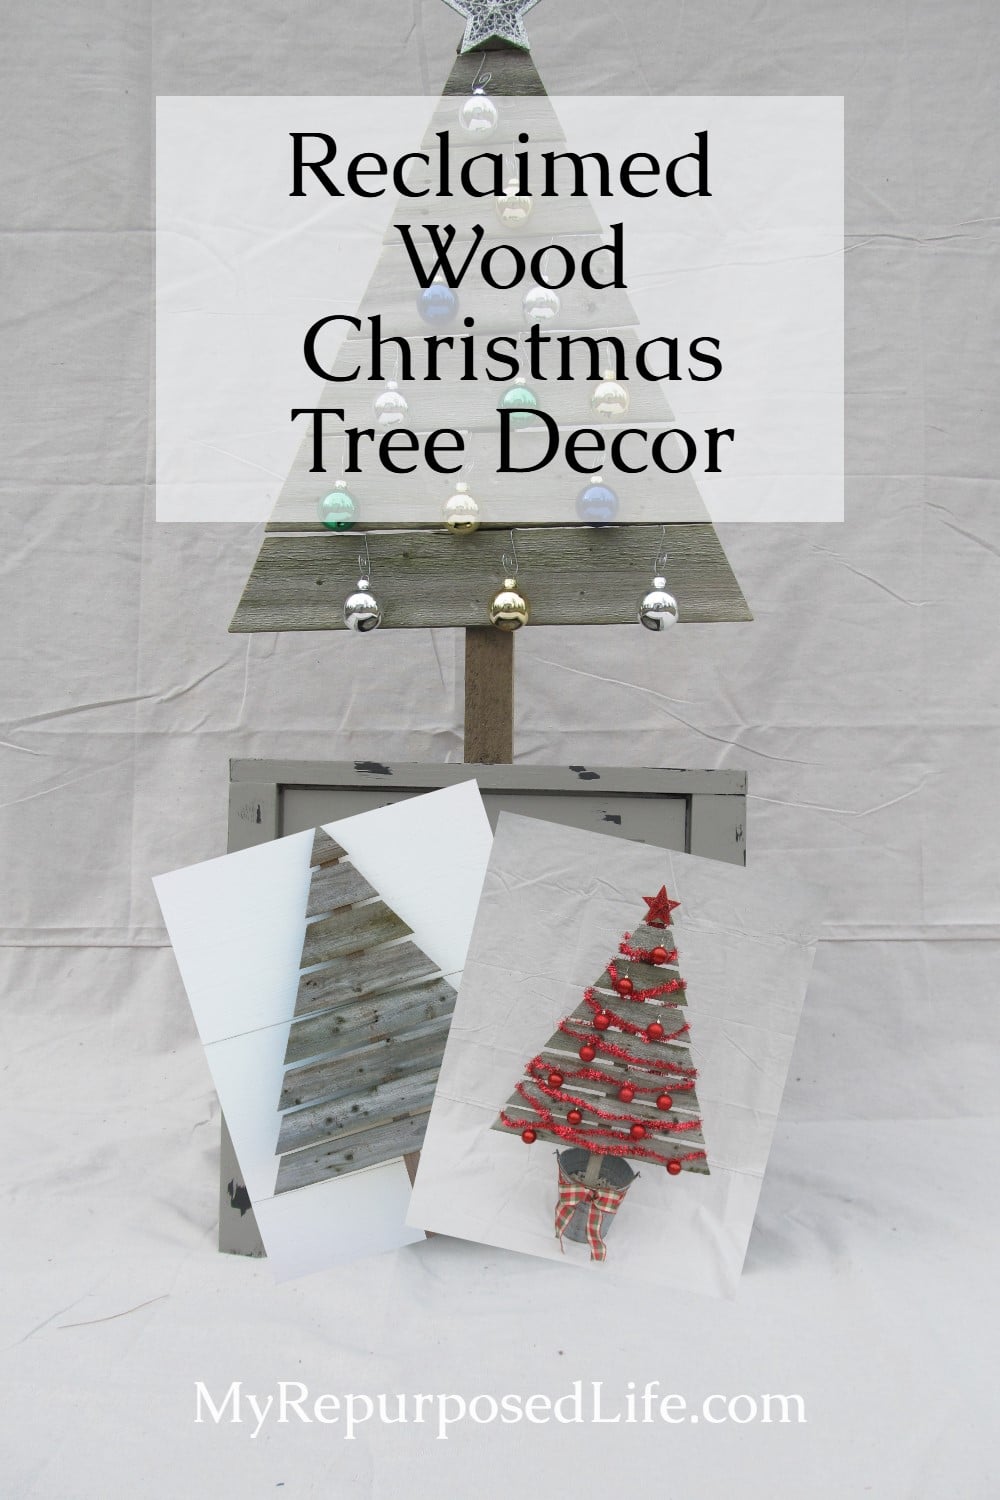
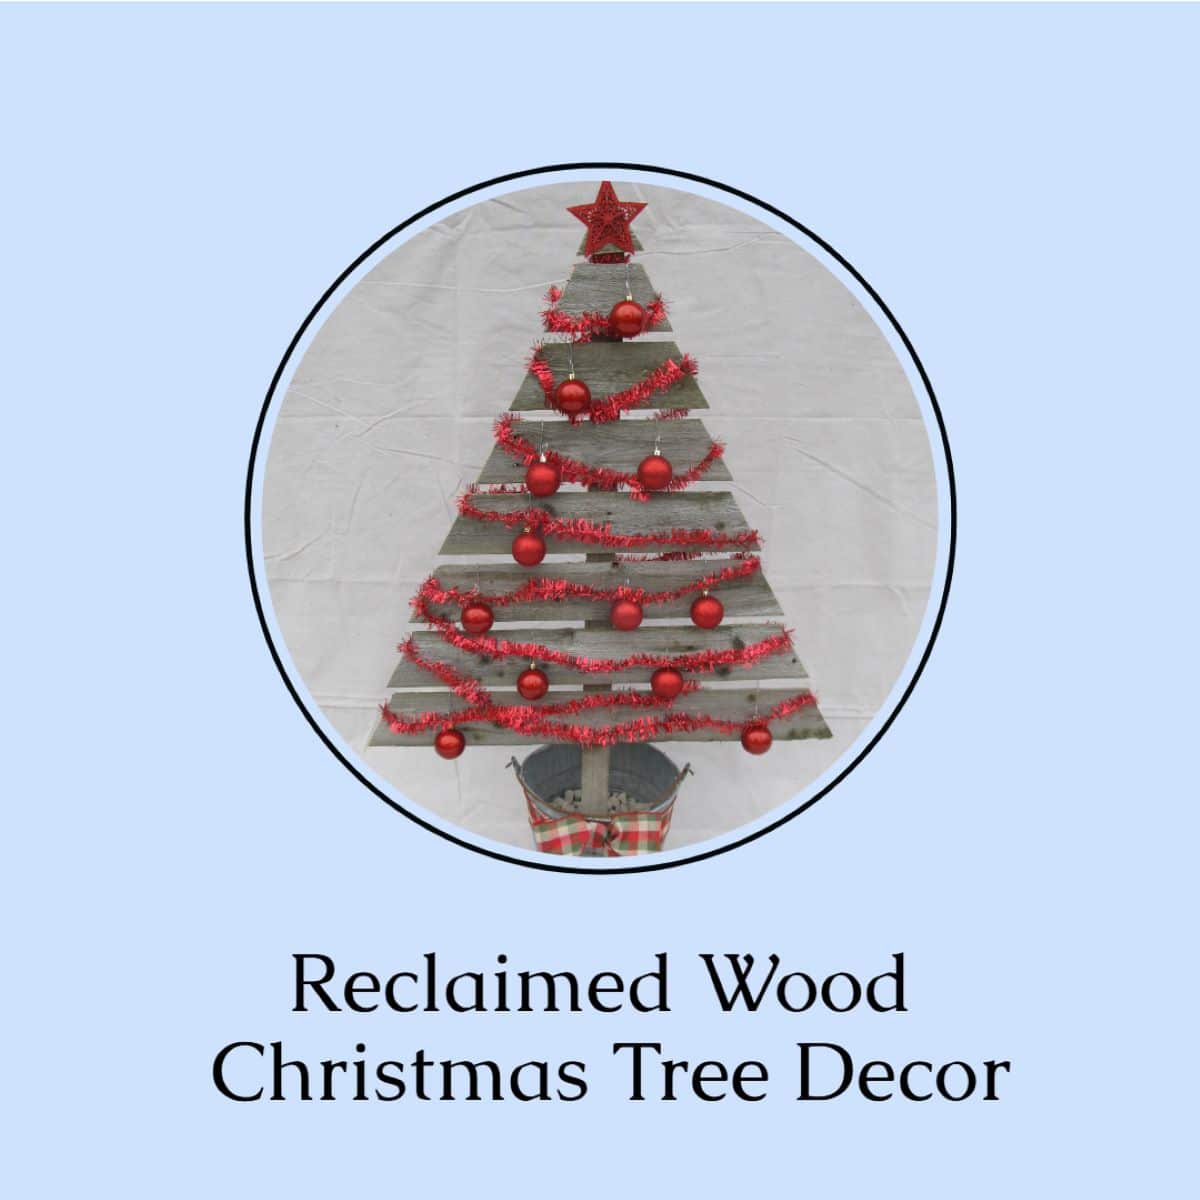
I decorated the upcycled fence Christmas tree with some $$ Tree bulb ornaments and a star and used a Christmas ribbon on the bucket.
This is another tree I made. The first one and this one are different in a couple of ways. The first one has the boards butted right up against each other. This tree has a slight separation between each board.
Angle the Upcycled Fence Boards to Suit Your Taste
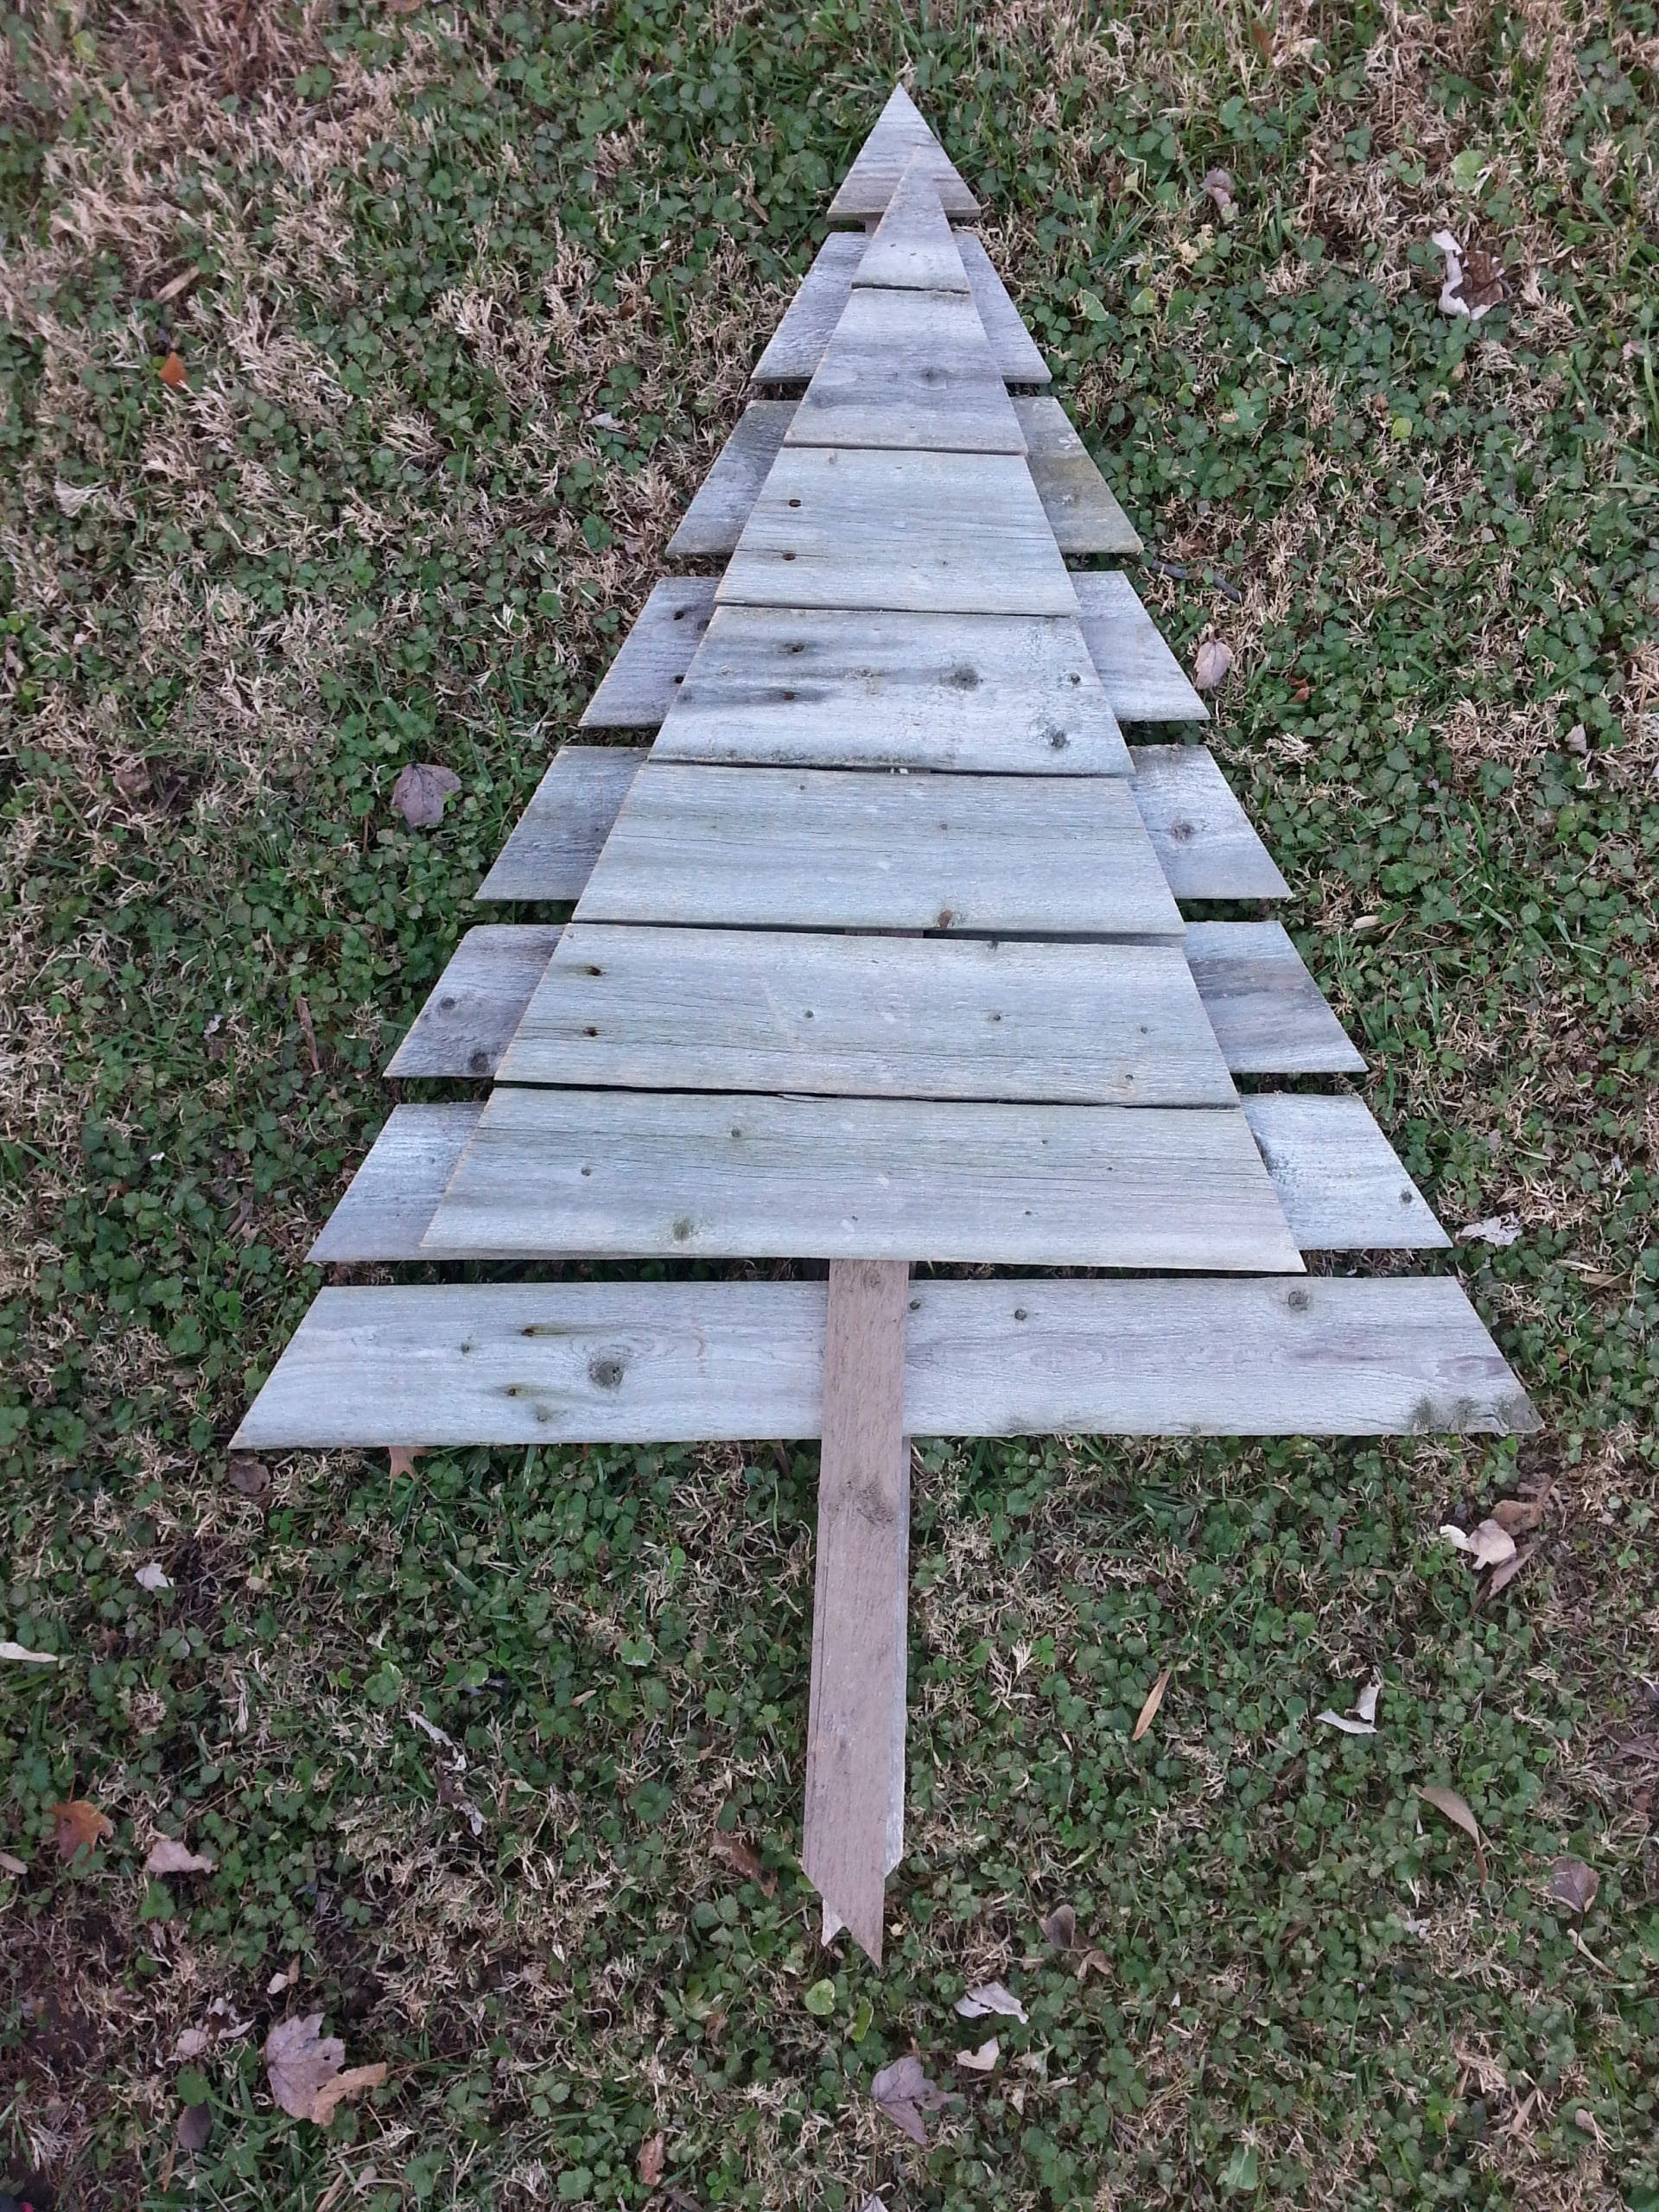
Here are trees #1 and #2. You can see the difference in the separation of the boards. The other difference is the degree of the cut on the compound miter saw. The tall, narrow tree is cut at a 22.5° angle, while the wider tree is cut at a 33° angle.
This is tree #3. It’s smaller in stature and cut at the 33° angle.
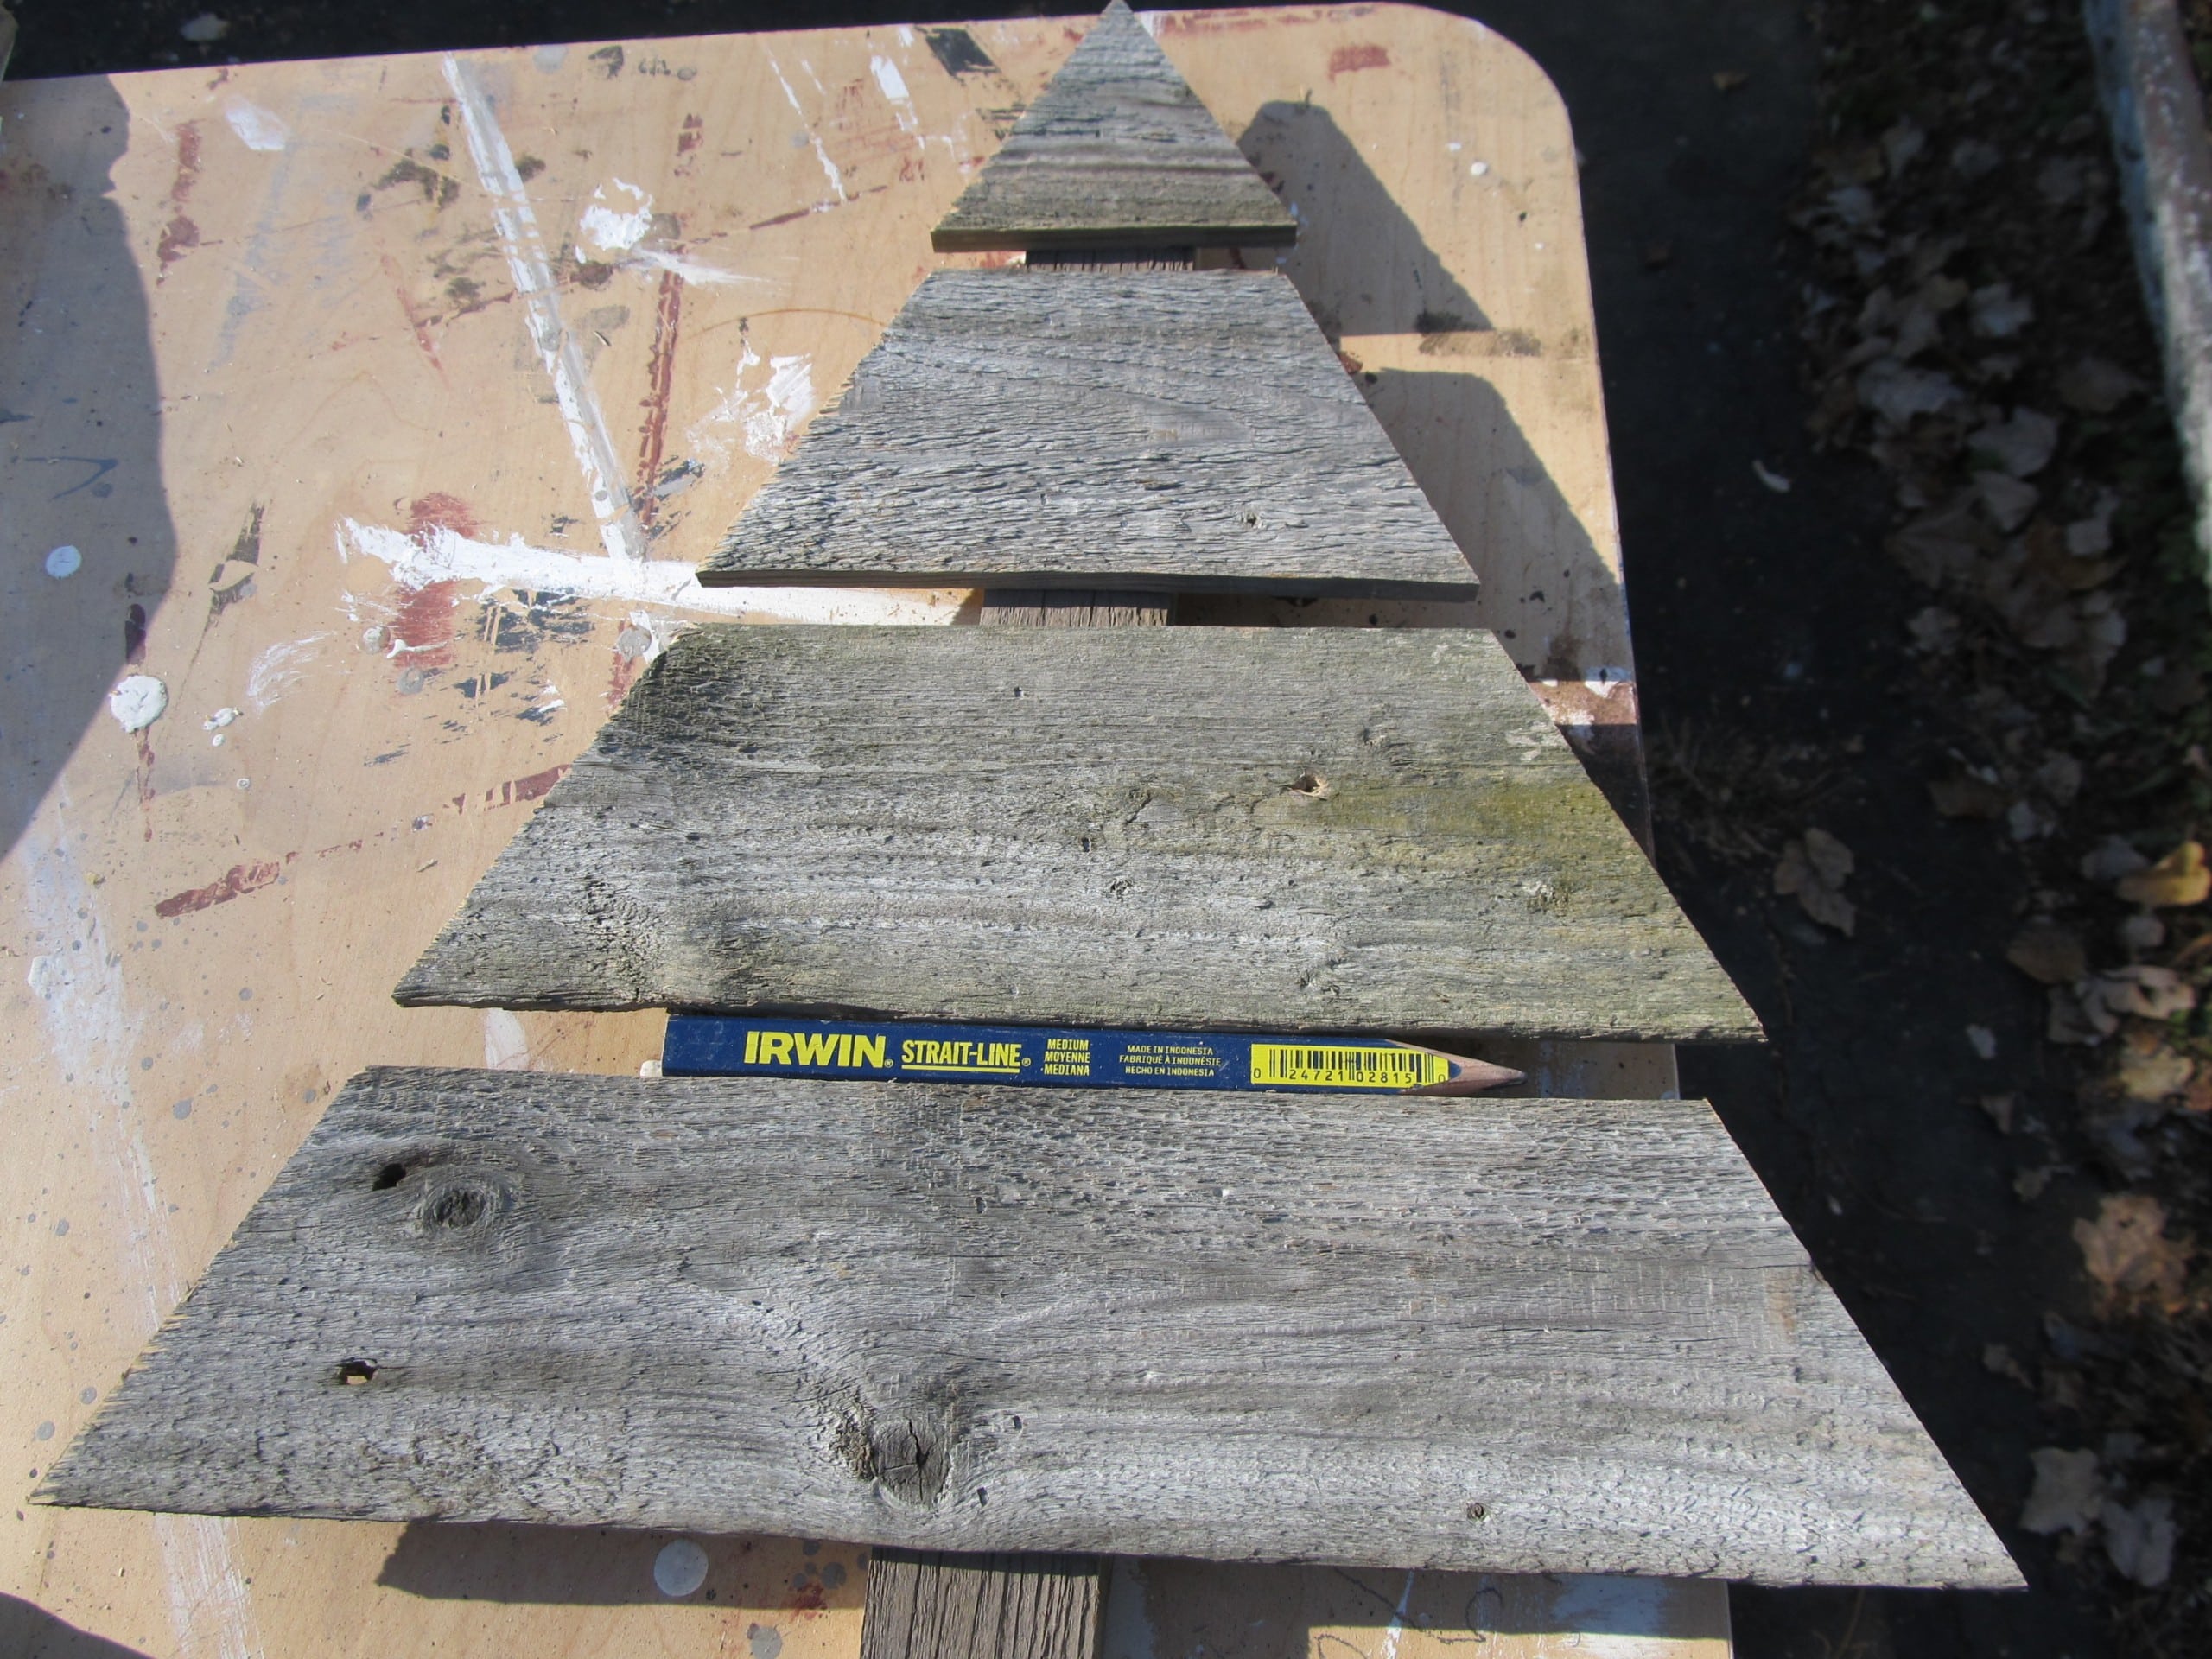
A carpenter’s pencil was used to space out the boards equally.
Stencil Your Wooden Christmas Tree
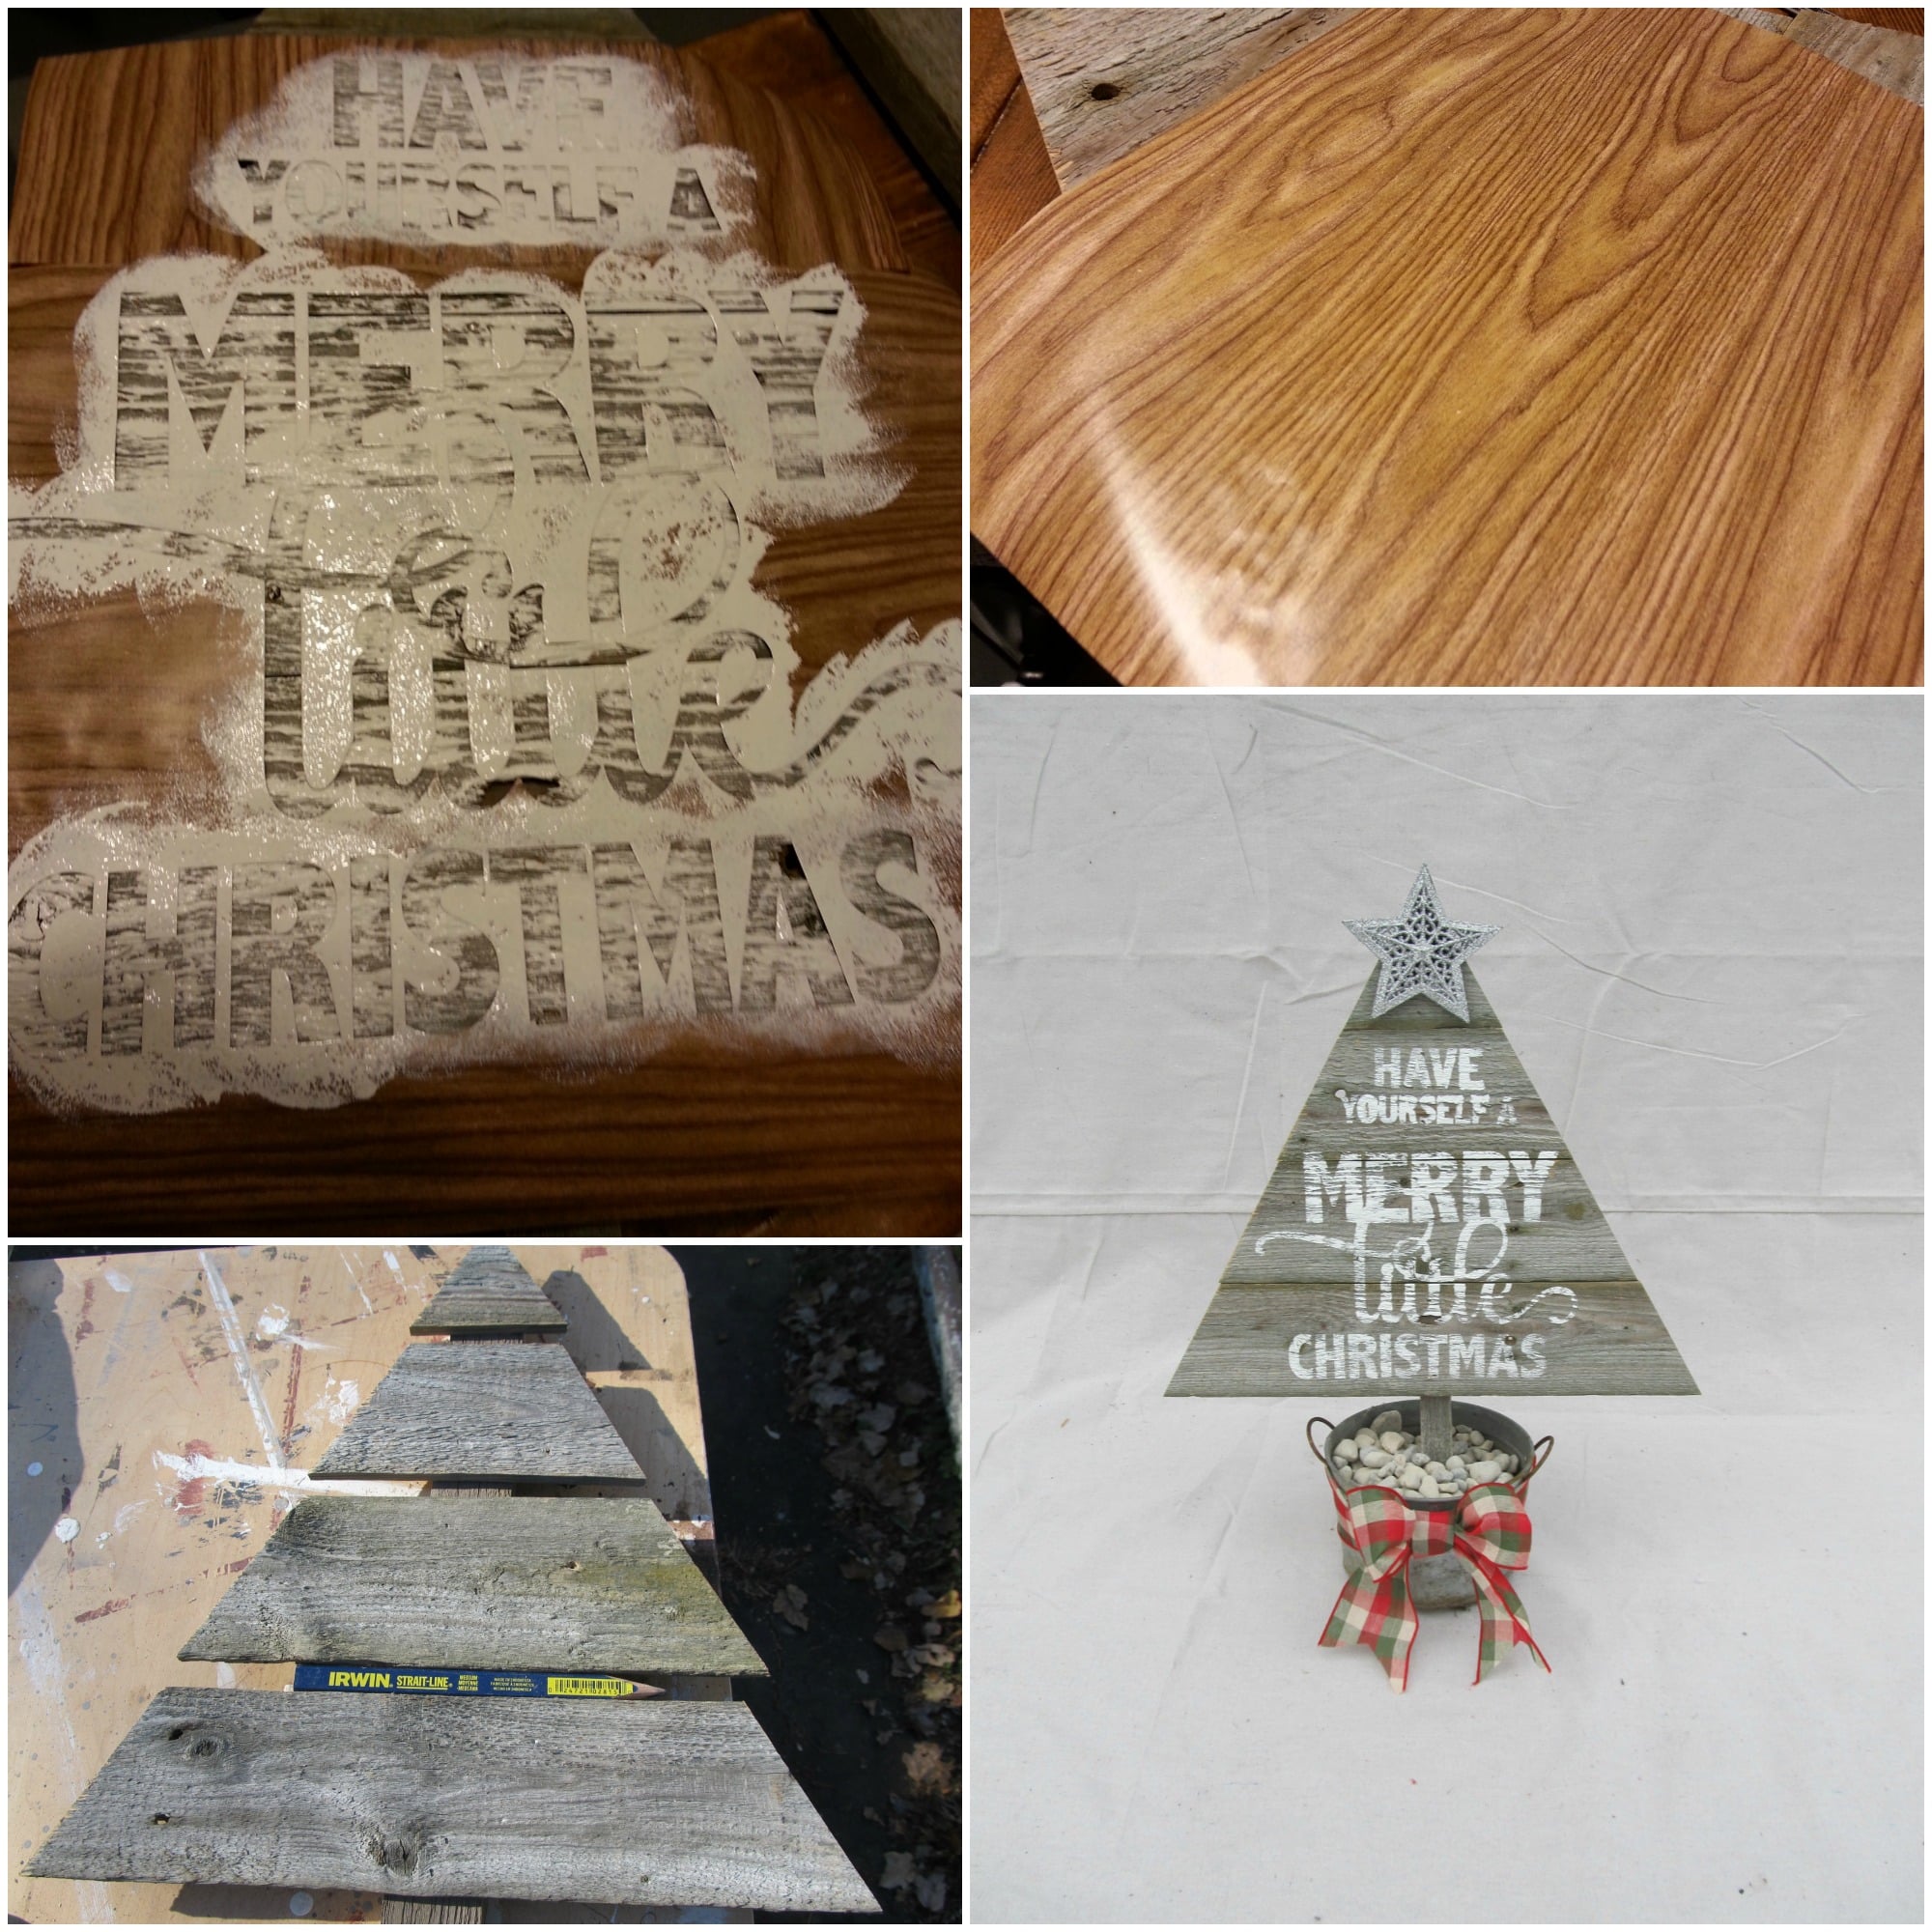
I sort of think this one is a project failure. These boards are too rough to paint/stencil, but I tried it anyway. I made the stencil using contact paper and my Portrait. You can see in this collage picture that I used a pencil to get an even distance between my boards.

We all know I’m not very good at styling these things. ![]() My job is to give you the idea and the tutorial, then you can make your own, and decorate it all pretty! Amazon has solar Christmas Lights to add some bling to your tree.
My job is to give you the idea and the tutorial, then you can make your own, and decorate it all pretty! Amazon has solar Christmas Lights to add some bling to your tree.
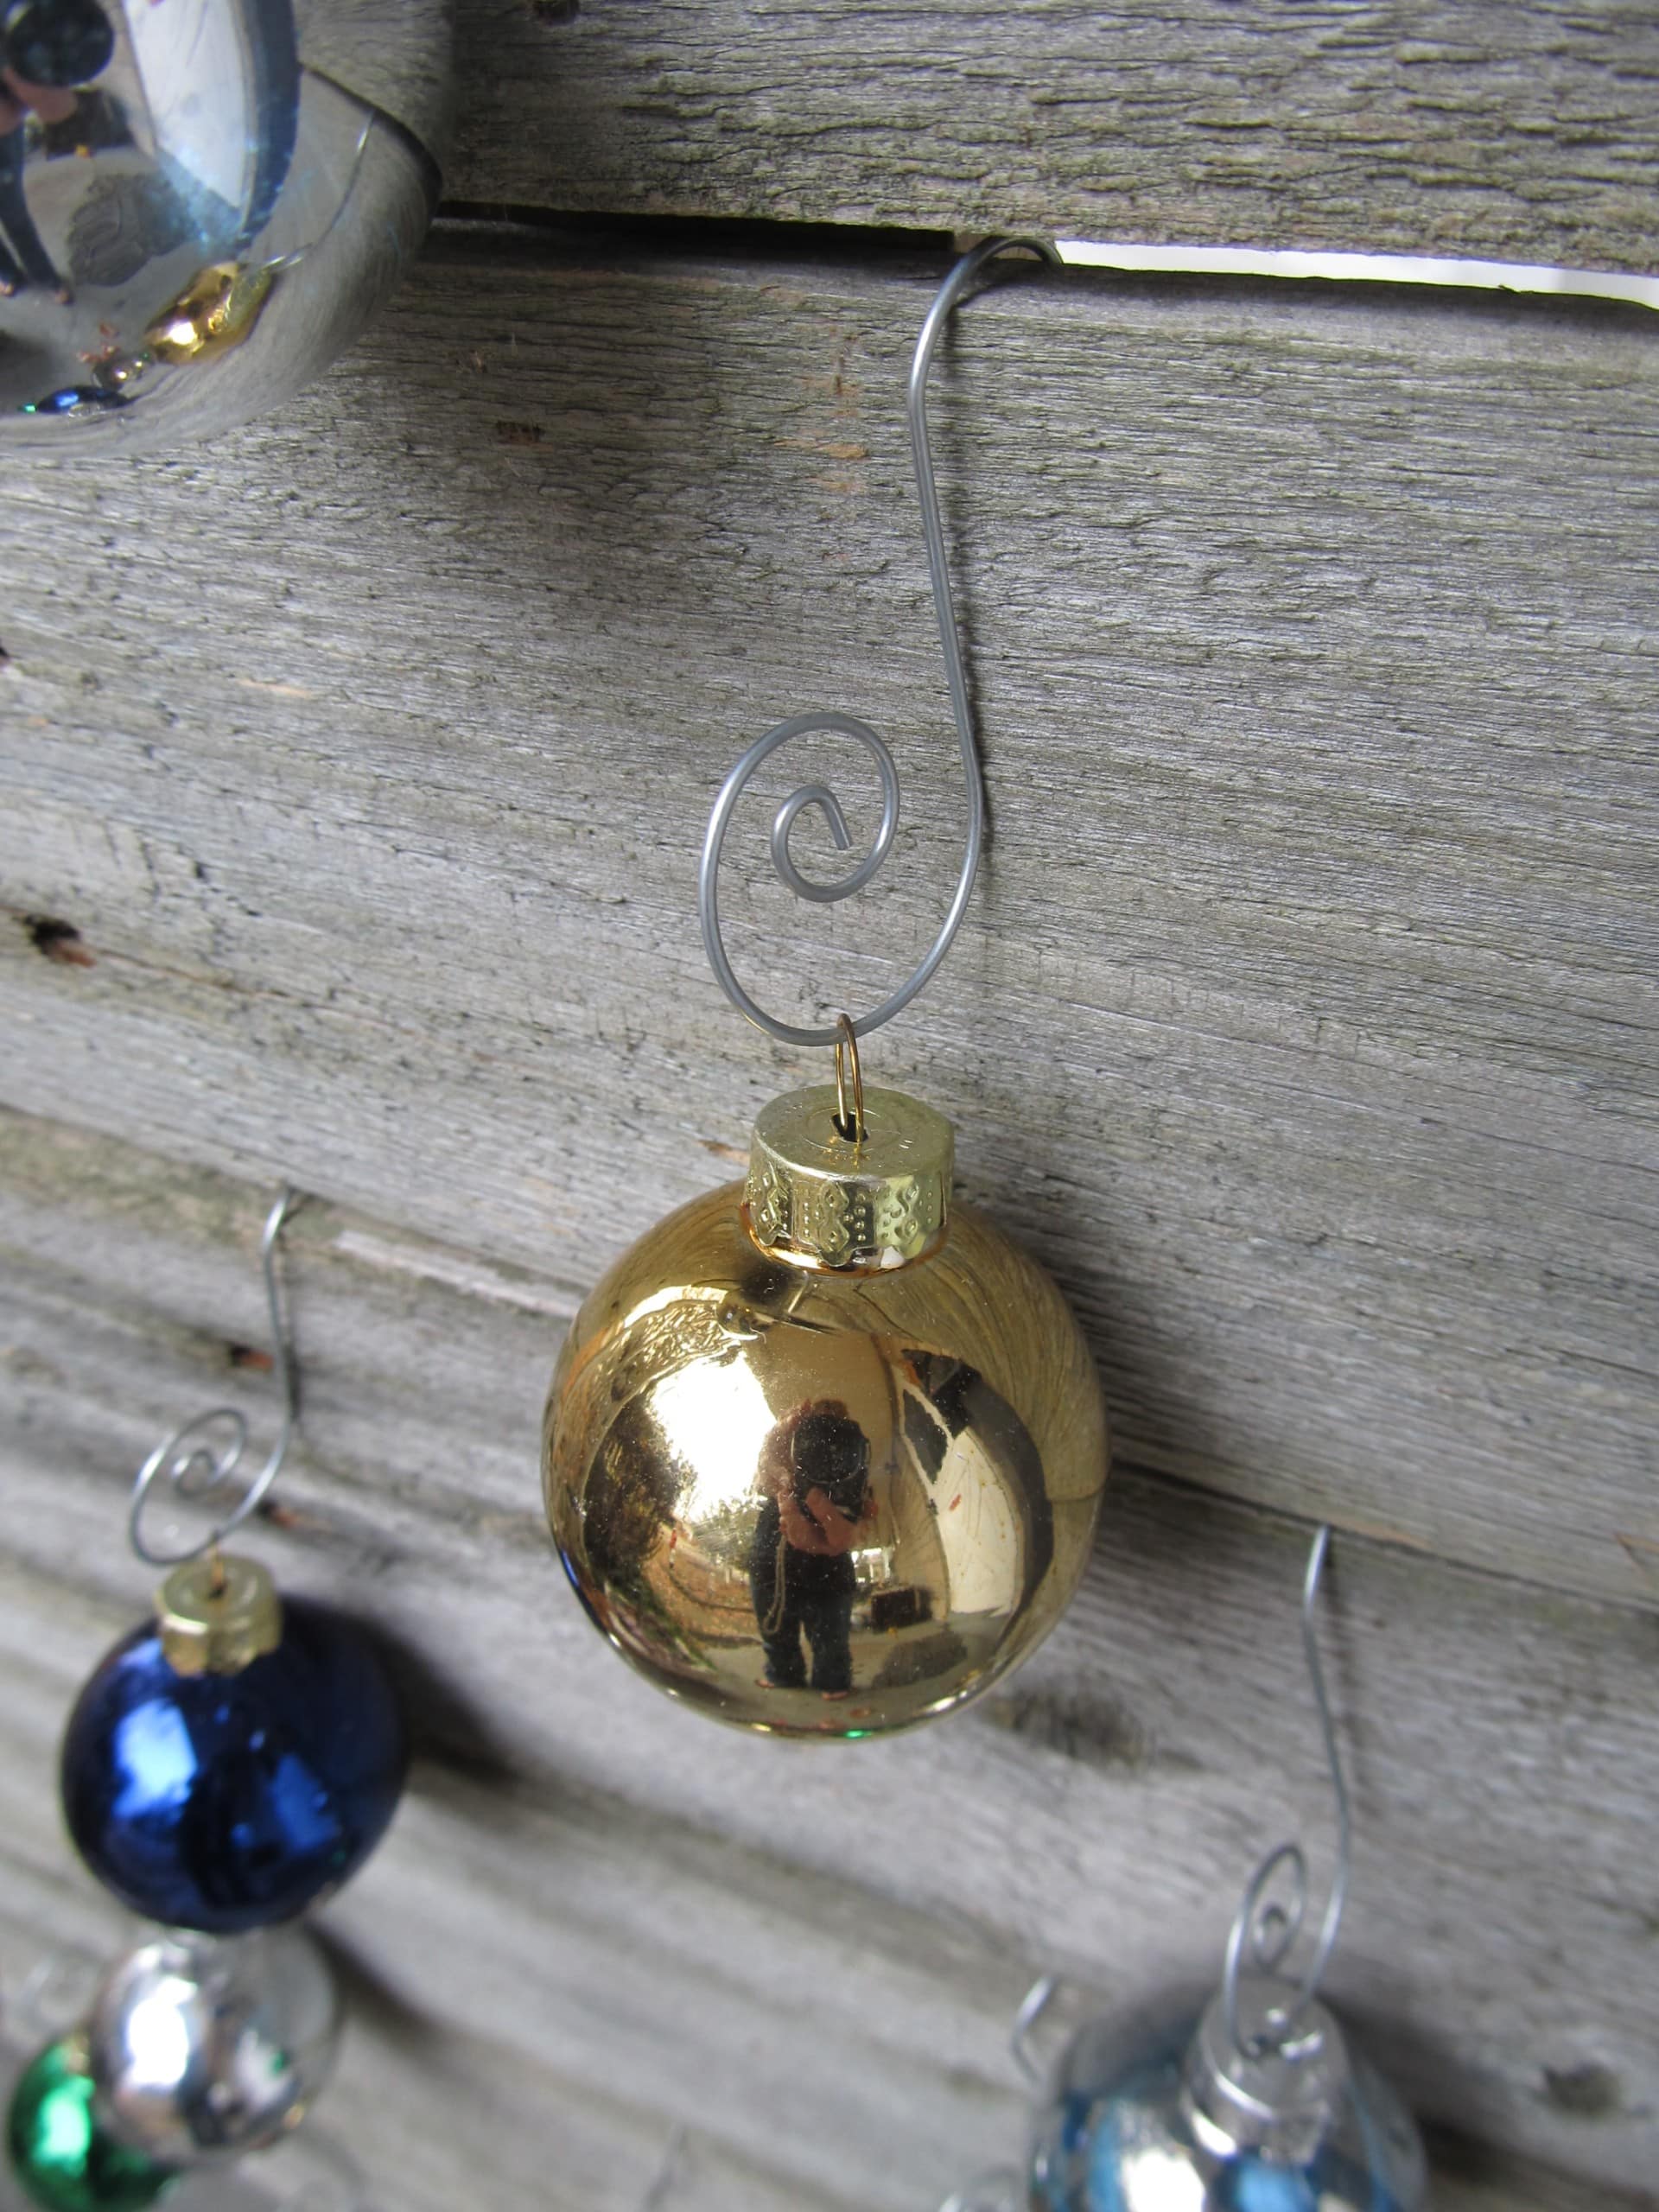
You can see that I simply added curly hooks from the $$ Tree and hung the ornaments between the boards’ cracks.
The best part of making your DIY Upcycled Christmas Trees is the endless options for sizes and shapes. You can add boards to make your wooden Christmas tree taller, fatter, or skinnier!
Do you have a favorite? How would you decorate one of these upcycled fence wooden trees? They are great for outdoor use, including your yard or porch. They could be painted or used to hold Christmas cards, and the possibilities are endless. I have a narrow one with multi-colored balls on my front porch to welcome my guests.
gail
More rustic fence projects here
See more bits and pieces projects here
sharing here:
Love these trees! Thank You for sharing!
Love the Have A Merry Little Christmas tree. So cute!
STILL love these trees made from reclaimed wood!
I think these are super cute, Gail. I have wanted to do something similar with some barn wood I have, but it is SUPER thick, and it would make some really heavy trees! Oh, well, it probably isn’t going to happen this year.
I really like yours cut with the steeper angle, and the look of the colorful balls hanging on.
this is such a cute idea.
I love the one with the twig star on top and the multi-colored balls. (sort of a traditional- NON-traditional tree)
🙂 Patricia
I love them all, and the stencil is totally not a fail! I have been wanting to make on of these, your design with the angles is perfect! Great inspiration Gail! Pinned!