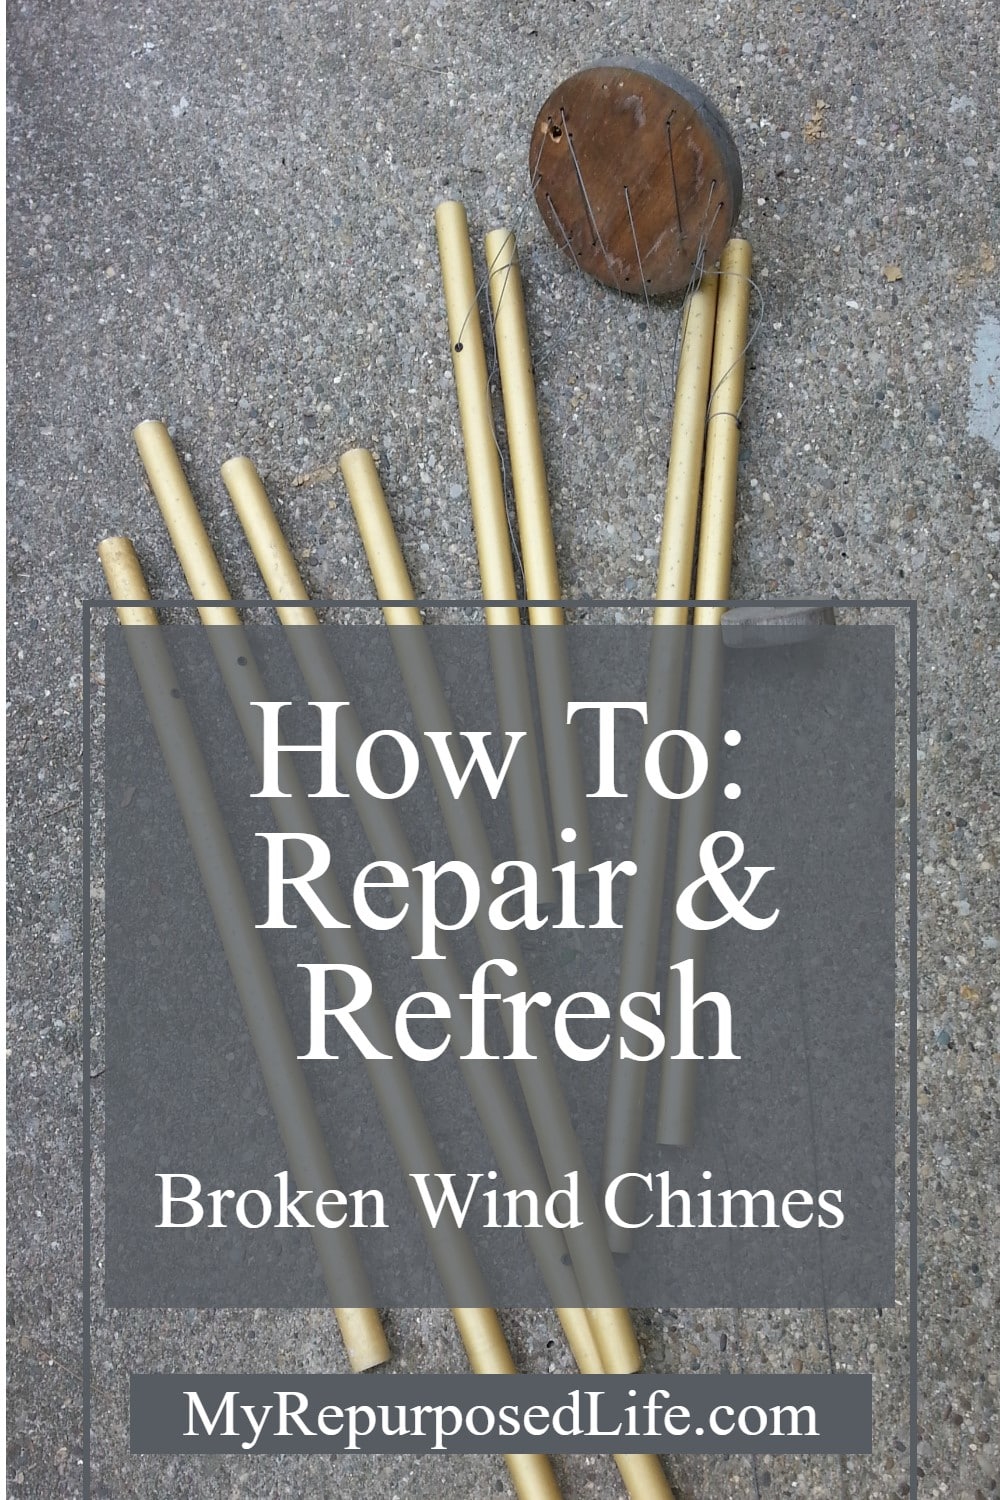
How To: Repair, Refresh Broken Wind Chimes
As an Amazon Associate, I earn from qualifying purchases.
Do you have a beloved set of wind chimes that’s seen better days? Instead of tossing them, why not give them a second chance with a little DIY magic? In today’s project, I’ll show you how to repair and refresh a broken set of wind chimes using simple materials and a bit of creativity. Whether they’re sentimental or just too charming to let go, this is an easy and rewarding way to bring your wind chimes back to life.
Can You Spray Paint Broken Wind Chimes?
Yes, you can! I posted this picture on Facebook as a “teaser” to ask what people thought I was working on. I admit it is sort of misleading.
Locate Broken Wind Chime Parts
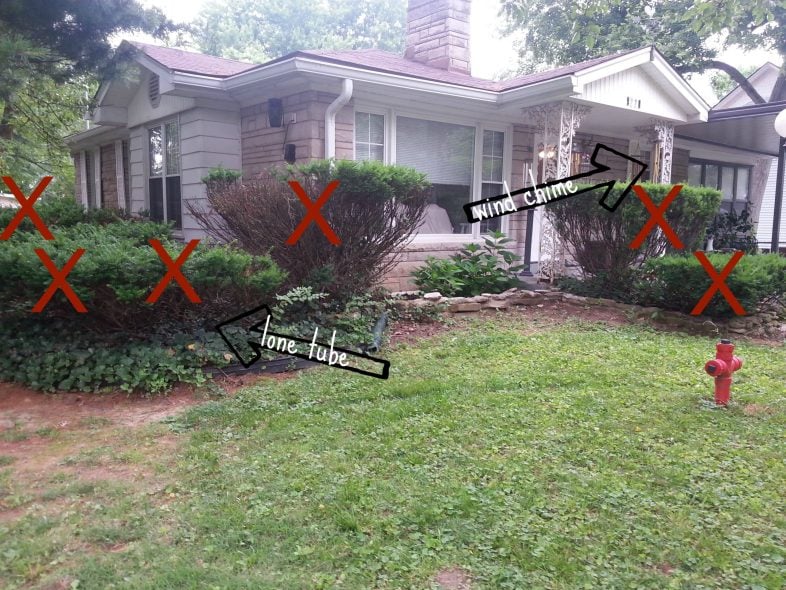
But before I can tell you about the project, I need to tell you the backstory. I recently hired a tree man to remove the giant stump in the front yard and a tree in the backyard, trim another tree, and remove some random pine branch.
While he was here giving me a price, I mentioned these bushes. They have been here for too many years, and it’s time for them to go! If you’re a regular around here, you know I’ve already removed some other bushes in recent years. I was hoping to do those two by the front porch this year. They are so difficult to dig up.
The tree man gave me a reasonable price for taking care of them along with the tree work. He would cut them down with a chainsaw and use the stump remover to get the roots where he could. Oh yeah! Where do I sign?
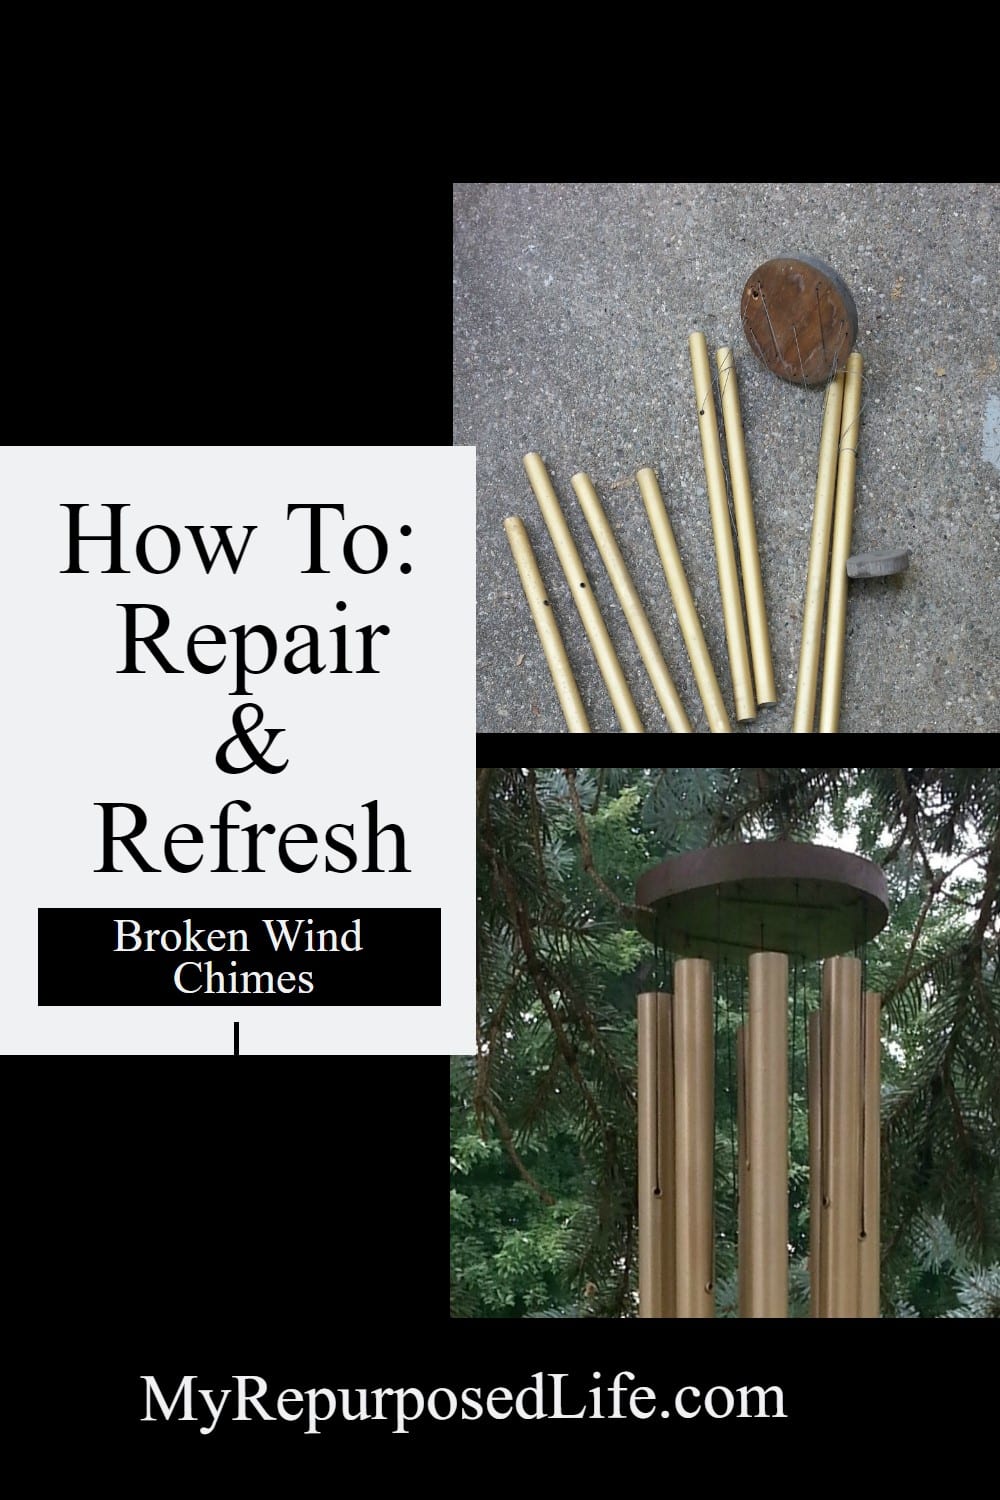
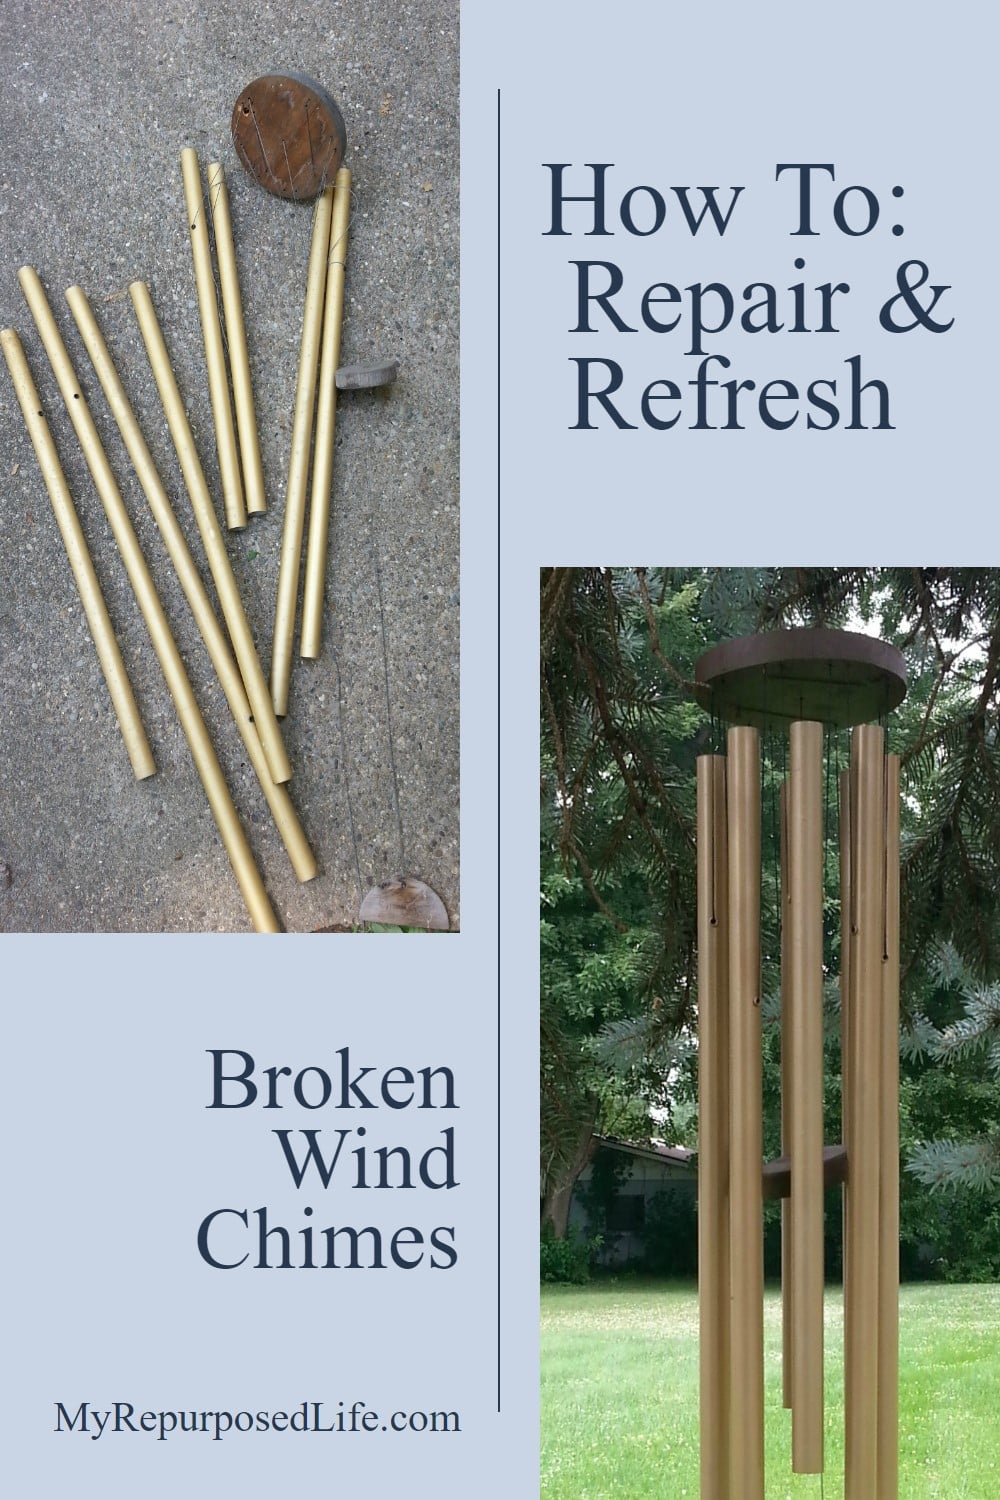
Note the wind chime hanging on the right and the arrow pointing to “lone tube.” After they cut the bushes and removed them, I found one of the wind chime’s tubes. It has eight tubes, but currently, only four are attached.
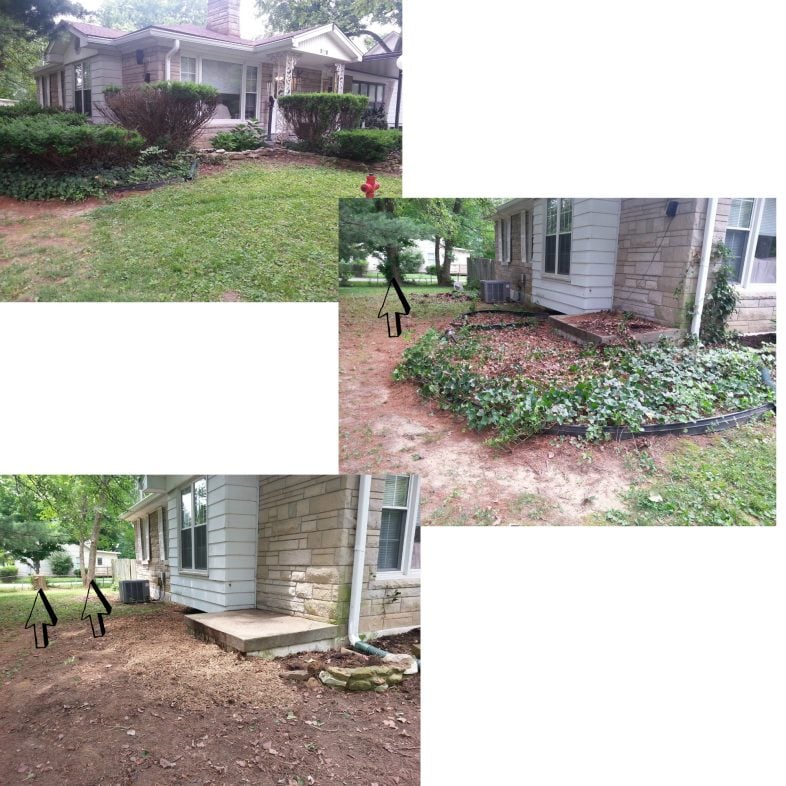
These pics aren’t exactly from the same angle, but you can see that even after the tree guys did their work (middle picture), I still had much to do to remove all the dirt, debris, ivy, and landscaping tubing. The random side porch used to have a door, but we closed it years ago. There is still a lot to do in the fall when the weather cools off, but I’m so glad I didn’t have to look at those bushes ever again.
In the bottom picture, the arrow on the left is the removed tree (the stump remains because it had grown into the fence), and the arrow on the right points to the trimmed tree.
So, on with our story. Now that I found the lone tube, it’s time to fix the wind chime.
Broken Wind Chime
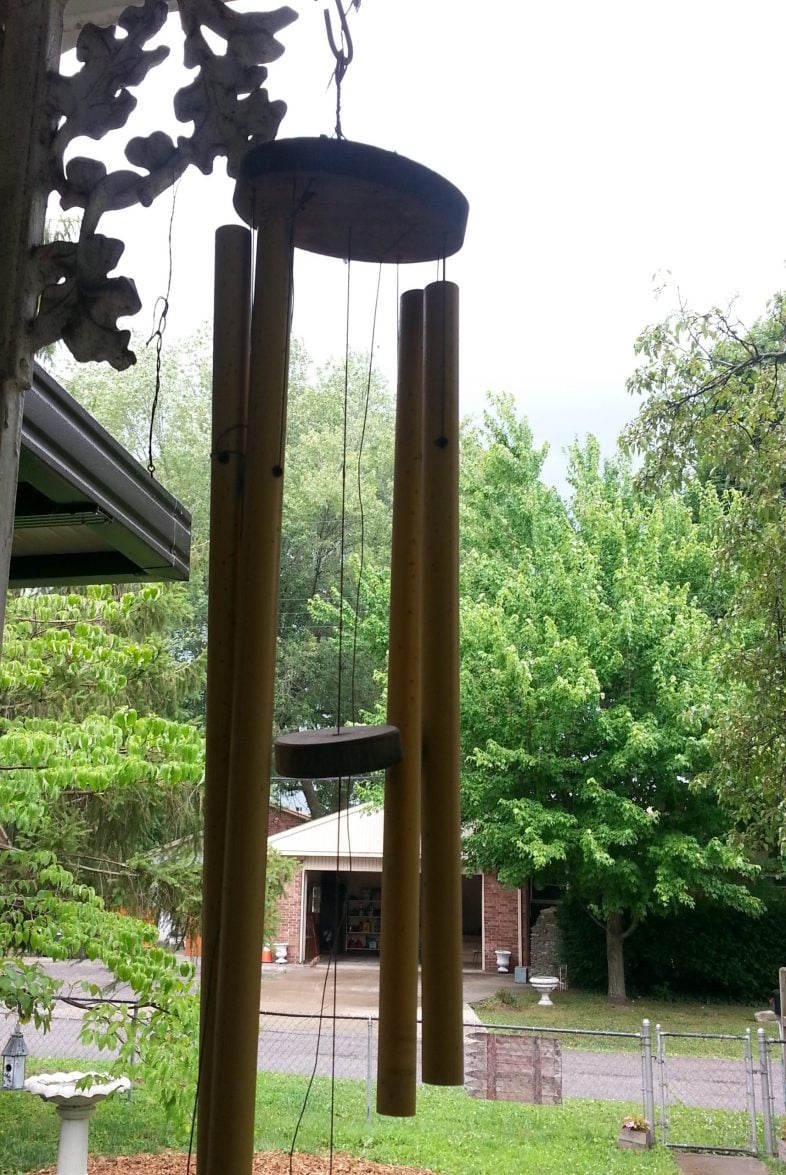
Here, you can see the old, broken wind chime. You can also see the area where the stump was removed.
You can see that only half of the tubes are still on the broken wind chime. Also, notice how weathered the wood is. Yikes! After I took it down, I saw a bug in one of the holes. After fighting to get it out, I realized it was one of those big wood bees! Ewwww, the tubes all had mud inside from some other kind of bug. Ugh!
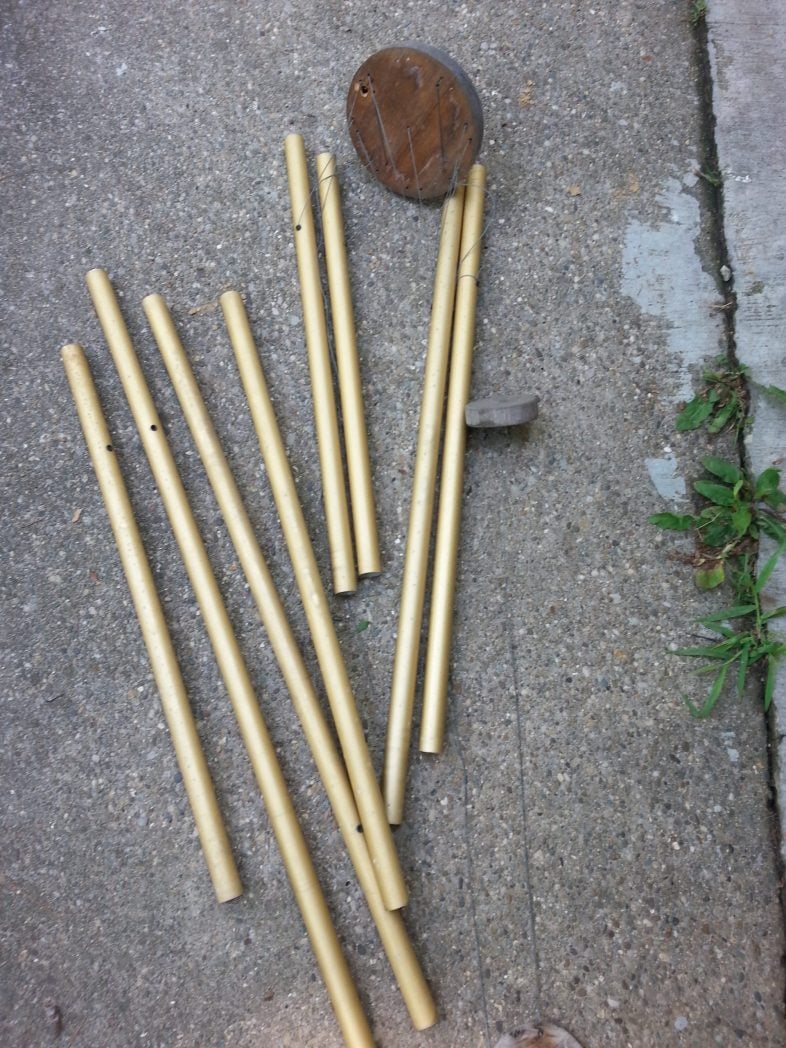
After taking several pictures of how it was all put together, I removed all the tubes.
I wiped them down with a cleaning cloth, hosed them off, and left them to dry.

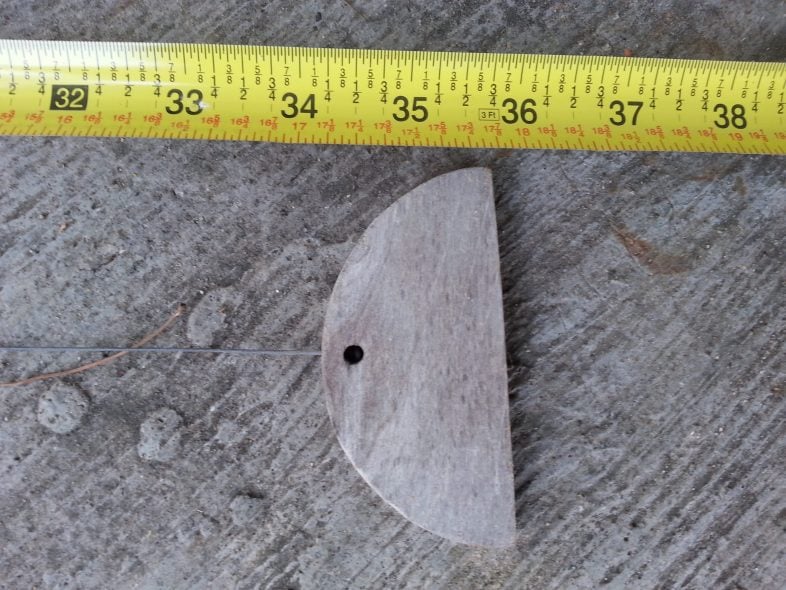
I measured the center string that holds the wind catcher and the clapper. However, I ended up not replacing that string at all, so this step was not necessary for me after all. Note how gray and weathered the wood is.
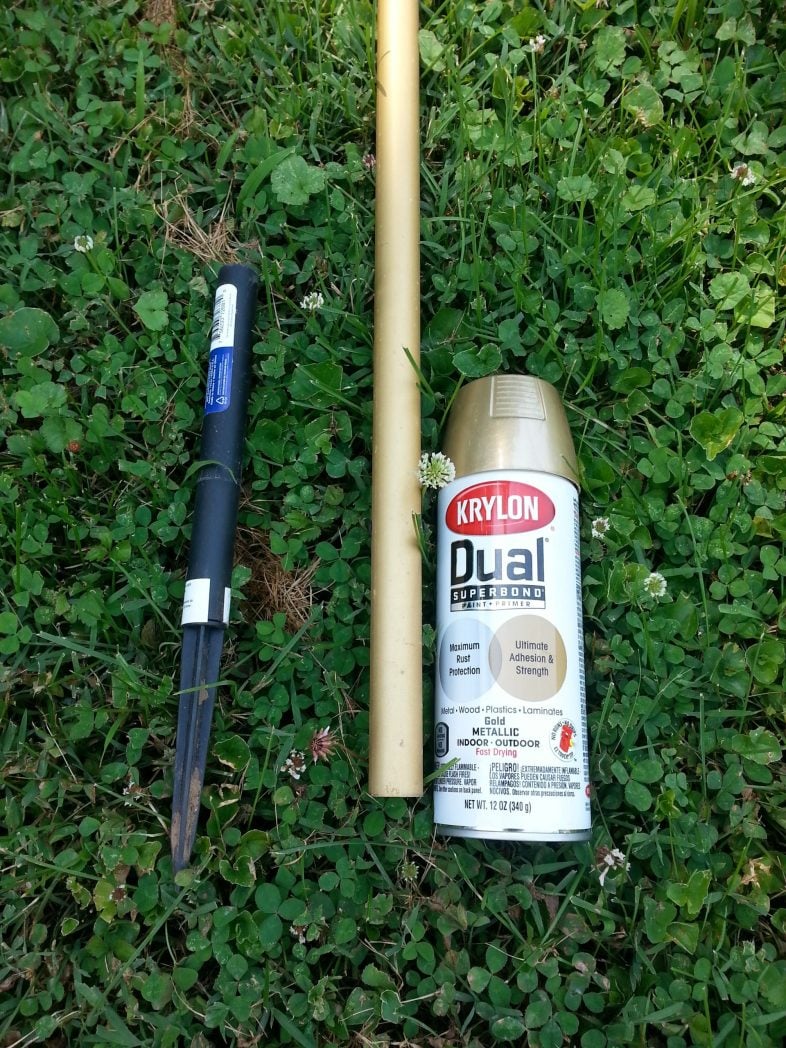
Spray Paint Tubes
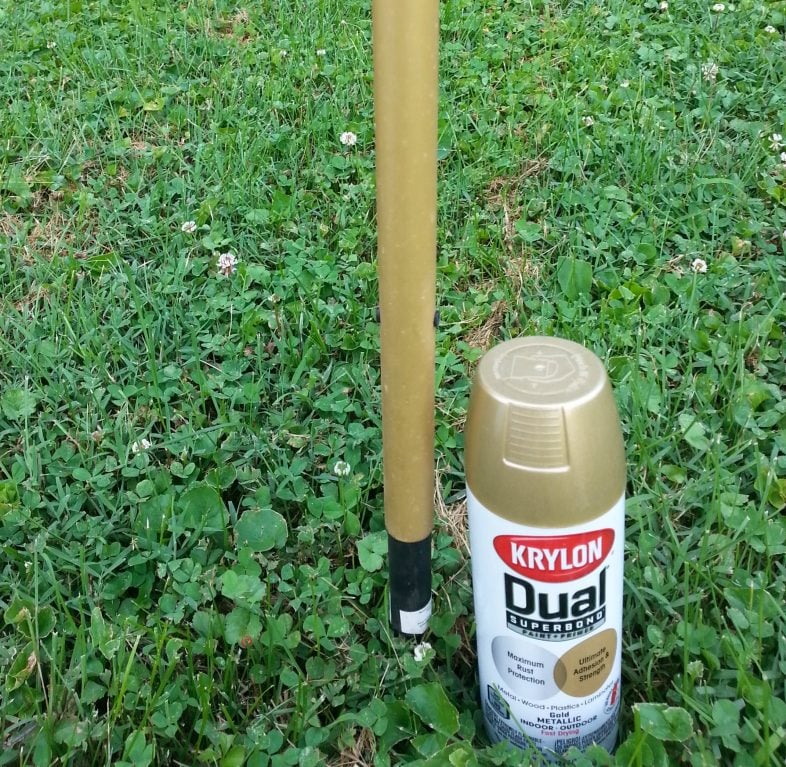
This is where the solar light stake came in. I intended to use it to hold my tubes for spray painting. In theory, it would work great—one problem—gnats! It made the tube too low to the ground.
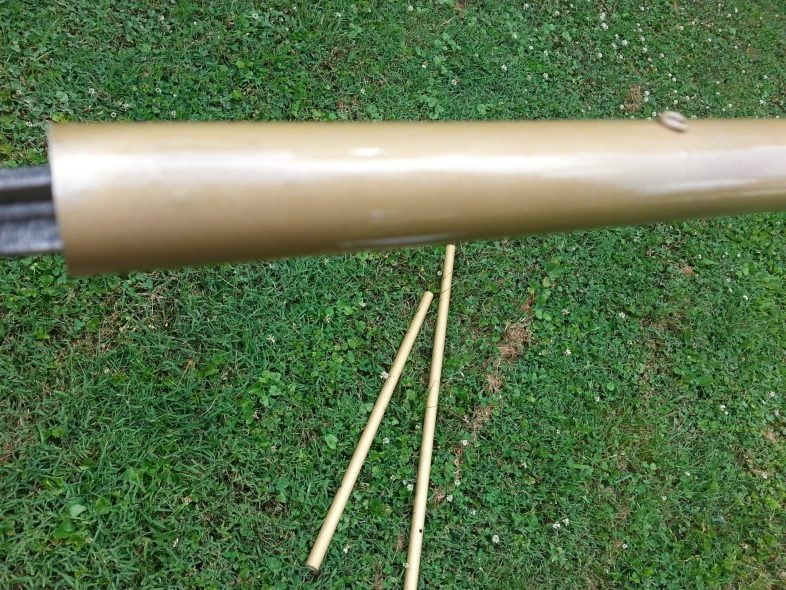
Plan B. While spray painting, I still used the stakes and plastic tubes to hold the wind chime tubes in place. After painting two of the tubes, I noticed that some pitting was showing through, so I had to lightly sand the others.
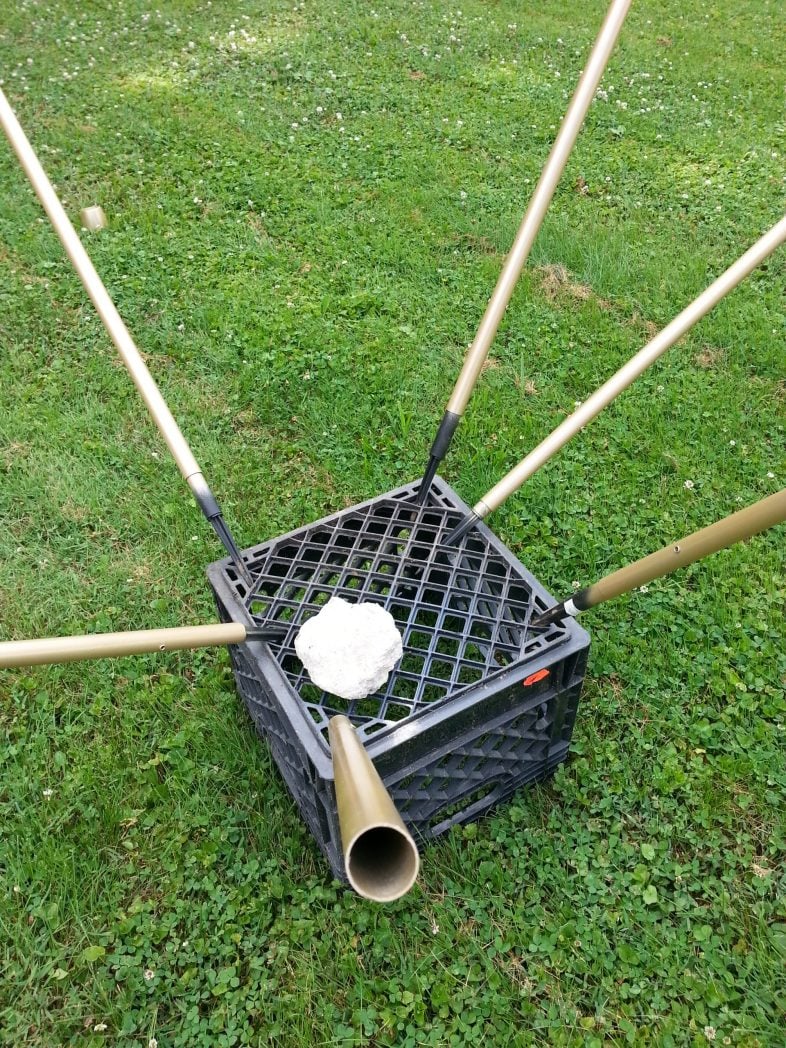
After spraying each tube, I placed them in a plastic milk crate so they could dry.
Stain & Refresh Faded Wood
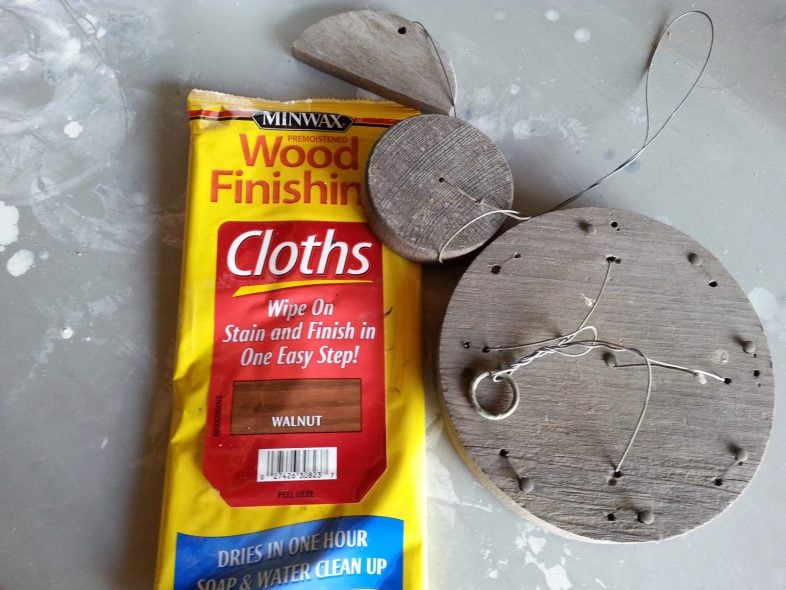
While the tubes were drying, I freshened up the top piece, clapper, and wind catcher with some Minwax Wood Finishing Cloths in Walnut.
What Kind of String Do I Use to Repair Broken Wind Chimes?
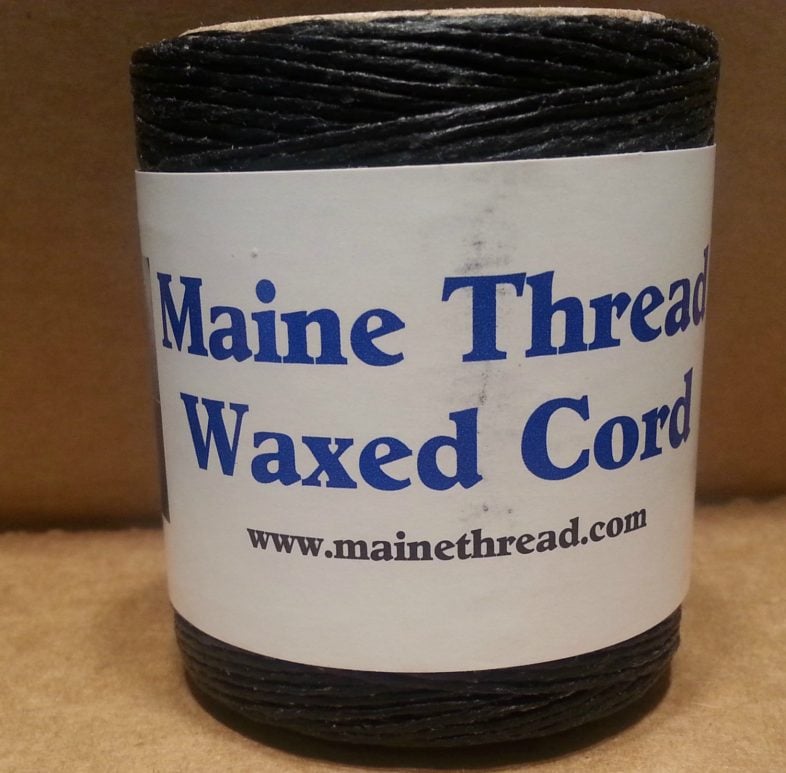
This is the waxed thread I used for stringing my wind chimes. I like the way the description tells you how thick the string is. This one is as thick as a dime. I laid a dime alongside the old string, which was as thick as a dime.
Tips For Restringing

I tied the wind chime to my ceiling fan pull chain and got busy. Some brads were in some holes to keep the strings from slipping, and several were missing. I used toothpicks in their place. After finishing, I broke the toothpicks off at the top and the bottom.
When I first thought about doing this project, I googled, and many said they used fishing lines for restringing. I’m happy I used the wax string. I like the way it looks, and it was stiff and very easy to work with, threading easily through the holes in the tubes and the wooden top piece.
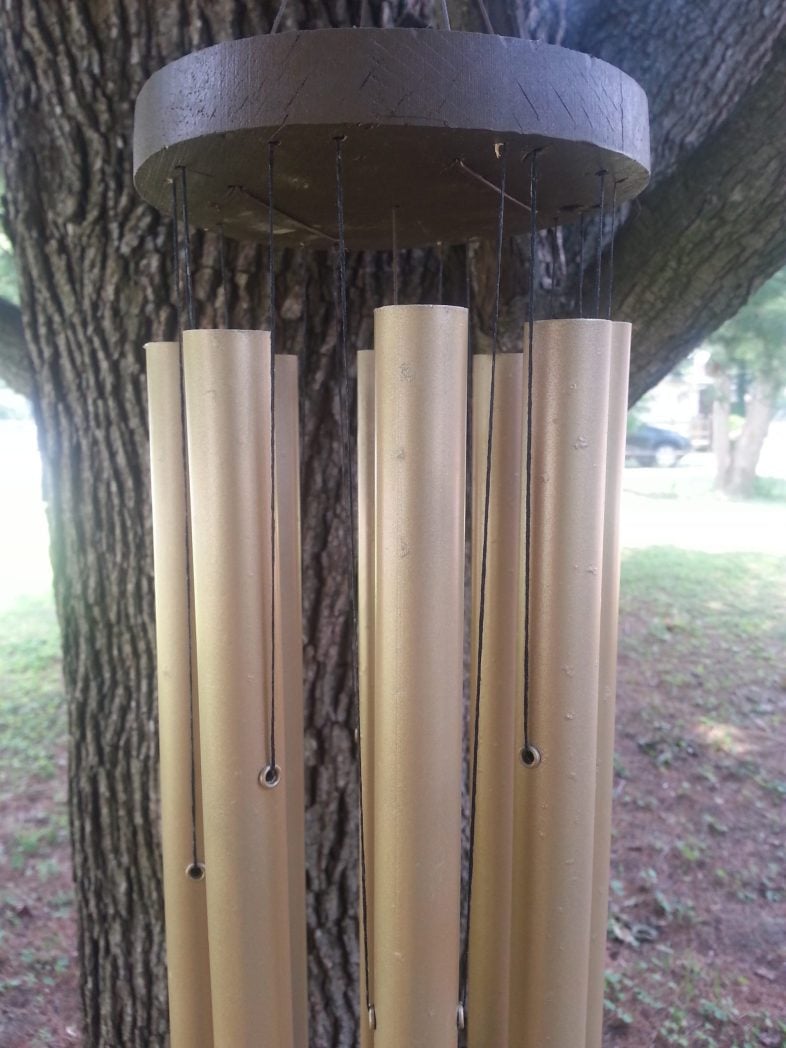
I used a very long piece of string/thread, working the first four tubes to the left and then to the right with the following four. I’m unsure why; it just seemed to help balance it better.
You can see these two tubes are the ones I didn’t sand the pitting off. The Krylon Dual Superbond is excellent paint, but it’s not magic. The pitting really should have been sanded before I painted them. I have checked my other wind chimes, and they all have it. ![]() Look at how nice the wooden top piece looks after I have used the Minwax Finishing Cloths. They are perfect for a small job like this.
Look at how nice the wooden top piece looks after I have used the Minwax Finishing Cloths. They are perfect for a small job like this.

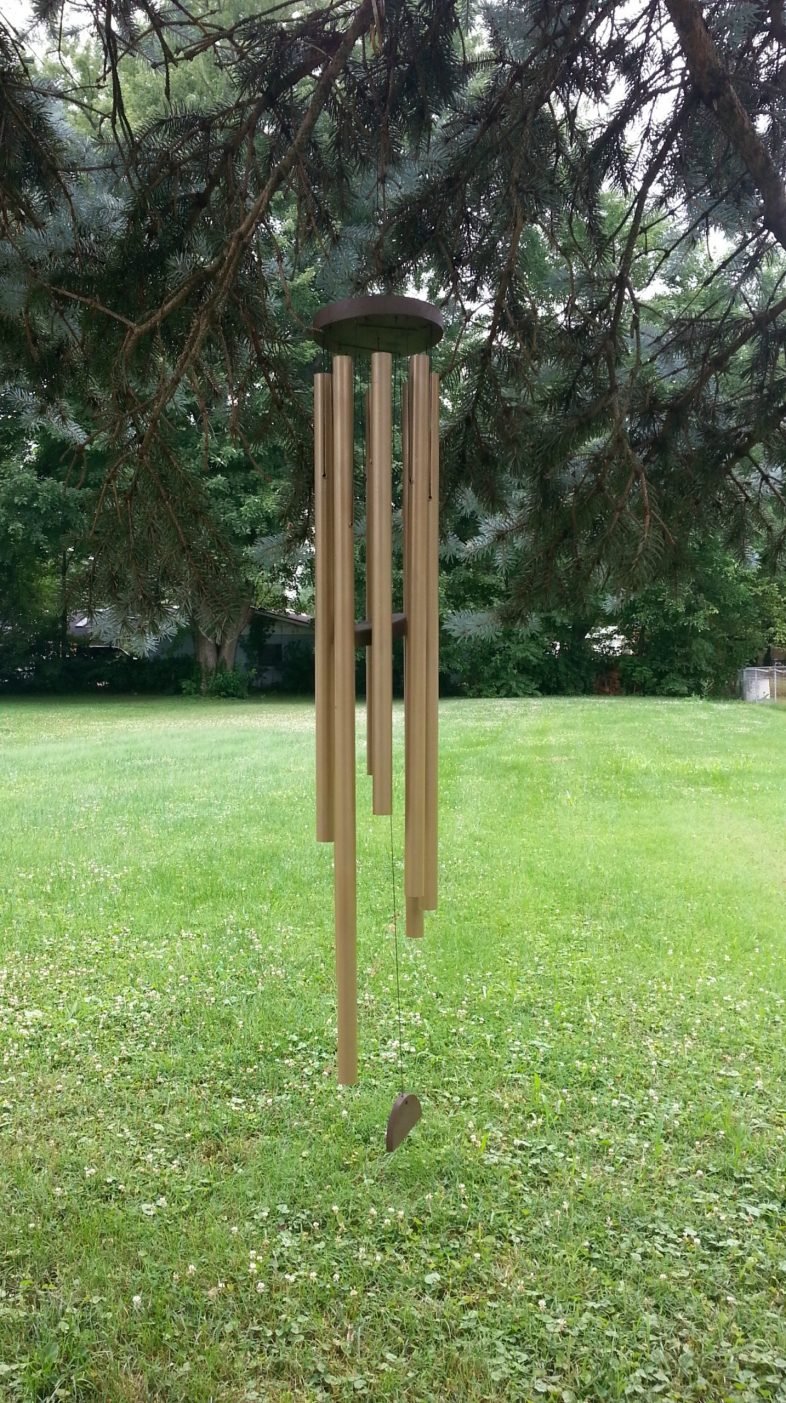
I hung it in a tree so I could take pictures of it. I’ve since moved it back to the porch. I’m anxious to see if the Krylon paint keeps the tubes from pitting again; I hope it will.

I’m so glad I didn’t give up on these wind chimes. With just a little time and effort, they’re now singing in the breeze again—looking better than ever! If you have a broken or weathered set of your own, I hope this inspires you to rescue it too. Be sure to check out my other simple DIY projects for more creative ideas around the home and garden.
gail
Related Content:
Well done!
Thanks Kathleen!
I have more wind chimes that need some TLC, I just need to find some “time” to take care of them.
gail
Pam,
I would recommend you finding blocks of wood at the store to replace the broken pieces. I did that here: https://www.myrepurposedlife.com/wind-chime-makeover/
Hope this helps!
Pam,
I would recommend you finding blocks of wood at the store to replace the broken pieces. I did that here: https://www.myrepurposedlife.com/wind-chime-makeover/
Hope this helps!