Repurposed Baby Gate Mirror
As an Amazon Associate, I earn from qualifying purchases.
Hi diyers, it’s Joan from Scavenger Chic, and I have a great repurposed baby gate project to share with you. It uses an old baby gate, a discarded mirror pallet wood and MDF.
Repurposed Baby Gate Mirror


While it looks like a window, it’s not an actual window, it’s an impostor. If I’m going to have a window mirror I want the real thing, the one with the chippy paint and the glazing falling out…this one is way too new for my tastes, it will have to be repurposed.
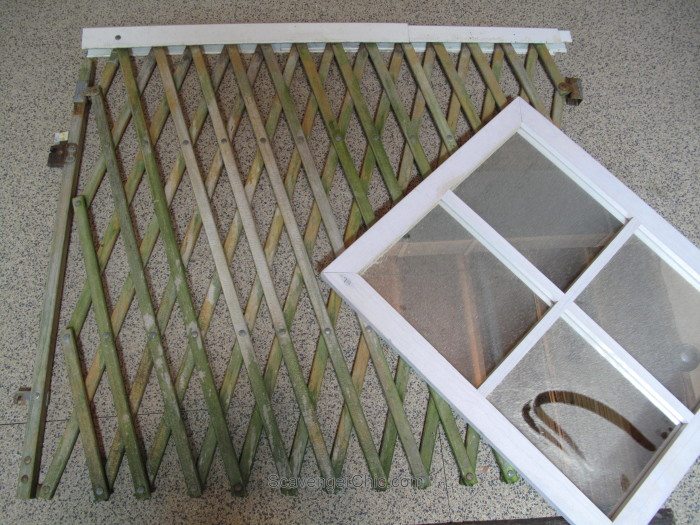 I wish I could say that this was my kids baby gate and that I remember their little chubby faces standing at the top of the stairs, not being able to fall down. Not so.
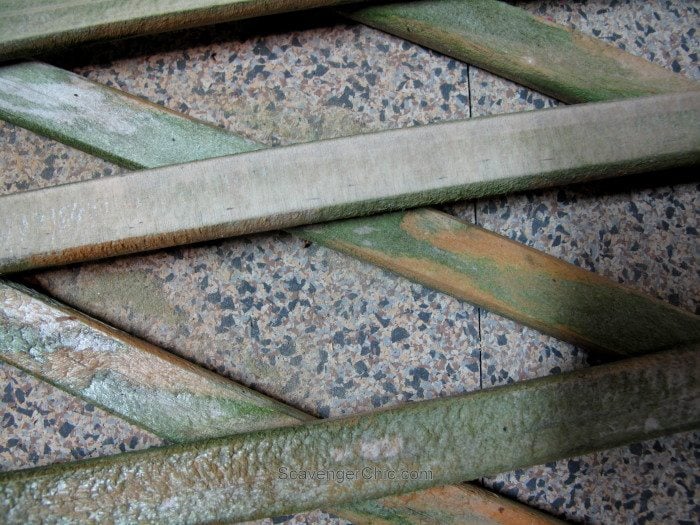 The repurposed baby gate was kind of fuzzy with green stuff. But! Not after I attacked it with a palm sander.
Stretch out gate, tack in place
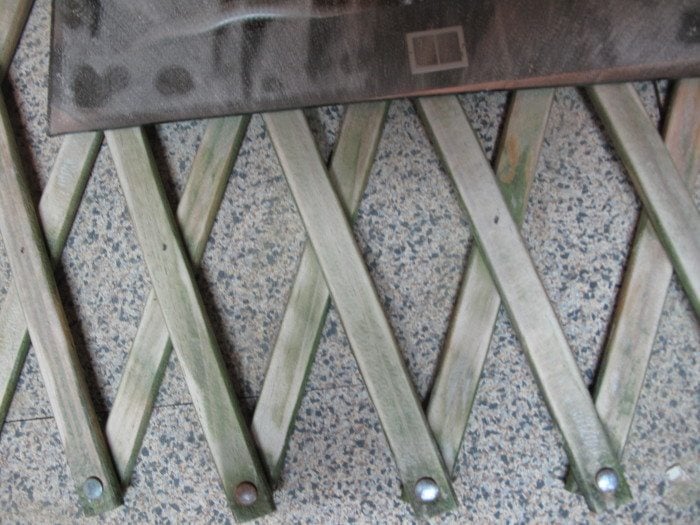 To keep the slats in place, I used a nail gun to hold the gate open.
Now wouldn’t you think tacking the wood in place would keep the baby gate open? It didn’t…it still wanted to fold like an accordion.
Design your project
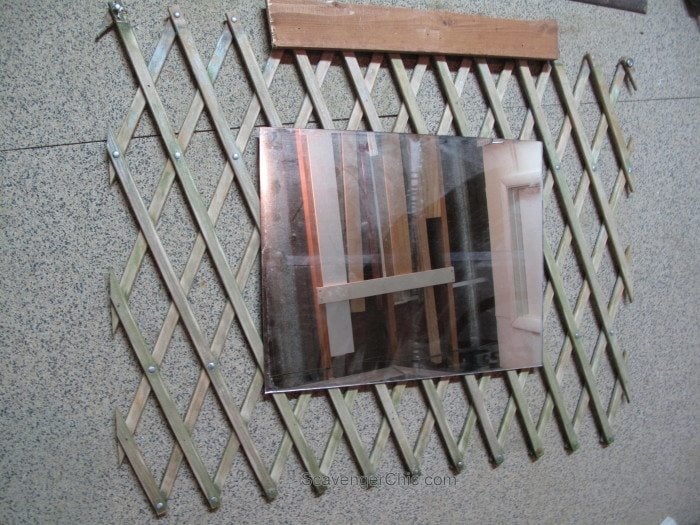 In order to keep the repurposed baby gate from folding in on itself, a piece of scrap wood needed to be attached to one side of the gate.
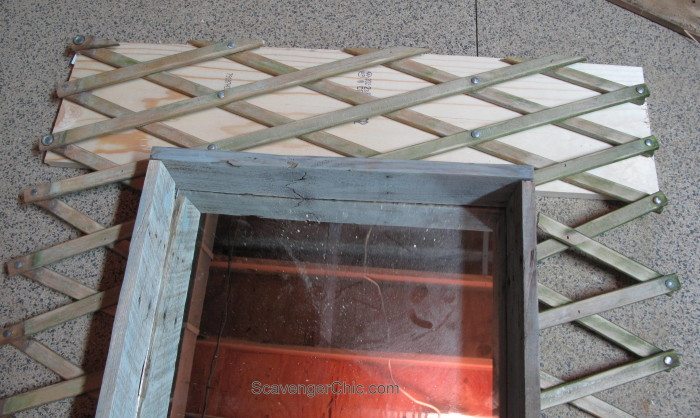
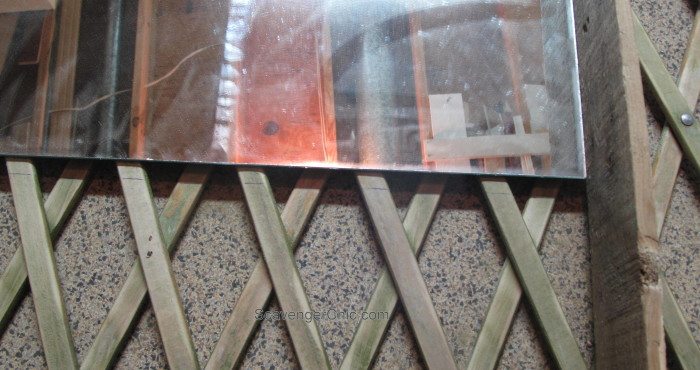 While the gate was still laying flat and the mirror was in place, I laid out a pallet wood frame around the mirror.
Cut away extra baby gate pieces
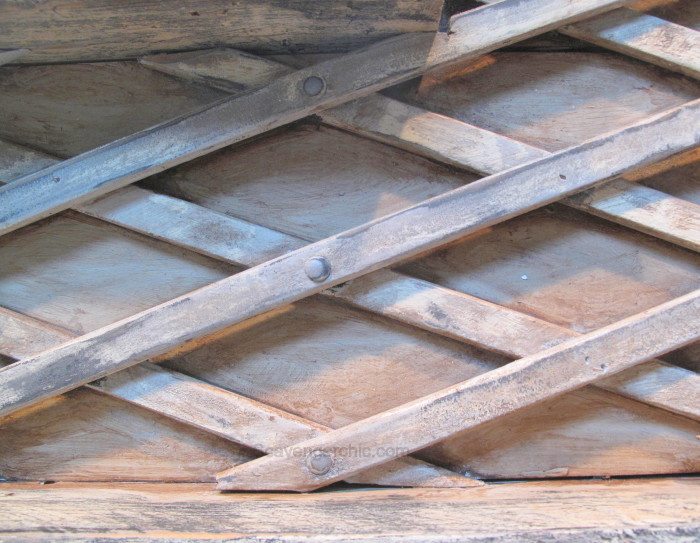
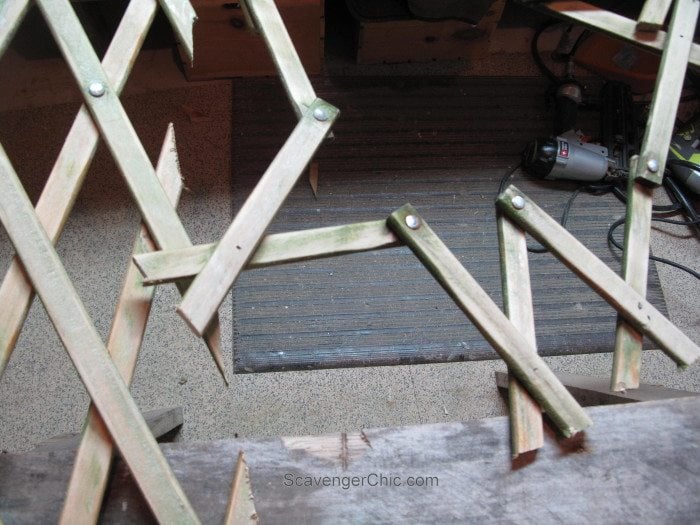 With a jigsaw, I cut out the markings I had just made. You can see why you want to tack the wood together where it crosses before you cut out the mirror center.
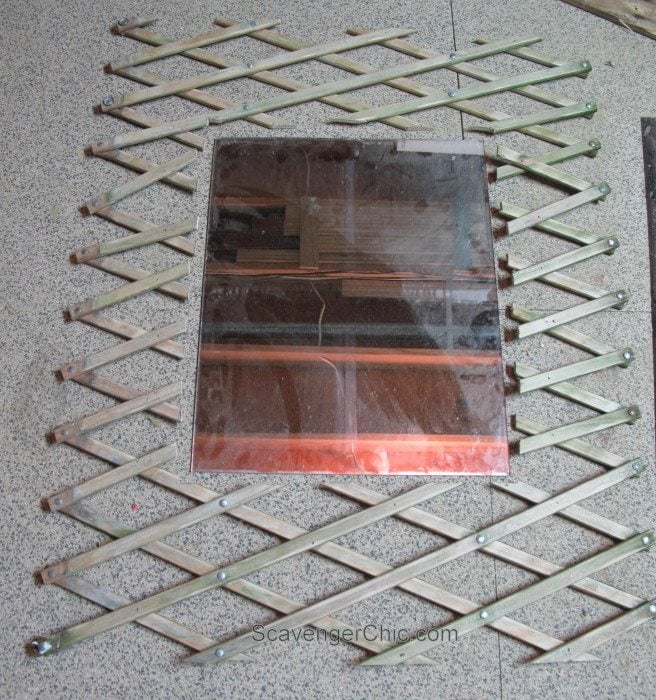 Relaid the mirror and baby gate back out on a flat surface.
Build a frame around the mirror
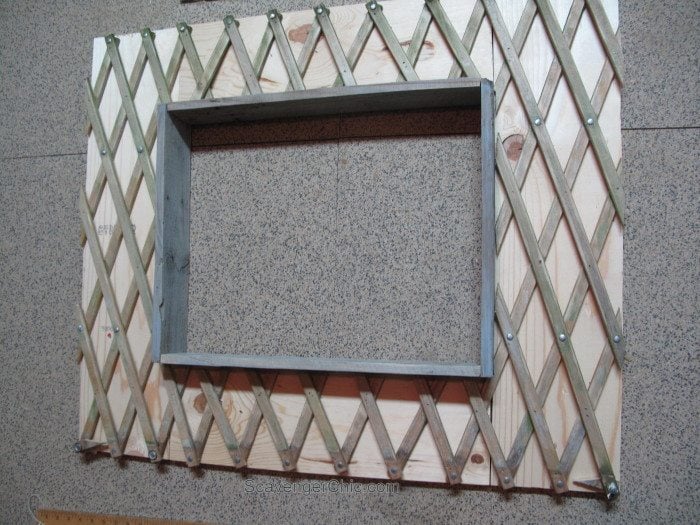
 Nailed the interior pallet frame together. Make sure the pallet wood frame still fits within the repurposed baby gate.
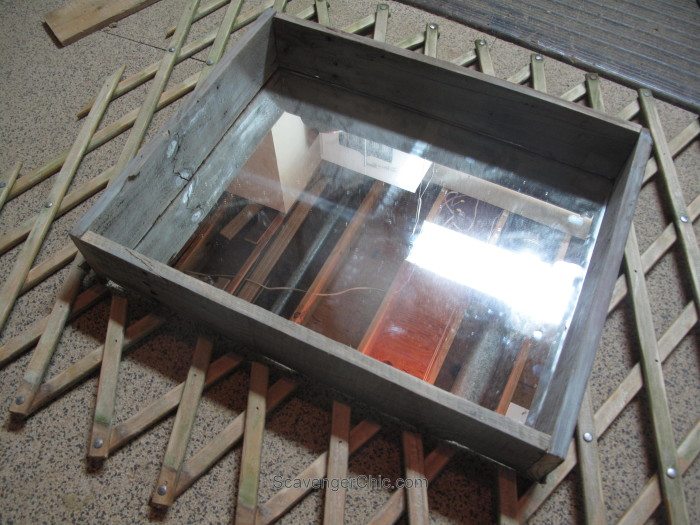
 With 1×8 pine pieces, framed out the rest of the mirror. Trim to fit if necessary.
Add outer frame for mirror
 With a nail gun, nailed the gate to the 1×8 pine pieces.
Secure backer board to outer frame
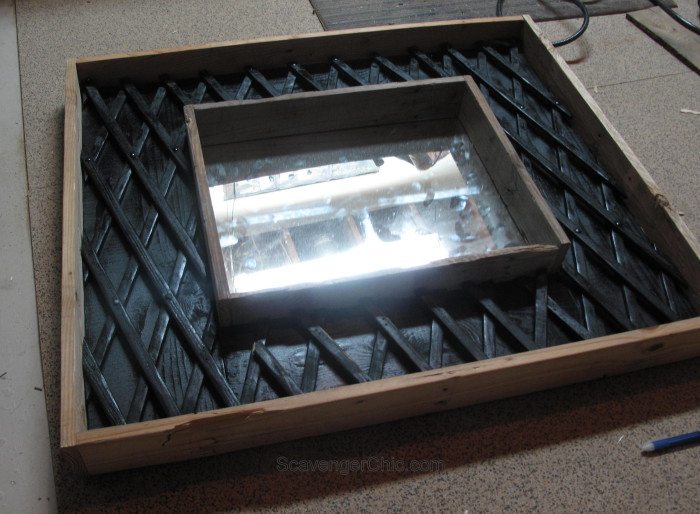
 With liquid nails construction adhesive, a 1/8″ mdf backer board is slipped under the entire frame.
Time to paint
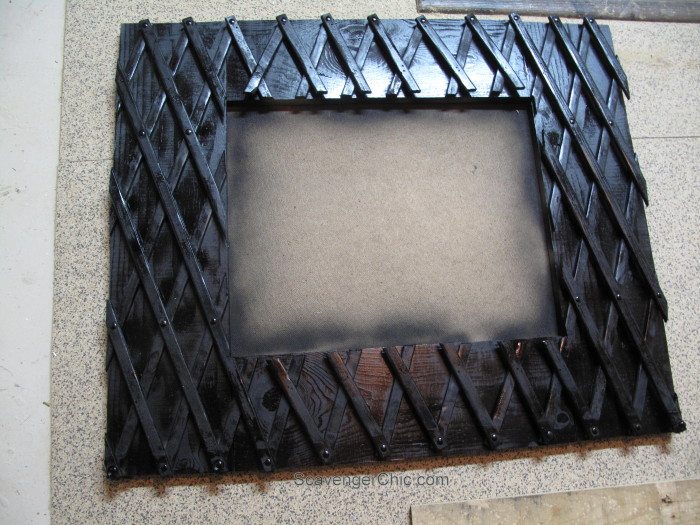 You can see the entire piece was spray painted a coat of semigloss black.
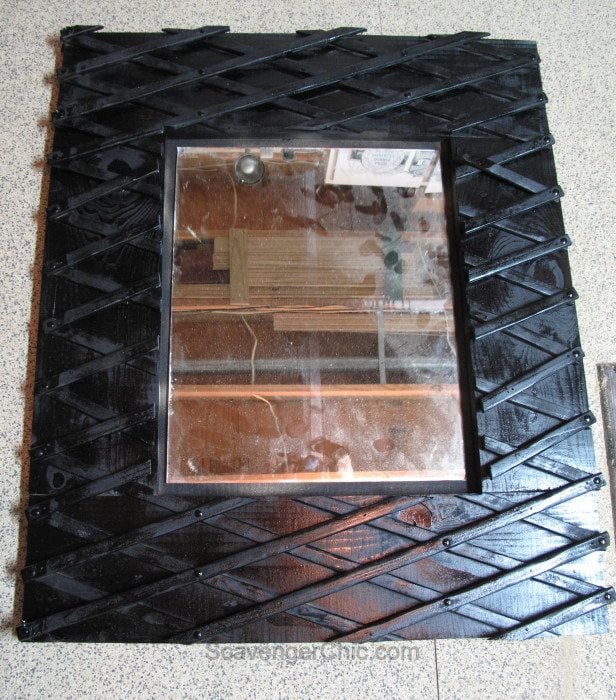 It’s a must for the mirror to be attached with mirror adhesive.
Construct the outer box
 Outer frame of pallet wood was cut, and using finishing nails attached in the corners and nailed to the 1×8 pine.
Paint with a topcoat
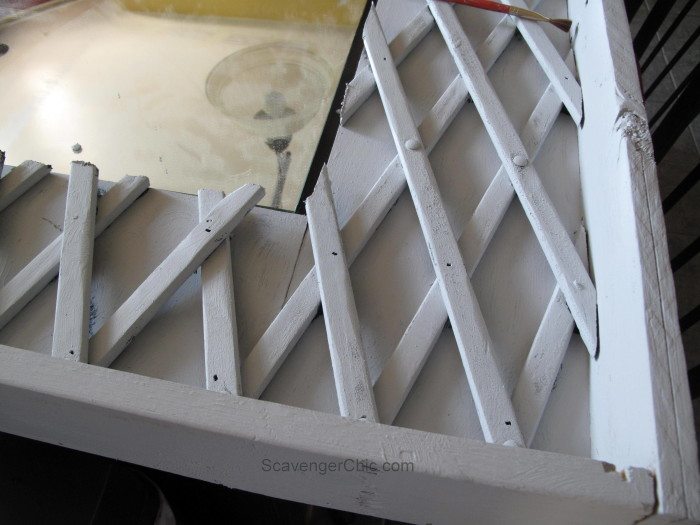 This can be spray painted or painted on with a brush. Spray paint is definitely the easier choice. Would you believe I’m not loving the color?
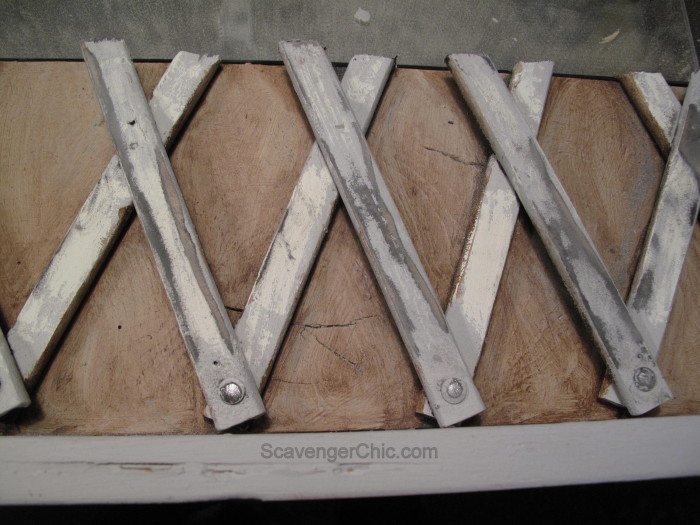 The bottom layer was finished off with a dark wax, painted on and rubbed off. This is the reason, you just might want to finish the 1×8 backing before attaching the baby gate. I used q-tips in the corners to smooth out the extra wax.
 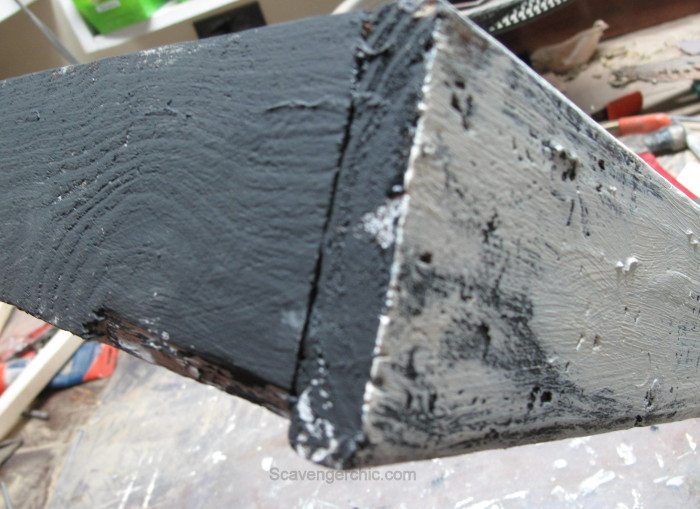 The pallet wood interior and exterior frames were each given a coat of black paint, followed by a coat of gray paint.
.
 This is the difference in finishes.
Don’t you love the final outcome?
 A couple of finishing nails was all it took to nail the interior frame to the 1×8 pine base.
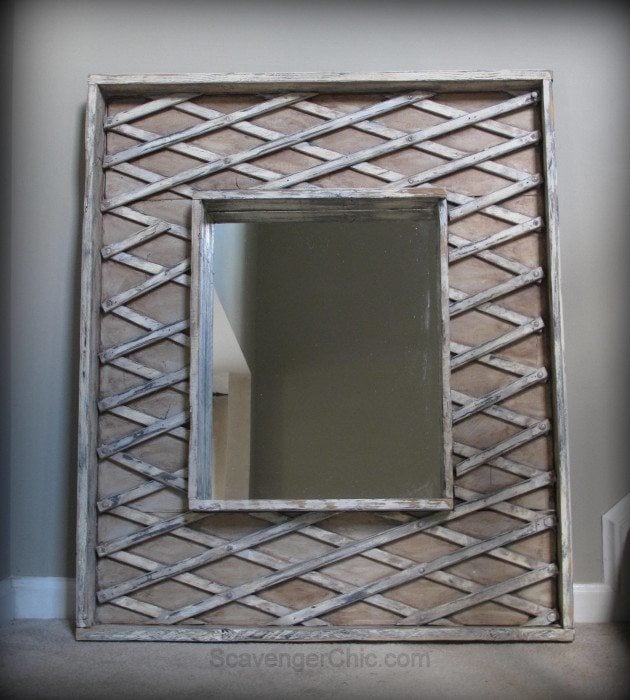
Just think, you can be the first in your neighborhood to own a genuine repurposed baby gate mirror.
Make sure you stop by and visit me over at Scavenger Chic and I’ll be back next month with another fun repurposed project.
Joan
Such a cool way to make the geometric patterns that are so stylish, and great reuse; f trashed items!
That is really pretty. I never would have thought of this! It looks very high-end, thanks for sharing your lovely idea. 🙂
Omg, I love this! I think I probably would have picked up the baby gate too but I’m not sure I would have come up with such a great way to repurpose it!
Tania
I love Scavenger Chic! This is an amazing upcycle–so classy!
wow Joan! I haven’t seen a baby gate like that since I was a kid. lol
You did a fabulous job bringing the project home. I seriously don’t know how you had the patience. I love your new mirror!
gail
Seriously… you made a piece of art from a baby gate, that is incredible!!!
Joan, this is brilliant! 🙂 It looks wonderful and I’d be delighted to have such a stylish mirror on my wall! 🙂 Thanks!!