Upcycled Bunk Bed Bench
As an Amazon Associate, I earn from qualifying purchases.
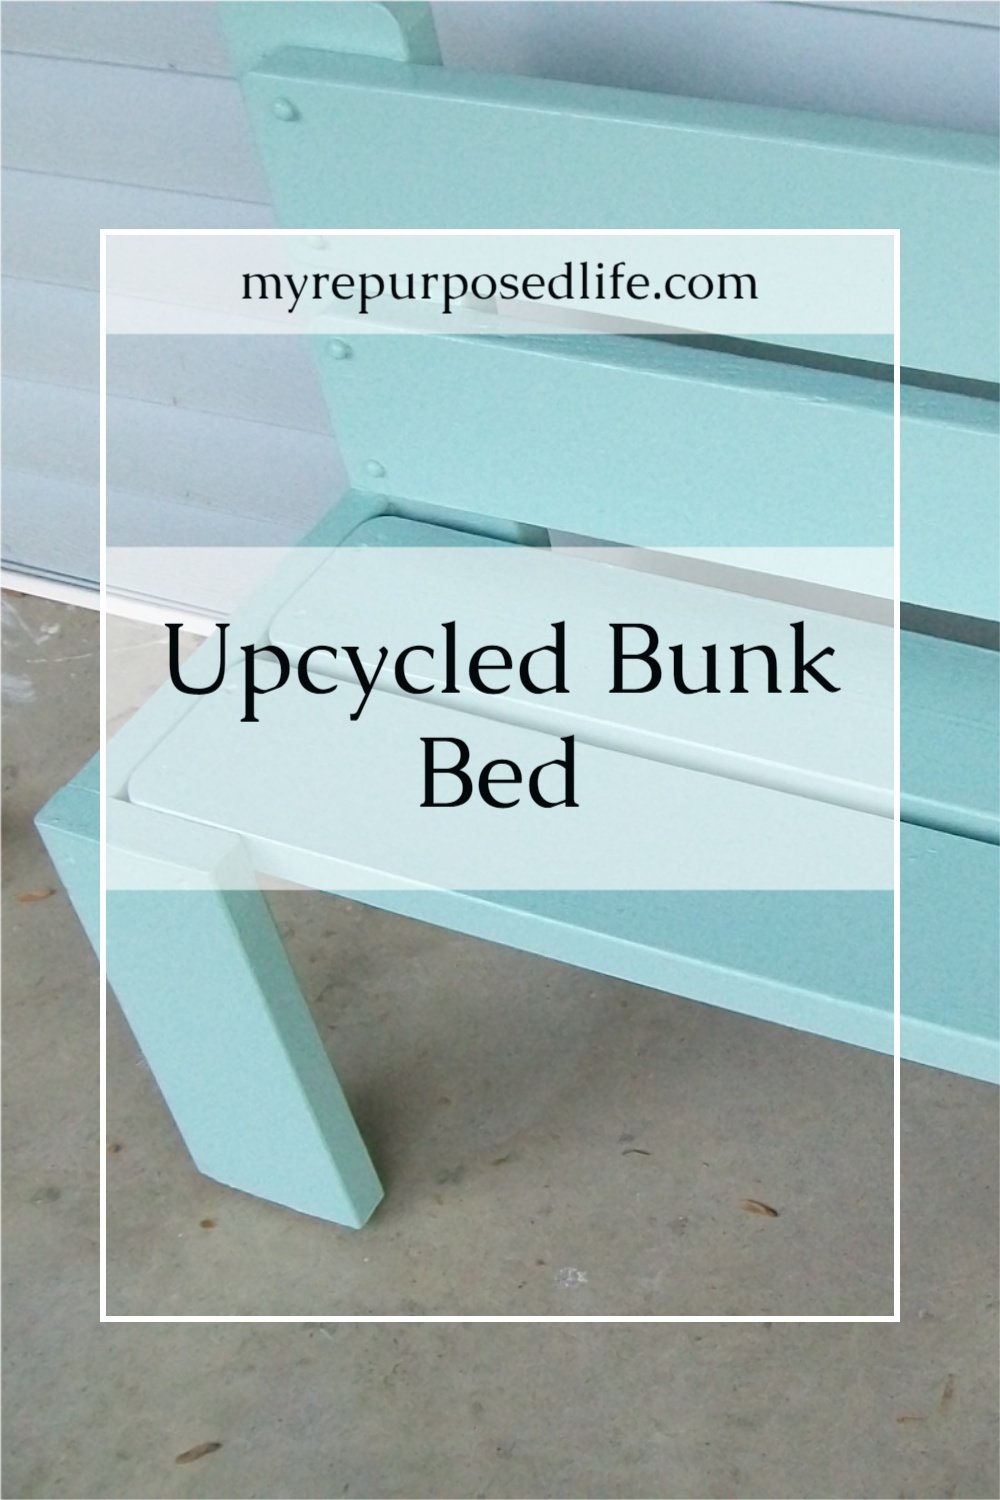
This isn’t your regular headboard bench, it’s an upcycled bunk bed bench.
Remember this bunk bed? My neighbor Marianne called me while I was in Nashville and told me there was a bunk bed in the garbage at her next door neighbor’s house. Marianne is the one I made the spindle table for, and she’s also the one I traded the rustic table for the bead board wallpaper.
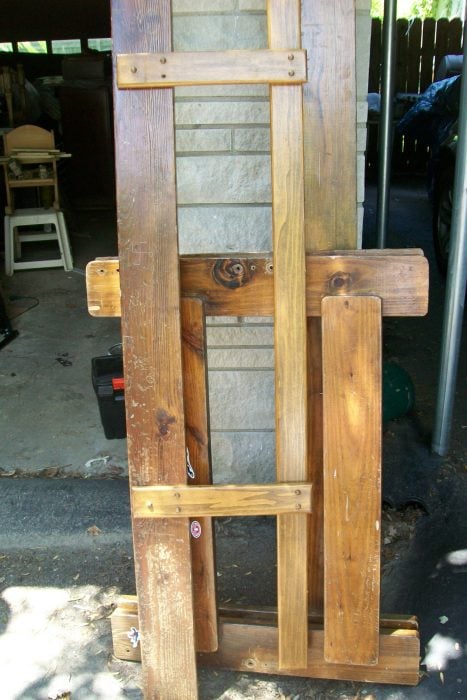
Dismantle Bunk Bed

I took out all the screws and buttons. Some of the pieces were glued and I had to pry them apart.
I was testing the waters, laying out the parts to see what this bunk bed wanted to be. Maybe a table, or a bench? There were four boards that matched, and two boards that those four are laying on.
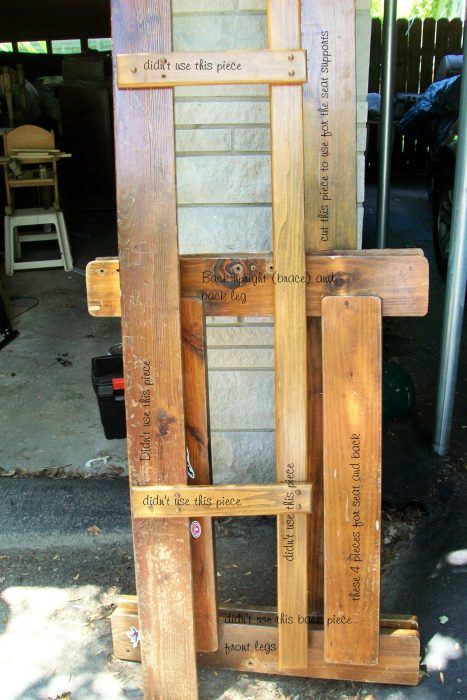
Design Upcycled Bunk Bed Bench
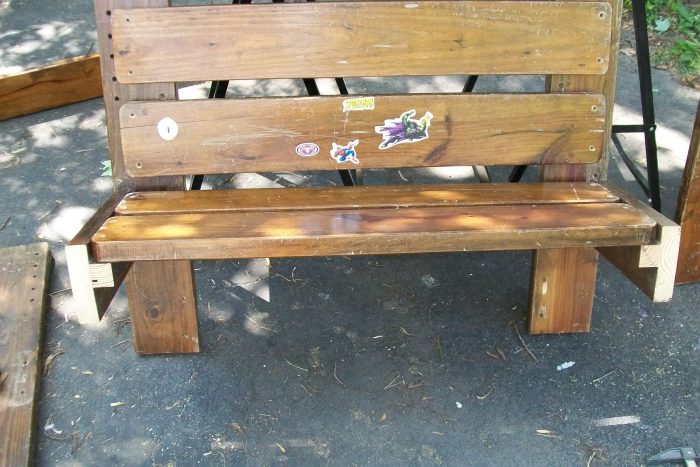
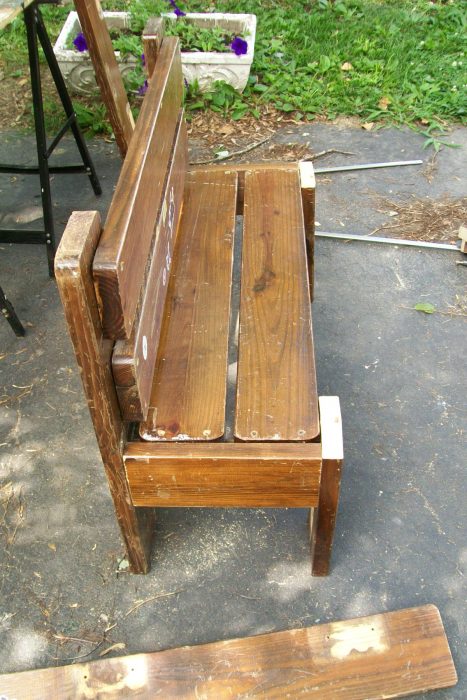
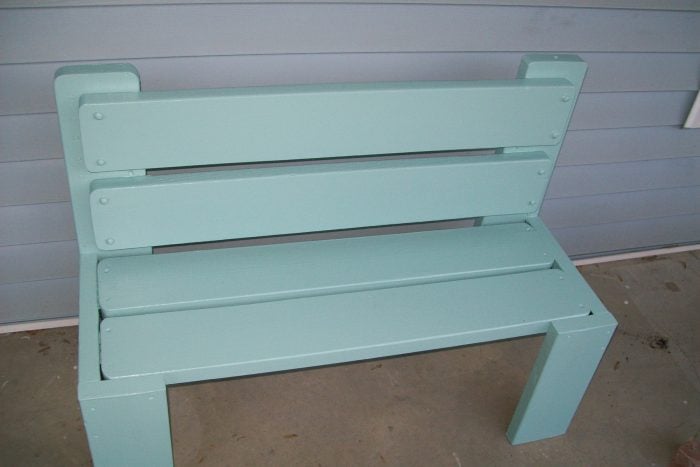
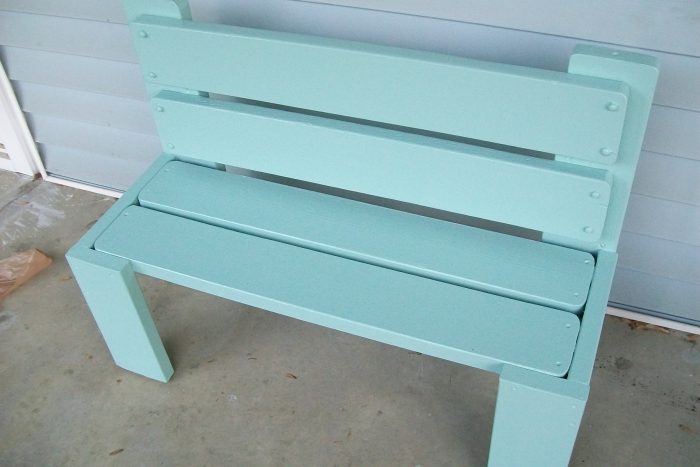
An upcycled bunk bed bench it is! I used the on of the very long pieces as supports for the seat. They already had the support pieces attached. I used the four matching boards, two for the seat and two for the back.
If I knew what the parts of the upcycled bunk bed were called, it would be a lot easier to explain how I made this. 🙂 In this picture it is still missing the front legs, but I guess you already figured that out!
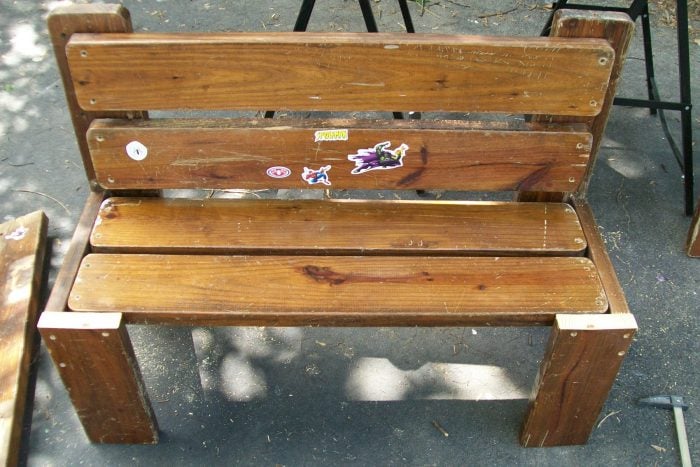
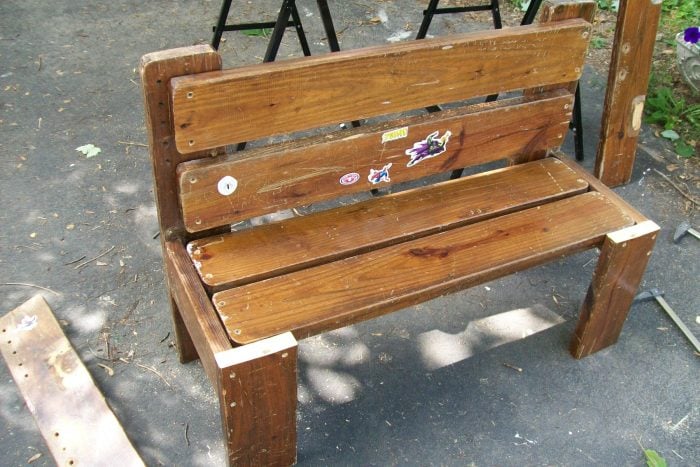
Voila! front legs magically appeared. Well, it wasn’t quite that easy.
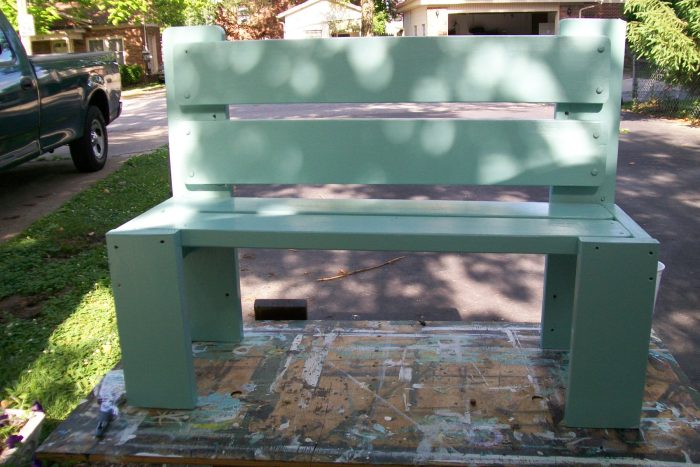
I made this bench for the children of a good friend of mine. Don’t let it’s size fool you! It is very heavy, and very sturdy. It held up to myself and my friend, neither of us being Twiggy’s. This picture makes it look squatty but it’s not. Don’t look at the very sad petunias in the background. Too much rain, and not enough sun!
Bunk Bed Makes a Sturdy Park Like Bench
Luckily the stickers were lick and stick, so they were easily removed. I gave it a sanding, and some primer. (see that other board there? Look at ALL those holes. Who knew a bunk bed had so many bolts in it?)
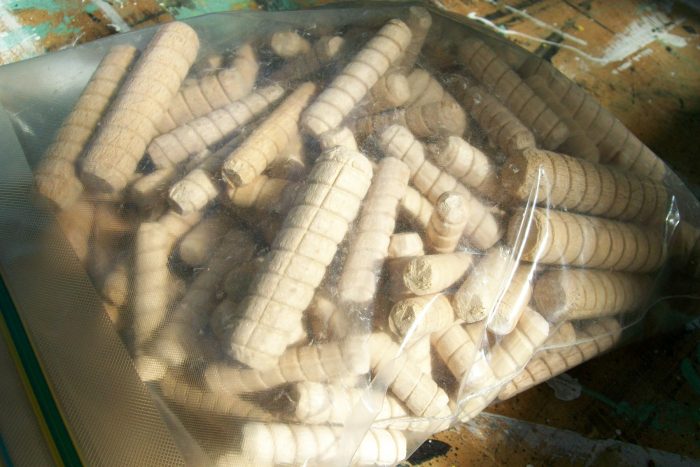
Use Dowels to Plug Holes
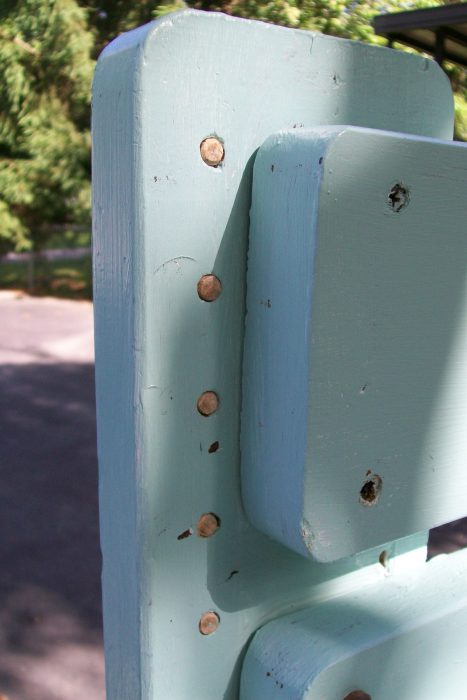
This board also had a lot of holes. I used some little dowels to plug the holes.
This board also had a lot of holes. I used some little dowels to plug the holes.
Continue Patching and Painting
Look at all those holes! As if it didn’t have enough holes in it already, I had to add more holes to make it all come together.
EDITED to ADD: What would I do different next time? I would have the seat resting atop of the side and front legs. In addition, I would either rip the wide boards (front legs) or use 2×4’s. However, when a gal is using what she has on hand, she does what she can.

It is so much easier to paint things up on a table! I turned it upside down first to get the underneath. I used some oops exterior paint on it. Mickey D’s cup full of ice water! It’s been very hot here!
Here it sits on the porch next door, out of the weather until the paint cures. I tried to patch all the holes, but seriously, it looked like someone had pulverized it with a shotgun!
This upcycled bunk bed bench will be delivered later this week. I hope they like having their own place to sit outside in their huge shaded yard.
It’s no longer a bunk bed. It’s not my best project ever, but I didn’t have a lot to work with! However, I did save another piece of furniture from a fate worse than death!
So basically I have one very long piece (with no holes) two shorter pieces with LOTS of holes, and the three skinny pieces left over. I hope to be able to do something with them. Any ideas? Would you have even bothered? What do you think you would have made out of it? Did I take the easy way out?
gail
This is my favorite bench of all! You took a really Ugly Duckling and turned it into a beautiful Swan! I like the simple, primitive look of this bench and the really pretty color you painted it. Good job!
Thank you Susan for stopping by and taking the time to leave a comment! I truly appreciate it.
gail
Great repurpose for the wood! Who need WD 40 if ya got a little VO 5