Coat Rack from Repurposed Cabinet Door
As an Amazon Associate, I earn from qualifying purchases.
I love a good coat rack, and making an easy coat rack out of a cabinet door is even better. How about four cabinet door coat racks? You’ll love how easy these projects are!
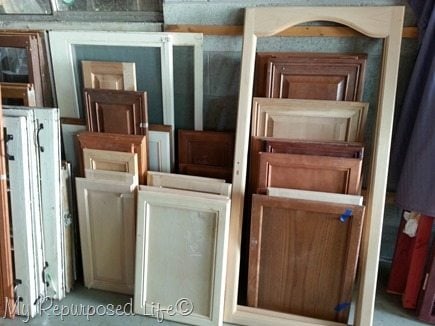 We had some beautiful weather last week, and I went to my cabinet door stash and grabbed several doors and got busy. It was really fun to do several projects in an assembly line sort of fashion.
I wish my stash currently looked this neat. This is a picture from the archive after I tidied my storage area. These days it is overflowing with finished projects that need to be sold. You’ve probably seen cabinet door chalkboards, and other easy cabinet door projects, but this might be my new favorite use for cabinet doors.
Materials (for large red project)
- Rectangular Cabinet Door
- 1×4 (cut to length for your cabinet door)
- thin plywood to give more thickness if your cabinet door is not thick enough for coat hook screws
- Coat Hooks
- D Rings
Supplies
- Sandpaper
- Wood Glue
- Paint (red and black)
- Wax (clear or back instead of black paint)
Tools
- Table Saw
- Compound Miter Saw (or have your board cut at your local lumber store)
- Drill (bits)
- Kreg Jig (bit and screws)
- Paint Sprayer (or paint brush)
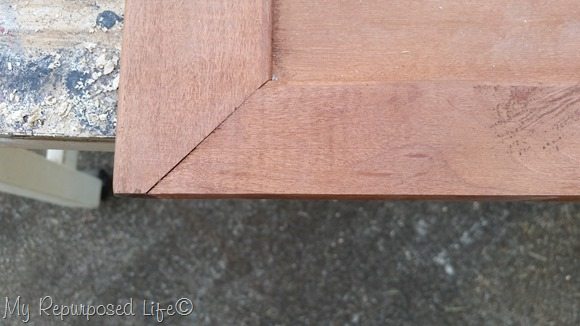 This is a very simple coat rack project even for beginners if you have the right cabinet door. This door happens to be perfect for this project. One side of the door is beveled, and the other side has a blunt cut that will easily attach to a “shelf” board.
Measure and cut to length a 1×4
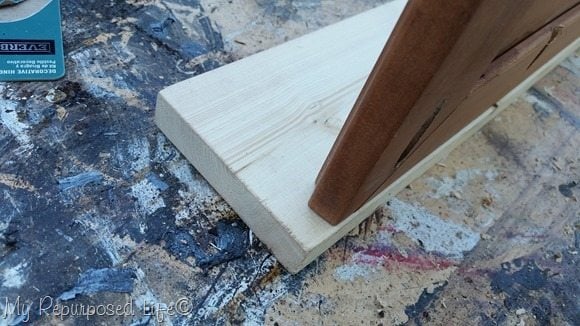 See how the cabinet door rests flush on the shelf board? With a beveled edge, it won’t do that. I used my Kreg Jig to drill some pocket holes across the back of the cabinet door. I prefer for the shelf to have a slight overhang on either side of the cabinet door. After cutting your shelf board, knock off the rough edges with your sandpaper.
Need more details on using a Kreg Jig? See my article How to use a Kreg Jig Pocket Hole System
If your cabinet door has a beveled edge
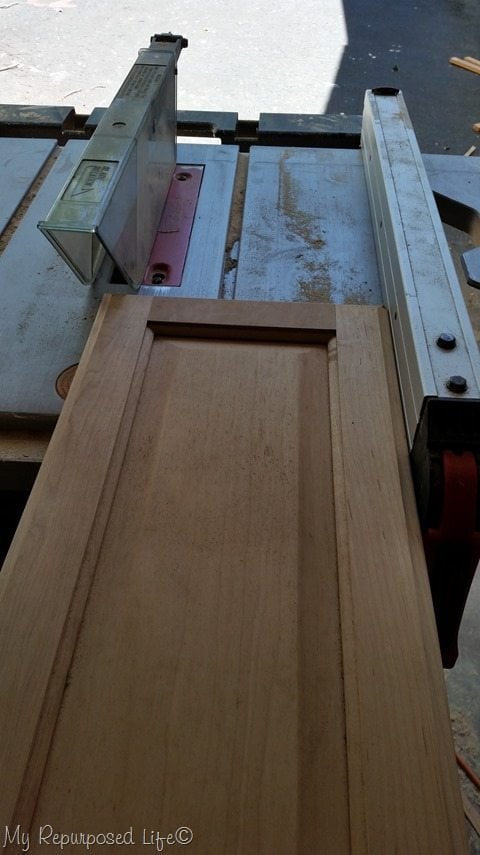 If you have a table saw, a beveled edge cabinet door will work after a quick “rip”.
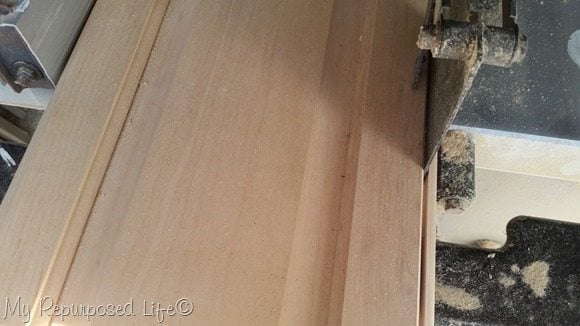 See? I just needed to take a little off on the top!
Time to paint
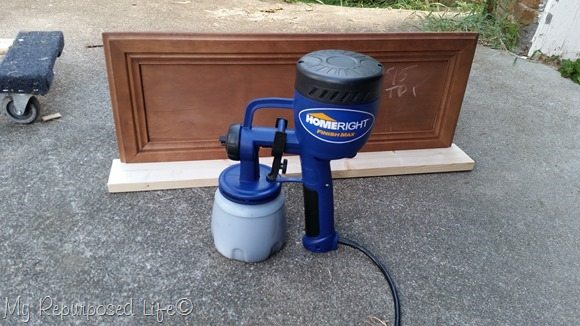 Now it’s ready for the Finish Max treatment.
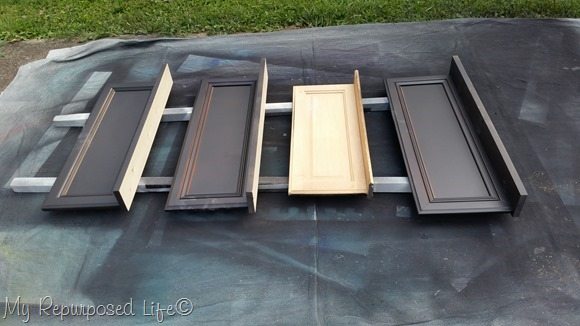 Can you believe I cranked out four cabinet door coat rack shelves quickly? I started painting them all upside down on their shelf, like the picture above with the finish max. I was able to get coverage in most of the places. Of course I used my DIY chalky paint primer mixed with Behr Beluga Semi-Gloss from Home Depot.
I set them on some scrap 2×2’s for their next coat of primer. The cabinet door that is almost naked is a little different. The shelf is made from a piece of crown molding instead of a 1×4. It wouldn’t rest upside down on it’s shelf.
If your cabinet door is too thin for hooks
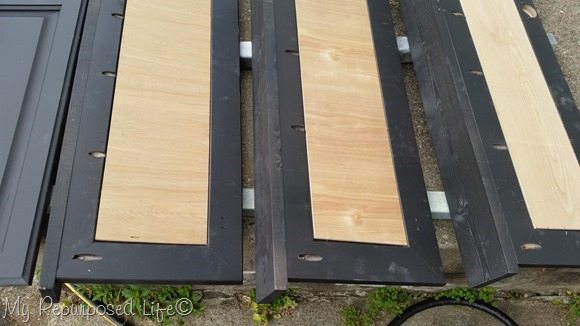 After I finished painting the cabinet doors, I realized that several of them were too thin to accept the screws that were needed to hold the coat rack hooks. I ripped some small pieces of underlayment to size and glued them in place with Gorilla Wood glue.
NOTE: you can see how the pocket holes and screws attach the cabinet doors to the shelves.
Add color
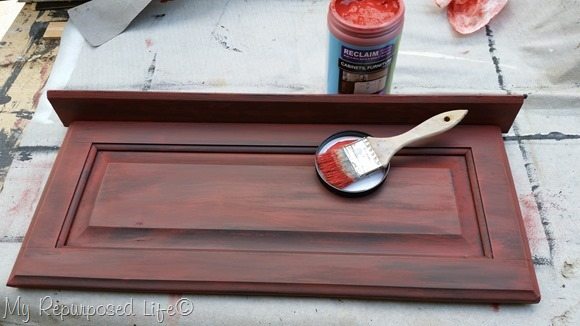 Next step…. painting. Ever since I made my first cabinet door coat rack last year, I have loved this look of this dry brushed red paint technique. I dry brushed a tiny bit of Reclaim paint on the cabinet door. I won it several months ago, but this was my first time using it. You can see that dry brushing the bright red paint over the black chalky paint gives the cabinet door a great aged look.
After the paint dried I sealed all the coat racks with some Valspar Wax. It’s not typical wax, but reminds me more of a decoupage type medium. It was easy to work with, and there was no buffing!
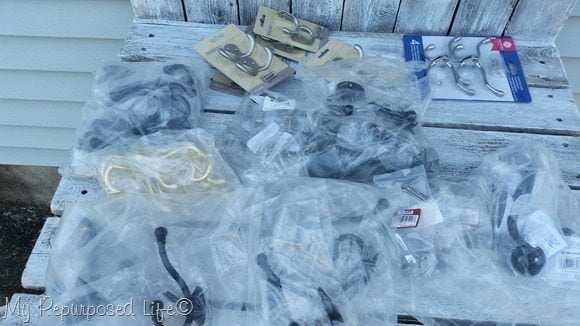 I gathered all of my coat rack hooks so I could decide what I wanted on each of my new cabinet door coat racks. All of those in the front in the baggies are hooks I’ve purchased from D. Lawless Hardware. Honestly I believe they have the best prices online.
Install d rings and hooks
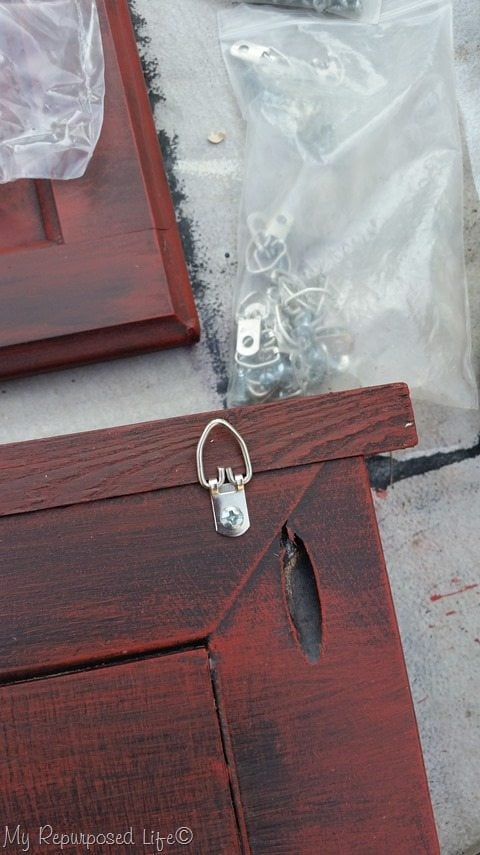 I always forget to show how I hang my projects. I buy my d rings online, so much cheaper by the 100 count instead of buying them in small packages at the store. Aren’t you LOVING this color? Maybe it’s just me—I can’t seem to do enough red projects lately.
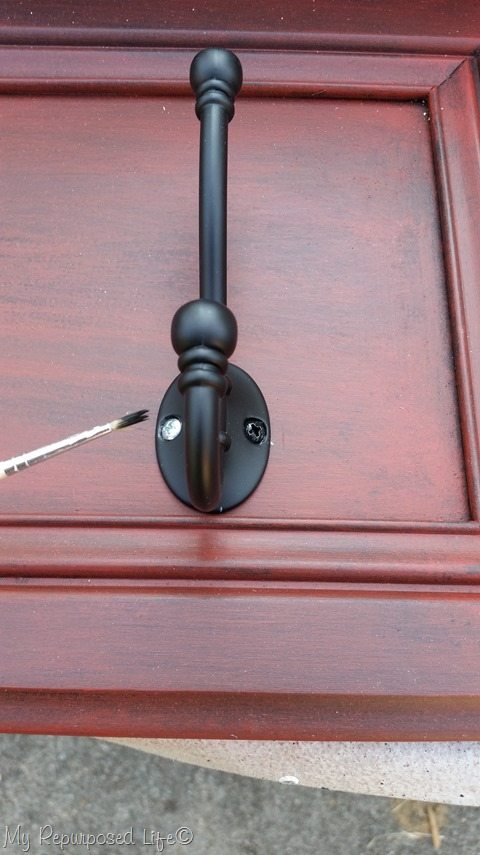 The hooks from D.Lawless.com come with some monster screws that are too long for the cabinet doors even with the extra underlayment I added. I have a package of screws I picked up from Joey’s booth at the Peddler’s Mall. They are inexpensive, and they have lasted a long, long time. To remedy the fact that they are silver, I used a little bit of black craft paint to touch them up.
Red Cabinet Door Coat Rack
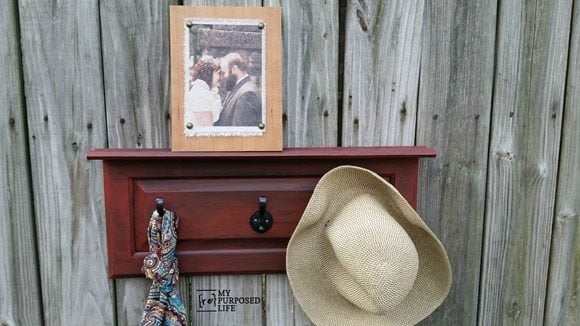 This is the smaller cabinet door coat rack shelf with the piece of crown molding for the shelf. Since it’s smaller, I used different hooks. I also purchased these from D. Lawless Hardware.
 Here are the four finished cabinet door coat racks with shelves. The bottom left is dry brushed with the same oops purple I used for the screen door memo board, bottom right is dry brushed with Naval from Heirloom Traditions Chalk Type paint.
Both red coat racks are dry brushed with Reclaim Beyond Paint in Poppy.
I didn’t bother staging all of these, but they would be very useful in any room in the house, including the kitchen, bedroom, bathroom and more!
Do you have a favorite color?
gail
related content Cabinet Door into a Chalkboard
sharing here:
you can see more cabinet and cabinet door projects below:
[categorythumbnaillist 44]


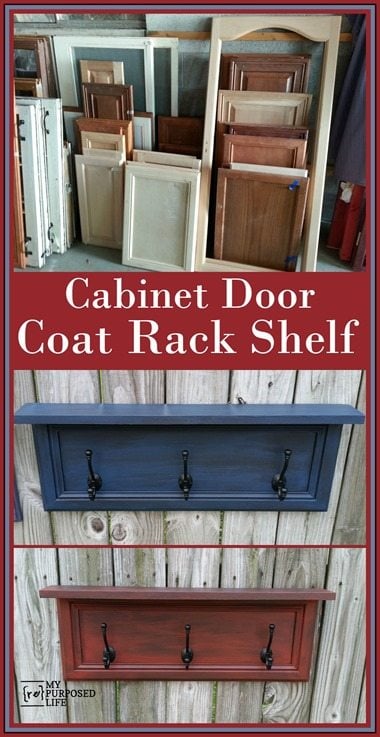


I’m sorry, I don’t know the size, as it has been sold.
You could do the door with just the hooks added to it, with no extra work. You could put the hooks on the bottom of the door and do a vinyl saying in the middle of the door like I did with these coffee signs. https://www.myrepurposedlife.com/2015/10/easy-cabinet-door-projects.html