Repurposed Drawer Dog Bed toy Box
As an Amazon Associate, I earn from qualifying purchases.
It’s time for January’s Power Tool Challenge-this month’s theme being “get organized”. My sweet little puppy Lulu Mae definitely needs to get organized. She already knows the term “pick up your toys”. She knows that’s her cue to pull out every toy as mom picks it up. So, my project this month is to make a dog toy box.
 I have many, many drawers in my stash. Because Lulu Mae is petite, I decided that a shallow longer drawer would be better suited for her to be able to get into so she can find the right toy.

Pin it!
 I cleaned up the drawer a little and brought it in the house to give it a test run. You can see the wicker basket that we’ve been using. She’s started chewing on it, and it has quickly become too small to hold all of her favorite toys.
 To make sure she was going to adjust to the drawer as a new toy box, I filled it with her toys for a week or so.
 You just can’t have a drawer resting on the floor as a toy box. I went to my stash and found the nubs of something I cut off. I had saved them in a baggie for just the perfect project.
*This post may contain affiliate links which won’t change your price but will share some commission.*

A couple of the nubs needed a little sanding so I used this handy portable work table to hold them still. If you don’t have one of these, I’ll show you how else this can be done later in this post.
 The drawer needed a few repairs, so I used my favorite Gorilla Wood Glue and the Rockler Silicone Glue Brush to apply the glue into the joints. Not shown: I clamped the drawer until the glue set up.
 Because drawer bottoms are so thin, I cut some scrap plywood to beef up the bottom in order to attach the “nubs” as feet. I used wood glue to hold them in place.
 When adding feet to any project it’s best to put the feet on the inside of your project to draw the space out so you know where to drill your pilot holes.
 I always do this whenever I add feet to any project. I first did it way back in the day with my twin window cabinets.
 To hide the screws and make the bottom of the drawer more sturdy, I find a thin piece of plywood to make a false bottom for the drawer.
 When you need your cut to be precise, be sure to measure on the correct side of the table saw blade. If you’re using the piece on the right of the blade, measure there. If you’re scrap piece is on the right and keep the piece on the left, measure to the left side of the blade. This is also when I raise or lower the blade for the correct thickness of the material.
 Wood glue on the bottom will secure the new false bottom and give it a much cleaner look.
 So much better!
 For good measure I used my nail gun to pop a nail in each corner of the new bottom.
 Now it’s time to do a little patching. Because I’ll be removing the original handles, I patched those holes as well as patching some chipped veneer. I also had to glue some small pieces of veneer that were coming loose. It was a little cool and overcast, so I brought out my portable fan to help speed up the drying process. When patching holes that are deep, it’s best to do it in three different stages. If you don’t, you’ll see a small divot when you paint.
 Time to paint! I always paint the underneath side of my project first. I mixed up some diy chalky paint primer using plaster of paris and some satin black paint. As always, I use a cheap chip brush. Good coverage, and so easy to clean up!

I grabbed some pink paints to see which one I wanted to use. I actually had to use two bottles for the inside of the drawer. I did a muted pink as the base coat . . .
 . . . and this scrumptious Americana Paint (Flamingo) as the top coat.
 While the pink paint was drying, I used my favorite Heirloom Traditions wax and a car wash sponge to give a protective coat to the diy chalky paint.
When shopping at Heirloom Traditions, use the code MYREPURPOSEDLIFE to save 10% and get this month’s deal.
 Time to figure out the handles! I scored this fun belt recently at a thrift store. I love the detail on it, and it’s just girly enough to embellish Lulu’s new toy box.
 and makes the perfect handle for a repurposed drawer toy box.") I brushed on a little of the Flamingo paint and then wiped it back. I drilled a hole in each end of the belt to secure it to the drawer side.
I brushed on a little of the Flamingo paint and then wiped it back. I drilled a hole in each end of the belt to secure it to the drawer side.
 Ohhh, this handy Kreg cabinet hardware jig made it so easy for me to drill my pilot holes for the belt handles.
 and makes the perfect handle for a repurposed drawer toy box.") Ta Da!!! I love the leather handles made from belts. I first got this idea from my friend Becky at Beyond the Picket Fence! She even mailed me some leather belts to get me started years ago. Now I try to look for great deals on belts when I’m out thrift shopping.
Ta Da!!! I love the leather handles made from belts. I first got this idea from my friend Becky at Beyond the Picket Fence! She even mailed me some leather belts to get me started years ago. Now I try to look for great deals on belts when I’m out thrift shopping.
 Every girl needs some bling, right? I loaded some vinyl into my Silhouette CAMEO .
 I typed out Lulu Mae’s Toys and chose the font AR BLANCA. I actually ended up not using the doghouse, it was too large.
 I like to use painter’s tape to transfer smaller pieces of vinyl. You can see Miss Lulu in the background enjoying a piece of bread a squirrel left in the yard. She snuck it in while I wasn’t looking. I picked up that bed on Amazon because her brother and sister both have them and the LOVE them. I bought her an extra small pet bed.
 Working in the living room on a dreary winter day, you can see her toys are all over the floor. I used the tape to transfer a couple of paw prints, in addition to some bones.
 Because I had the overhead light on, there is a glare, and the pink vinyl almost looks white.
 This image is more true to color of the paint and the vinyl. You also get a good look at the repurposed leather belt handle.

Lulu Mae loves her new toy box, that could also work as a dog bed! She’s getting a little shaggy, but doesn’t get a haircut for about 6 more weeks. ![]()
Be sure to check out the other fabulous projects in this months Power Tool Challenge!
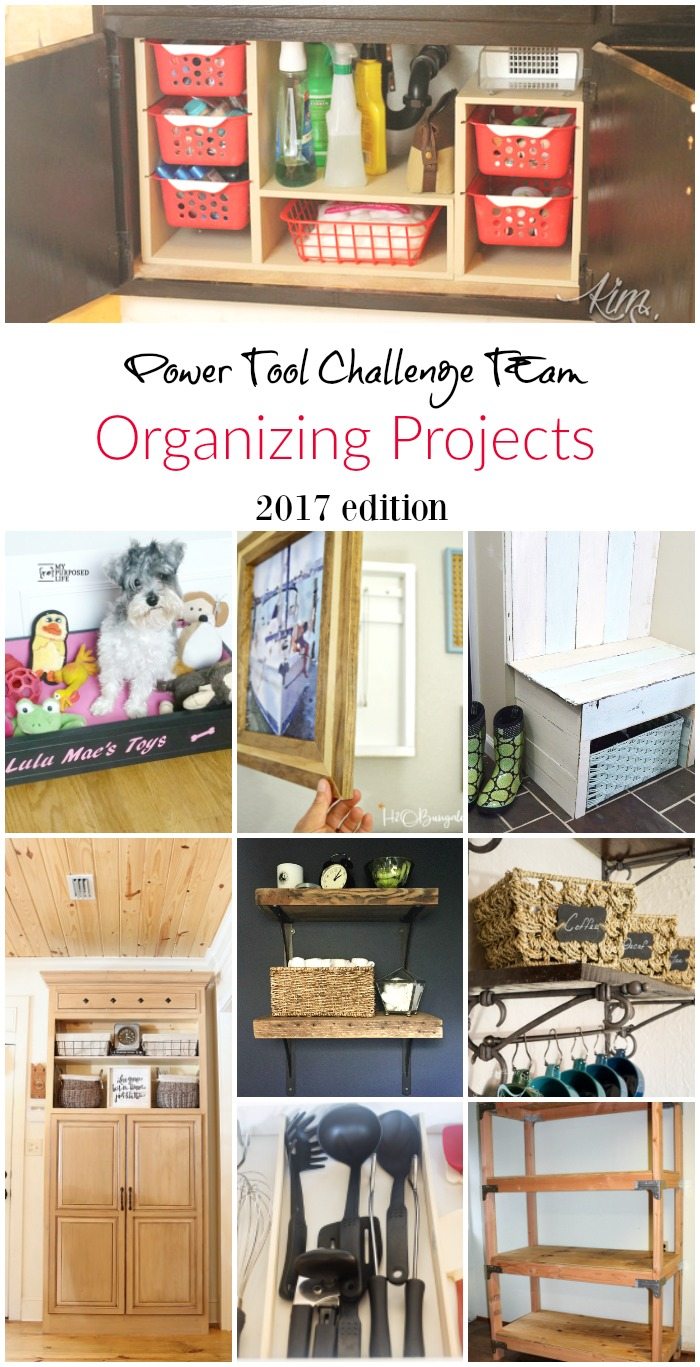
The Kim Six Fix – Under Cabinet Storage
My Repurposed Life – Repurposed Drawer Dog Toy Box
H2OBungalow – DIY Hanging Jewelry Organizer
Create And Babble – Pallet Wood Entryway Bench with Shoe Storage
The DIY Bungalow – Reclaimed Wood Shelves
Designed Decor – Repurposed Radio Cabinet Coffee Bar Drink Station
Domestically Speaking – Easiest DIY Drawer Organization
Refresh Restyle – Mudroom Storage Idea
My Love 2 Create – Drawer Storage Shelf
Virginia Sweet Pea – 2 x 4 DIY Shelving Unit Storage Shelf
Thrift Diving DIY Peg Board Organizer (late entry, not seen in image above)
Related Content:
Old drawers often quality wood and quality construction you did a GREAT job on the dog bed, etc.
Our 17yo male Chihuahua I plan to make a new bed for him with a heavy old drawer – casters I think I will use casters on the bottom and not bun feet. Navy blue and red a coastal or nautical theme bed.
Dozens of uses for old drawers.
Kevin
Awesome plan Kevin!
Your pup will love it, I’m sure!
gail
First of all, Lulu Mae is adorable and so is that hot flamingo pink! Great idea for repurposing an old drawer and how lucky is she to have such girly girl bed.
Everytime I see a picture of Lulu, I want to pick her up and hug her.
Me too Brette! She’s so sweet!
thanks for checking out her new toy box.
gail