repurposed nightstand into a play kitchen center
As an Amazon Associate, I earn from qualifying purchases.
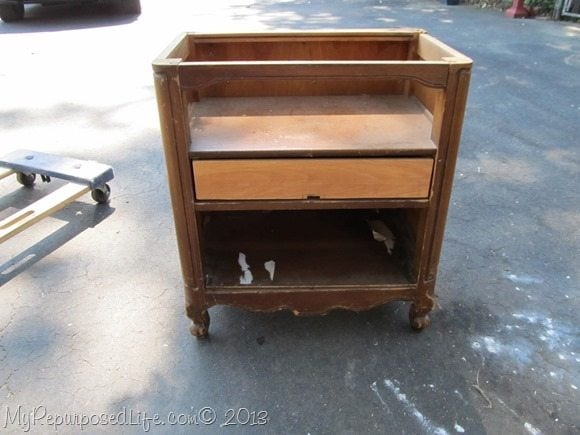 I started this play kitchen project a couple of weeks ago, then I went out of town with Delta Faucet and Krylon paint. So it got put on hold. It’s still not done, so maybe if I show you a partially built kitchen center, it will nudge me to get it finished!
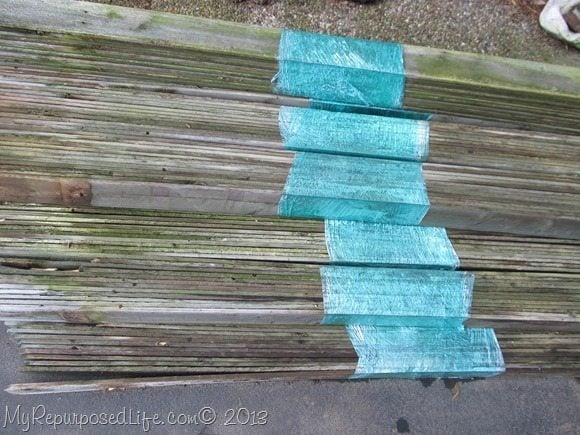 I have put the kitchen center on the “back burner” (pun intended) so that I can deal with all this fence I’ve gotten from my sister and her son. They not only took it down (while I was out of town) but they also took out all the nails and screws AND bundled it up with shrink wrap. So, it got moved to the top of my list of things to do. It’s wet and it needs to be stored somewhere. I spent Tuesday trying to dry it, and then I went to my sister’s house to get more.
So, back to our regularly scheduled post:
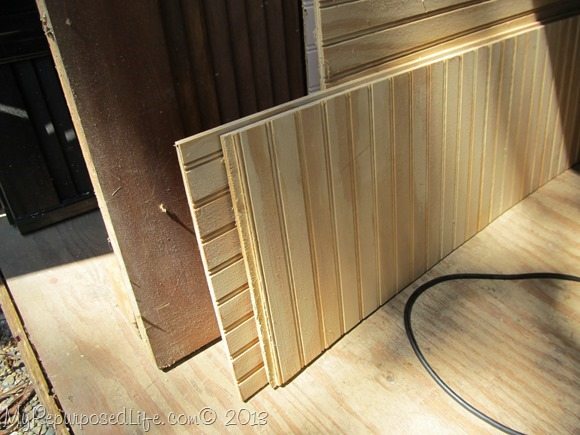 I have so many great scraps to shop from. I found a perfect piece of bead board.
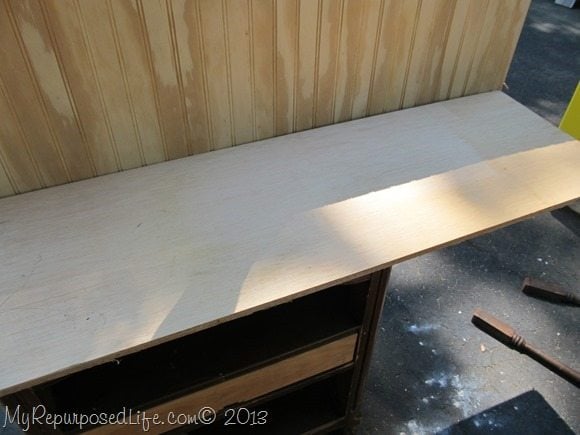 I also found a great piece of plywood.
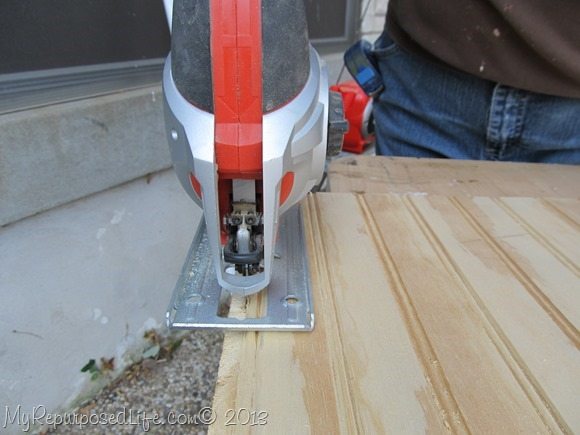 The bead board was just a little too long to match the plywood. I used my jigsaw to cut the end “tongue” off.
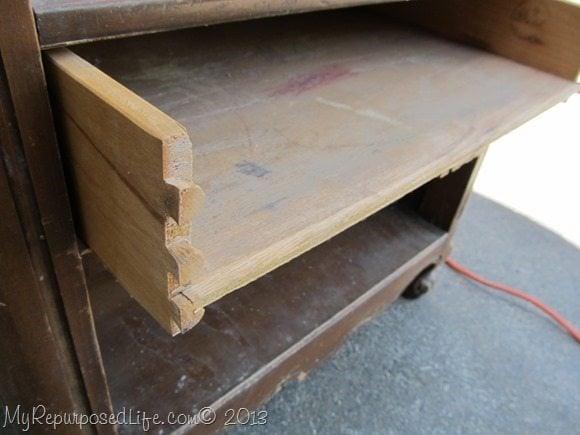 Then, on to repairing the broken drawer. It was missing the drawer front.
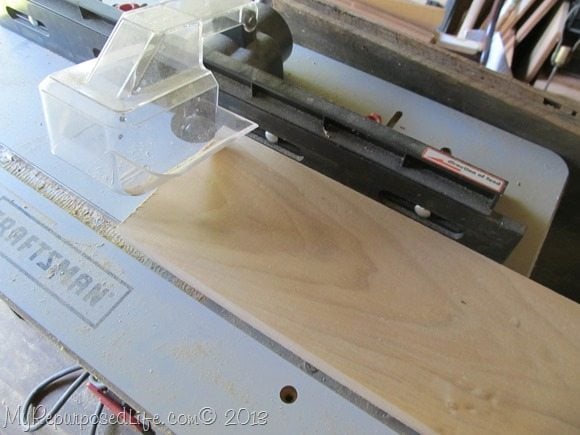 I found another scrap piece, and cut it to size. I wanted to router the edges so it resembled a drawer.
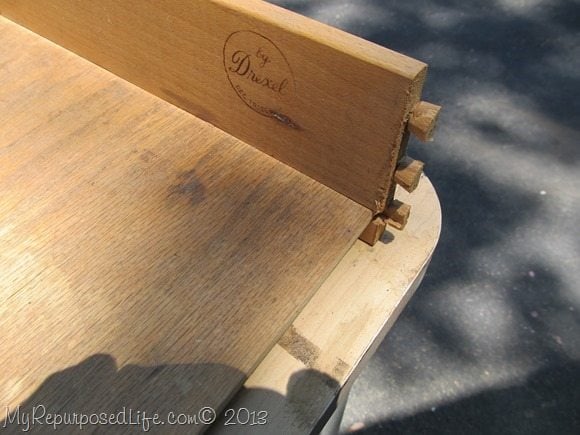 You can clearly see that the drawer front won’t fit because of the end pieces from the dovetail joint.
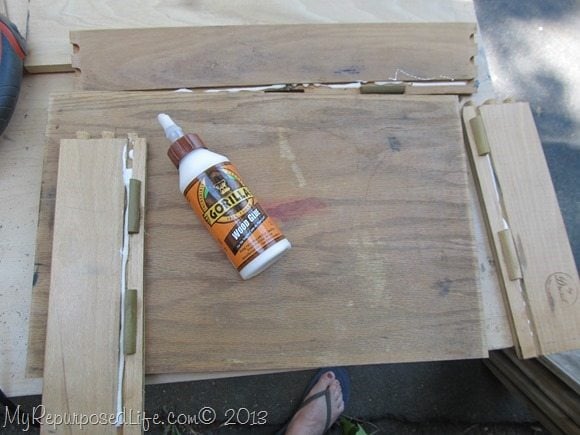 I took the drawer apart, and removed the small end pieces with the jigsaw. I used Gorilla Wood glue to reassemble the drawer.
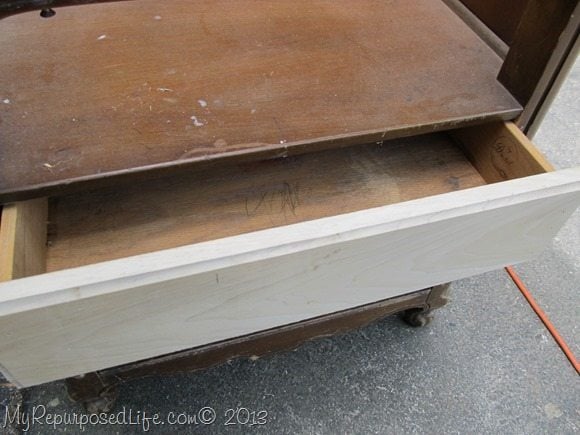 To attach the drawer front, I used wood glue and my nail gun.
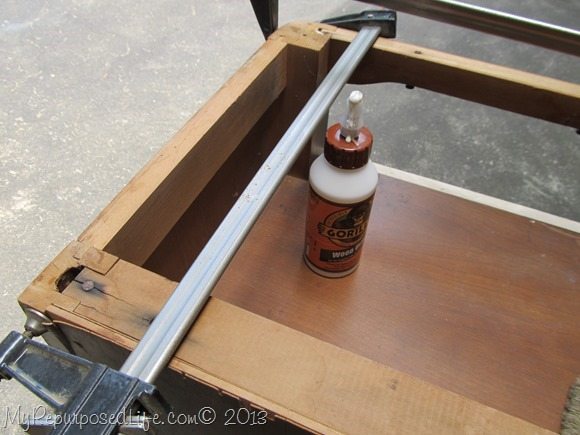 The entire nightstand need to be reinforced. I used the Gorilla Wood glue and my clamps to square everything up.
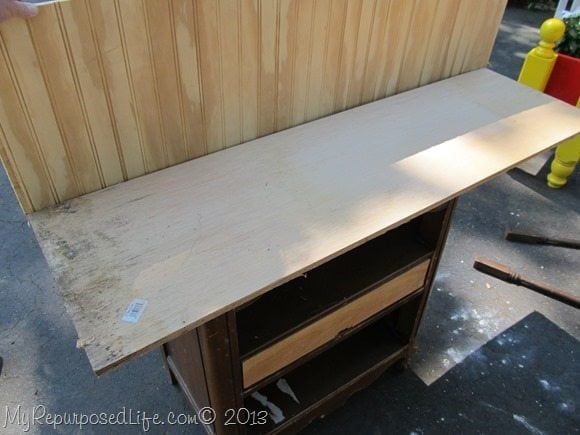 I am doing a dry fit here to see if the counter top will work with the backsplash.
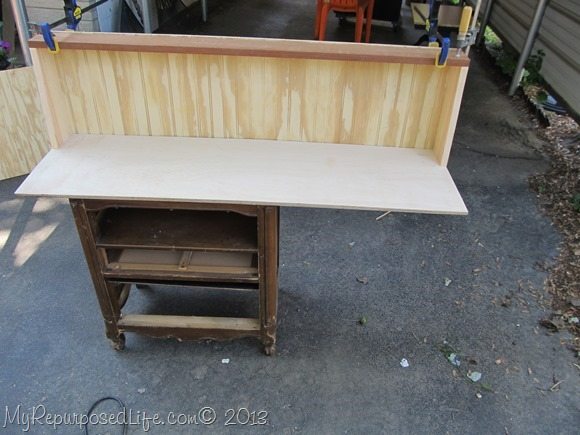 You can see that I have added another scrap piece for a top shelf. I used some scrap 1x’s for the side braces.
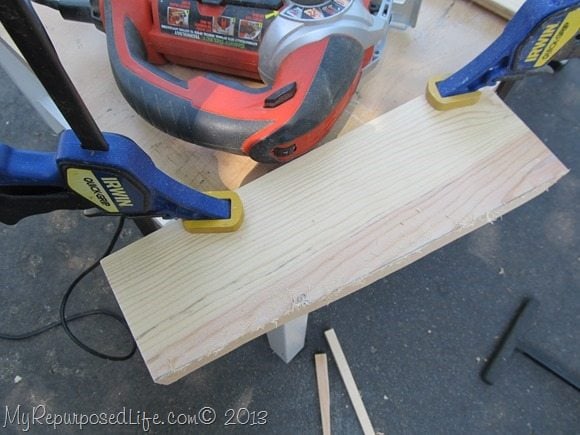 I cut the 1x’s by clamping them together and cutting them at the same time.
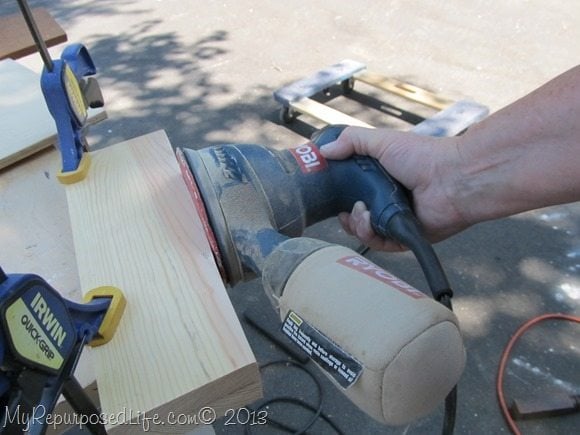 I left the boards together so I could sand each to match the other.
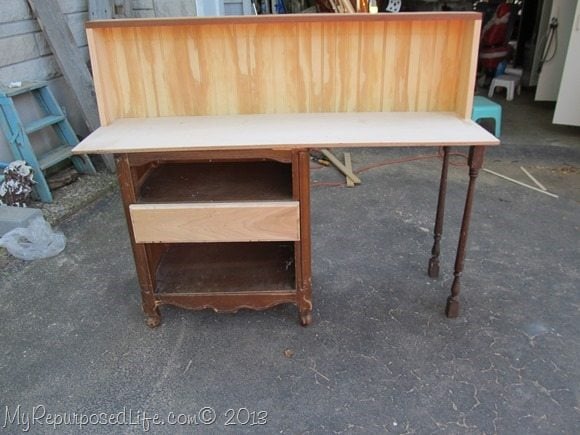 this is my question to you. Do you think the counter top should be to the left? I could add spindles as legs.
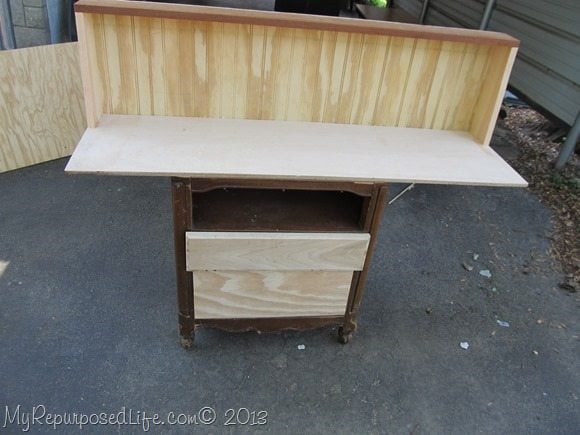 Or should the counter top be centered?
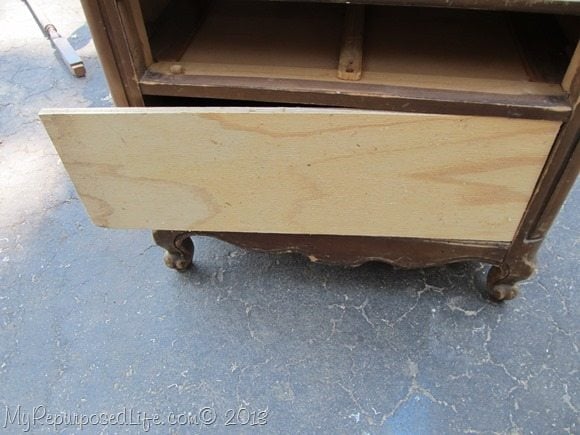 I found another piece of scrap wood to make the oven door.
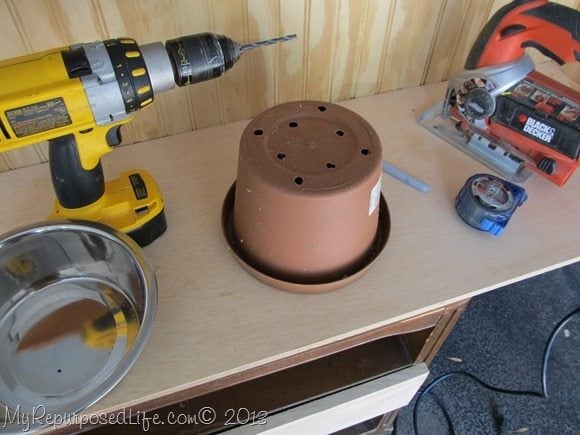 I purchased a pet bowl to use as a sink. I used a flower pot to trace the circle.
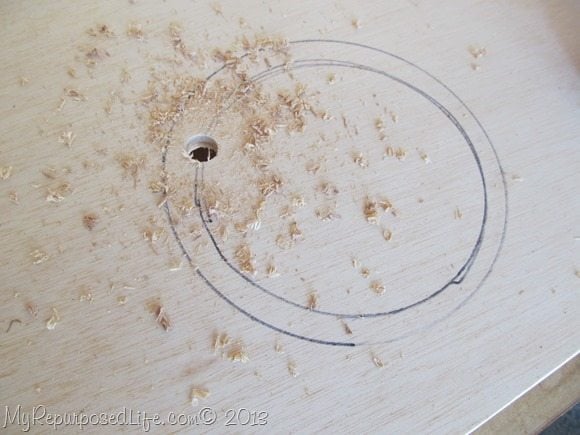 I drew the first circle but thought it would be too small, so I drew it larger. I drilled a hole in order to use the jigsaw to cut the circle out.
 I’m usually not very good on a jigsaw, but I’ve started going slower and letting the jigsaw do the work. Pretty good circle, eh?
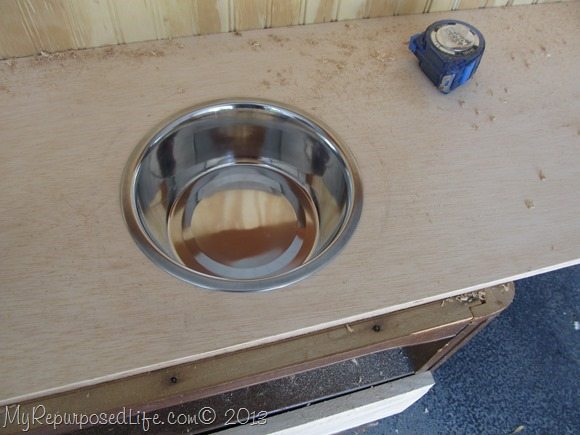 The bowl fits perfectly.
That’s all I have for today. It’s late on Tuesday night, and I’m very tired. This post is way too long anyway. I’ll give you more updates very soon. I’m still needing to find some knobs and a faucet.
so, center the counter top? move it to the left with legs on the right? Legs on the left? what say you?
gail
update: you can see part II here: Update of the Kitchen Center And you will LOVE the Play Kitchen Center Reveal


Oh.My.Gosh. Gail! This is ADORABLE! You are so very clever! I think it should be off-center. I do not think it matters much which side. I agree with Sande above, “put the sink over the open area and you can put burners over the oven.” If you use the spindles you have pictured I see them getting wobbly, so perhaps go with what La Verne said above to use a larger spindle.
You have received SO MANY good ideas it will be hard to not (try to) use them all!
Most definitely looking forward to the second half of this posting!!!
🙂
The off center spindle idea is very clever. You could then put a waste container in the open space. I would suggest the spindles on the left side which would put the sink over the open area and you can put burners over the oven. You could add a board across the front from the spindle to the cabinet wide enough to cover the sink bowl or perhaps make a curtain to cover that area. I will be most interested to see the final finished project.
Obviously, left, right, or center depends on where it will be put. Are there things on the wall above? A window? Or, below, like an electrical outlet?
Whatever you choose will be great-you always do a fabulous job. My opinion is to use larger spindles off to the right as you show, but the ones with a squared off bottom and then ad a lower shelf as you did for that greenish side table. That way it can have some sort of a rectangular basket for pots and pans or dishes. It will still be a kid’s toy requiring storage. Are you going to paint it a stainless steel color? Happy Liberty Day.
You always amaze me with your talent. I like the spindles leg so either side would look great. Can’t wait to see the finished kitchen.
Definitely not centered….off to one side. It’s looking good! Can’t wait to see it finished.
Where will the burners be placed? I thought the burns would be where the sink is. I love the spindles; very cute detail. If you are making this for someone special, please add one of your adorable personalized signs.
How fun!! I like it off centered too with the spindle legs! I love seeing the process of how you build, it makes me happy! And… nice circle!
It’s looking great! I like the nightstand on the left.
leave the nightstand to one side. and keep the spindle legs…i would go back to that salvation army store in clarksville and see what kind of stuff they have in the builder section for the faucet and handles. you could adjust them to be the right size for the play kitchen.
Oh wow,, this is one of those things on my list of things to do for the grandgirls. Really hoping maybe I can get started soon and it be a Christmas present to them. I like the legs on the right and sink to the left. Cant wait to see it all finished.
Oh Gail, this is so cute! I like the sink off-center!
The play kitchen is looking cute already. I think it would be best not centered. Spindles for legs either at the left or right. Maybe have the cabinet part on the right since most kids are right-handed?
I think I like it on the side with the spindle legs. It adds a little extra character! Are you having fun with this project? The little kitchen I made my grandkids is one of my all time favorite projects…I am pretty sure it got me my most blog “hits” too! Can’t wait to see it all done!
i think it should be to the left… I like the spindle on one side 🙂 This is going to be adorable, you are quite the carpenter-ess!
Susan
I like the idea of using the spindles…makes it more luxurious. Shoot…that’s more countertop than I have in my kitchen. 🙂