Rustic Coffee Table
As an Amazon Associate, I earn from qualifying purchases.
This rustic coffee table came about because of an outdoor building challenge from some DIY blogger friends. Be sure to check out their projects at the bottom of this post.
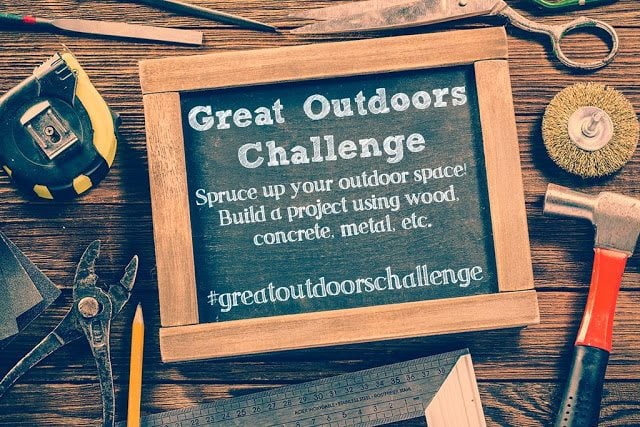
It is time for fun building challenge! This month our friend Katie at Addicted 2 DIY is hosting this Great Outdoors Challenge!


 My neighbor and I spent a couple of months putting up a new diy picket fence built from scratch. yep, every board cut by yours truly about three times. I wanted to show you where I got the legs for my outdoor rustic coffee table. They were the scraps that were topped off the front arbor.
Scrap lumber for rustic coffee table
 This is where they landed—and they were the perfect size for my new outdoor rustic coffee table.
 I also had some 2×4’s left over in this pile.
 And these? Pickets that were cut too short.
Here is my cut list:
-
4×4 16” long (4)
-
2×4 30” long (2)
-
2X4 10” long (2)
-
1×4 38” long (ripped in half)
-
1×4 14″ long (11)
Basic build for coffee table
 This is the dry fit of all the pieces to see how they go together.
Mark lumber for pocket holes
 I mark my boards for the pocket holes so I don’t get confused as to where they go. (been there, done that)
Drill pocket holes
 I drill the pocket holes in the two 10” side skirt pieces.
Need more details on using a Kreg Jig? See my article How to use a Kreg Jig Pocket Hole System
 You can see where the pocket holes are drilled.
 I used these blue (outdoor) Kreg pocket hole screws.
Easy assembly with pocket hole screws
 This is the base of the outdoor coffee table.
 I ripped the 38” 1×4 in half to box in the 1×4 slats.
How to build rustic coffee table
 You can see here on the dry fit that I laid the ripped 1×4 on either side of the picket planks. Also notice that I had to rip one of the planks (the middle one) in order to get the planks to fit the length of the table.
Now it’s time to secure the planks.
 While the plank boards were in the dry fit stage I marked the sides that were less desirable for pocket holes.
 I used a Kreg Jig Clamp to hold the planks in place in order to secure them with the screws.
Sand table top
 I sanded the table top smooth with my Ryobi cordless orbital sander.
More pocket holes to attach table top
 In order to attach the table top to the base, I drilled more pocket holes around the skirt of the table base.
 You can see where I secured the table top to the table base with 1 1/4” pocket hole screws.
 I did a little more sanding on all of the table legs, top and skirt. It’s ready for some stain!
Stain rustic coffee table
 I used Minwax Special Walnut stain and a cheap chip brush on the entire table.

Voila!
Seal with Polyurethane
 After allowing the stain to dry overnight I applied some Minwax Fast Drying Poly using a chip brush. You can see that I didn’t fill any of the pocket holes, not an issue for me.

 This Pottery Barn knockoff rustic coffee table was a fun and FREE project using scrap wood. My only cost were the screws.

Here’s my inspiration for the table.
More awesome outdoor projects
Be sure to visit my friends to see their awesome outdoor challenge projects.
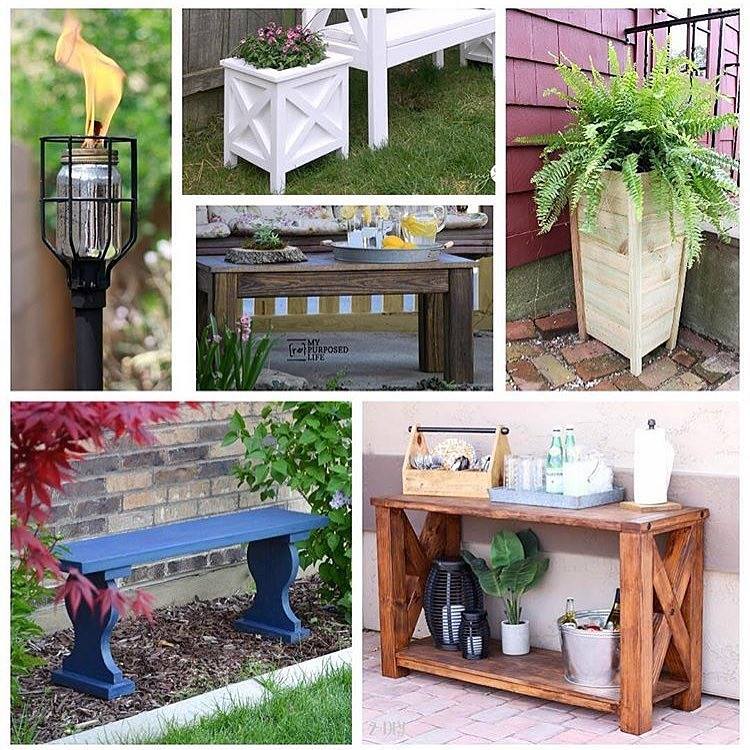
Now it’s your turn! If you have an awesome outdoor project to share that you built using wood, metal, concrete, etc–link it up!
I love this project and especially the budget friendly part! You’ve got me thinking how I need an oudoor sofa table & how I could modify this to fit my idea! Loved the link up too, shared two of my favorite outdoor patio projects:)
This looks phenomenal Gail! I love how it turned out!
I declare…that coffee table is G O R G E O U S!!!! I L O V E it!! You rock girl!!!
Thank you so much Doris for you enthusiastic comment. 🙂 I love it when free comes together so nicely.
gail
Love your outdoor table Gail. I makes it even better that you were able to use up some scrap wood, love when I can do that! Awesome project.
Love it Gail! My favorite lumber is left offer lumber! Beautiful, pinned it so I can make one!
Love the cushions on your swing.
It looks exactly like the Pottery Barn version! I love how the breadboard ends run along the long side instead of the short. Great job!
Yes! A stunning pottery barn knock off for FREE!!! I LOVE it Gail, so beautiful and way to use up those scraps!! I need to follow your good example, I am drowning in scraps. Amazing job!!
It looks amazing, Gail! You definitely can’t beat FREE projects built with scraps. Especially one that turns out so beautiful. And I hear you on marking the pocket holes! I swear every time I forgot to mark my hole placement, I mess it up!
Gail I alove your repurposed spirit! So wonderful to reuse the scraps and your trimmed out planked top is beautiful. Nicely done.