Rustic Fence Sign Always something to be thankful for
As an Amazon Associate, I earn from qualifying purchases.
My cousin Terry recently helped me with a small DIY project. What did she ask for in return? A rustic fence sign that says There’s Always, Always, Always, Something to be Thankful For.
She really didn’t give me much direction, simply telling me she wanted it to be around 14 x 36. I gathered some of my old fence boards and cut them to 36” in length. Using 3 boards meant that the height would be around 16 1/2 because they are about 5 1/2 inches each.
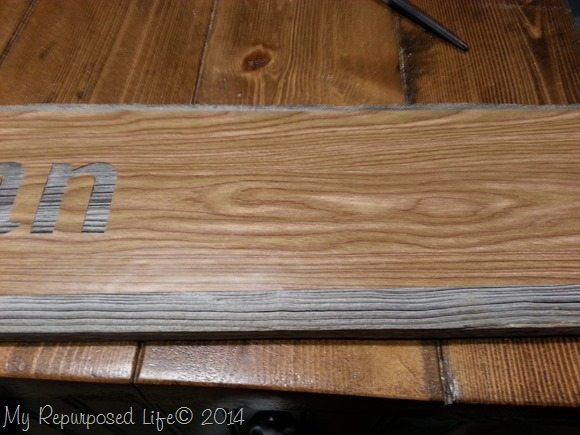 I do a lot of stenciling on old fence boards, and I’ve found the easiest way to do it is to cut the words out of Contact paper using my Silhouette Portrait. I’ve worked really hard getting the setting just perfect so that I can lift the entire stencil and place it on the board. After it’s in place, then I weed the letters out of the contact paper. This cuts out a step of having to place the oodles and boodles (the inner parts of a’s e’s, o’s etc) I almost forgot to take a picture of this step. You can see that I have removed some letters, but still have a lot more to do toward the right.
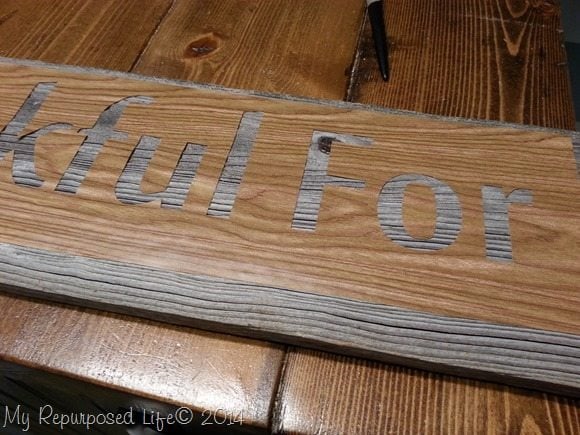 Before I paint them with Martha Stewart Foam Pouncers , I use a scrap piece of the contact paper backing to rub over the contact paper to help smooth it down. After pouncing the paint on, I immediately remove the contact paper, allowing oodles and boodles to dry slightly before I pick them off with my hook tool.
Are you visual? You can see a video with my step by step instructions in my post Repurposed Pallet Coffee Cup Rack.
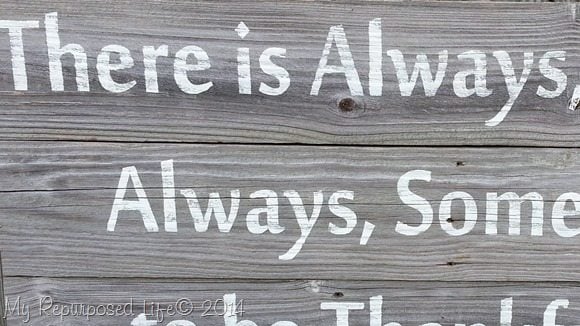 I never tire of seeing the white paint on the gray, rustic fence boards.
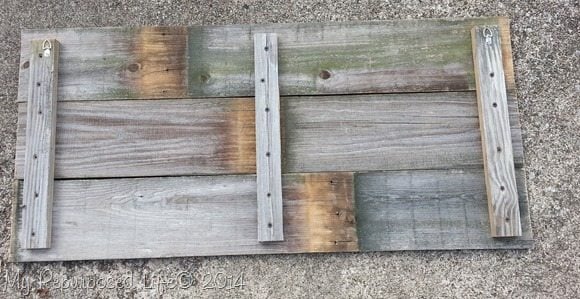 I used some ripped pieces to secure the three boards together using 1 1/4” black drywall screws.
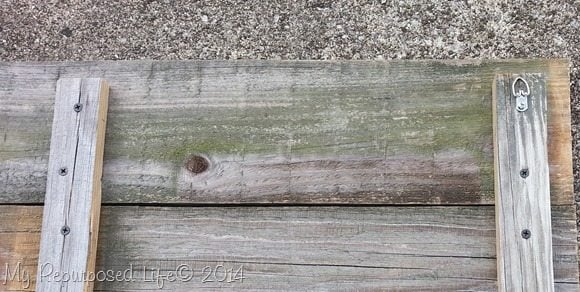 For heavy items like this, use these strong “d” ring hangers.
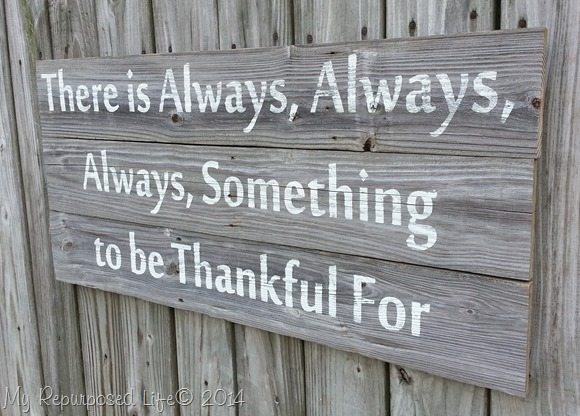 Here it is hanging on my fence. Terry says she really loves it. She was going to put it in a guest room of a house she’s been working on, but when I dropped it off to her, she said she would probably end up hanging it over her bed.
If you use contact paper for stenciling you should try this technique. It really does save time with the placement.
If you would like to see more rustic (wedding) signs, visit My Repurposed Life on Etsy.
gail


Love your sign. For contact paper, what cut setting do you use on your cutting machine? What font is that ? Do you have to mirror image it ? thank you.
I have a Silhouette Portrait with Version 3 software. The blade is dialed to #2 and the speed is 10 with the thickness set to 2. I do not mirror it.
The font is MoolBoran. You can probably find it at dafont.com.
gail
Hi! I saw your sign on Hometalk/Facebook and I would love to feature your sign on my gratitude blog. I’m always looking for craft projects and gift items that relate to gratitude/thankfulness and I think your sign is wonderful! I would like to have a screenshot of your sign and then link into your article, so people could see how to stencil their own sign too. May I have your permission to do so?
Beautifully done, Gail. I, too, love the look of white paint on a greyed board.
Hi, Gail — i love this sign,, and it serves as a great reminder too.
I really like your sign but I’m still not sure how you did the lettering. Are you cutting the letters out of contact paper, placing that on the wood, and then painting where the letters were cut out?
Cathy,
.
I’m sorry to have confused you I used my Silhouette machine to cut the phrase out of contact paper. Then I peeled those pieces off the backing, and placed them on the board. After they were in place, I removed the letters and left the negative space to be used as a stencil.
Thanks for stopping by.
Cute sign!
I am actually doing this later this afternoon!! Do you do anything special to get the contact paper to seal down before painting it? That’s my only worry…that it will bleed under the contact paper. Super cute though!
Nicole,
I run the slick side of the contact paper sheet over the brown contact paper to help it seal. Using the pouncers really helps with bleeding, by lightly pouncing the paint on, less tends to bleed under the contact paper. I do this nearly every day for my Etsy shop, so I’ve gotten pretty good at it. 🙂
gail
This is great–I love the sentiment!
Ok, so I feel dumb! What a great tip…one I’ve never thought of! It’s going to be s great time saver.
Linked back to you…wishing I had figured this out before I made this sign! http://redhenhome.blogspot.com/2014/09/so-god-made-farmer.html
Love the sign – great quote to remember!
looks fabulous! i love the rustic wood and white combo!
Love this!!