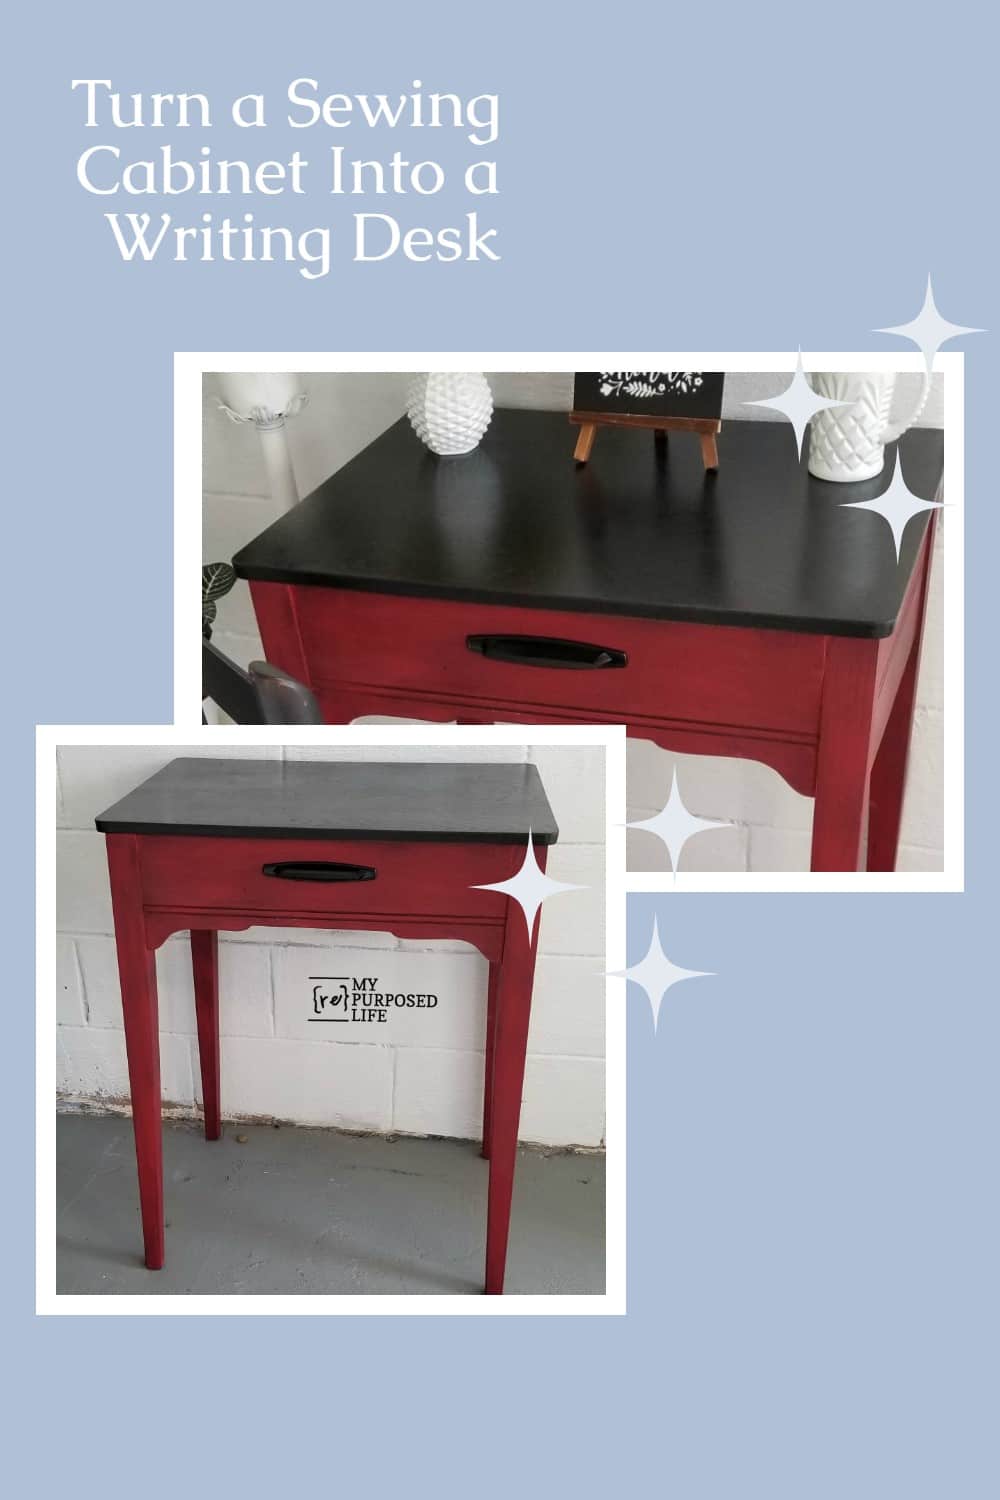
Sewing Cabinet Side Table
As an Amazon Associate, I earn from qualifying purchases.

While digging in the wood shed for my next project, I landed on this old sewing cabinet that would be perfect for a side table. The poor thing did need a little TLC.
Old Sewing Cabinet into Side Table

The base of the sewing cabinet doesn’t look too bad. But the top was a little rough.

I’m sure I didn’t pay $10 for this old sewing cabinet; I’ve had this thing for nearly four years. This Spring and Summer, I aim to hit my stash hard and whittle away all that stuff I have in storage.
Dismantle the Sewing Cabinet to Make a Side Table

The first step is to remove the lid and the sewing machine frame, leaving just the base of the sewing cabinet. I tossed the frame that held the machine, but I’m saving the lid to reuse as the side table top.

Full disclosure here! I had a hard time removing the hinge on the lid. If you look closely, you will see a small pin on the side of the lid that needs to be removed to release the hinge arm.
Visit the My Repurposed Life Amazon Store to shop my favorite items.
Sand Lid of Sewing Cabinet

The lid of the sewing cabinet had a lot of damage, plus the two stickers. I used my orbital sander with 150 grit and then 200 grit sandpaper. This post will show you how well it turned out further down.
Make Repairs Including Tightening Screws

Don’t miss the opportunity to tighten all the screws while you have the lid off.
Paint Sewing Cabinet with Paint Sprayer

After mixing red oops paint with plaster of Paris, I poured the DIY chalky paint primer into my Super Finish Max paint sprayer.
Note: I did sand the finish lightly because of the rough finish on the base of the sewing cabinet.

This is after a couple of light coats of chalky paint.

Because the lid will no longer be operational, there was no need to take the paint to the edge. Why? Because I will be painting the top of the lid a different color.

After the paint is dry, I do a quick dry fit to see how everything looks.
Smoked Glaze Over Red Paint on the Side Table

To tone down the red paint on the side table, I reach for my favorite smoked glaze as a topcoat—the glaze tones down the bright red color on the side table.
Paint the Top of the Side Table Black

This black paint will be perfect for the lid!

In this image, you can see how much better the sewing cabinet lid looks. So, just to let you know how much I love the excellent finish of this paint sprayer. I poured a small amount of black paint into the cup. Yes, it may seem like a lot of work for such a small project, but I wanted a flawless finish on the top for my new side table.
I’ve used this sprayer for so many years I’ve gotten fast at cleaning it. Practice does make perfect!

Do you see it? How perfect is that paint job! And, oh, so quick!
Prepare to Attach the Lid to the Side Table

A couple of the screws were stripped out, so I had to add new pocket holes with my Kreg jig.

Secure the lid to the base of the sewing cabinet using pocket hole screws.
Apply Wipe-On Poly

Apply Wipe-On Poly to the top of the sewing cabinet side table to add an extra layer of protection.
Spray Paint Hardware

I sprayed the hardware black to match the top of the side table/sewing cabinet.

Do you love the color combination as much as I do?
Currently, I’m staging all my projects in The Sugar Shack. It’s getting full of projects!
Sewing Cabinet into Side Table or Writing Desk?

Paired with my easy weave chair, the sewing cabinet side table makes an excellent writing desk!
You should share & save on Pinterest for later.
gail
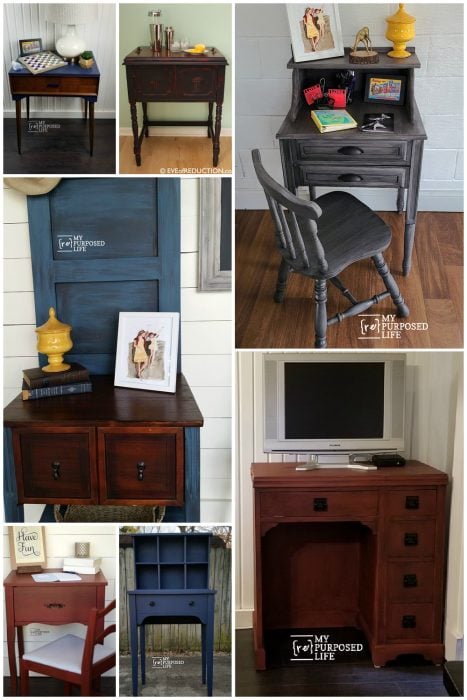
Related Content:
See More Sewing Cabinet Project Ideas
Janet,
I always strain my paint, unless it’s brand new. I have a habit of keeping paint for years! My recipe is here: https://www.myrepurposedlife.com/diy-chalky-paint-recipe-makes-a-great-primer/
Start on a piece of cardboard or something to see how the paint comes out of the nozzle. The thumb adjustment quickly and easily will give you more or less flow.
Let me know if you have more questions, once you get started.
good luck!
gail