Shutter Mail Organizer
As an Amazon Associate, I earn from qualifying purchases.
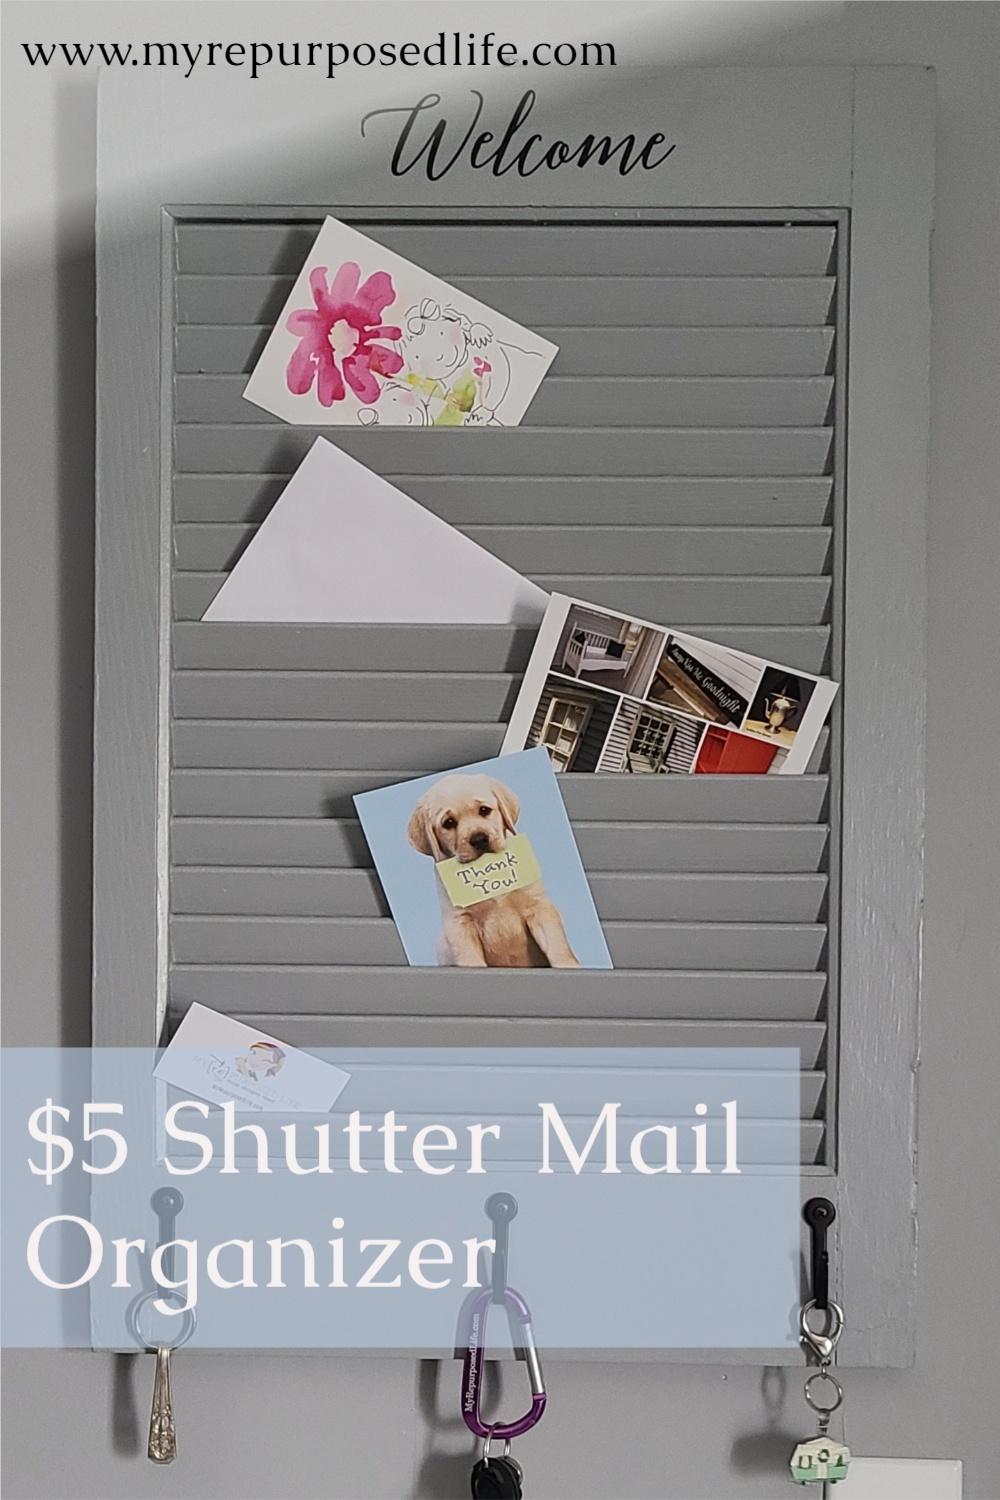
I’ll make a shutter mail organizer from a thrifted $5 shutter for this month’s Thrift Store Decor project. This project is unique because it’s very, very simple. Generally, when I do a shutter project, I reach for plywood and my saws. However, I opted for cardboard and hot glue to make this shutter mail organizer easy enough for anyone to make! That is one of the many reasons I love doing this monthly challenge. It makes me KISS–keep it simple, silly! Originally, the phrase was stupid, and came from the US Navy in the 60’s. But for me, I’ll change it to silly. 😉

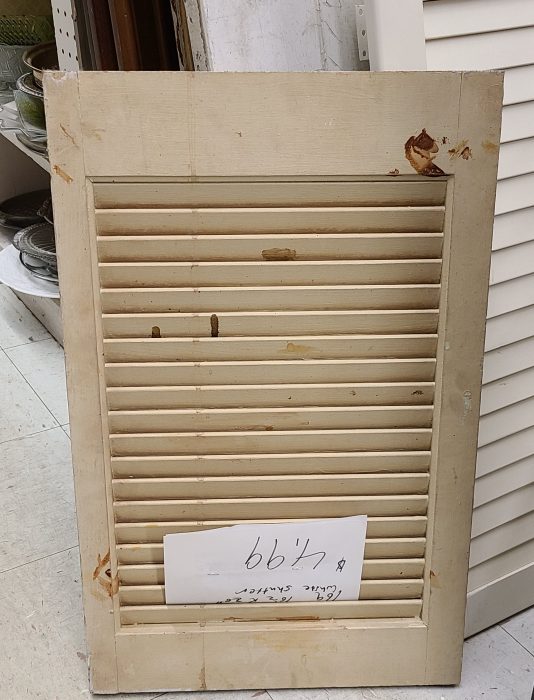
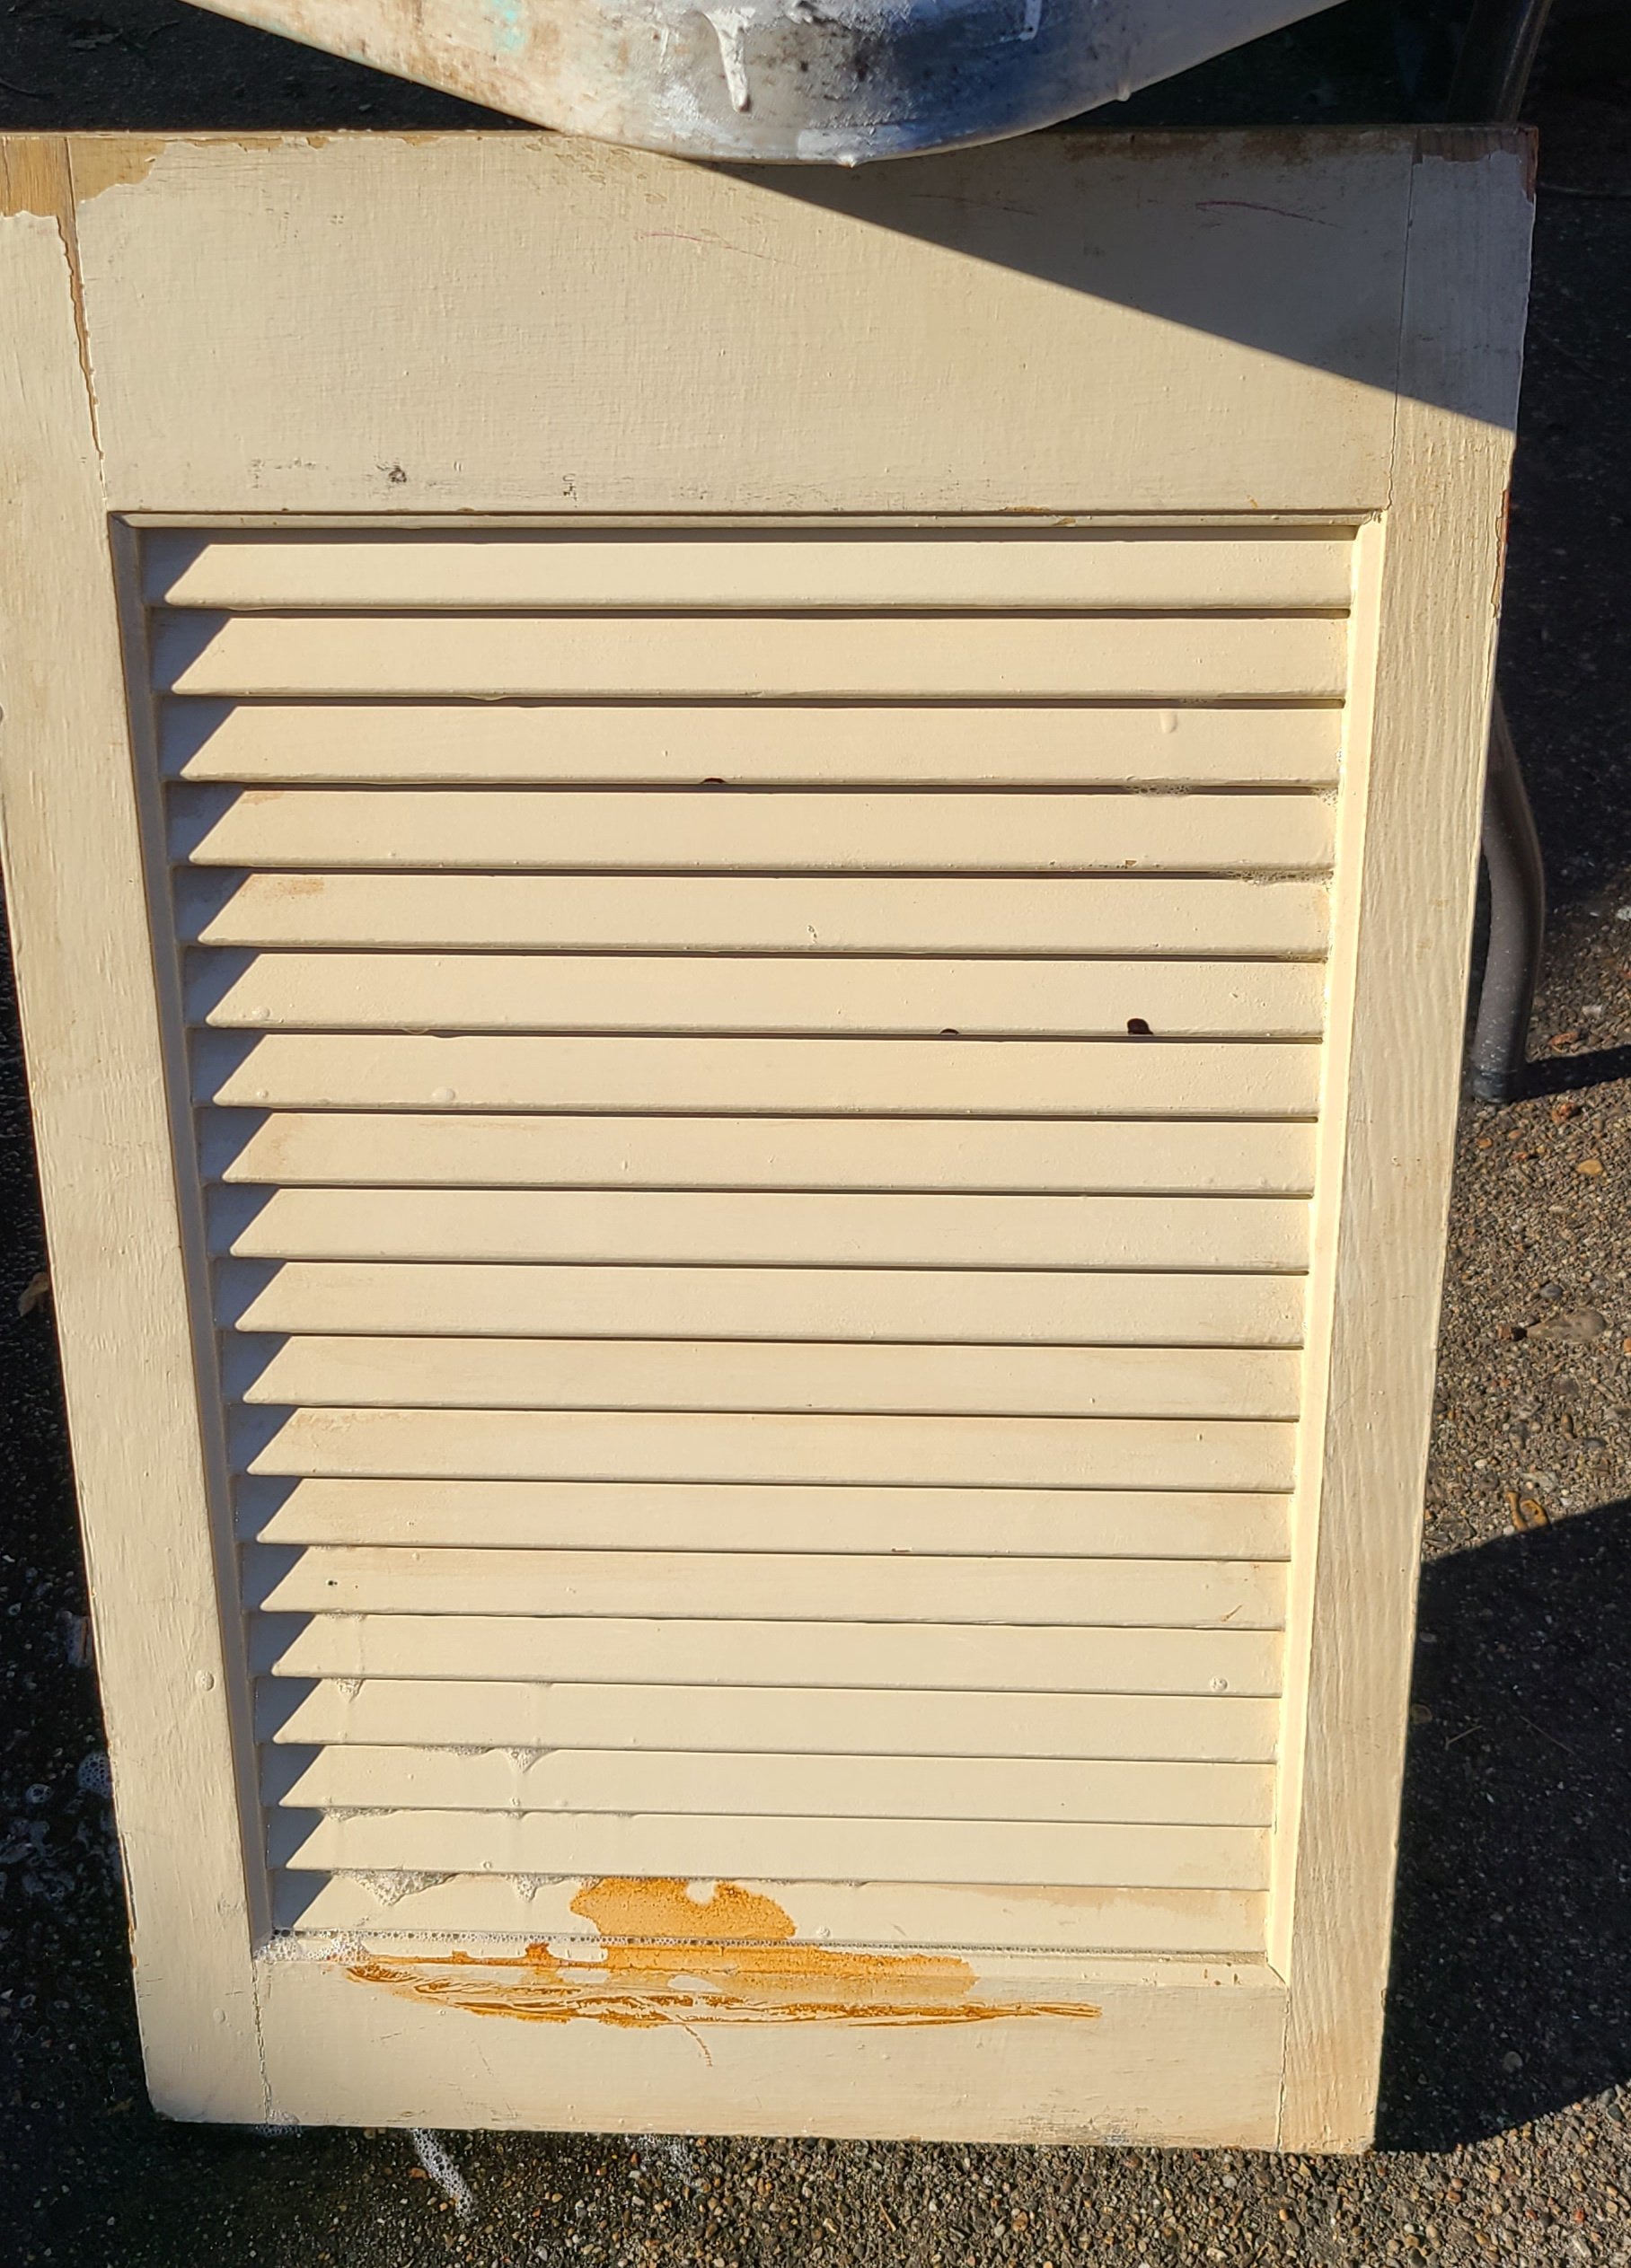
Have you ever seen such a shutter? I really liked its size for this project. But it sure was nasty! However, the price was right!!!
Related Content: See more shutter projects here
Don’t forget to check out all the other great thrift store makeovers at the bottom of this post.
Visit the My Repurposed Life Amazon Store to shop my favorite items.
Supplies & Materials to Make a Shutter Mail Organizer
- Shutter
- Deglosser
- Chip Brush
- Gloves
- Scrubbing Pad
- Paint
- Paint Brush
- Cardboard (or plywood)
- Hot Glue Gun
- Hot Glue
- Fabric or Contact Paper
- Hooks (optional)
- D rings
- Welcome sign or Stencil (optional)
- Gather Supplies for Cleaning
Before you can paint, you must remove unknown dirt, grime, nicotine, etc.
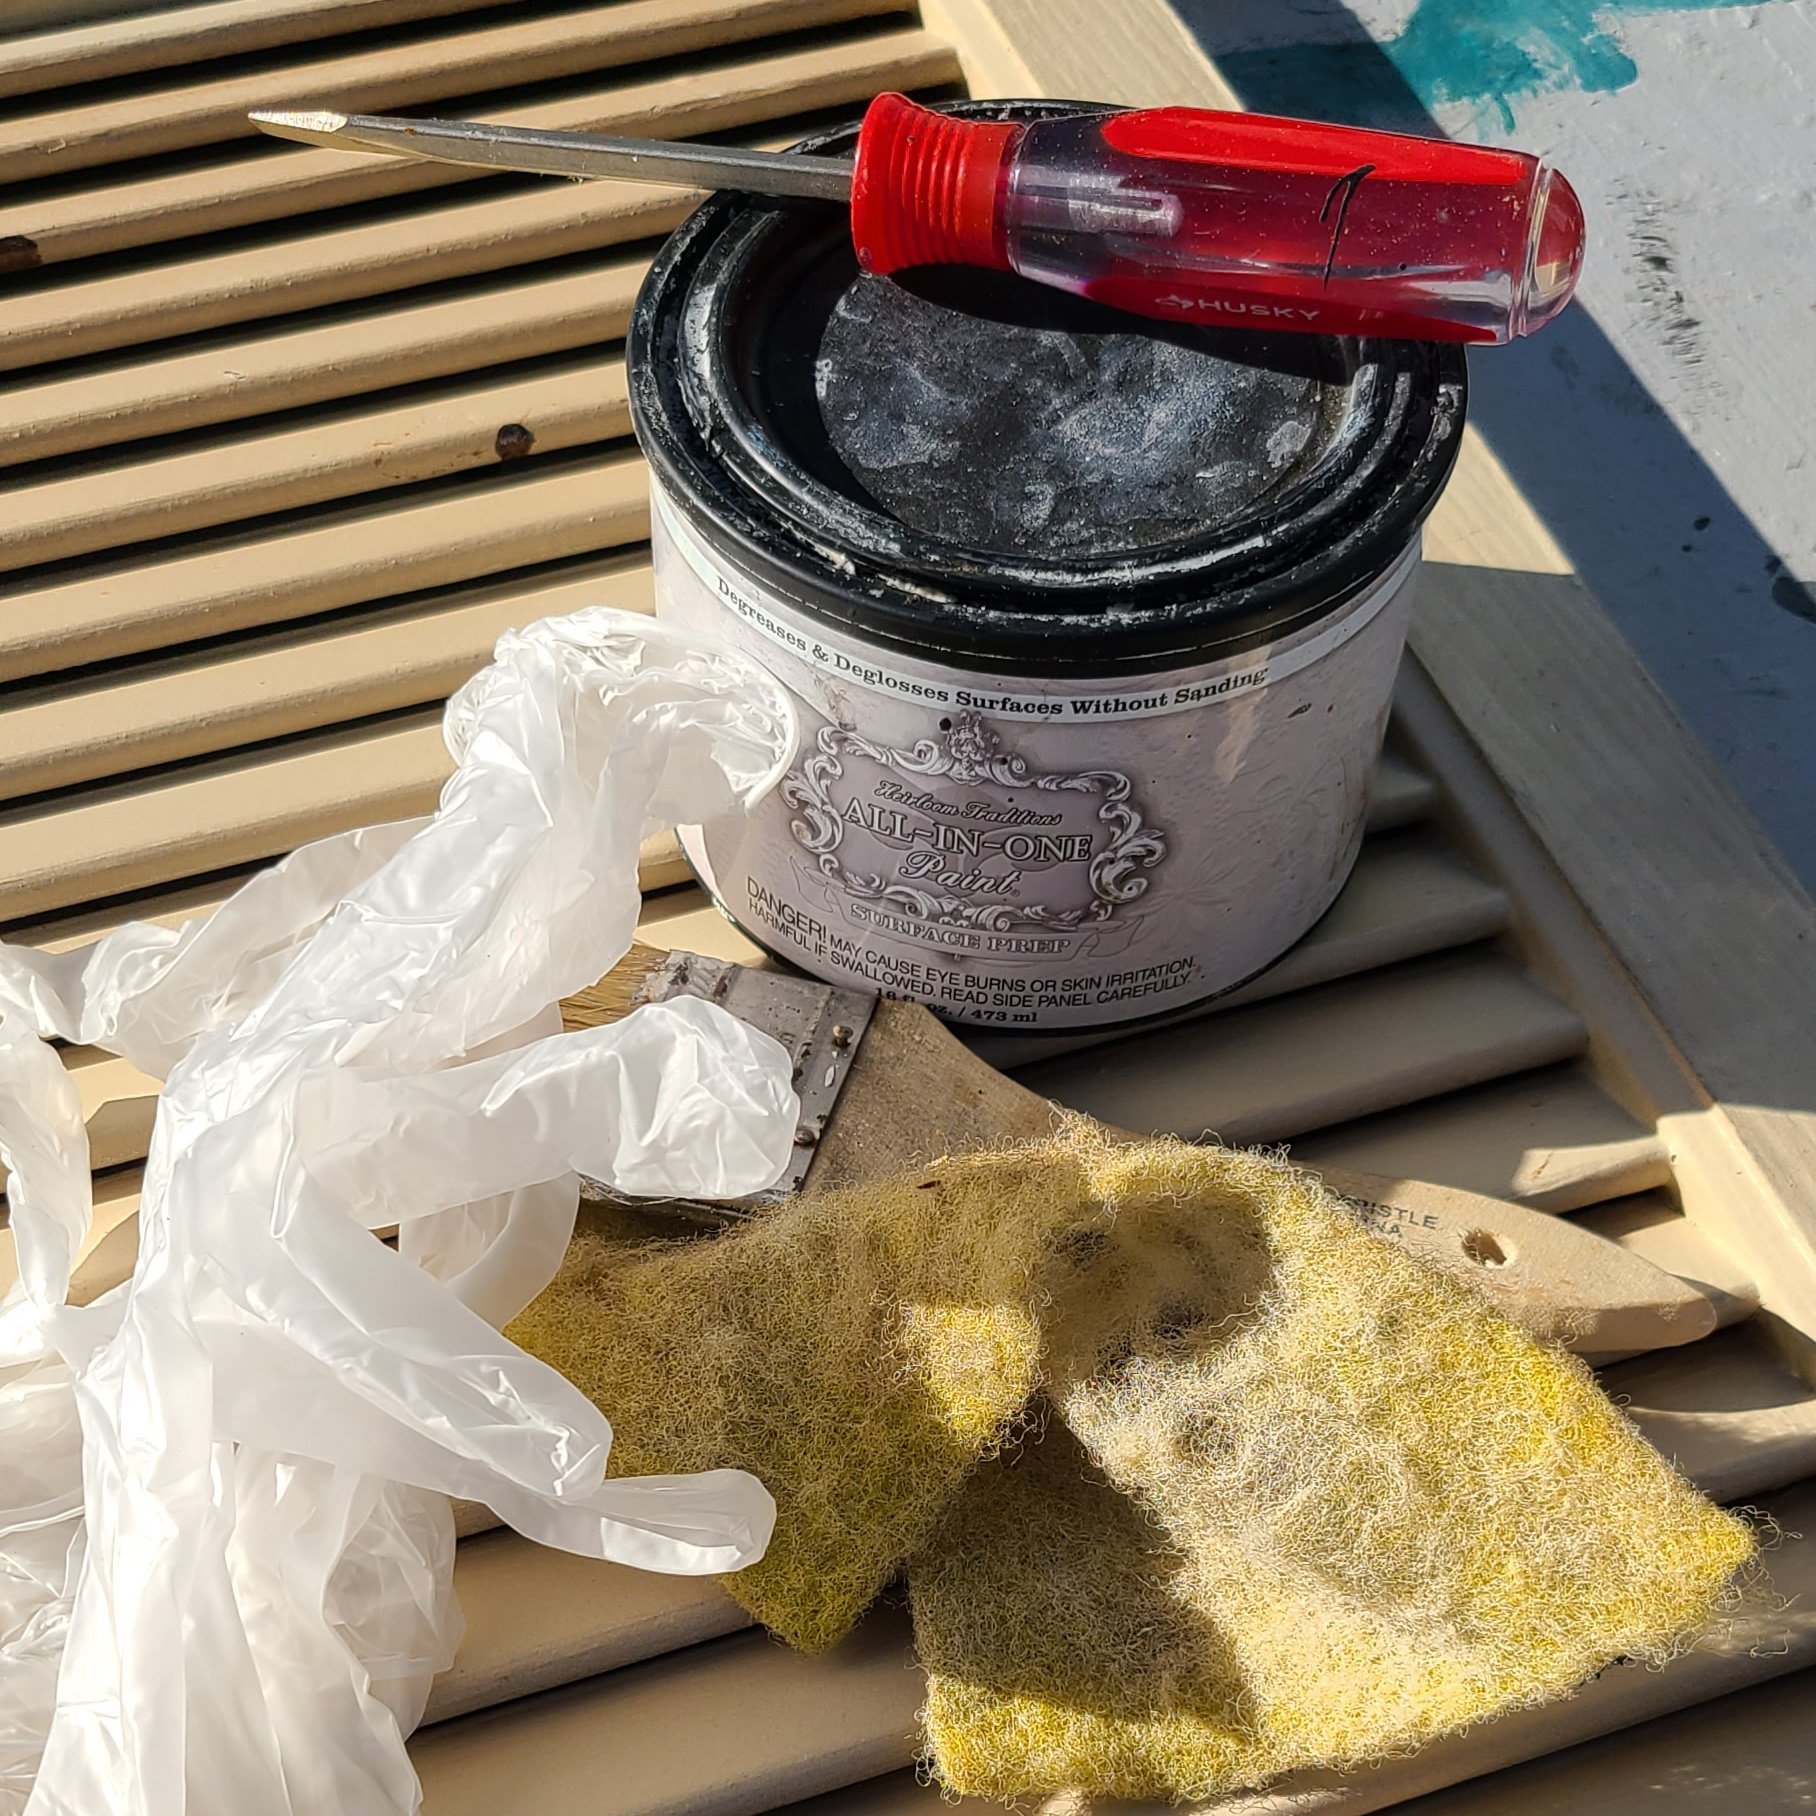
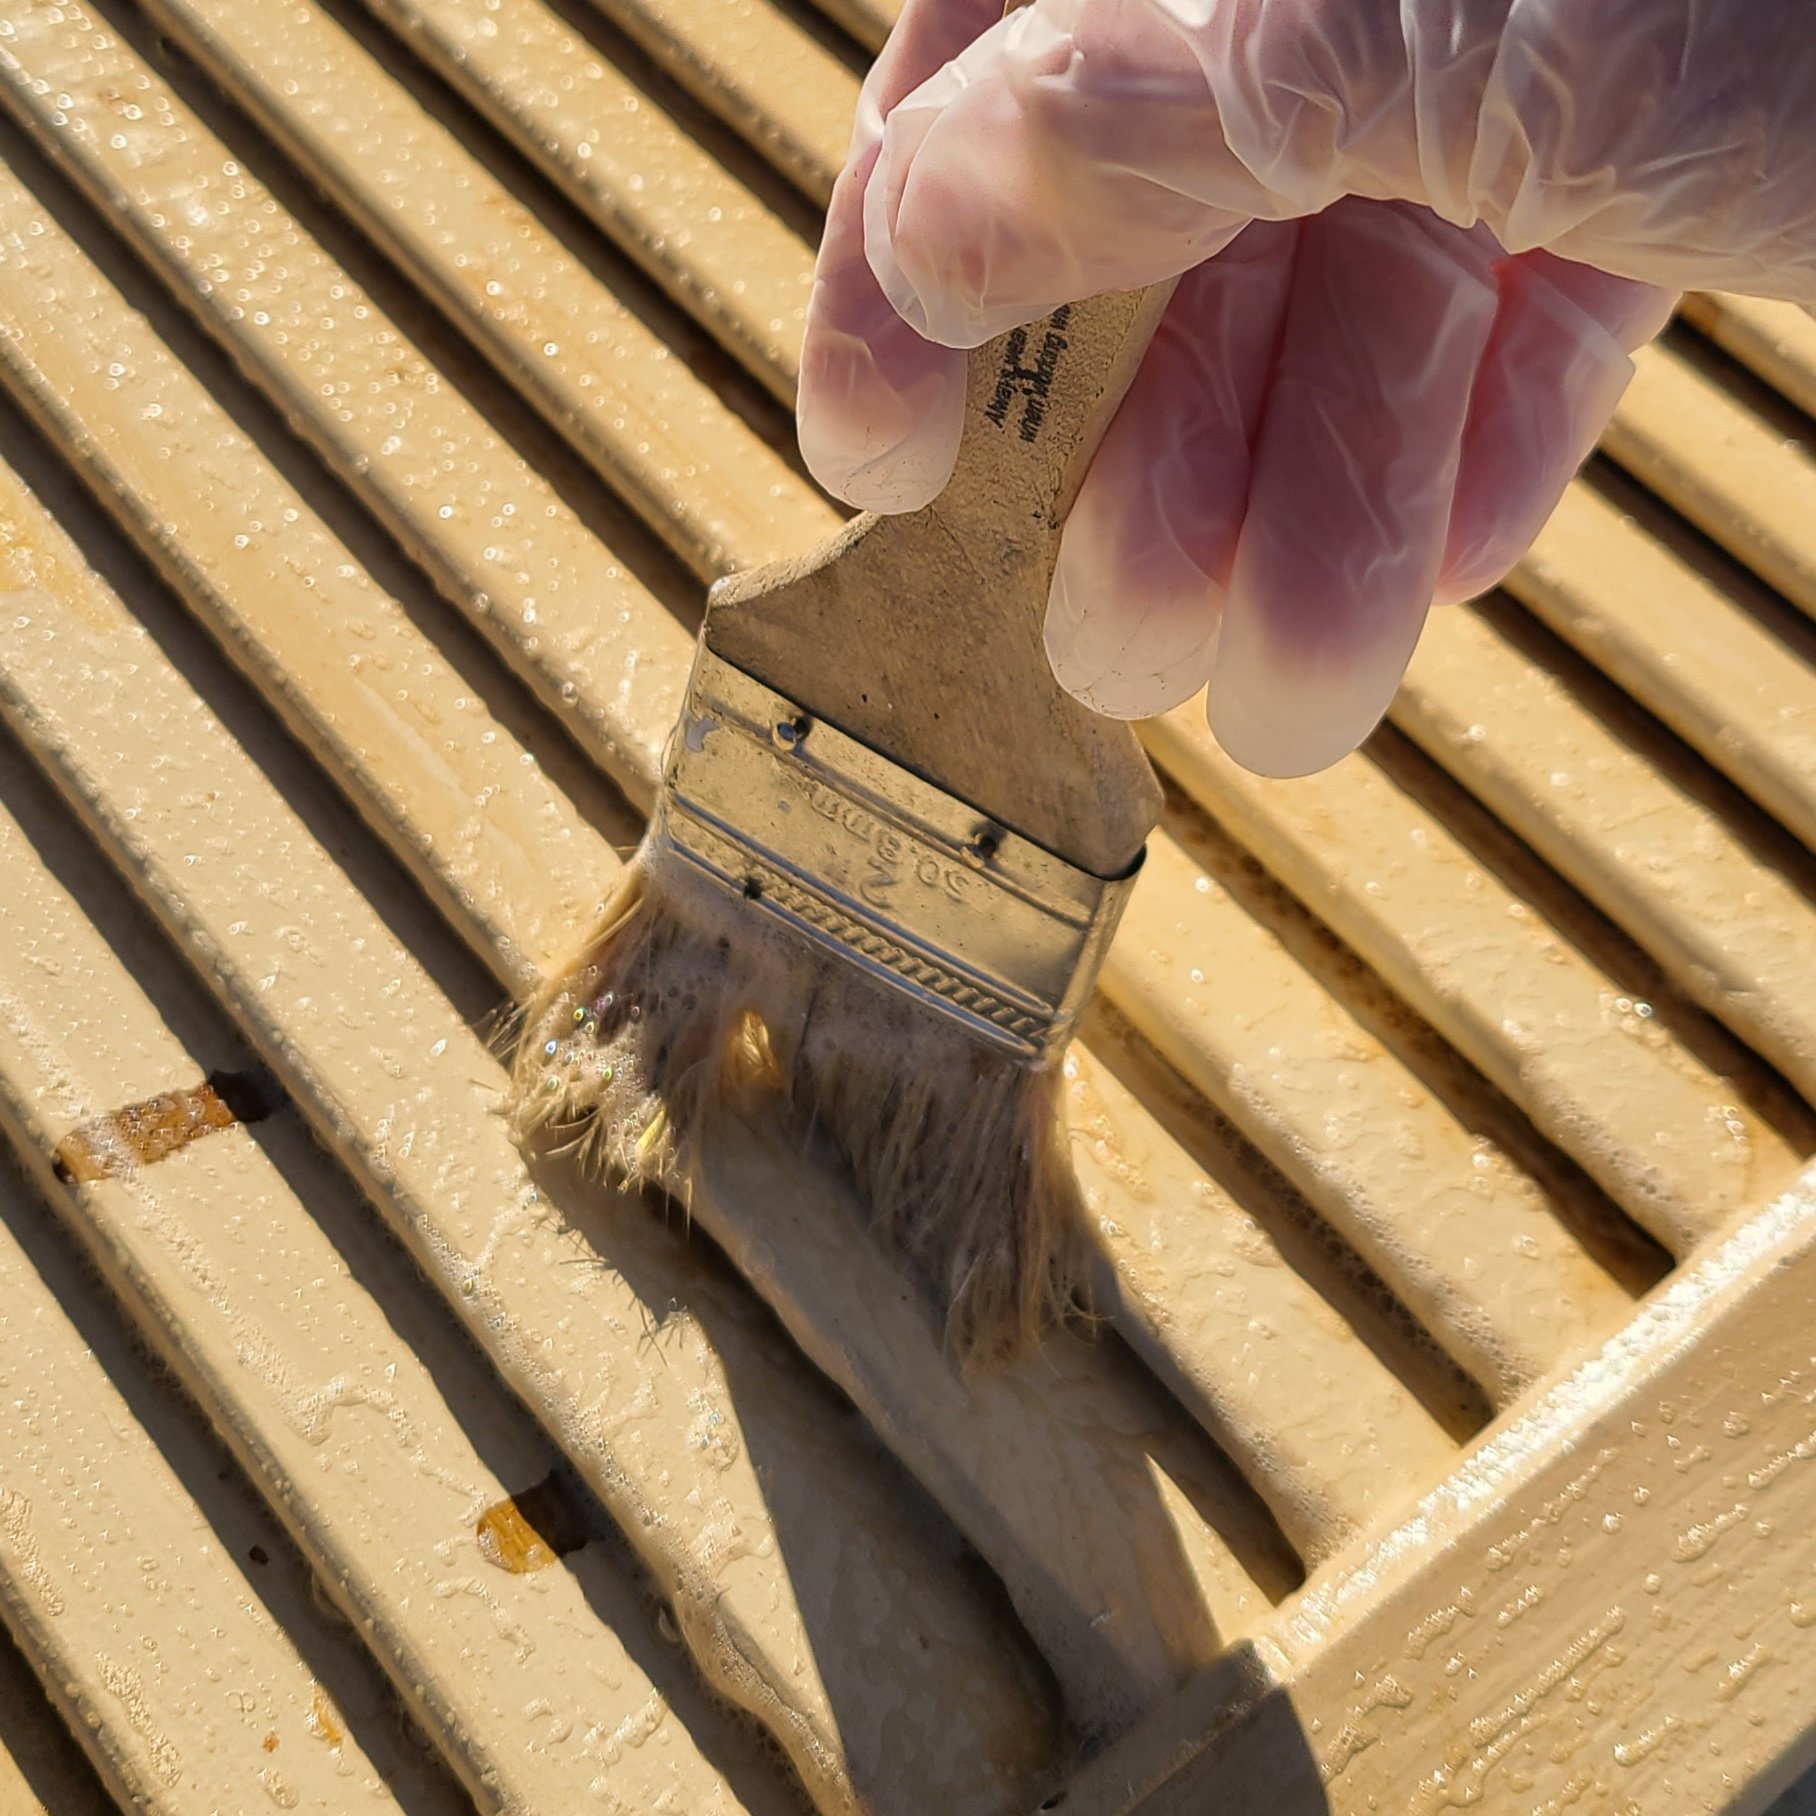
- Brush on Deglosser
Because you never know what grime is actually on your project, it’s a good idea to use a deglosser. It not only cleans grease but dulls the shine, making your project ready for paint.
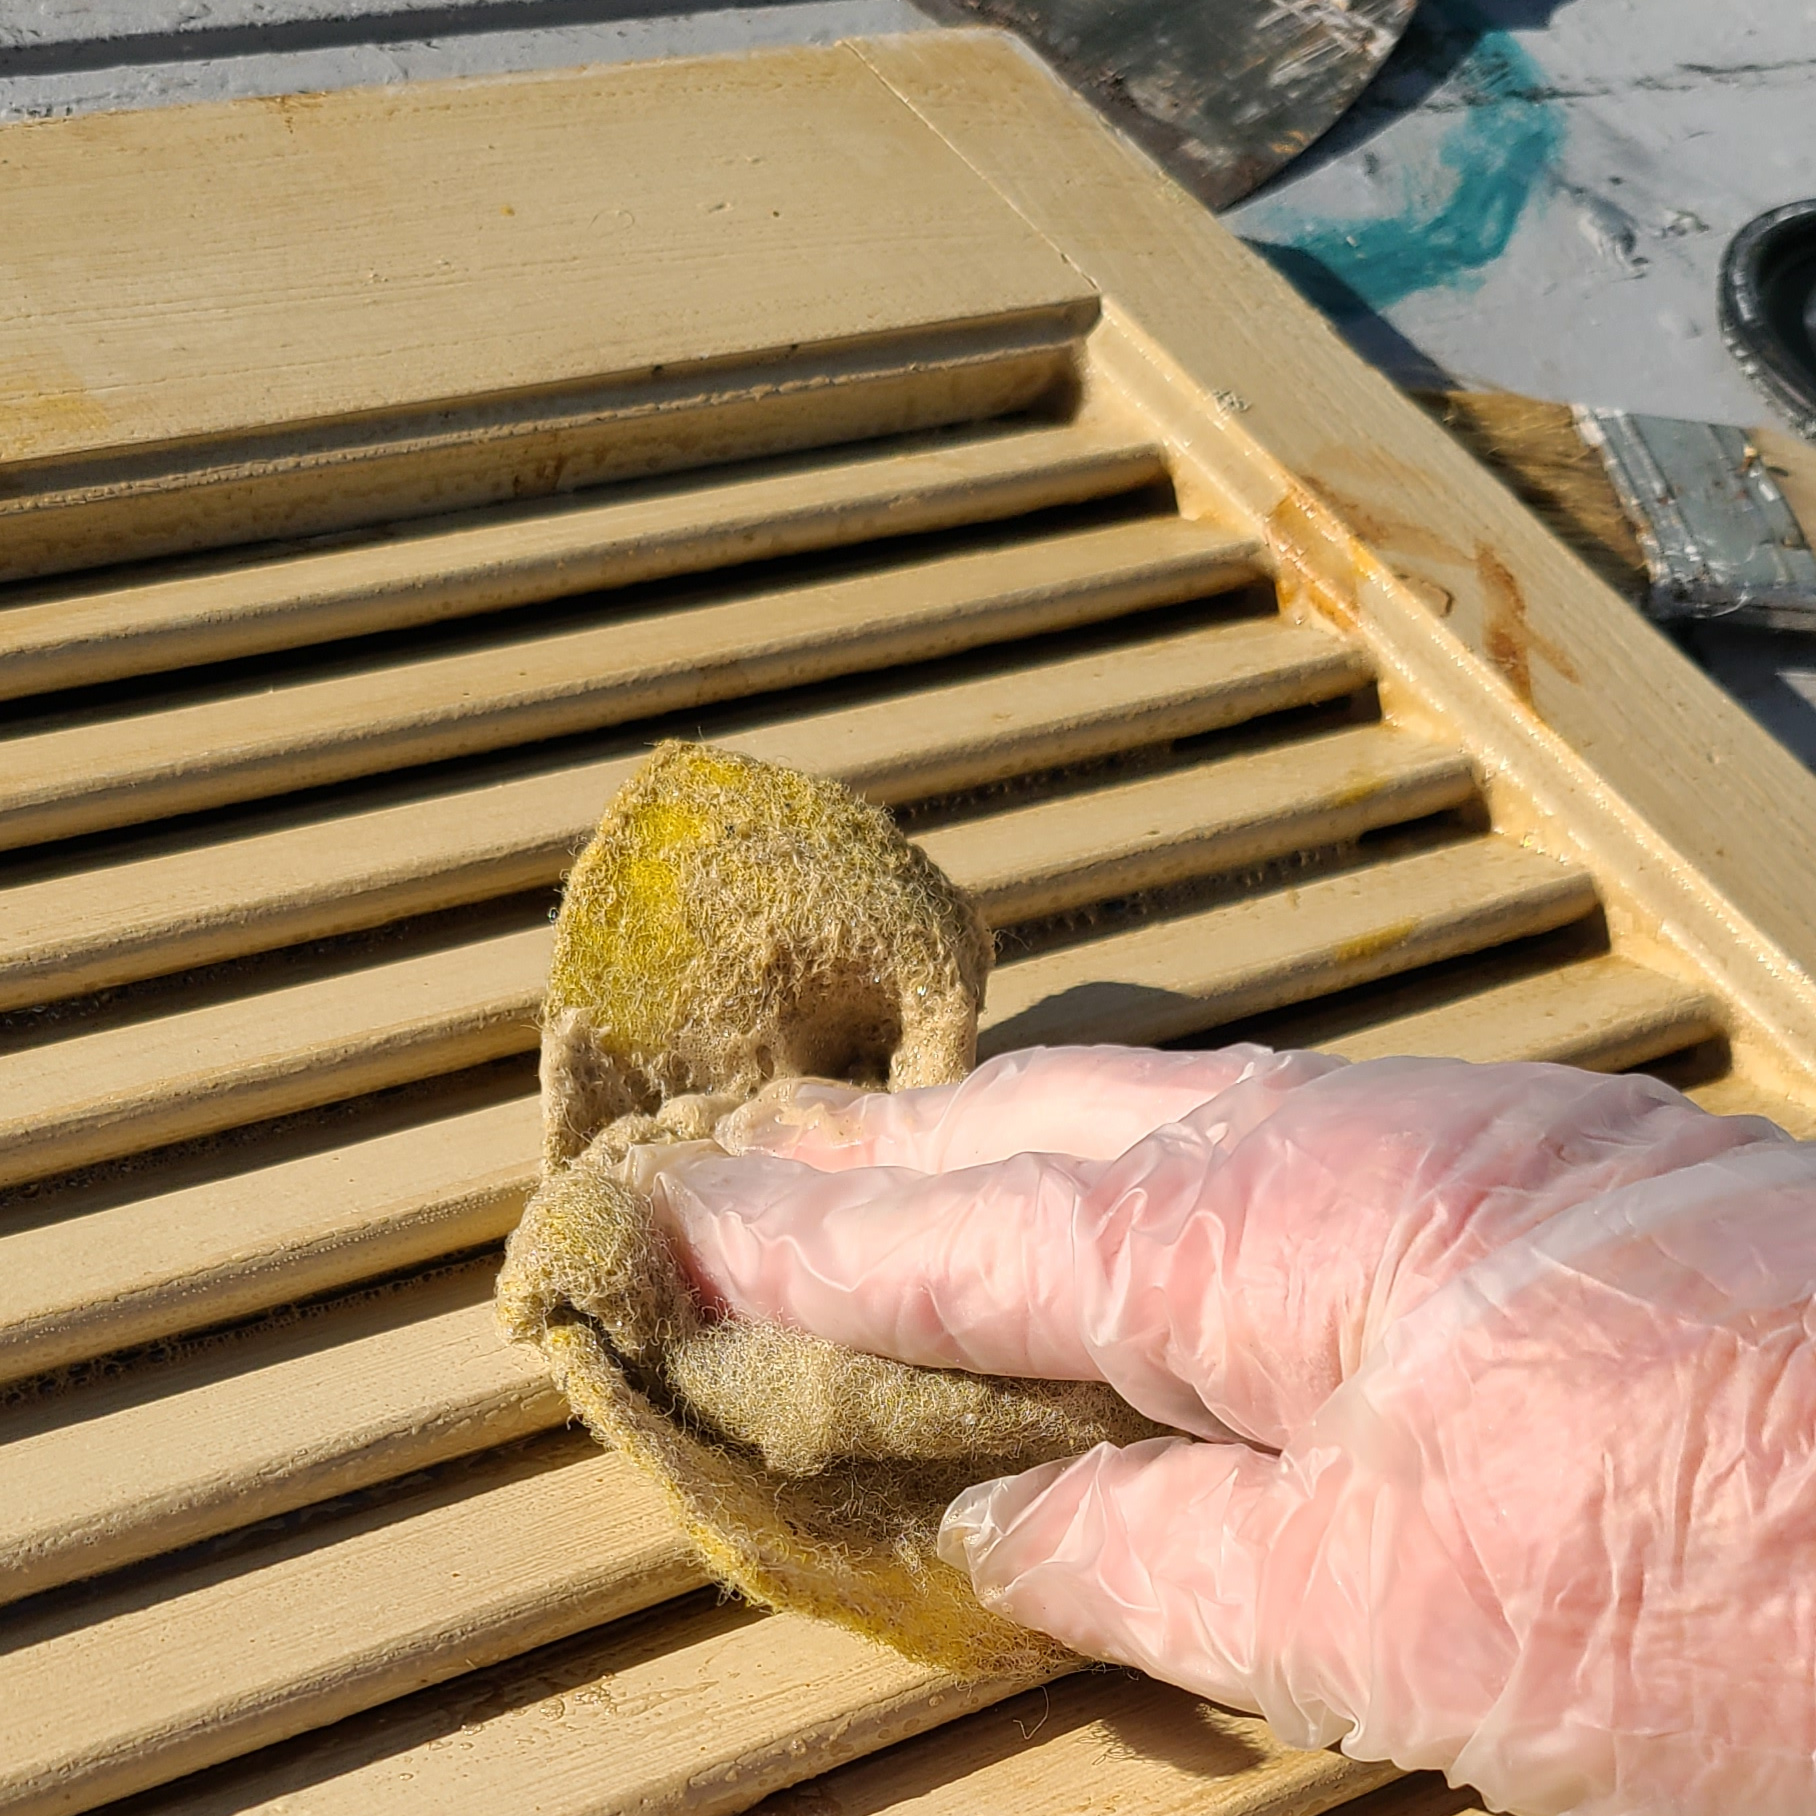
- Scrub Project
Using a pot scrubber, clean your project (shutter mail organizer).
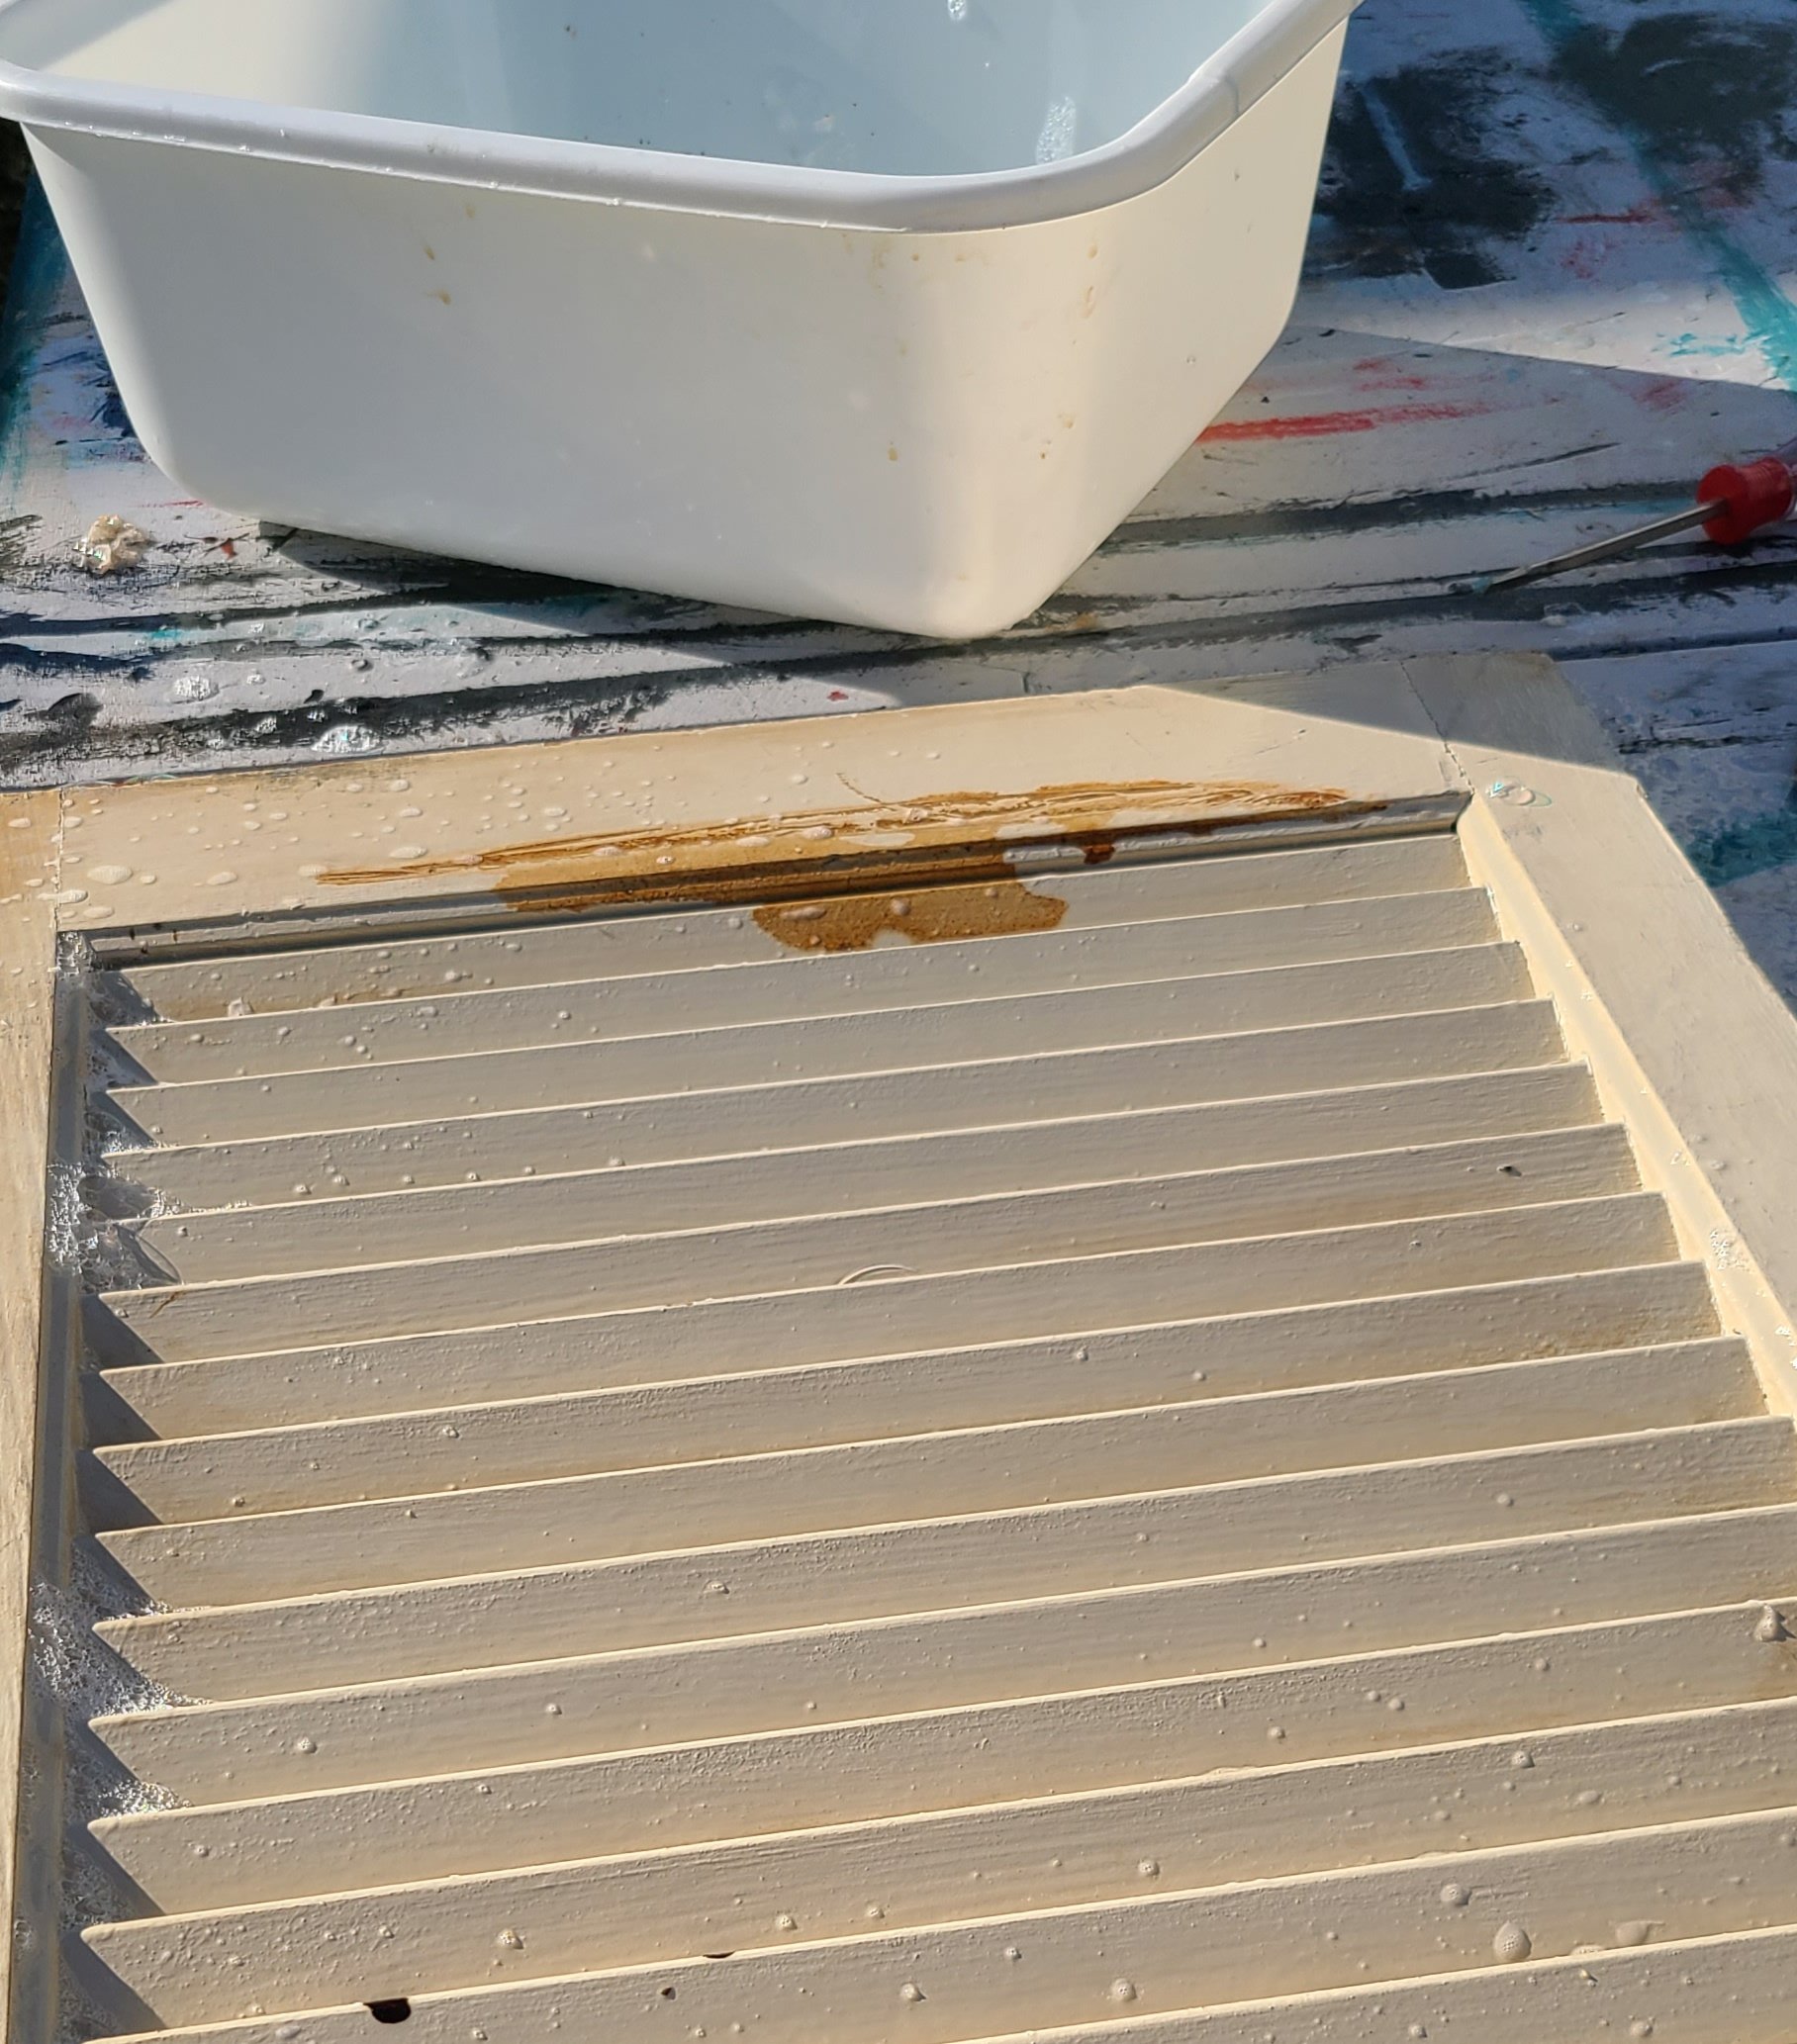
- Rinse
If you lifted a lot of dirt, grime, or nicotine, it’s important to rinse your project well. You can even use a hose for large projects, as I did on my antique table makeover. On this smaller project, because it was cold, I opted for a tub of water to rinse away all the dirt.
- Allow the Shutter to Dry
Because it was a cold but sunny day, I simply stood the shutter on end to allow it to dry thoroughly.
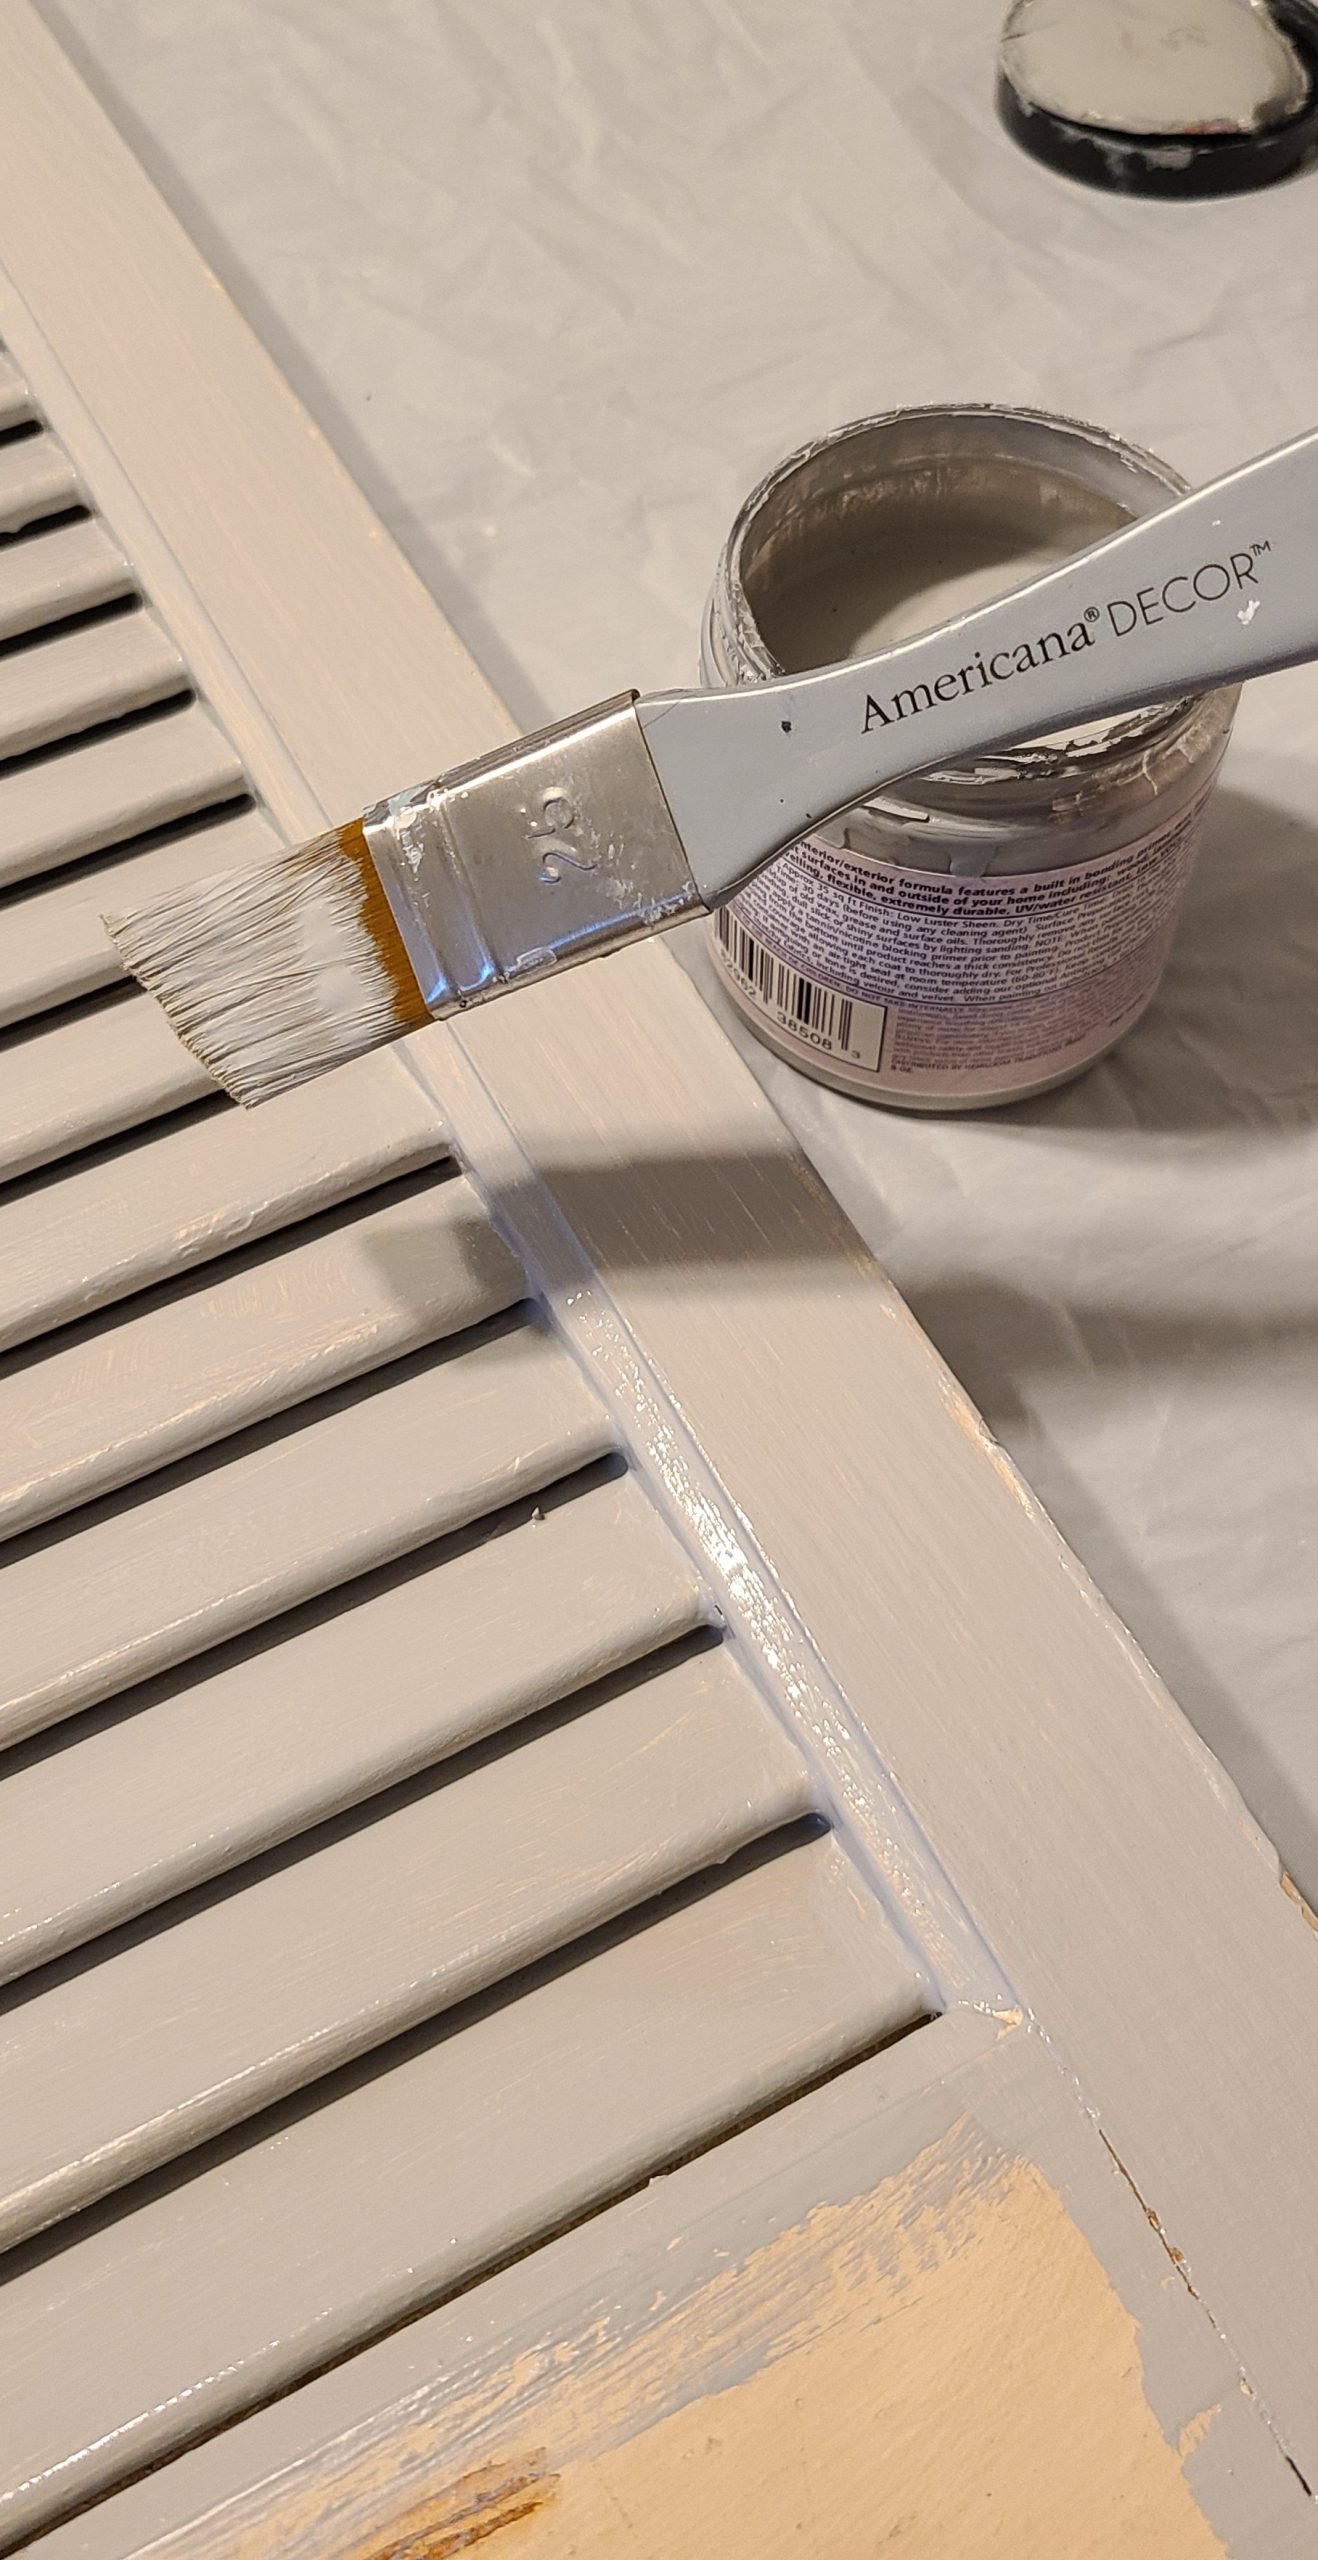
- Paint Shutter Mail Organizer
Use your favorite paint. I couldn’t decide between Black or White, so I compromised and went with HTP Cobblestone. I truly love this small paintbrush. I’ve had it for years, and it cleans up nicely and doesn’t leave brush strokes.
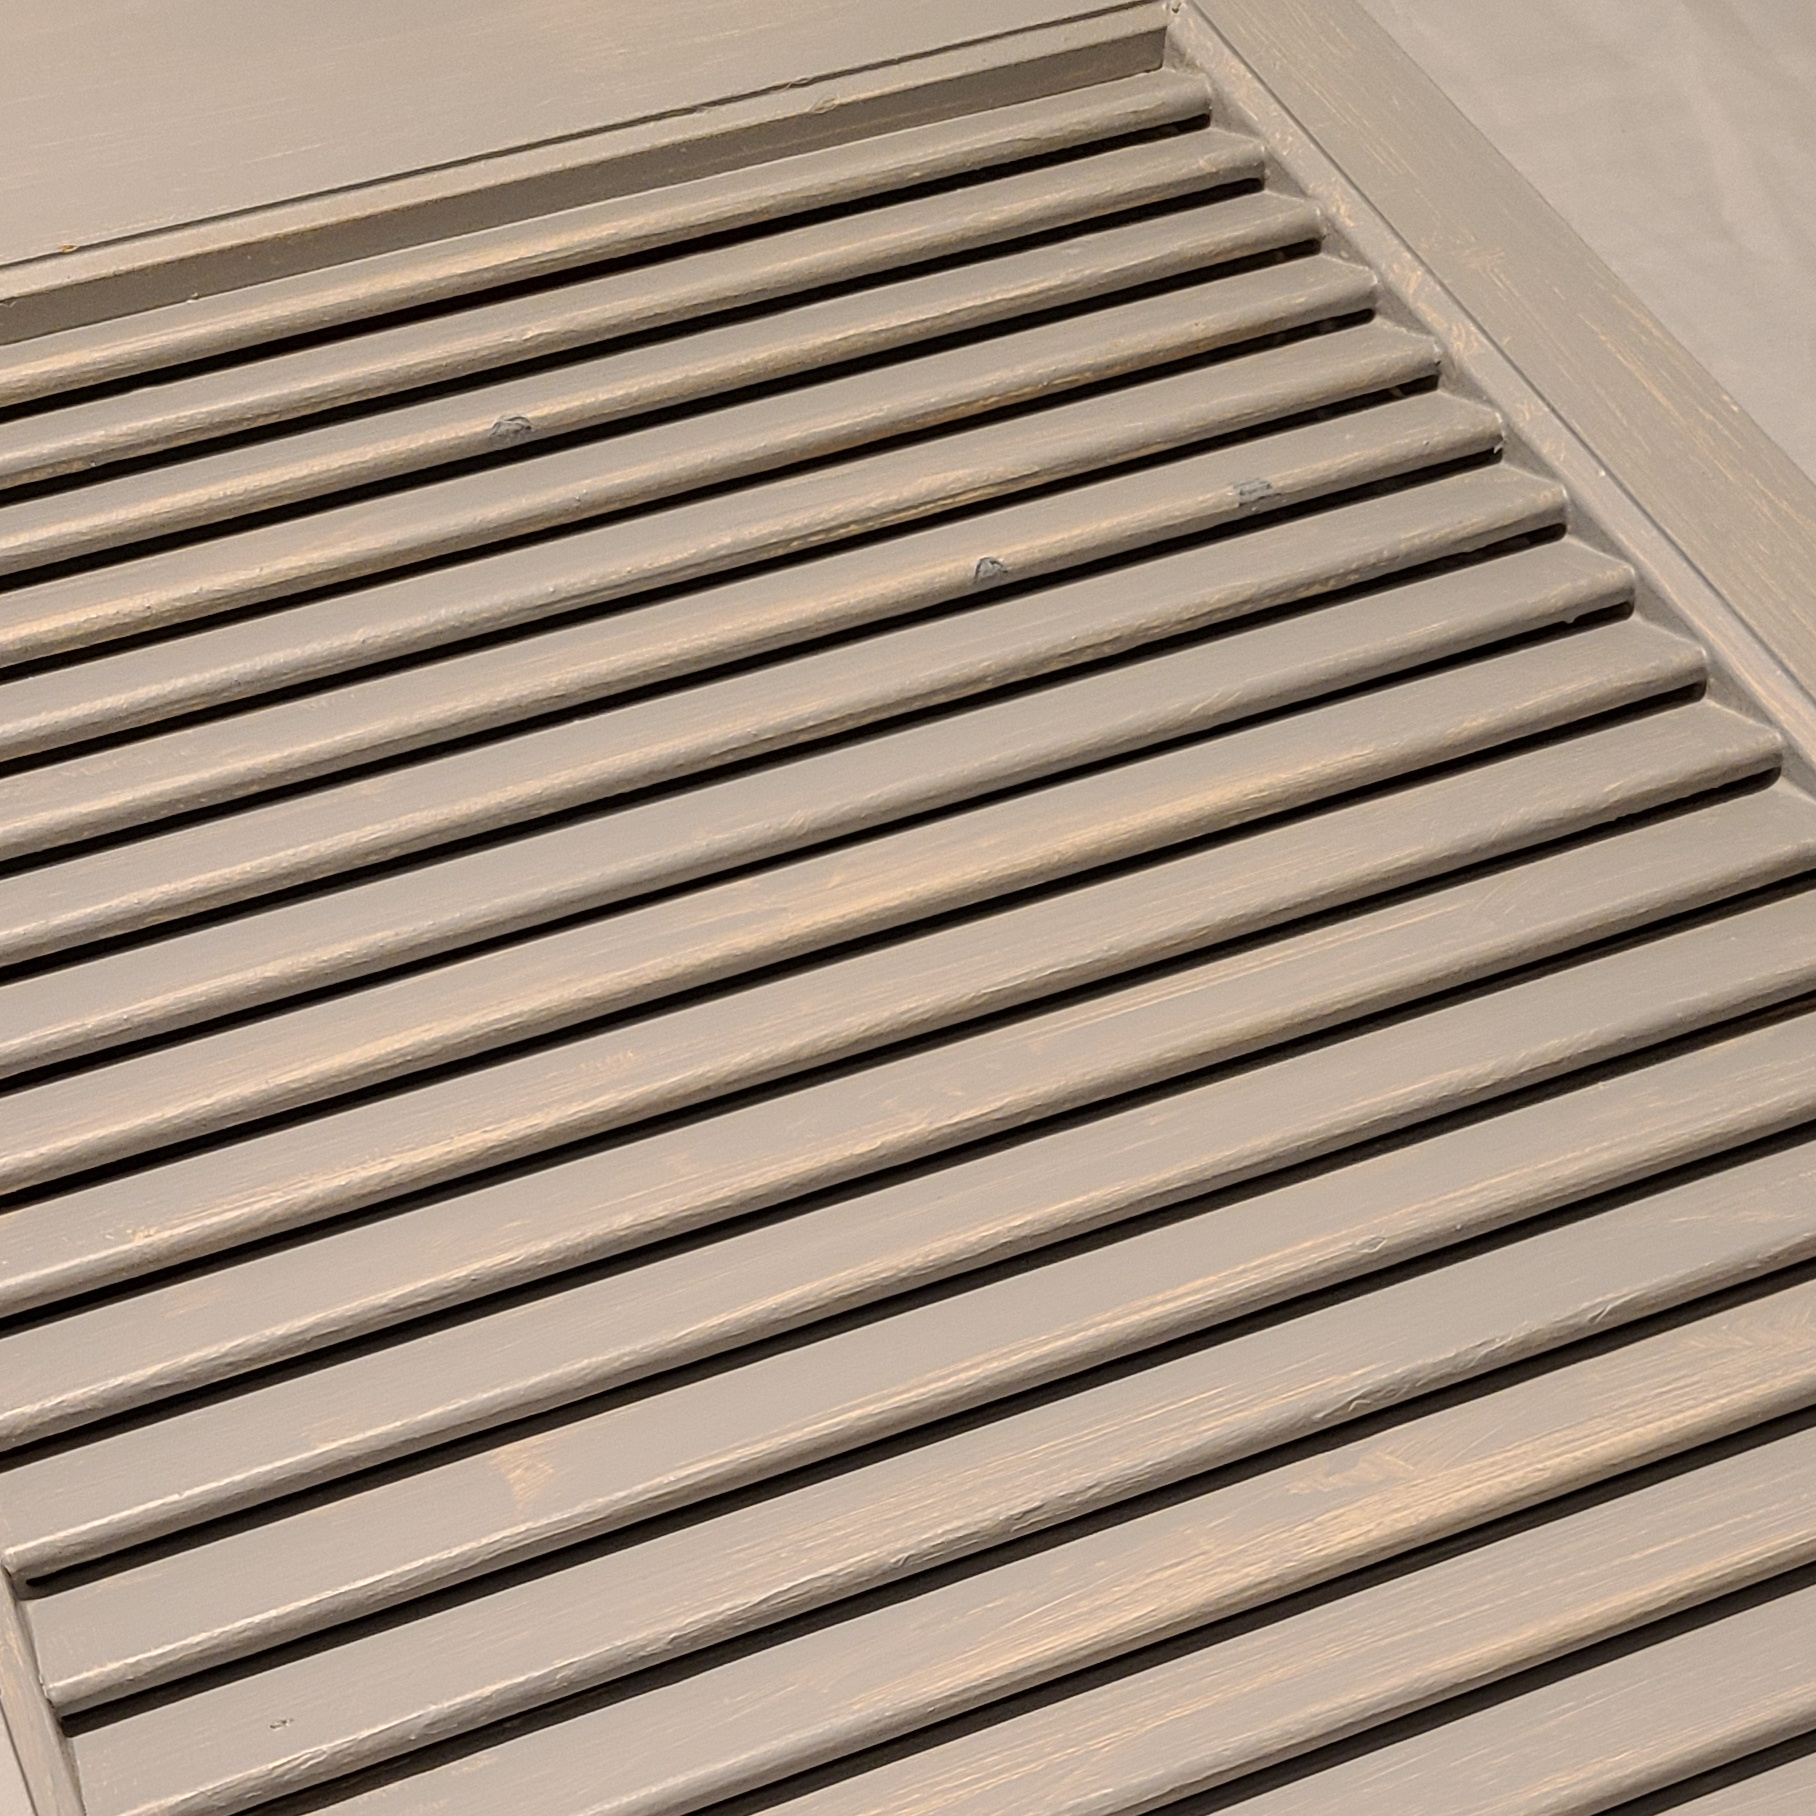
- Apply 2 coats of paint
All in all, I generally do 2 1/2 coats of paint. The first coat is very light, the second coat is for great coverage, the half coat is a touch-up coat, painting only where necessary.
- Mark Shutter for Applying Hot Glue
In order to keep letters, cards, etc, from falling through the slats, I opted to apply hot glue 1/3 and 2/3 down the back. Notice the blue Sharpie marks. Those were to remind me where to apply the hot glue.
Because the hot glue sets up quickly, I worked in sections attaching the cardboard.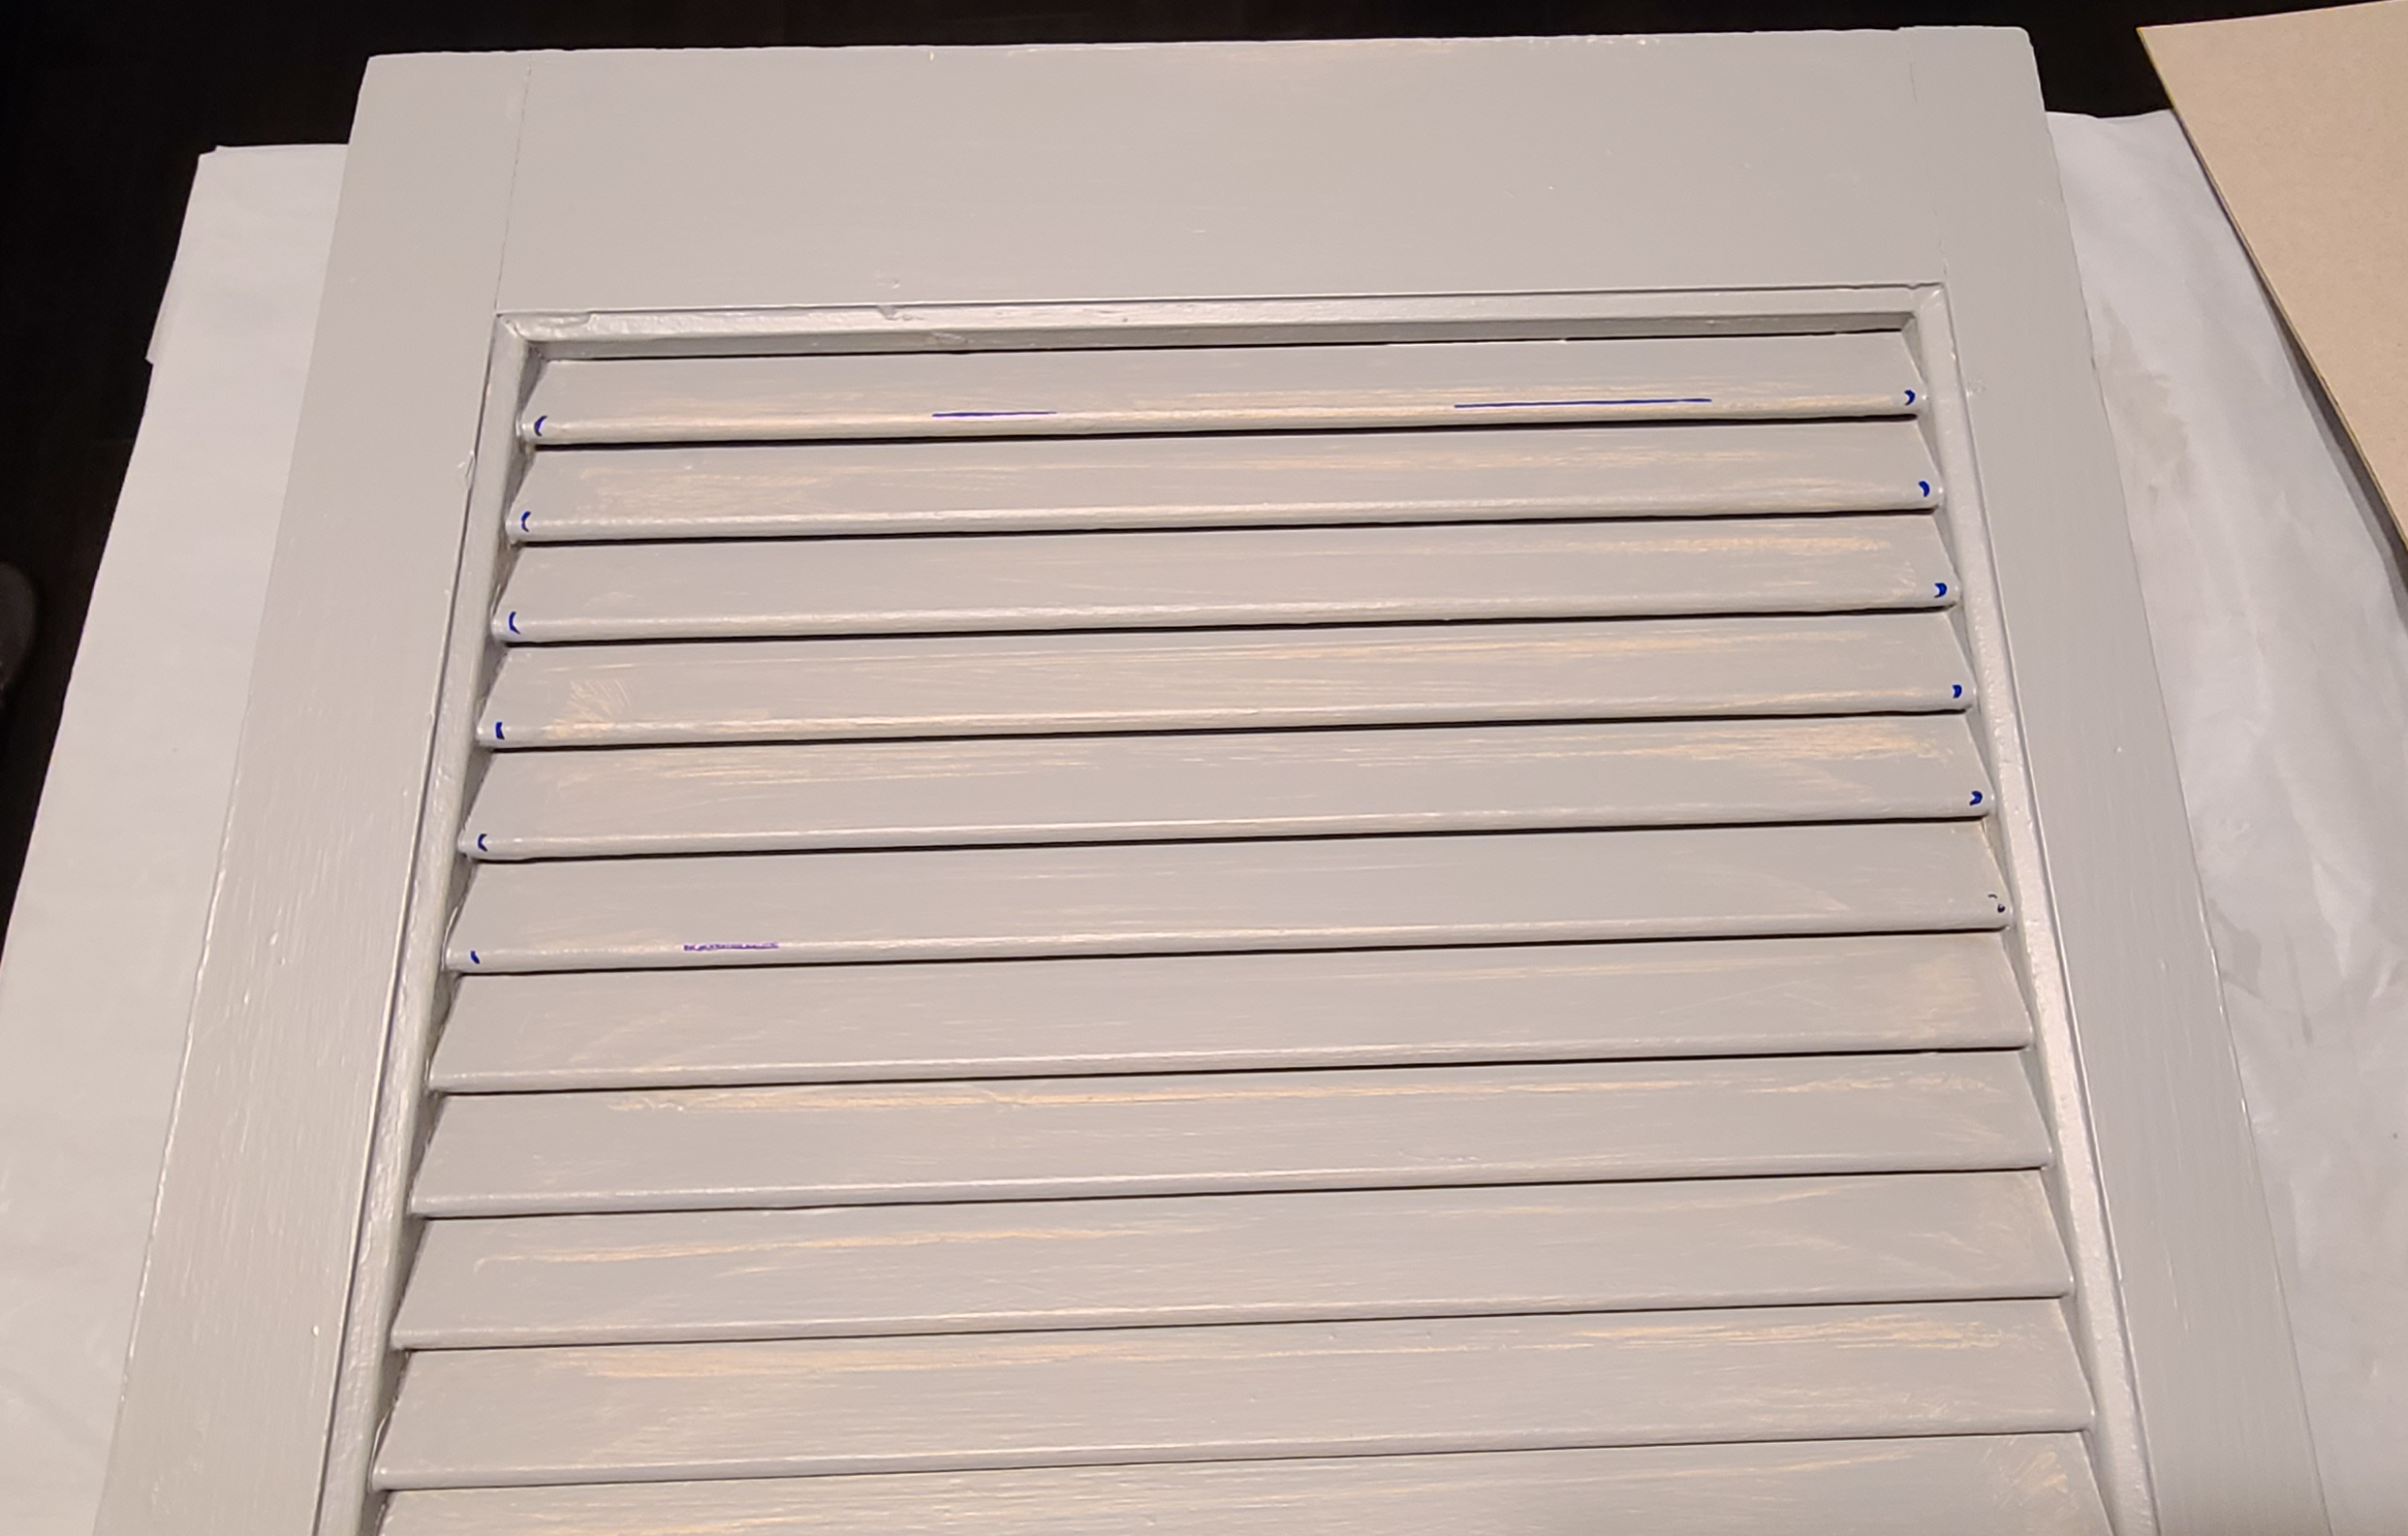
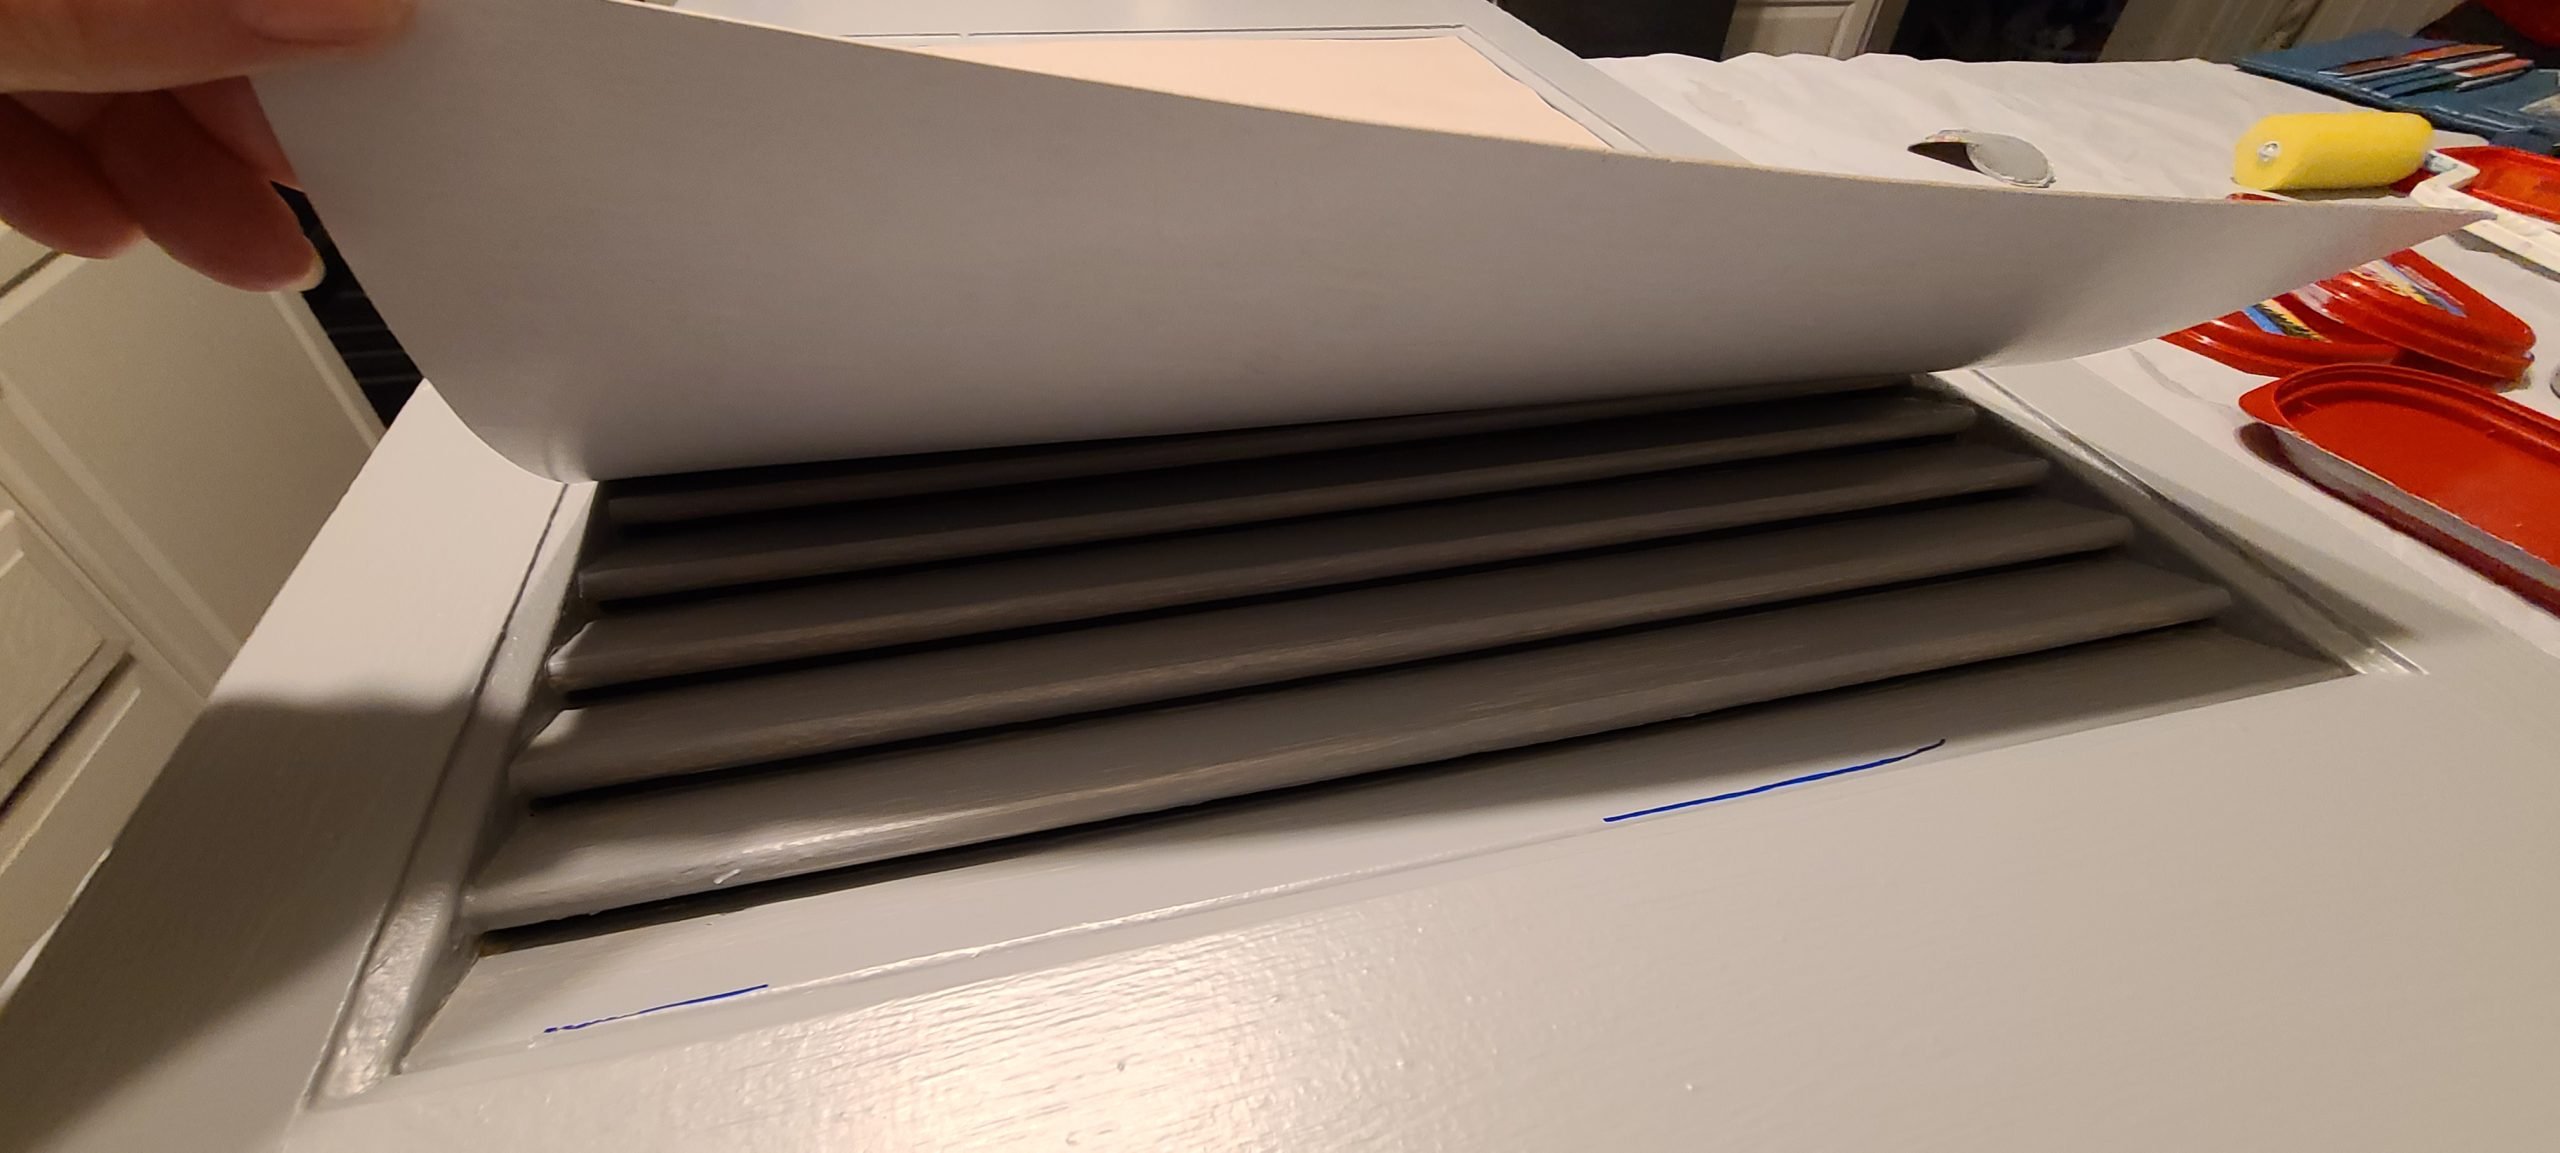
- Continue to Apply Hot Glue
Carefully, I worked my way down the back of the shutter mail organizer, applying hot glue to the sides and across four slats. (top, two slats equally spaced and the bottom)
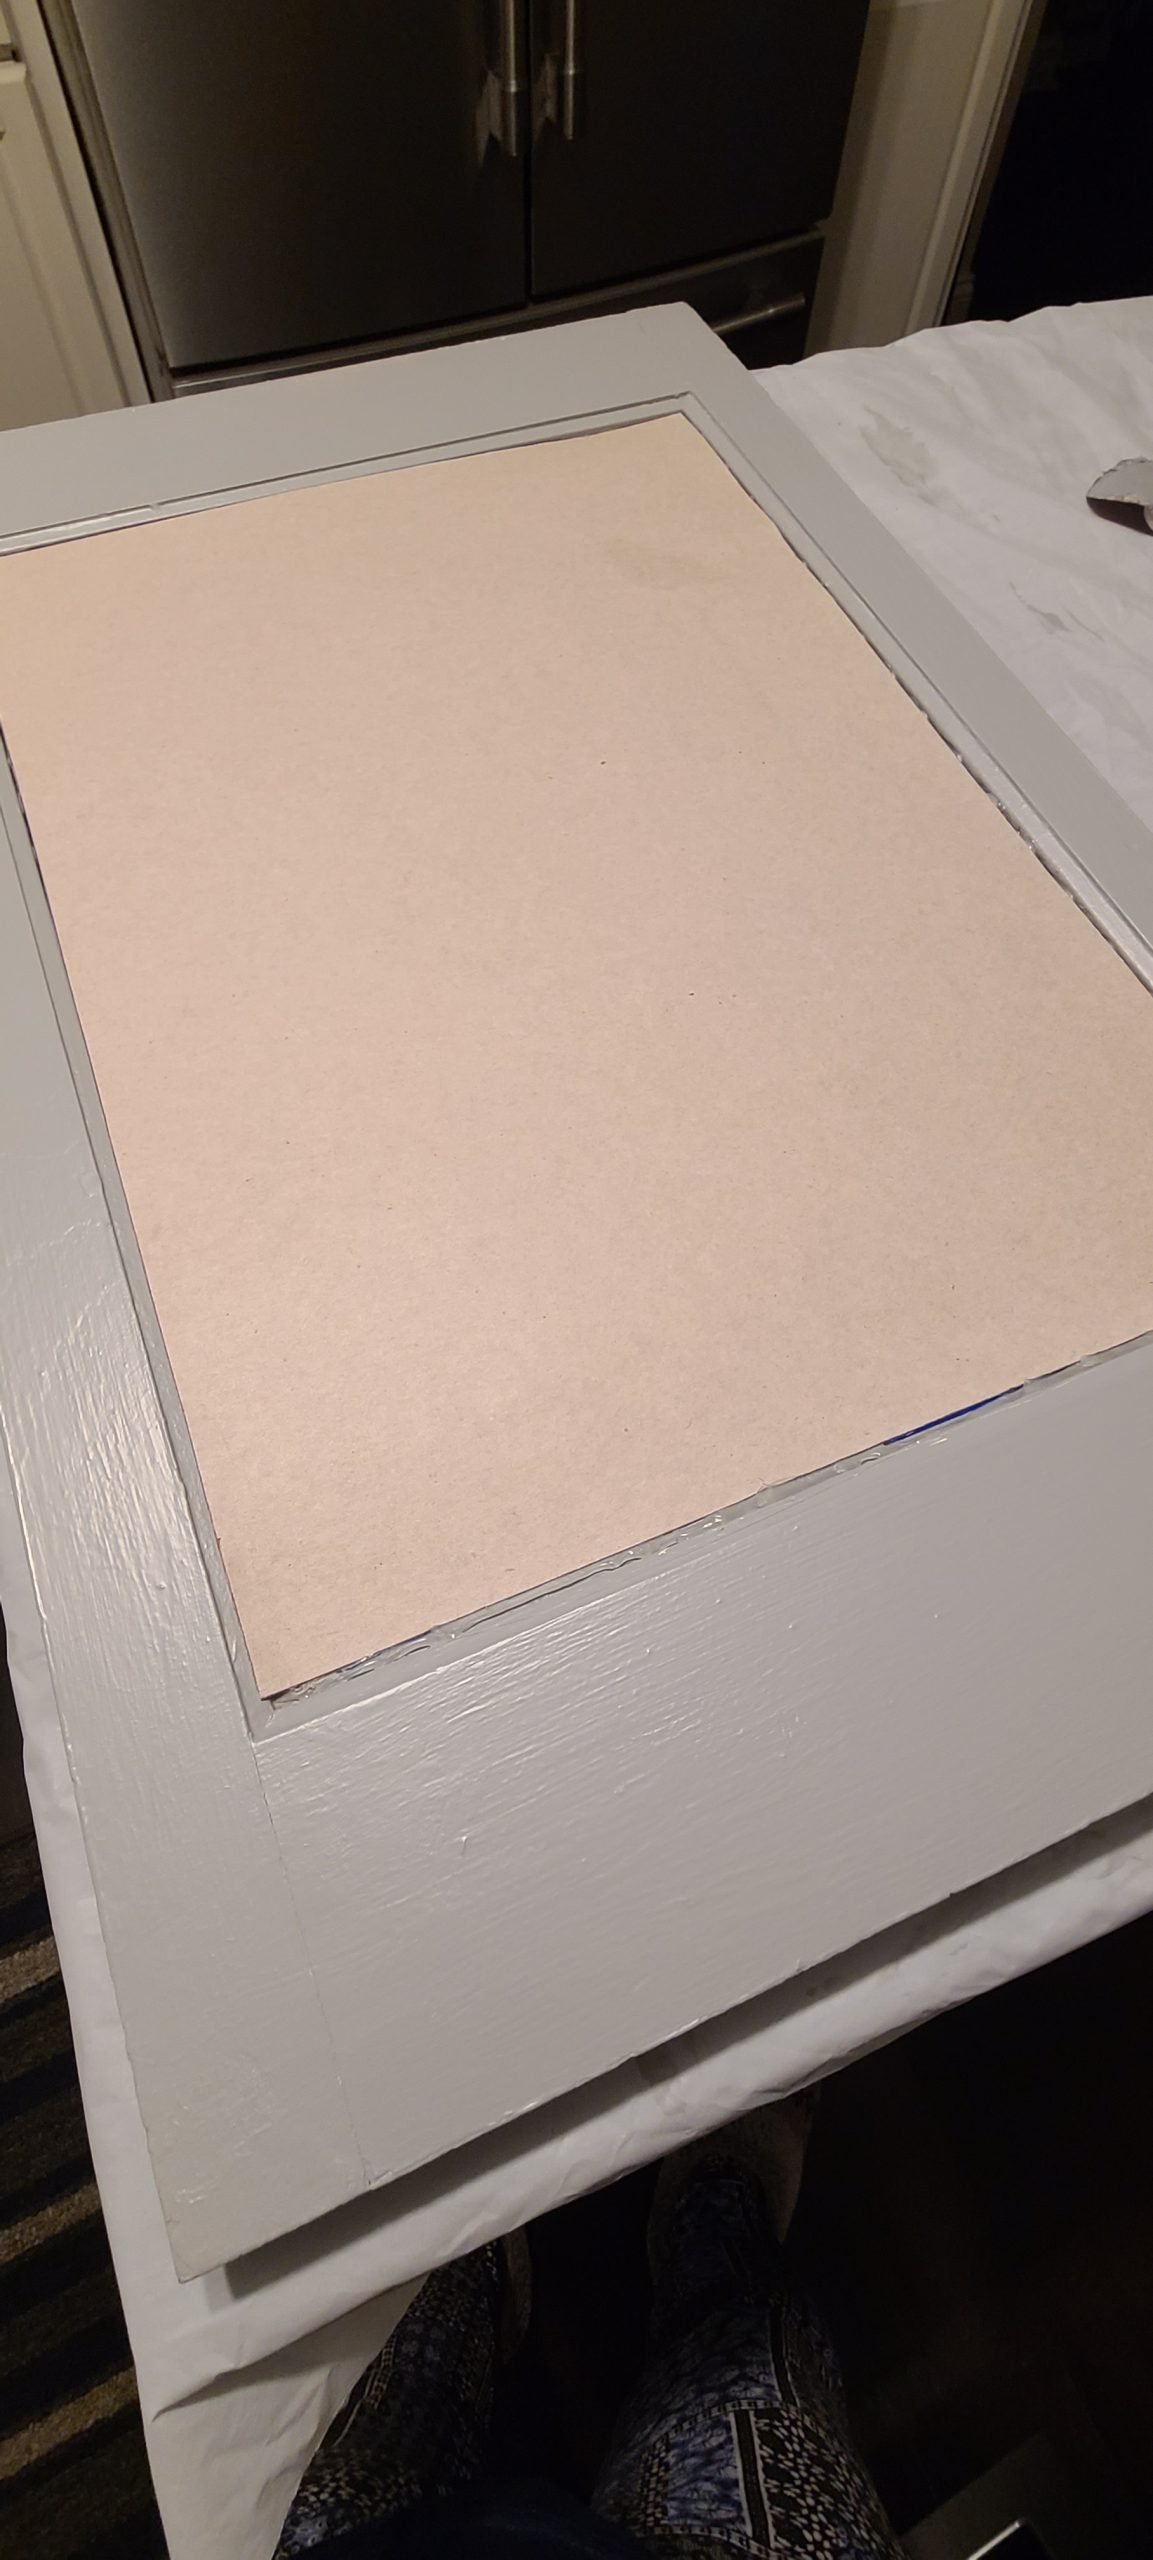
- Cardboard Attached to Back of Shutter
Voila! The cardboard is secure. This is where you could stop if it’s your own project. However, I’ll be selling this shutter mail organizer, so I wanted to give it a more finished look.
- Cover the Back of the Shutter with Fabric
This is totally optional. You could use contact paper. I chose to use the same fabric I used on a drawer jewelry organizer.
First, I tore the fabric to get a straight line, then continued to tear each side until I got a good fit.
After that, I folded and pinned a little hem all the way around.
Then, I ironed the fabric and the hem.
Finally, I hot glued all around the edges, a little at a time until the fabric covered the cardboard.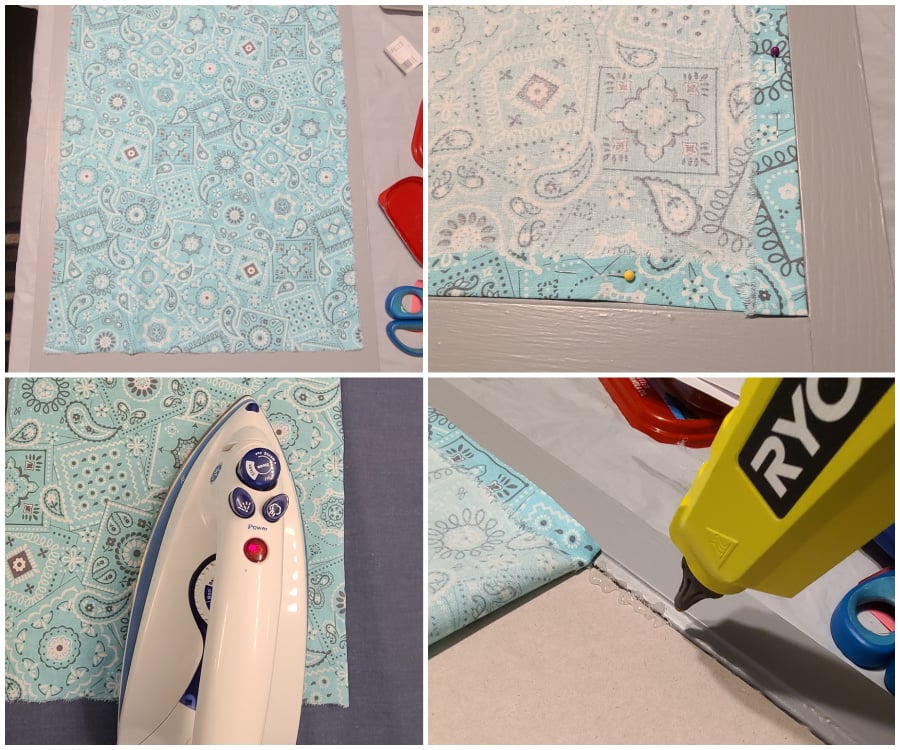
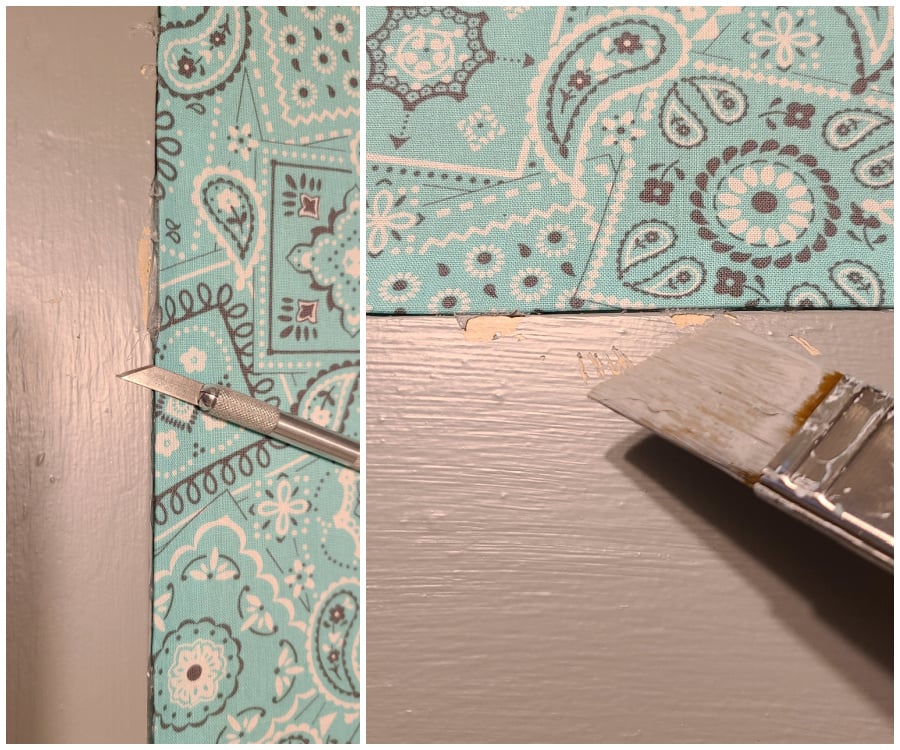
- Touch Up Paint
Some hot glue oozed out as I was securing the fabric. I used an exacto knife to cut away the glue, then used my paintbrush to touch up any boo-boos.
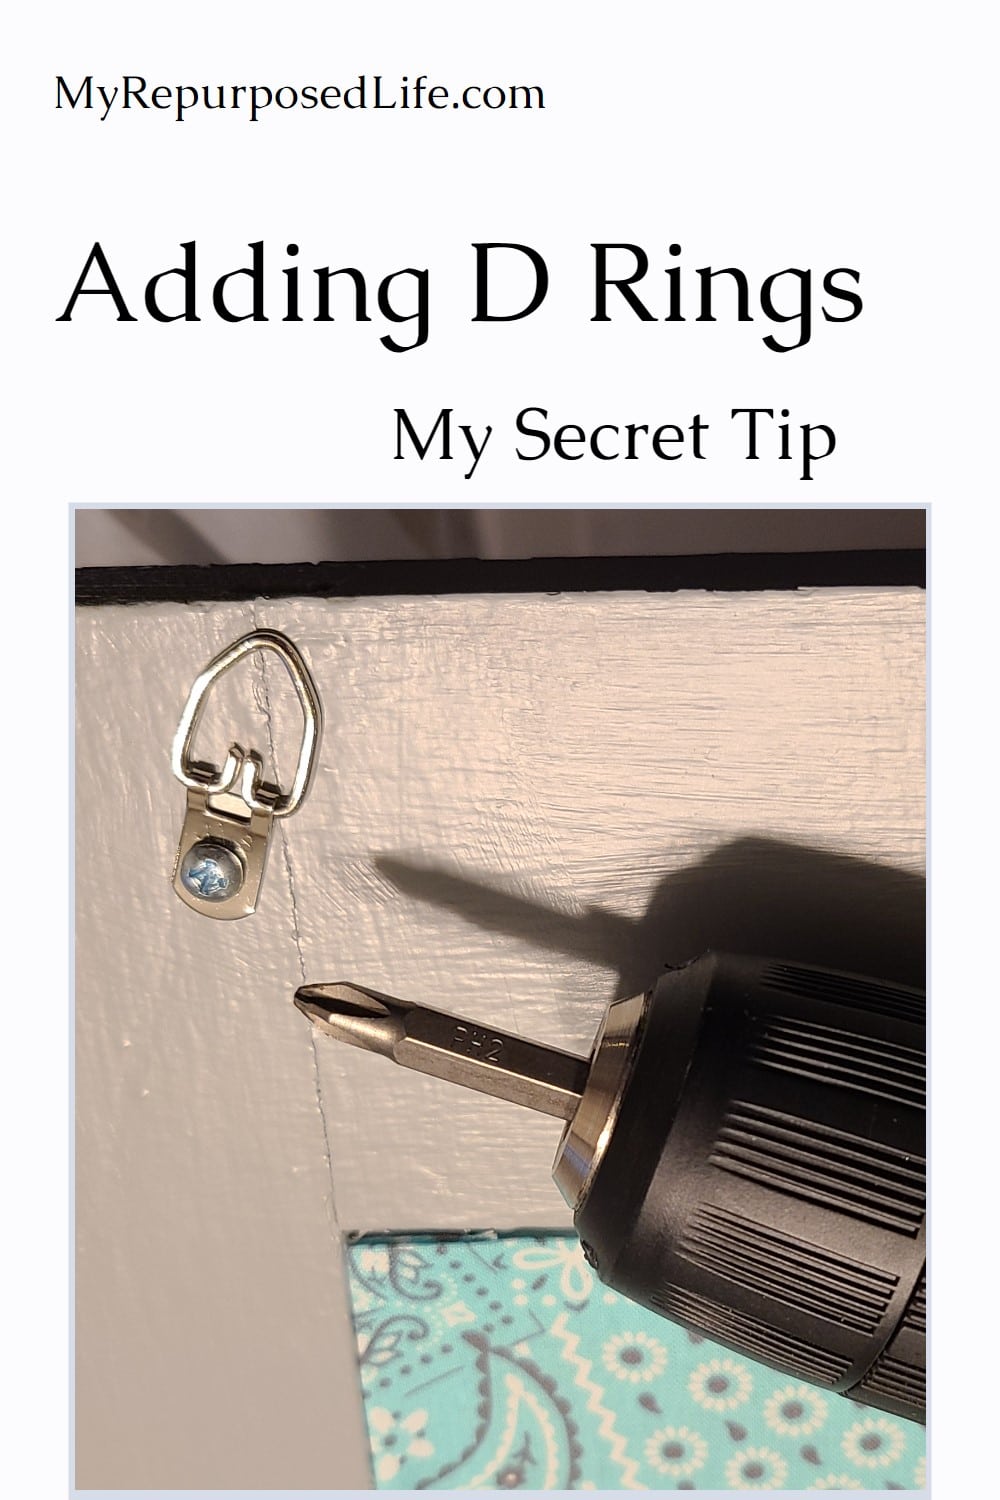
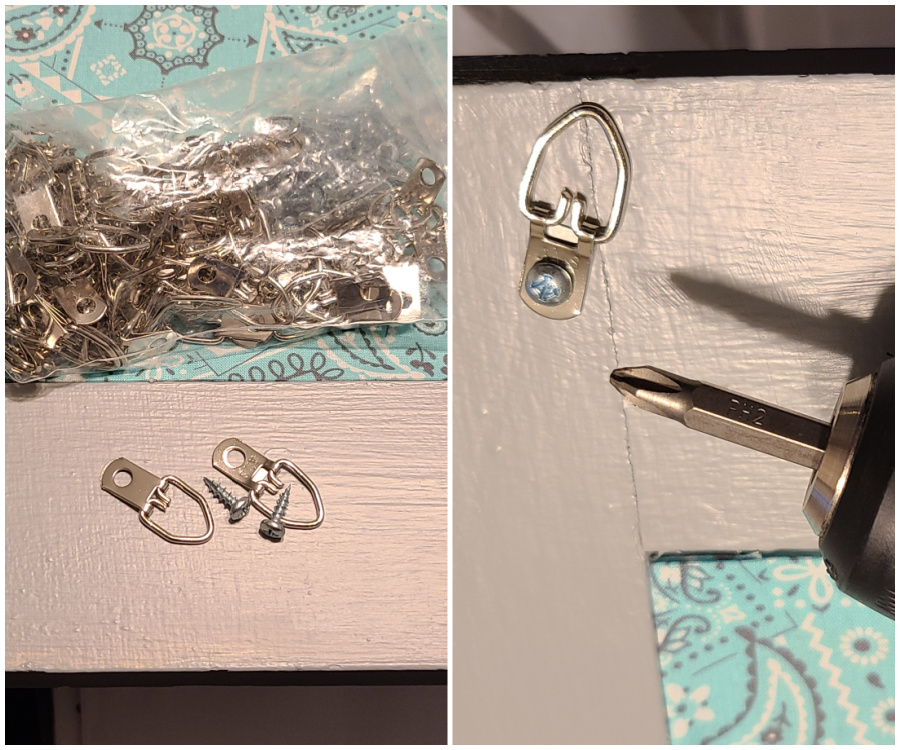
- Add D Rings for Hanging
I buy D rings in bulk on Amazon. Even though these have one screw, they are very strong and secure. After securing them, I loosened the screw slightly in order to allow the d ring to move, making it easier to hang on the wall.
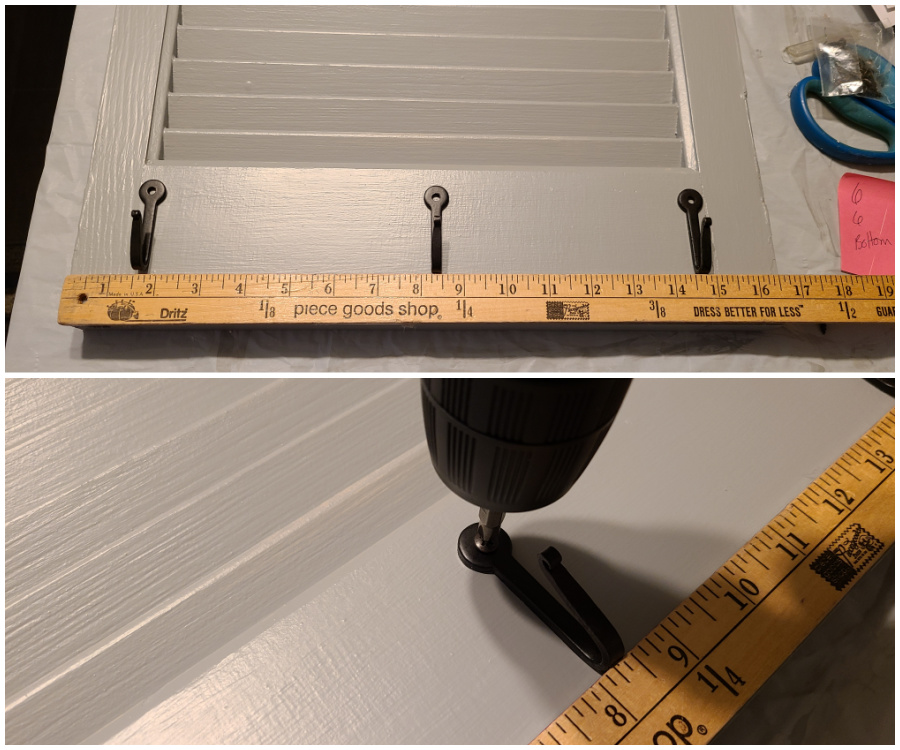
- Attach Hooks (optional)
Hooks are handy, not just for keys but also sunglasses, masks, leashes, and more! I bought these hooks on a trip last summer. I loved their look. Upon installing them, I was in LOVE with them even more. Not only their simple look but the ease of installing them. Having only one screw makes them oh-so easy to get straight!
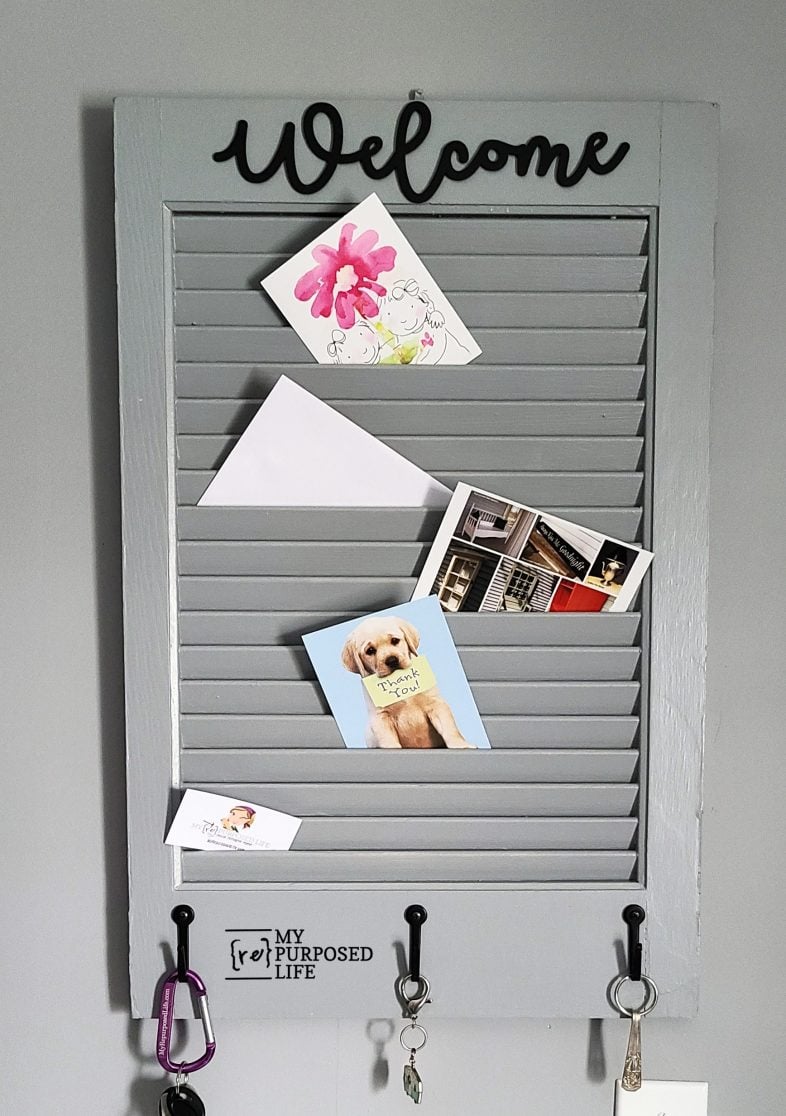
- Voila! The project is “almost” complete!
The Welcome sign is metal. I attached it with some double sticky mounting tape. It was easily removed, and I added a Welcome sentiment with chalk paste and a transfer.
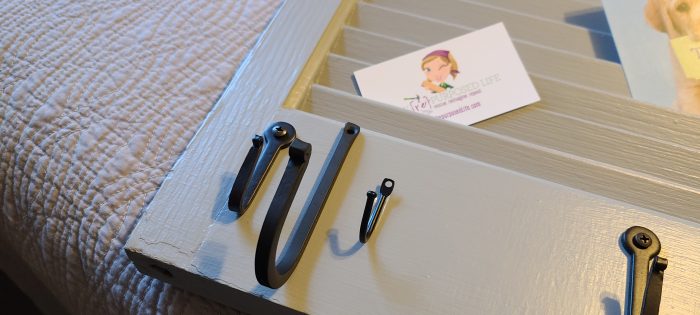
So, I found some similar hooks on Amazon. Some are large hooks, and the others are much smaller hooks. I wish I had bought more on my trip to New Hampshire!
So, I’m wondering. Which Welcome do you like better? Is it the metal sign or the stencil/transfer? I have a good friend who has issues with fonts. What say you?
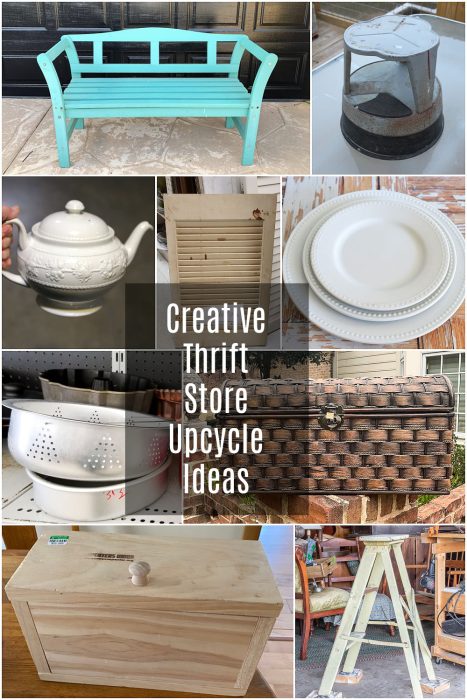
Finally, it’s time to check out the rest of the projects from the thrift store team.
How To Spray Paint Wood Furniture
Upcycle Vintage Metal Library Stool
How to Upcycle a Floral Centerpiece
Shutter Mail Organizer (you are here)
Upcycling Plates into a Snowman
Pine Tree Embroidery for Winter Decor
:I like the stencil Welcome better
The project is a really great one!
thank you so much Julie! I love shutter projects.
gail
love it. perfect size and color. i like the size of the metal welcome best!
Hi Gail I really love this project! It’s on my list of small projects. Thank You:)Brenda from New Hampshire
Thank you Brenda! Did you see that I got the hooks for this in New Hampshire? Yep, Rochester!
Thanks for stopping by and taking the time to leave a comment.
gail
Such a great makeover, makes you wonder where a little shutter that size was in a house? Maybe a small bathroom?
Such a pretty color and that fabric is adorable!
Both signs are cute but I love that the metal since it’s a little bit bigger
Thank you Kristin for your sweet comment. I think it may have been half a small door, cut in half? But for $5, I wasn’t questioning it. 🙂
gail
Ooh, what is your deglosser of choice? I definitely have some pieces that need that before I craft with them!
And what a perfectly sized shutter- you’re right, it’s such an odd but ideal shape for a project like this! Maybe it was from one of those odd-shaped above-the-garage attic windows?
I use Heirloom Traditions paint and deglosser. It’s so much easier than sanding, especially on a project like this. I’m thinking the shutter was cut in half from some other door or something?
gail
I love both fonts but maybe the metal better because it is more whimsical!
Smaller shutters have so much more potential. There are so many tips and so much info in this post. Loved it!
Thanks Sue! Happy you enjoyed my project this month. I love, love, love the hooks! My friend must not be very whimsical, because she really it particular about fonts. 🙂
gail
I think I like the metal “welcome” the best. This is a great makeover and I am sure it will sell fast! Pinned 😊
I’m so surprised y’all like the metal sign the best! I’ll have to use it soon on a future project. My items haven’t been selling very much lately. It’s funny, that when I really love a project, it isn’t popular at the booth. Go figure!
gail
I like the metal Welcome sign better than the stencil.
Thanks for your input Annette. I’m really pleased and surprised that it’s by far the most popular.
gail
You always do such a great job on your projects and your tutorials, Gail!
Thank you Carlene, I appreciate it. I tried really hard to make this project easy for everyone to copy.
gail