Simple Table Build
As an Amazon Associate, I earn from qualifying purchases.
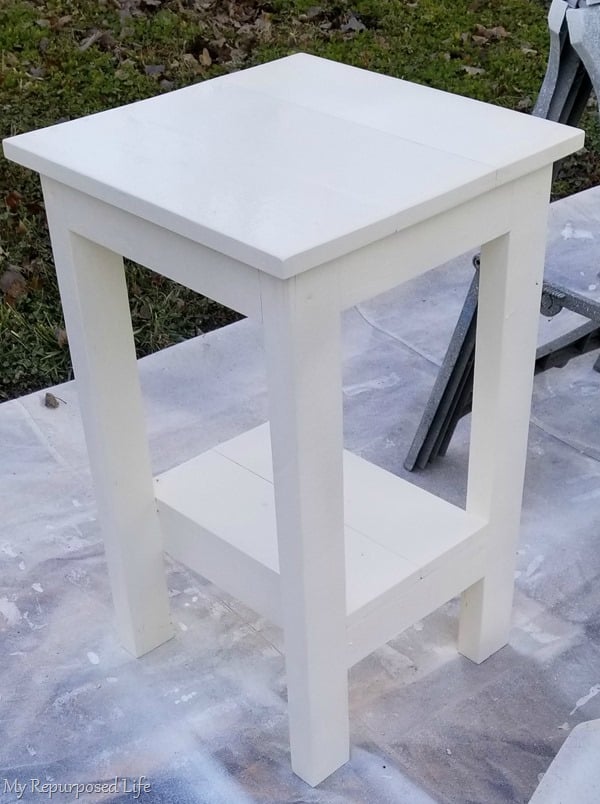
As a DIY blogger, I get special requests for projects. A friend’s aunt needed This simple little table for her printer. She had a specific size in mind. However, you could easily replicate this simple table to your size.
How to Build a Simple Table
Rip 2×6 down to 2×3
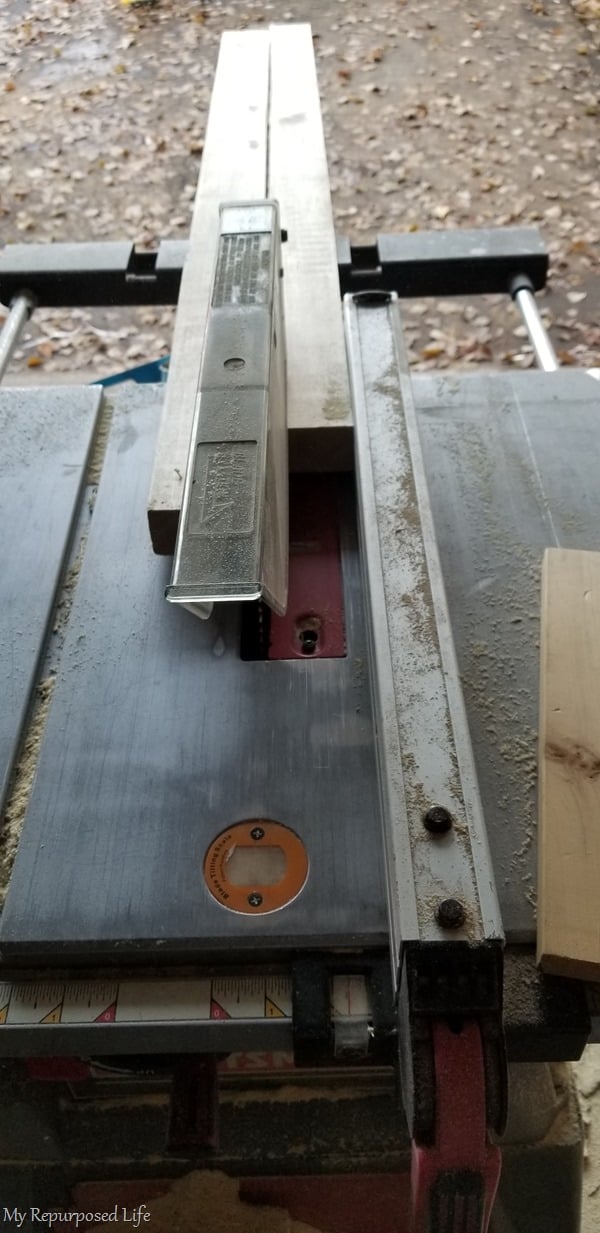
My neighbor Rodney and I recently built a new carport for my truck. I had some 2×6 drop-offs left over from that huge project. When I made a pallet bar using 2x3s last year, I liked that size of lumber, so I ripped some of the drop-offs down to that size. (actual size 1.5 x 2.5)
Visit the My Repurposed Life Amazon Store to shop my favorite items.
Sand All Cuts
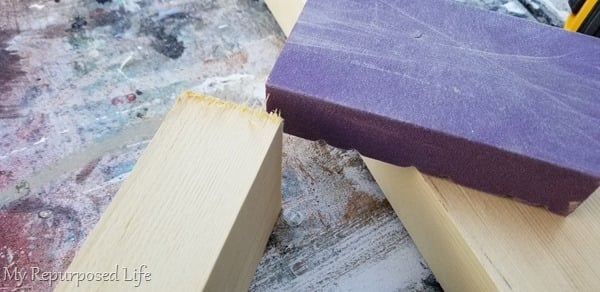
Imelda wanted her table to be about 27” tall, so after I cut the legs and the brace pieces, I sanded them with a sanding sponge.
Build 2 Sets of Legs
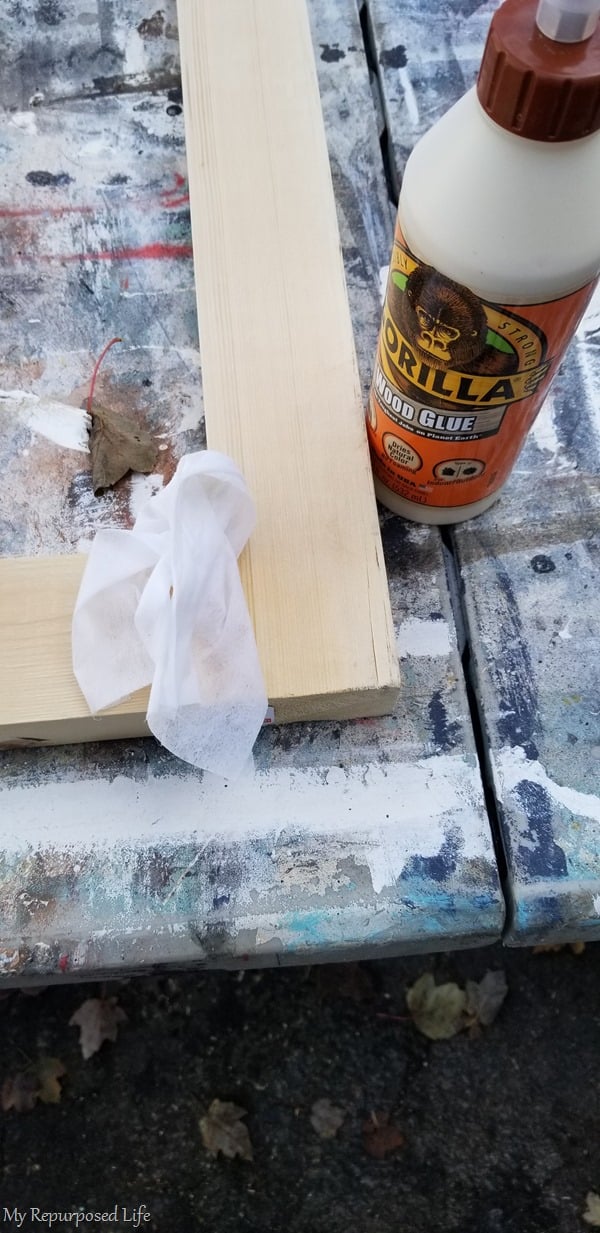
Gorilla Wood Glue was used for all the joints. If you have any oozing, a baby wipe is perfect for wiping away excess glue.
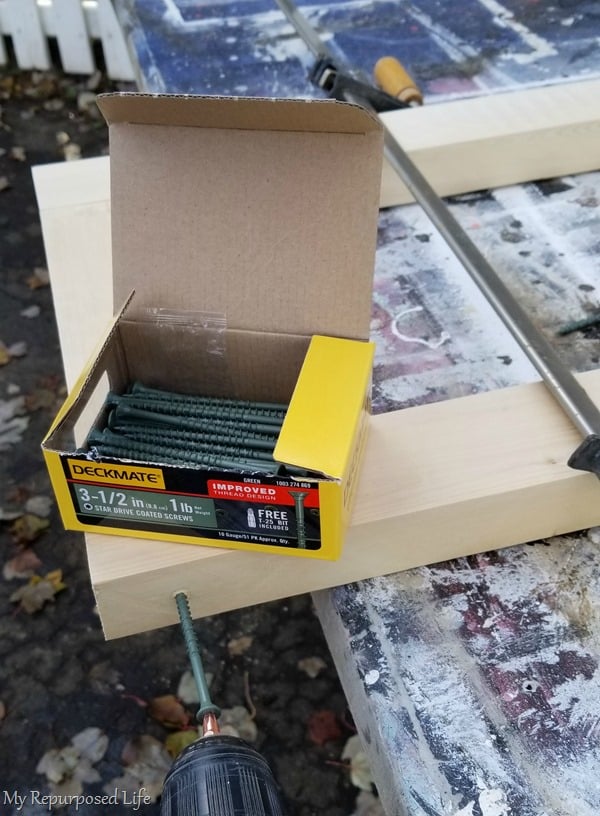
After applying the wood glue, the table legs were clamped and then secured with wood screws.
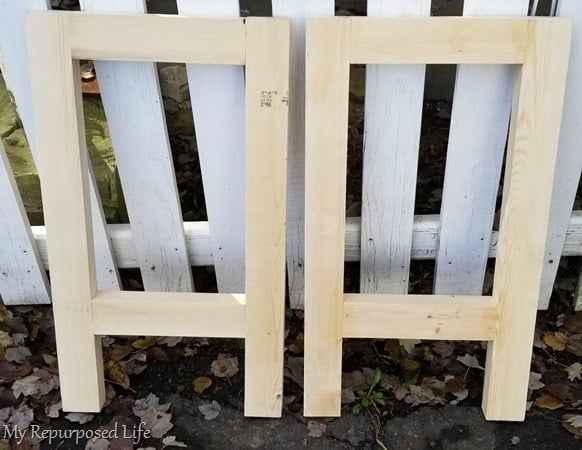
These are the pieces I was clamping and gluing. They will be the legs of my simple table.
How to Join Table Top Boards
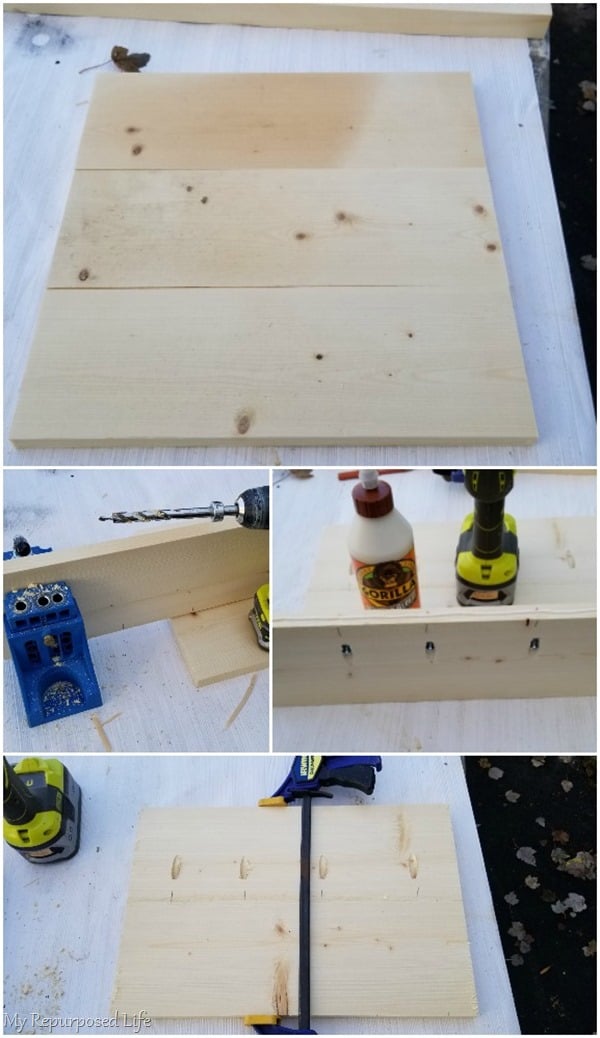
The table top needed to be about 16” square. I ripped 1×6 to get the proper size. Drilling pocket holes is a quick and easy way to build a solid table top. The pieces were secured using Gorilla Wood Glue and pocket hole screws. An Irwin quick clamp worked for the first two boards, but after adding the third board for the simple tabletop, I had to use a bar clamp.
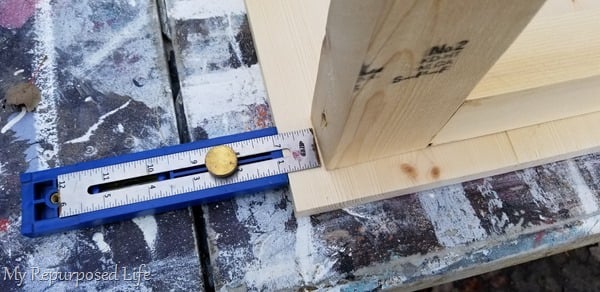
To center the table top on the legs, I used my Kreg multi-mark tool. You could also use a combination square. I had to figure out where the legs were going so I could do the side braces that would connect to the sets of legs.
Prepare to Add Side Braces
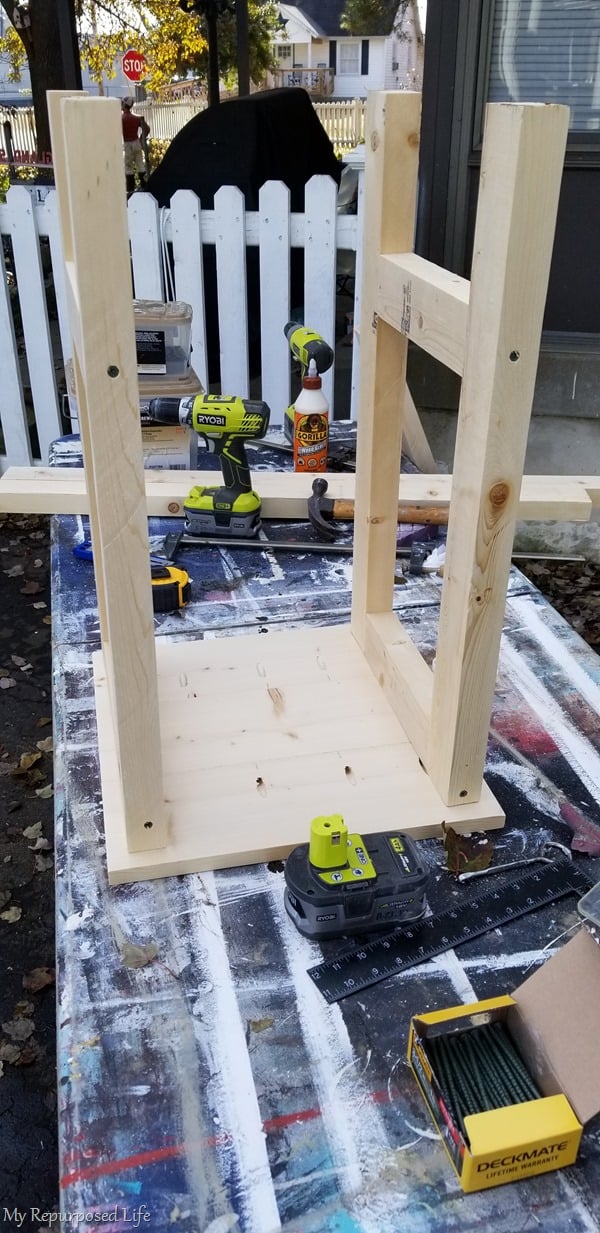 Does this image make it all clear? You can see that I did a countersink on all the screws. Now, I need to put in all the side braces.
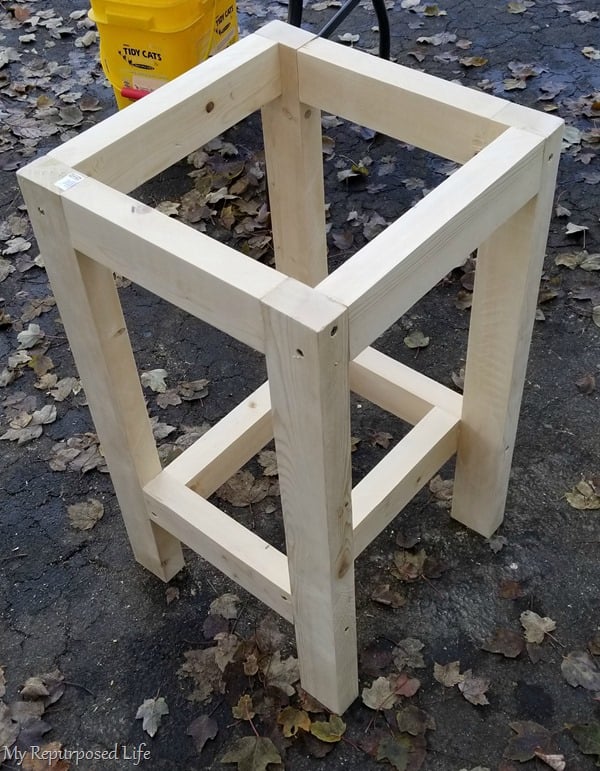
Voila! Here’s the finished base of the simple table. The purpose of this table is to hold a printer and printer paper.
Patch Holes & Sand Simple Table
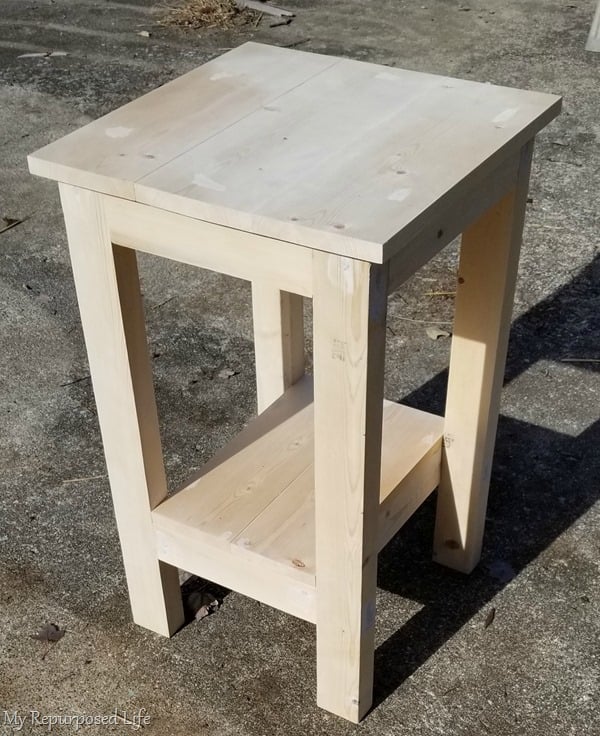
Because I was in a rush, I forgot to take pictures. Do you see how perfectly the planks fit the bottom shelf? I ripped them to hold printer paper perfectly.
Then, the holes were patched with drywall mud and sanded. Making it easy on myself, I attached the table top and bottom shelf with brad nails using my nail gun. Don’t you love its simplicity?
Paint the Simple Table with a Paint Sprayer
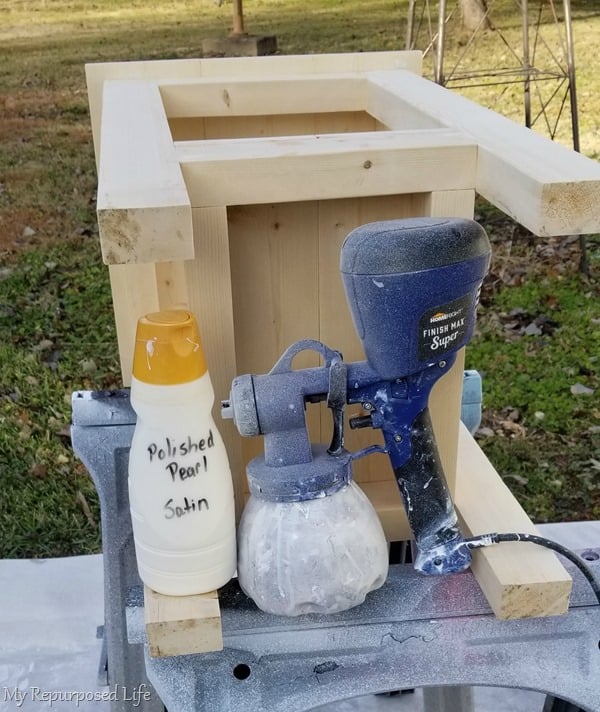
Did you know I elevate my paint sprayer projects and always paint the underside first? I used my Super Finish Max paint sprayer and the same paint I used on my White Christmas Village. If you ever have rusted paint cans, store your paint in plastic containers. I even use detergent bottles for long-term storage.
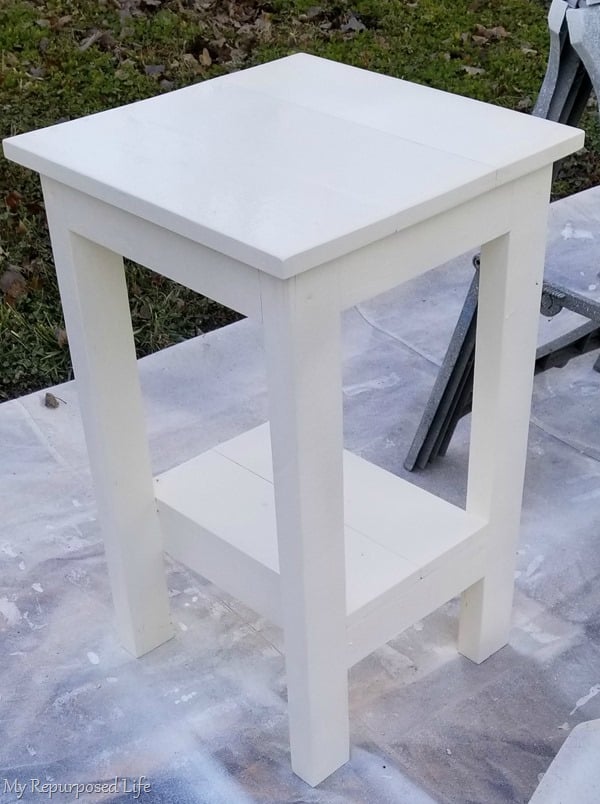
The simple table looks great with two light coats of paint. The weather turned cold, so I had to bring it indoors to paint one final coat by hand. Sadly, I didn’t take any pictures of the table before I delivered it. Imelda loves the table and put it right to work holding her printer and her printer paper! It made me feel so good to finally get her table completed.
Thanks for sharing on Pinterest
Matching Plant Pedestal
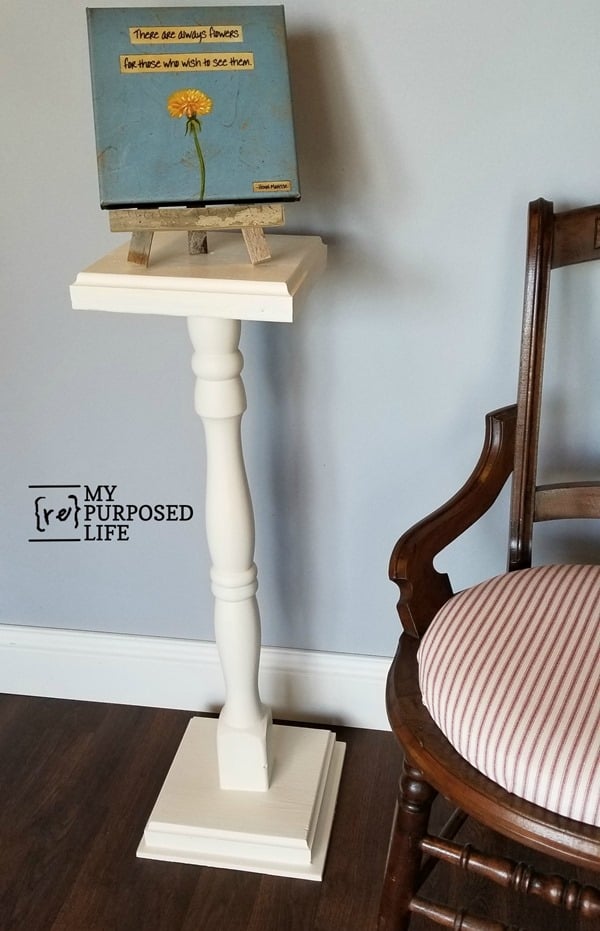
This isn’t her first request, I made her a plant pedestal about a year ago.


Interested in trying to diy these cute tables. Do you have a list for what size pieces of wood and how many. And a cut list for all?
Sam
I ripped 2×6 in half for the legs etc.
I never really do a cut list because, your needs may be different than mine. This was a custom size for a friend to fit her needs.
The table height was 27″ (as stated in the blog post)
I hope that helps!
good luck, have fun!
gail
Thanks so much for making Aunt Imelda happy. I wish I could be Rodney and watch you as you work.
awww thanks Bertie!
I’m happy that she loves it!
gail
Always a great project.From conception to completion.I’m truly the lucky one to actually witness my neighbor and friend at work on some of her projects👍
Thank you Rodney! As always, I’m open to your input on all of my projects.
gail
This is so cute. I did something similar for my daughter’s but as a stool. Hope your holidays are wonderful. Are you going to visit your daughters family. I pray everything is going well for them? We got our second grandson a 6 weeks ago. He’s a sweetie.
Congrats on the new grandson!!! So happy for you Jennie!!
Jamie and family are visiting us a few days before Christmas. It will be Eli’s second trip to Kentucky. On mother’s day they stayed in the camper, however being so cold here, the camper has been winterized, so they will be taking over the master bedroom and I’ll be in the smaller guest room with Lulu Mae.
Wishing you Happy Holidays with your family!
gail
This is so cute Gail! I love doing customs for family and friends too! I am so honored when they ask me. I am sure they will enjoy it!