mid century side table makeover
As an Amazon Associate, I earn from qualifying purchases.
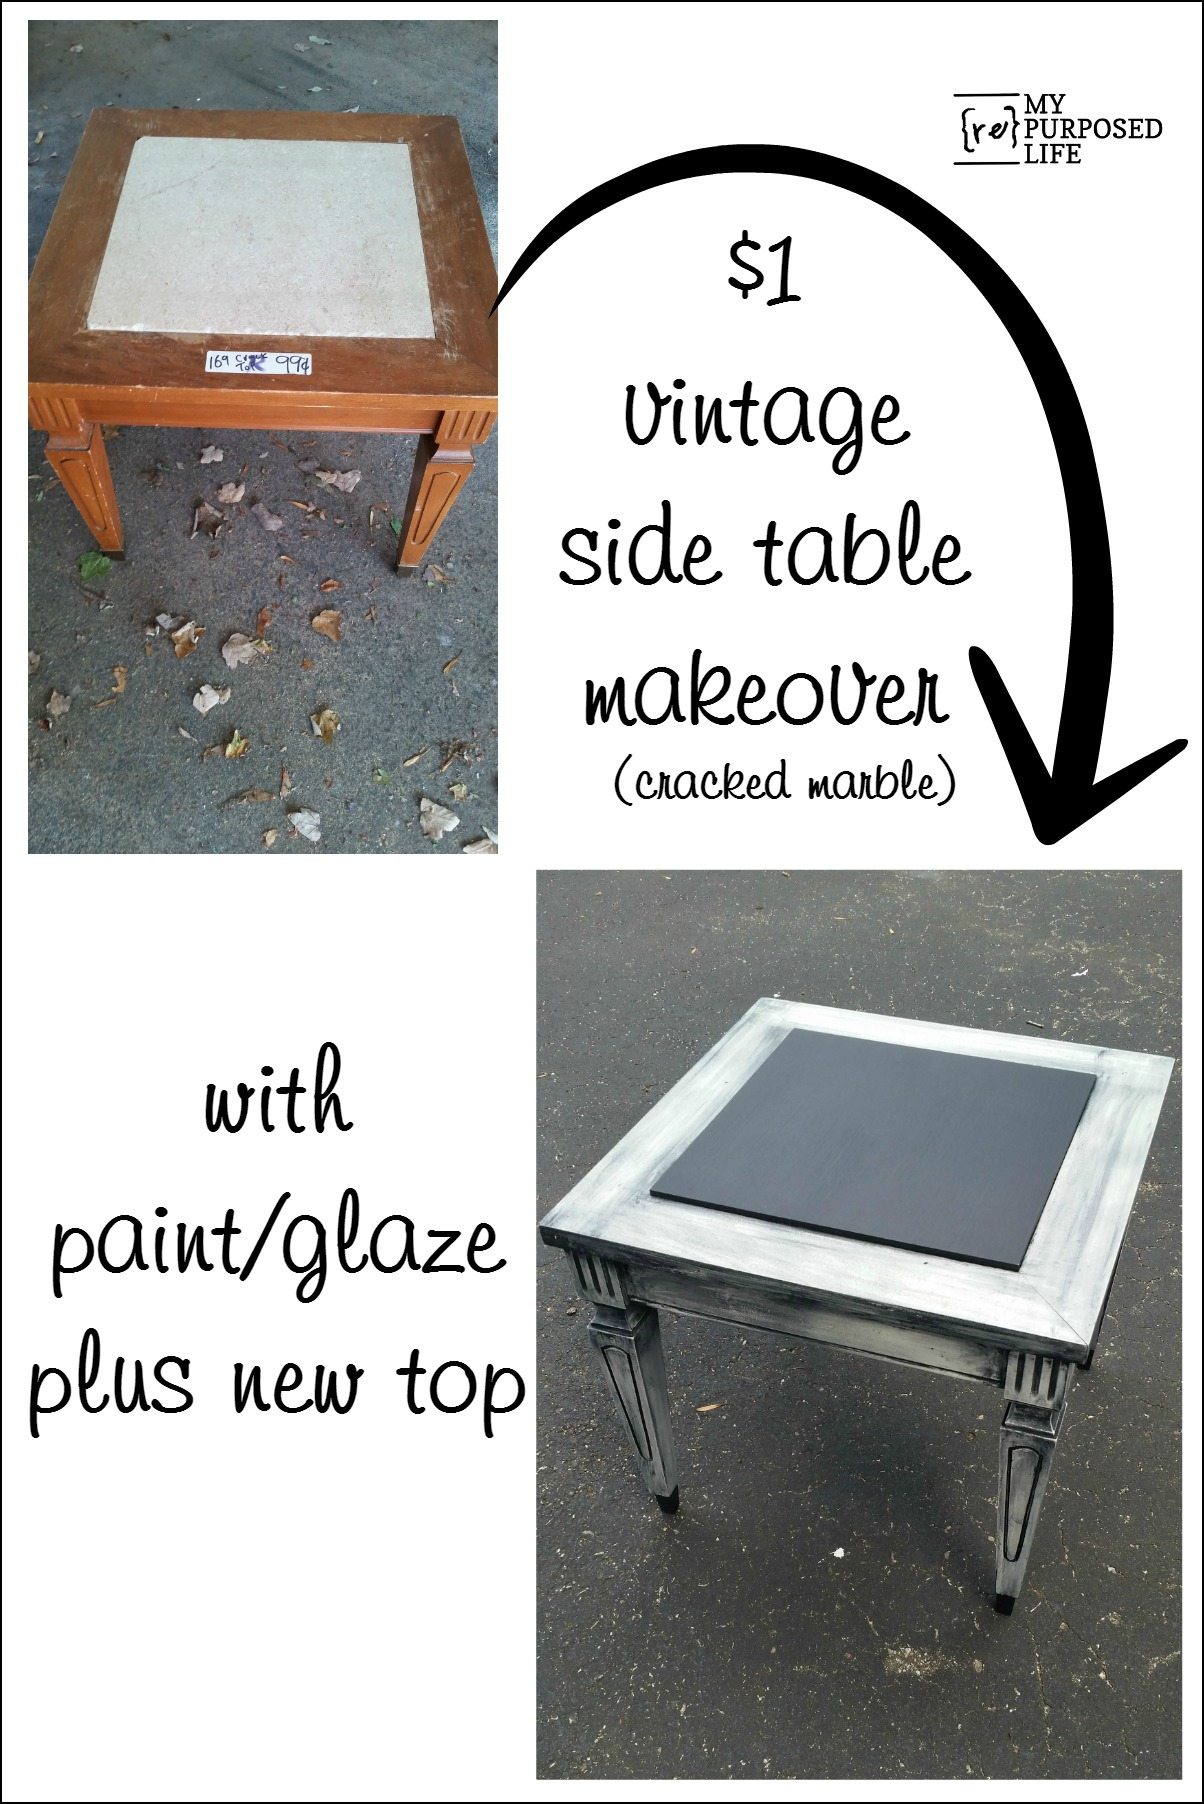
Some makeovers are easier than others, but the best makeovers involve at least a little sawing. If you know me, then you are aware that I’m happiest when cutting up furniture or lumber. This mid century side table was mostly unchanged during it’s makeover, just some paint and a new top.
 You can see I got a great deal on this $1 mid century side table due to the fact that it has a cracked top.
Inspect mid century side table for problems
 Other than the cracked top, the table was in pretty good shape.
*this post contains affiliate links*
Prepare to paint
 During a small paint marathon, I painted the table with some diy chalky paint primer with my Homeright Finish Max in Polished Pearl.
Define mid century feet with black paint
 I used some chalky paint primer mixed with plaster of paris and Behr Beluga to paint a new top and the feet of the small table with a cheap chip brush. The top was cut out of some laminate shelving I got from a friend.
Use black paint as a glaze
 To get a glazed look, I used some Behr Beluga watered down—applying with the chip brush, and quickly wiping it back with a rag, allowing the paint to stay in the recesses of the table.
Attach table top with wood glue
 I used Gorilla Wood Glue to secure the mid century side table top into the frame. You can see my rolling tool cart in the background. It’s really handy to have nearby while I work. I now find myself picking up after myself as I go. Whereas I was always waiting till the end of the day to put away all of my tools.
 For extra strength, I drilled pilot holes with a countersink bit and used some wood screws left over from another project.
 You may not have noticed in the “before” pictures—one of the brass feet was missing, so that’s why I ended up painting them black.

I have been wanting to do this paint technique for months! But I was waiting for the perfect piece. I love how it turned out using the black paint as a glaze.
Do you love this mid century side table makeover? Do you think it’s worth more than a dollar now? ![]()
gail
for more great ideas follow this site on Facebook and Pinterest
Hi Gail! It’s been a while since I commented. I’m curious to know why you put plaster of paris in the paint for the top?
Hi Meari! It has been a while. 🙂
I actually put Plaster of Paris in the white (when I used my homeright finish max) and the black. I do so because the original finish of the table and the new laminate top was shiny and slick. The plaster of Paris makes the paint a very flat finish allowing it to stick to most surfaces.
gail
LOVE THE “BROKEN MARBLE” TABLE!!!!!!
Thanks Sally! I appreciate it.
gail
Great find and it has new life now! I like the glazed look on it because it brings out the details.
Thank you Rachel. I’ve been wanting to do that technique for a long, long time. I recently got some black wax, so I’ll be trying other fun glazing stuff in the near future.
I appreciate you stopping by, and taking the time to leave a comment.
gail
I see this style table all the time at our local thrift stores…ours are never $1! You find the best deals… LOVE the table and your so smart rolling cart! Pinned:)
definitely worth more than $1.00. great job; awesome technique…
Thanks Nova! I’ve wanted to do this paint technique for the longest time. 🙂
gail
Great job and what an awesome buy on the that little table. Keep it up lady.
I have the BEST place to find good deals, and it’s so near my home! I love the u-fix-it section in the back. 🙂
thanks for stopping by Pam!
gail