Small Wooden Trinket Keepsake Box
As an Amazon Associate, I earn from qualifying purchases.
I’m fixing up a small wooden trinket keepsake box for this month’s Thrift Store Décor Challenge!
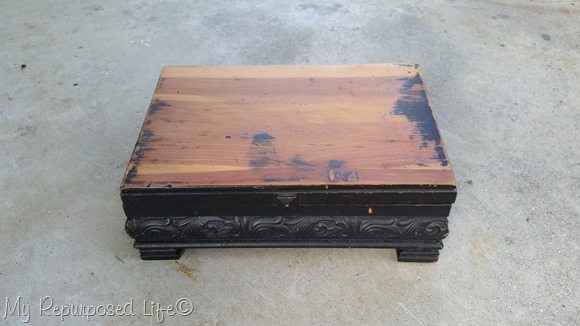
This small wooden box has been hanging out in the shed for years. I had already worked on it years ago, but set it aside for some reason. Anyhow, it was time to revisit this project and “get it done”. ![]()
wooden thrift store box
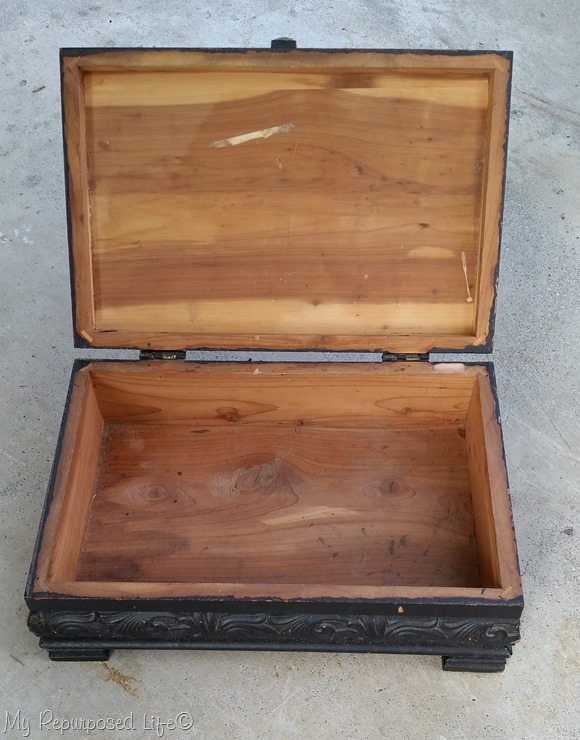
The box is in really good shape, it just needs a little paint and TLC.
Sanding interior of cedar box brings back the scent
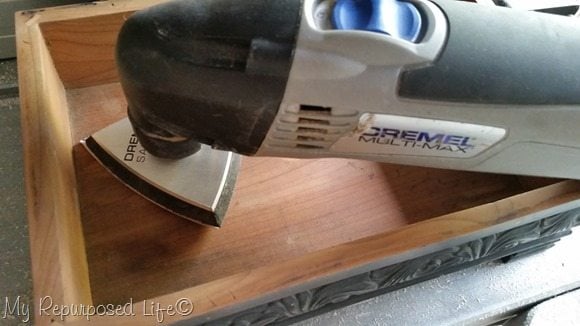
Did you know that sanding the inside of a cedar box is the way to refresh it’s properties?
*this post contains Affiliate Links, read more here*
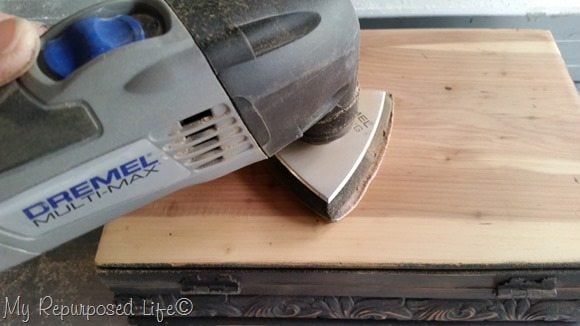
Using a sanding pad on my Dremel Multi-Max made it easy to get inside the box as well as sand out some blemishes on the lid of the box. Someone had carved their name in it. The top of the box became soooo smooth!
Always keep a small dust brush on hand
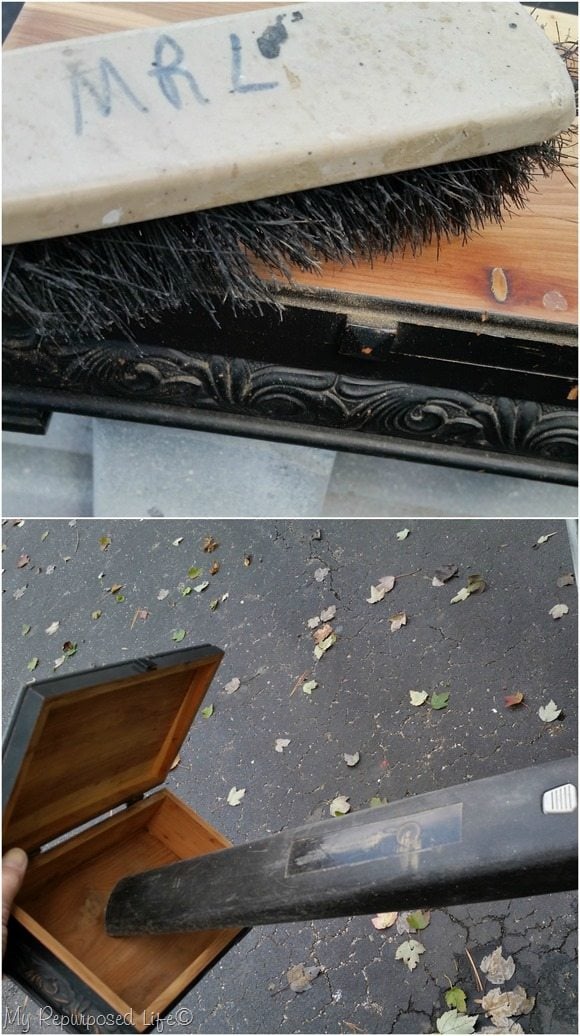
After sanding I used a dust brush to remove the dust on the outside ornate places and my leaf blower to get the dust out of the corners inside the box.
Prepare to paint Thrift Store Trinket Box
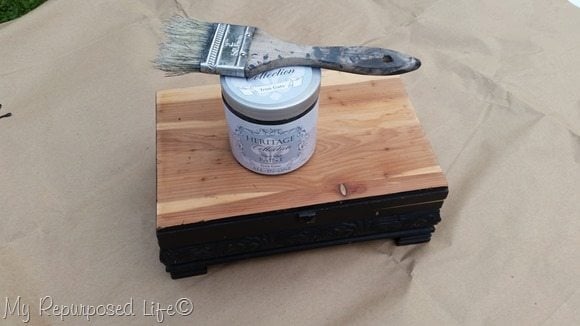
I gathered my painting supplies, Heirloom Traditions Heritage (all in one) paint—Iron Gate, and a cheap chip brush.
Don’t forget to paint the underneath side of your project
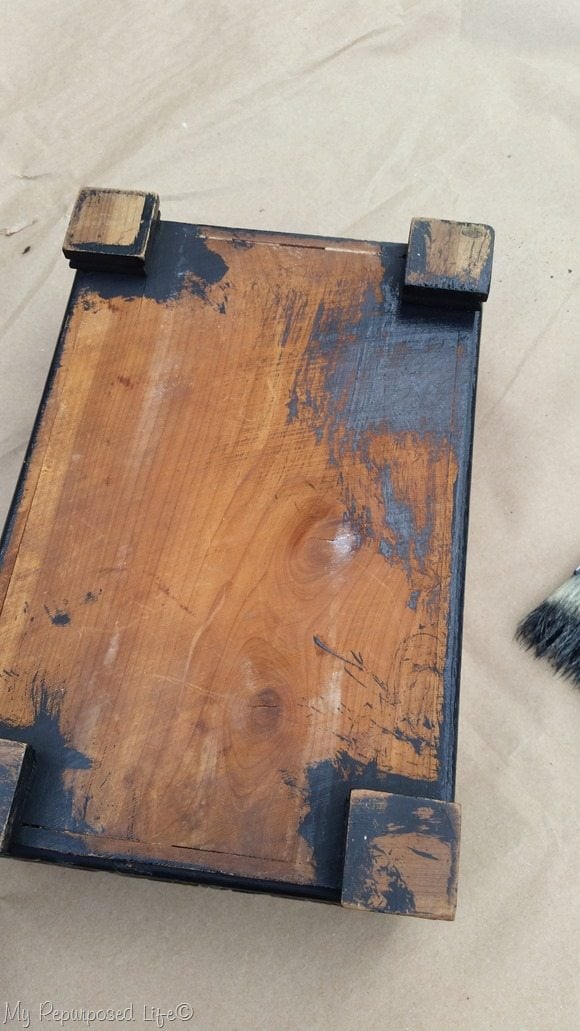
I began by painting the underneath side of the small wooden trinket keepsake box with my chip brush. Did you notice how loved my brush is? I use these things forever before I throw them out.
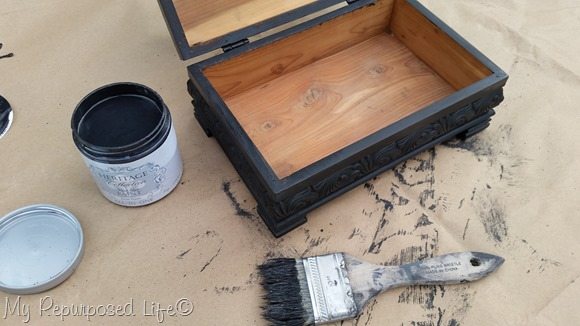
Initially I wasn’t going to paint the inside lip of the wooden keepsake box, but bare wood was showing while the box was closed. This paint is fairly flat and dries very quickly.
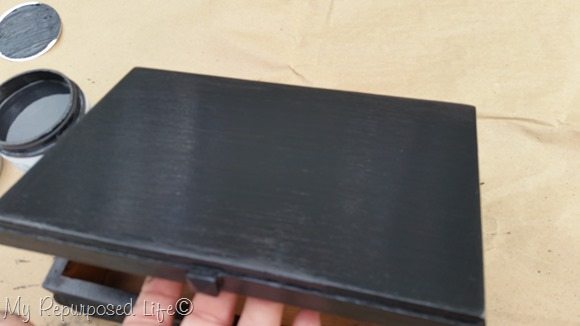
The top turned out really pretty. All signs of the names that were carved in the small wooden box were gone.
Embellish details of wooden box with rub-n-buff
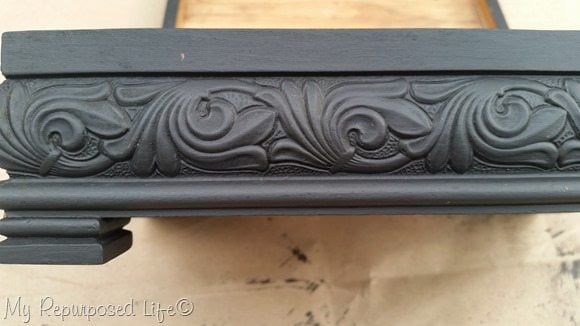
Aren’t the ornate wooden details of this box so pretty?
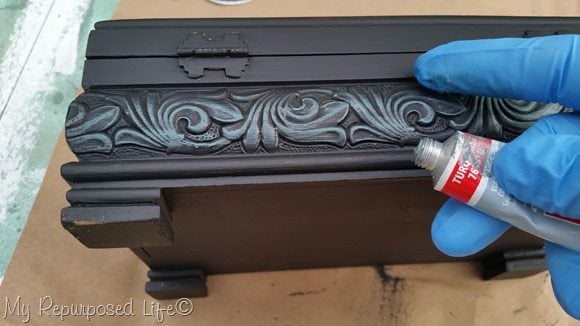
I tried applying the turquoise rub-n-buff with a latex glove but it wasn’t giving me the freedom to get into the edge of the details.
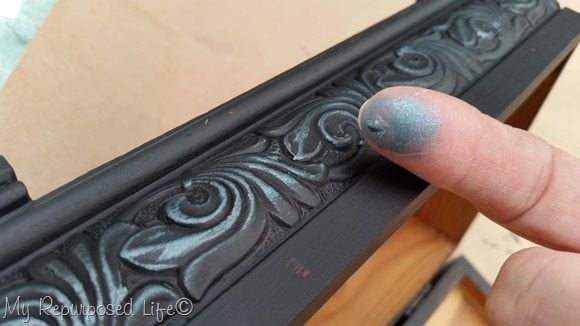 If you’ve never applied rub-n-buff—you may not know that you use a tiny, tiny amount. Less is more when it comes to this fabulous highlighter!
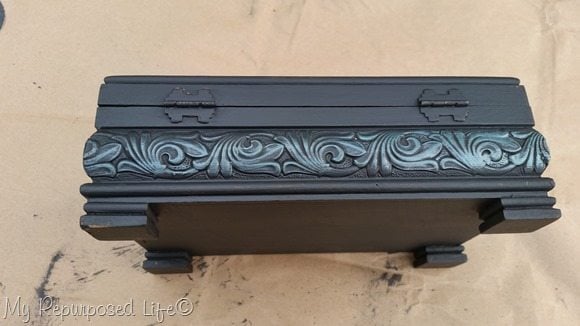
I really think it’s time to hop over to Amazon to order more colors of my rub-n-buff. Recently I had to throw away the gold color because it was too old and dried out. Look how pretty it brings out the details. Easy Peasy!
Buff the detailed area
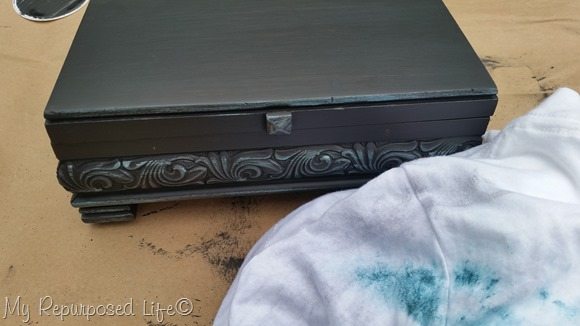
Don’t forget to BUFF!
Optional: add small stencils
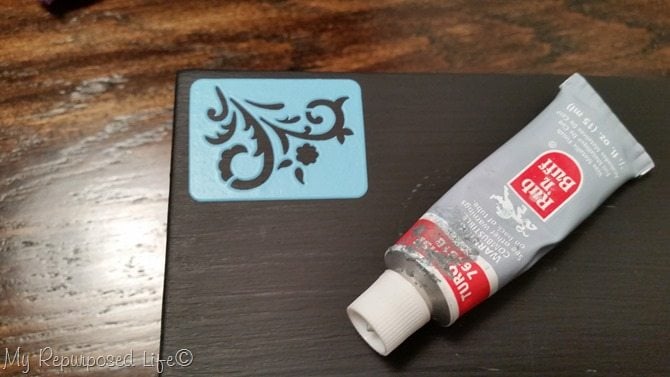
I used some Martha Stewart adhesive stencils with the Turquoise rub-n-buff.
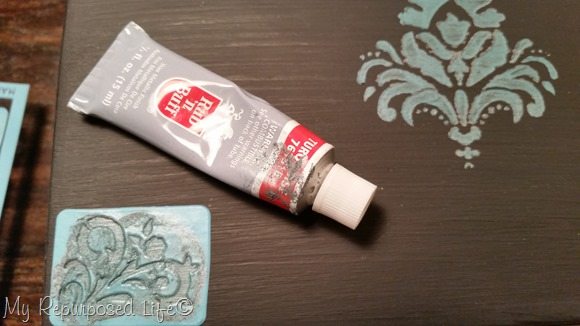
I wouldn’t recommend doing the rub-n-buff stenciling without using some sort of adhesive stencils. These stencils are reusable many times.
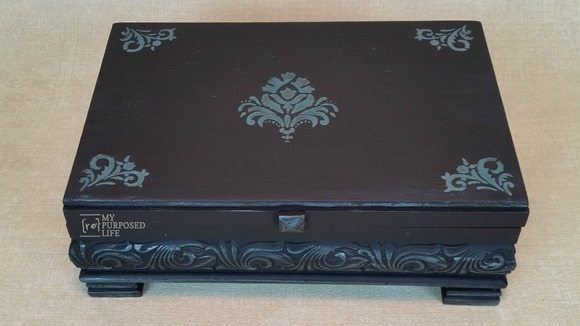
I love the look of how muted the rub-n-buff looks on the details and the stenciling.
Fill your wooden trinket keepsake box with treasures
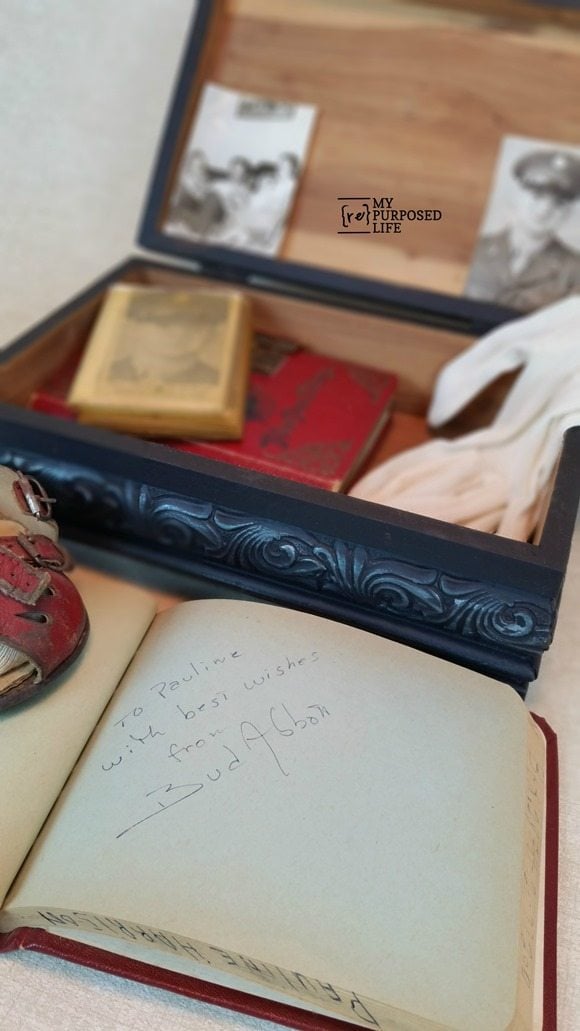
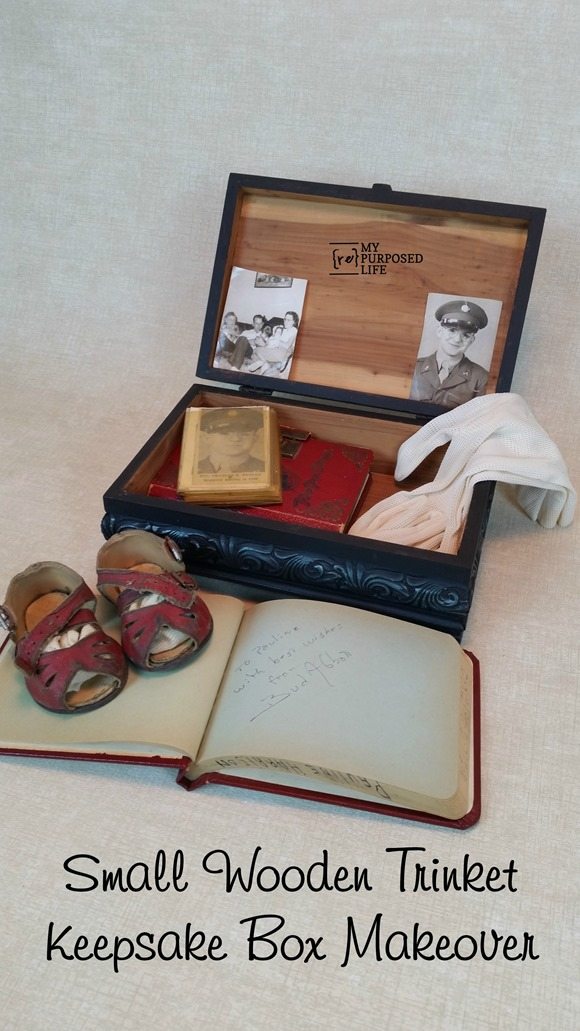
These are treasures from my Aunt Polly from around 1955. She passed away a few months after I was born. She was only 25.
I was named after her (our first names are the same), so I was the recipient of her memorabilia including her diary, photos, autograph book and other personal items. You can see this autograph is from Bud Abbott!!
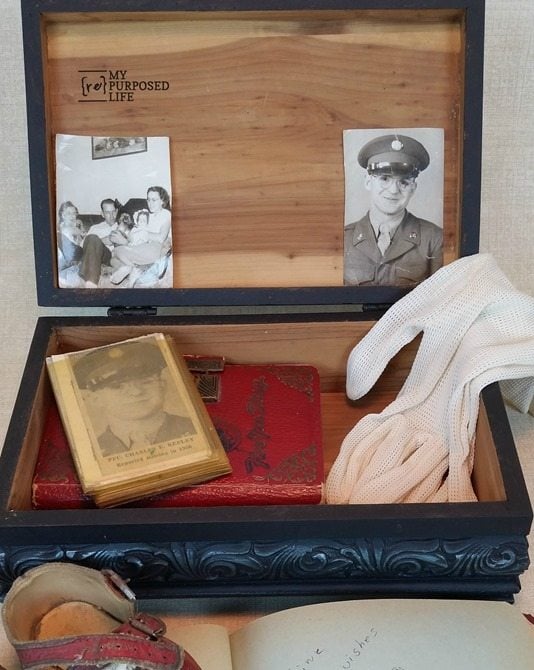
Aunt Polly’s fiance was reported missing in 1950. I imagine that she probably wore these gloves to his memorial service. In the photo on the left she is holding a bride doll that now stands on her cedar chest residing in my bedroom for most of my life.
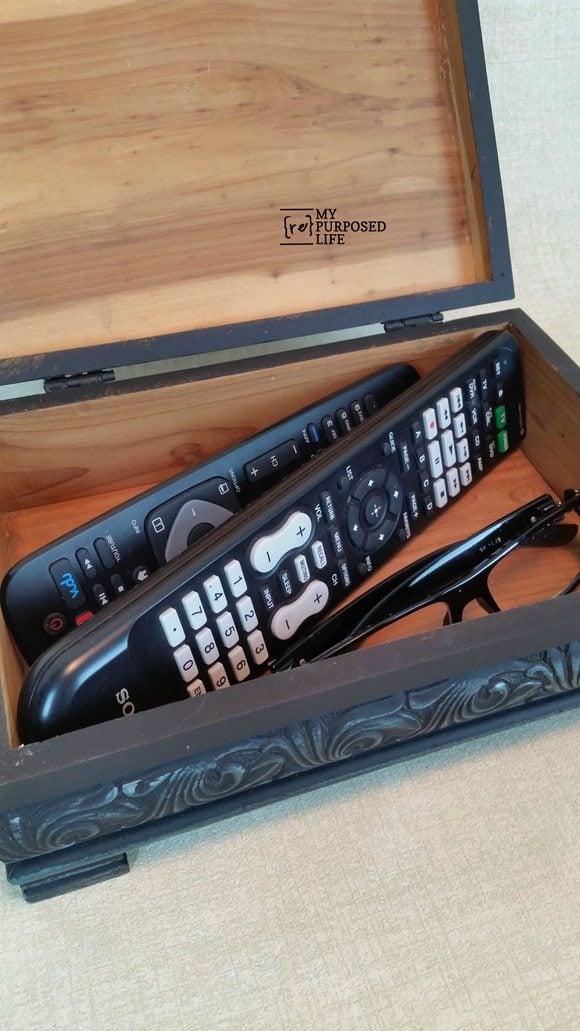
On a lighter note, the small wooden trinket box can also hold remotes and more on the coffee table.
Now, let’s take a look at the thrift store projects my friends have been working on:
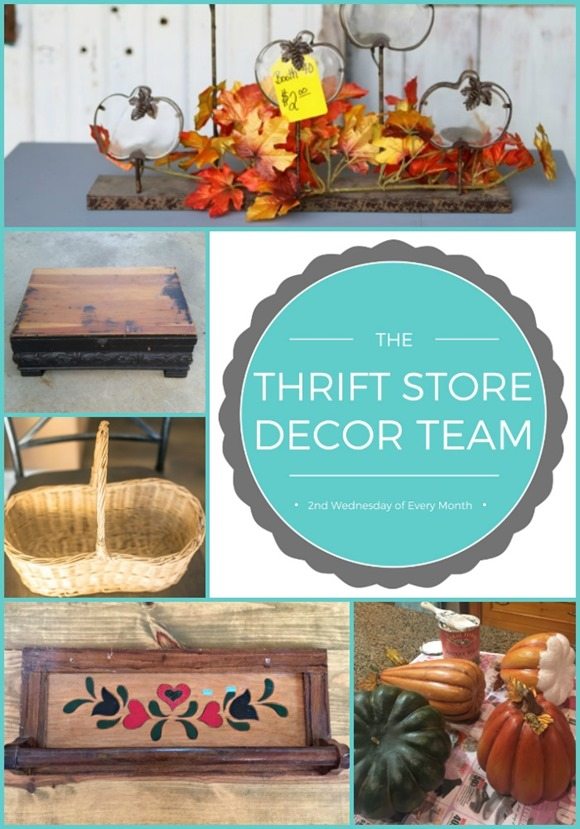
Fall Centerpiece Petticoat Junktion
Wooden Trinket Keepsake Box My Repurposed Life
Painted Toilet Paper Basket Domestically Speaking
Wall Mounted Paper Holder Refresh Restyle
Painting Old Faux Pumpkins Our Southern Home
Please hop over to visit to check out the projects above. Tell them MRL sent ya! I love these monthly blog challenges because it causes me to do projects I wouldn’t normally be doing. Do you enjoy the smaller, easier projects?
gail


Boxes are great finds at thrift stores. I always buy them. I love this look. It really looks like an antique. So pretty!
Thank you so much Christy. I’m taking it to my craft show this weekend. I hope it finds a fun new home. 😉
gail
This is SO pretty! I have a bunch of wooden boxes I got at a yard sale a few years ago — still waiting for me to do something with them. I’ve never used rub-n-buff but I love the way it brings out the details! Such sweet keepsakes from your Aunt Polly too.
Ohhh, Lauren–you should definitely get some rub-n-buff. I have it in several colors. 🙂
gail
I love rub n buff. When we recently moved I got rid of some dried outtubes that were probably 30 years or more old. Time to order more.
What a great find! Love the stencils on top.
Thanks Maryann! 🙂
This was a fun project, I love being in this group of talented bloggers!
gail