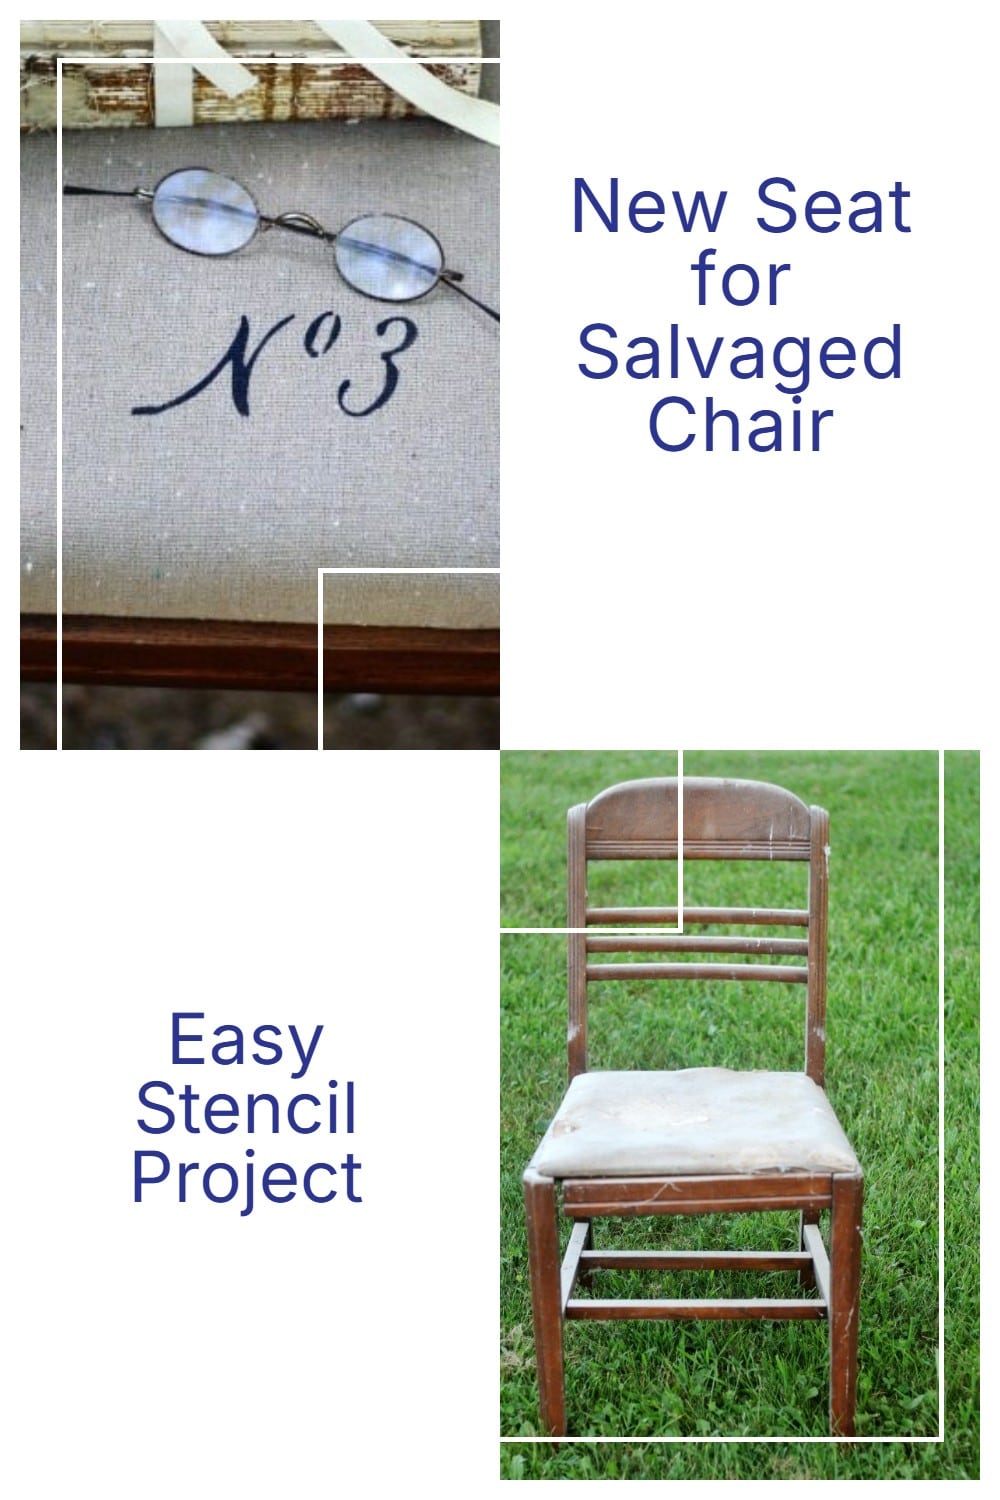
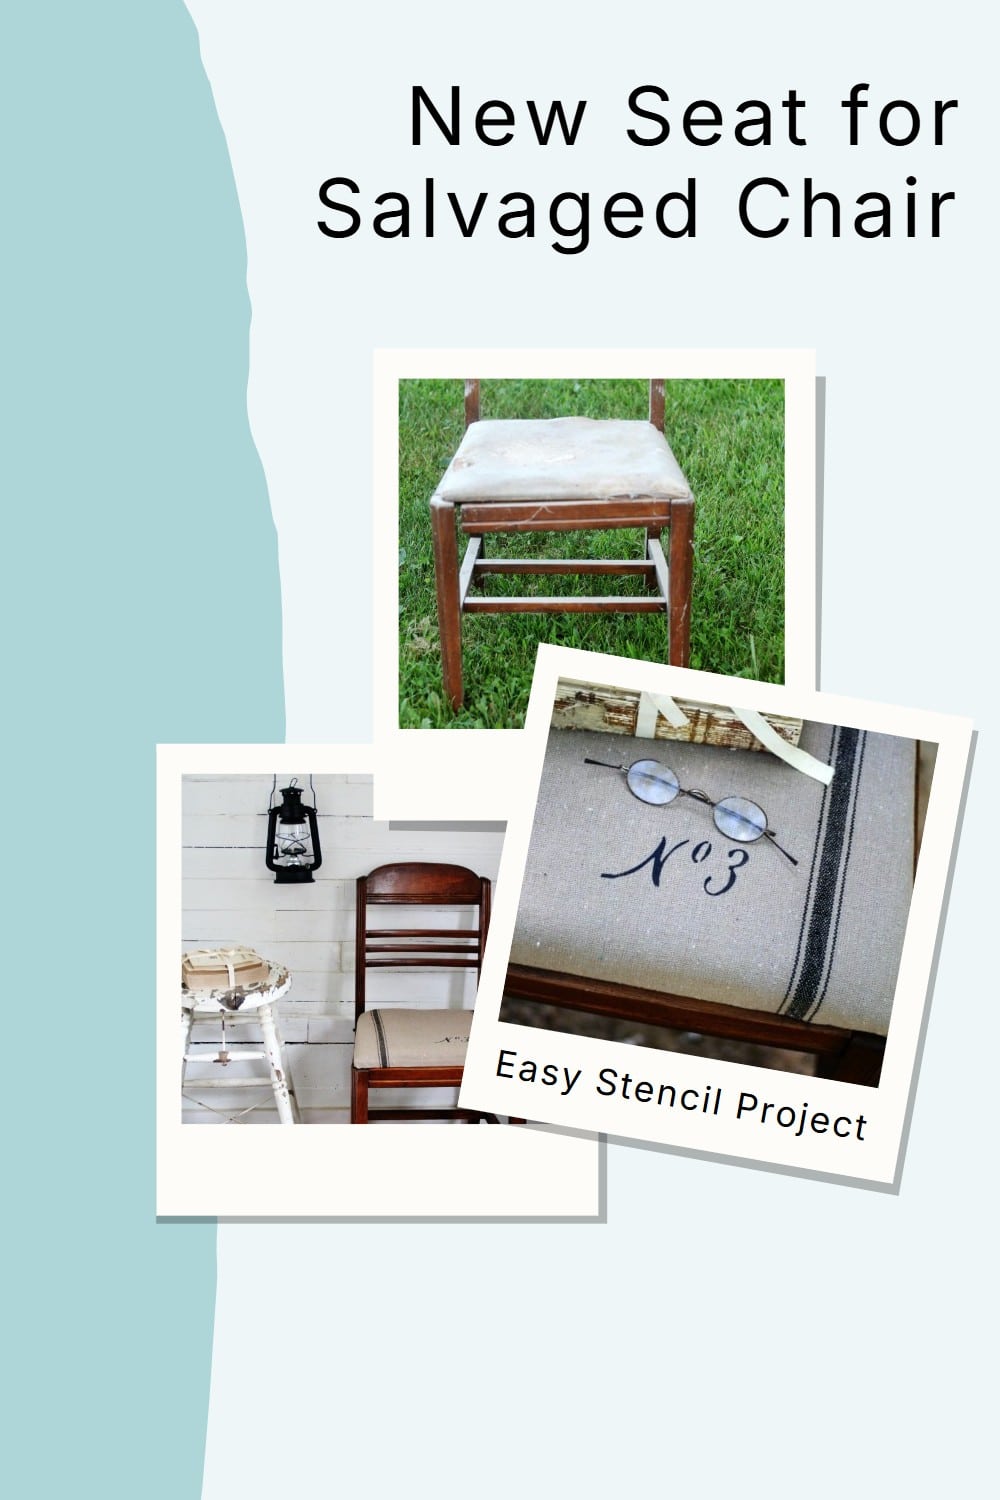
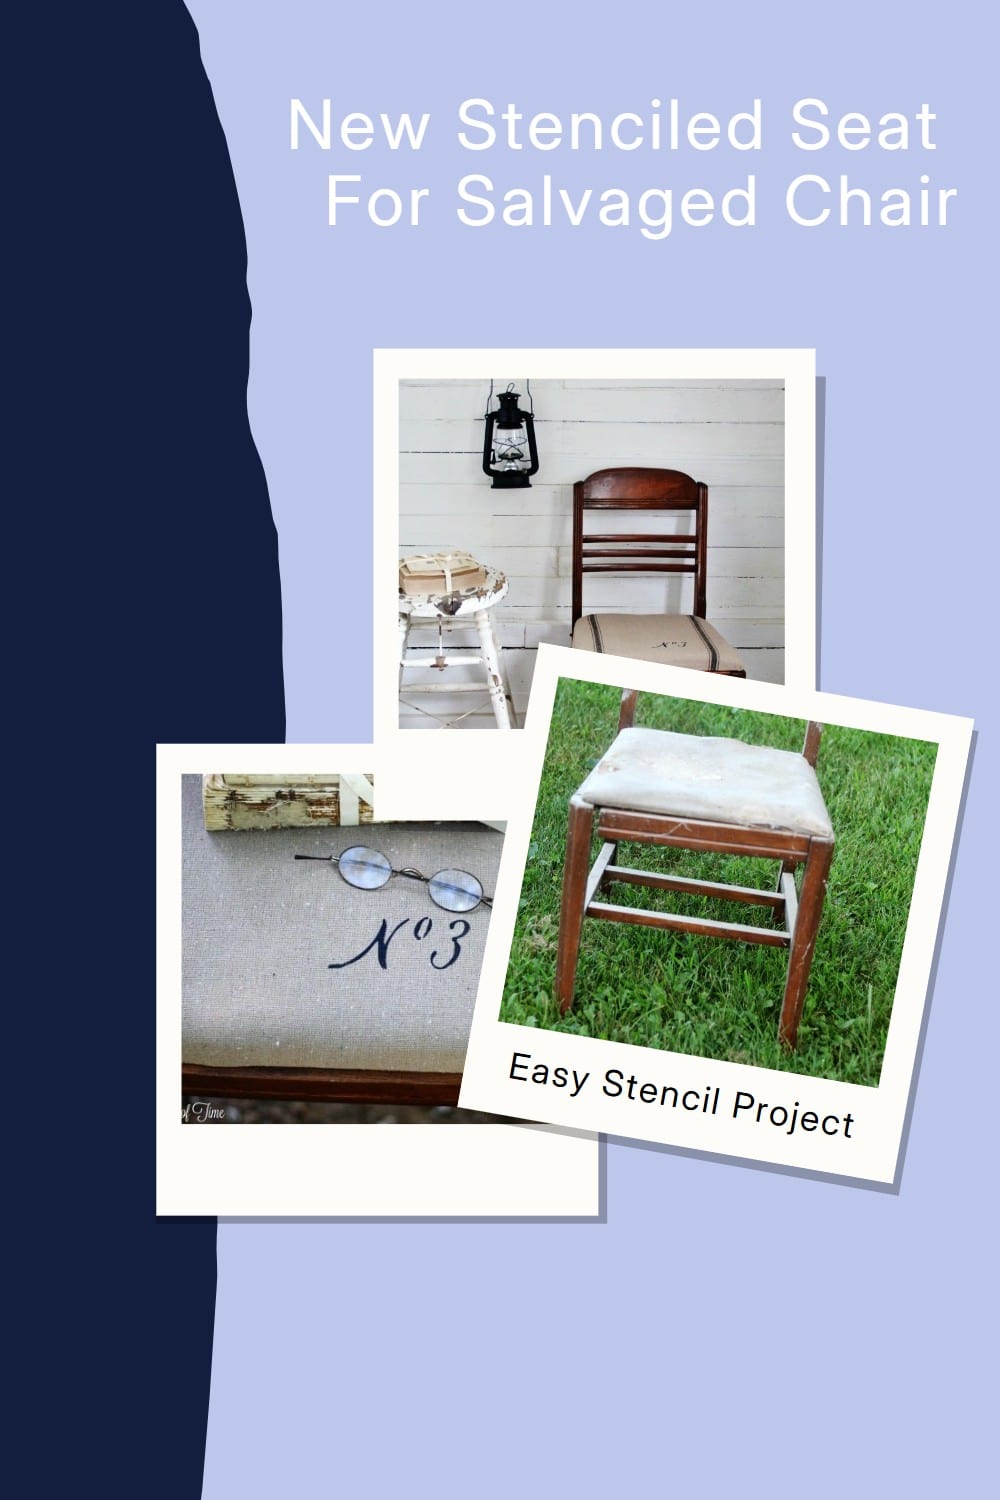
Stenciled Grain Sack Chair Seat
As an Amazon Associate, I earn from qualifying purchases.
A worn-out chair seat doesn’t have to mean the whole chair is headed for the trash. This simple makeover shows how a little fabric, fresh foam, and a stencil can completely transform an old chair. The grain sack style gives it that classic vintage charm, while the easy upholstery update makes it feel fresh and useful again.
Hey there MRL fans. It’s Angie from Knick of Time here to share how easy it is to transform a chair, even one in bad condition, with fabric and a stencil. Your chair will be one-of-a-kind, and there are tons of ways to customize it.
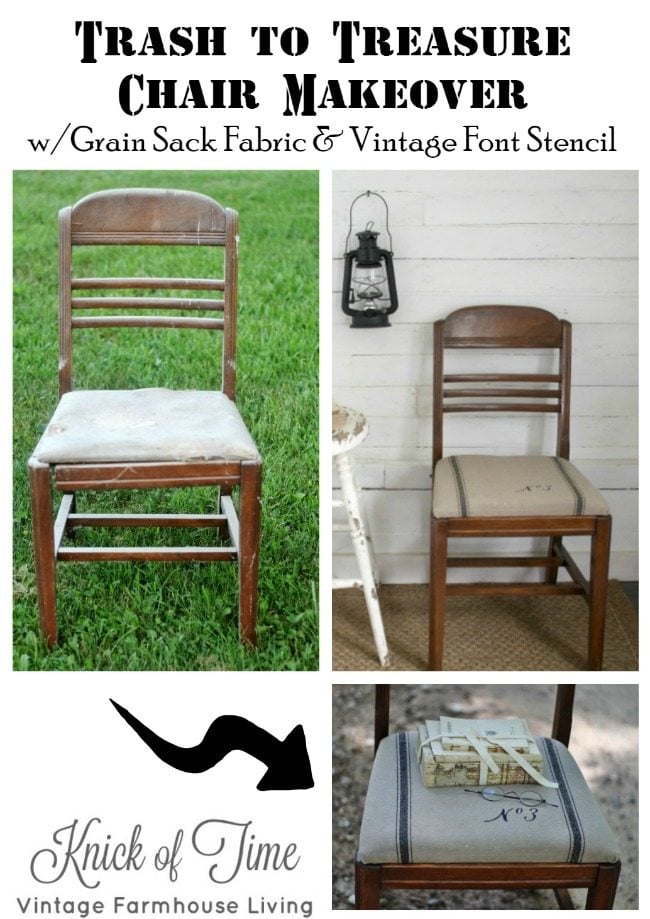
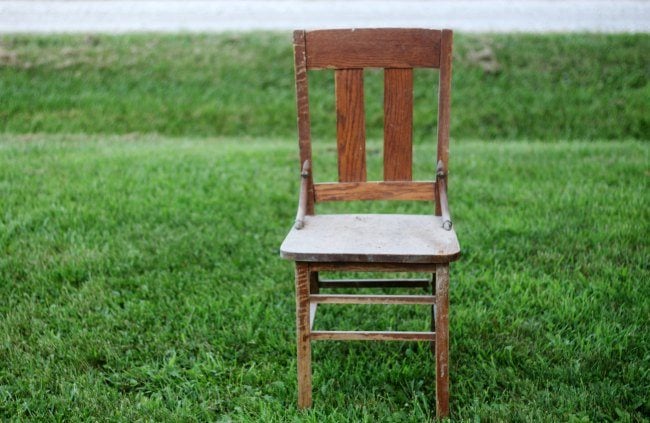
Here’s how my chair started out, Bad, right? I won it at an auction several years ago. It’s been in my barn loft, and I forgot all about it, but the bats and birds have enjoyed it. The front corner of the chair needed repair, and the seat cushion was totally trashed.
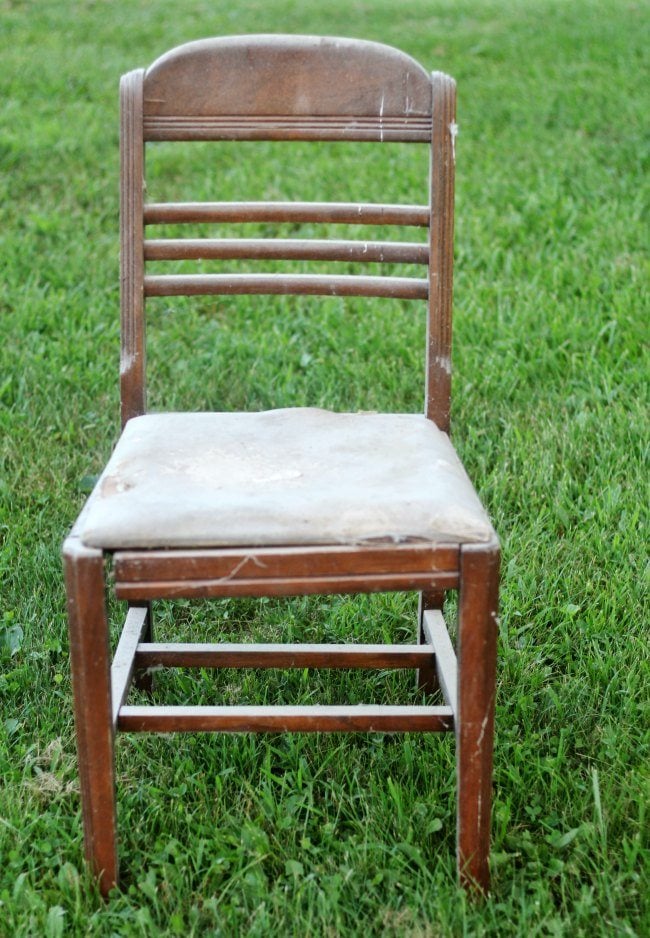
I had to laugh though, because the white strip on top is a fadded old bandage someone stuck on it. Well, the bandage stayed put while the rest of the seat fell totally apart.
Here’s how I transformed it, and it only took about one hour.
How to Make a Stenciled Seat Cushion
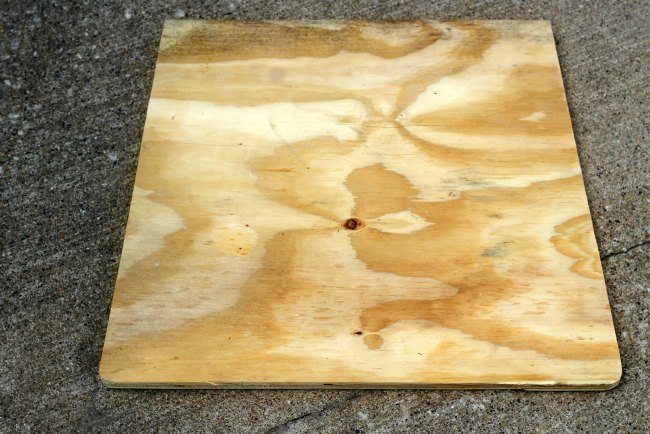
The seat was beyond repair, so I used a pattern to cut a new seat out of a piece of scrap plywood.
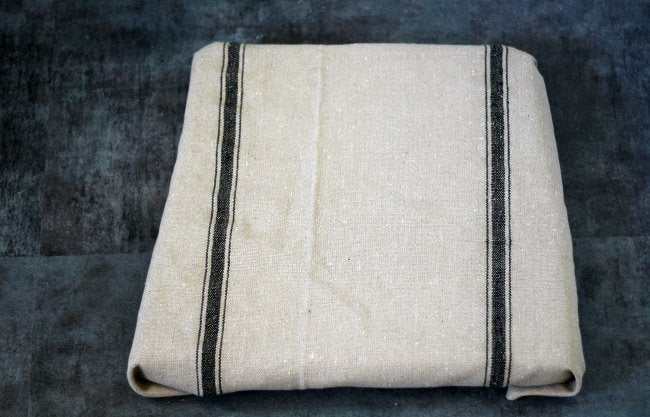
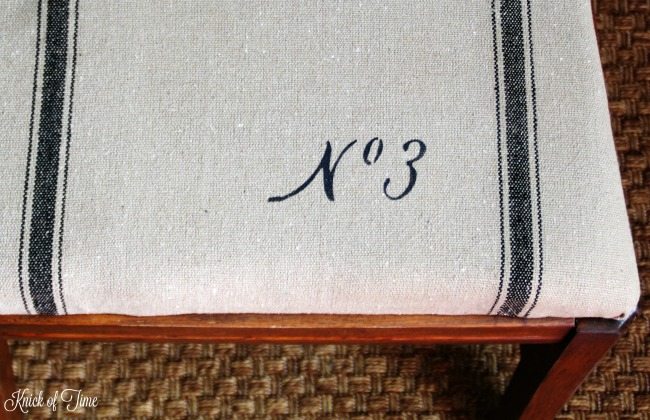
I wanted to get the same look as the stenciled grain sack chair I did a few years ago, so I wrapped the fabric around the seat to see how to space the lines along the seat edge.
I bought the fabric from Decor Steals, but drop cloth fabric would work great too.
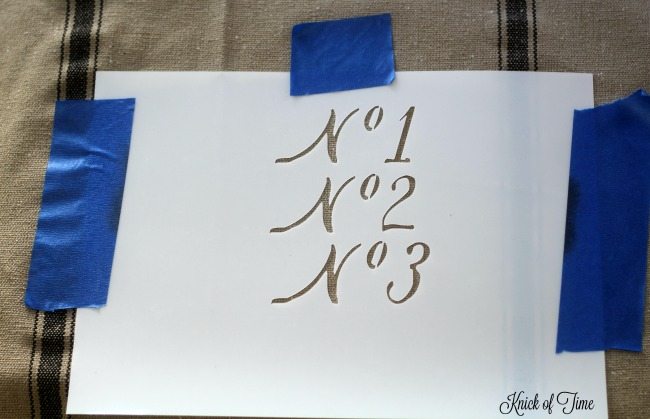
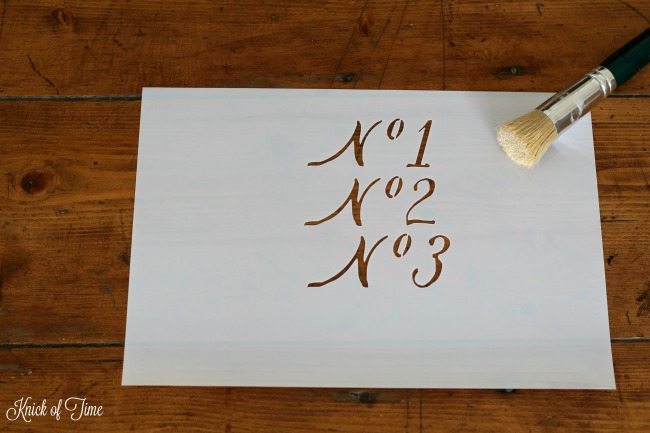
These number stencils are part of my stencil line. The font came from an 1800’s sewing pattern, seen here.
I used a painter’s table to hold it in position while I painted over the stencil.
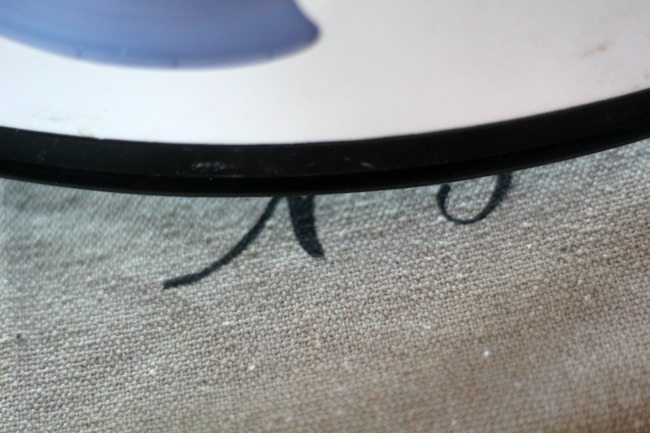
Using the tape helped hold it in position while applying the paint. I taped over the No.1 and No. 2 because I just wanted the No. 3 on the cushion.
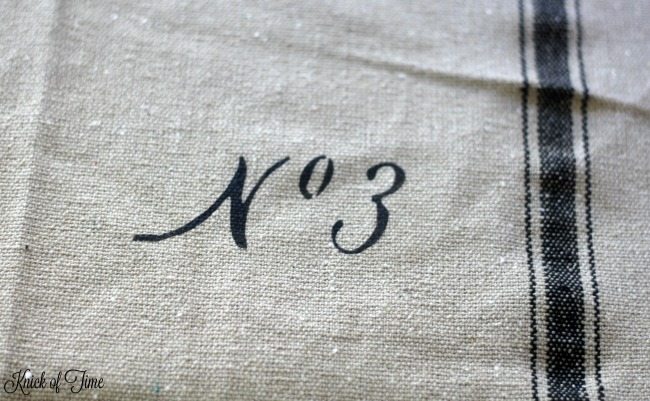
Stenciling on fabric is easier than on other surfaces because the fabric’s texture helps prevent the paint from bleeding underneath. But no matter what you are stenciling on, always have VERY little paint on your brush. I wipe most of the paint off on a paper towel before I start pouncing the brush on the stencil.
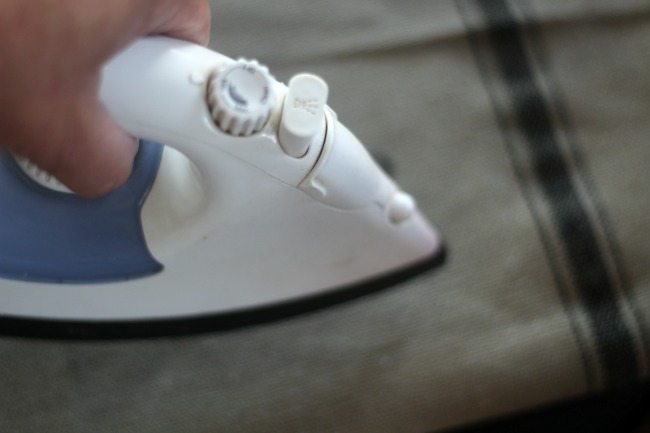
I used fabric paint, which needs to be heat-set with an iron.
You don’t iron ON the paint; you hover the iron just above the fabric. Follow the manufacturer’s instructions on the bottle of fabric paint.
Recover the Chair Cushion
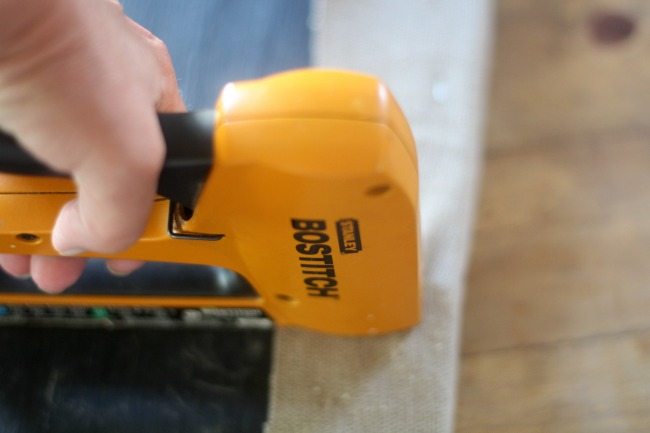
I used the new wood seat as a pattern to cut a piece of 1″ foam for the cushion. Position the fabric over the cushion and wood seat. Flip it over to begin stapling it onto the wood.
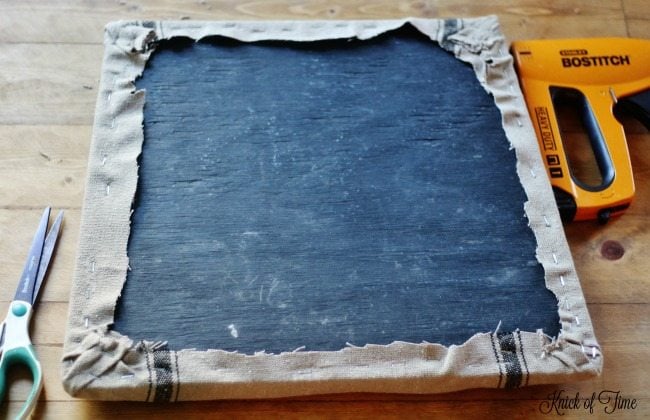
Trim the fabric on the underside to reduce bulk. It doesn’t have to be pretty, folks.
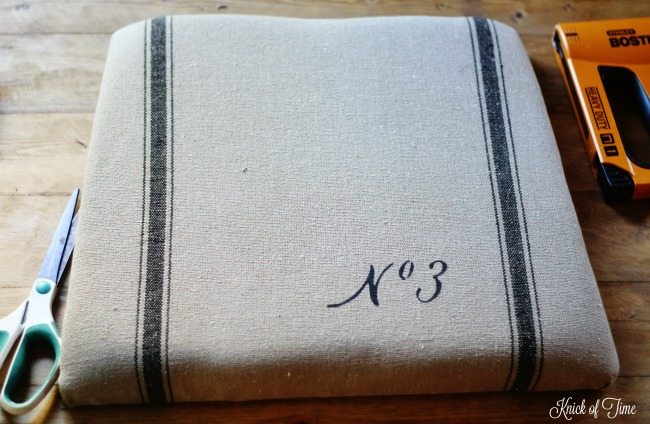
Here it is finished and ready to put back onto the chair.

My husband repaired the broken corner on the chair, and I cleaned it up and gave it a fresh coat of wood stain.
It is beautiful wood, once I got all the bat and bird droppings off of it.
Why it Works
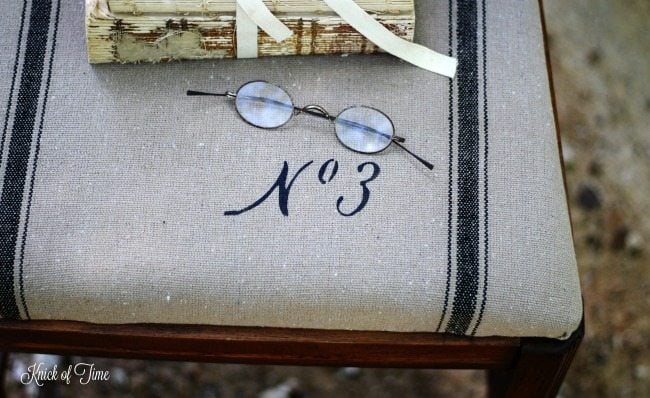
This project works because it combines an easy seat recovery with a high-end custom look. The grain sack stencil adds character, the neutral fabric keeps it versatile, and the updated cushion makes the chair feel useful again without a full furniture overhaul.
When reattaching the seat, have someone sit on it to hold it down firmly while you screw it back on from the underside.
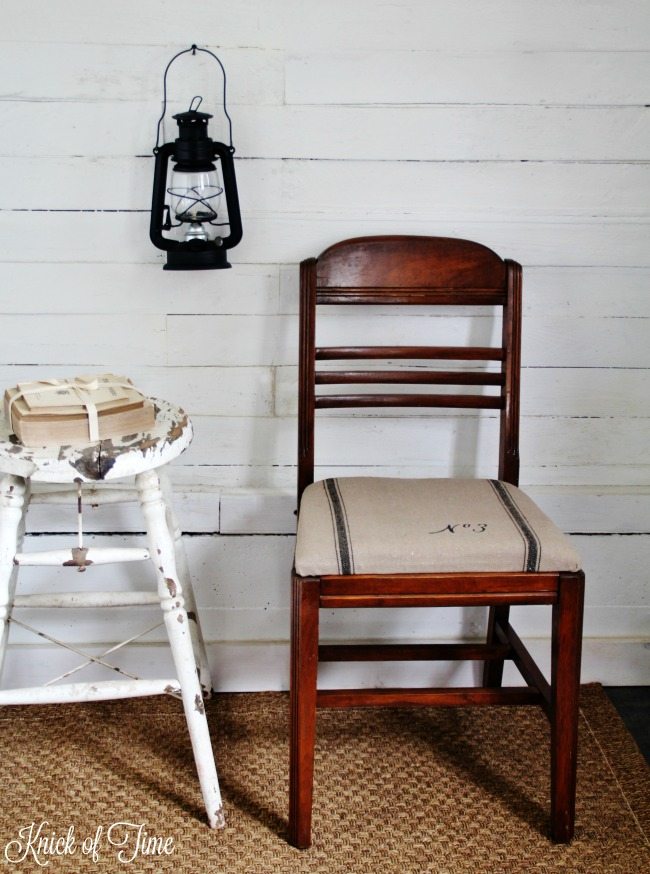
All finished and I’m so happy with how pretty it looks now!
You can use any kind of stencil to transform a chair seat.
This chair seat makeover is proof that even a rough piece can become something special with a few basic supplies and a little creativity. The stenciled fabric adds just the right amount of farmhouse character without complicating the project. It’s an easy way to give an old chair a custom look that feels both timeless and practical.
Related Content: Easy Weave Chair Seat

I have another broken chair that I repurposed, and I’m sharing it on my site: Knick of Time.
I hope you’ll drop by and check it out!

See more of Angie’s Projects Here
See one of my first, and an all-time favorite chair projects here
Angie,
I love your “new” chair. The stenciled grain sack seat is tooo cute!
gail
so charming, Gail! I love the stencilled seat cover.