Stool Turned Side Table
As an Amazon Associate, I earn from qualifying purchases.
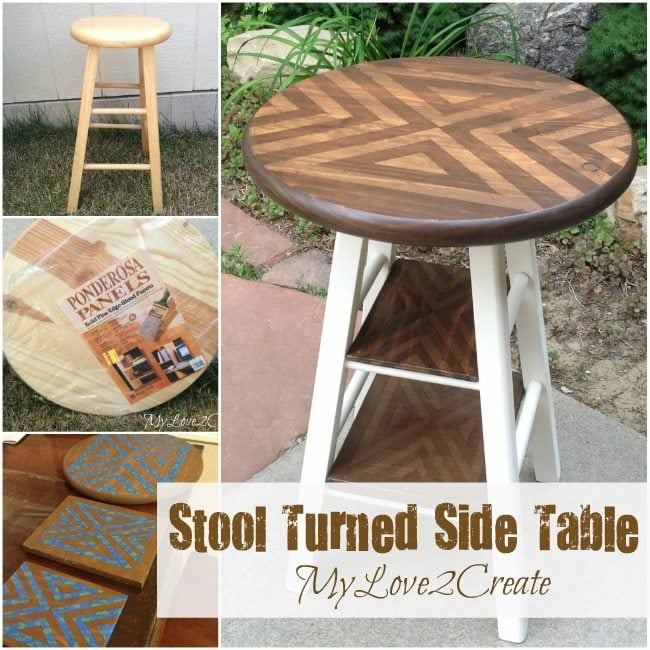
As I was getting ready to spruce up some porch furniture I realized I had no side table for the space. Since I have basically no budget, I went in search around my house to find something that might solve my problem. Luckily I came across a broken wooden stool and a round pine panel, which I thrifted long ago…it was a match made in heaven! My repurposed wooden stool turned side table was in the works…
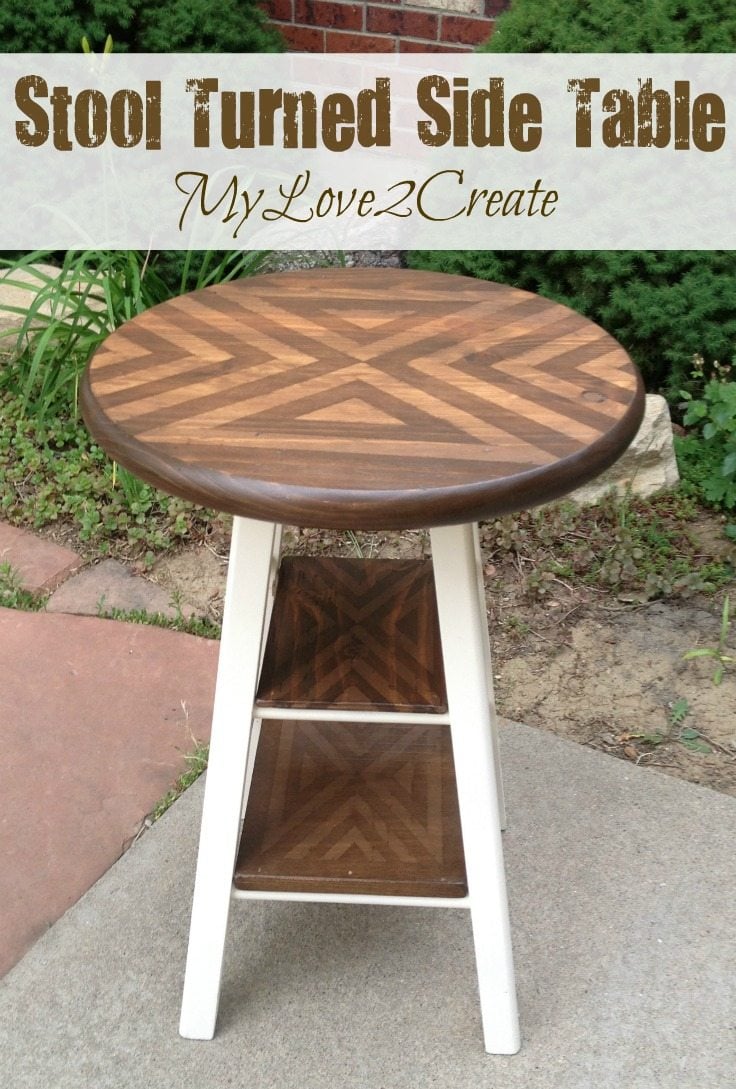

Sometimes the simplest of projects become….well, not so simple. Turning this stool into a sidetable is a pretty simple project, but I, of course, had to add some sort of a challenge, and that was my two toned stained design. Which I am in love with, by the way. So it was worth the extra time it took :).
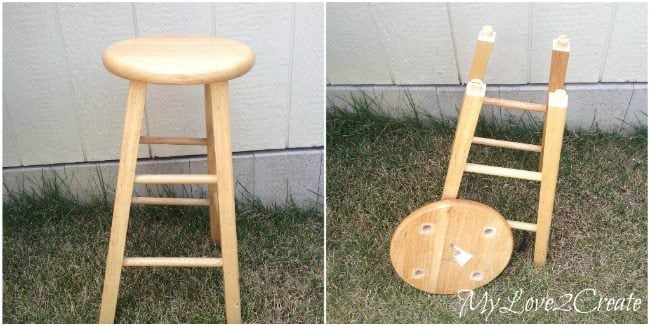
Here is the stool which was totally falling apart. The top was already unattached, it is just sitting on the legs in the left photo. I added a few nails into some of the legs and rungs to help sturdy it up.
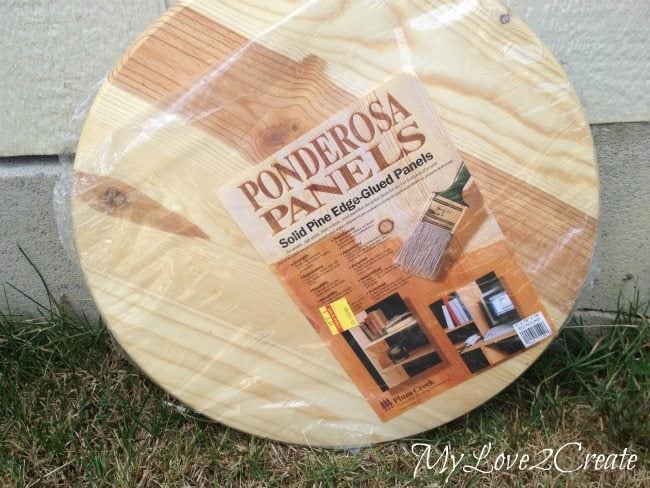
This pretty pine panel was a score at the Restore a long while back. I got it for $3. I have a hard time passing up good wood when it can be made into something cool…especially when it is cheap. I guess that might explain my hoarding problem…
As I was searching my house I also ran across a round lazy susan that I had picked up for $1 at some point. Since it was too small for a table top I took it apart and stole the lazy susan hardware. Because a spinning side table is more fun right? Well, with kids anything that spins is…so why not?
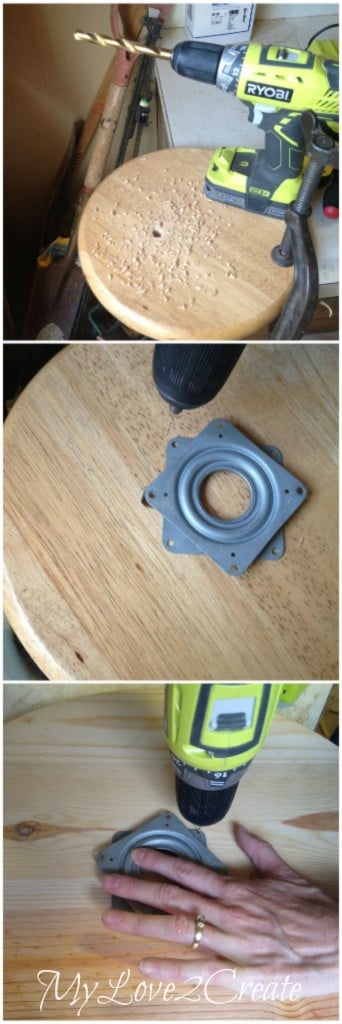
I started by centering the lazy susan on the top of the stool and marking the screw holes with a pencil. Then I removed it and drilled a large hole, you will see why later (see first photo). In the second photo I am making sure the big hole I drilled will line up with the screw holes on the metal, and I also pre drilled holes for attaching the plate to the wood. Lastly I grabbed the table top and on the underside I centered the lazy susan and pre drilled holes for attaching it with screws.
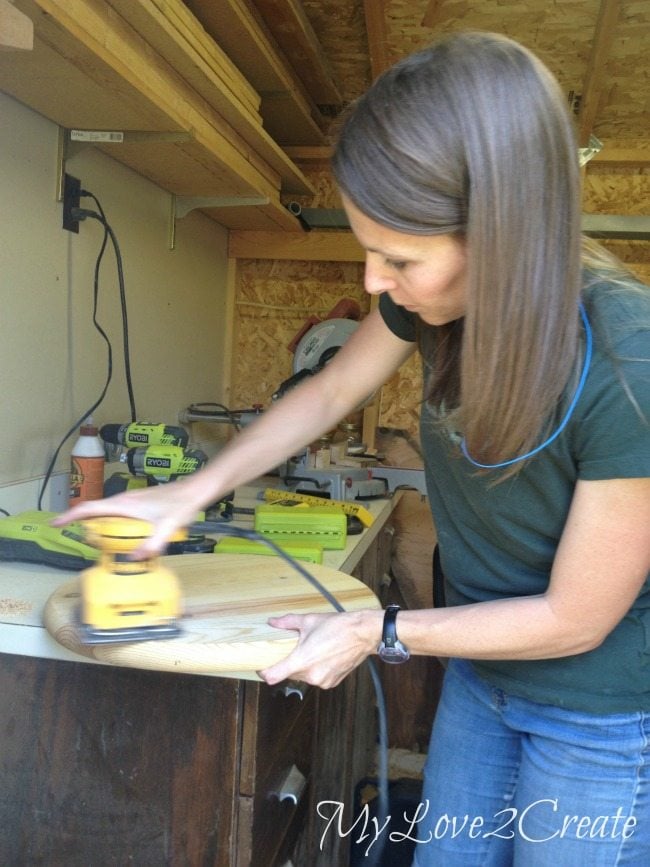
Then I sanded it down really well, that random blue string in my hair are my ear plugs. Gotta protect those ears, and yes, I should be wearing a mask, oops!
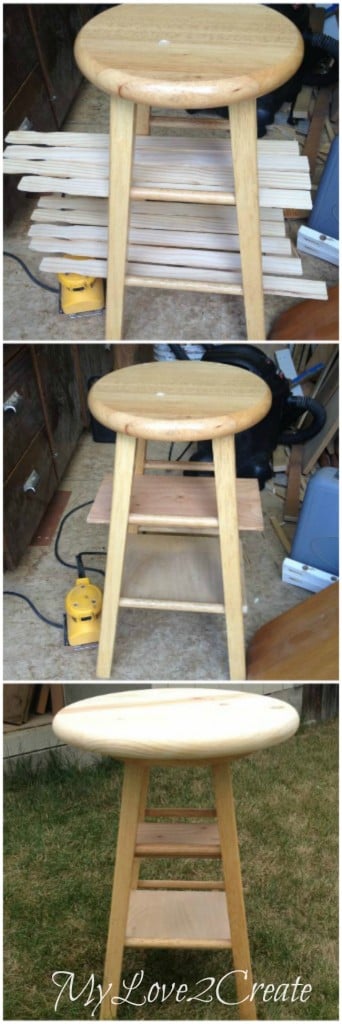
If this was going to be a side table it had to have some shelves. I tried paint sticks and some scrap plywood. The plywood won out in the end, so I cut them to size and did a dry fit. So far so good.
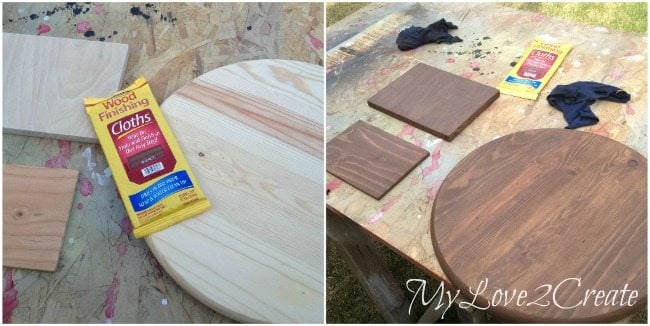
For my table top and shelves I tried using Minwax Walnut stain cloths for the first time. This was a perfect small project to try them on, and I really liked them. It was easy and quick and I only had to use one cloth, sweet!
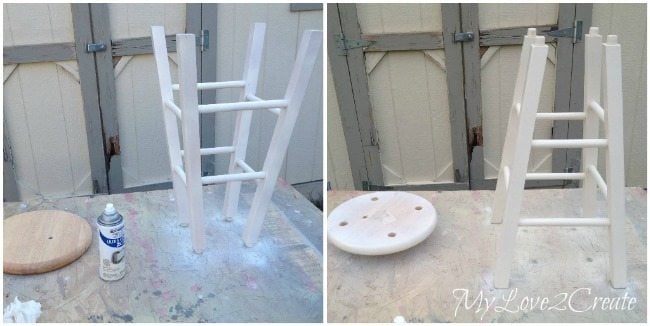
Next up was painting the stool. Since my patio furniture is pretty colorful, I decided to go with white, or heirloom white in this case, because I had some left over from my DIY Rustic Shelf and my Curtain Tie Backs Repurposed into Towel Hooks. I started upside down to spray paint, and then ended right side up. You can see I also sprayed the edges of the stool seat.
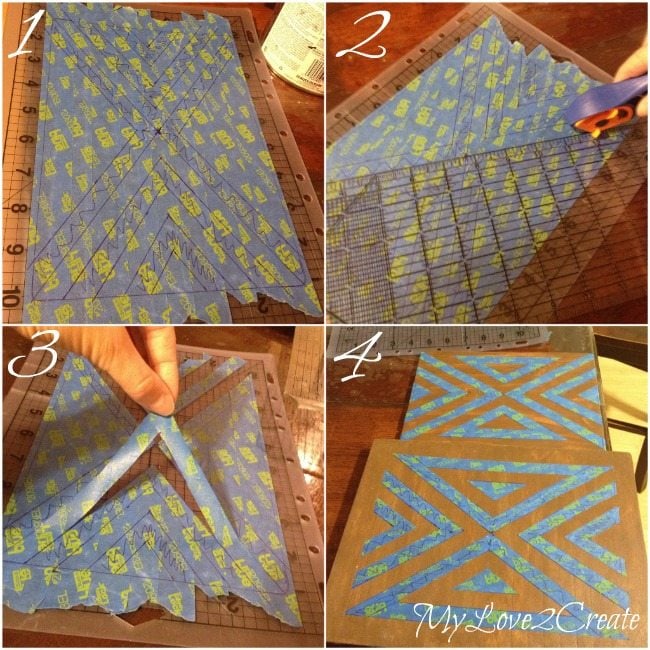
To do the design on my stool I got some painters tape with edge lock and started layering it on a small cutting mat by overlapping the edges. Then I measured and drew out the design right onto the tape, picture 1 above, but first I traced around the edges of the small shelf board right onto the tape. I did it this way is because I wanted thinner lines for the two shelf boards, and the tape was too thick. In photo 2 I am cutting on my lines.
In #3 I am peeling off the shape to place it on my board. It is important to peel slow and make sure all the layered tape pieces come up together. I was kind of making this up as I went along…a little tedious, but it worked. Then in photo 4 you can see how I placed the design on my shelf boards. I had started out just doing this design for the smaller shelf and then decided I would use the reverse of the design for the larger shelf, since the tape was already measured and cut…it saved me some time!
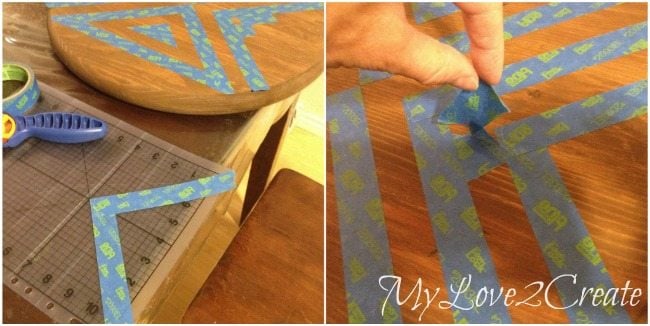
For the table top I used the thickness of the tape. My cutting mat had triangle lines on it so I used that as a guide to make my arrows and triangles. It was a great way to keep them all the same size. You can see in the photo on the right I just used some small pieces of tape to space my arrows, and then pulled it up when I was done. To seal all the edges I rolled the tape roll over all the ends of the tape on the boards.
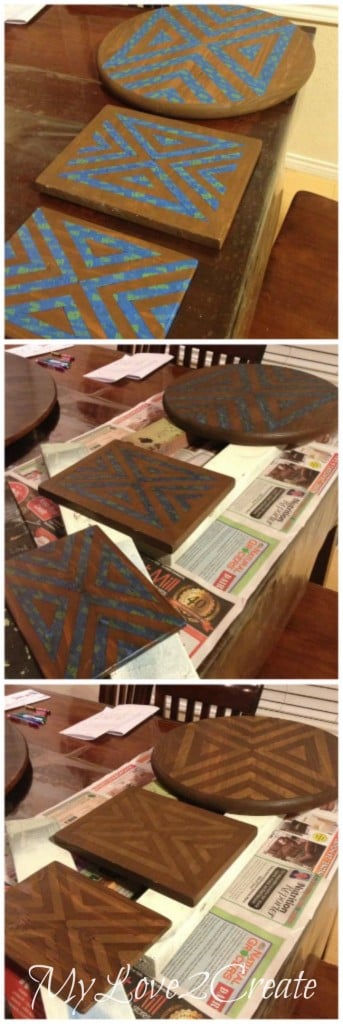
Once I had all the boards taped, I used a darker stain (Rustoleum’s Kona) to stain the boards again. When I peeled off the tape this is what I got, and I was loving it! To seal it I used three coats of poly sanding between coats 1 and 2.
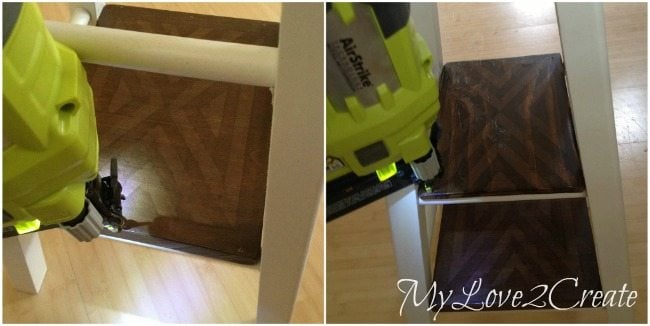
To attach my shelves I simply nailed them onto the stool rungs with my Roybi Air Strike nailer.
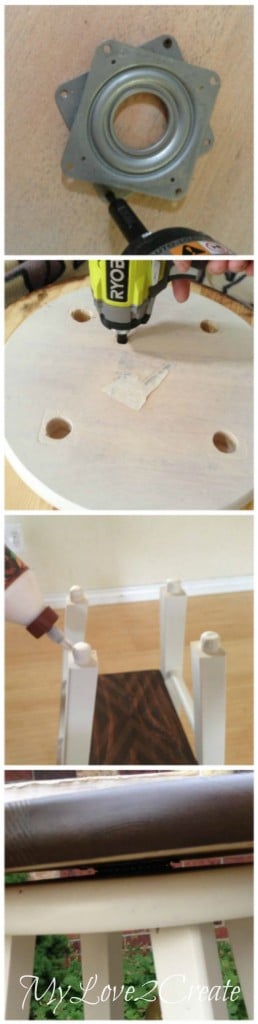
To attach my lazy susan, I started by screwing it onto the top of the stool seat where I had already predrilled the holes. Then I flipped the stool seat over and set it onto the bottom side of the table top. Looking through the big hole I drilled into the stool seat, I lined up the metal plate of the lazy susan to the pre drilled holes on the back of the table top. Then I attached it to the bottom of the table top by screwing through the big hole in the seat (see second photo) above. I had to turn the seat and line up the big hole each time I added a screw.
Then I used my Gorilla wood glue to attach the stool seat back to the legs. I also added a nail into each leg and stool top to help hold it while it dried. And I was done….my lazy susan side table complete!
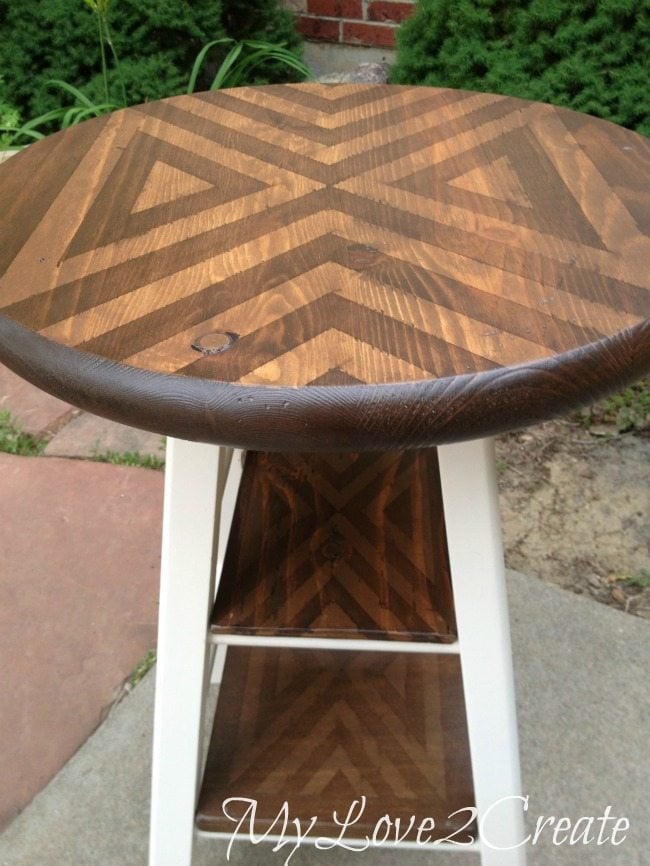
The two toned sainted wood really makes the piece special, and I love to see how the different woods take the stain. The top is pine, the small shelf is plywood, and the bottom shelf is poplar, all a little different but close enough to “match”.

You can see I had a little bit of bleeding when I stained it the second time, but not enough to ruin the look. My pine top got some dings and digs while it resided in my garage, just some natural distressing provided by six kids over time. I actually like it that way because it adds character.

Since my patio is not ready, I did a little staging on my front driveway. This table would really go well next to any chair or couch inside.
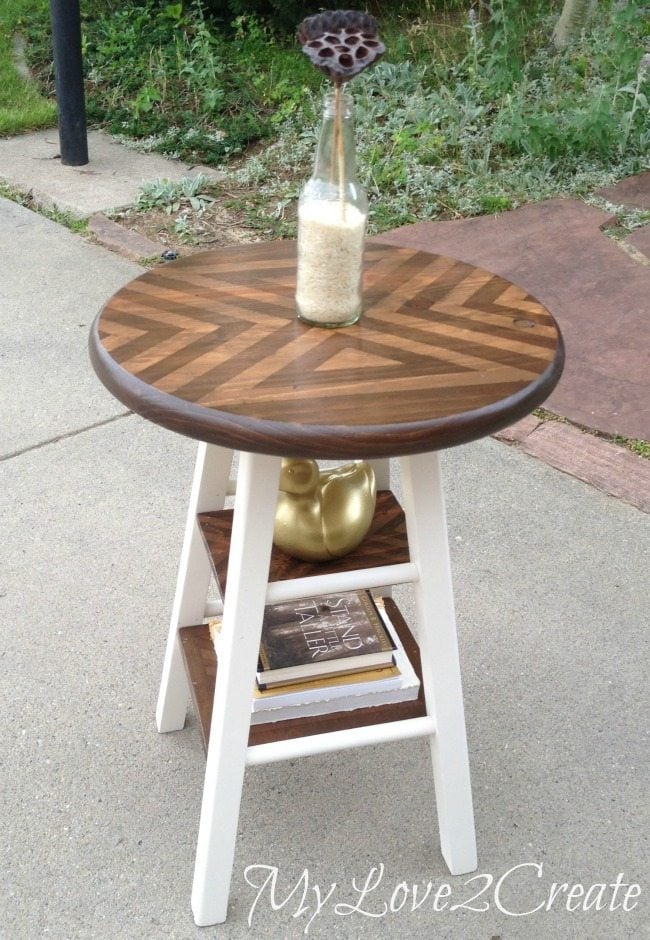
The shelves can be useful and/or decorative which is always great. And if the lazy susan isn’t that useful, that is ok, I at least know it will entertain my kids :)!
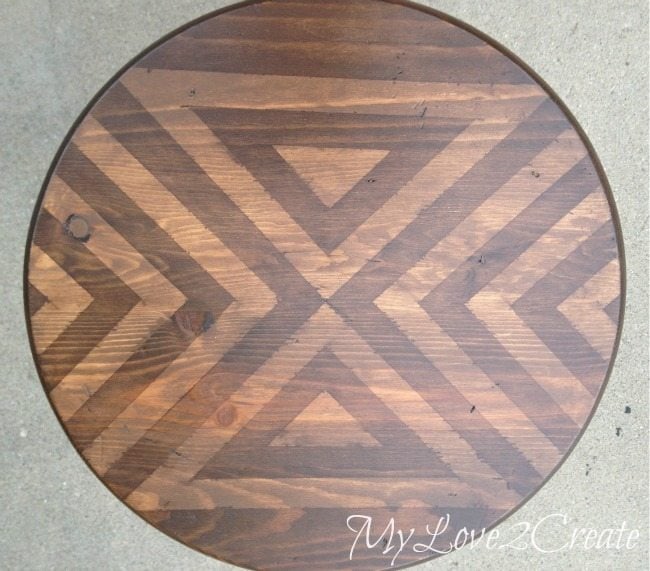
And one more shot of the top, just because it makes me happy!
I am glad I was able to use what I had on hand and create what I needed, I can’t wait to see how it looks on my patio…I better get crackin’!
So what do you think? Have you ever made a stool into a table?
Hugs!
Mindi
I saw this when first posted and yesterday I stopped st a thrift store. There in the furniture section was the exact same stool!!! Furniture was half off so I got it for $5. Going to check the ReStore for a table top and board to use for the shelf. I’m in heaven!!!
Mindi, it turned out beautifully! You inspire me!
Gorgeous….I really love the two tone stain. I have one lonely stool like this and didn’t have a clue on what to do with it, I love it! Not sure I would be able to do the lazy susan though….my kids would make it a toy and I have visions of them spinning and flying off of it very fast lol.
What a cool idea. Looks awesome all finished up and I love the little shelves that were added.
Hi Mindi! Wow… what a great idea! I especially like the idea of the lazy susan, you could put it near the grill so “the griller” doesn’t have to reach too far. 🙂 You asked if I’d ever made a table out of a bar stool/stool…my answer yes!
Isn’t that the ‘other’ purpose of a bar stool, I think it might even say it on the label …”can also be used as a side table”! Actually, I found an old wooden chess board at a yard sale minus the pieces and attached it to a bar stool one time. Made a great table.
enjoyed reading your tutorial… thanks! Patricia
That’s another great project, Mindy! I love how your sidetable turned out. The two-toned stained design is beautiful.
Have a wonderful weekend!
Julia
that is really nice.
What a great idea! That came out fantastic!
Very nice. Love it : )
Great idea and fantastic job! I have two mosaic table tops that I picked up in the trash and have been waiting for a support for years. Now I know what to do: look out for old stools. Thanks for sharing this!