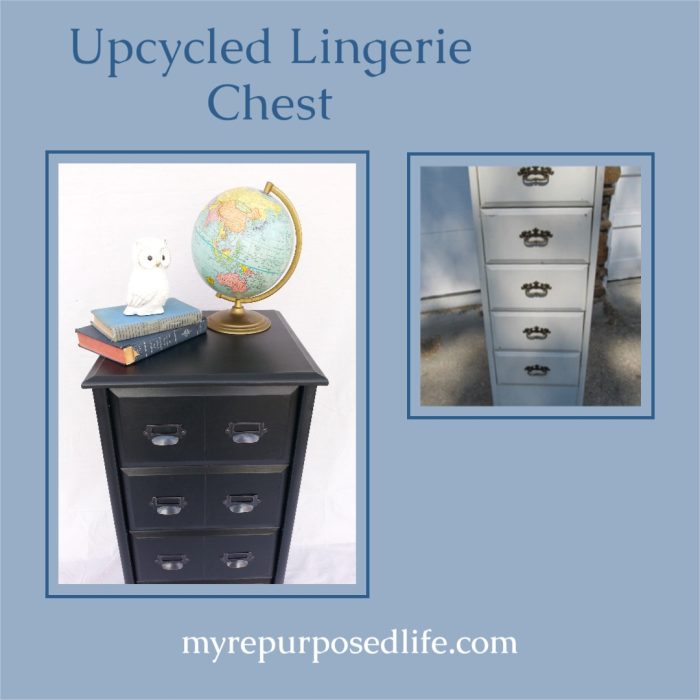
Upcycled Lingerie Cabinet
As an Amazon Associate, I earn from qualifying purchases.
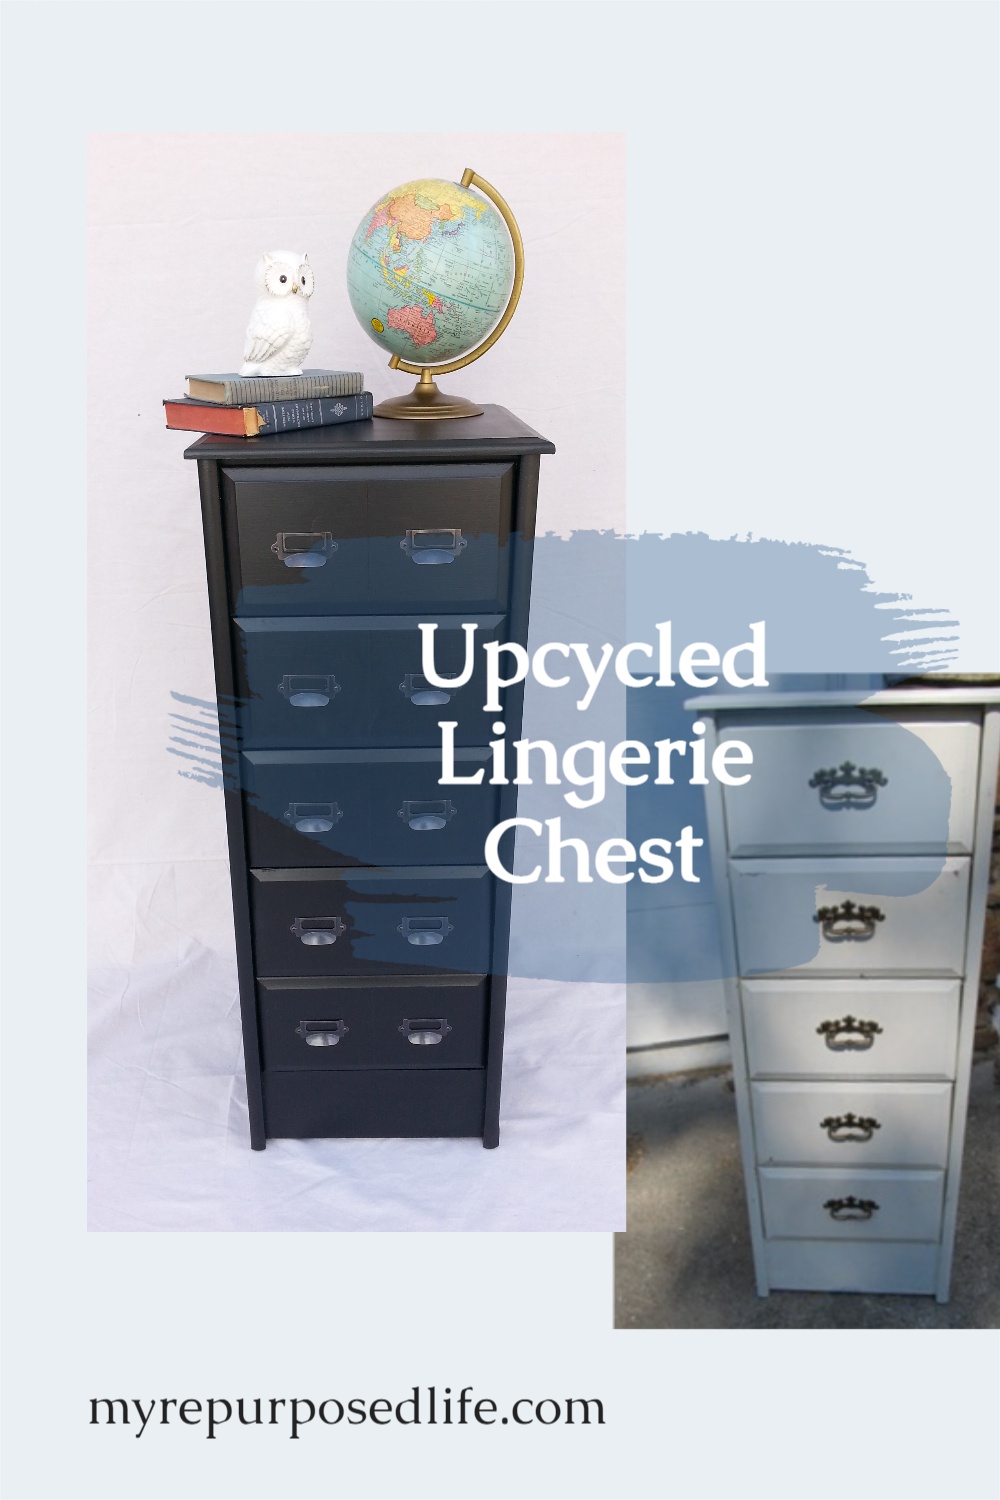
In this upcycled lingerie cabinet project, I’ll show you how to update a thrift store chest by adding new hardware, and making “faux” drawers. Yep, making a five drawer lingerie chest look like it has ten drawers.
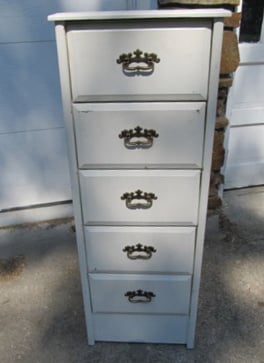
I got some stuff from my neighbor. This tall chest was one of the things I got. My friend Anne of Design Dreams by Anne, remade a tall highboy and ever since I saw it, I wanted to do the same thing with this piece. Thanks Anne for the inspiration!

Because I don’t freehand with a router very much–I generally use my router table, I practiced on this scrap wood. The goal here is to router in the middle of the drawer to give the illusion that the five drawer lingerie chest actually has ten small drawers. So, I practiced on a scrap piece of wood to make sure I had chosen the proper bit.
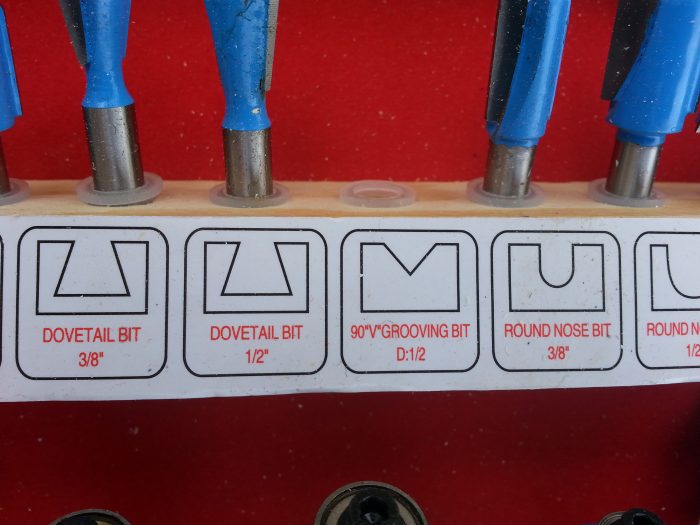
This is the bit I used, a grooving bit.
The first step was to mark the center of each drawer. Instead of measuring, I took the lazy way out and used the original hardware assuming that each handle was set in the center at the manufacturer. ![]()
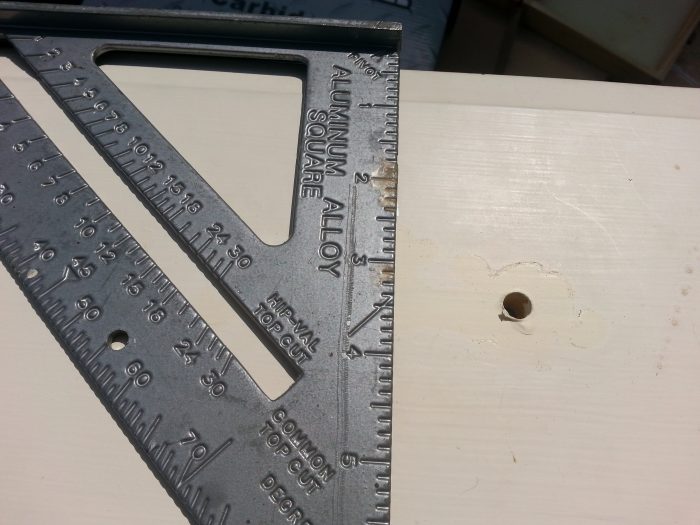
Next, I used my speed square to mark a straight line down the center of each of the five drawers of the lingerie cabinet.
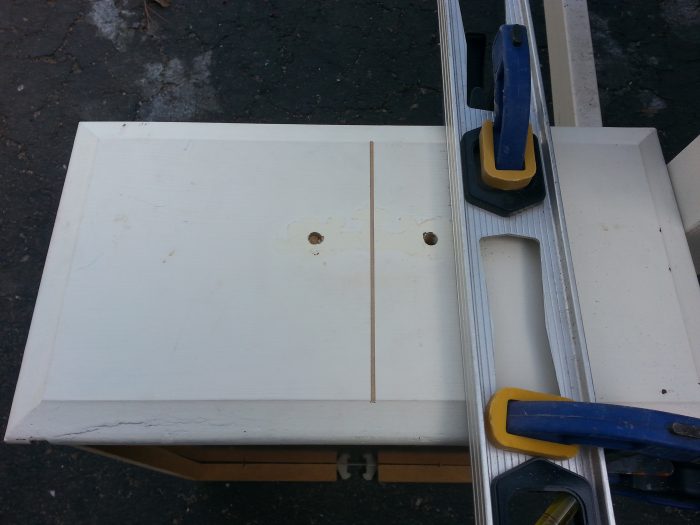
Then, I clamped my level to use as a guide to keep the router in a straight line. This is probably the best sample I can show you. Not all of the drawers were as perfect as this one. Hindsight 20/20, I should have done the groove a little deeper. But, doesn’t it resemble furniture items you’ve seen at the store? Brilliant!
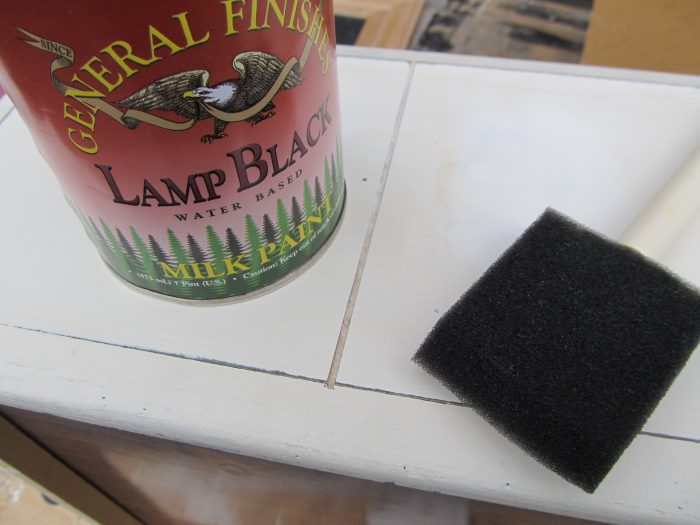
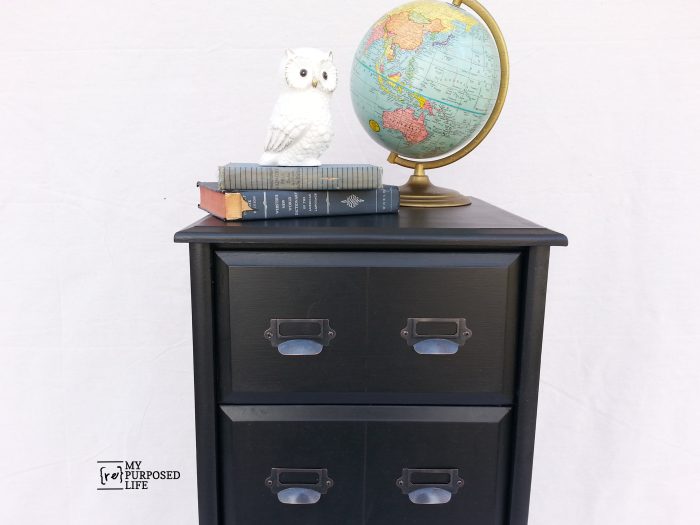
General Finishes sent me a couple of pints of paint, so I decided to use Lamp Black on this project. They suggest using a foam applicator. I gave it a try, but ended up using my favorite—a chip brush.

The drawer on the right has a thin first coat, the one on the left is after two coats. I ended up doing 3 light coats. The dark areas are where I patched the original hardware holes with some wood putty, and drywall spackle. My favorite patch these days is actually Plastiwood.
This is after 3 coats, you can see that it covered really well. After the paint dried, I gave a quick topcoat of Wipe-On Poly from Minwax.
I didn’t take any pictures of the lingerie cabinet before adding the hardware. Sometimes I get so wrapped up in projects I forget to pick up the camera.
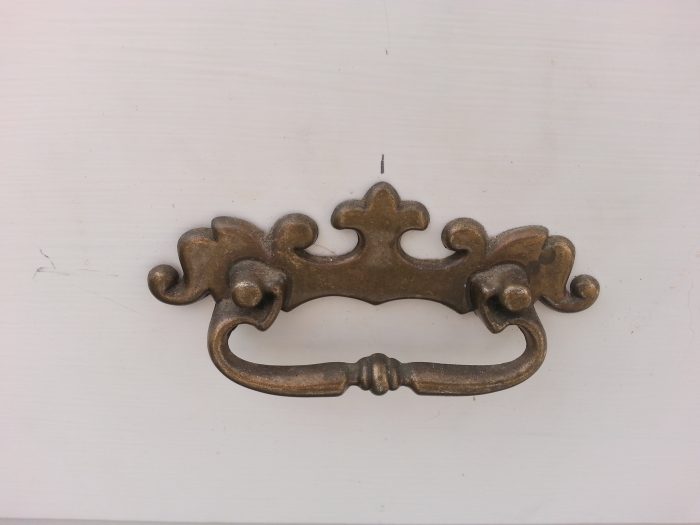
I saw Korrie from Red Hen Home use these Antique Copper Cup Pull Label Holders from D Lawless Hardware, so I ordered some (among some other stuff). They have so many options, and you really can’t beat their prices.
This tall upcycled lingerie cabinet had some issues when I got it, such as water damage and the drawers didn’t work exactly right. In keeping it real, I’ll tell you I didn’t deal with either problem. I really didn’t know what to do with the drawers. The wooden guides no longer have the wide pieces of wood, they have whittled down too much.
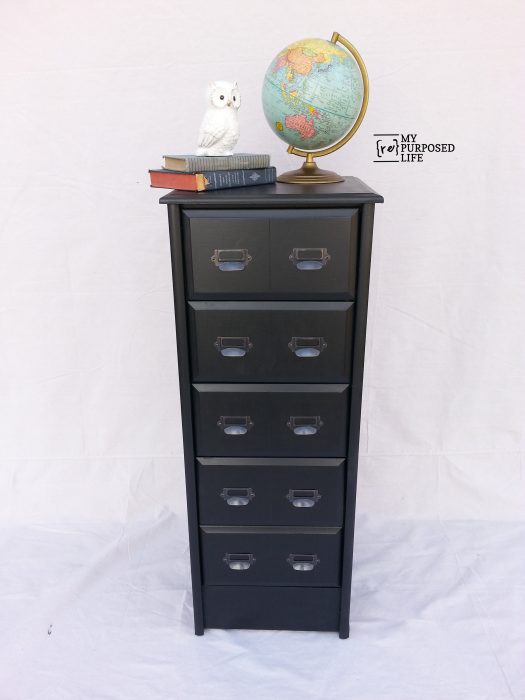
I really like the new look, don’t you?
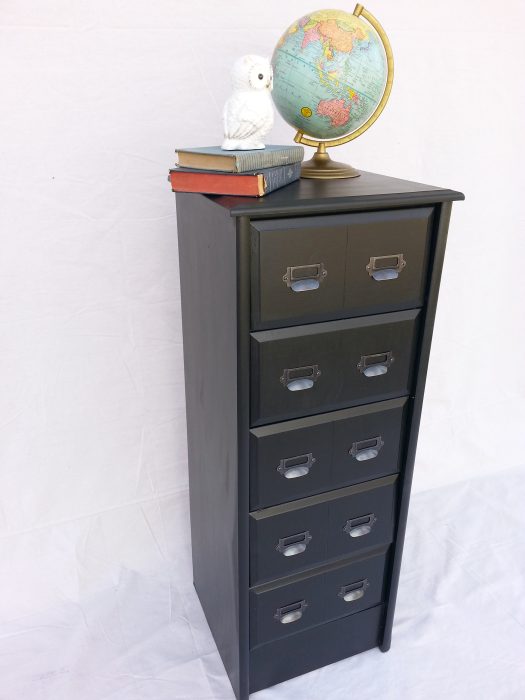
Now, to get it out of storage and find it a new home! I love these kind of storage lingerie cabinets. They offer so much storage with less footprint, a lot like my favorite Tower of Terror.
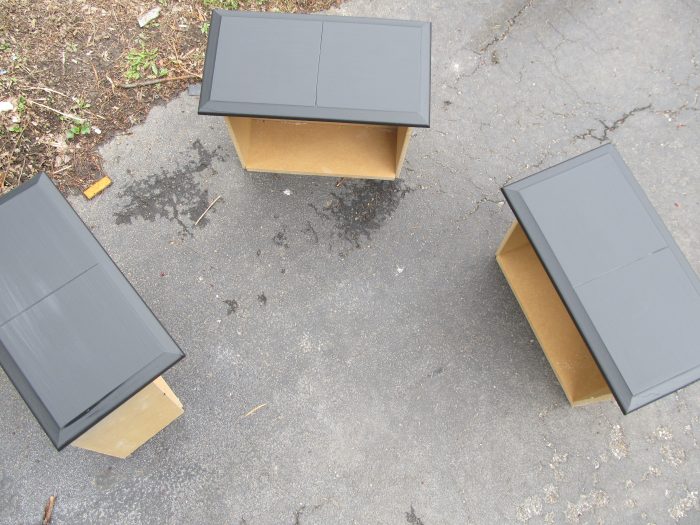
Remember, just because a piece of furniture is called a lingerie cabinet, doesn’t mean that’s how you have to use it. Being creative with storage is what it’s all about, as in the case of the Tower of Terror above AND the Updated Nightstand below. 🙂
Related content: Updated (stacked) nightstands In that post, you can see how to get a similar look without using a router. By stacking the nightstands, I solved a clutter problem AND by going UP, I got extra storage! It’s a win/win.
gail
❤
Unfortunately all your photos didn’t show up for me, but the end result photo did. It looks awesome! I have “repurposing” envy. I just don’t have the ideas or the talent for it but I love to see what other people do.
Cheri,
I apologize for my photos not showing up. I check my site all the time, but it’s difficult to duplicate problems readers are having. I appreciate you taking the time to leave a comment.
gail