Unique Bookends using 10 Pound Weights
As an Amazon Associate, I earn from qualifying purchases.
Hello once again, MRL readers, it’s Joan from Scavenger Chic. I have a fun repurposed project with items you may just have sitting around your house. Over the last couple of weekends we’ve been helping my son and his wife with their new fixer upper. A 50’s era house which is badly in need of updating. Our job is demolition. I don’t want to toot my own horn, but I can destroy things with the best of them.
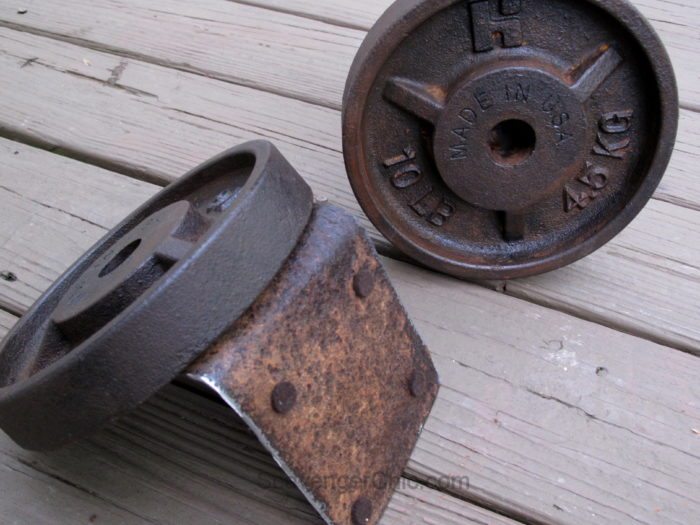
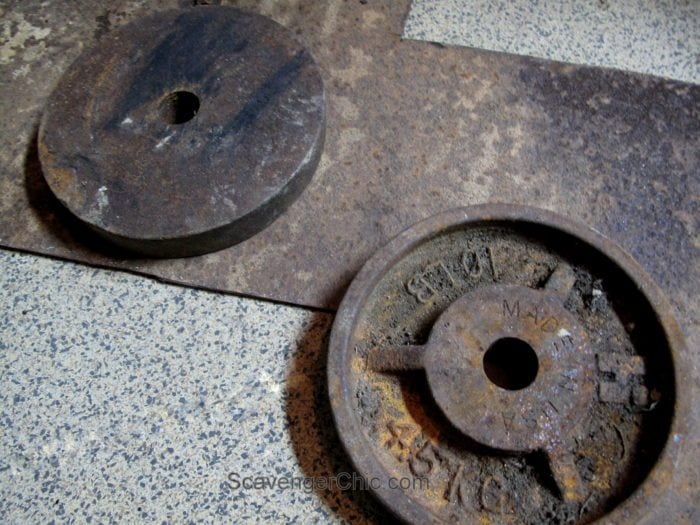
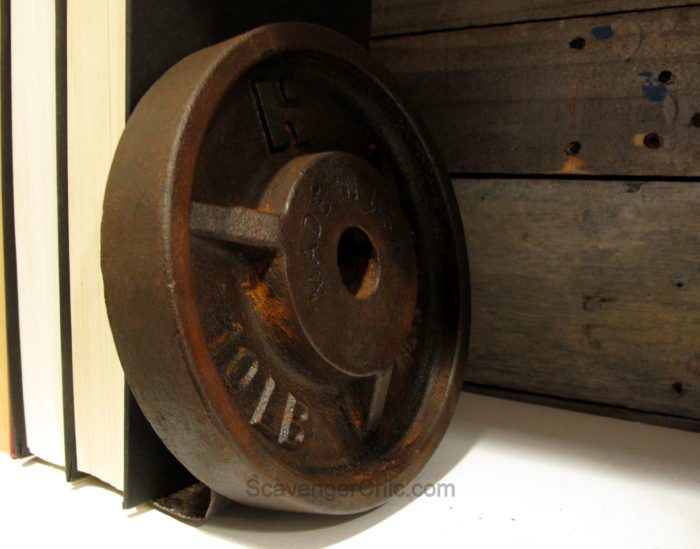
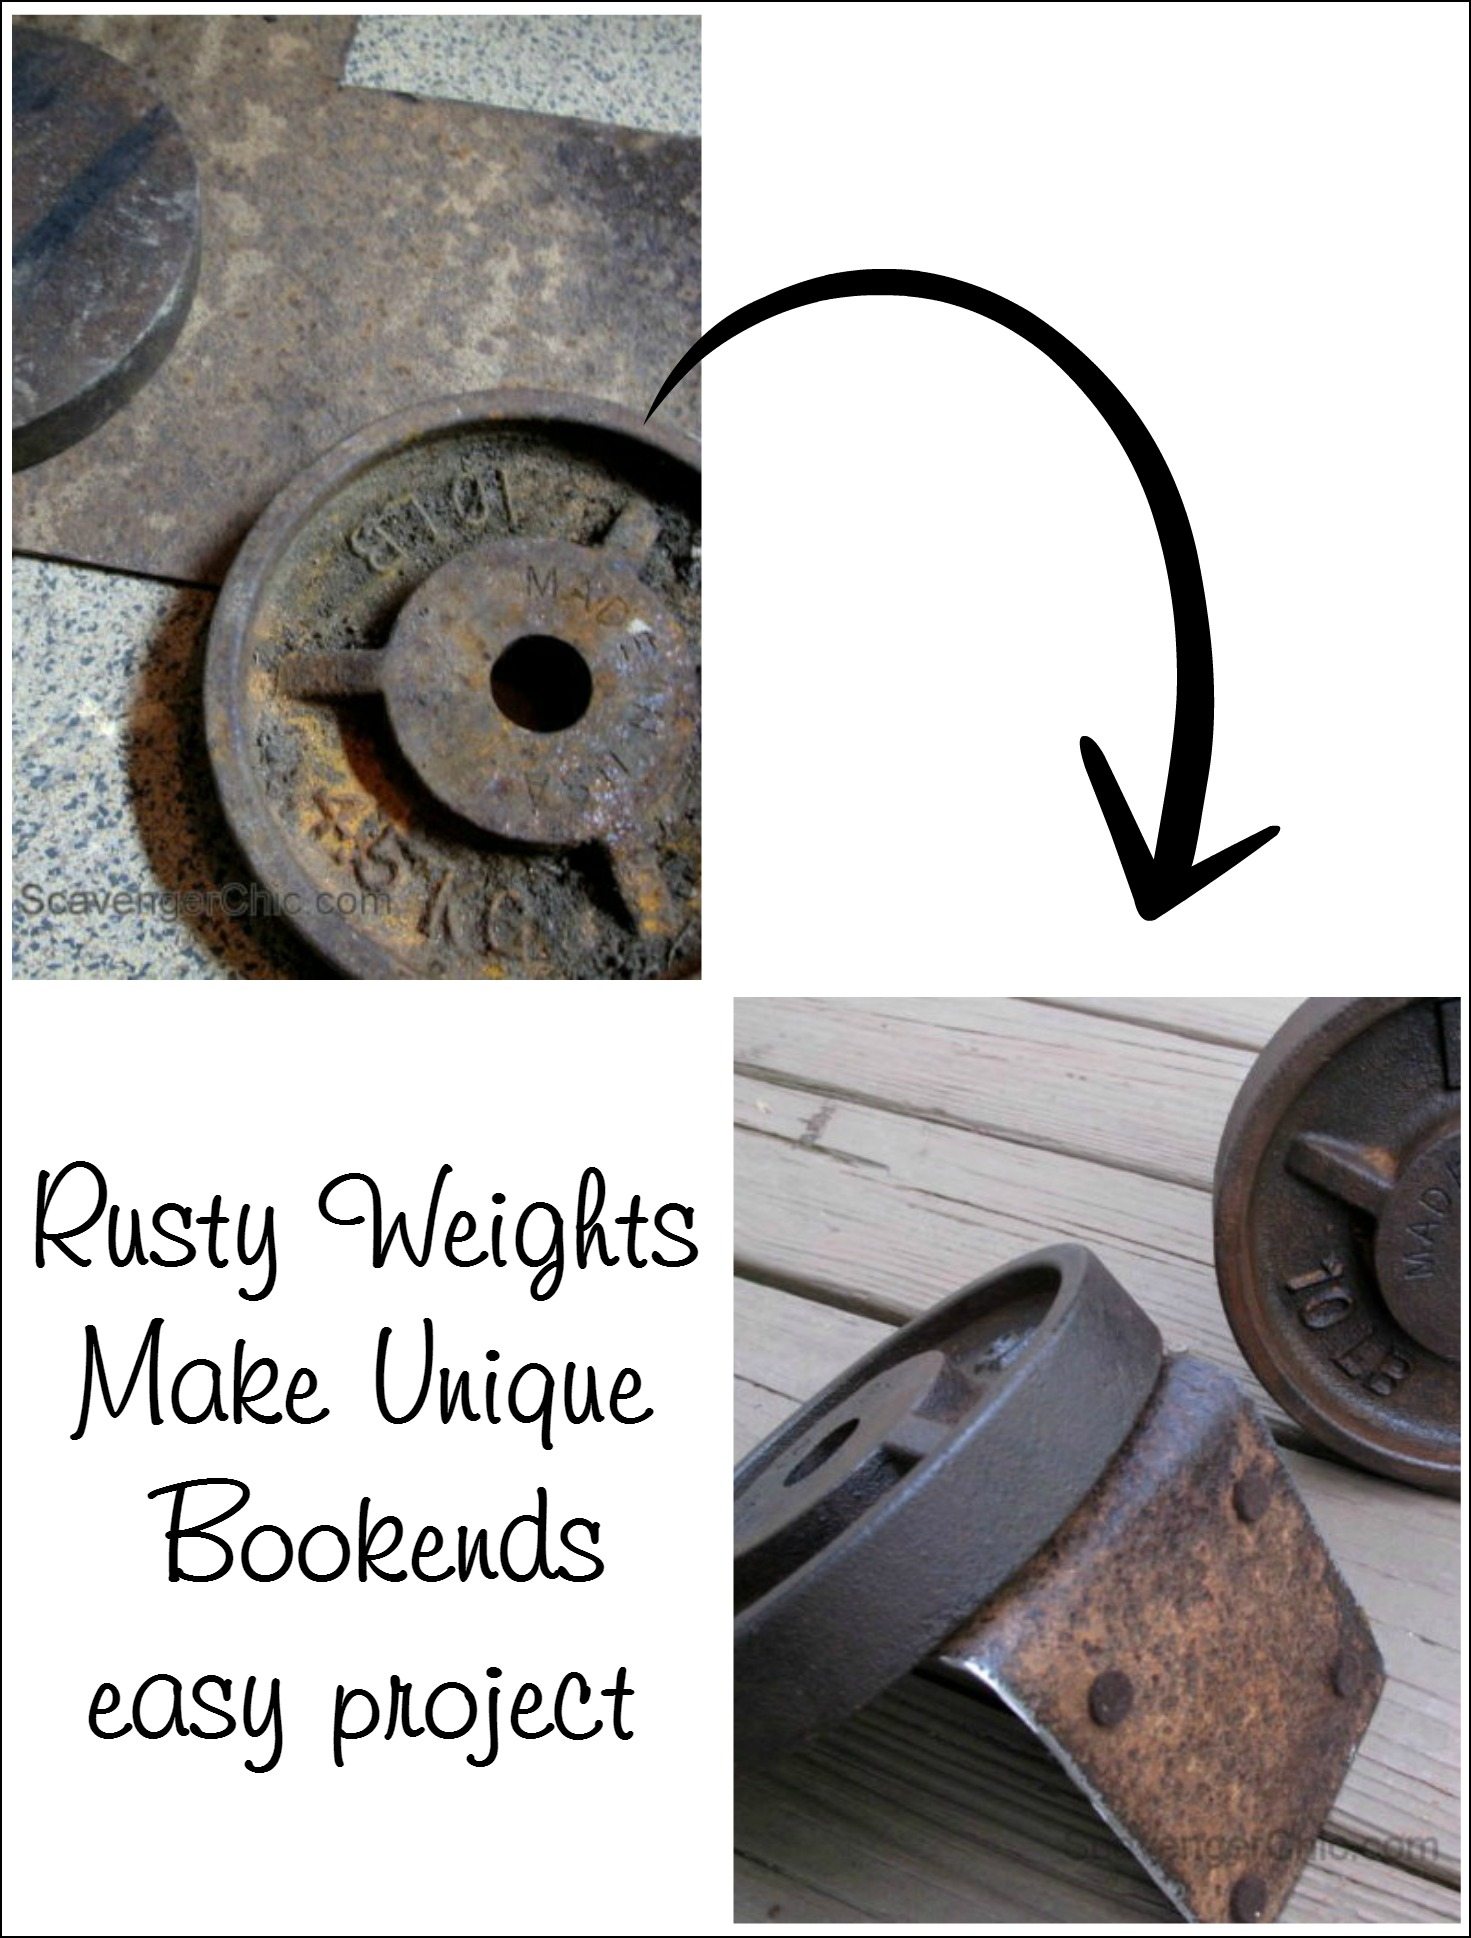
The house was pretty much cleaned out before they moved in. In all the demolition we’ve only found one old beer can, 12 cents, about 10 used bars of soap behind a bathroom vanity, an ax head behind the furnace and 2 – ten pound weights, half buried in dirt, beneath the front porch.
Always on the lookout for my next project, I knew I could have some fun with the weights. Believe it or not, the soap went into the trash.
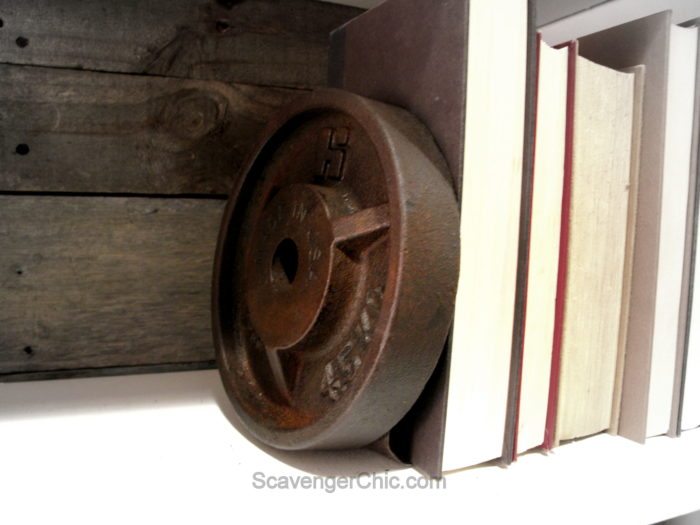
My first thought for the weights was the base of a lamp, I do like repurposed lamps, but then it hit me, bookends!
I couldn’t just leave the round weights as they were, if they were propped up against some books, they could roll right off the shelf and do some serious damage. They would have to be attached to something to hold them in place.
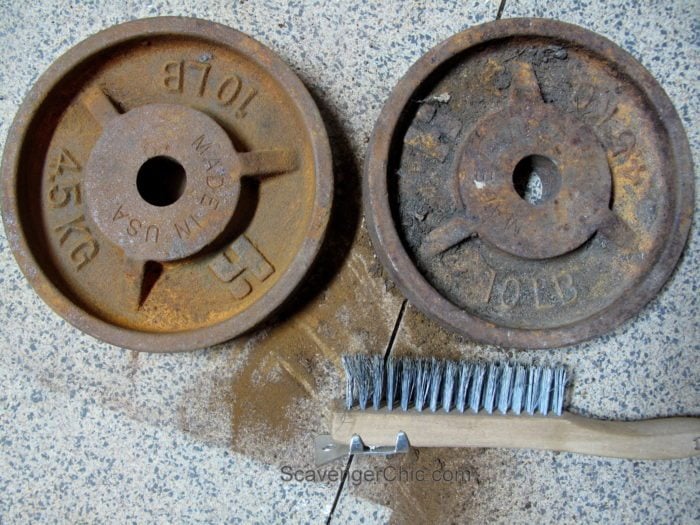
Before I got around to attaching them to anything, the weights first had to be cleaned up. I rubbed them down with a wire brush, which got rid of all the loose dirt and rust.
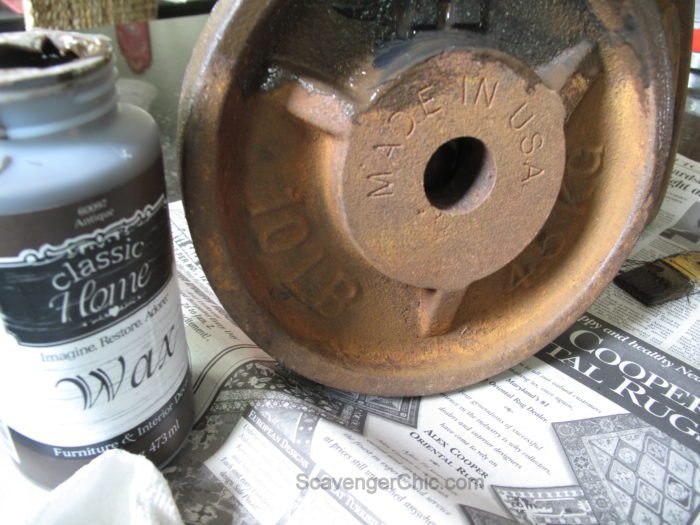
The weights were then sealed with a dark wax and a touch of black chalk paint. I was trying to highlight the lettering. Both were painted on and wiped off with a rag. This is inexpensive wax sold by Walmart.
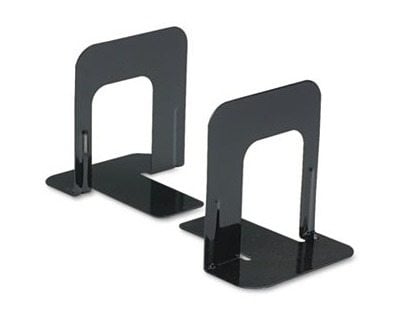
Now you could attach the weights directly to a set of these plain metal bookends and you would be finished.
I used to have a set of these years ago but I have no idea where they are now so I’ll just have to make my own.
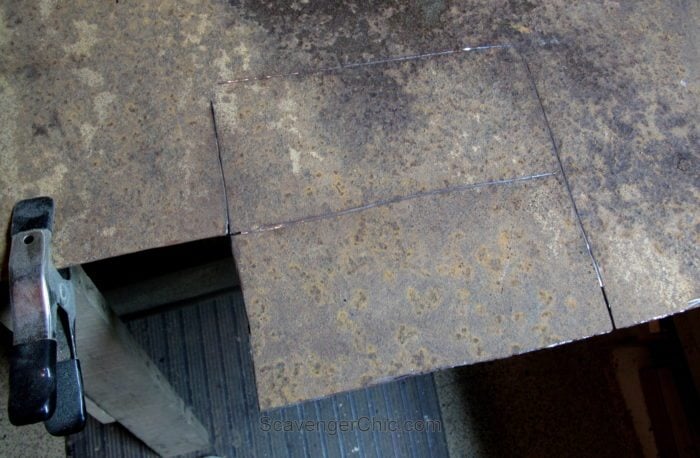
For the base of my bookends, I used this rusty piece of sheet metal that had been pulled out of a junk pile in the woods. I needed 2, 4×9″ pieces. The metal was cut with an angle grinder.
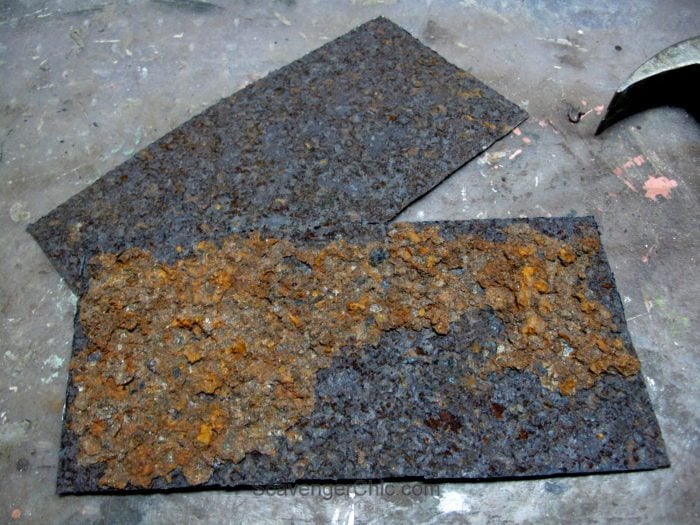
The excess flaky rust (the oranger stuff) was easily knocked off with a hammer.
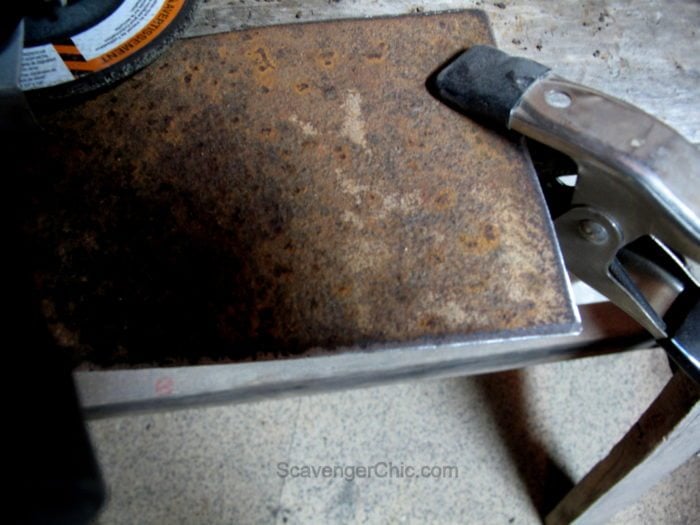
Clamped to a sawhorse, the sharp edges were grinded down.
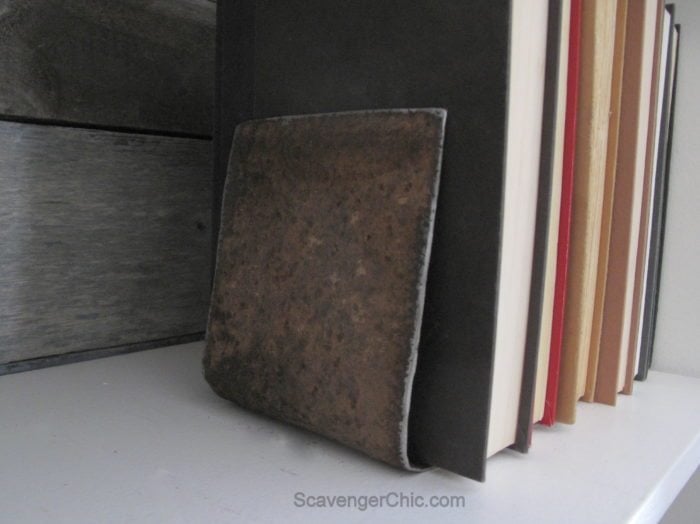
The steel was bent in half. Even at this stage, it holds the books securely.

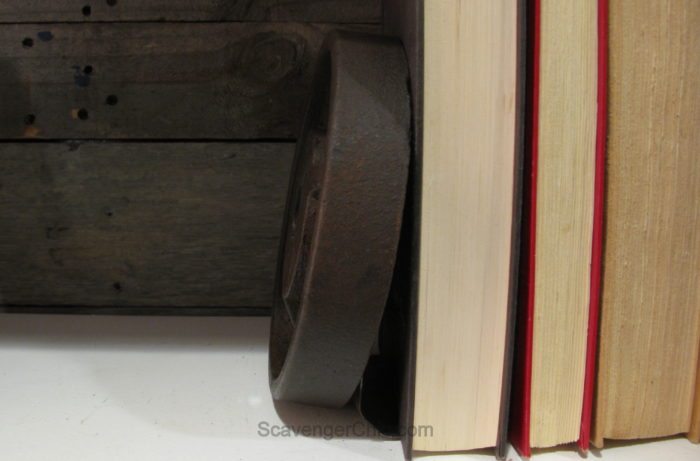
The rusty metal bookend was finally attached to the weight with heavy duty builders adhesive , clamped, and allowed to dry overnight.

For a little shine the bookends got a coat of spray on polyurethane. That also helped seal the bent metal which up to this point had no finish.
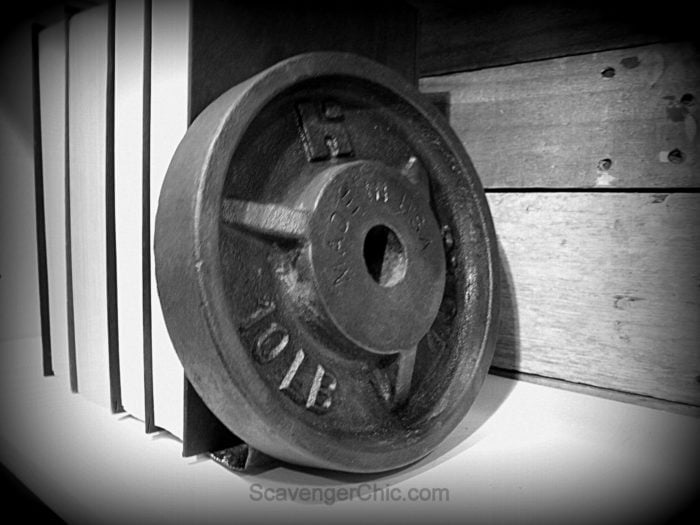
Unique Bookends
Final step was to add felt pads to the bottom of the bookend so it wouldn’t scratch the shelves.

As soon as the fixer upper is complete the bookends will have to find their way back to my sons house. It’s a little piece of the home’s history that should stay with the home.
Joan
see more of Joan’s projects here
These are super cool Joan! Love them!
Joan,
I never work with metal because I feel like I need to know how to weld! You solved that problem with the adhesive! I love how your metal bookends turned out using the weights. Awesome project, thanks for sharing on MRL.
gail
Thanks Gail, I welded once in college but I don’t have the equipment now and I definitely would need a refresher course. Glue is my best friend 🙂