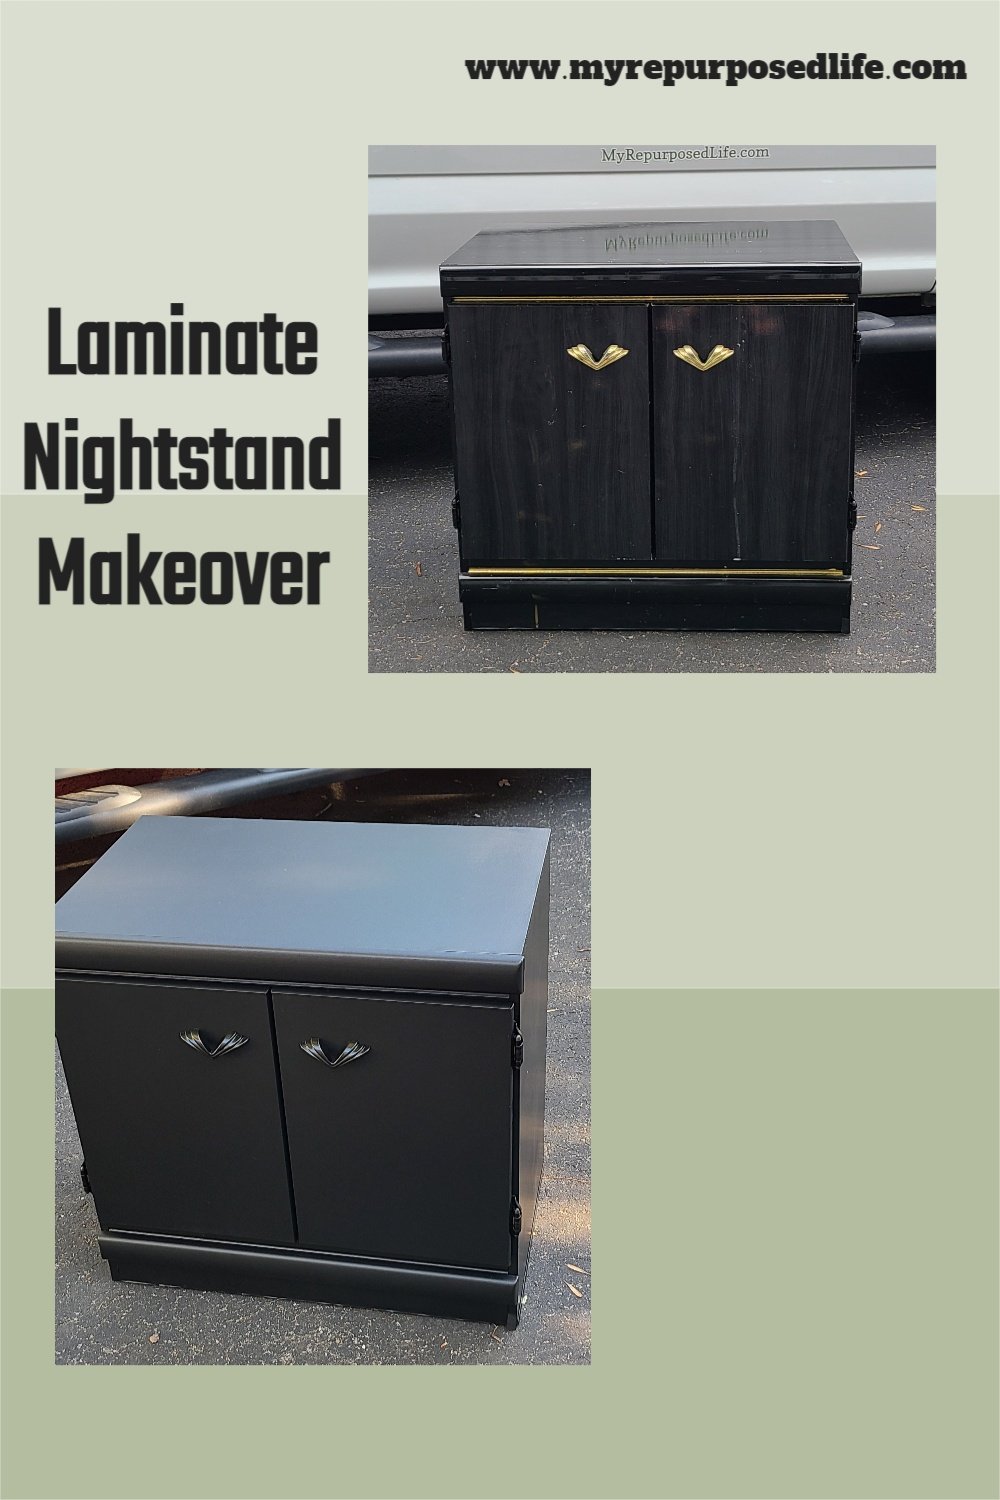
Upcycled Laminate Nightstand
As an Amazon Associate, I earn from qualifying purchases.
My friend picked this laminate nightstand up at a local vendor’s mall, The White Elephant. I’m actually a vendor there myself. It was in poor shape, as well as very shiny. He picked up the laminate nightstand to use in his office for a piece of radio equipment, needing a specific size.

Try not to overlook ugly furniture at thrift stores, because with a little paint and TLC, they can be made useful again.

Laminate Nightstand

I’ll admit, the old laminate nightstand is a little scary at first glance. I’d like to say it at least had good bones, but not really.
As I mentioned, the size is what drew him to this particular nightstand. His wife and I got right to work on the cabinet within just a few hours.
Remove Hardware
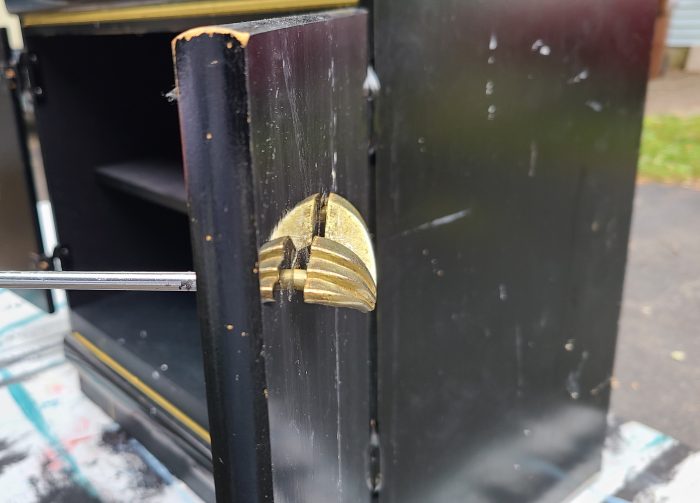
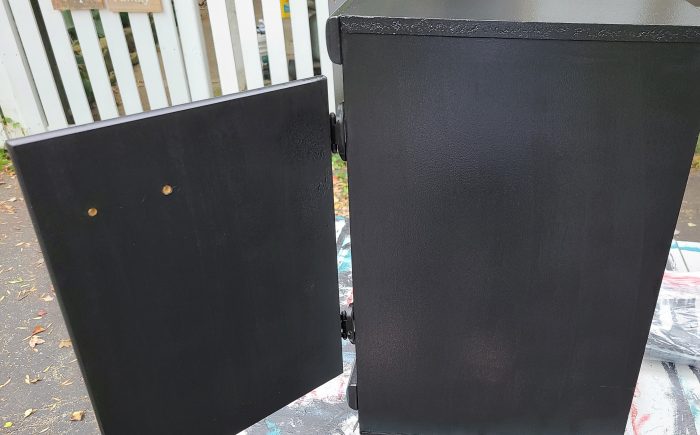
The first step was to remove the gaudy hardware using a screwdriver. In this closeup, you can see the laminate wood is in pretty bad shape. Honestly, I don’t think I would have even given this piece a second look. I know I wouldn’t have dropped $20 for it. Well, I guess the laminate nightstand is worth it if you’re not flipping furniture.
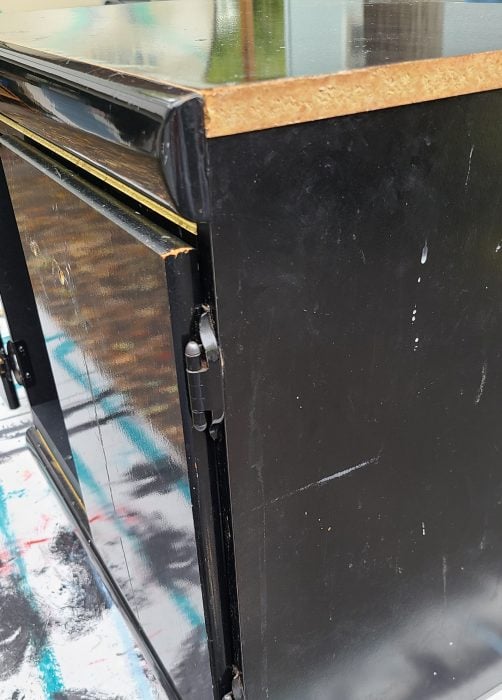
The nightstand was missing a piece of trim. By the way, I opted to leave the hinges in place and paint around them.
Clean Nightstand with Deglosser
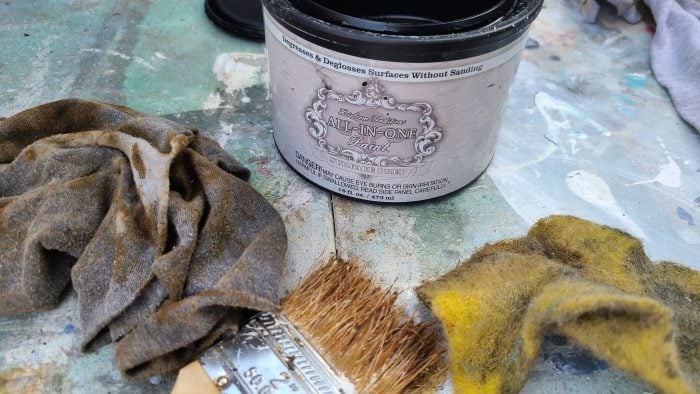
Although it didn’t appear to be very dirty, it was very shiny. Instead of sanding, I opted for my favorite deglosser from Heirloom Traditions Paint. Simply brush it on, scrub it, then wipe it off.
Painting Laminate Nightstand
We used Iron Gate from HTP to paint the nightstand. I prefer to use a small foam roller to get an even coverage. It’s important to use very light coats, especially when you’re working with a surface that started out so shiny.
Spray Paint Hardware

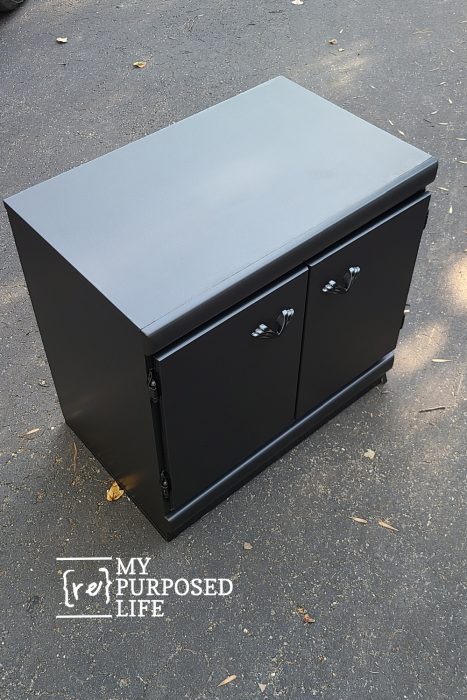
The gold handles got several light coats of black spray paint.

Wow! Can you believe how good it looks after two light coats of paint? I am in love with this paint. It’s so easy to apply.
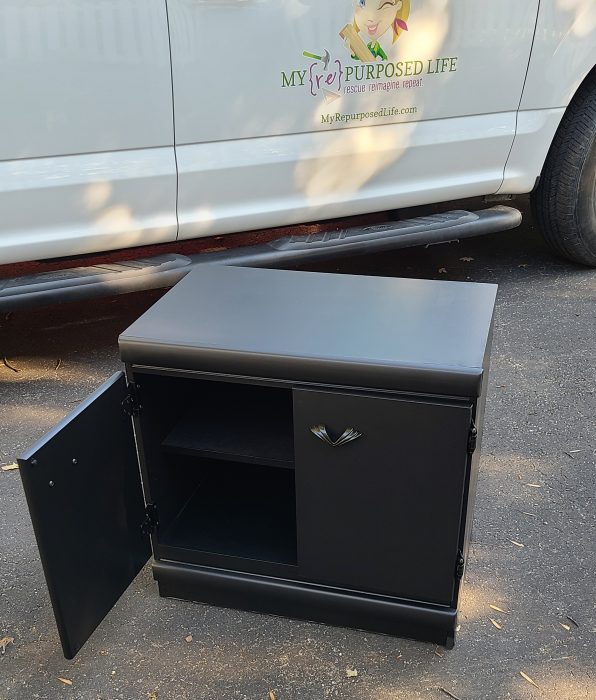
The handles were reattached, the inside of the laminate nightstand was not painted.
I truly was amazed at how wonderful the laminate nightstand makeover turned out! My friend’s husband was very pleased to have a new place to put his radio equipment. I told him about the wax paper trick–a layer of wax paper will protect the new paint from equipment while the paint has time to fully cure.
This cabinet replaced a small table that they gave me to makeover. Look for that project soon. Until then, check out the other HTP projects I’ve done recently.
I LOVE THIS PROJECT.