I promise you I will eventually finish this silly repurposed nightstand into a kitchen center. I am getting closer, but the heat wave we’re having makes it impossible for me to go outside and work on projects.
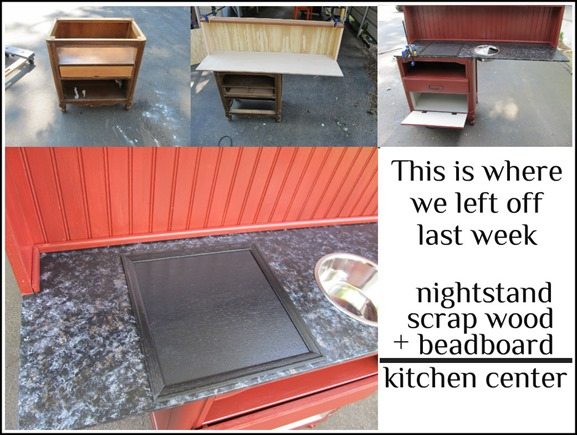
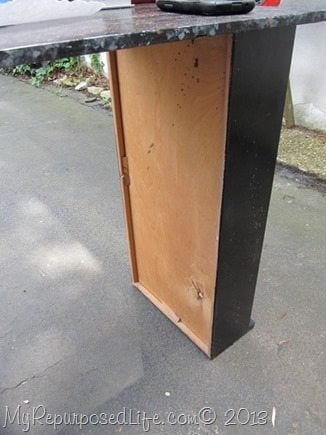
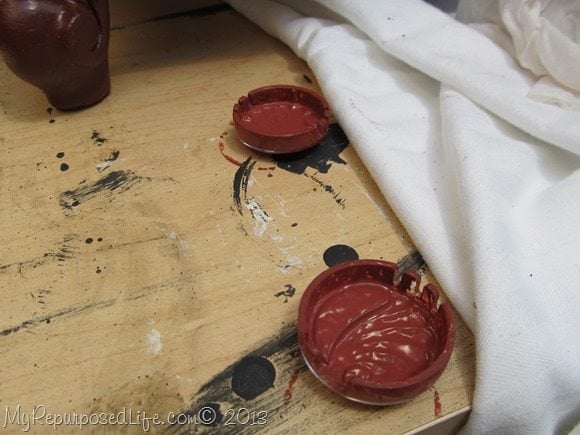
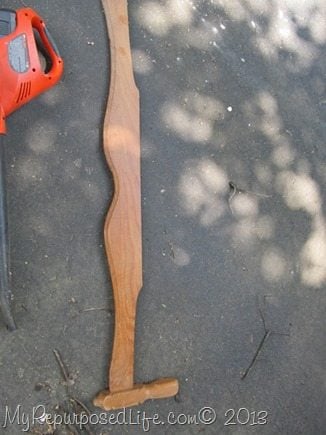
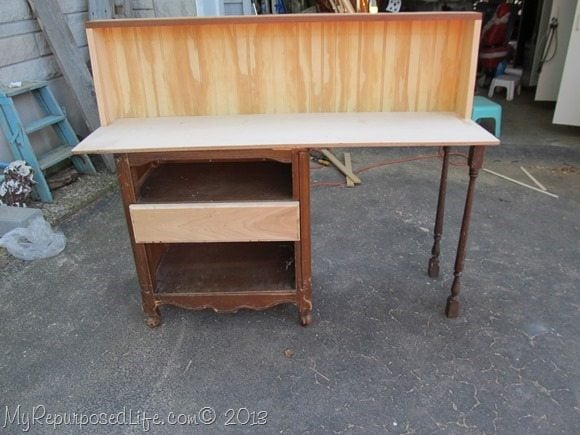
Instead of using the spindles for legs….
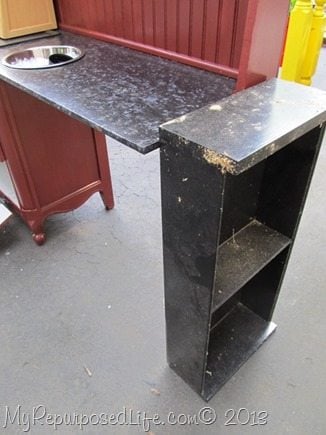
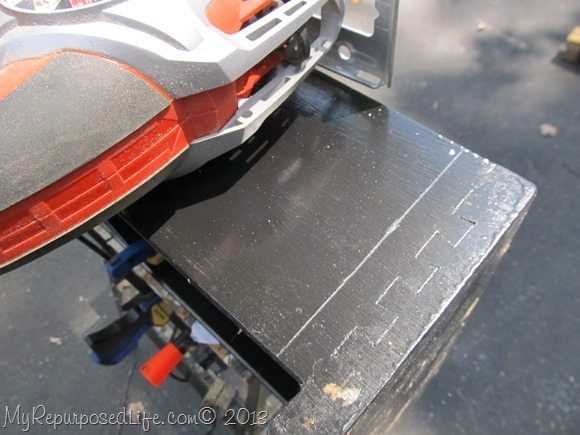
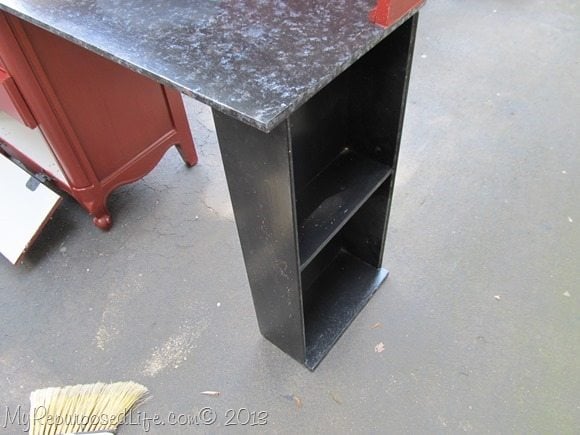
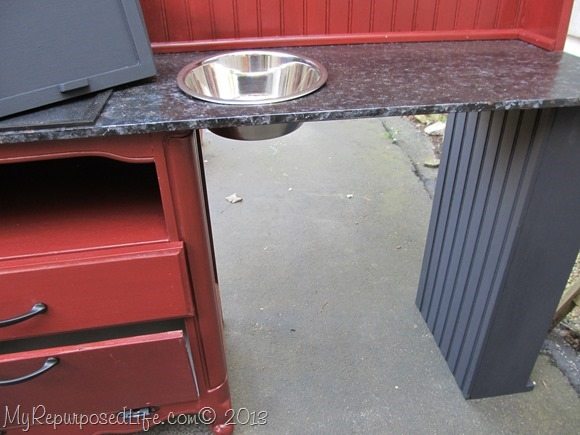
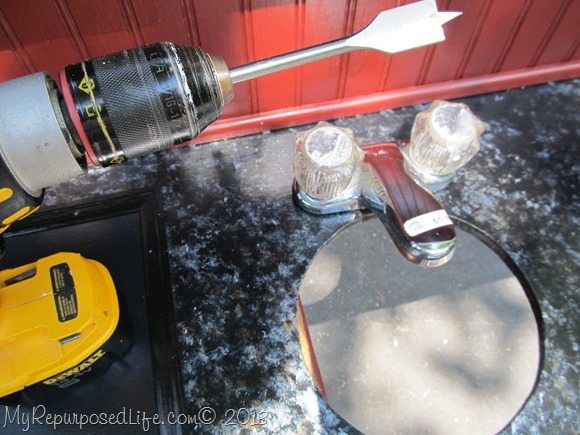
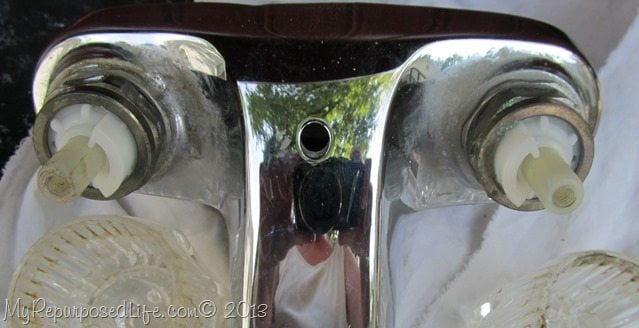
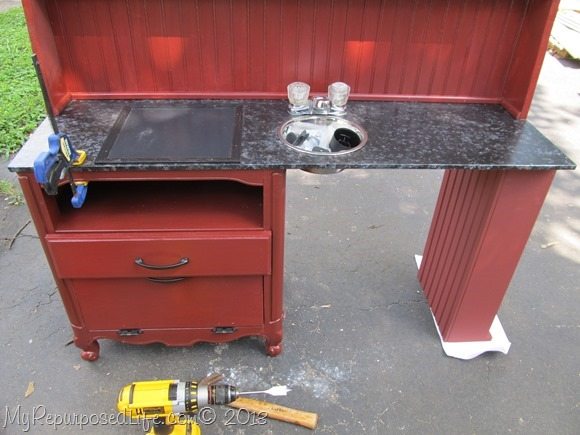
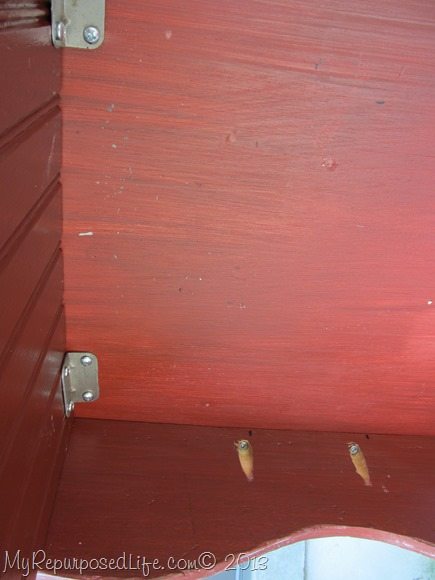
You can see the underneath—how I pulled it all together. I used some brackets (from my stash) and I used my Kreg Jig® R3 to make the pocket holes to attach the skirt to the counter top.
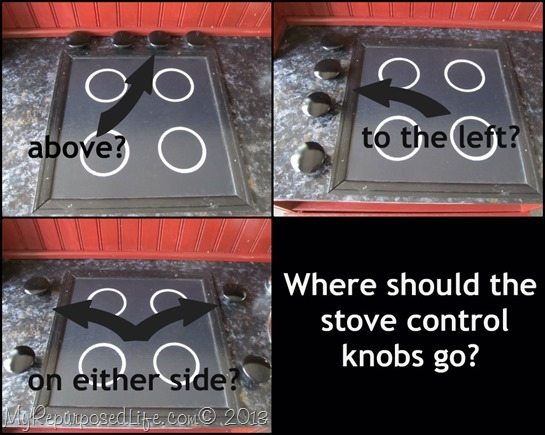
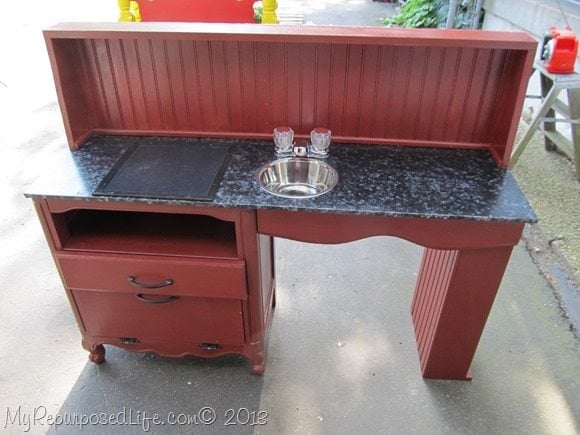
This is where I am now. I still need to install the knobs, touch up some paint, and gather accessories. Maybe do a little faux window?
Sometimes I wonder if I’ll ever get this project done!
gail
part 1 Build a Play Kitchen Center
The reveal of the Play Kitchen Center
Gail Wilson is the author and mastermind behind My Repurposed Life. She is obsessed with finding potential in unexpected places and believes that with a little hard work and imagination, any old thing can be made useful again, including herself!
Gail reinvented herself during a midlife crisis and has found purpose again. She hopes you will find new ideas for old things and pick up a few tools along the way.
Terri
This is coming out ADORABLE...love seeing it all come together, piece by piece!
Cher @ Designs by Studio C
That is the cutest kitchen center I've ever seen!
Cher @ Designs by Studio C
Mindi
The drawer on the side is perfect, extra storage space!
Sylvia
Too cute! The drawer is much more functional than the spindles; looks better, too. After all, there needs to be a shelf for all the "cookbooks". Is there enough room on the front for the knobs?
Lisa E
This is coming out so cute. My vote is to have the knobs to the left.
Pat
Wow... you have certainly put some TLC into this piece and some little chef in the making is going to enjoy getting to play house in this kitchen!
I vote knobs to the left...
Patricia
Holly
I love how this is coming together. Such a cute and unique play kitchen. The details really make it.