Upholstering caned chairs
As an Amazon Associate, I earn from qualifying purchases.
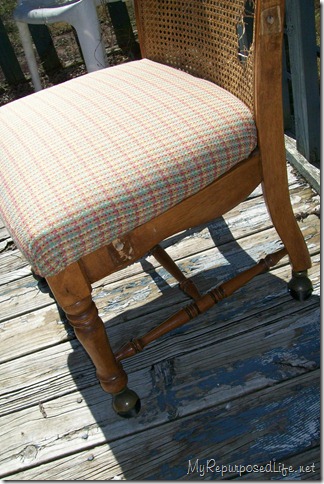
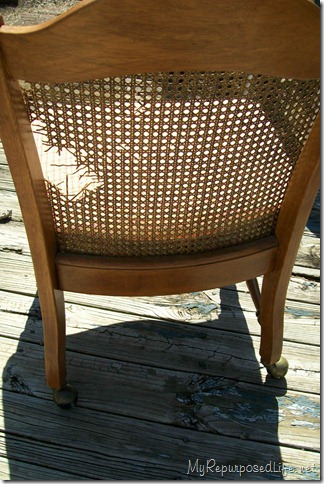
Remember the chair I showed you yesterday? One of Jamie’s recent finds at the Goodwill outlet for $5.00. When I asked Jamie “what is the Goodwill outlet” she replied “it’s where Goodwill things go to die”.
We don’t have an outlet here in Louisville. In fact the store closest to me is the smallest Goodwill I have ever seen. Imagine the size of a convenience store gas station. In this picture you can see that it had arms at one time.
I had thought about making some kind of shrug or cover for the back. I haven’t upholstered many chairs, so I just sort of started on it and kind of “winged” it.
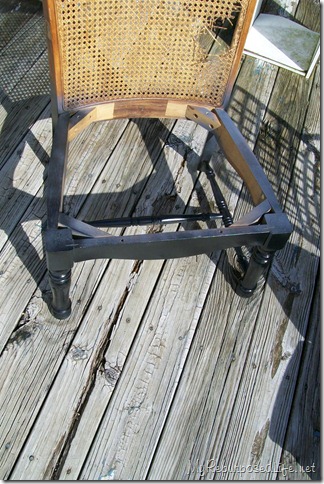
After lightly sanding it, I used some spray paint to primer it.
Upholstering Caned Chairs
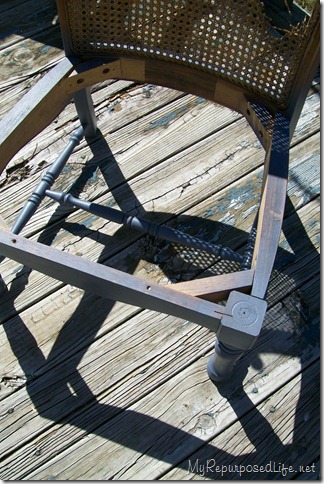
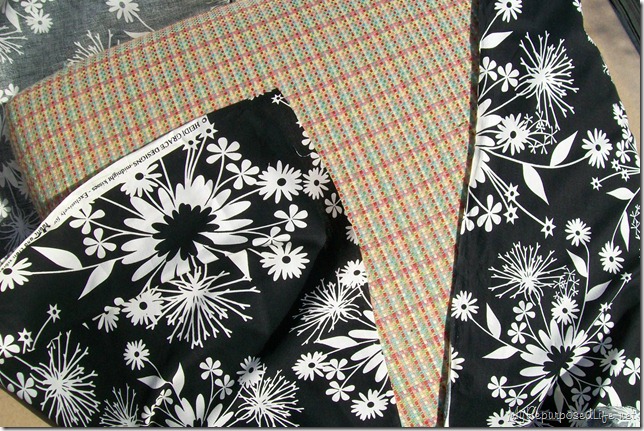
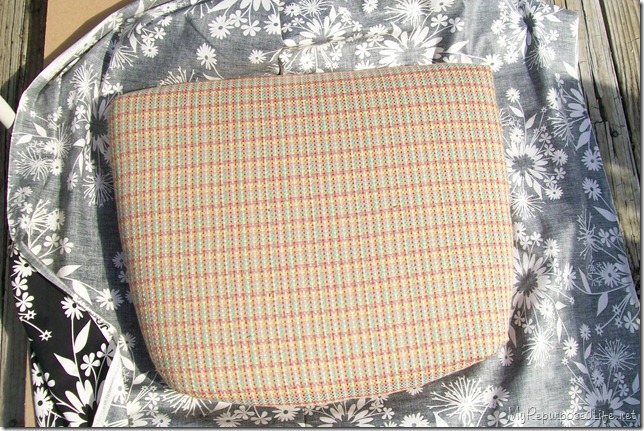
While the paint was drying I worked on recovering the seat.
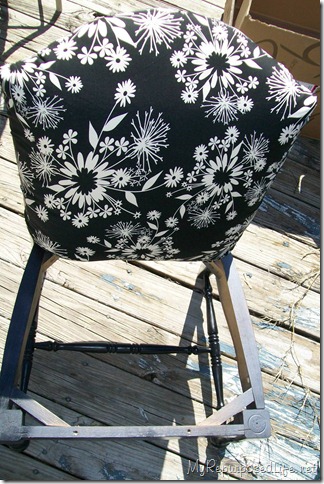
Painted it black.
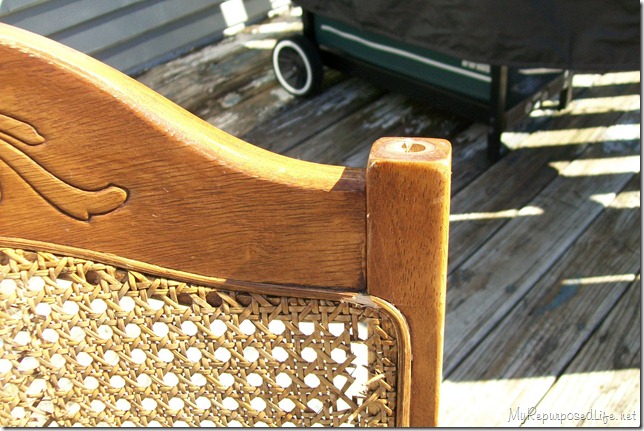
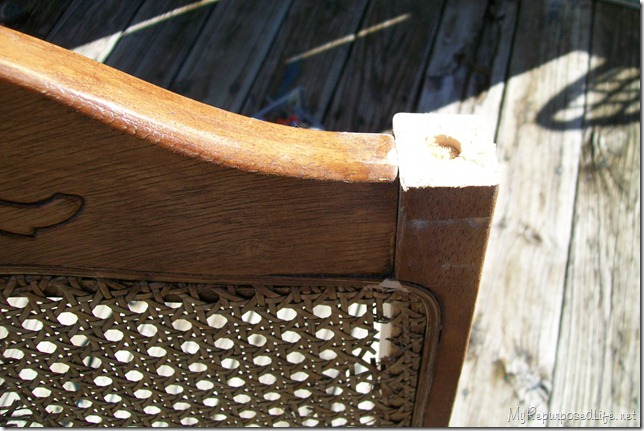
I decided it would be best to remove the finials and take a little “off the top”.
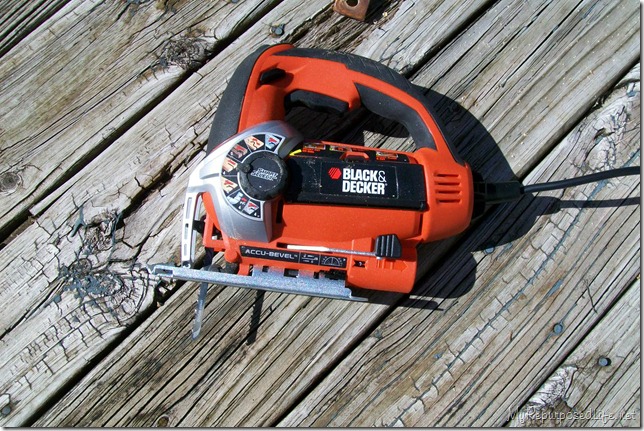
I fell in love with the jigsaw from Black & Decker. Jamie’s dad bought me one for my birthday. However our Home Depot didn’t have the exact one. Mine doesn’t have the line finder on it.
However, I really loved how easy it was to operate to remove that little piece of this chair.
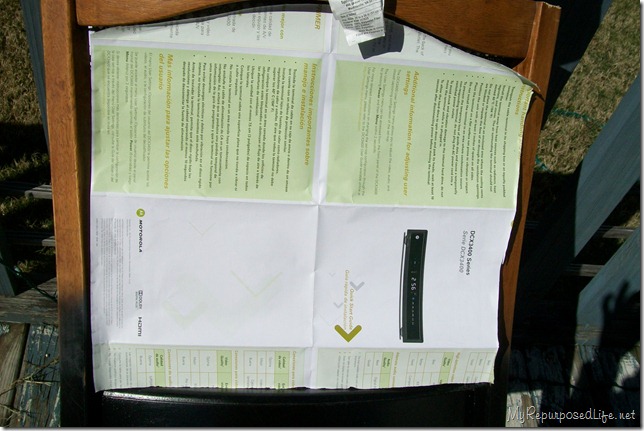
At my house, I have lots of random stuff. At Jamie’s I had to be resourceful! She recently got a new cable box, and this paper is the “quick start” guide. I used it to make a paper pattern of the back.
Jamie recently started selling Pampered Chef. They have awesome boxes! Because some of their products are so heavy, their boxes are extremely durable. Jamie had many boxes set aside to recycle, so I had a lot to choose from.
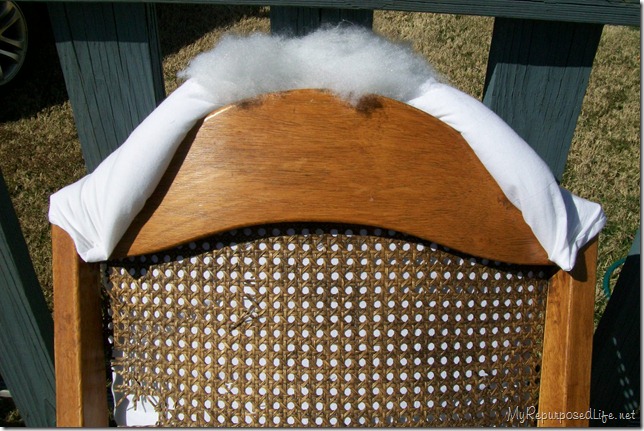
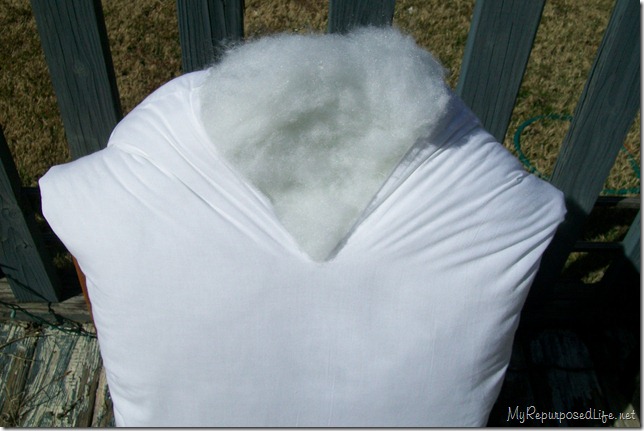
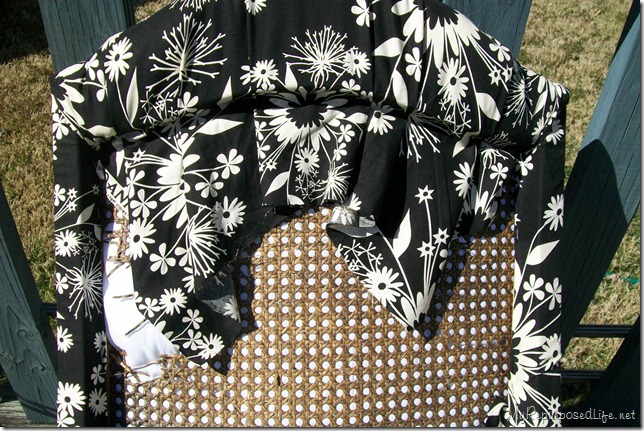
Jamie had purchased some batting for this project, but while I was staying in the guest room, I noticed several bed pillows strewn around. I stapled the pillow to the chair.
I gave it a new “neckline” in order to spread the “fluff” all the way to the top edges of the chair back.
I used my staple gun to attach the fabric.
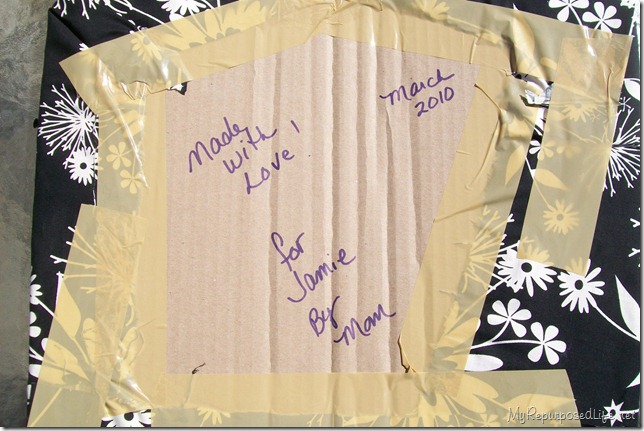
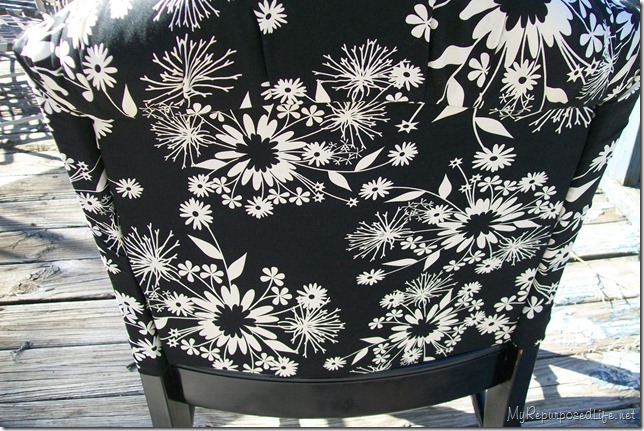
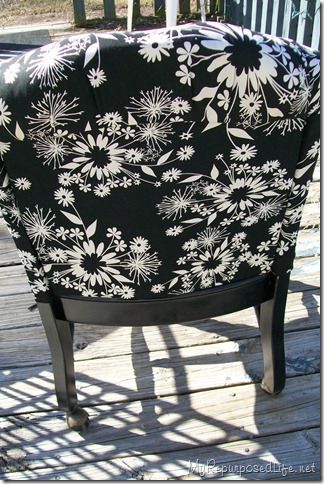
I covered the cardboard with the fabric. I used my Elmer’s Spay Adhesive to attach the front of the cardboard. On the back I used some E6000 and tape. As you can see, I left my mark for anyone else who may tackle this in the future. The seat of this chair had already been covered twice before.
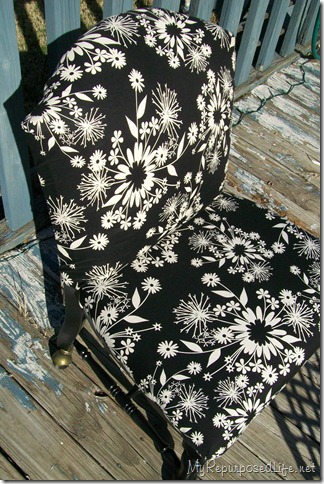
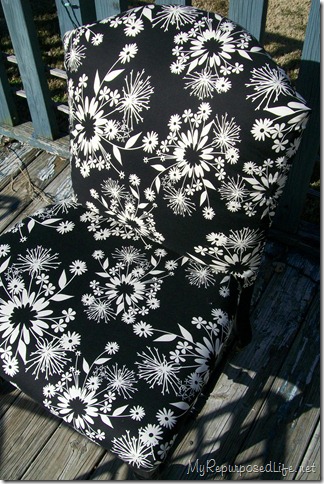
Looking pretty good eh? Especially for someone who has no real clue what she’s doing!
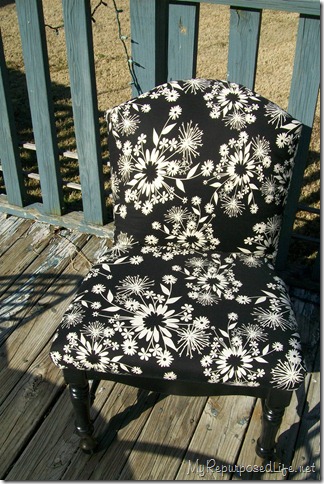
Voila!
Ain’t she pretty?
I used Gorilla glue to glue the cardboard in.
It’s going to look great in Jamie’s office/sewing room!
gail
get more chair ideas here:
[categorythumbnaillist 102]



What a great idea! We aquired some cane back chairs that came with a dining table off of craigslist and now I know what to do with them! Could you let me know about how much fabric you used for this project? Did you use upholstry fabric or just plain cotton? Just wondering. Thanks!
what a wonderful idea thanks i have an old chair i did not no what to do with it….
Wow! I love this chair. I have an old cane chair that I wouldn’t let my hubby throw out (haha). Now I know what to do with it!
love love love this one Gail! YOu and Sarah are so the upholstery QUeENS!
I love this idea! I’ve been wanting to find a chair like this. Now I know what to do if I can’t find the one I want to reupholster. You have just given me some great ideas. Thanks!
I love this idea!! I have cane back chairs where the cane has completely come off and was looking for a way to recover them…i’m very happy i found this! One question though….any ideas of how to make the back a little stronger than cardboard? I basically have bones to work with lol
Thanks!!
WOW!! This is major surgery! The outcome is outstanding. What a beauty. 🙂
Donna
Awesome makeover! Thanks for letting us know how you did it! Have a nice day! http://lafeshiddentreasures.blogspot.com/
You get a big round of applause from me on that one. I’m not sure I would’ve tackled a piece like that, although it had some good things going for it. You made it look totally fabulous. Great work!
just beautiful. I’m gathering so much inspiration today!
Wow you sure did repurpose that chair! From trash to treasure… thanks for linkin up again to POPP.
Wow! I cannot believe how you transformed this chair. It is gorgeous now. Who would think that it used to be real ugly. You are good!…Christine
This is totally awesome! I love it!
love that sooooo much!
who knew!!
you made it look so easy!
i am for sure a new follower! you rock!
michelle…xoxo
http://missbblogs.blogspot.com/
You sure look like you know what you’re doing to me! Lurv the chair!
Gorgeous! Great fabric choice! 🙂
Love the fabric! Great job!
Thanks for linking up Gail. I am looking for a broken cane chair when I go thrifting tomorrow. Only junkers would LOOK for broken stuff!
Oh my, that is fabulous. I have seen so many of those chairs and now that I have inspiration on what to do with one, I bet I have a hard time finding one now! lol
Thanks for sharing, that was awesome!! Great post!!! I am your newest follower!
Bonnie
http://creatingahouseofgrace.blogspot.com
WOW that is all I can say. WOW.
tammy
pretty good? NO!! It’s AMAZING!!
WOW!!!!! It looks brand new!
I want to recover my kitchen chairs, but upholstering is something that scares the heck outta me!
Great job! I have one over on my blog we re-did.
Following you over from The Shabby Chic Cottage. I am a follower!
Please stop by!
http://extremepersonalmeasures.blogspot.com/
Wow guys were really able to see the potential in this guy! It looks great!
Chelsea
What an amazing transformation!
Love this chair…great fabric, and great idea to recover the back the way you did – very clever!
That looks amazing. Great job!
Wow, what an amazing transformation! And I love how you left your “mark” so that if anyone decides to recover it in the future they’ll have a little peek into the chair’s history!
Kat 🙂
OM goodness Gail–what a great job you did and a great tutorial–I am remembering this. And how sweet to write a love note inside.
Great idea to cover the back! We see these types of chairs madeover all over blogland, but I love how you did it!
I love chairs and this is wonderfull!!!
Wow! That is beautiful! I’ve never heard of the Goodwill Outlet store, wish we had one. Love the fabric you used!
I’m visiting from Tip Junkie!
~Liz
This is quite possibly the best chair redo I’ve ever seen. Awesome. Great work!
I think this chair redo is awesome.Trish
Oh my word! You worked some magic on that baby!! Way to go – looks amazing. xoxo
Gail this is so Great! I think I start every comment like that to you don’t I? Seriously, it’s great and I love that you left your mark on it! The last chair that I recovered had a mark left on it too, to bad it was left by a wickedly destructive cat….
🙂
That turned out awesome…love how you put all the info on the inside too….great idea!!!
What a outstanding job you did here on this GW chair…luv the fabric! Come by and enter my CASH GIVEAWAY…it ends 3/10!
Blessings,
Linda
That can’t be the same chair!!!! Wow! You did an amazing job! What a transformation.
That chair turned out so neat!
I love the re-using of all the stuff. The pillow, the cardboard, the chair…some people just wouldn’t have bothered with it. You turned it into a great piece of furniture.
I’m loading up the truck and coming to your house.
You really had vision for this piece! I would have painted the cane black, recovered the seat and called it a day 😉
That fabric you chose is wonderful.
Oh my gosh! That’s awesome! What a great redo!
W O W !!! This chair is gorgeous! It reminds me of the armless chairs that PB use to carry, just a smaller version. Great revamping and upholstering.
~judi 😉
the1829farmhouse.blogspot.com
Gorgeous redo!
The Goodwill outlet is actually where things go BEFORE GW SELLS the products to third-world countries. Yeah, sells.
CraftTeaLady (aka Gina)
Wow Gail you aced that one… it looks fabulous… I am in love with your fabric… I am sure Jamie is going to LOVE it… great job.
Hugs, Deb
That chair looks great, and I absolutely LOVE the fabric you chose. I would be so afraid to tackle something like that – you’re amazing!
Ok…that is just ridiculous…amazing job!
OH my WORD, lady! Are you kidding my right now!?!?! You just blew my mind!
You have some MAD skillz!
Bravo!
I LOVE LOVE LOVE it!
Shelley Smith
houseofsmiths.blogspot.com
Love it! Would never have thought to remove finials. Good job.
That is the best chair redo I’ve seen in a while! Your didn’t just paint it and change the fabric on the seat, you completely transformed it into a fabulous upholstered chair! Bravo! Your tutorial is great, thanks so much!
Cheers!
Tina
HEY! Did you mean Louisville, as in KY? If so, we’re neighbors! 🙂 I live about an hour away from there! :)I LOVE the re-do on the chair!! It looks brand new and beautiful! You’ll have to pop over and see what I got over the weekend. :)have a blessed day!
You never cease to amaze me with all your creativity! I love this chair. You could certainly have your own show on TV to teach the rest of us your techniques. You always make it look so easy.
You never cease to amaze me with all your creativity! I love this chair. You could certainly have your own show on TV to teach the rest of us your techniques. You always make it look so easy.
This is SO great. I love how fabulous it turned out. No one would ever suspect what it looked like before!! SO CUTE!!
I would love for you to link this to my Spring has Sprung Party on Friday. It fits in SO well!
Oh my gosh I am so jealous! Actually, I was hoping you were going to show how to re-cane the chair or something. Theres a great one for sale on my local Craigslist but the caning is “holy” like this one.Ive been eye-ing the chair for weeks in hopes someone in blogland would show me what I could do with it. Now Im drooling over your transformation and I may have to make a phone call.:)
Sarah
handbagsnpigtails.blogspot.com
PS-I wanna win the giveaway so badly:)
This is GORGEOUS! I’ve been looking for a chair just like that, and it didn’t even occur to me to reupholster the back on a chair like this to get the effect I want! Thanks for the post!
Great blog!!!!
If you like, come back and visit mine: http://albumdeestampillas.blogspot.com
Thanks,
Pablo from Argentina
Gail you made that beautiful! I was wondering how your were going to fix that. I would have been stumped! Nice job with the upholstery.
The note was cute that you left. 🙂
Absolutely fabulous and now I am REALLY sorry I passed on those cane back chairs the other day. Their backs were a bit torn too. Storing this one for future finds-thank you!
Wow! It turned out so beautiful! I never would have thought of covering it with fabric. It looks like a brand new chair. I bet she loves it too!
Hugs,
Lee Laurie
Wow, to cute…you did another great job.
Oh Gail, that is the cutest chair ever!! I don’t know why, but I never would have thought to cover the back like that, and you did such an amazing job! What a special piece – thanks so much for sharing with us!
What an awesome job. Love the fabric choice and Jamie will appreciate all the love you packed in to it. Thanks for sharing.
I always love to see people out there saving something from the landfill and making something beautiful out of it. It is a way for all of us to have a much greener planet. Very nice job on the chair. Keep up the good work.
-Rory-
Wow. That’s beautiful. Fantastic job.
Wow, that looks great! I got a real kick out of the fact that you reversed what I did to my chair. As a matter of fact I pulled a bedpillow and cardboard out of that sucker to reveal the “bones”. Too bad nobody left their calling card in that one, would have been so cool to know who worked on it and when. Awesome fabric choice too!
Awesome, awesome job! You have inspired me to try reupholstering a cheap thrift store find and see how it goes. Thank you for this post!