Various Updates
As an Amazon Associate, I earn from qualifying purchases.
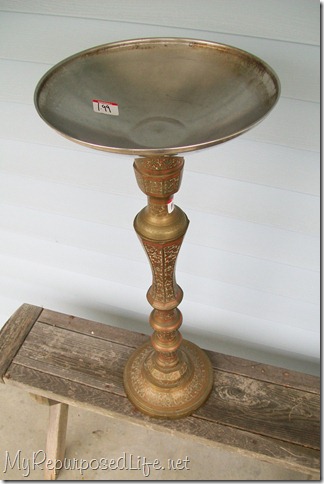
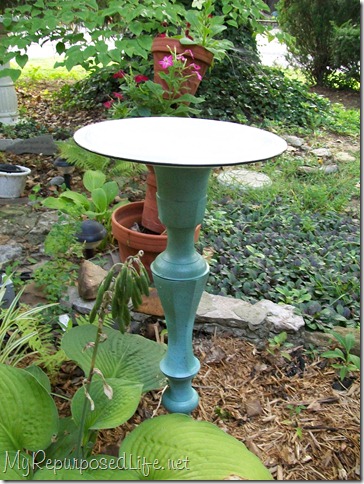
I’m sure you remember this project. I got this giant candlestick and pot lid during the Hop & Shop in Indy with Sarah and Beckie.
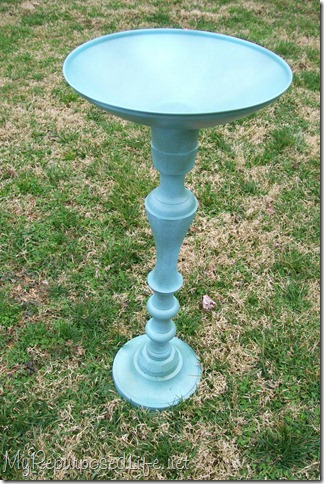
I painted it all up to match and put it in my front flower bed by the fish pond. But! The birds do not like it. I am guessing they think it’s too deep. I tried to put a little something in there for them to land on, but no, they still didn’t visit. I do have a small (very old) concrete birdbath that the birds frequent every day. But I really wanted them to like this one.
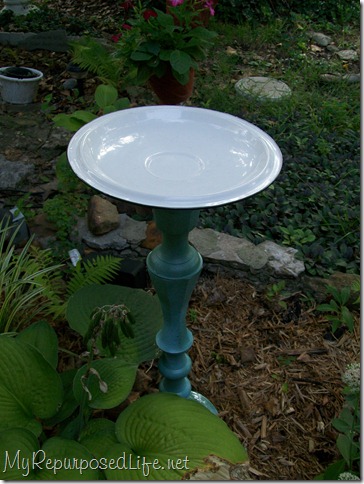
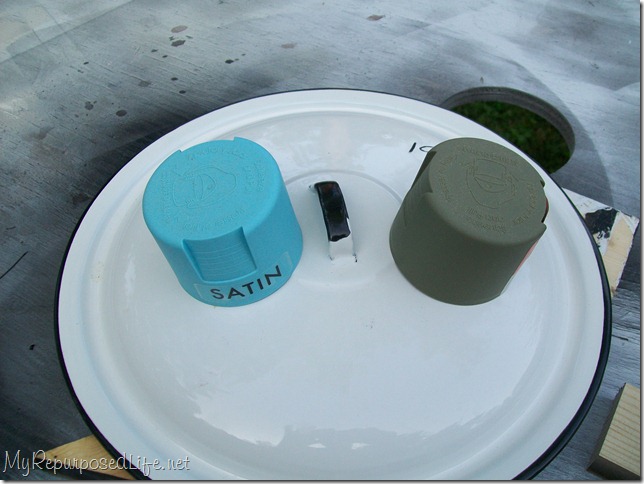
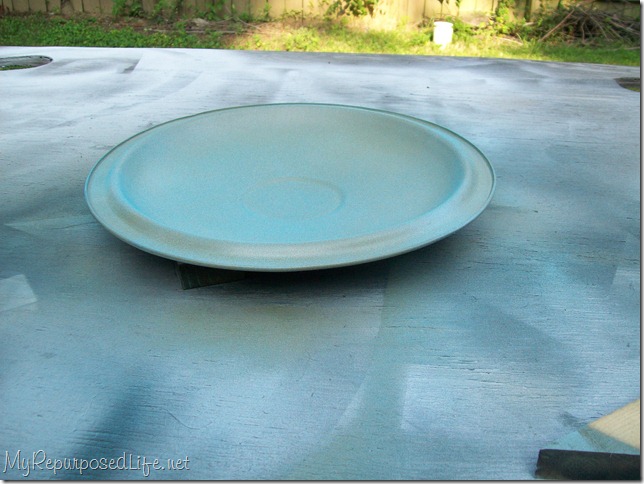
I picked up some enamel lids. I actually had already bought this one when I found the other two at Joey’s booth for 50% off.
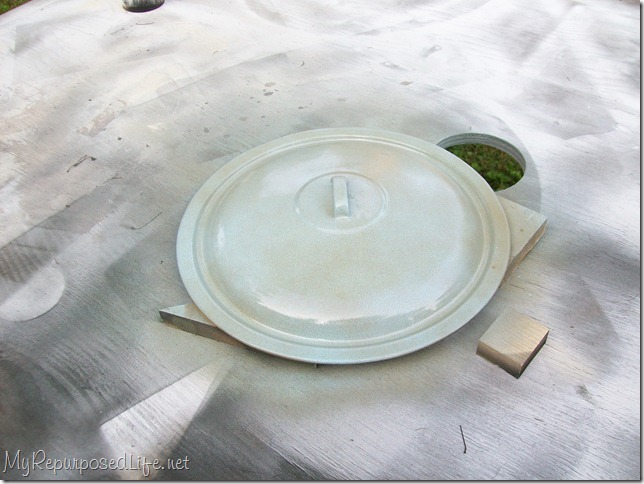
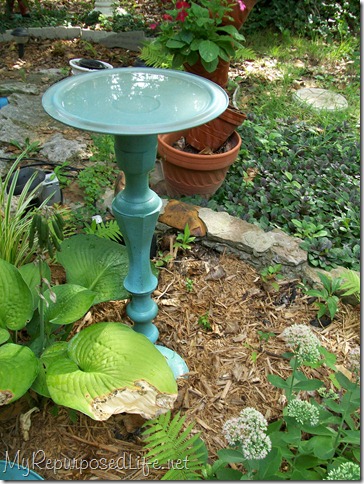
You can tell that it is more shallow.
I used a mixture of the same two colors.
I used the sage first.
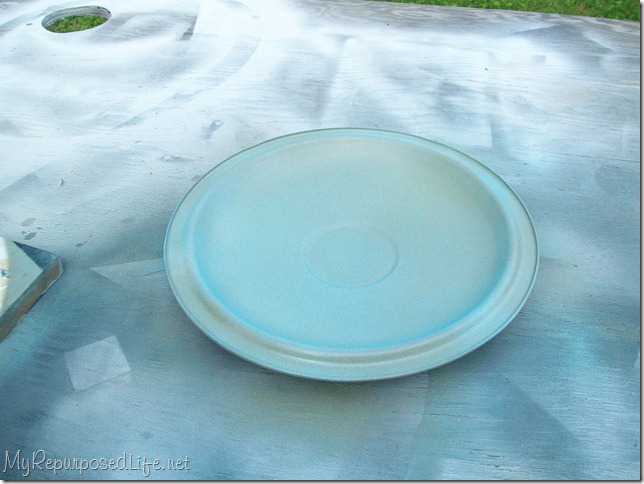
Then I used a dash of the turquoise.
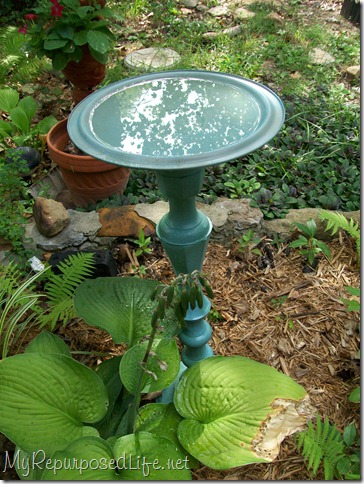
You can tell that it is NOT near as deep as the original one.
Please ignore the dying overgrown vegetation. It’s been so hot that I haven’t taken very good care of the yard.
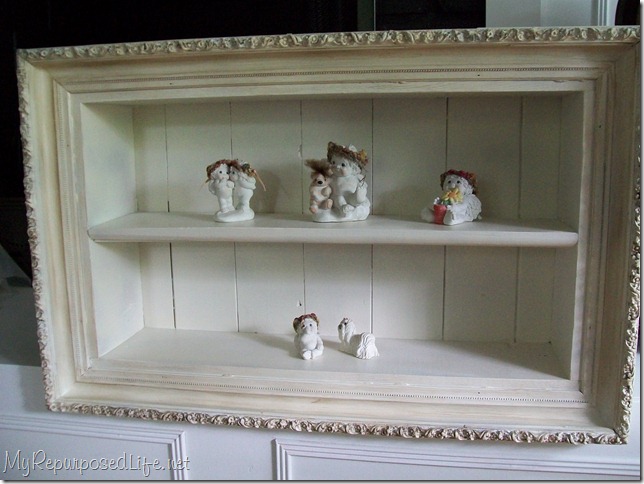
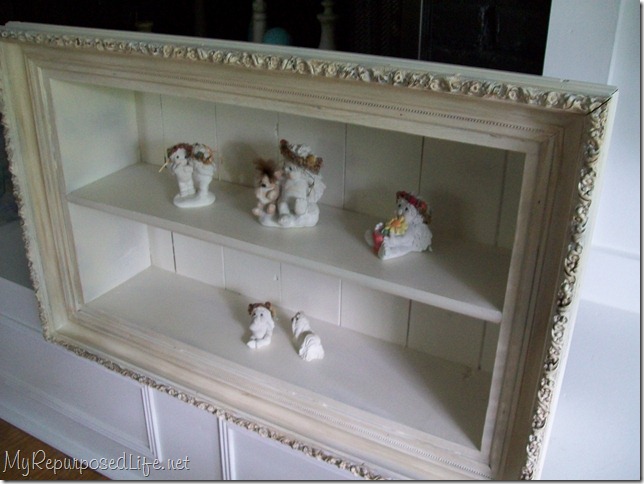
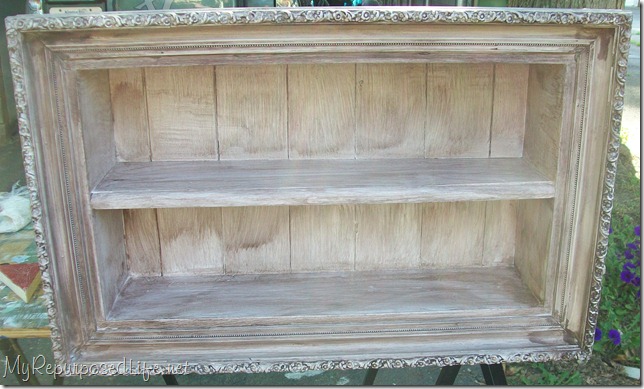 This shadow box is the one I made for my shadow box tutorial. Ya’ll know I was never really happy with the finish. I continue to struggle with paint choices. I know that paint can make or break a project. Check out my first experience with changing my mind on this desk. I’m currently working on a project. I’ve got the primer on it, but can’t decide on a color.
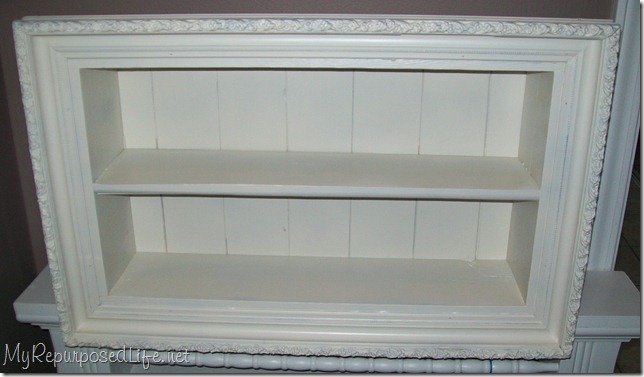 I painted the whole thing with Rustoleum Heirloom White. I sprayed the front and inside, and brushed on the back and outside parts. I was NOT going to try to paint the inside again with a brush.
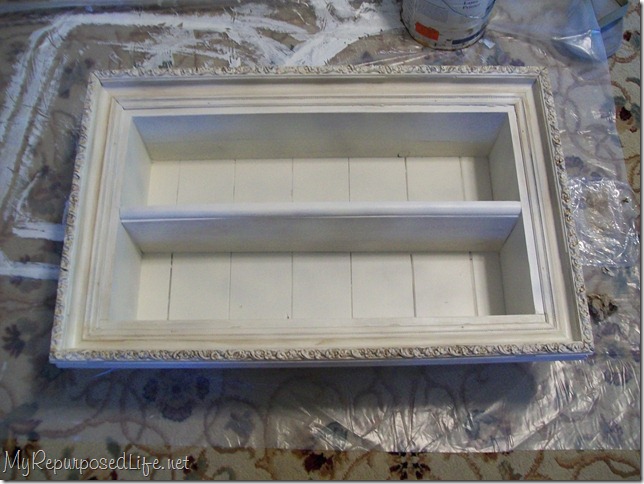 Then I lightly glazed jus the frame, leaving the inside alone.
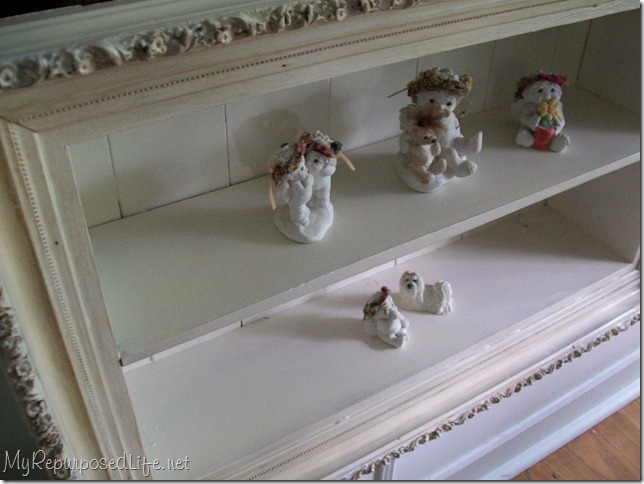 I used some of Jamie’s items to stage it. I don’t have a place to hang it. It will wait in storage until I find a new home for it.
Now about the fabric I printed on:
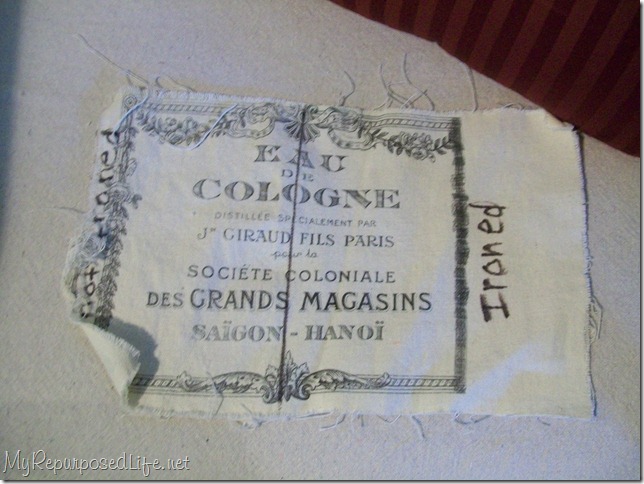
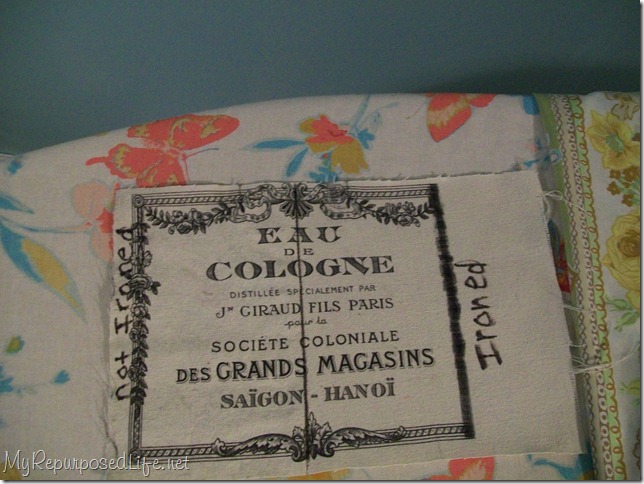 I ironed half of it so that I could wash it as a test.
 I used a very old pillow case to cover the drop cloth.
This is how it came out of the dryer. You can see that the left side is faded. I washed it in a regular cycle in cold water. I also used Fray Check on the ironed side. You can see that it did make a difference.
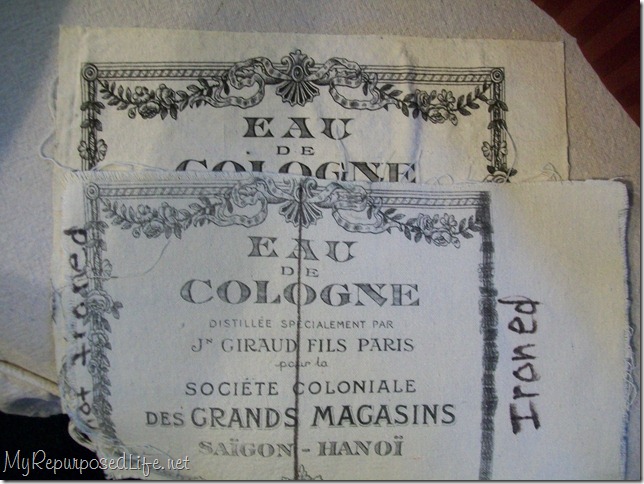
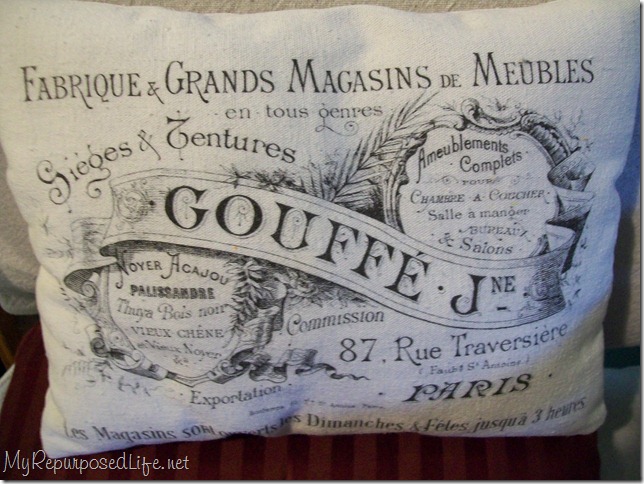
Here it is laying on the other one I printed. I realized that I don’t think I ever washed this drop cloth. I have had it for years and actually use half of it for a “drop cloth”. heheheh See how different the fabric looks? I wonder if it would have “set” better had it been washed prior to printing? If you were to see the ironed part without seeing the other one, I’m not sure you would know that it faded. It just sort of has that aged look to it. So, to sum it up, ironing did help set it. I made a little pillow with one of the images:
gail

I appreciate you reading my blog in your reader and/or via email.
You can reach me at gail@MyRepurposedLife.net

![transformation-thursday-button2[1] transformation-thursday-button2[1]](https://lh4.ggpht.com/_TrDKdmiRg0Q/TG0xHjPkcLI/AAAAAAAAJf4/iZ8sCTsqaLA/transformation-thursday-button2%5B1%5D%5B5%5D.png?imgmax=800)


Check out: http://www.practicallyfunctional.com/diy-custom-printed-fabric-tags/ for the vinegar setting trick. Back in my heyday when tinted jeans were the rage (ooops gave away my age there) all the denim companies set their jeans for vinegar rinses to set the dyes up properly. The cheaper jeans did not and those with cream couches found denim stains permanently etched into the fabric.
You are fantastic! I am an artist and create all things that I can with my own graphics and you have opened up a new world for me. The printed on fabric. And I think the drop cloths are made of canvas some heaver and some lighter. What was the lightness or the heaviness of what you sent through your printer?
Chris,
I can’t really say how light or heavy the drop cloth was. All I can tell you is that I always buy my drop cloths at Home Depot. Good luck, have fun!
gail
Thanks for sharing the printer transfer technique, I am anxious to try this!
Gail et all..
There is a product called Bubble Jet Set and also a wash by the same company. This is a treatment for the fabric that makes the ink jet ink set. I have used it and it works better than not setting. It also depends on the tightness of the fabric weave, composition, brand of ink, ink settings,length of time the ink has set before ironing and/or laundered, type of detergent, etc. So many variables
Ink Jet ink is not formulated to be permanent..not like laser ink that is heat set and has a different chemical make-up. So it is rather surprising when something does make it through the wash etc.
The fabric is soaked in the solution, dried and then it can be fed through the printer. Ironing the pieces of fabric onto the shiny side of freezer paper helps stiffen it up and leaves no sticky residue.
You can get this product at most quilting supply stores.
I hope this helps
ruby t
hello, my ink wash dissolves on my prints on fabric. Do you have a solution please because I’m ironing my motive, nothing to do!
HELP! HELP!
thank you
Elisa
Something I am about to try that I read on the internet. After printing on your fabric, place the printed fabric in white vinegar in a flat pan for 5 minutes. Remove fabric, hand wash to remove vinegar, dry and use how you like This process is supposed to “set” the ink.
Thanks for letting us know Carlton. I appreciate you sharing that with me and my friends.
gail
Did you use an ink jet or laser jet printer when you printed on drop cloth fabric?
I’ve been exploring the vintage label effect myself, love it!: http://www.myhomerocks.com/2012/04/the-vintage-label-effect/
HOWDY! MY INK RUNS IF IT BECOMES WET, CAN I TREAT THE FABRIC ONCE ITS BEEN TREATED? I READ SOME WHERE THAT YOU CAN SPRAY IT WITH VINEGAR? I WAS THINKING IT WOULD RUN IF I SPRAYED IT. DO YOU HAVE ANY SUGGESTIONS? I SEE THAT YOU WASHED IT, I’M WONDERING IF YOU’RE USING A DIFFERENT TYPE OF INK IN YOUR PRINTER. LOVE YOUR IDEAS 🙂
Oh, I love your birdbath! It is my favorite color!
You did a wonderful job on it!
Thank you for sharing~
Leticia
Awesome birdbath. I love the color and the sweet little bed where it lives. So cute.
L.