Thrift Store frame shadow box tutorial
As an Amazon Associate, I earn from qualifying purchases.
In this thrift store frame shadow box tutorial, you will learn some tips and tricks about building a shadow box. But in reality, I am not happy about the paint color and technique.
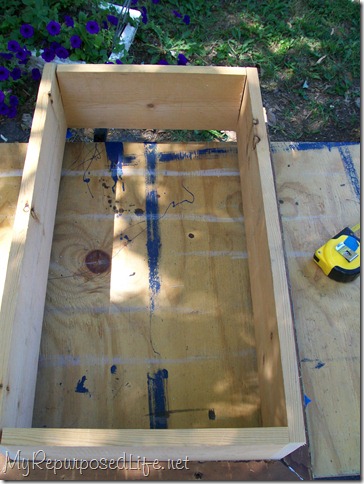
I measured and cut 2 long boards and 2 short boards to fit into the “lip” of the picture frame. The short boards do not measure the height of the frame because you need to subtract the width of the wood. (3/4”)
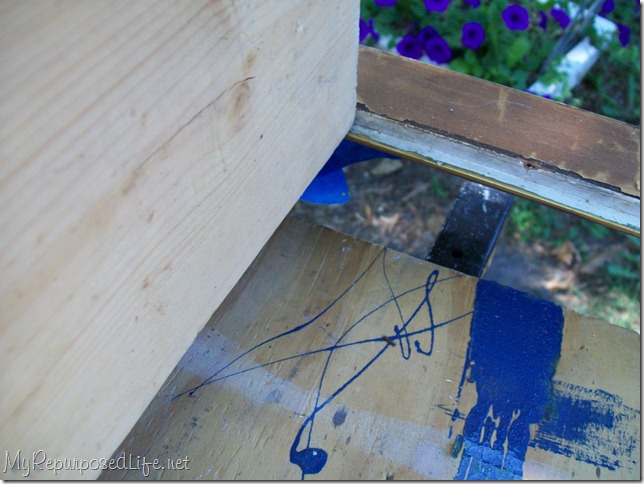
This picture shows how the board sits on the lip. It is one of the long boards that goes all the way to the edge. The shorter boards then go “inside” the longer boards.
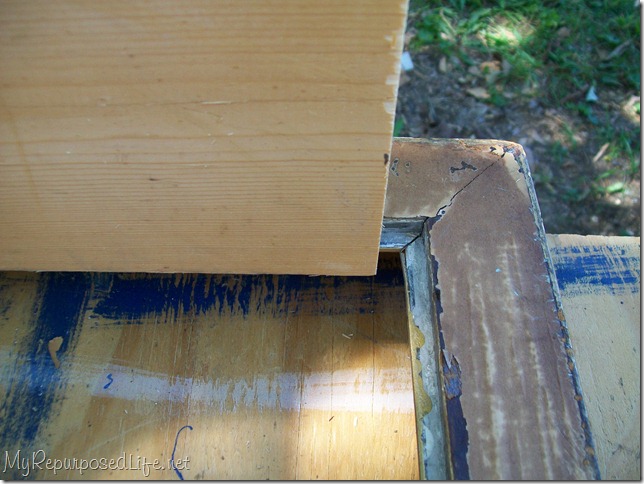
This shows how the short board does not go all the way to the edge.
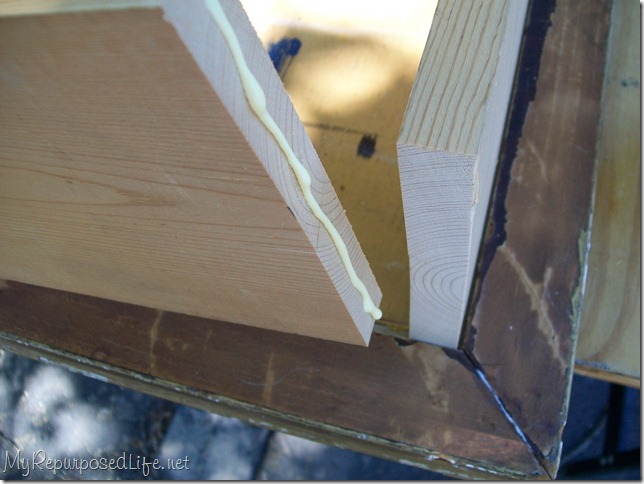
I used wood glue and nails to build my box.
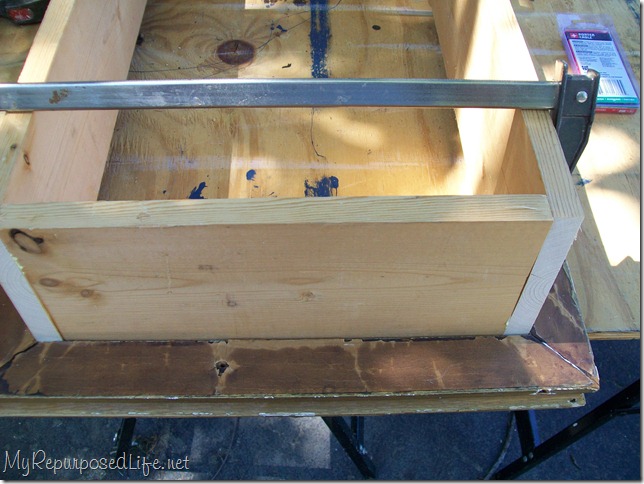
Using bar clamps, I clamped the boards inside the frame while I used the nail gun to fasten the boards together.
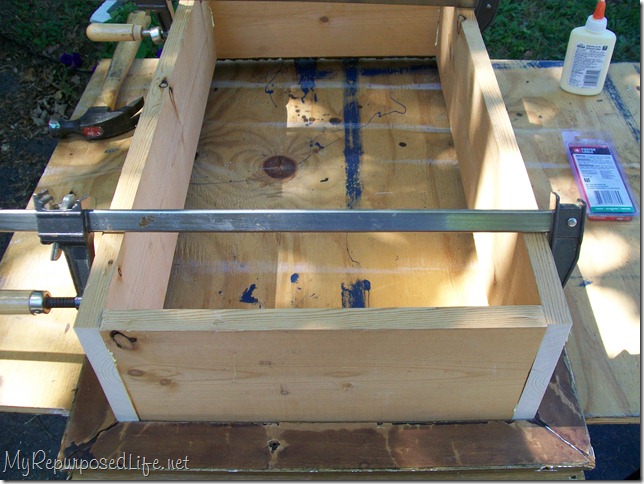
At this point the box is being built but not attached to the frame yet.
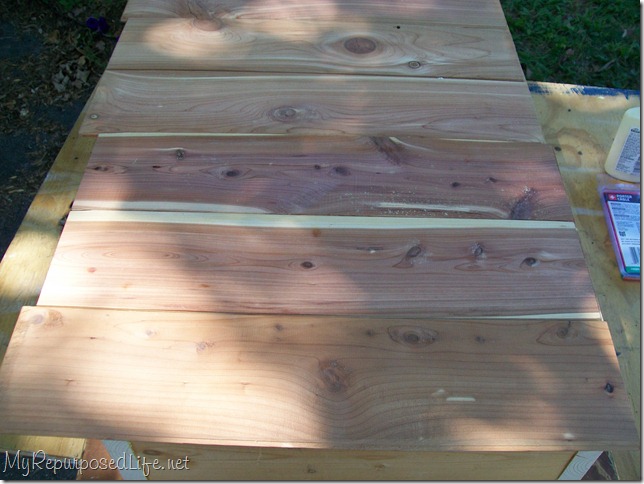
I didn’t have any luan or bead board so I used some scrap cedar tongue and groove pieces that my sister had given me. The pieces were short, so there was very little waste.
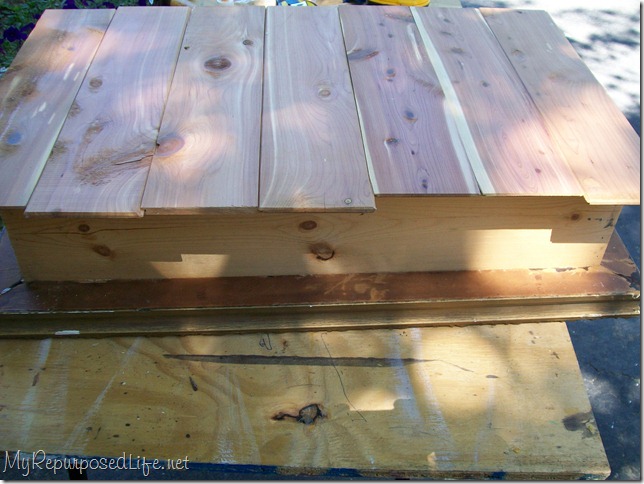
Just enough boards, but they need to be trimmed up.
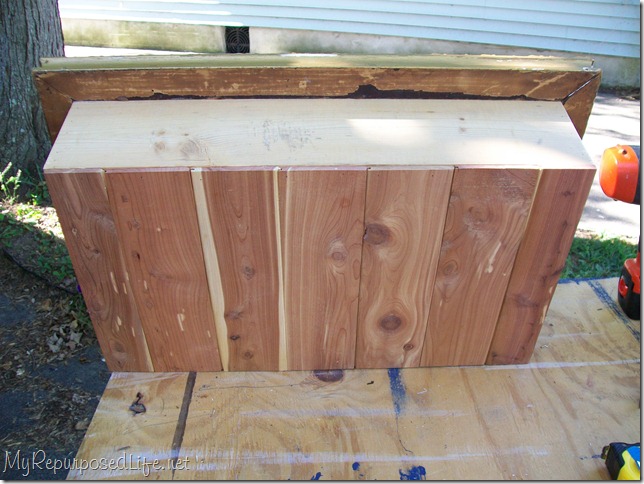
I trimmed them to fit. I also ripped the tongue off of one board and the groove off of another. Those boards were used for the far left and far right boards. While looking at my shadow box from the front, I wanted the “seams” to look uniform. In other words, had I only ripped one of the boards, say on the far left … that last board would have been very narrow in width.
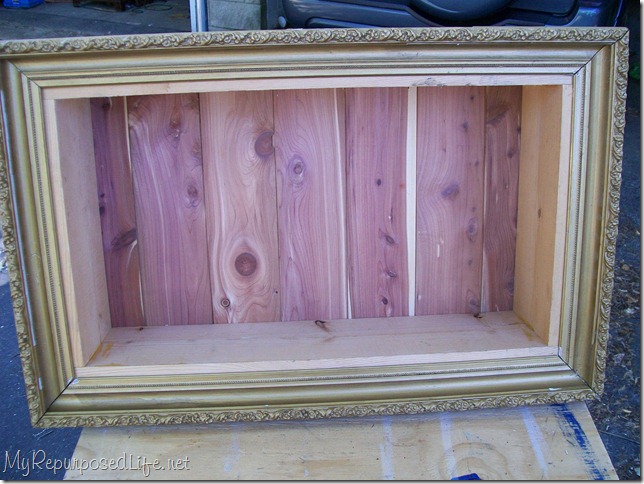
Dry fit to make sure everything is looking okay and fitting okay.
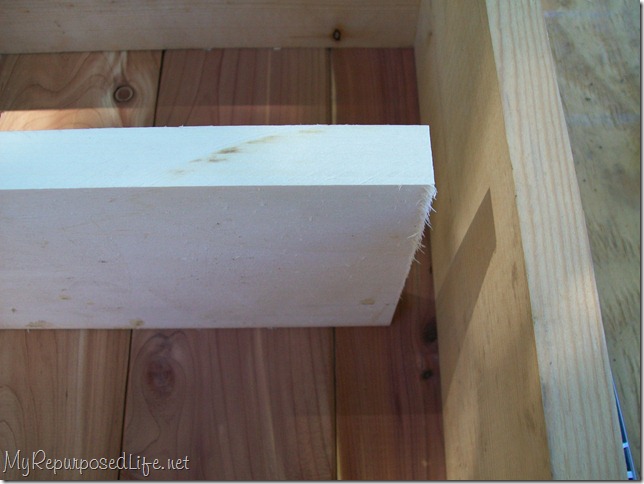
Time for the middle shelf. Measure twice, cut once? Yep I did that. However when I went to the saw I was thinking something like 22 1/2. Because I was thinking ONE half, I ended up cutting it 21 1/2. It’s difficult to explain how my brain works. As soon as I put it in the box, I knew exactly “why” I measured wrong.
I have a little number ocd problem, where I repeat numbers in my head. So I knew I had the right measurement. Scary, huh? You didn’t know I had this ocd problem? It revolves all around numbers. I count a lot of things, window panes, door panels, etc. Oh yeah, and I like them all to be even numbers. I don’t like when I count and the final number is an odd number. Too much information? yeah, probably!
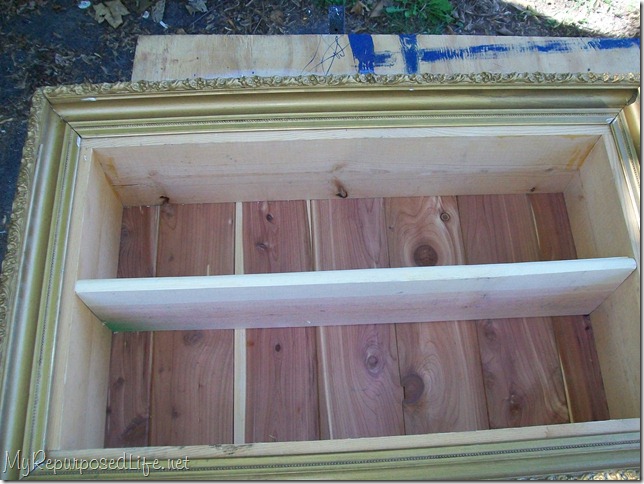
Cut another board, fit perfectly this time. It is a board I had practiced routing (is that a word?) Notice the round over edge. The thrift store frame shadow box is coming together.
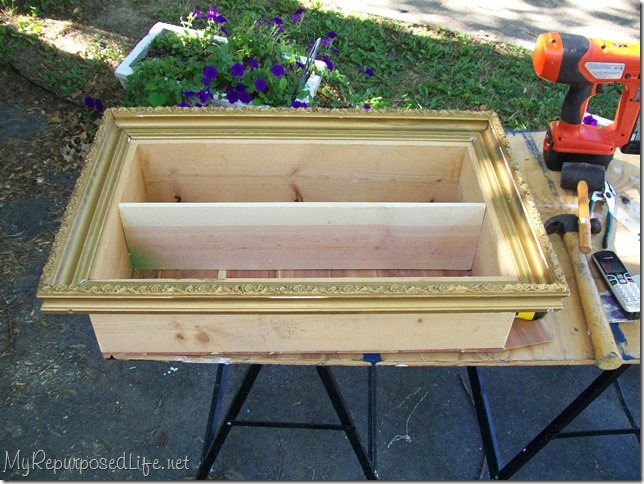
At this point the box is still not attached to the frame.
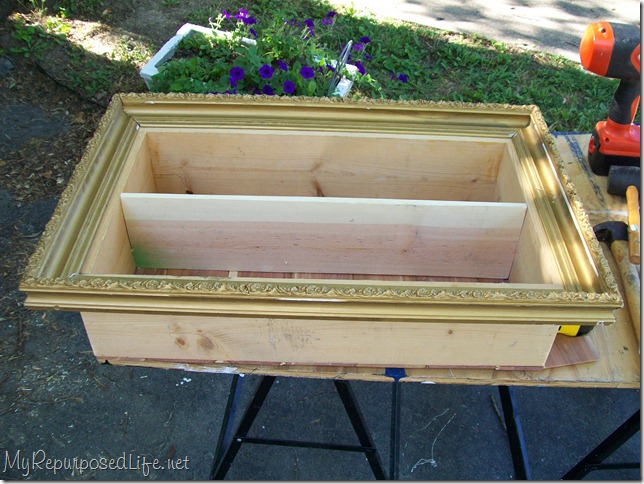
Painter’s caulk was used to fill in the cracks at the corners of the thrift store frame shadow box.
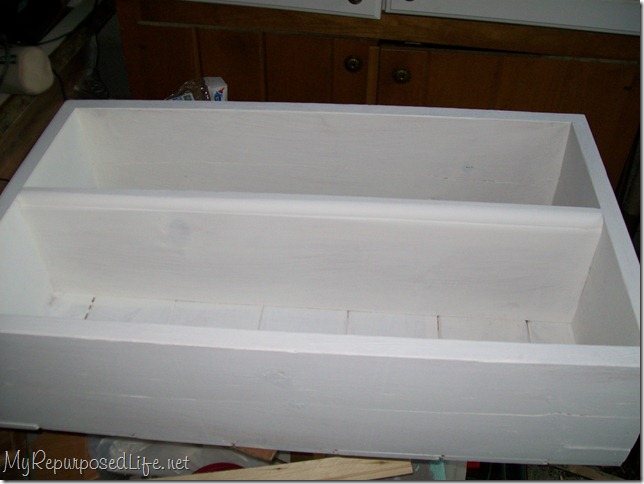
I painted the two pieces separately. I actually used Rustoleum Heirloom white on both pieces.So, I spray painted the frame and brushed the paint on the box. (after painting 2 coats of primer on the box)
Apparently I didn’t take any pictures after I painted it and attached the frame to the box.
To attach the frame to the box, I used Gorilla glue and my nail gun. The frame needs to be secure on the box, however the weight will actually be on the box itself, not the frame.
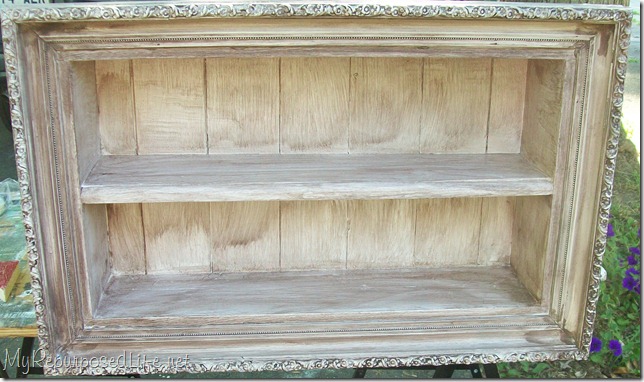
After glazing. I’m not happy with the thrift store frame shadow box. It was very difficult to wipe the glaze going north and south on the tongue and groove without messing up the east and west direction on the shelf.
This post is mostly for the tutorial of building the shadow box, it is NOT a painting tutorial. 🙂
gail
Related Content: Picture Frame Ideas For Home Decor and More

Awesome Carolyn! You can do this!
see these other ideas–I’ve made several shadow boxes. 🙂
https://www.myrepurposedlife.com/?s=Shadow+box
gail
Awesome Carolyn! You can do this!
see these other ideas–I’ve made several shadow boxes. 🙂
https://www.myrepurposedlife.com/?s=Shadow+box
gail
Awesome Carolyn! You can do this!
see these other ideas–I’ve made several shadow boxes. 🙂
https://www.myrepurposedlife.com/?s=Shadow+box
gail
Awesome Carolyn! You can do this!
see these other ideas–I’ve made several shadow boxes. 🙂
https://www.myrepurposedlife.com/?s=Shadow+box
gail
Awesome Carolyn! You can do this!
see these other ideas–I’ve made several shadow boxes. 🙂
https://www.myrepurposedlife.com/?s=Shadow+box
gail
Awesome Carolyn! You can do this!
see these other ideas–I’ve made several shadow boxes. 🙂
https://www.myrepurposedlife.com/?s=Shadow+box
gail
Awesome Carolyn! You can do this!
see these other ideas–I’ve made several shadow boxes. 🙂
https://www.myrepurposedlife.com/?s=Shadow+box
gail
Awesome Carolyn! You can do this!
see these other ideas–I’ve made several shadow boxes. 🙂
https://www.myrepurposedlife.com/?s=Shadow+box
gail
Awesome Carolyn! You can do this!
see these other ideas–I’ve made several shadow boxes. 🙂
https://www.myrepurposedlife.com/?s=Shadow+box
gail