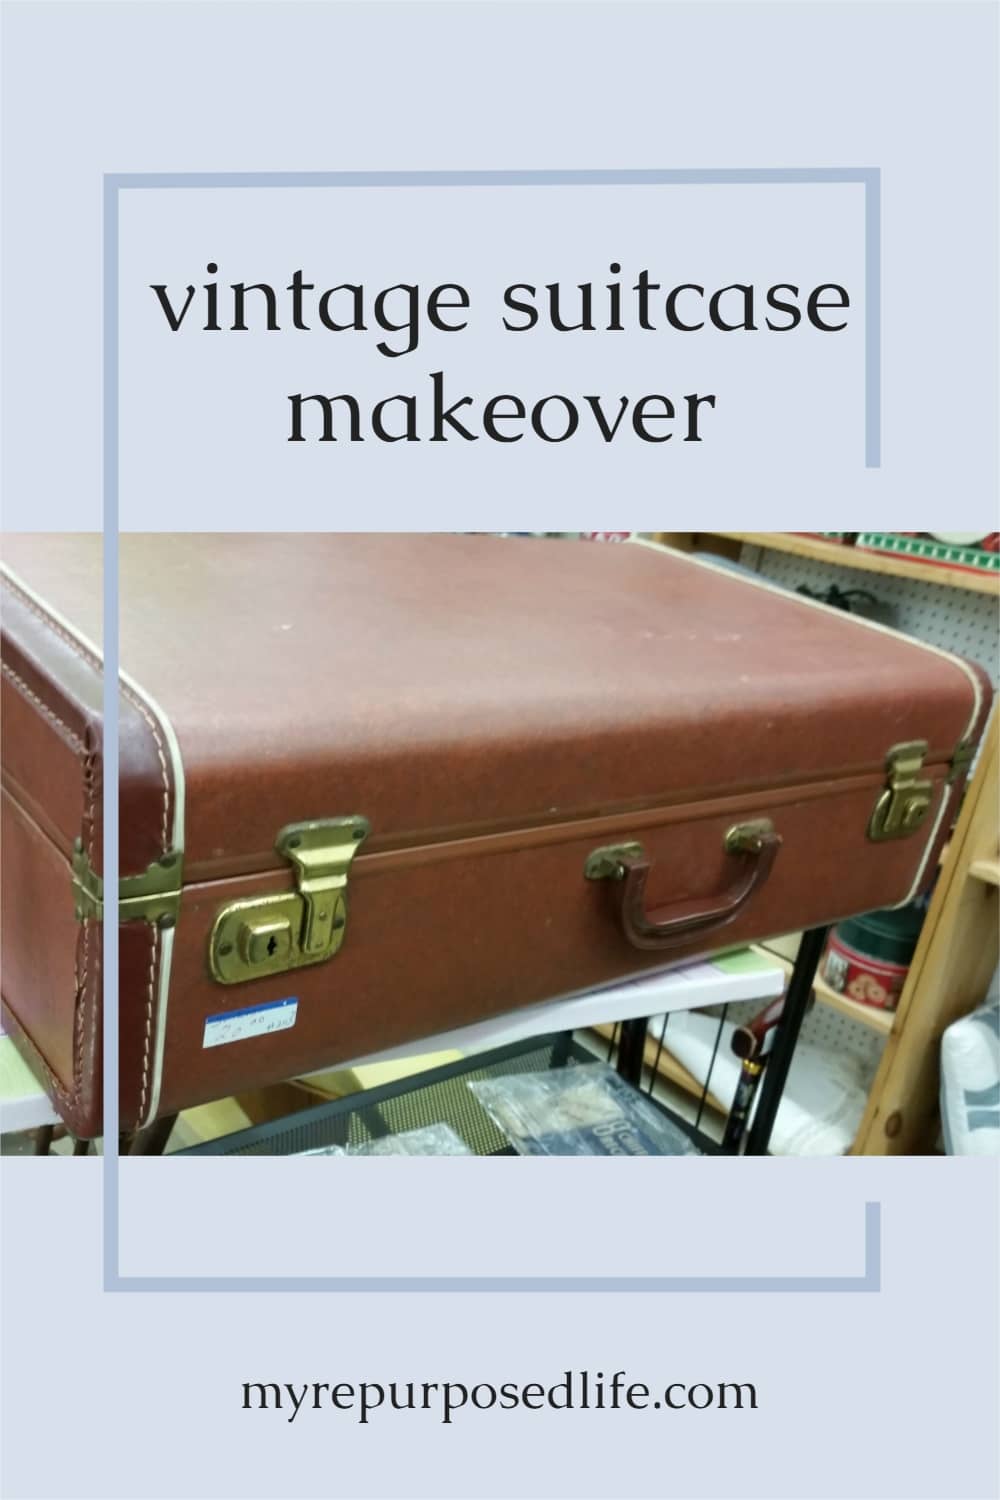
How to Line a Suitcase | Vintage Suitcase Makeover
As an Amazon Associate, I earn from qualifying purchases.
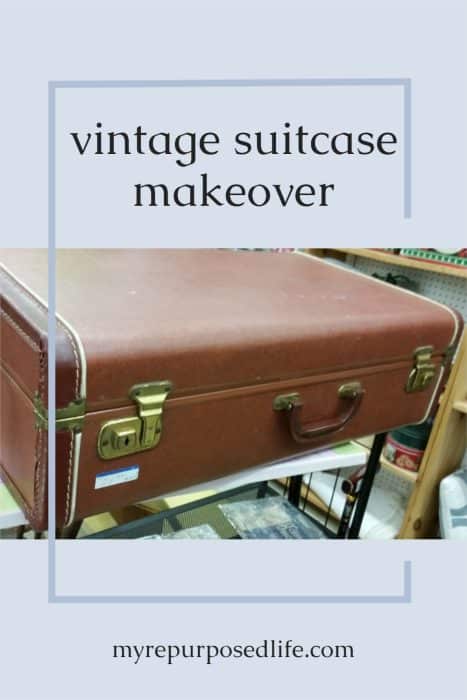
There’s something so charming about old suitcases — the kind with sturdy handles, classic shapes, and a little bit of history built into every scuff mark. When I found this vintage suitcase, I knew it had great potential with just a little love. With a few simple updates, I was able to give it a fresh, new look while still preserving its old-world charm. If you’ve ever wanted to try a vintage suitcase makeover, this easy project is a fun way to bring new life to an old find!
Vintage Suitcase Makeover

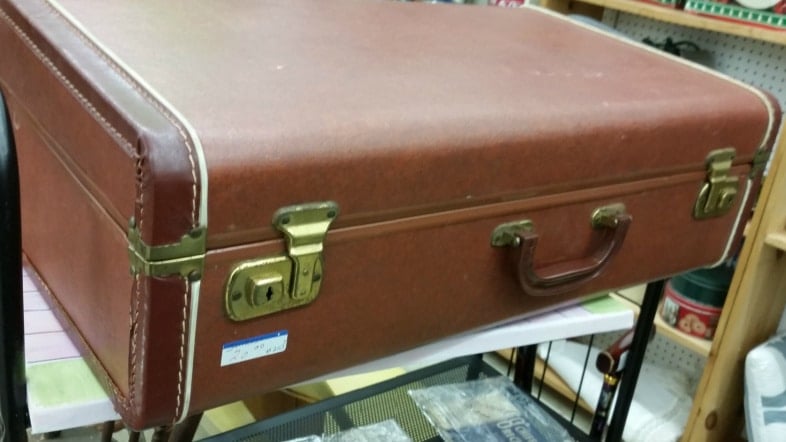
I got a great deal on this old suitcase over a year ago. It’s been hanging around all this time, just waiting for its makeover. It was marked $20, but this booth was 1/2 off. Did you know my usual limit is $5?
Supplies and materials needed to re-line a vintage suitcase
- Suitcase
- Putty Knife
- Sanding Sponge
- Scissors (my favorite)
- Craft/Wrapping Paper
- Paint
- Homeright Finish Max (optional)
- Fabric (the fabric in this project was purchased at Walmart)
- Spray Adhesive
- Fabric Glue (optional)
- Hot Glue Gun
- Hot Glue
Jump to: Part 1 How To Make A Vintage Suitcase Lining (video tutorial)
Jump to: How To Line A Vintage Suitcase (video tutorial)
Carefully Remove the Old Lining of the Luggage
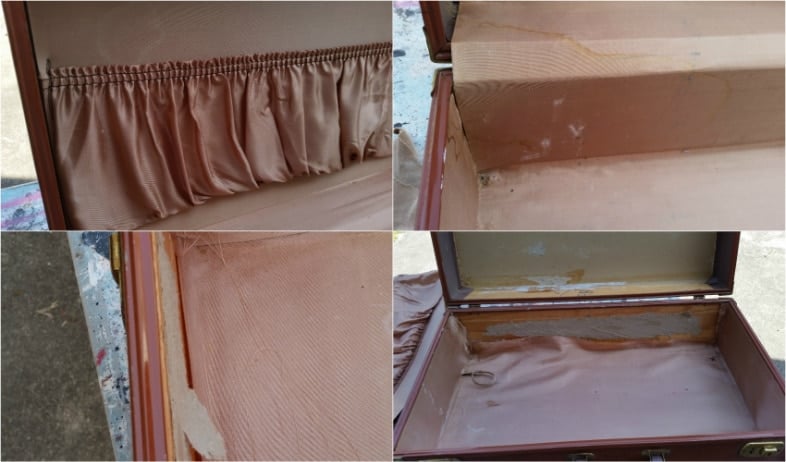
Carefully remove the lining one piece at a time, saving each piece to create a pattern. Taking pictures along the way may help you to remember how to reassemble your lining. Of course, you can go by memory, but not me!
Scrape and Sand Cardboard

The smoother your surface, the nicer your new lining will look. Scrape away old glue and cardboard. Use a sanding sponge to get the smoothest surface. So, would you believe it? The keys to this suitcase were UNDER the lining!
Prime Your Vintage Suitcase Inside and Out
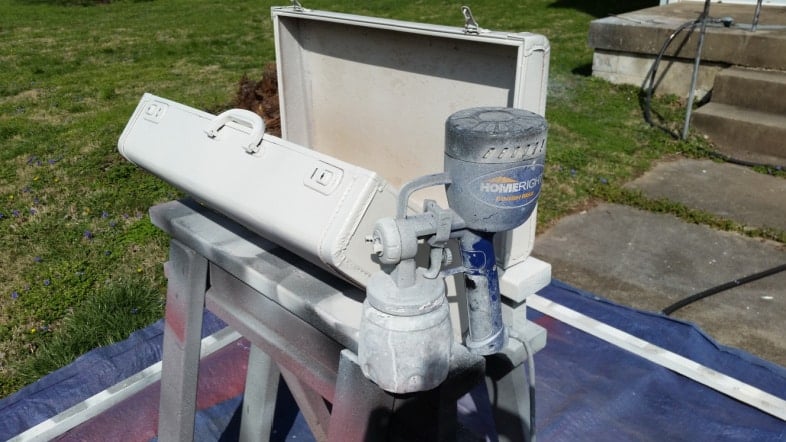
Use primer on your suitcase, both inside and out, to give it the best look. A Finish Max makes quick work of this.
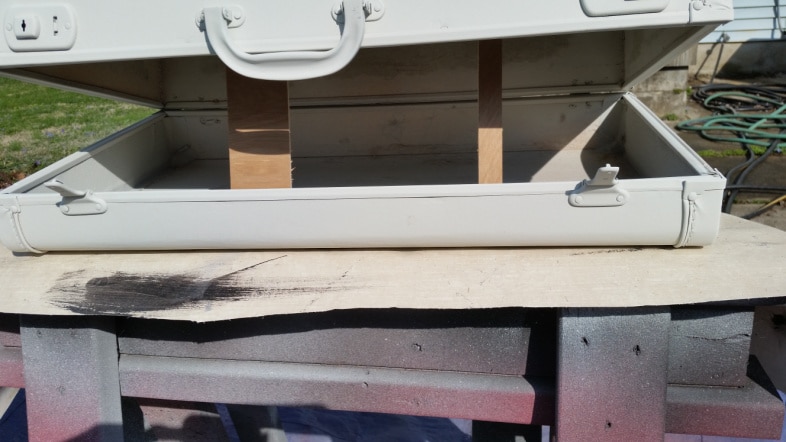
Using scrap wood to hold the suitcase open will allow the metal-painted edges to dry without sticking. But, if you prefer, you could tape off the metal hardware pieces to leave them in their natural state. Why didn’t I leave the metal? Because I like the look of the white paint, and I wanted an easy makeover.
Paint the Old Suitcase
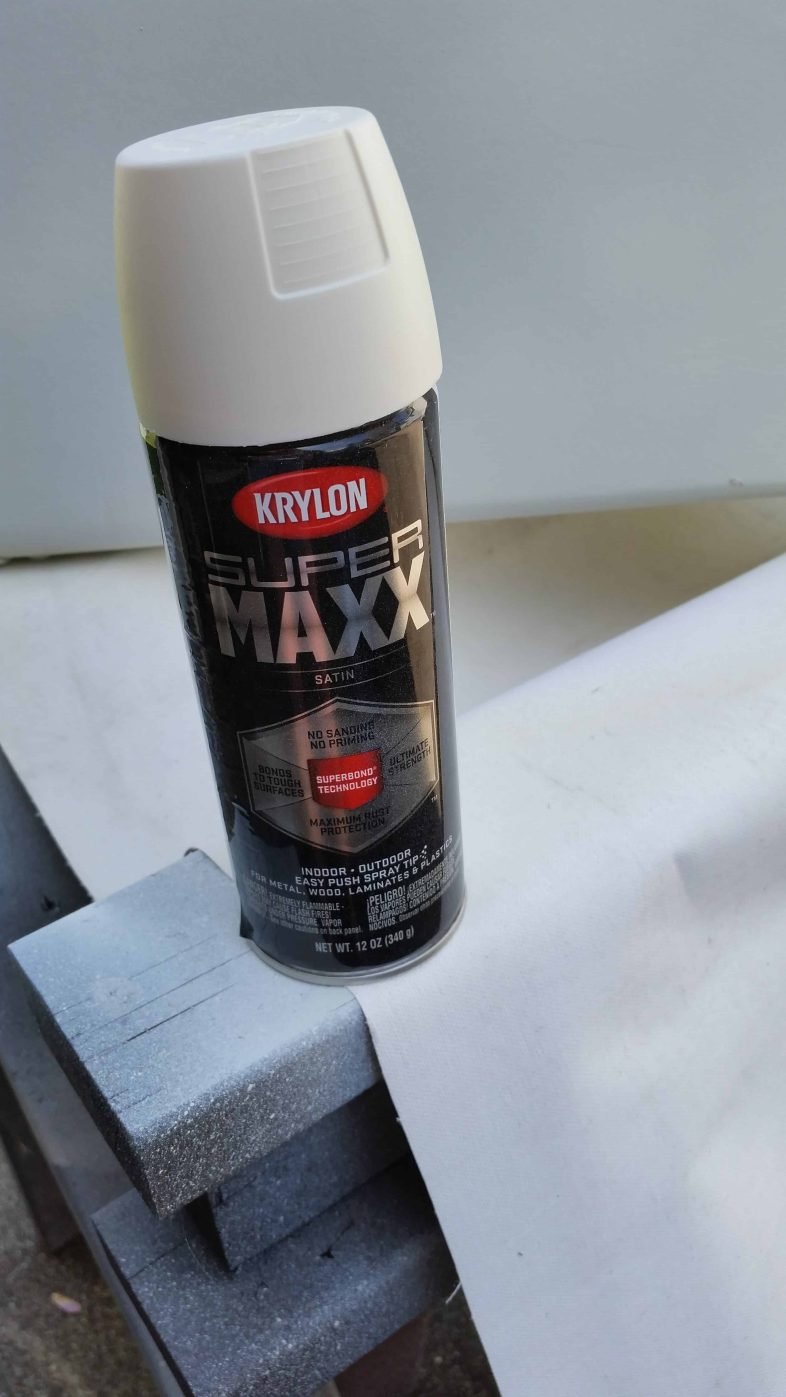
However, if you’re looking for something even easier? Spray paint is also a great option.
Cut Your Paper Pattern
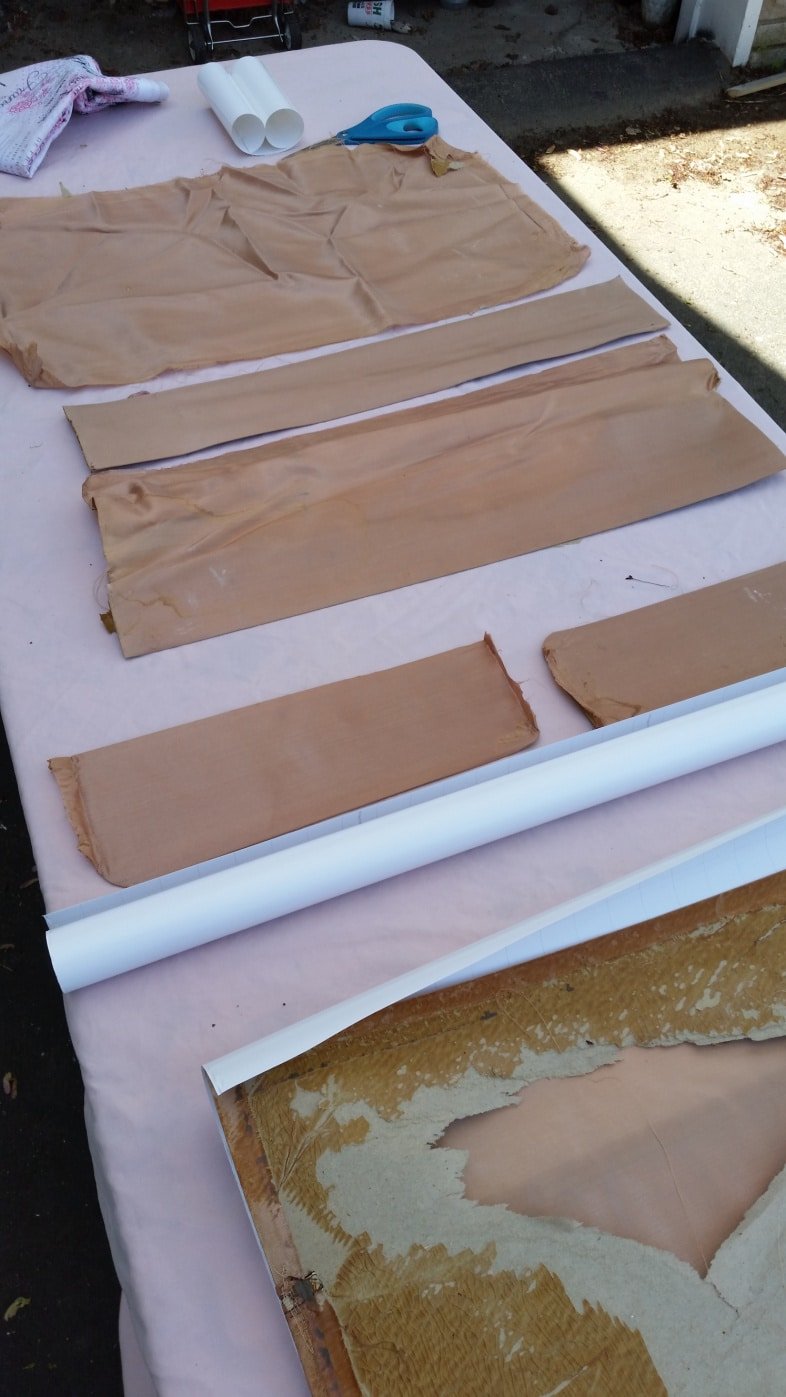
Make paper patterns using craft paper or thick wrapping paper by tracing the original pieces. These paper pieces will give added stiffness to your new fabric lining pieces. Make the paper pieces the same size as the original pieces, excluding the hems and seam allowances.
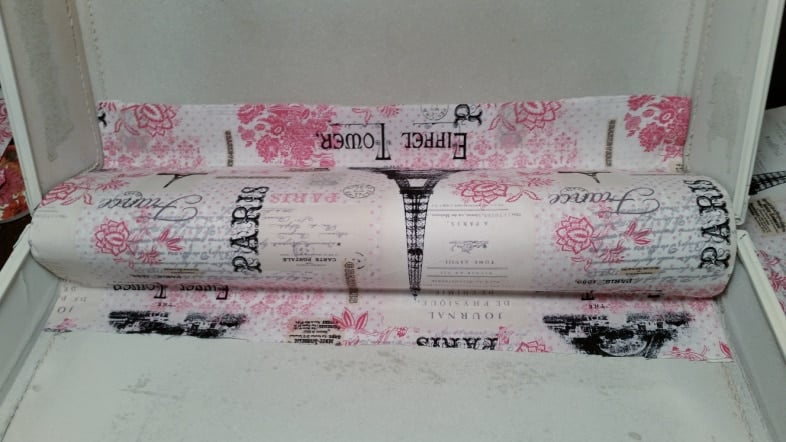
Cut Fabric pieces
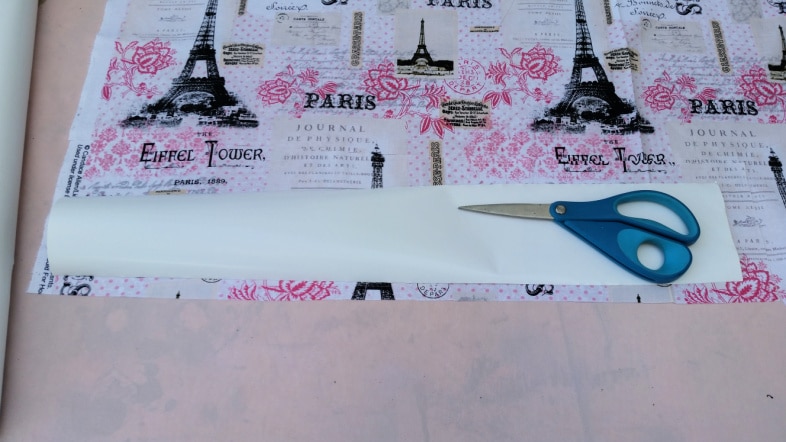
Cut the fabric using paper patterns, but leave room for a seam allowance this time.
Secure the Fabric Pieces to the Paper Pattern
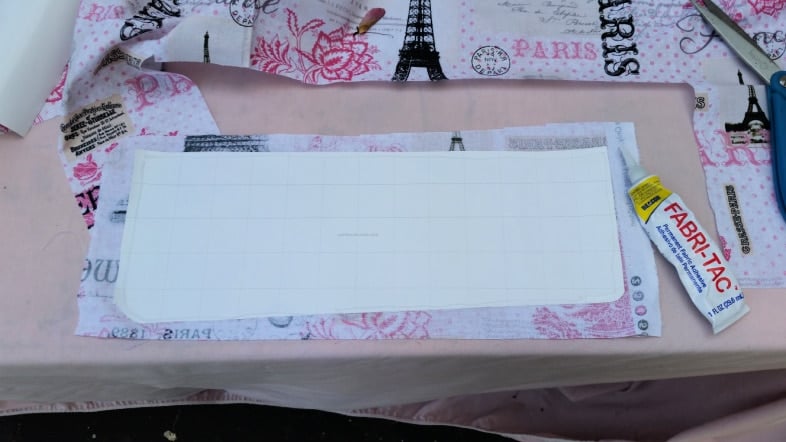
Secure fabric to paper pattern pieces. Spray adhesive was used for this step (not shown). Fabri-Tac was used to fold over and “hem” this piece to test for fit. (seen below)
Test Fit the Pieces
Test each piece after you have secured the fabric and paper pattern using the spray adhesive. Use caution when using spray adhesive, as it leaves a sticky residue wherever it lands.
Form a Plan For the Placement of Your Pieces
By test-fitting your pieces, you’ll see which ones work best for permanent placement.
Hem Form Fitted Pieces With Glue
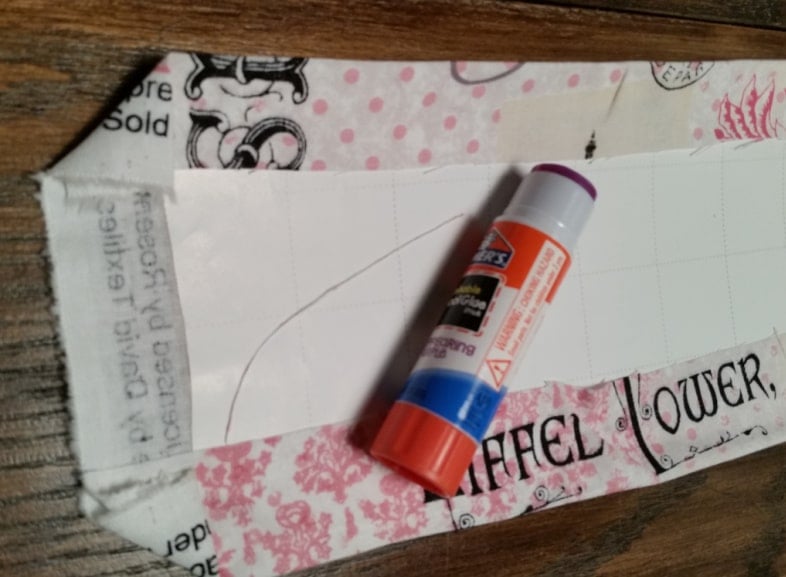
Another option for Fabric-Tac is a kid’s school glue stick. It’s a little more forgiving if you need to reposition your fabric. After doing the dry fit, you will see that some form-fitting pieces need to be hemmed, while others are better left with “flaps” for better coverage. Of course, your vintage suitcase may be different.
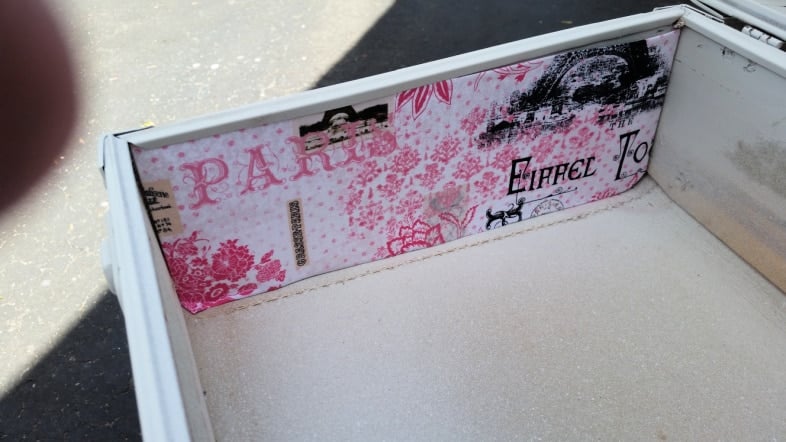
Secure Pieces to the Suitcase With Hot Glue
This image shows why some pieces work better if the edges are not turned under (hemmed). Hot Glue was used where the paper ends on the top and bottom of the suitcase, securing only the fabric and not the paper, so that the lid can close freely.

Work your way through all the pieces in the order you determine works best for the suitcase you’re working on.
Are you still with me?

Adding a small amount of hot glue at a time and working your way across the piece will give the best adhesion. Adding too much glue will allow the glue to cool before you can secure the entire piece.
Related Content: Small Briefcase Makeover
How to Make a Vintage Suitcase Lining

Part 1
How to Line a Vintage Suitcase

Part 2
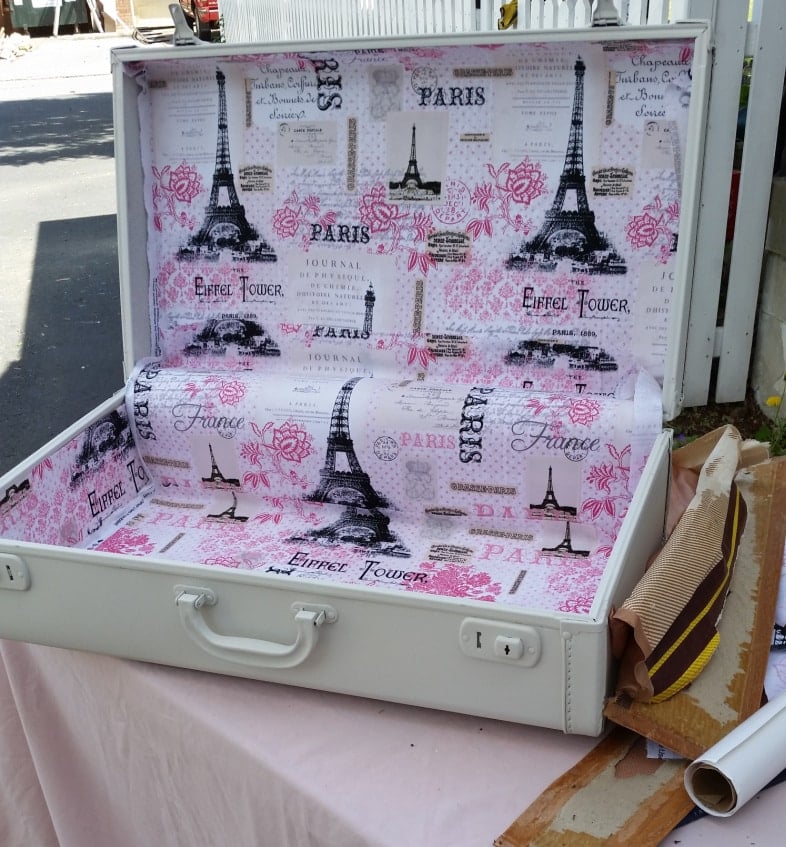
I love how this vintage suitcase makeover turned out — it’s the perfect blend of old and new! Whether you use it as a decorative accent, creative storage, or even as a unique side table, upcycling a vintage suitcase is a great way to add character and style to your home. If you come across an old suitcase or briefcase at a yard sale or thrift store, don’t pass it up — a little creativity can go a long way!
Be sure to check out more great ideas from my Thrift Store Décor friends below:

Painted Desk Makeover My Uncommon Slice of Suburbia
Anything Container Petticoat Junktion
Farmhouse Sign Refresh Restyle
Thrift Store Teacup Candle Domestically Speaking
Vintage Suitcase Makeover My Repurposed Life
Banded Basket Makeover Our Southern Home
The inside looks great redone! Wondering what you ended up doing with the outside besides the white paint.
Janet,
I left it white, and sold it to a nice lady at a craft show. She may have embellished in some way. But she really liked it as it was.
gail
Sounds like a very fun project Marthaia!! 🙂
If you do it, please share here on MRL. https://www.myrepurposedlife.com/qa-submit-projects/
gail
Sounds like a very fun project Marthaia!! 🙂
If you do it, please share here on MRL. https://www.myrepurposedlife.com/qa-submit-projects/
gail
Sounds like a very fun project Marthaia!! 🙂
If you do it, please share here on MRL. https://www.myrepurposedlife.com/qa-submit-projects/
gail
Sounds like a very fun project Marthaia!! 🙂
If you do it, please share here on MRL. https://www.myrepurposedlife.com/qa-submit-projects/
gail
Sounds like a very fun project Marthaia!! 🙂
If you do it, please share here on MRL. https://www.myrepurposedlife.com/qa-submit-projects/
gail
Sounds like a very fun project Marthaia!! 🙂
If you do it, please share here on MRL. https://www.myrepurposedlife.com/qa-submit-projects/
gail
Sounds like a very fun project Marthaia!! 🙂
If you do it, please share here on MRL. https://www.myrepurposedlife.com/qa-submit-projects/
gail
Sounds like a very fun project Marthaia!! 🙂
If you do it, please share here on MRL. https://www.myrepurposedlife.com/qa-submit-projects/
gail
Sounds like a very fun project Marthaia!! 🙂
If you do it, please share here on MRL. https://www.myrepurposedlife.com/qa-submit-projects/
gail
Sounds like a very fun project Marthaia!! 🙂
If you do it, please share here on MRL. https://www.myrepurposedlife.com/qa-submit-projects/
gail
Sounds like a very fun project Marthaia!! 🙂
If you do it, please share here on MRL. https://www.myrepurposedlife.com/qa-submit-projects/
gail
Sounds like a very fun project Marthaia!! 🙂
If you do it, please share here on MRL. https://www.myrepurposedlife.com/qa-submit-projects/
gail
Sounds like a very fun project Marthaia!! 🙂
If you do it, please share here on MRL. https://www.myrepurposedlife.com/qa-submit-projects/
gail
Sounds like a very fun project Marthaia!! 🙂
If you do it, please share here on MRL. https://www.myrepurposedlife.com/qa-submit-projects/
gail
Sounds like a very fun project Marthaia!! 🙂
If you do it, please share here on MRL. https://www.myrepurposedlife.com/qa-submit-projects/
gail
Sounds like a very fun project Marthaia!! 🙂
If you do it, please share here on MRL. https://www.myrepurposedlife.com/qa-submit-projects/
gail
Sounds like a very fun project Marthaia!! 🙂
If you do it, please share here on MRL. https://www.myrepurposedlife.com/qa-submit-projects/
gail