Picket Fence Whitewash Coat Rack
As an Amazon Associate, I earn from qualifying purchases.
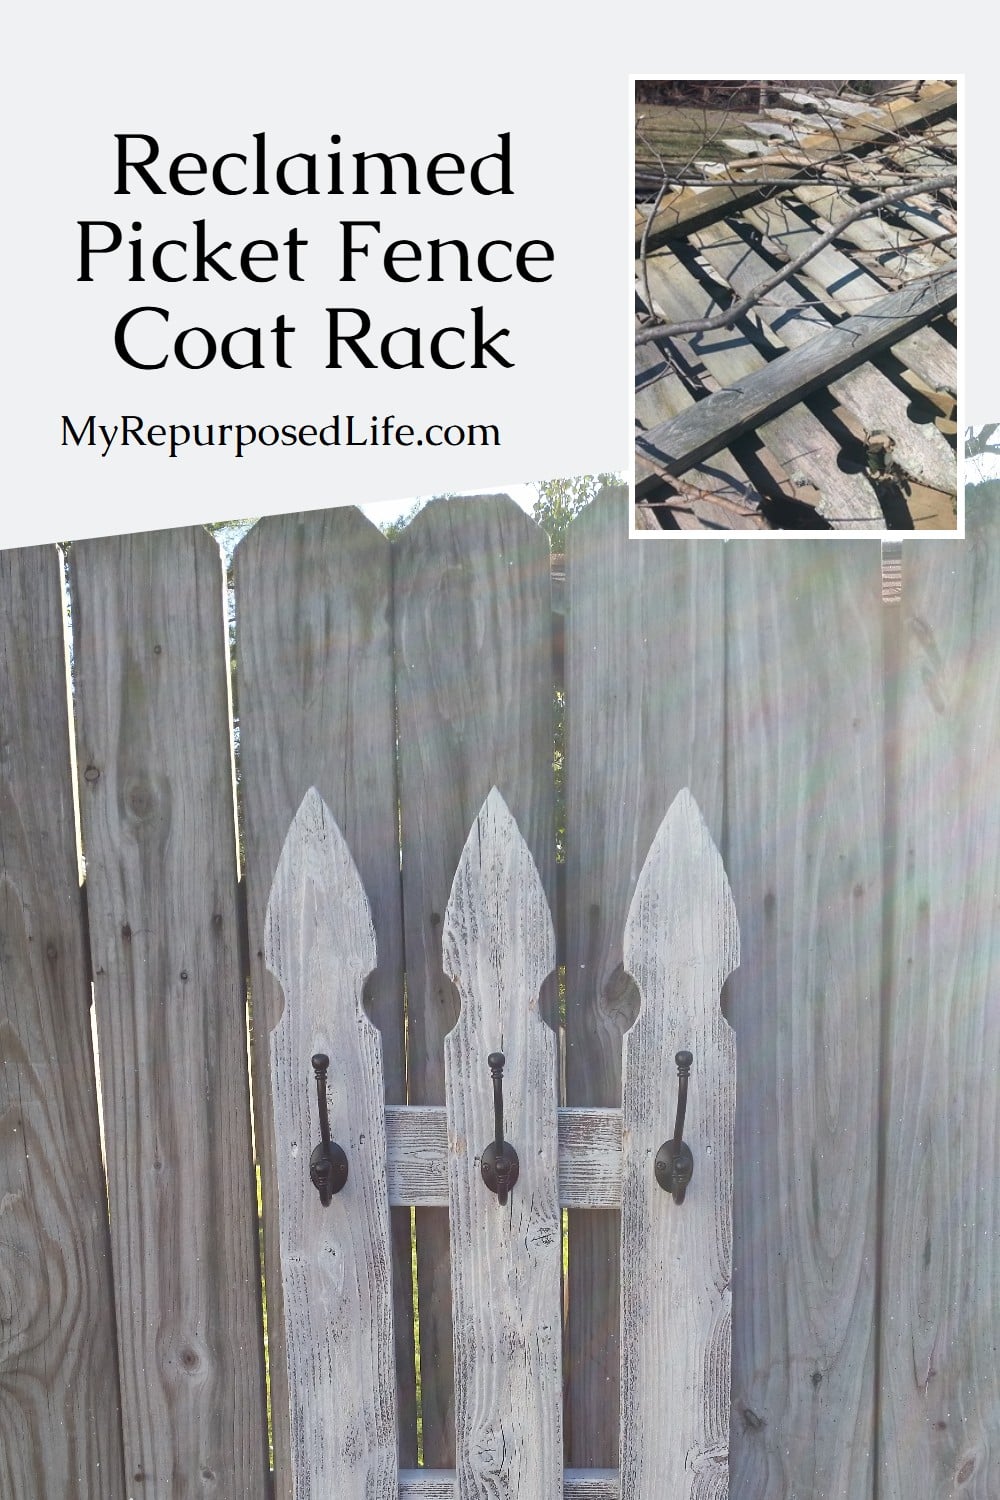
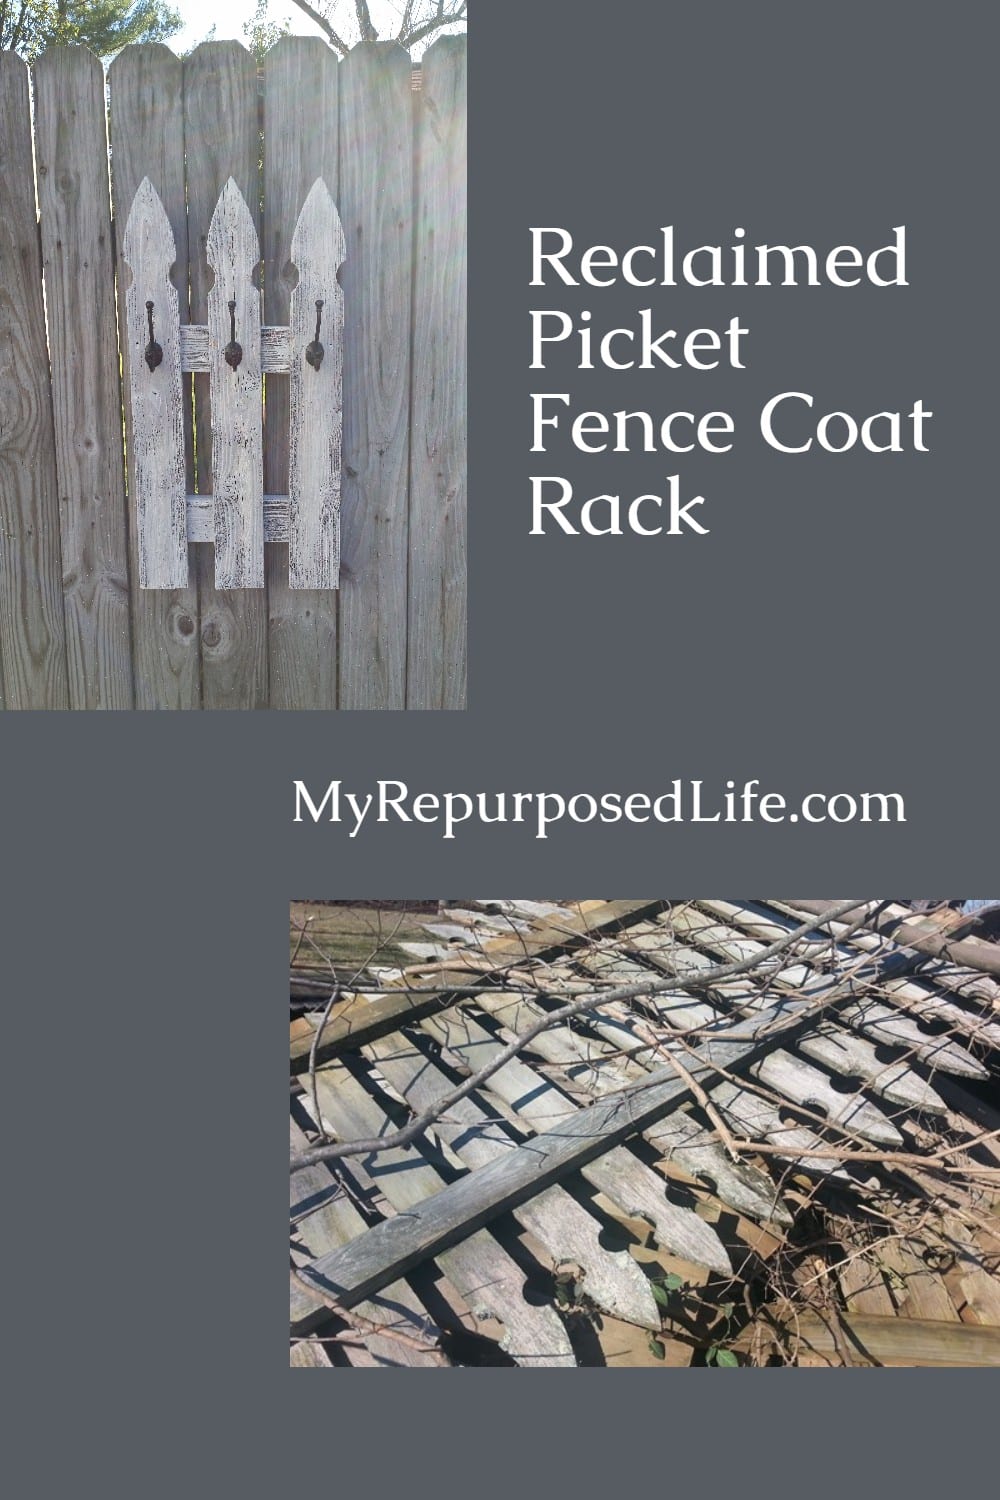
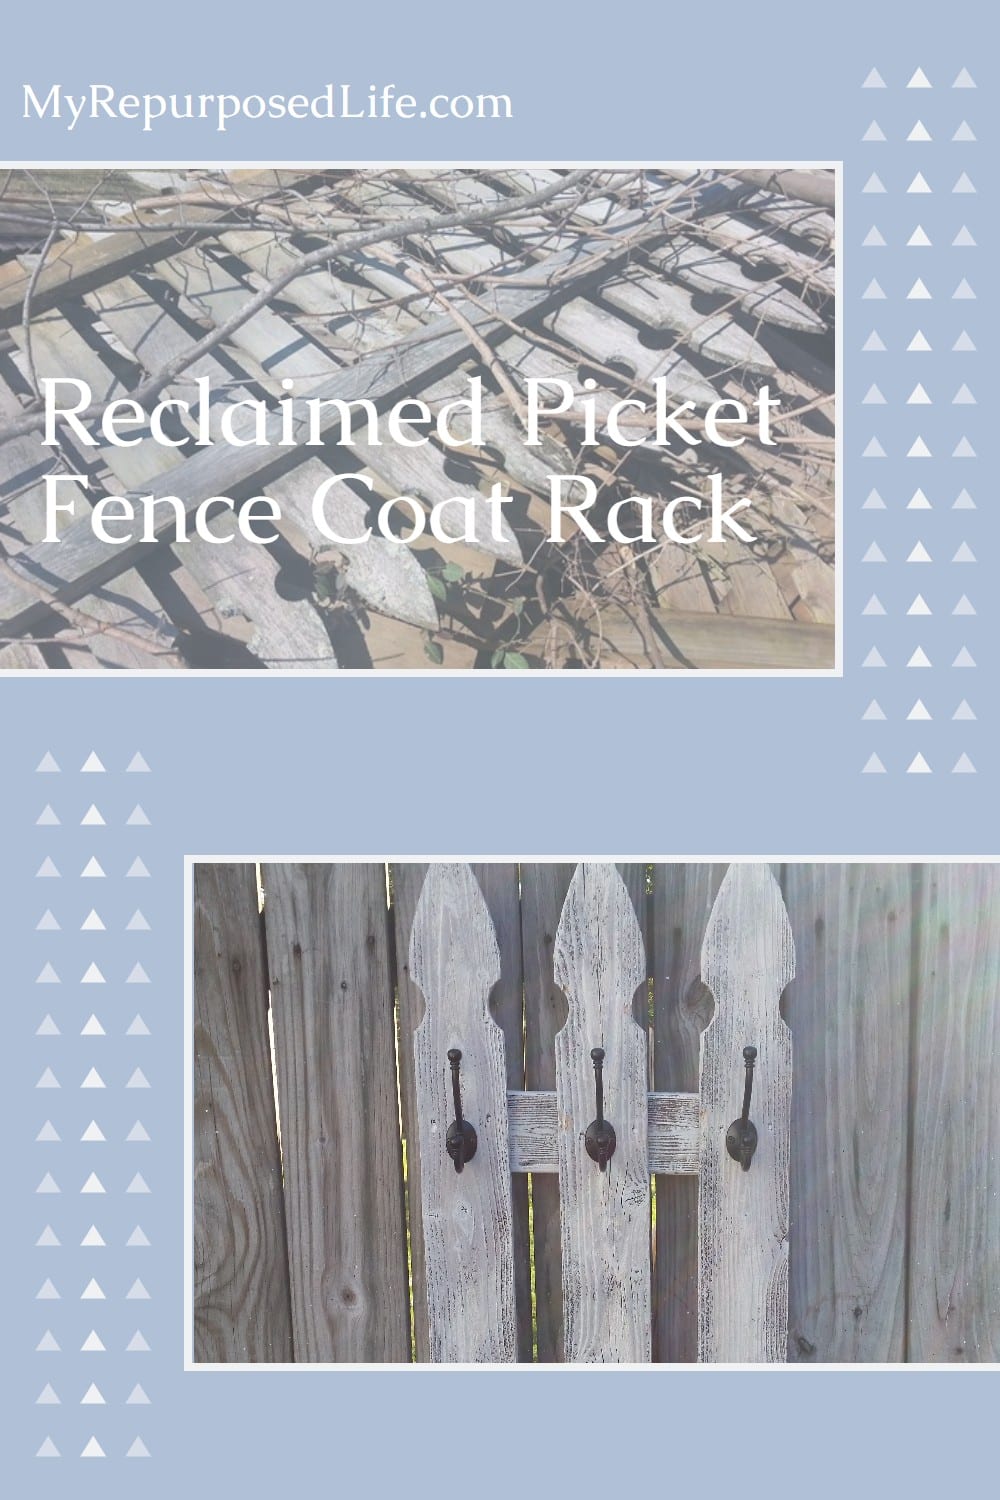
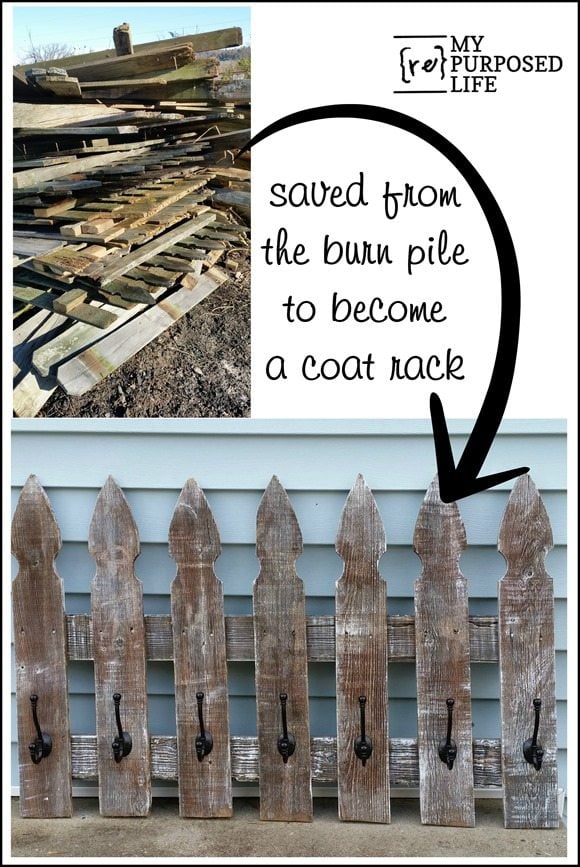
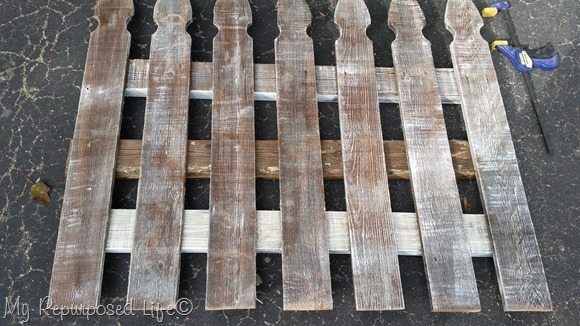
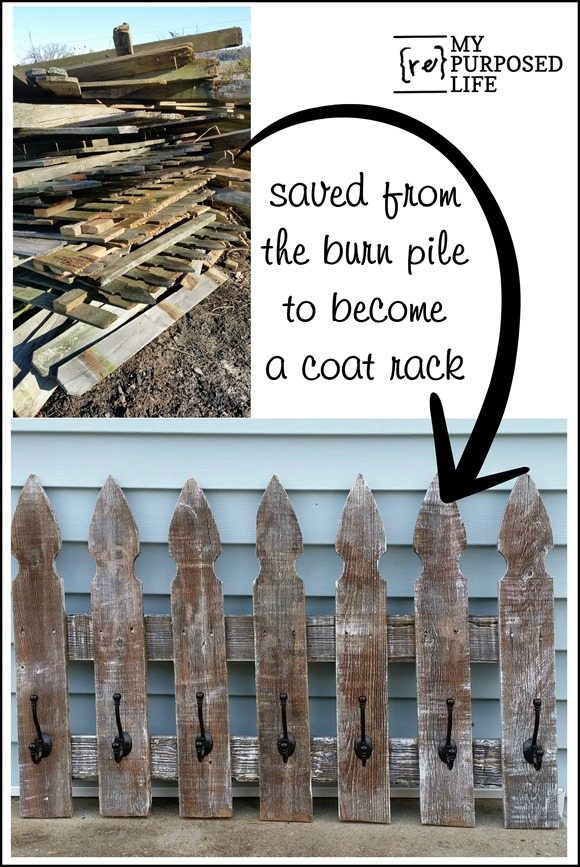
So, I got the old picket fence of a burn pile and decided a quick project was in order, which meant a picket fence coat rack! How about a whitewash coat rack?
Reclaimed Picket Fence Section into a Whitewash Coat Rack
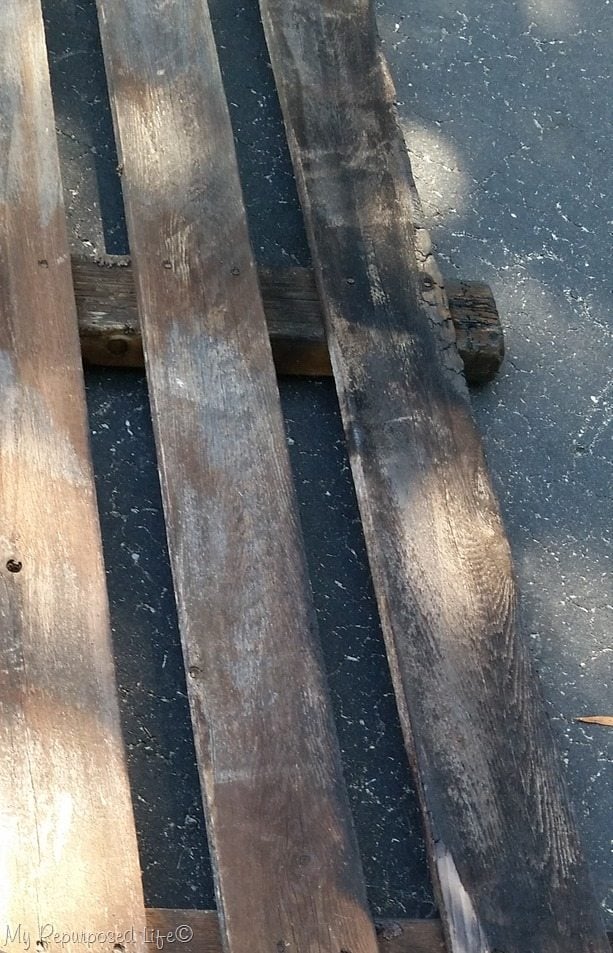
As you can see, I did get this off a burn pile!
Make Minor Adjustments to the Picket Fence Section
I rested the old picket fence on my easy diy sawhorses to make minor adjustments. Looking at it, I see that it’s the perfect candidate for a whitewash.
Sometimes, I don’t make it easy on myself. I’m here to help you learn from my mistakes. I added a weathered 2×4 using wood screws. You’ll see why this didn’t work in a minute.
Trim the Section Down to Size
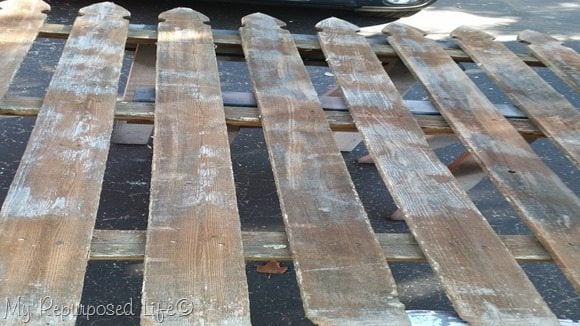
After adding the 2×4, I used my jigsaw to cut all of the fence boards right above one of the existing 2x4s and cut off the charred fence plank on the very end.
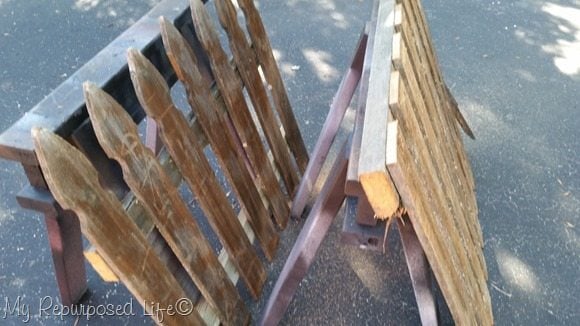
On the left is the section I plan to use with one original 2×4 brace and the new (weathered) 2×4 I added to keep the fence boards in place as I cut the bottom section of the fence away.
Prepare to Whitewash the Coat Rack
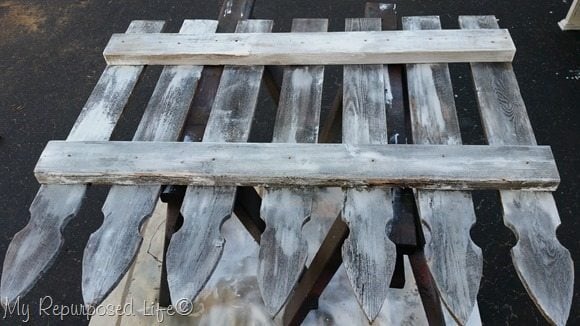
I used my whitewash bucket of paint to give the old picket fence a little whiteness. This is on the back. I am here to tell you that I am always learning new stuff!

This video will show you how I achieve the whitewashed look on these reclaimed wood projects.
This is after I painted it. Notice the added (weathered) 2×4 sticks out like a sore thumb! Plan b—rework the fence section by adding one of the original 2x4s between the two existing 2×4’s, then trimming more off the bottom of the planks. (I think it’s too big like this)
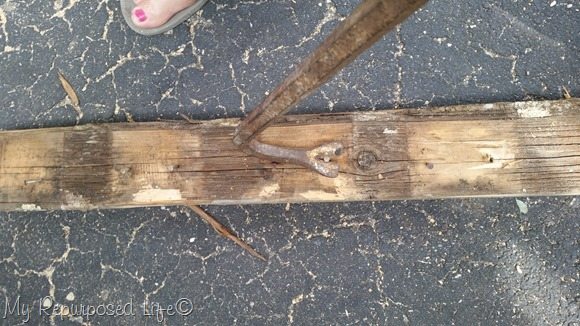
I removed one of the original 2x4s and pried the nails out of it.
Things Don’t Always Go As Planned, Be Flexible
Leaving the unwanted 2×4 in place while I added the original 2×4 was the way to keep the fence boards from shifting. The original board will paint up better than the weathered board I found in my stash.
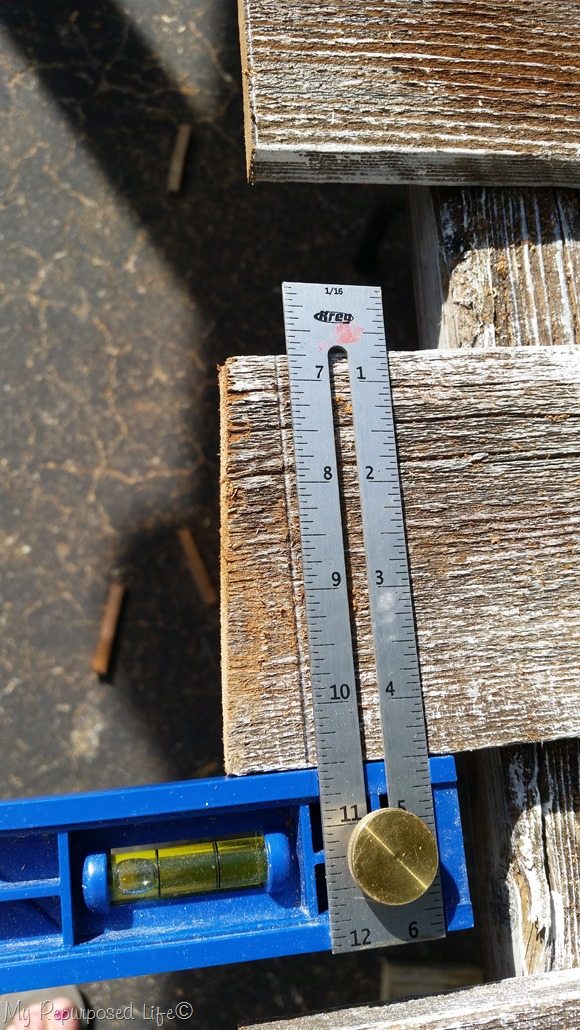
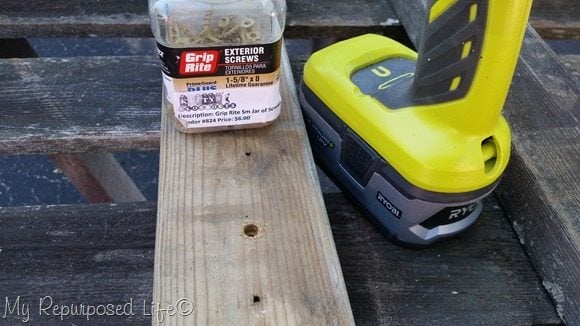
I used my Kreg Multi-mark tool to draw new cut lines on the bottom of the fence planks.
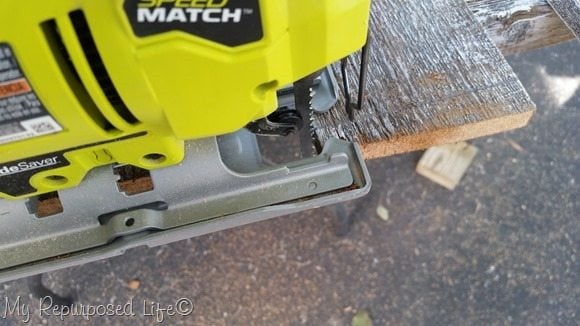
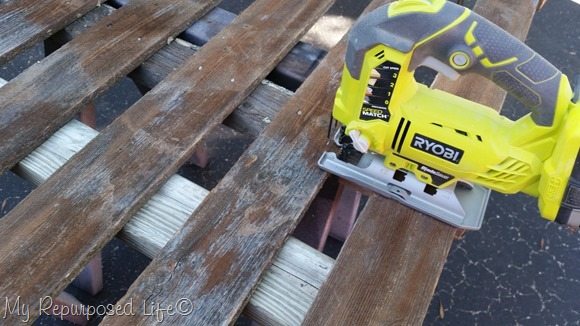
I got the jigsaw back out to cut the bottom of each fence board. So, this would have been a very easy project if only I had used the original board in the first place! Do as I say, not as I do. ![]()
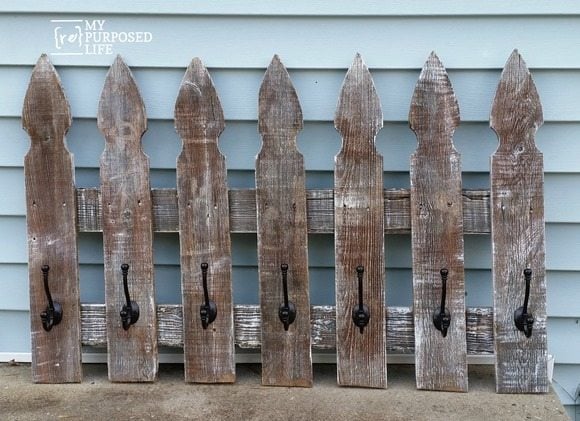
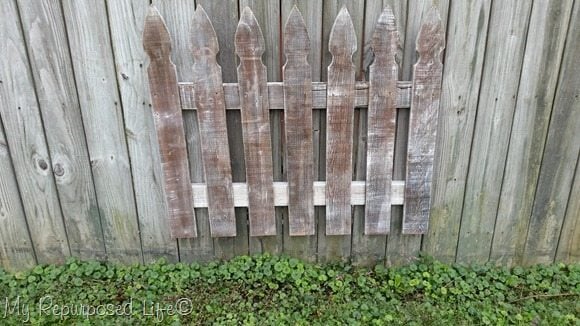
The whitewash is perfect on this picket fence coat rack, right? Be sure to watch the video to get the scoop. ![]()

You can see it in the background at Glendale 2016 with a SOLD chalkboard sign on it. We held it for the buyer, and everyone kept trying to buy it.
Because this was so popular at Glendale, I’m hunting for more picket fence sections. Where would you hang this rustic picket fence coat rack?
UPDATE: Several people asked about the coat rack after it was sold. Only one local reader contacted me about making a couple as gifts.

They requested three pickets for each coat rack. The two on the right are for them; the one on the left was made from the lower portion of the boards that were left over. You can see the original ends on those boards, and I dog-eared the top of them. All three are made from the same section of the fence and have three different looks. I hope I have inspired you to rescue some old wall. ![]()
Don’t have an old fence? Learn How To Weather Fence
gail
what great projects; i am so happy with mine & my sister with hers. neither are hanging just yet. waiting til the Christmas trees to come down so i can pick the perfect spot! thanks SO much!
Yay! I’m so happy that y’all love your presents. 🙂
Hope you had a very Merry Christmas.
gail
Love the picket fence hangers and that is a great photo of you. Merry Christmas Gail!
Thanks Kathy!
I hope you had a very Merry Christmas as well.
gail