Old Drawer Cubby Organizer
As an Amazon Associate, I earn from qualifying purchases.


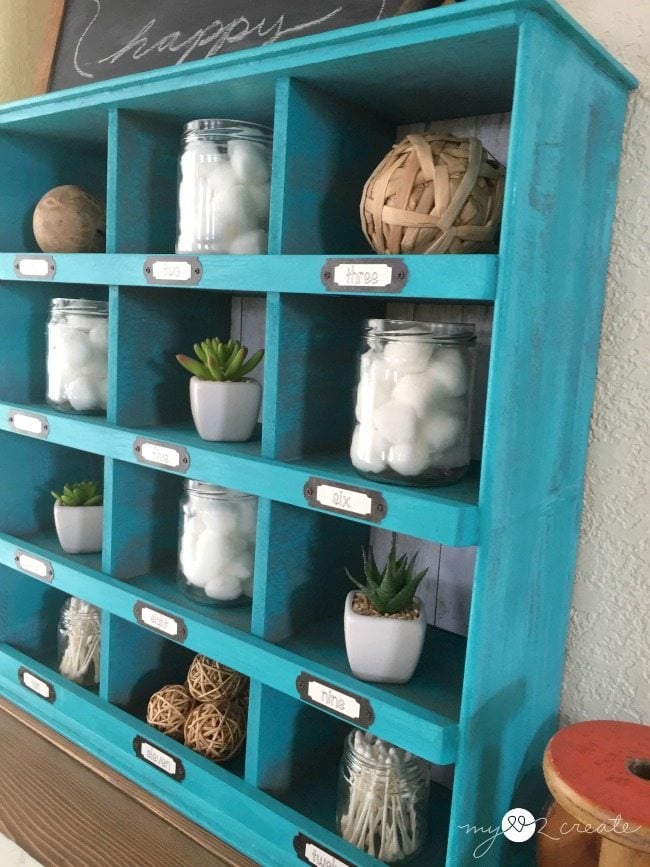
How to make a cubby from an old drawer
Hubba hubba! (ok now you think I am weird, I confess, it is true.)
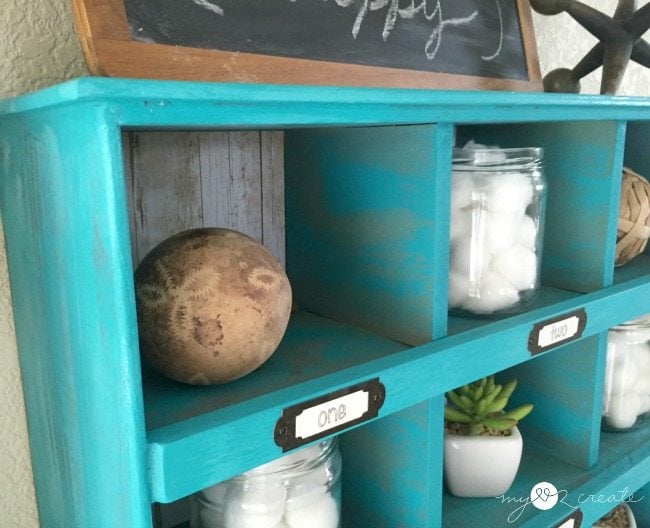
Complete with cute labels folks!! LOVE. Oh…and I MADE those labels, muahahaha!!
Begin with discarded drawers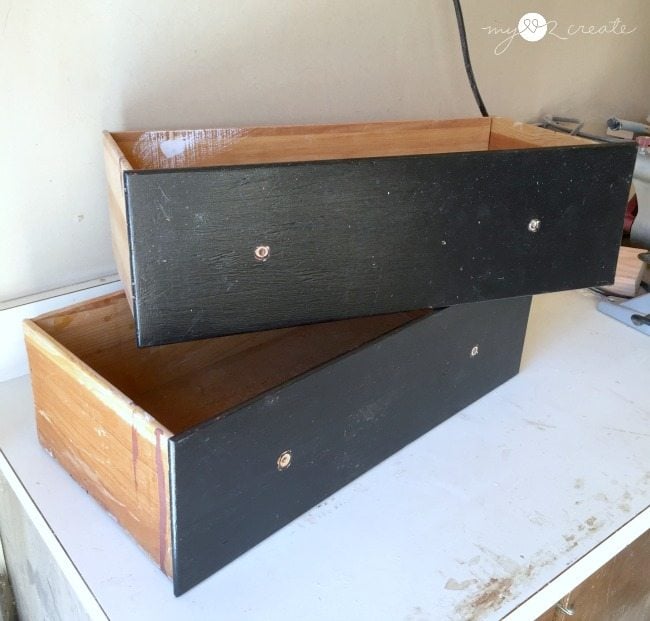
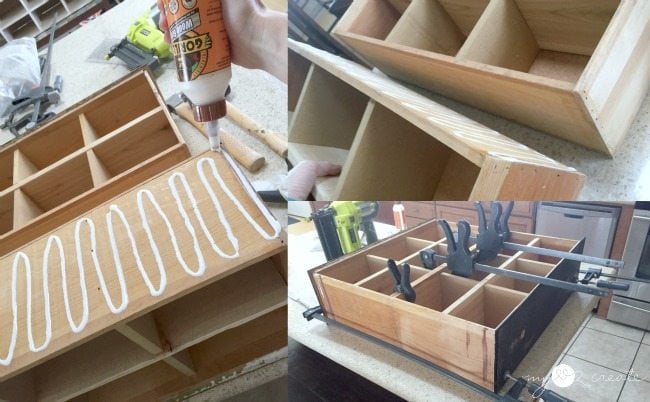
The drawers were in decent shape I just needed to add some glue and a few nails to make them sturdy.
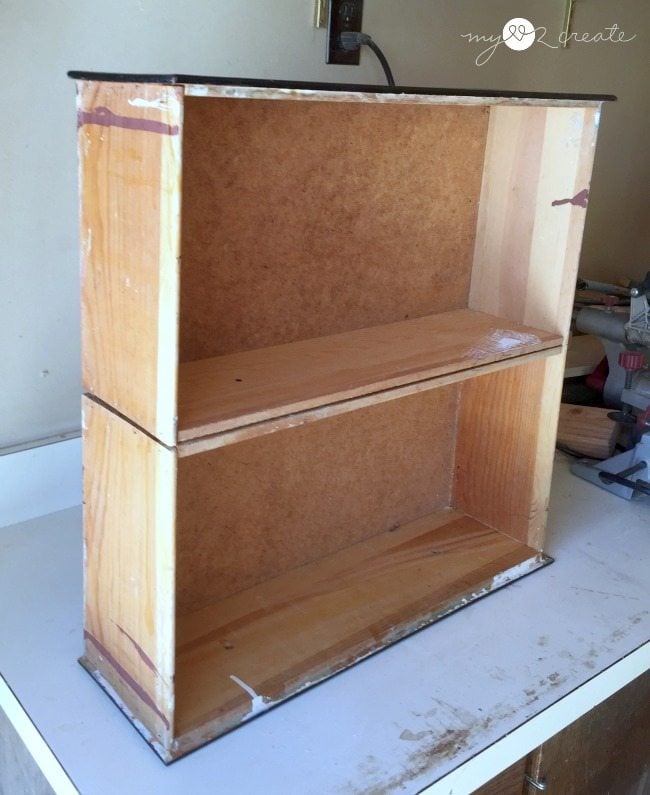
I placed them on top of each other to see if my cubby organizer idea would work…and I was happy to see that it totally would! Sa-weet!
Make dividers for drawer cubby
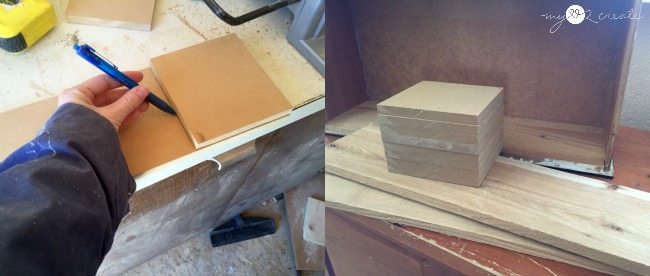
Rummaging through my scrap pile, I found a fence board and some mdf, both were 1/2” thick and 5 1/2” wide, which was perfect, love it when that happens. 🙂 I measured my drawers and figured out that I wanted 6 cubbies in each drawer, which would equal 12 total.
Secure small boards with nails
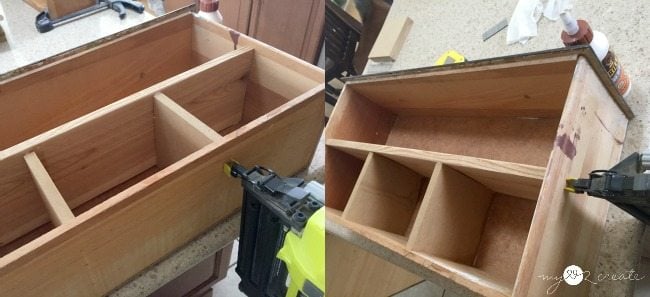
I started adding the cubbies in the first drawer. After measuring and marking on the drawer where to place everything I glued and nailed on the bottom dividers and the shelf board.
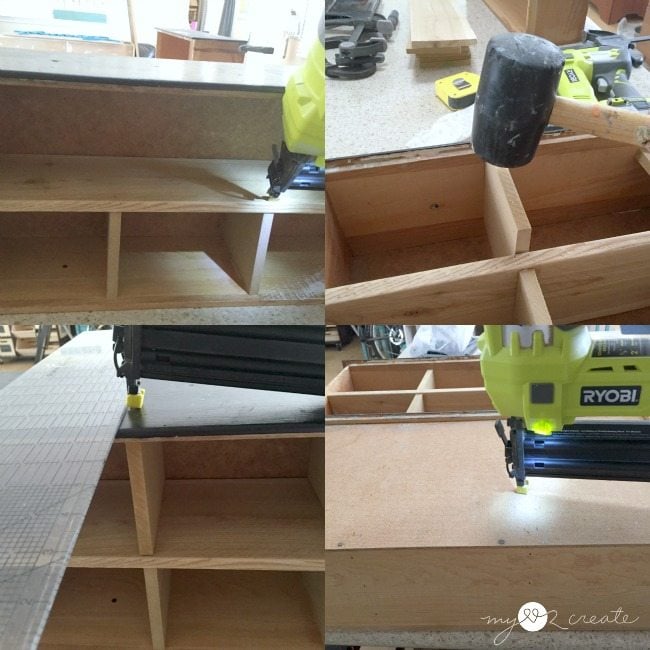
I nailed one nail in from the top into each bottom divider (top left) and then pounded in my top dividers (top right). The dividers were nailed from the top (bottom left) and used a ruler as a guide. Then I measured and marked on the back of the drawer where all the dividers were, and nailed them from there. I did this with both drawers.
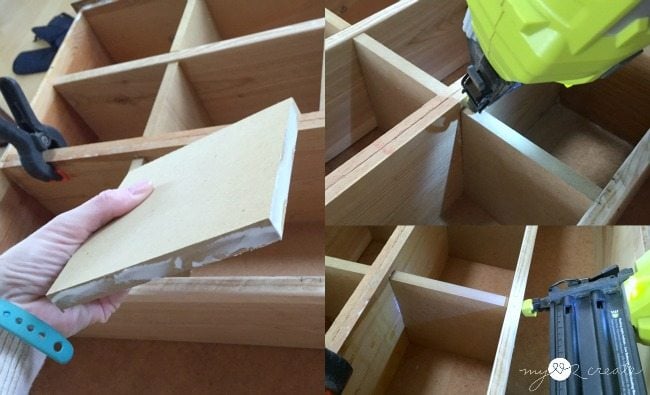
When I added the dividers to my second drawer, I clamped it to the first drawer to use as a reference to make sure the dividers would be lined up perfectly (left) then I glued and nailed them in. You can see on the two right photos that I am toenailing the dividers into the shelf boards, this is basically driving the nail in at an angle, because the nail gun can not fit into the cubbies.
With both drawers built it was time to attach them together. I added glue the the bottom drawer and attached the backs of each drawer together. Then I clamped it up while the glue dried.
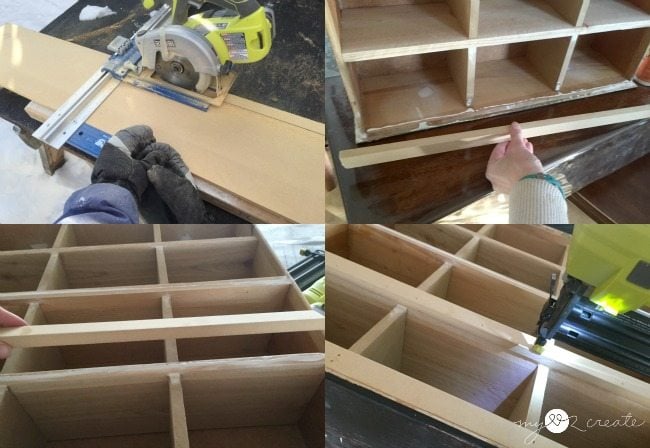
In order to make a little ledge for my cubbies (an more importantly a place for my labels) I used some more scrap mdf and cut 4-1” strips with my Kreg rip cut and circular saw. Then I glued and nailed them onto the bottom of each cubby section.
You might also like this small wall cupboard
Paint drawer cubby
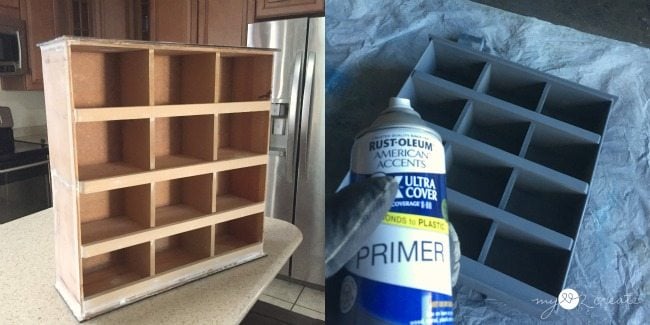
It is looking so cute!! I primed it with some left over primer I had, and it went on perfectly…
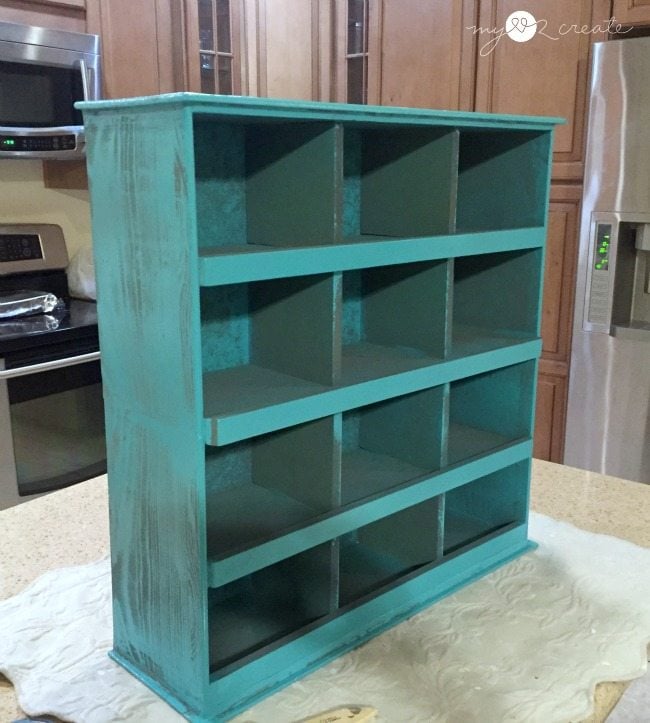
But my second spray paint had a little more trouble. After several attempts at second coats I gave up. I guess that is what happens when you spray paint in below freezing conditions. It was worth it though, because I did NOT want to paint all the cubbies individually, and this was enough of a head start.
Add background paper
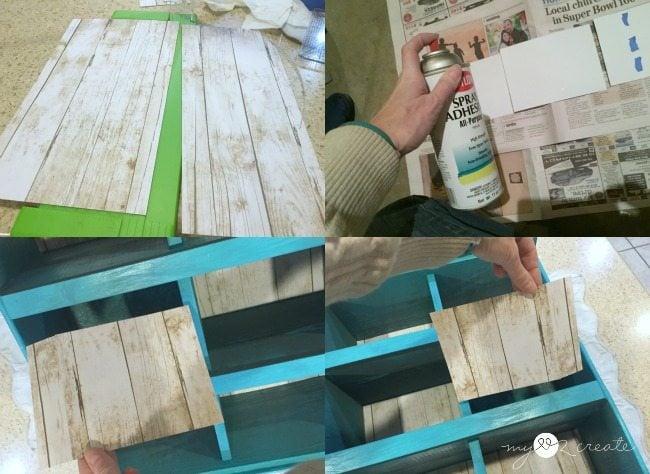
I really wasn’t pleased with the back, however, and so I found some craft paper that I liked and used it as a back drop in each cubby. I had to do some patch jobs with the paper, but you can’t even tell! It was easy to cut to size and spray adhesive it so it could stick to the back of each cubby. You can see in this photo I have already doctored up the poor spray paint job.
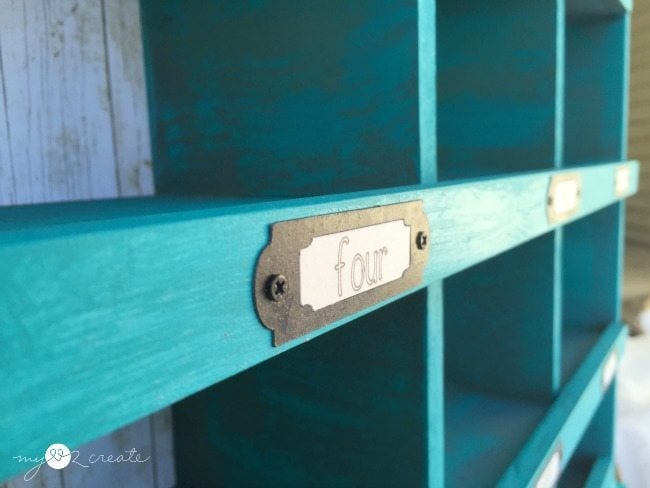
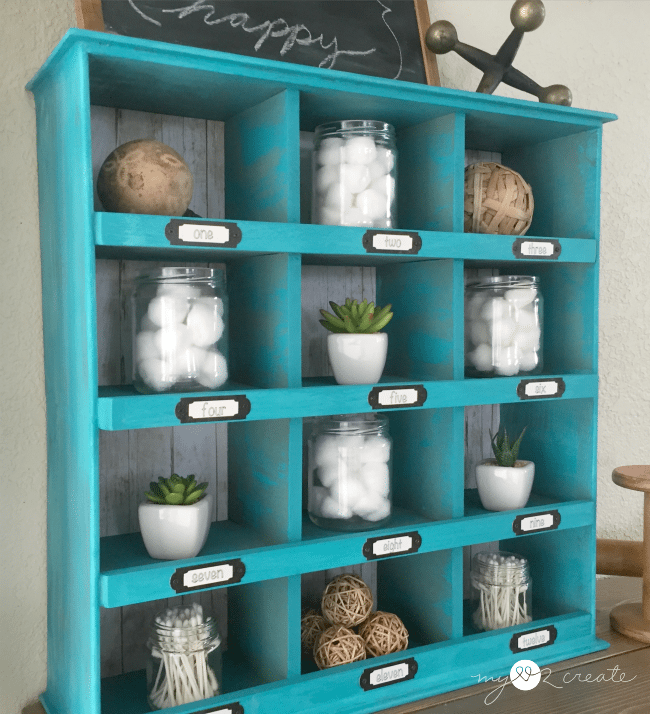
Cubby gets labels
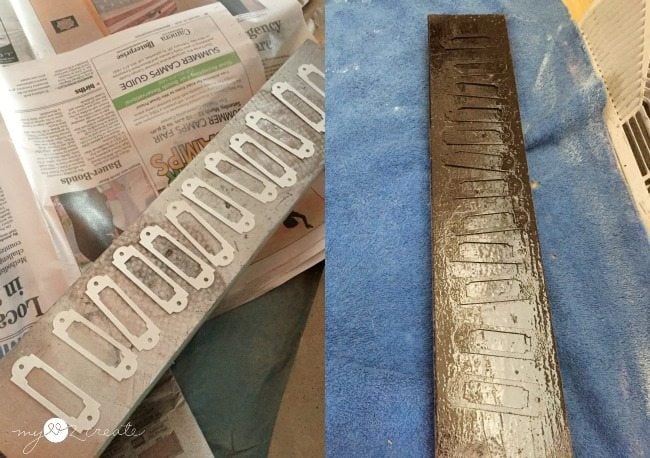
I made a special trip to two different craft stores to buy my fun metal labels, and guess what? They didn’t have enough, I needed 12, AND plus they were way TOO expensive.
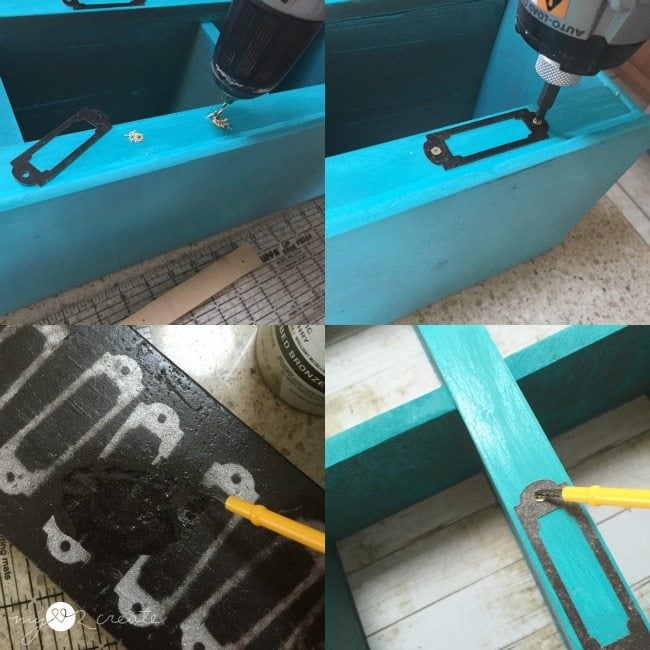
Having small screws that were the wrong color, I sprayed a squirt of oil rubbed bronze on my scrap board and then used a cheap water color brush to paint the screws to match. This was done after pre drilling holes and attaching my labels
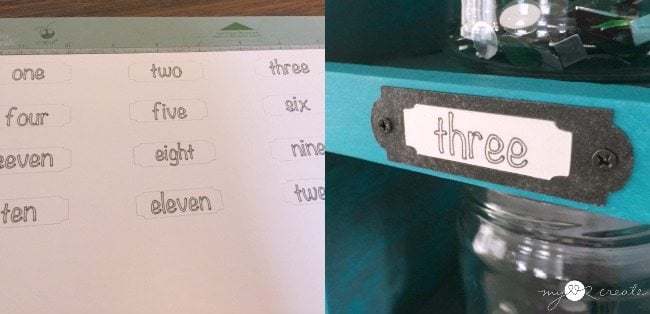
I used the middle section of the original label and had my circuit draw and cut for me, then I just popped them into each label. You could spray adhesive them, but they fit so perfectly I don’t think you need it. I am pretty excited about them…I think they look real! eeeek!
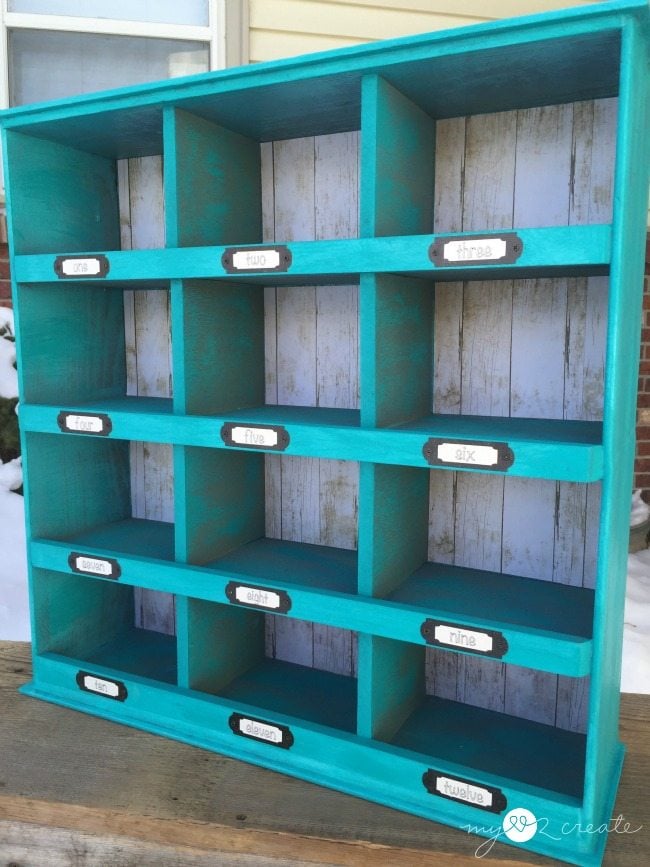
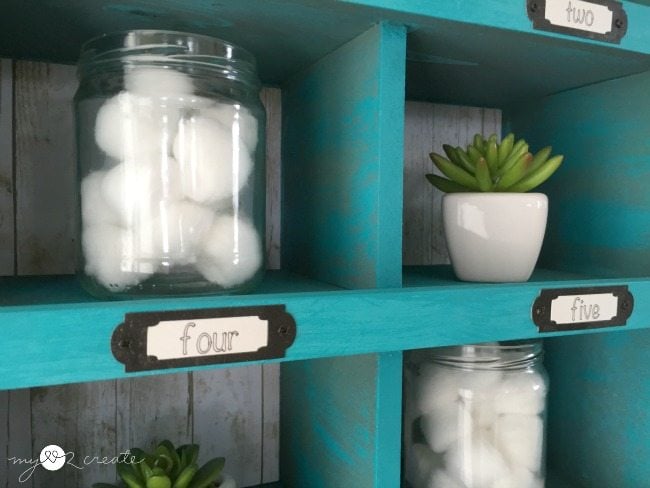
I think the reclaimed wood paper was the perfect pattern for the backs of the cubbies.
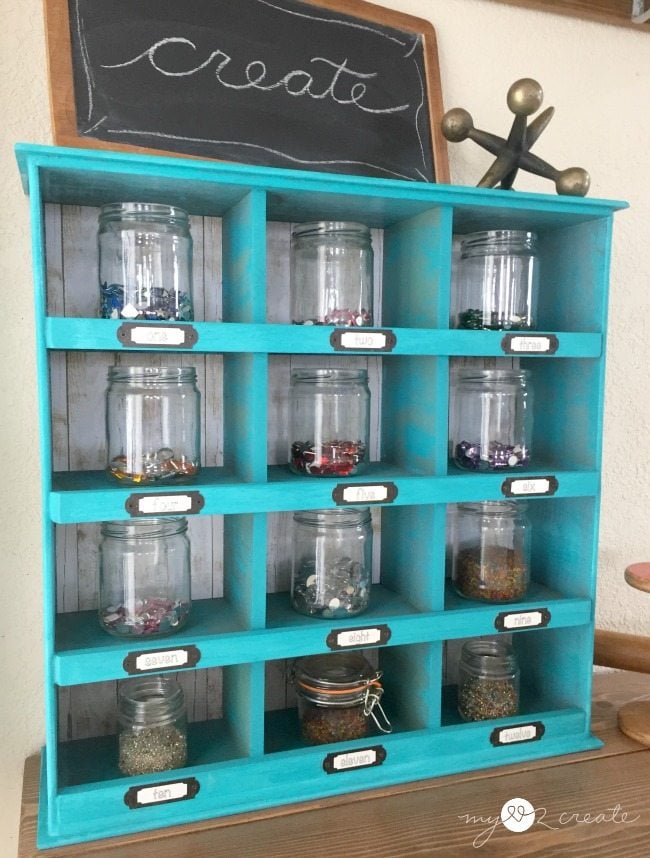
Now that I have my fun cubby organizer I just have to decide where to put it. It would be perfect in the craft room…
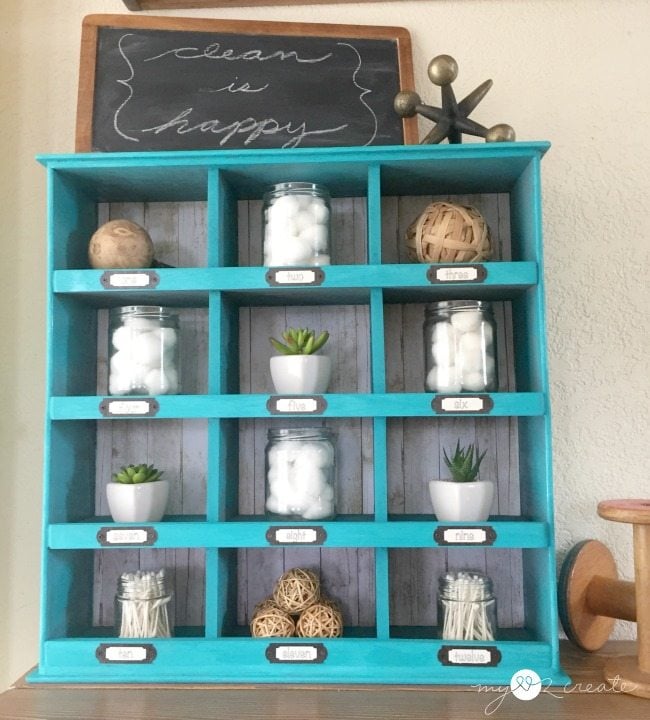
Or the powder room. 🙂 In fact it could go anywhere. 🙂
I think the bathroom is good spot for now. The cool thing is, this shelf could just stand alone or it could hang on the wall. I even thought about adding feet, but until I decide it’s final home, I will hold off.
Who knew two ugly old drawers could be so cute!?

Now I guess I don’t have to drool all over Hobby Lobby any more…at least in one section anyway…
This is adorable! You did a great job and your instructions were easy to follow. I’ve seen quite a few old drawer ideas, but this is by far my favorite! Will definitely be trying this one soon and thank you so much for sharing! 😄
I had seen this on MRL’s links & thought it was really cute! I’ll pass it along to a friend who needs something like this in her new lake house.
Well done what a great idea, i have a heap of draws & need some shelves, so I’ll be using this idea that’s for sure! Thank you, thank you, thank you ????
Such a cute cubby!
On another note, I saw this gadget and wondered if you knew of it. It seems like it would be handy for you. See the video link below:
https://m.youtube.com/?#/watch?v=pt3V4KkLG_M
What a cute project Mindi! Featured at Be Inspired this morning. So nice to have you join us! … Hi Gail!
Amazing project! I was asked to build cubbies but knew I would never get the project square. Starting with drawers is the perfect answer. Thanks for the really detailed tutorial and pictures!