“Helena” a painted sewing cabinet
As an Amazon Associate, I earn from qualifying purchases.

Hopefully you will love this painted sewing cabinet!
I am starting to do too many “like” projects. I know a lot of bloggers name their pieces, so I thought I’d give it a try to see if it makes things easier for me to remember this repurposed sewing cabinet. (as a reference)
Old Sewing Cabinet
")
I named this piece after my Aunt Helen, who gave this to me. They had removed the sewing machine, so I didn’t have to do that dreaded chore.
")
The top had some wear and some scratches, but it was solid wood.
")
Typically, I remove the hinged part in the front and install a shelf for a laptop or other small items that need to be stored. I decided to mix this one up a little.
Dismantle Your Project
")
")
")
I sanded the finish off of the top of the cabinet. You can see the difference here. On the left is the top, on the right is the “framed” piece I removed.
Sewing Cabinet Makeover gets Painted
")
I used my paint sprayer to prime it and paint it. I used the same paint I used on the items in my bedroom last summer. It is from Glidden, Crisp White Linen. It is almost white.
Stain & Seal Table Top
")
")
")
Reassemble Painted Sewing Cabinet

To use the Kreg Jig Jr. adjust the slider to the thickness of your wood. Mine is set at 3/4 inch wood.
")
To attach the top to the base, I used my Kreg Jig Jr. I clamped it right on the base.
")
")
I tuned the base upside down on the underneath side of the top.
")
I inserted my self tapping pocket hole screws to attach the base to the top.
")
Add Applique
")
I had the plaster-type applique that I got from Jan. I first tried to glue it with Gorilla Glue Super Glue. The underneath side of the applique is very shiny, and a little concave. The super glue didn’t have anything to give it “tooth”. So I then reached for the handy dandy Gorilla Glue Dries White 2x Faster! This glue has never failed me, and this time was no different. Because there was empty space, the Gorilla Glue had room to do it’s stuff. In case you’ve never used this glue, I’ll tell you that it oozes or expands. That’s what I love about it. Use too much, and it will ooze out, but used correctly YOU will LOVE it too!
White Sewing Cabinet
")
I painted the applique to match the cabinet (table base). I have not distressed this yet with sanding and or glazing. Folks around these parts just don’t “get it”.
")
")
I love giving new life to something that somebody was ready to discard! Isn’t the painted sewing cabinet so pretty? This was the first time I had removed the inside “frame”, but I bet it won’t be the last time!
gail
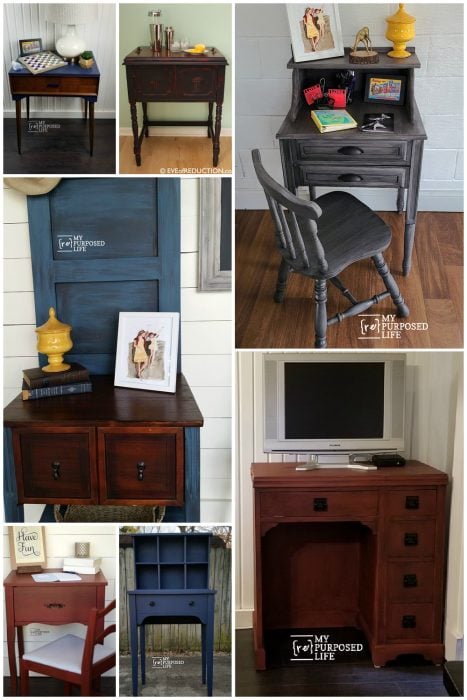
See More Sewing Cabinet Project Ideas
Beautiful – I re-do these too – searching always!