Large Farm table
As an Amazon Associate, I earn from qualifying purchases.
About a year ago, during my Spring Fling 2013 I spied this table at a local thrift store. It was cheap at only $8. I loved the legs, and the drawers.
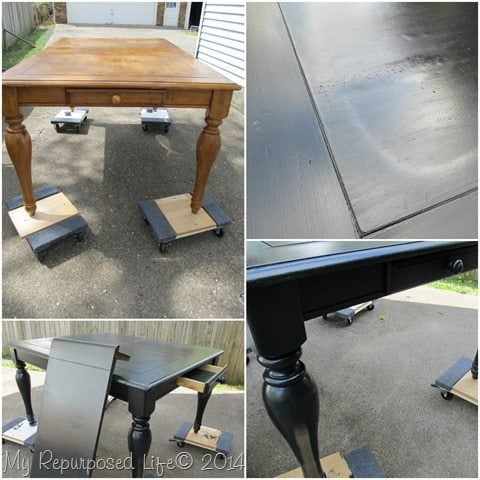 As soon as I unloaded it from the truck, I got busy painting it. You can read all about how DIY Chalk paint makes a great primer in my post Big Ole Table. I painted it, and gave it some wipe-on-poly to protect it…. however, being shiny black, showed all of it’s imperfections (water damage). I was unable to sell it.
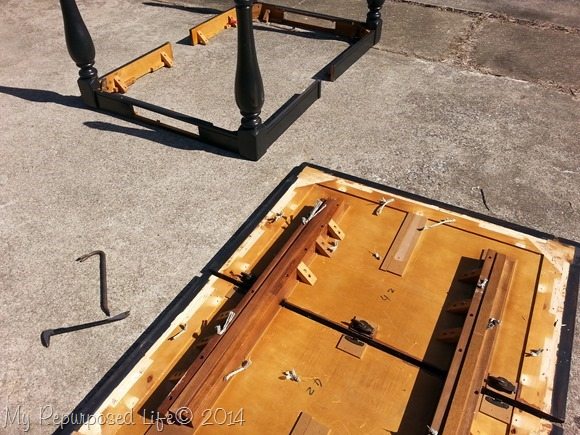 For months I had big plans for it—to become a large farm type table using 2×6 lumber. In the late fall, I bought the boards, and worked on it a little here and there whenever the weather was warm enough.
This post contains affiliate links
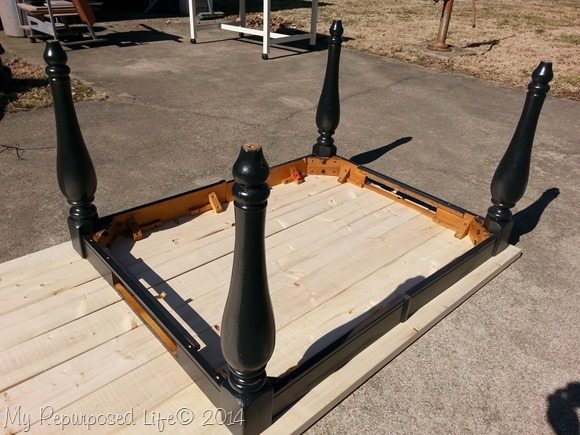 A few weeks ago I started the assembly process. I ripped all the boards on my table saw to get a straight edge to try to prevent the “crumb catcher” grooves.
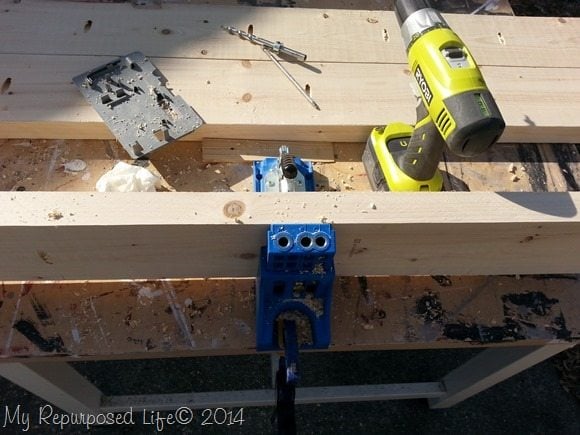 I used my Kreg Jig
 to make pocket holes to join the boards together. It’s the same process I used on my DIY Kitchen Island
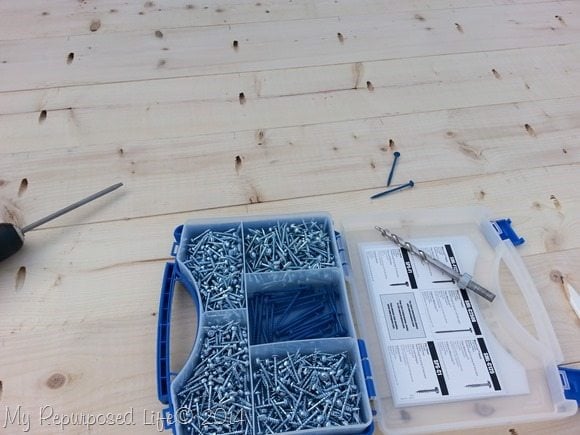 I recently bought this variety pack of Kreg screws on Amazon.
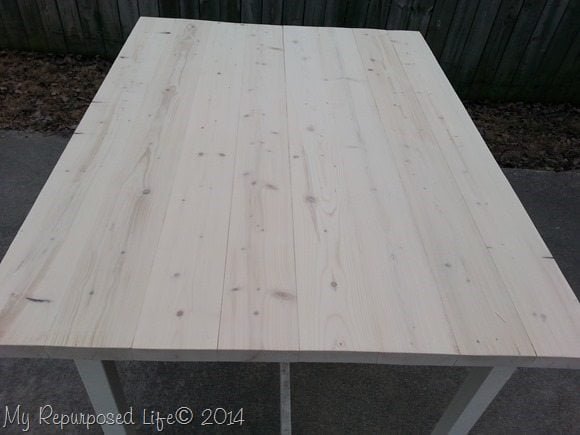 I sanded, and sanded, and sanded on this dude, the front and the back!
Then…. I got very frustrated with the whole process and apparently didn’t take any pictures (which isn’t all that surprising, since it’s hard to take pictures while you have stain on your hands)
Here’s what I did—1 coat of Hickory Gel Stain by Minwax, and 3 light coats of Minwax Polycrylic. While sanding in between the coats of polycrylic, there were some high spots that got the stain removed. I wasn’t about to start over, so that is why you see the light spots all over. After all the sanding, I can’t believe there WERE any high spots.
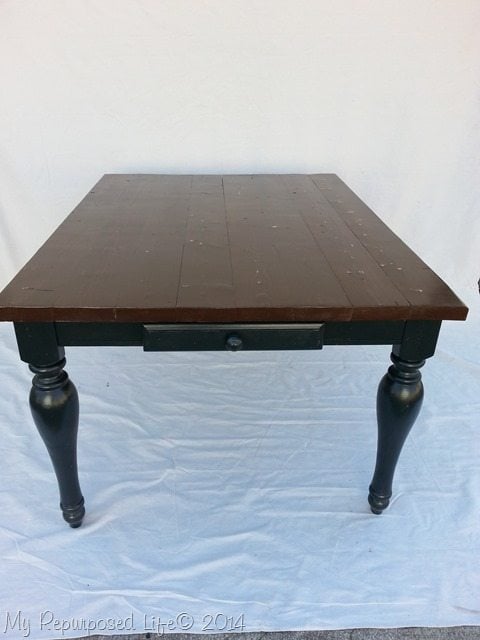 I’m so over this table. I just want it g.o.n.e. YESTERDAY! It’s taking up too much storage room.
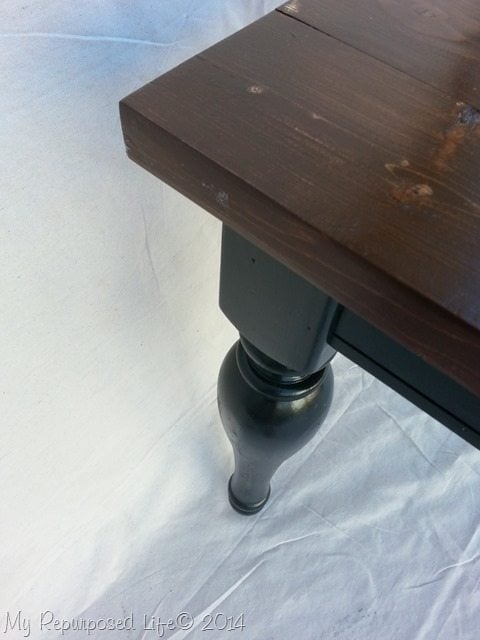
I am a faithful user of all Minwax products. I’ve used the gel stain before and loved it—even though for the life of me I can’t remember what I used it on. I wasn’t a fan of how the stain took to this wood. It almost looked like the table was paint brown instead of stained.
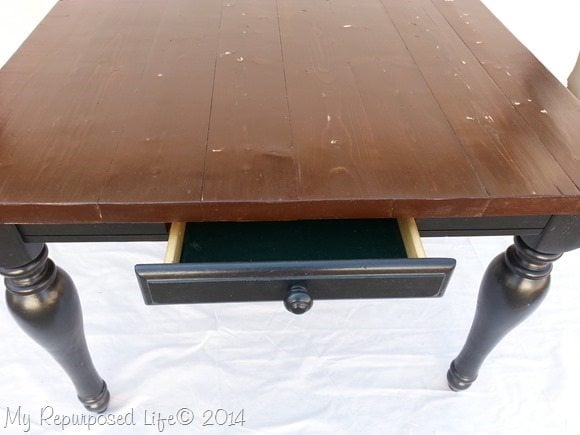
I took the trouble of installing the drawers to the bottom of the table so they will still operate.
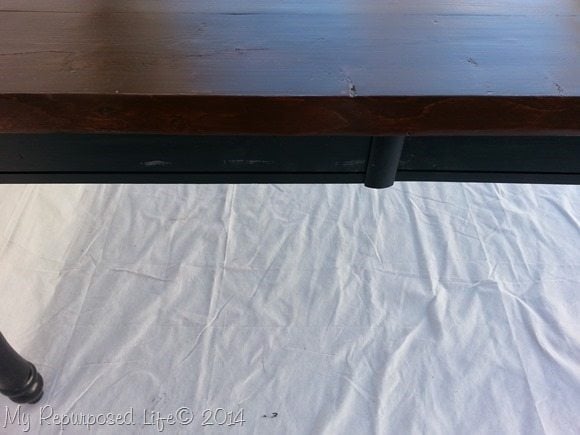 While moving it in and out of the garage, it got some boo boos on it.
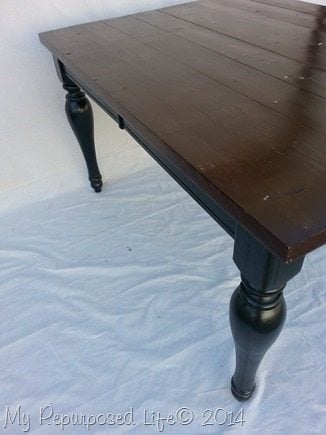 I still love the legs, but that’s all I love. I plan to market this on Craig’s list as a craft table. I think it would be awesome in a craft room. I am not sure anyone would want it in their dining room.
Korrie from Red Hen Home does fabulous tables. She knows I worked on this, and I have a huge appreciation for all the tables she makes. I will never do another.
gail
see more table projects here

You are so right that not everyone has more room than a crowded garage. Not everyone can set up a work space in the master bedroom with the saw dust vents (?) holes (?) facing out the sliding glass door. There’s something to be said for living alone!
Hopefully you can find a planer 2nd hand as I did, or collaborate with someone on getting one! Changed my building life! As much as my Jig did!
Ok, Chickie-doodle. It’s time to invest in another can’t-live-without tool. Particularly for flat surfaces like tables. Shelving. Door and drawer fronts.
I agree with you totally, that one should have a Kreg jig. A jig saw, reciprocating saw, oscillating saw (think Fein Multi-Master), circular saw, and at least a table-top table saw. Don’t forget a chop or compound miter saw. Yeah!
Equally wonderful are the different sanders, oscillating sander being THE most valuable. Then we have the next level. I just picked up the Craftsman impact driver (a heavy duty screwdriver, IMHO) that has different attachments. I got a router, jig saw, 3/4″ circular, oscillating, reciprocating and jig saw attachments, plus a sander. 20 volt, lithium batteries last 18 hours or more. Am seriously thinking of giving some of my individual tools away.
So, my biggest suggestion to a definite pro like you:
Get your bad self a table top joiner (for smoothing edges) and [drum roll] a DeWalt table top PLANER! I bought mine from someone disassembling his shop. It takes boards as wide as 13″. I canNOT explain the difference this makes in smoothness. I use my Kreg Jig, but sometimes I biscuit. (another interesting, fun tool) Either way, the planer creates such a smooth surface that’s soooo great to touch! I wish I’d had this when I made a 16′ butcher block counter top! The sanding I wouldn’t have had to do! I digress. (easily)
These are definitely Christmas and birthday type tools, but worth every hint you can dream up. You work too hard and create too beautiful pieces not to have these in your arsenal!
Love your work and love your processes. Thanks for taking the time to post!
I love the legs and drawers on the table. Maybe you can sand it down and then paint it another color that isn’t shiny. ???
I would just distress the top and sand it a bit and then leave it alone, sorry this was stressful. I like your stuff so don’t stress out this was good period.
Gail, I really respect your work and I actually find it encouraging that you struggle with your projects as well. You’ve turned me on to upcycling and have given me many good ideas and tips (Love my mini-Kreg jig!). I’m also working on a table project. I picked it up for $10 but didn’t realize two of the leg braces were almost broken down. Will learn a lot as I try to replace these pieces.
I’m actually looking for this kind of table for my craft room. Where are you located?
so much better! i love the new top!
Umm this table is spectacular! And $8… why don’t I run into good deals like this!??! Great job!