Antique China Cabinet | Curved Glass
As an Amazon Associate, I earn from qualifying purchases.
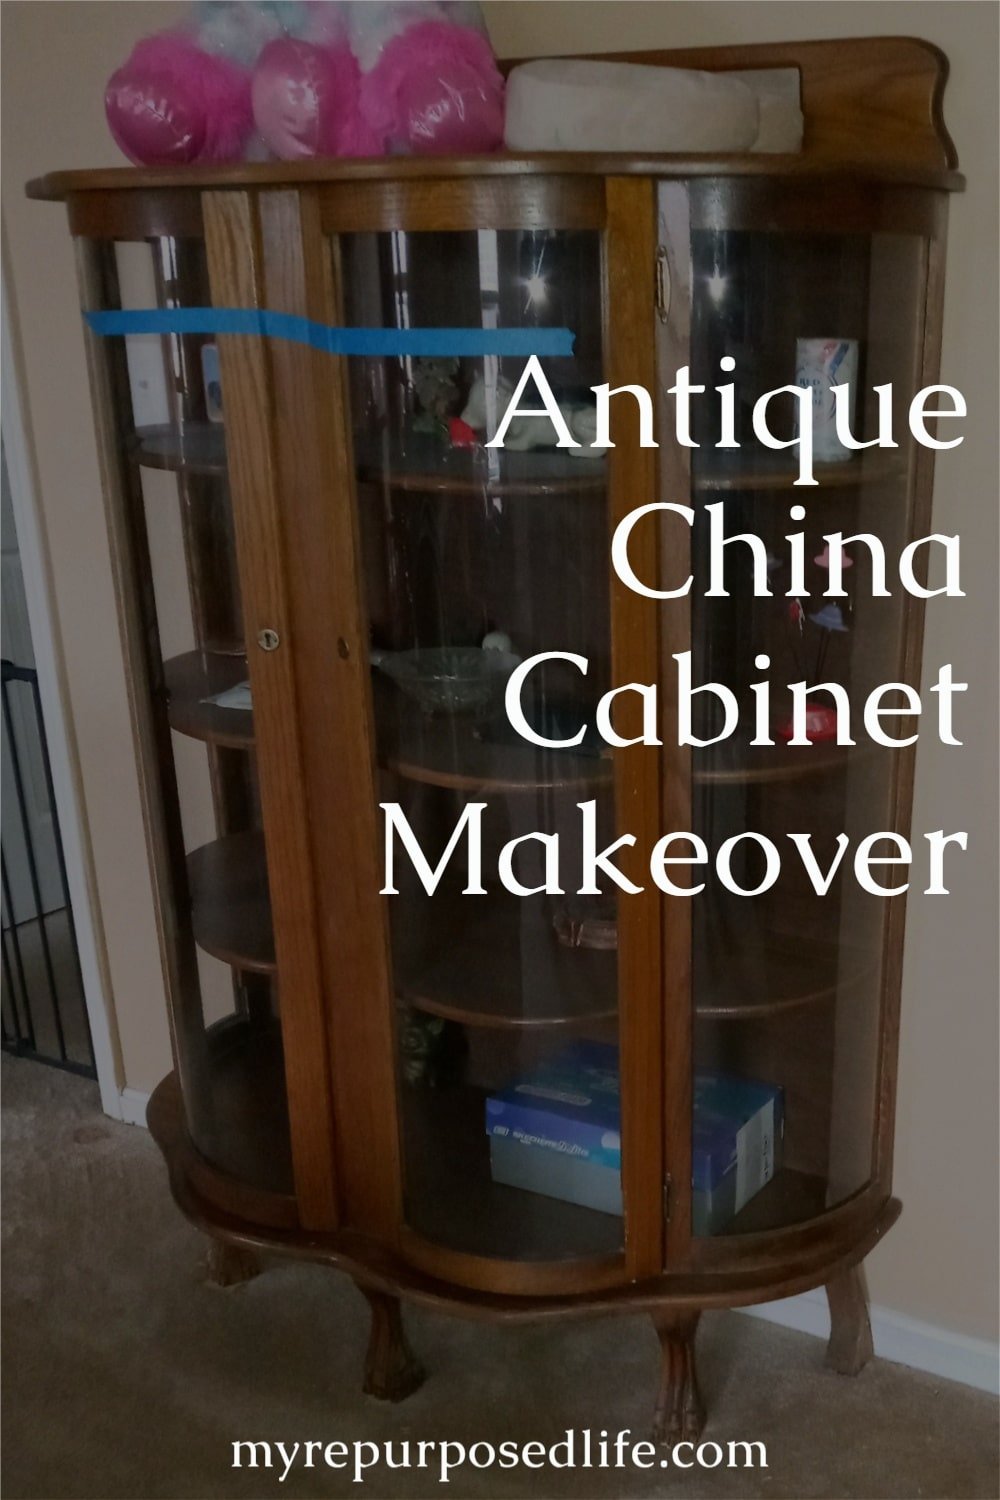
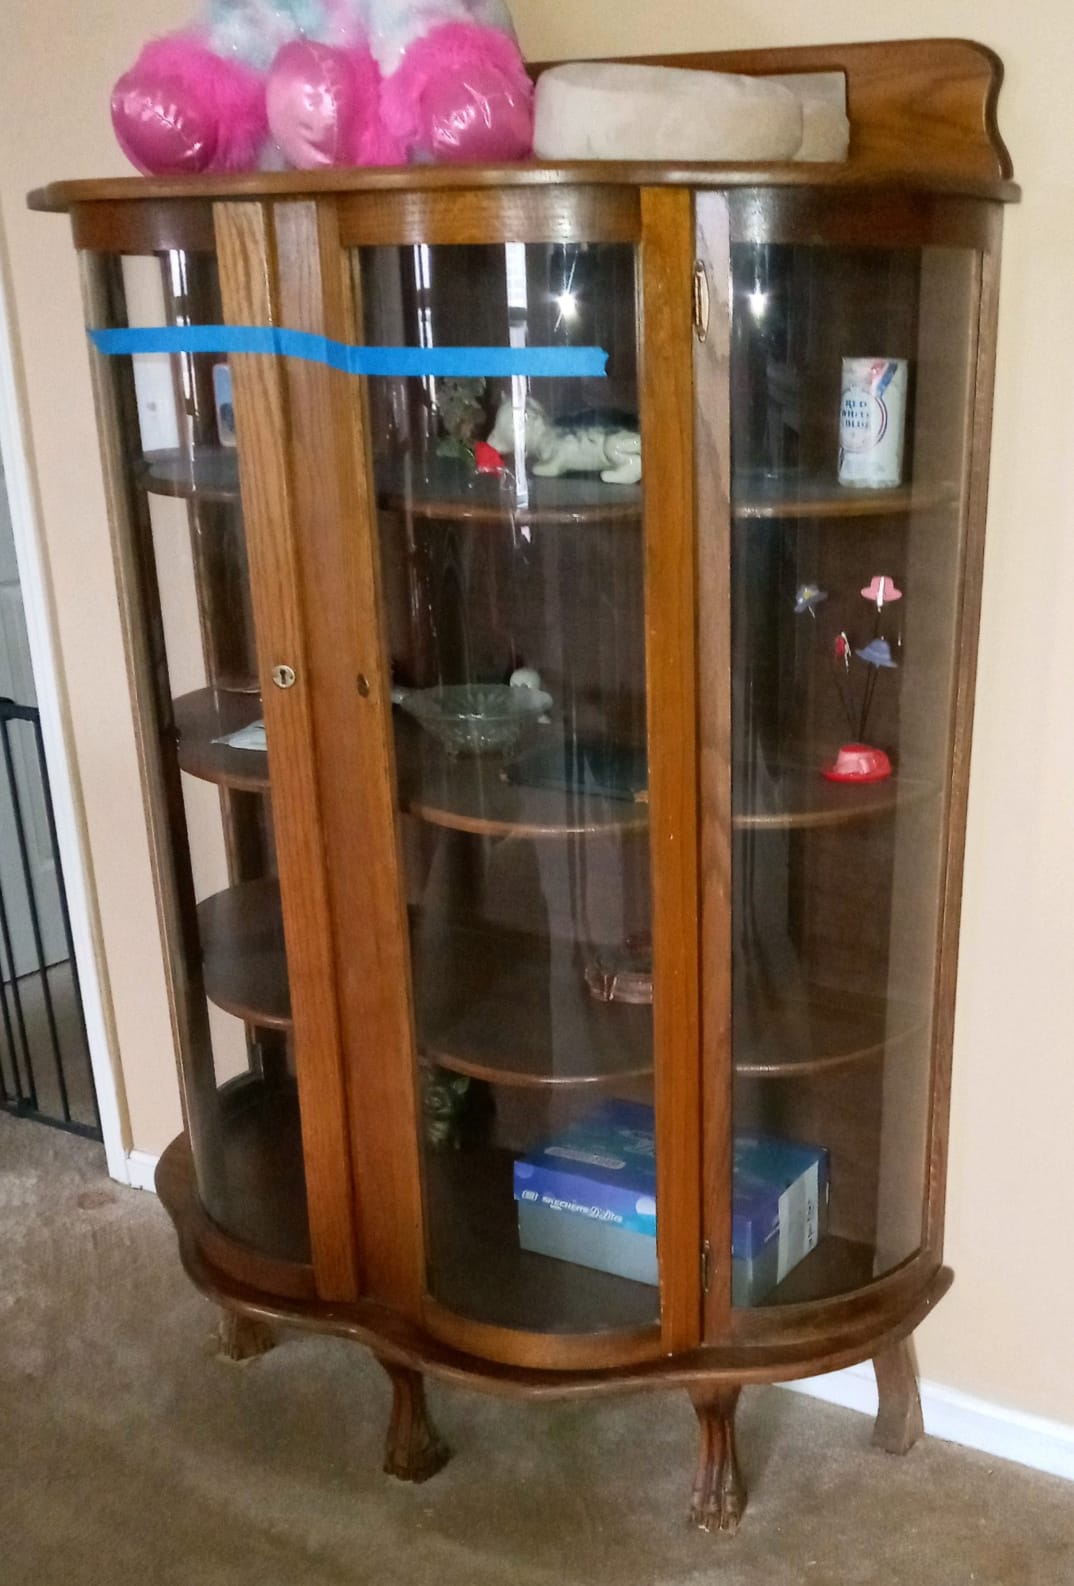
Cousin Terry gave me this antique china cabinet with curved glass. I find it odd that the china cabinet has five legs, two of which were not attached when I brought it home. Therefore I had to lay it down on two small furniture dollies for storage and moving.
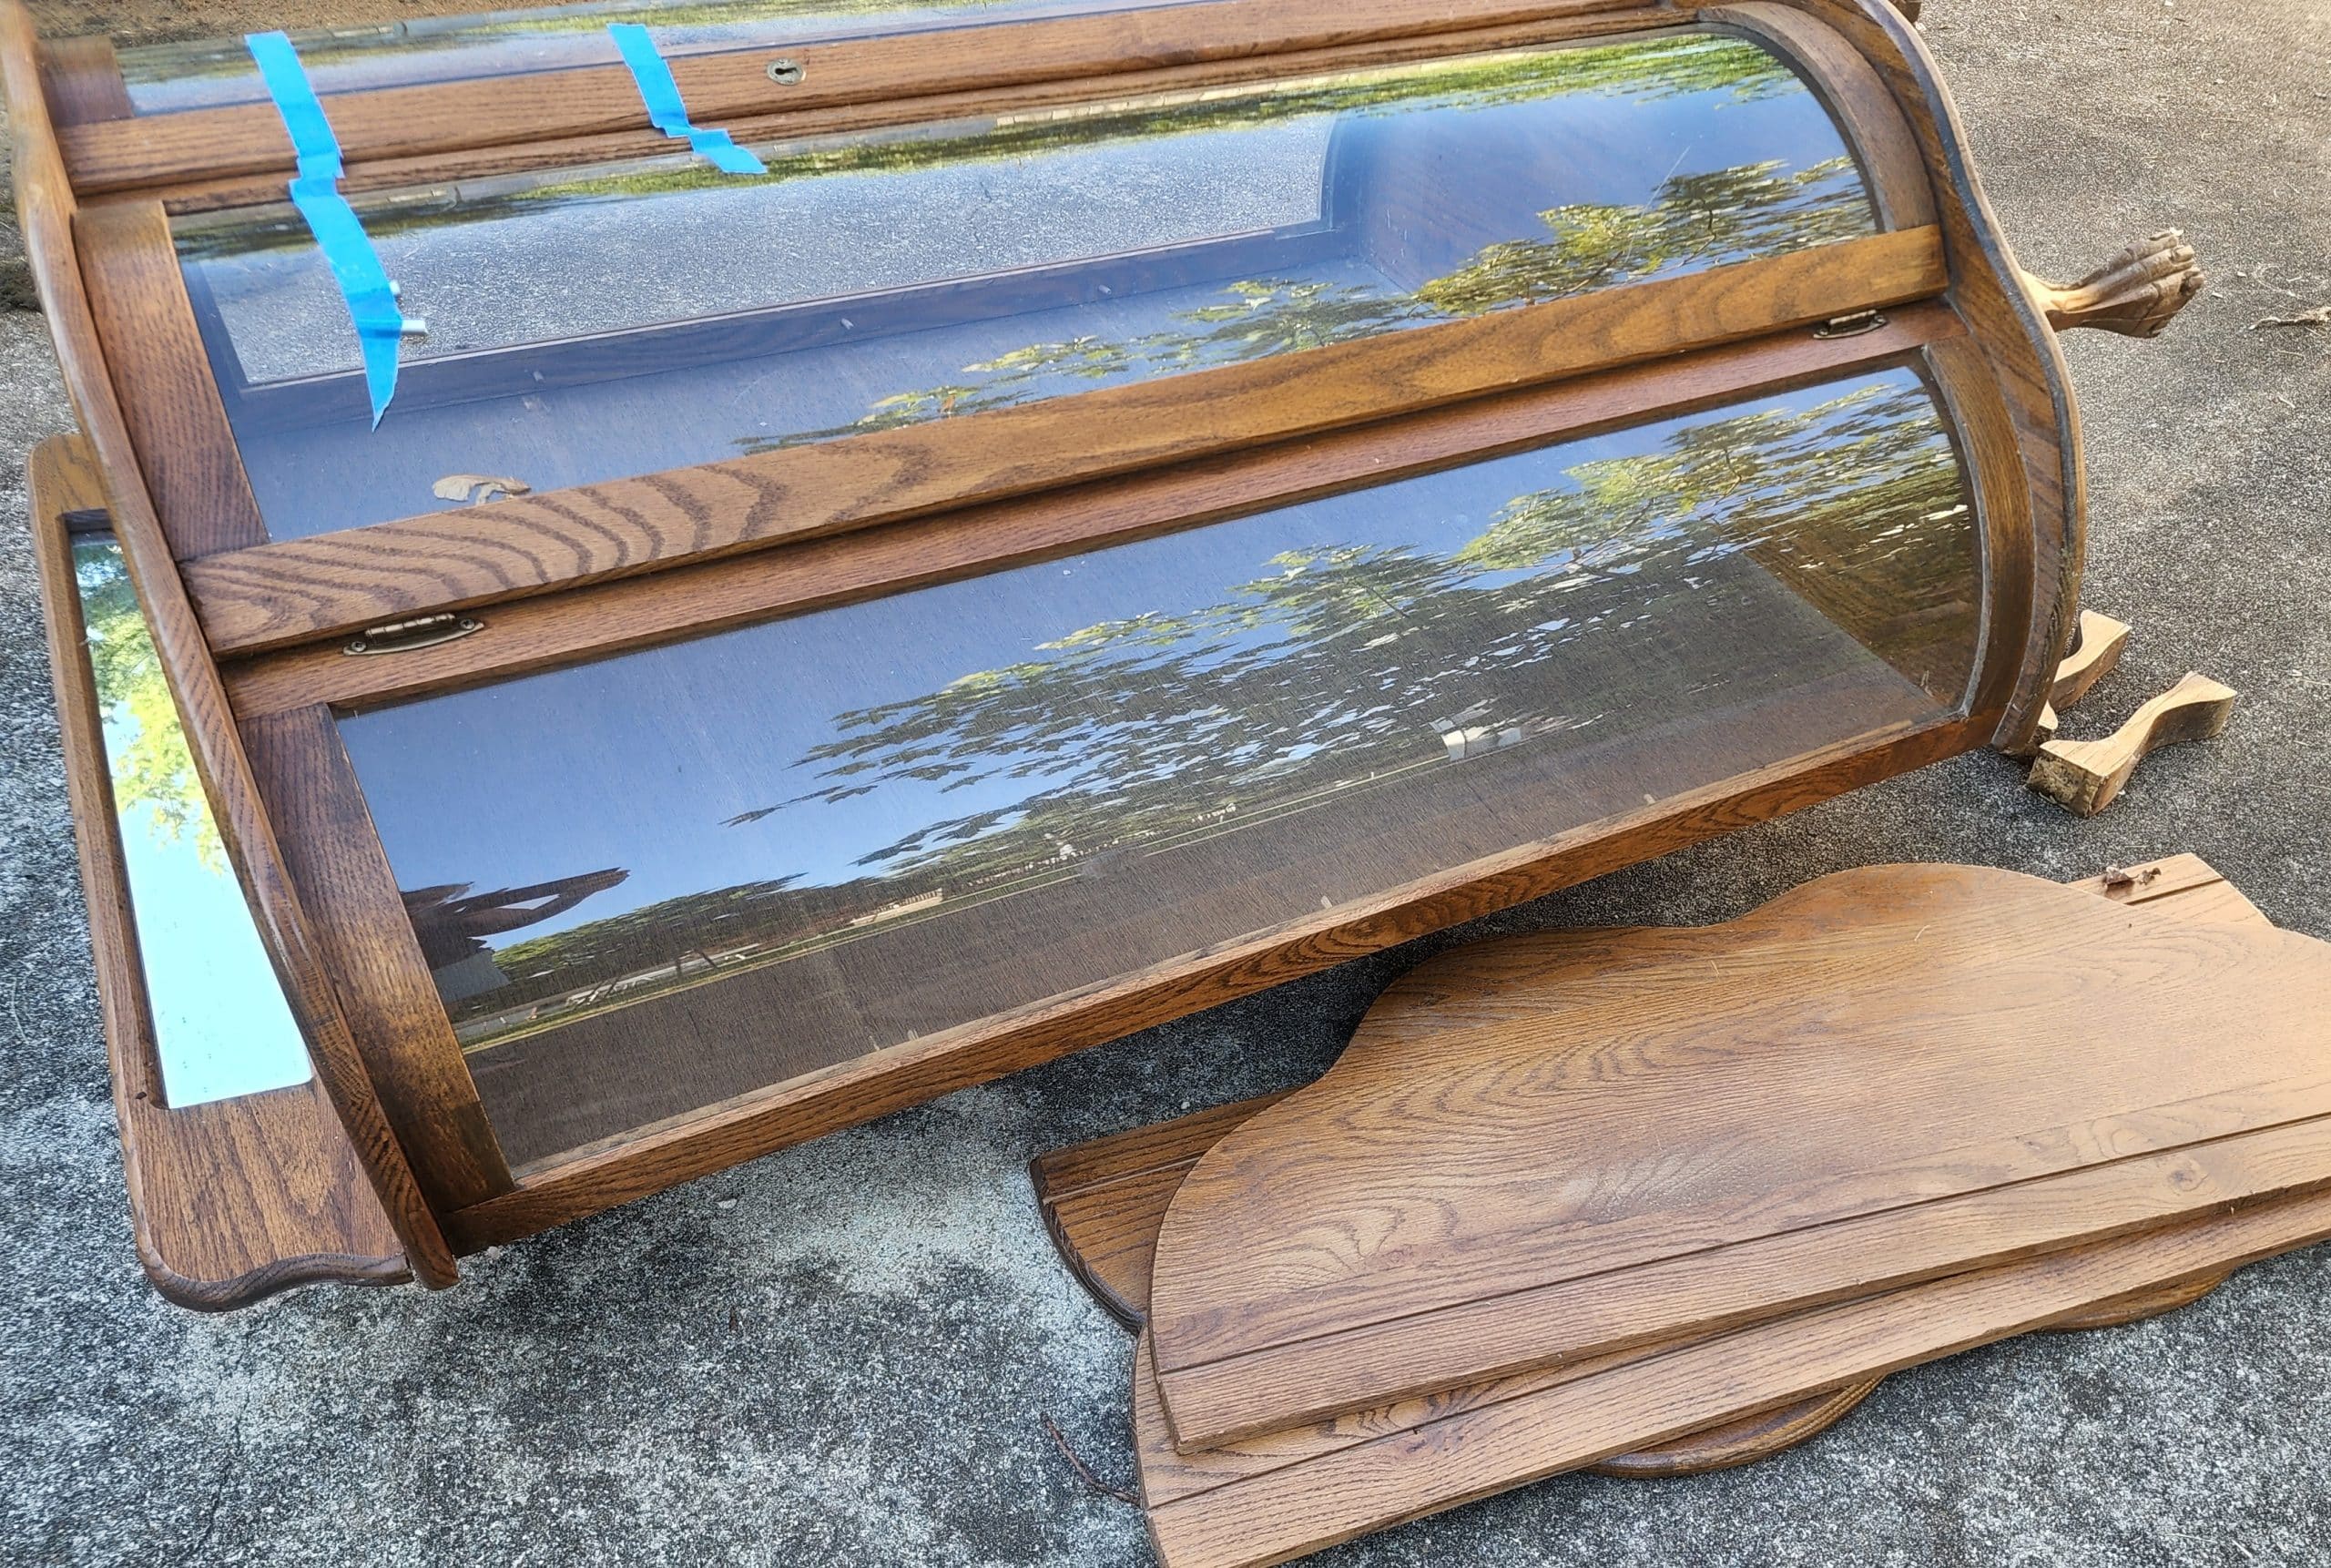
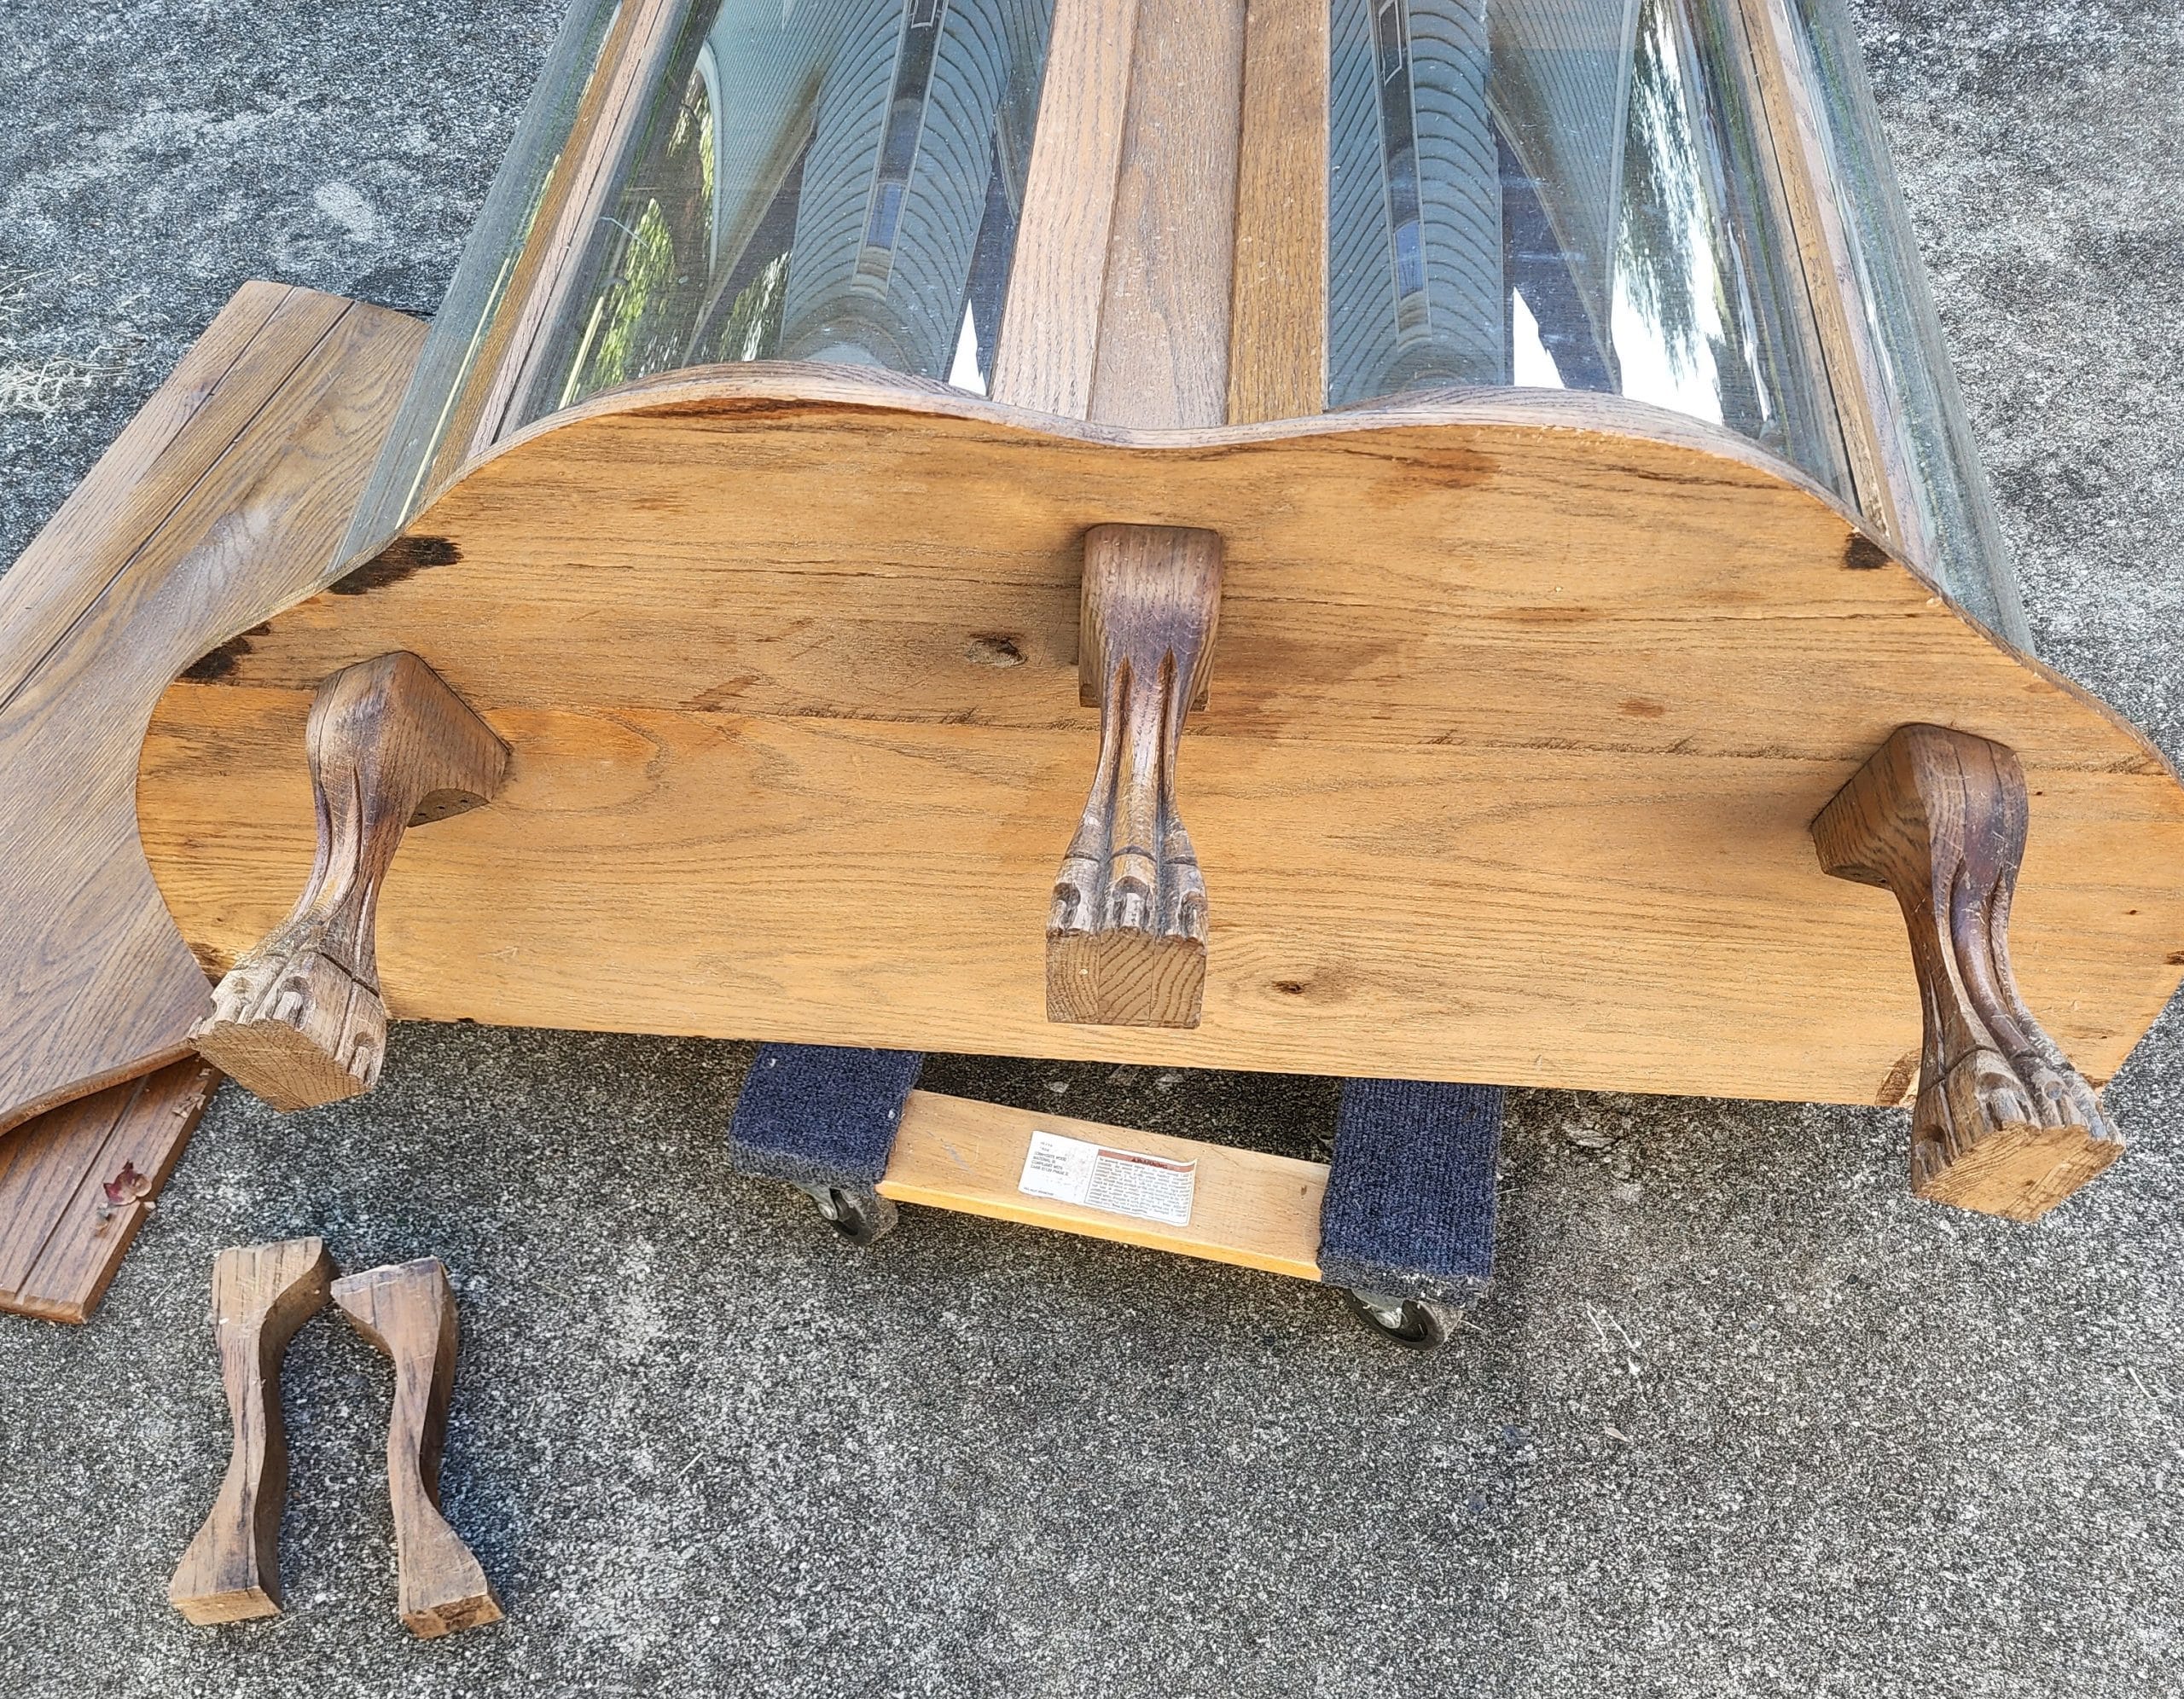
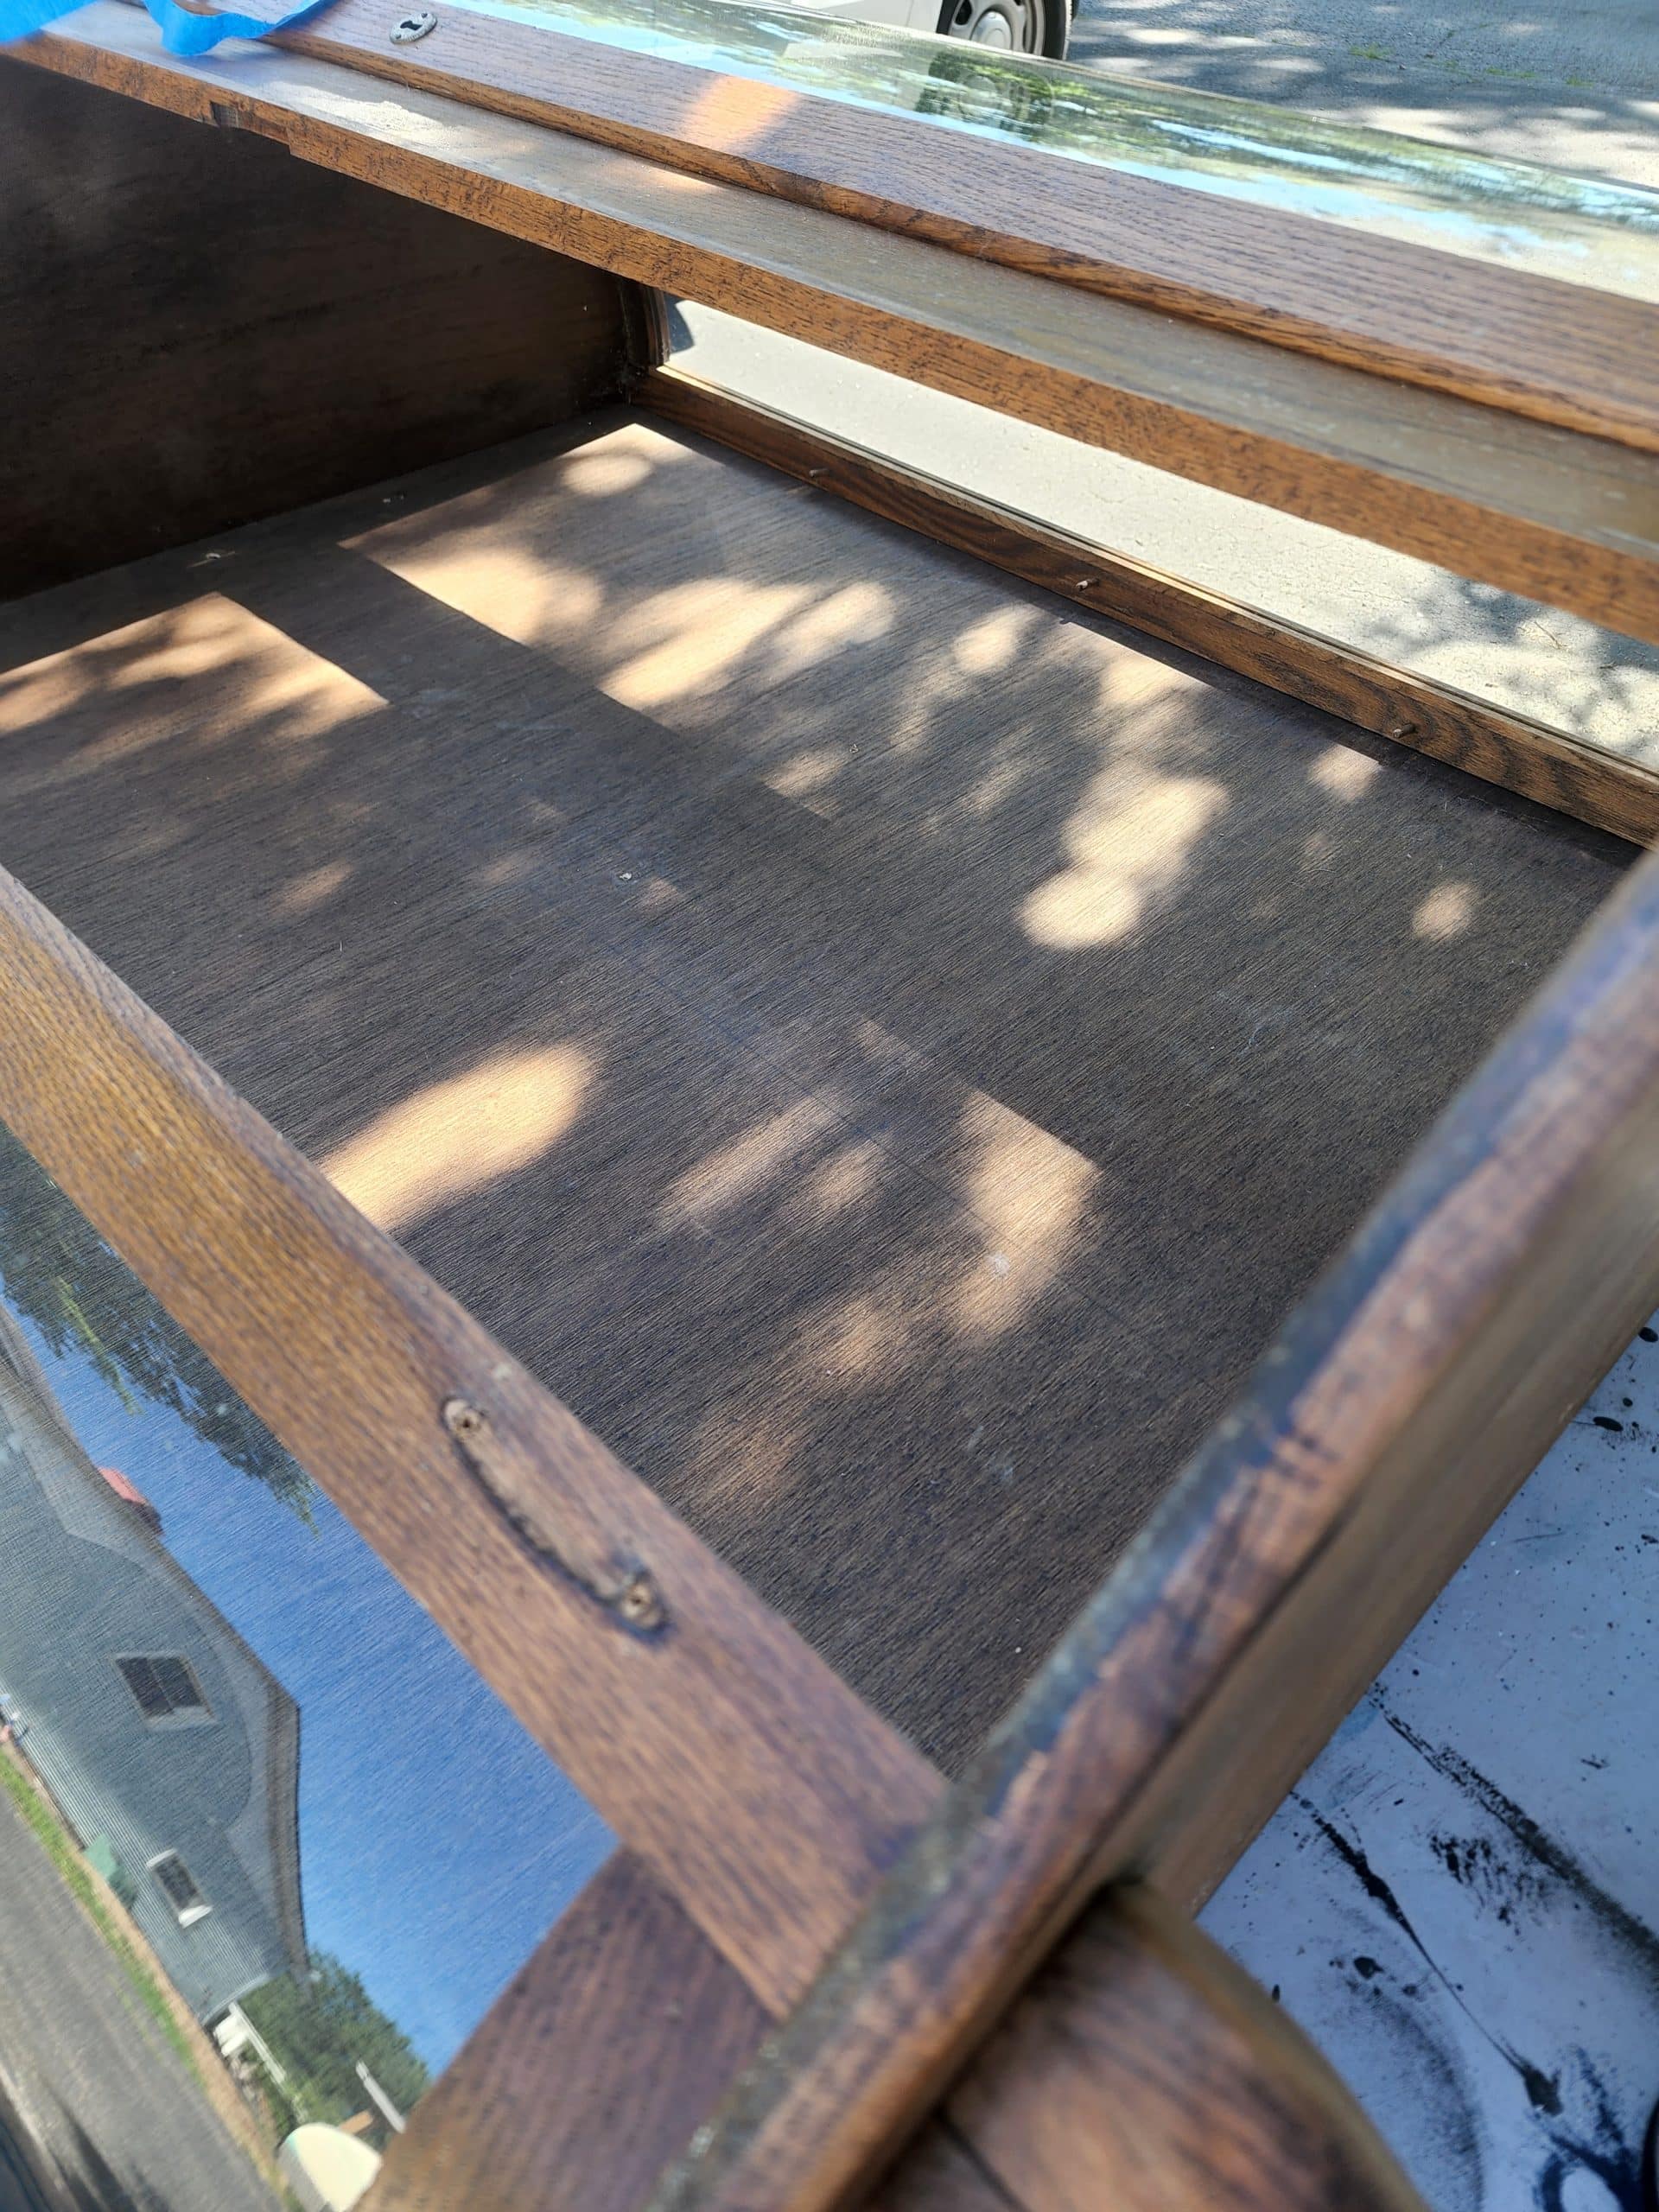
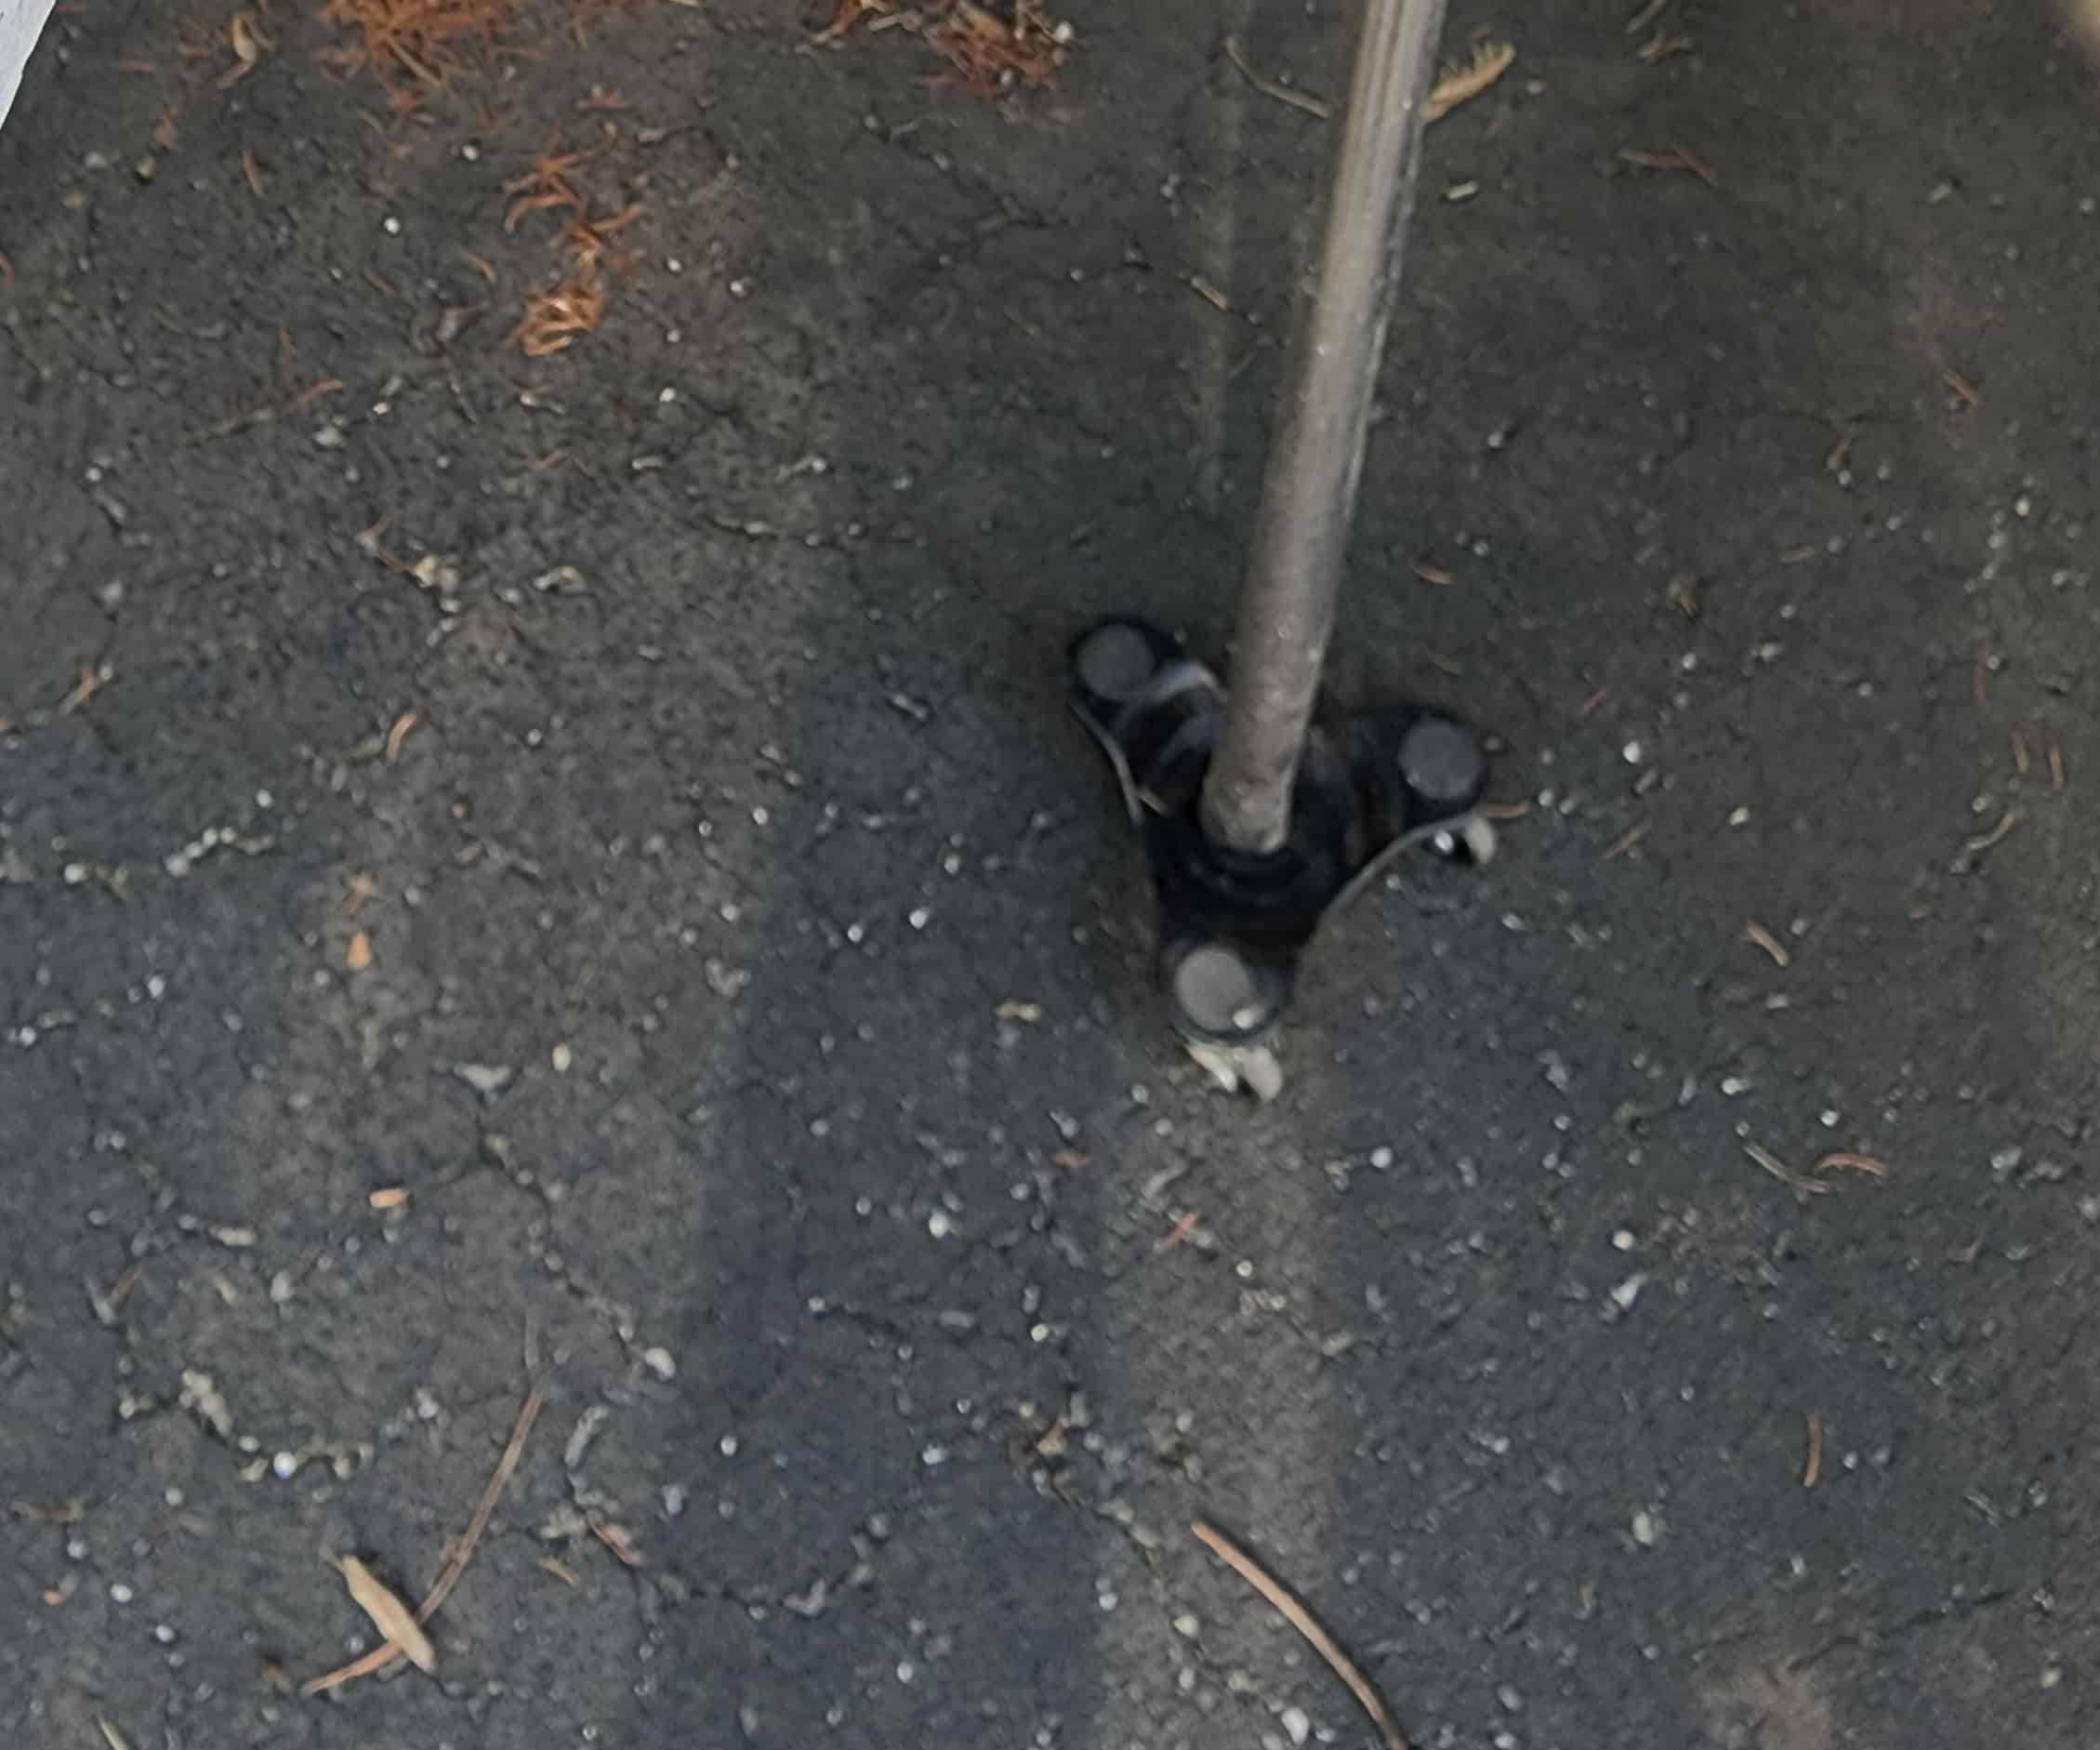
You can see the two back legs laying on the pavement, as well as the three curved wooden shelves. Note the small mirror attached to the back of the china cabinet. I have no idea how old this furniture is, but I don’t think it was manufactured. I couldn’t find any furniture company listed anywhere on it.
In this picture, the cabinet is propped up on the back legs. But at least it’s upright!
Before I could do anything, I needed to get those back legs on. You’ll see that I opted for Kreg Jig Pocket holes, but then decided to add extra screws “just in case”.
Repair Legs on Antique China Cabinet
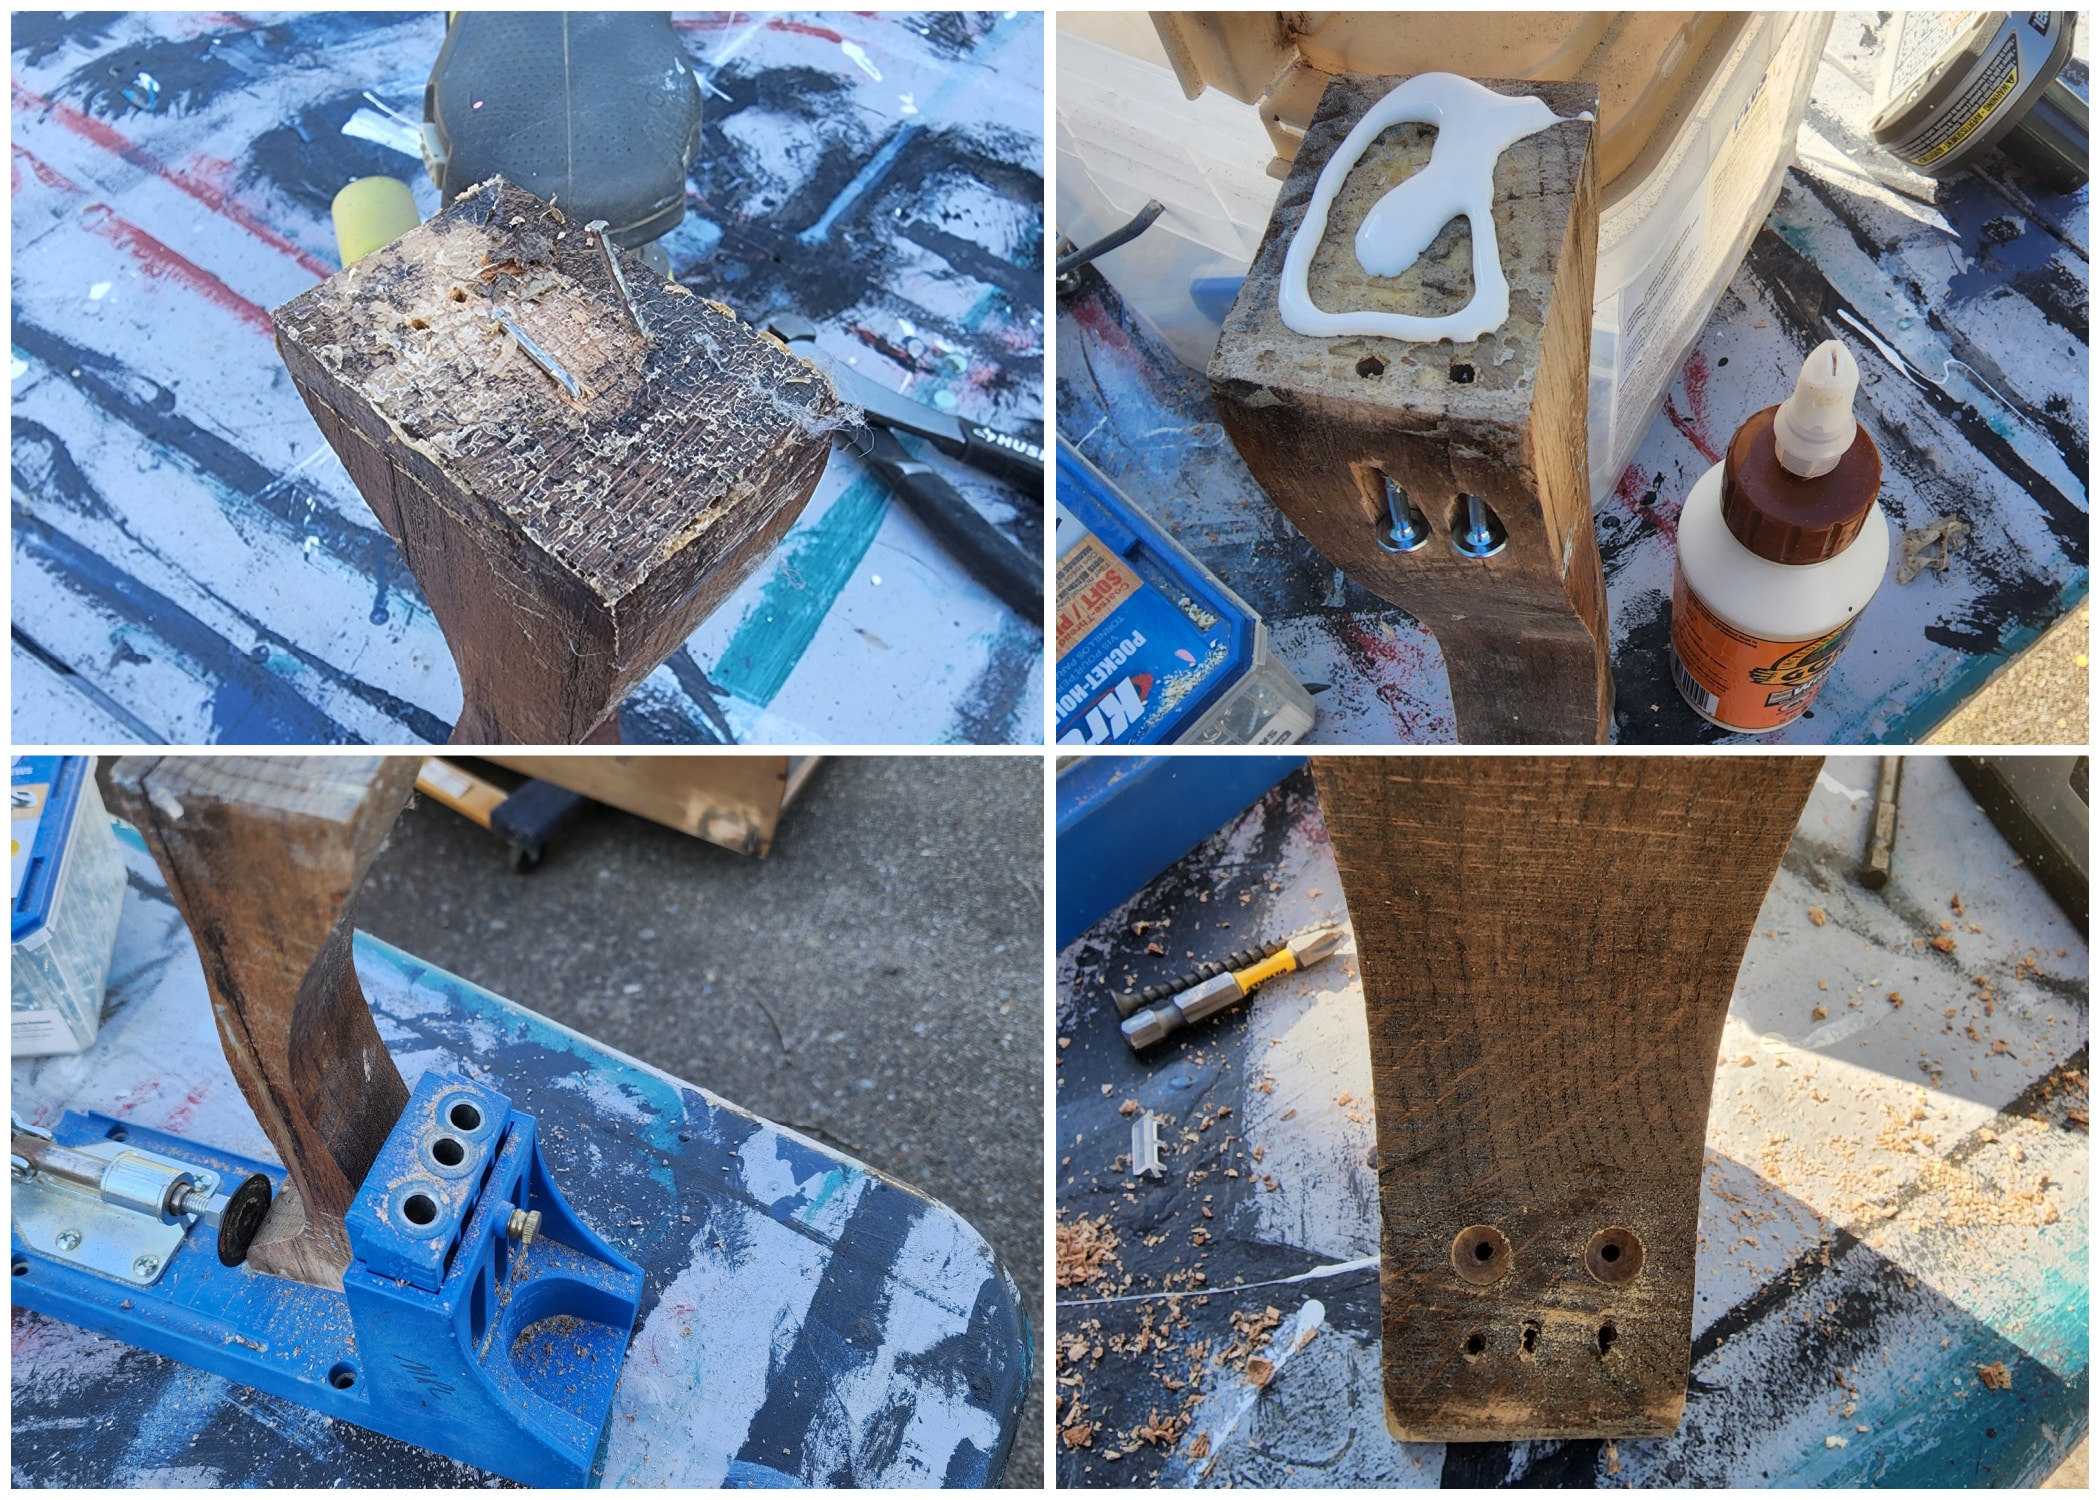
First, I removed leftover nails, then I sanded the old glue off of the legs and the bottom of the cabinet. This was done so the legs would rest smoothly on their new home.
Next, I drilled the pocket holes, and finally I drilled countersink holes for new screws. Additionally, I used Gorilla Wood Glue for extra hold.
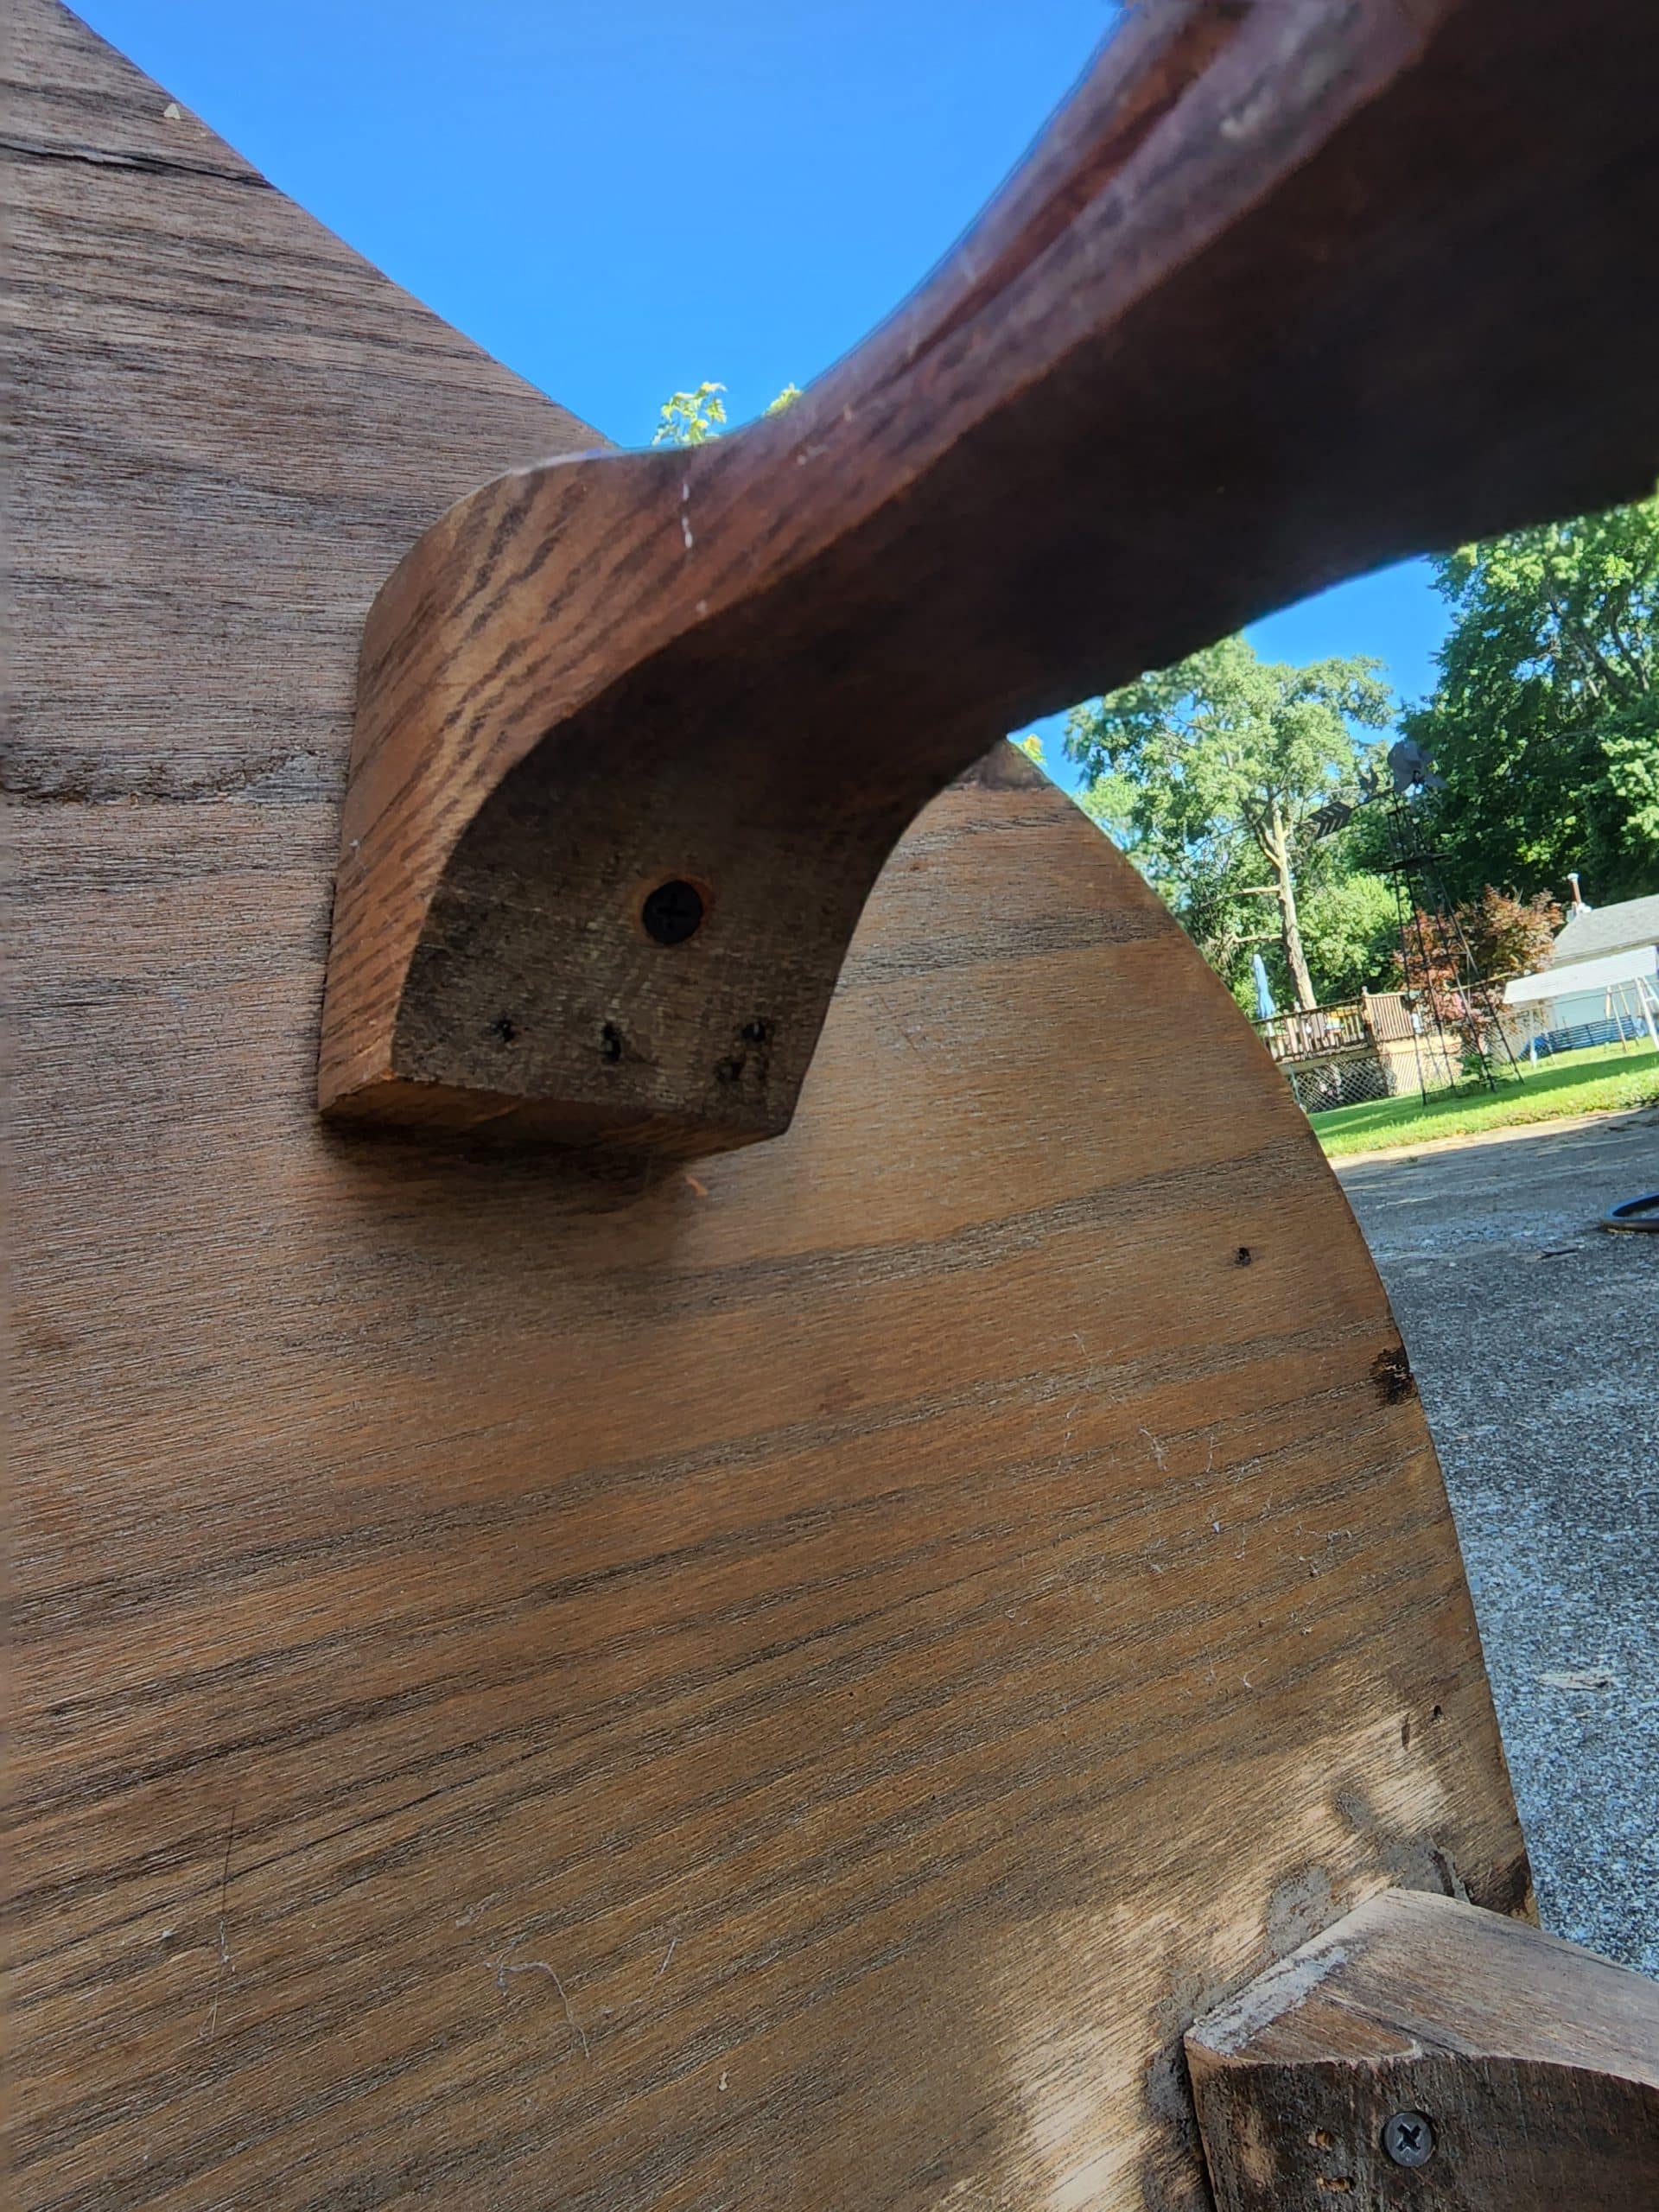
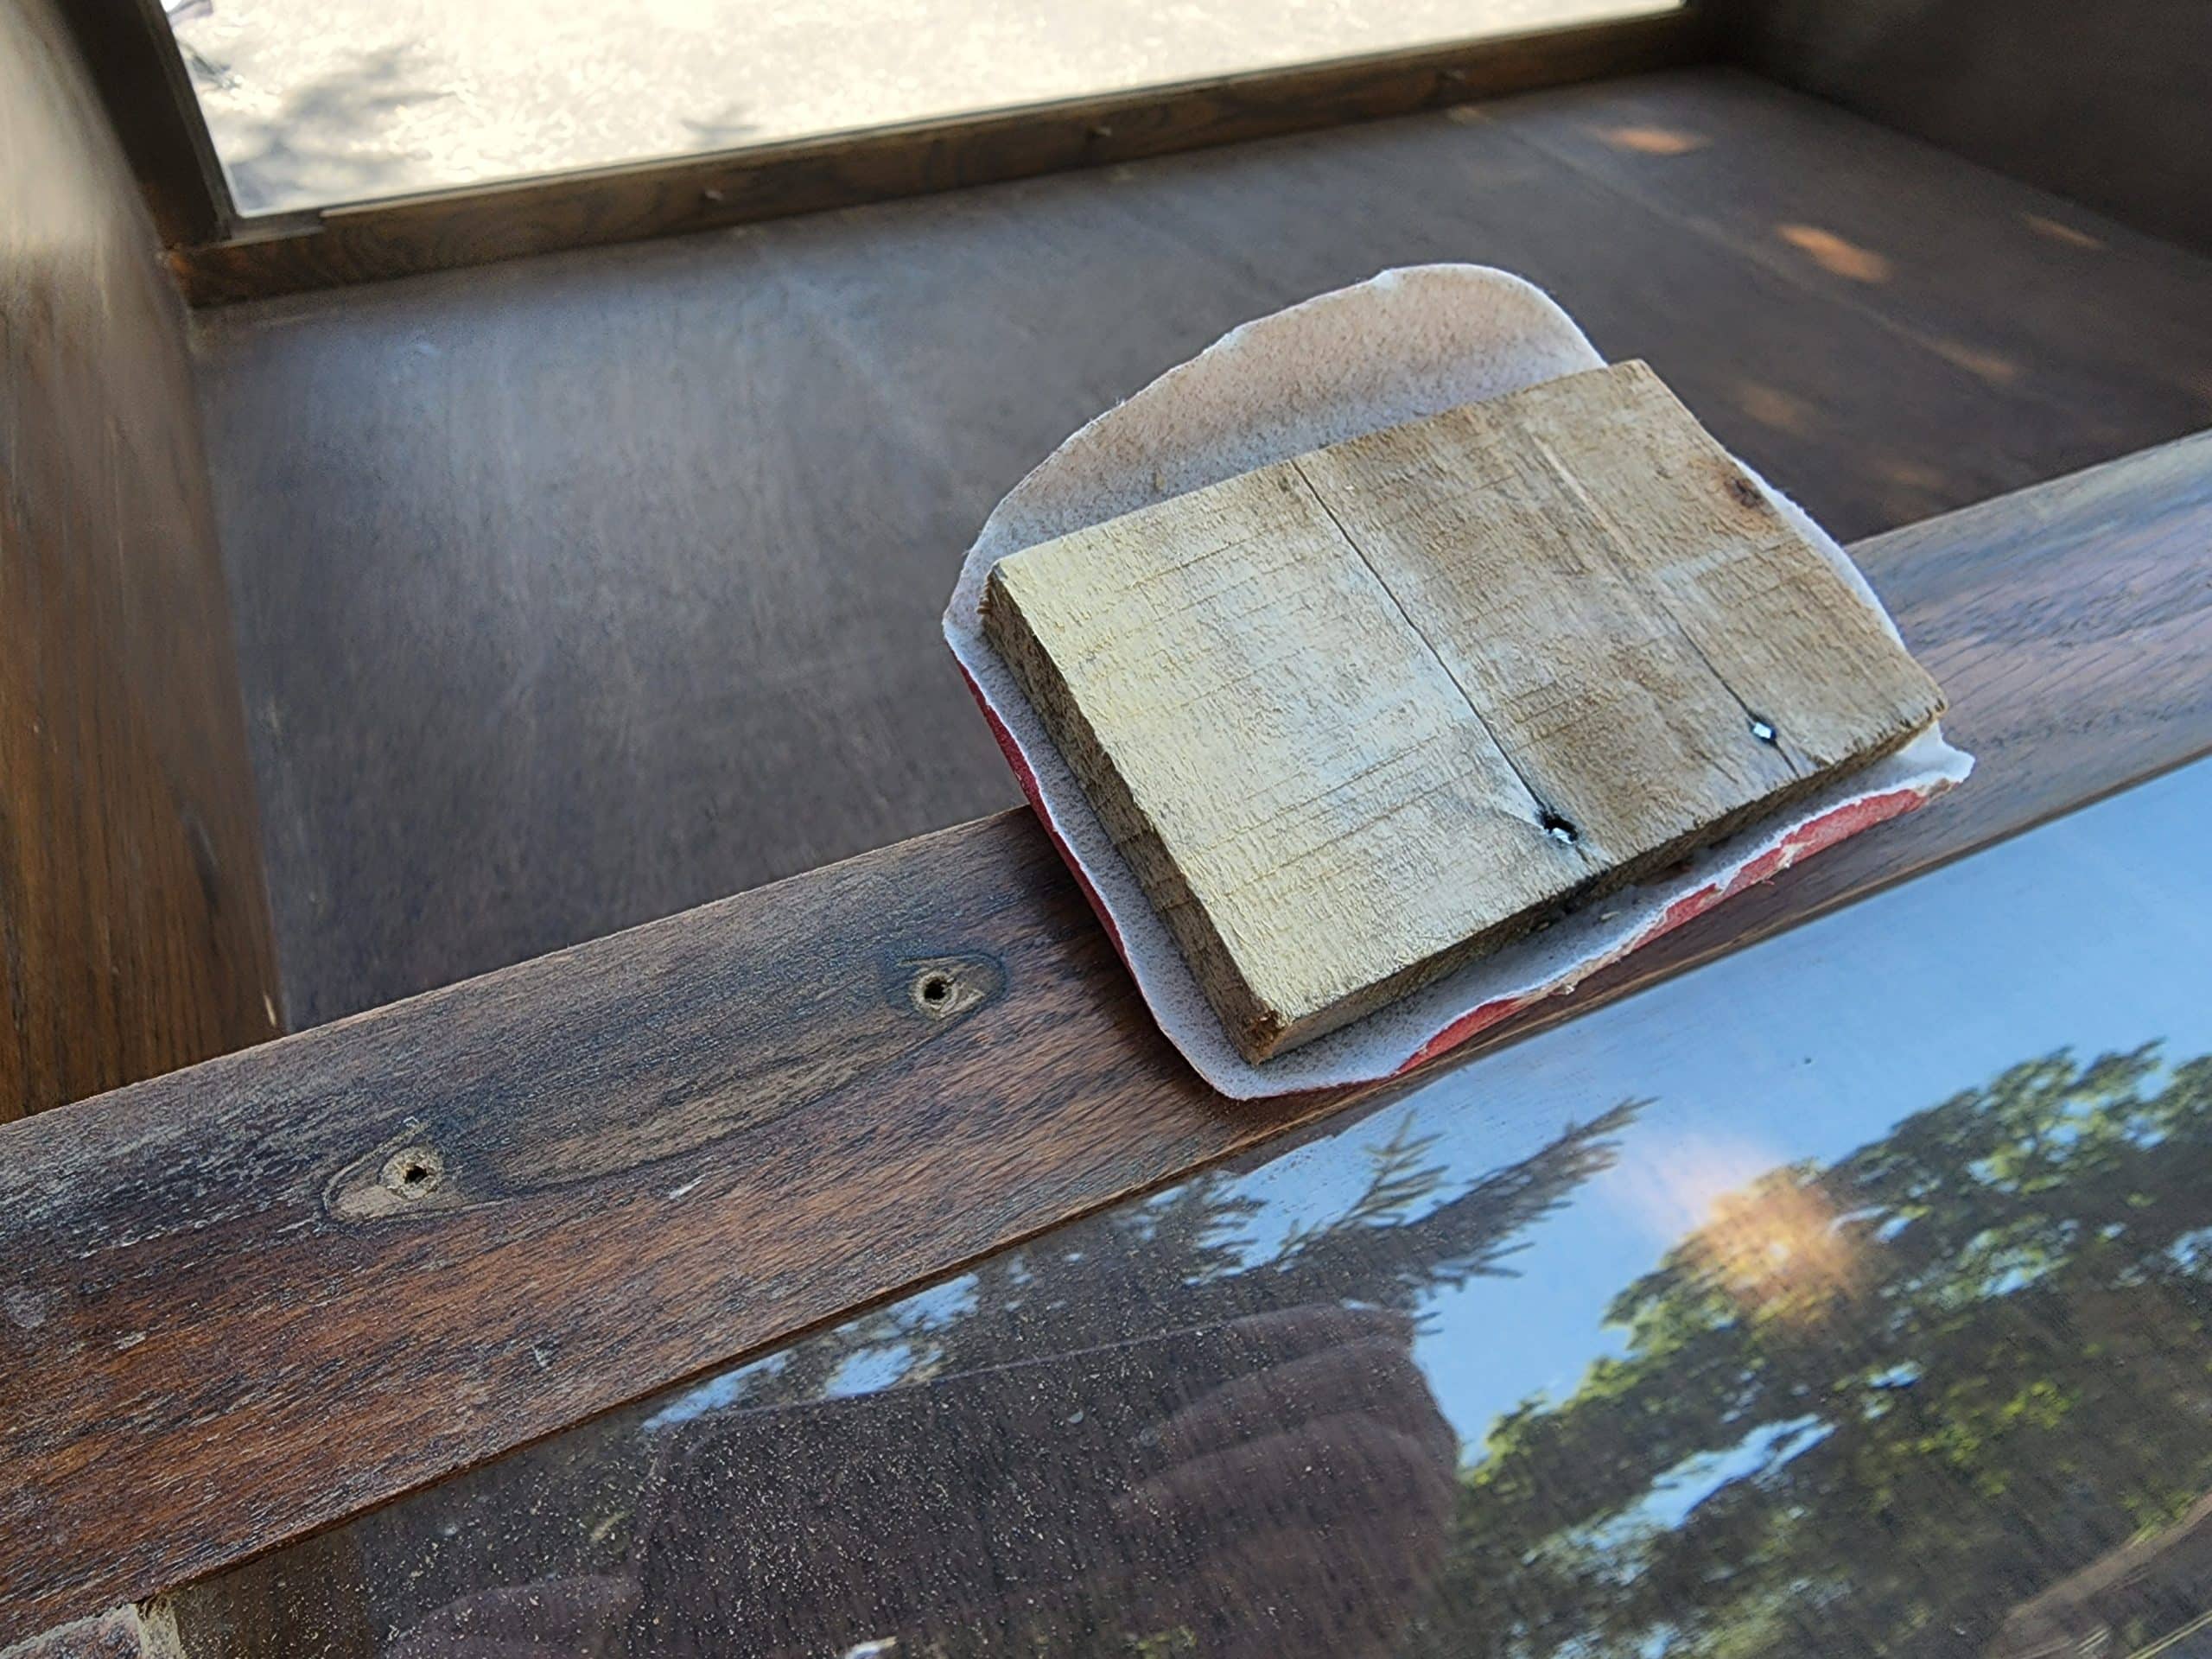
Here, you can see that I added extra screws to the front three legs. As for the two missing back legs, I reattached them using the shadow of where they had been before. Had I not done this, I would have put them on wrong. It seemed to me that the “paws” should face forward, whereas originally they faced outward.
Patch Pocket Holes

I used Plastic Wood-X to patch the pocket holes. I did this in two phases, allowing the first application to dry and set up before I added more Plastic Wood.
Remove Doors From Antique China Cabinet
Because I wanted to make it easier on myself, I asked my neighbor Rodney to help me put the china cabinet on a work table. Then, I removed the curved glass doors, hence making it easier to paint the inside of the cabinet.
How to Make Work Table Mobile
In order to make my work table mobile, I used some tri-dolly wheels. I have learned to work smarter not harder. The weather was really warm and I needed to “chase the shade”. My folding work table worked great using these wheels. They have pads on top of them that allow you to use them under furniture as well.
Sand Rough Areas
This was a good time to sand any rough places, including where the door hinges had been removed.
Degloss Antique China Cabinet Before Painting
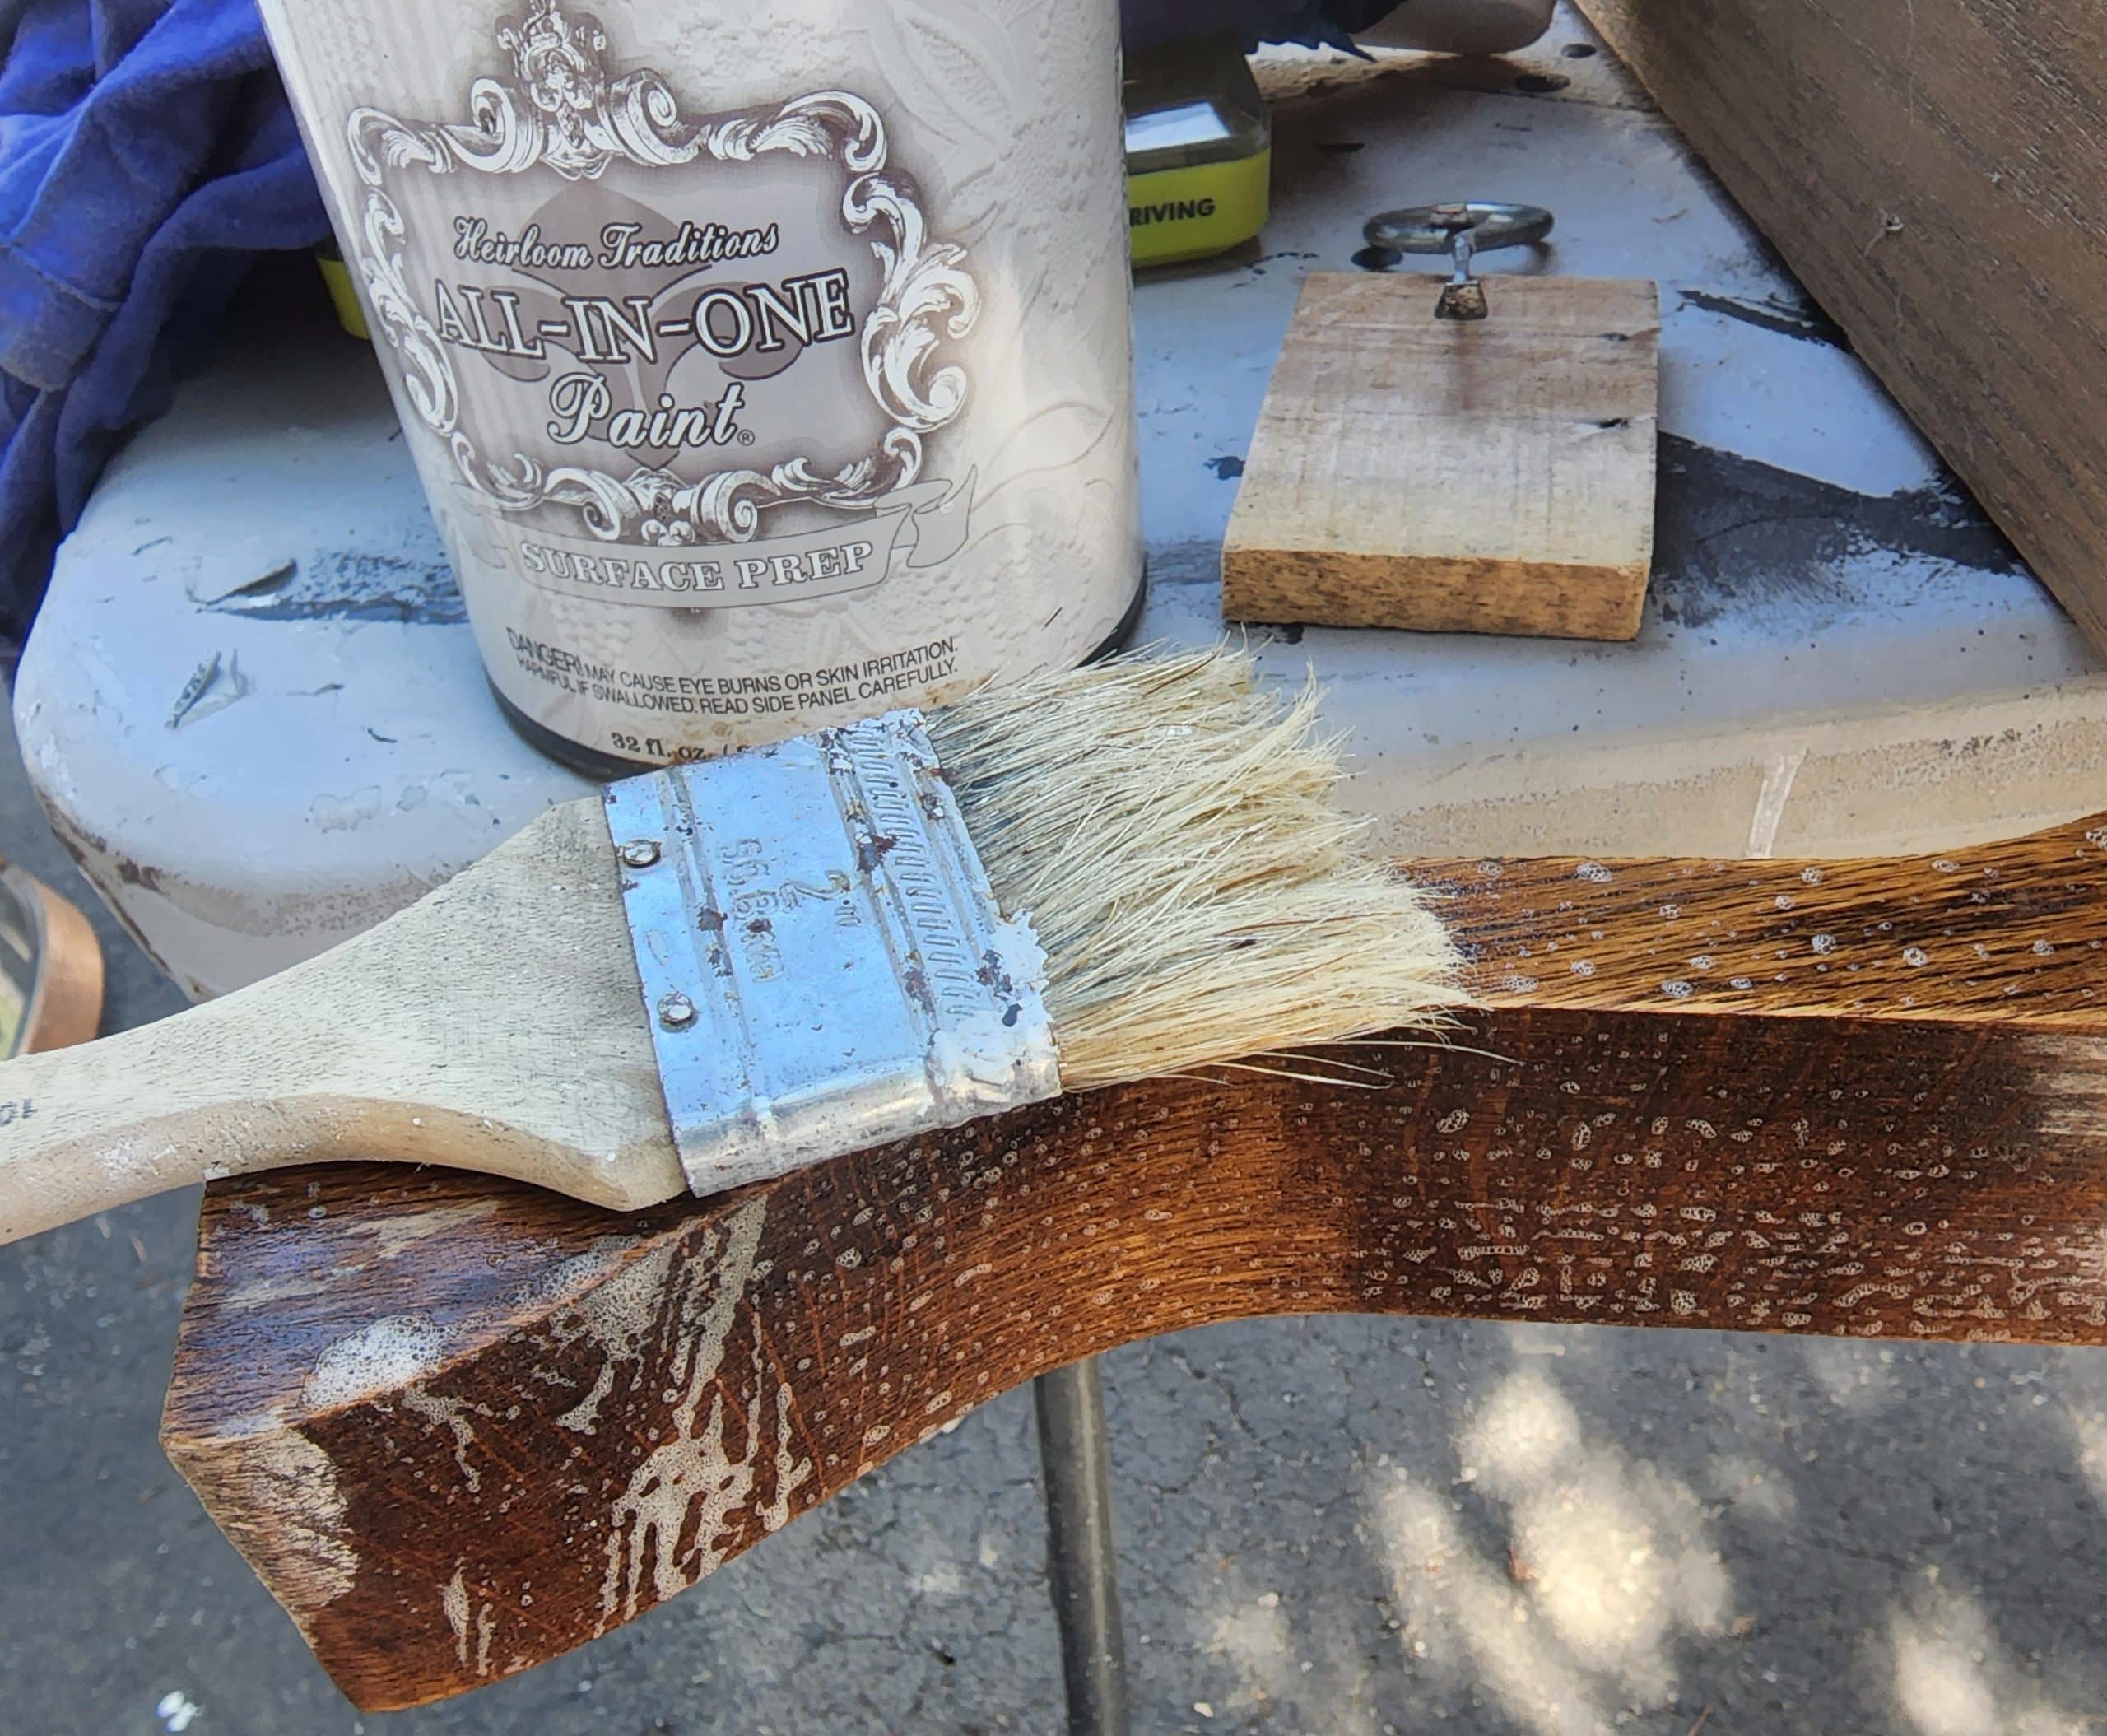
Because I don’t really know the entire history of the antique china cabinet, I used the deglosser on it to remove grime and crud. Simply brush it on (scrub it-optional) and wipe it off. This really helps the paint adhere. You can’t paint over grease, grime and nicotine.
Mix Paint for Custom Color
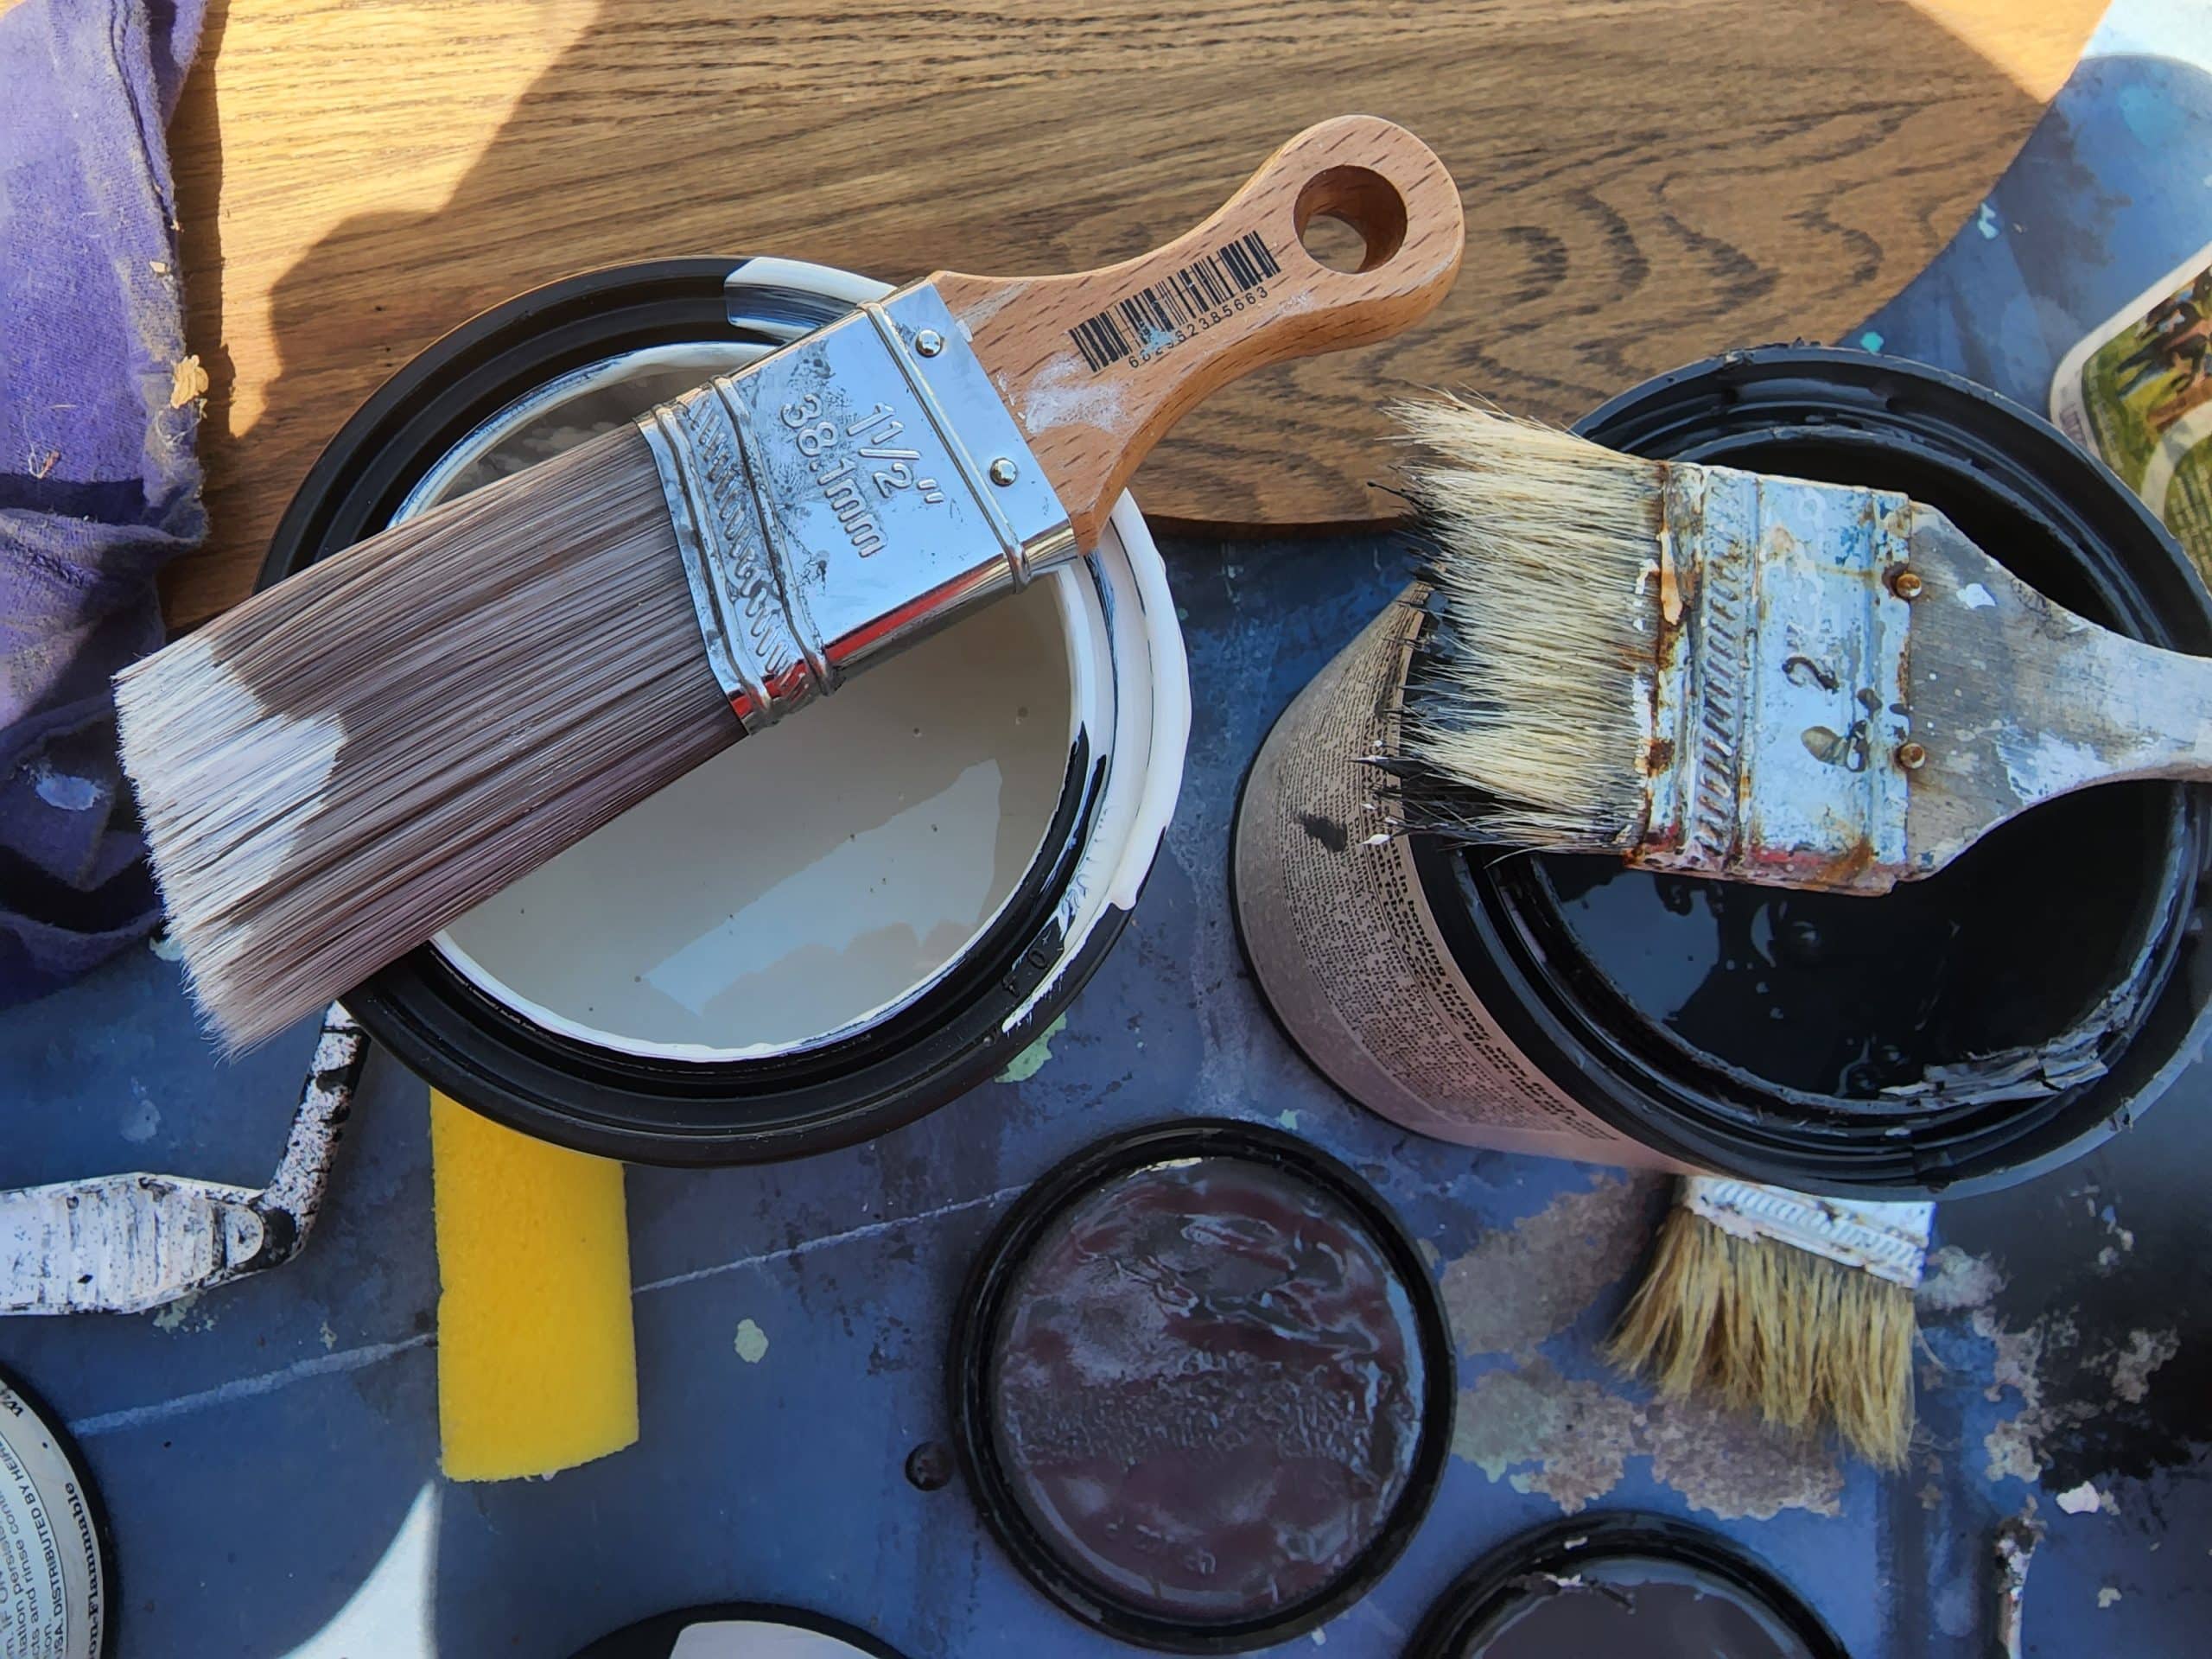
Although I loved the way the small desk with missing drawers turned out painting it with weathervane, I was thinking something much lighter for this antique china cabinet. So, I mixed All in One Paint “Bone” with “Weathervane”. It produced a very light (medium) gray.
Paint with Small Foam Roller
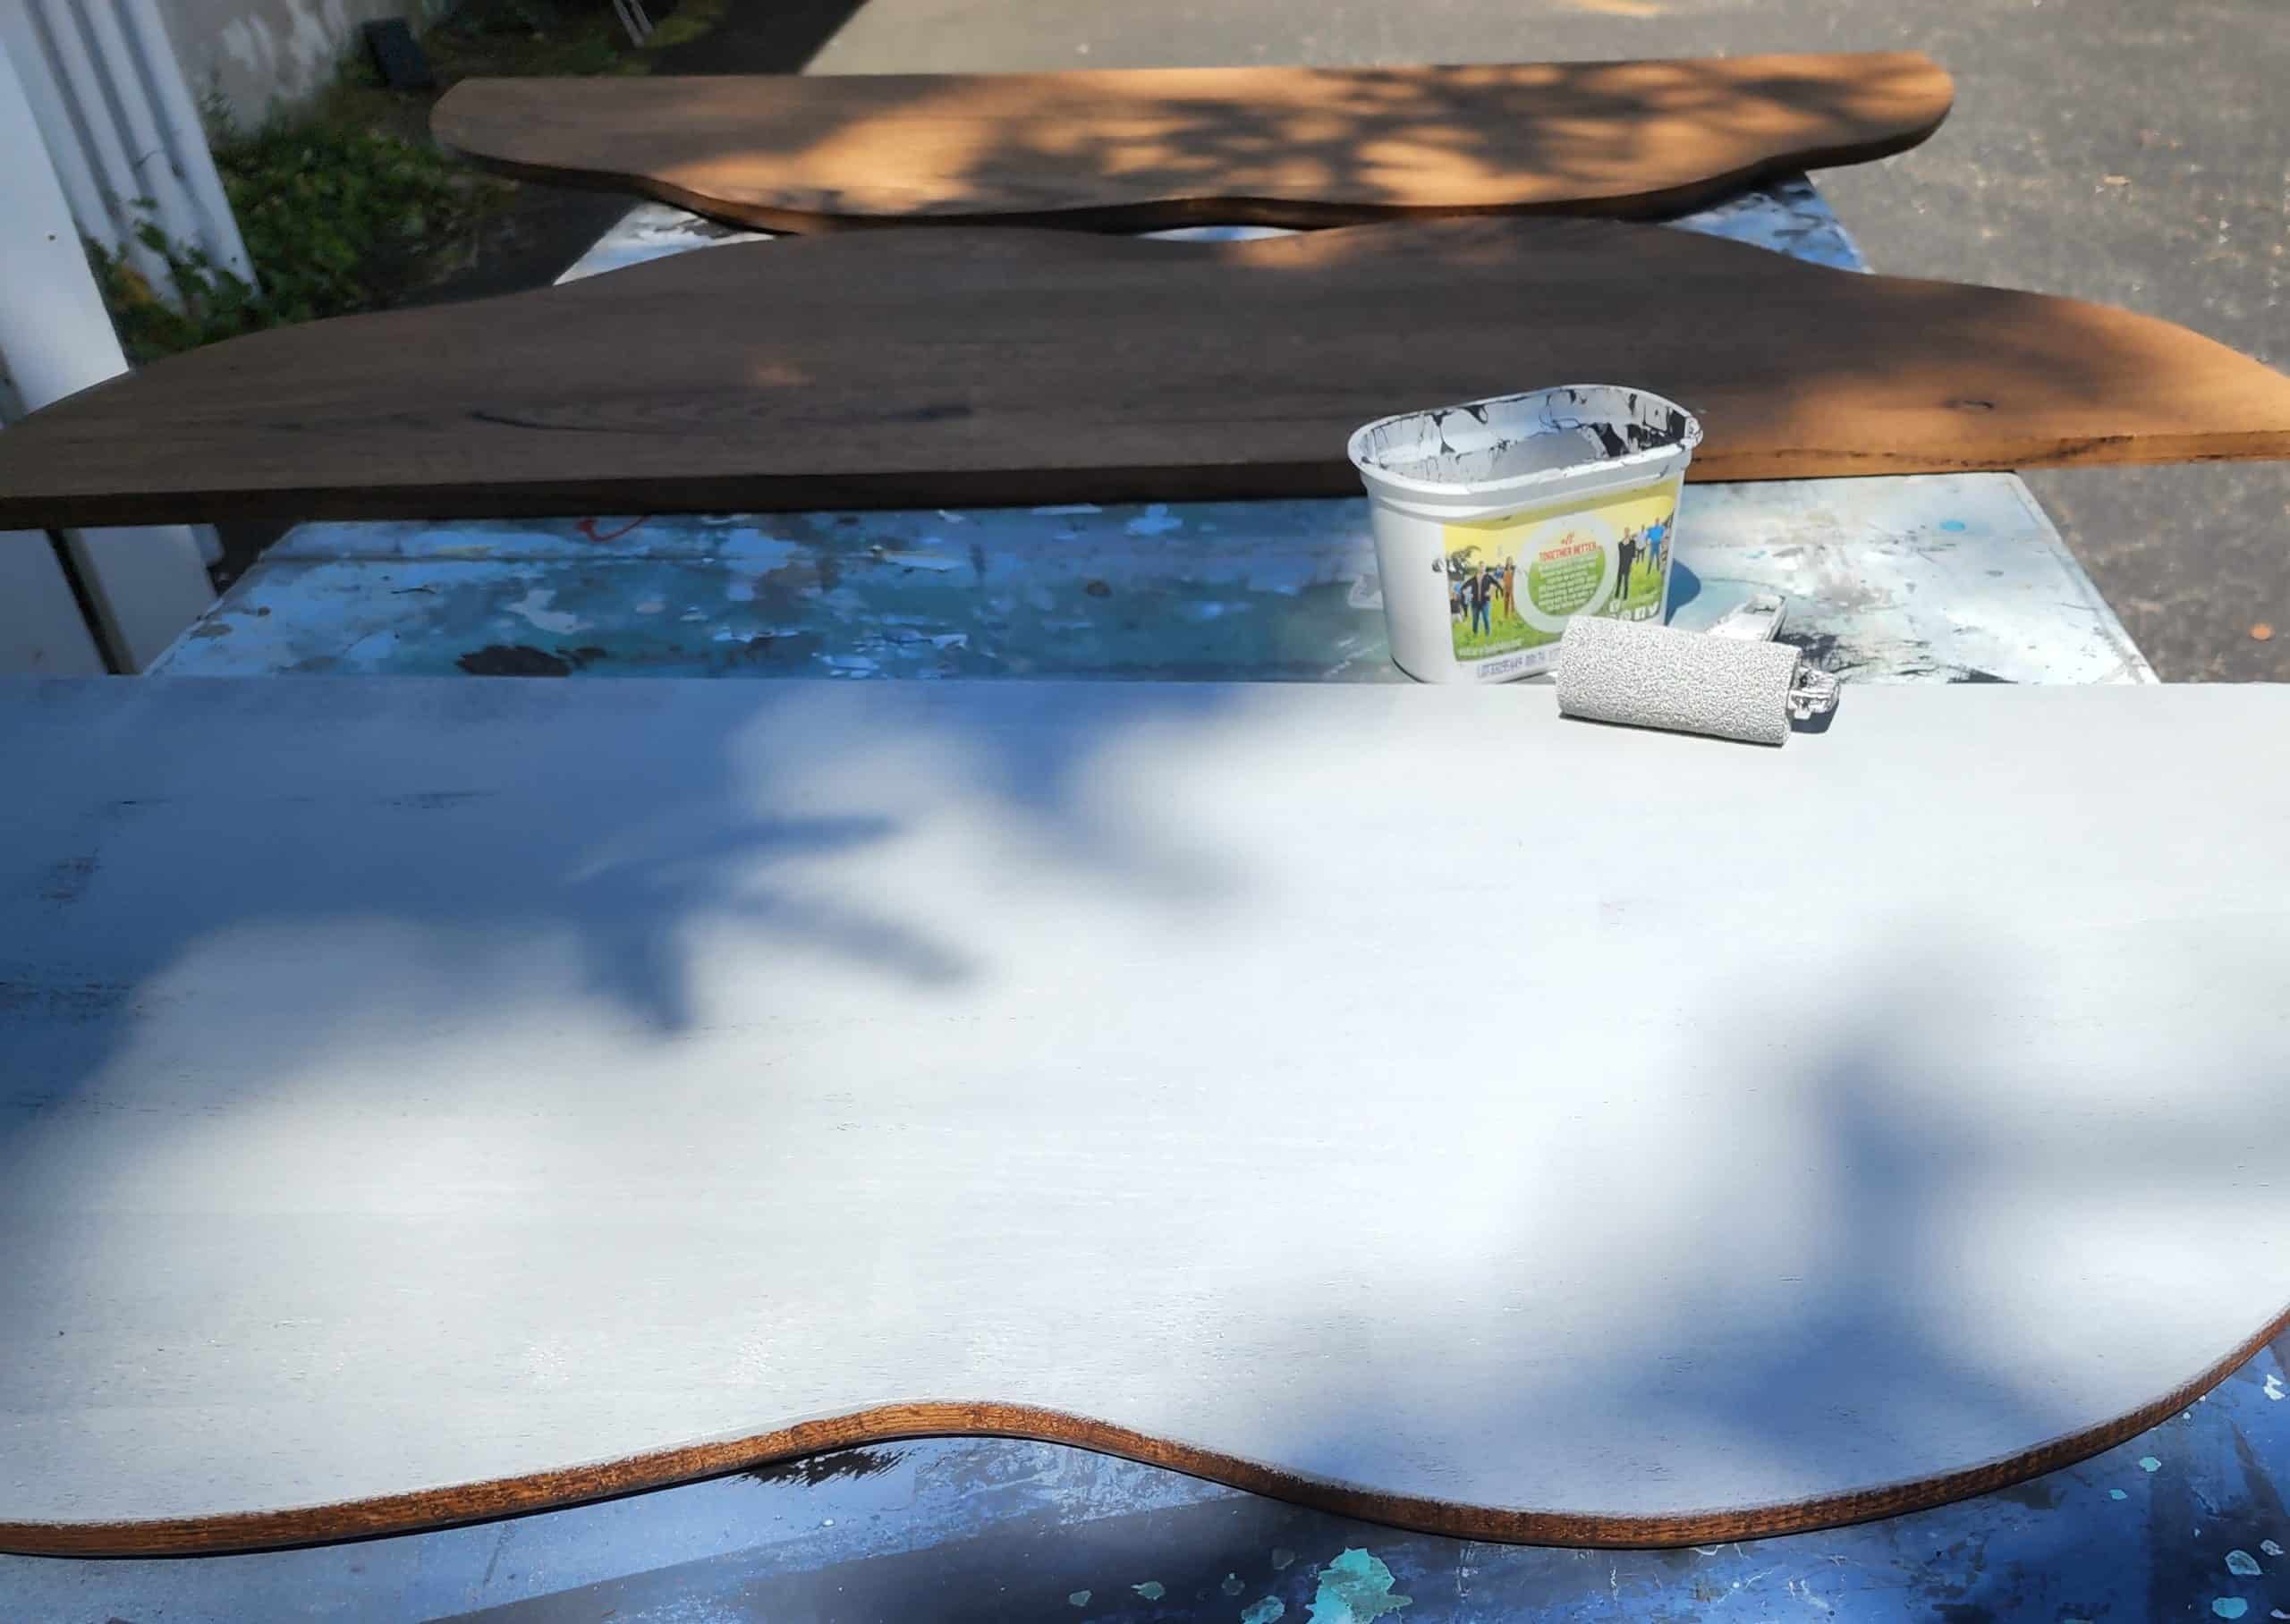
As usual, I used a small foam roller to paint all the large surfaces of the antique china cabinet, starting with the shelves. (it’s not the high density type that you may use to paint your walls)
I really love to use a butter container for the paint. The roller fits perfectly in it, and I can store the paint for short periods of time using the original lid.
The small roller was used on most areas of the cabinet, including the legs. Later, a small brush will be used for touchups.
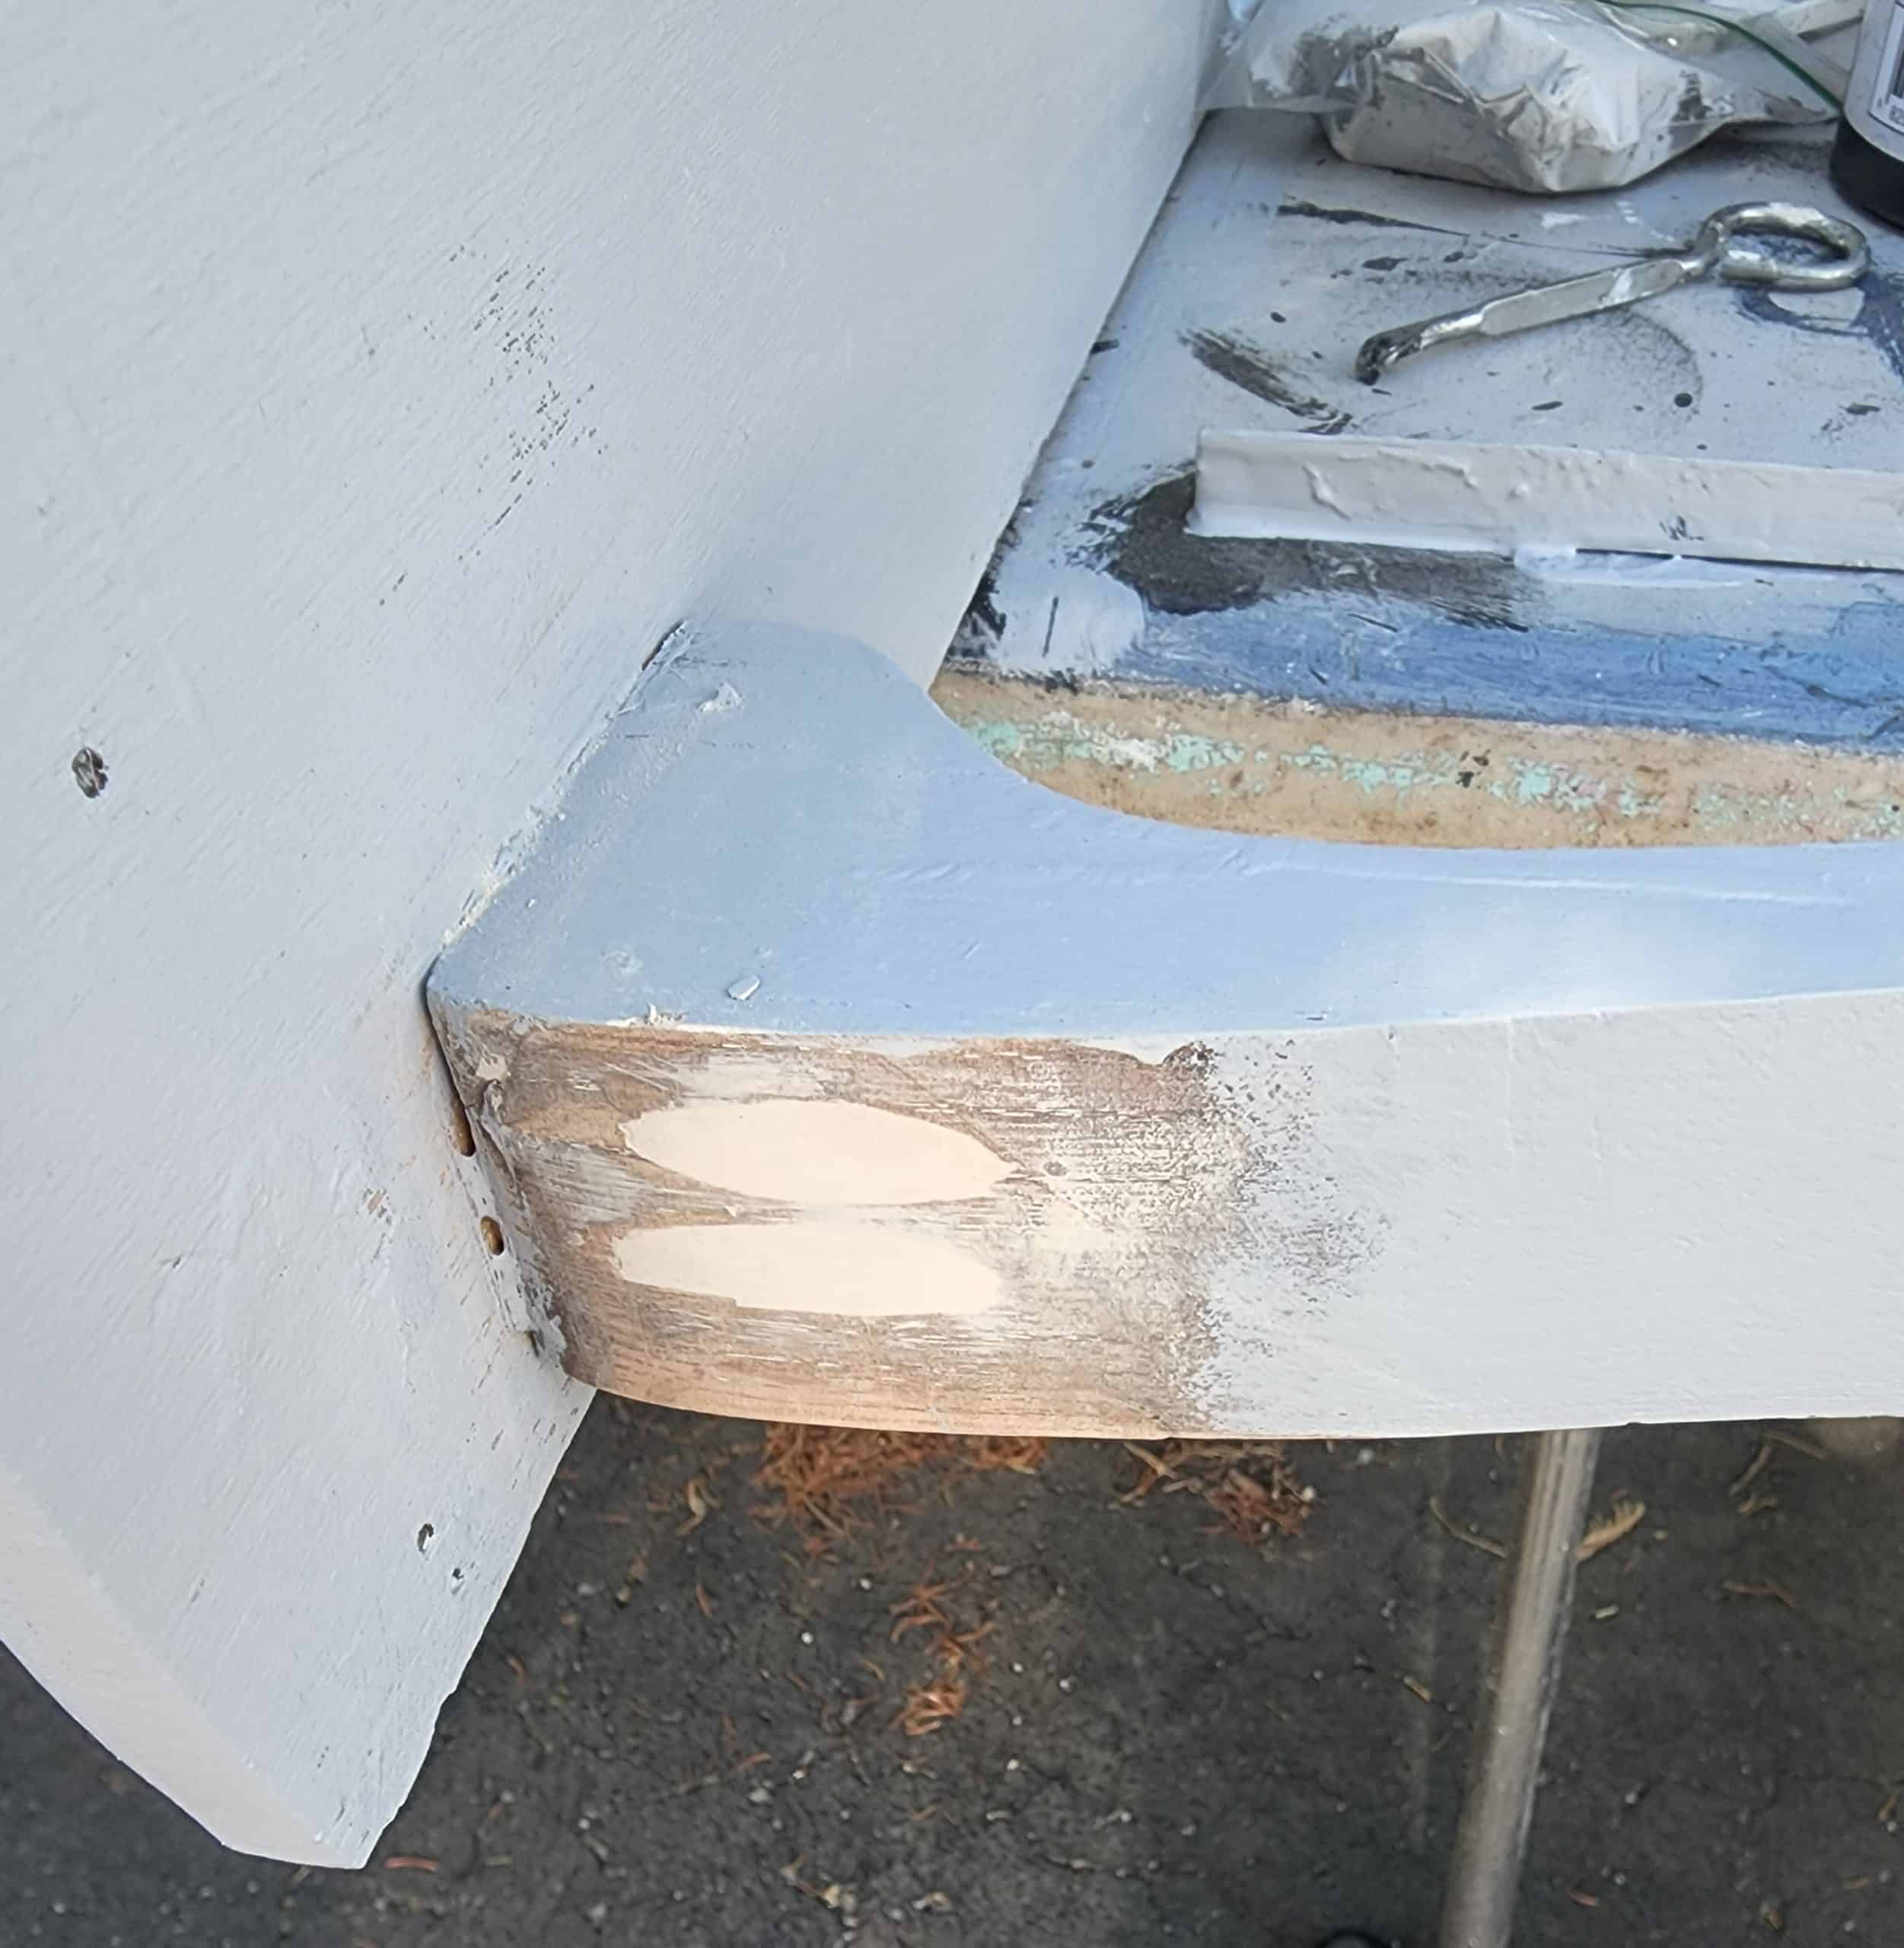
Don’t the patched pocket holes look great? They will be totally invisible after they’re painted.
Note: Do you see the foam roller placed in a sandwich baggie while not in use?
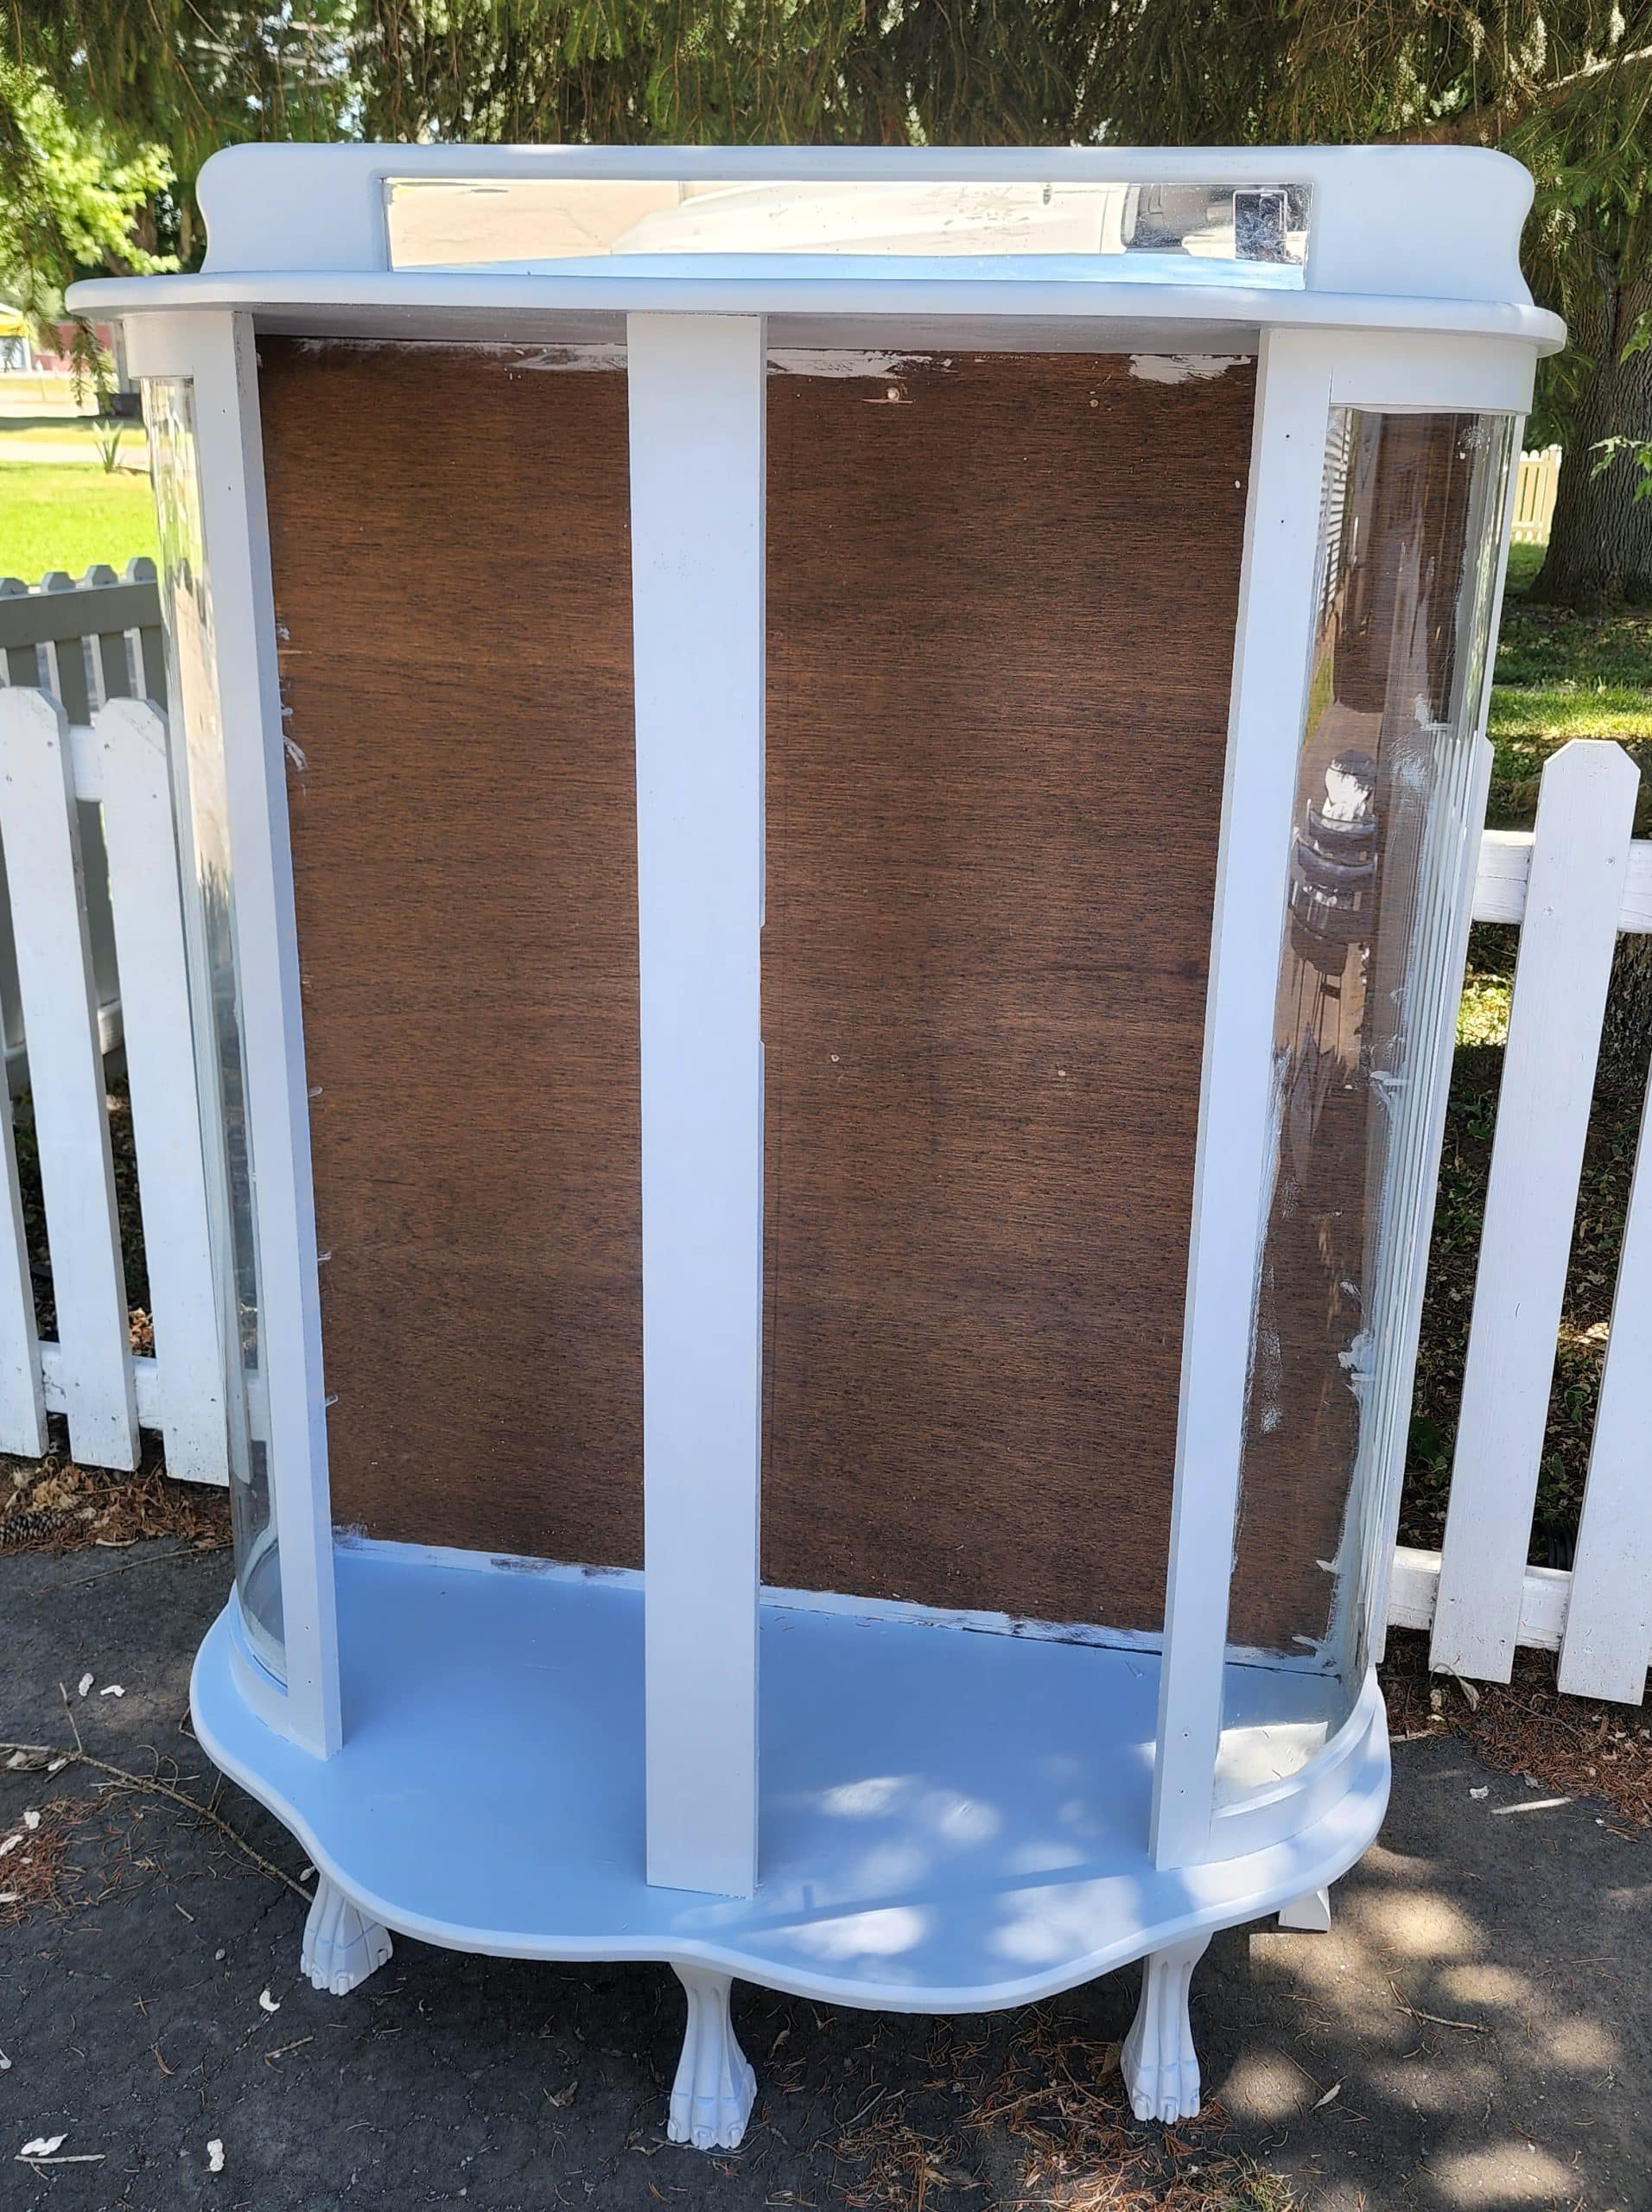
Finally, you get to see the freshly painted china cabinet standing up! So, this is when I had a couple of brainstorms! I’m really curious if you have already thought of either of my “aha” moments?
Are you ready? Maybe you will like my ideas, and maybe you won’t.
What Would You Do?
Yep, I removed the small mirror from the back. It was really difficult to paint, and I just thought it dated the antique china cabinet too much in order to re-home it.
Speaking of difficult to paint, have your figured out my second “aha” moment?
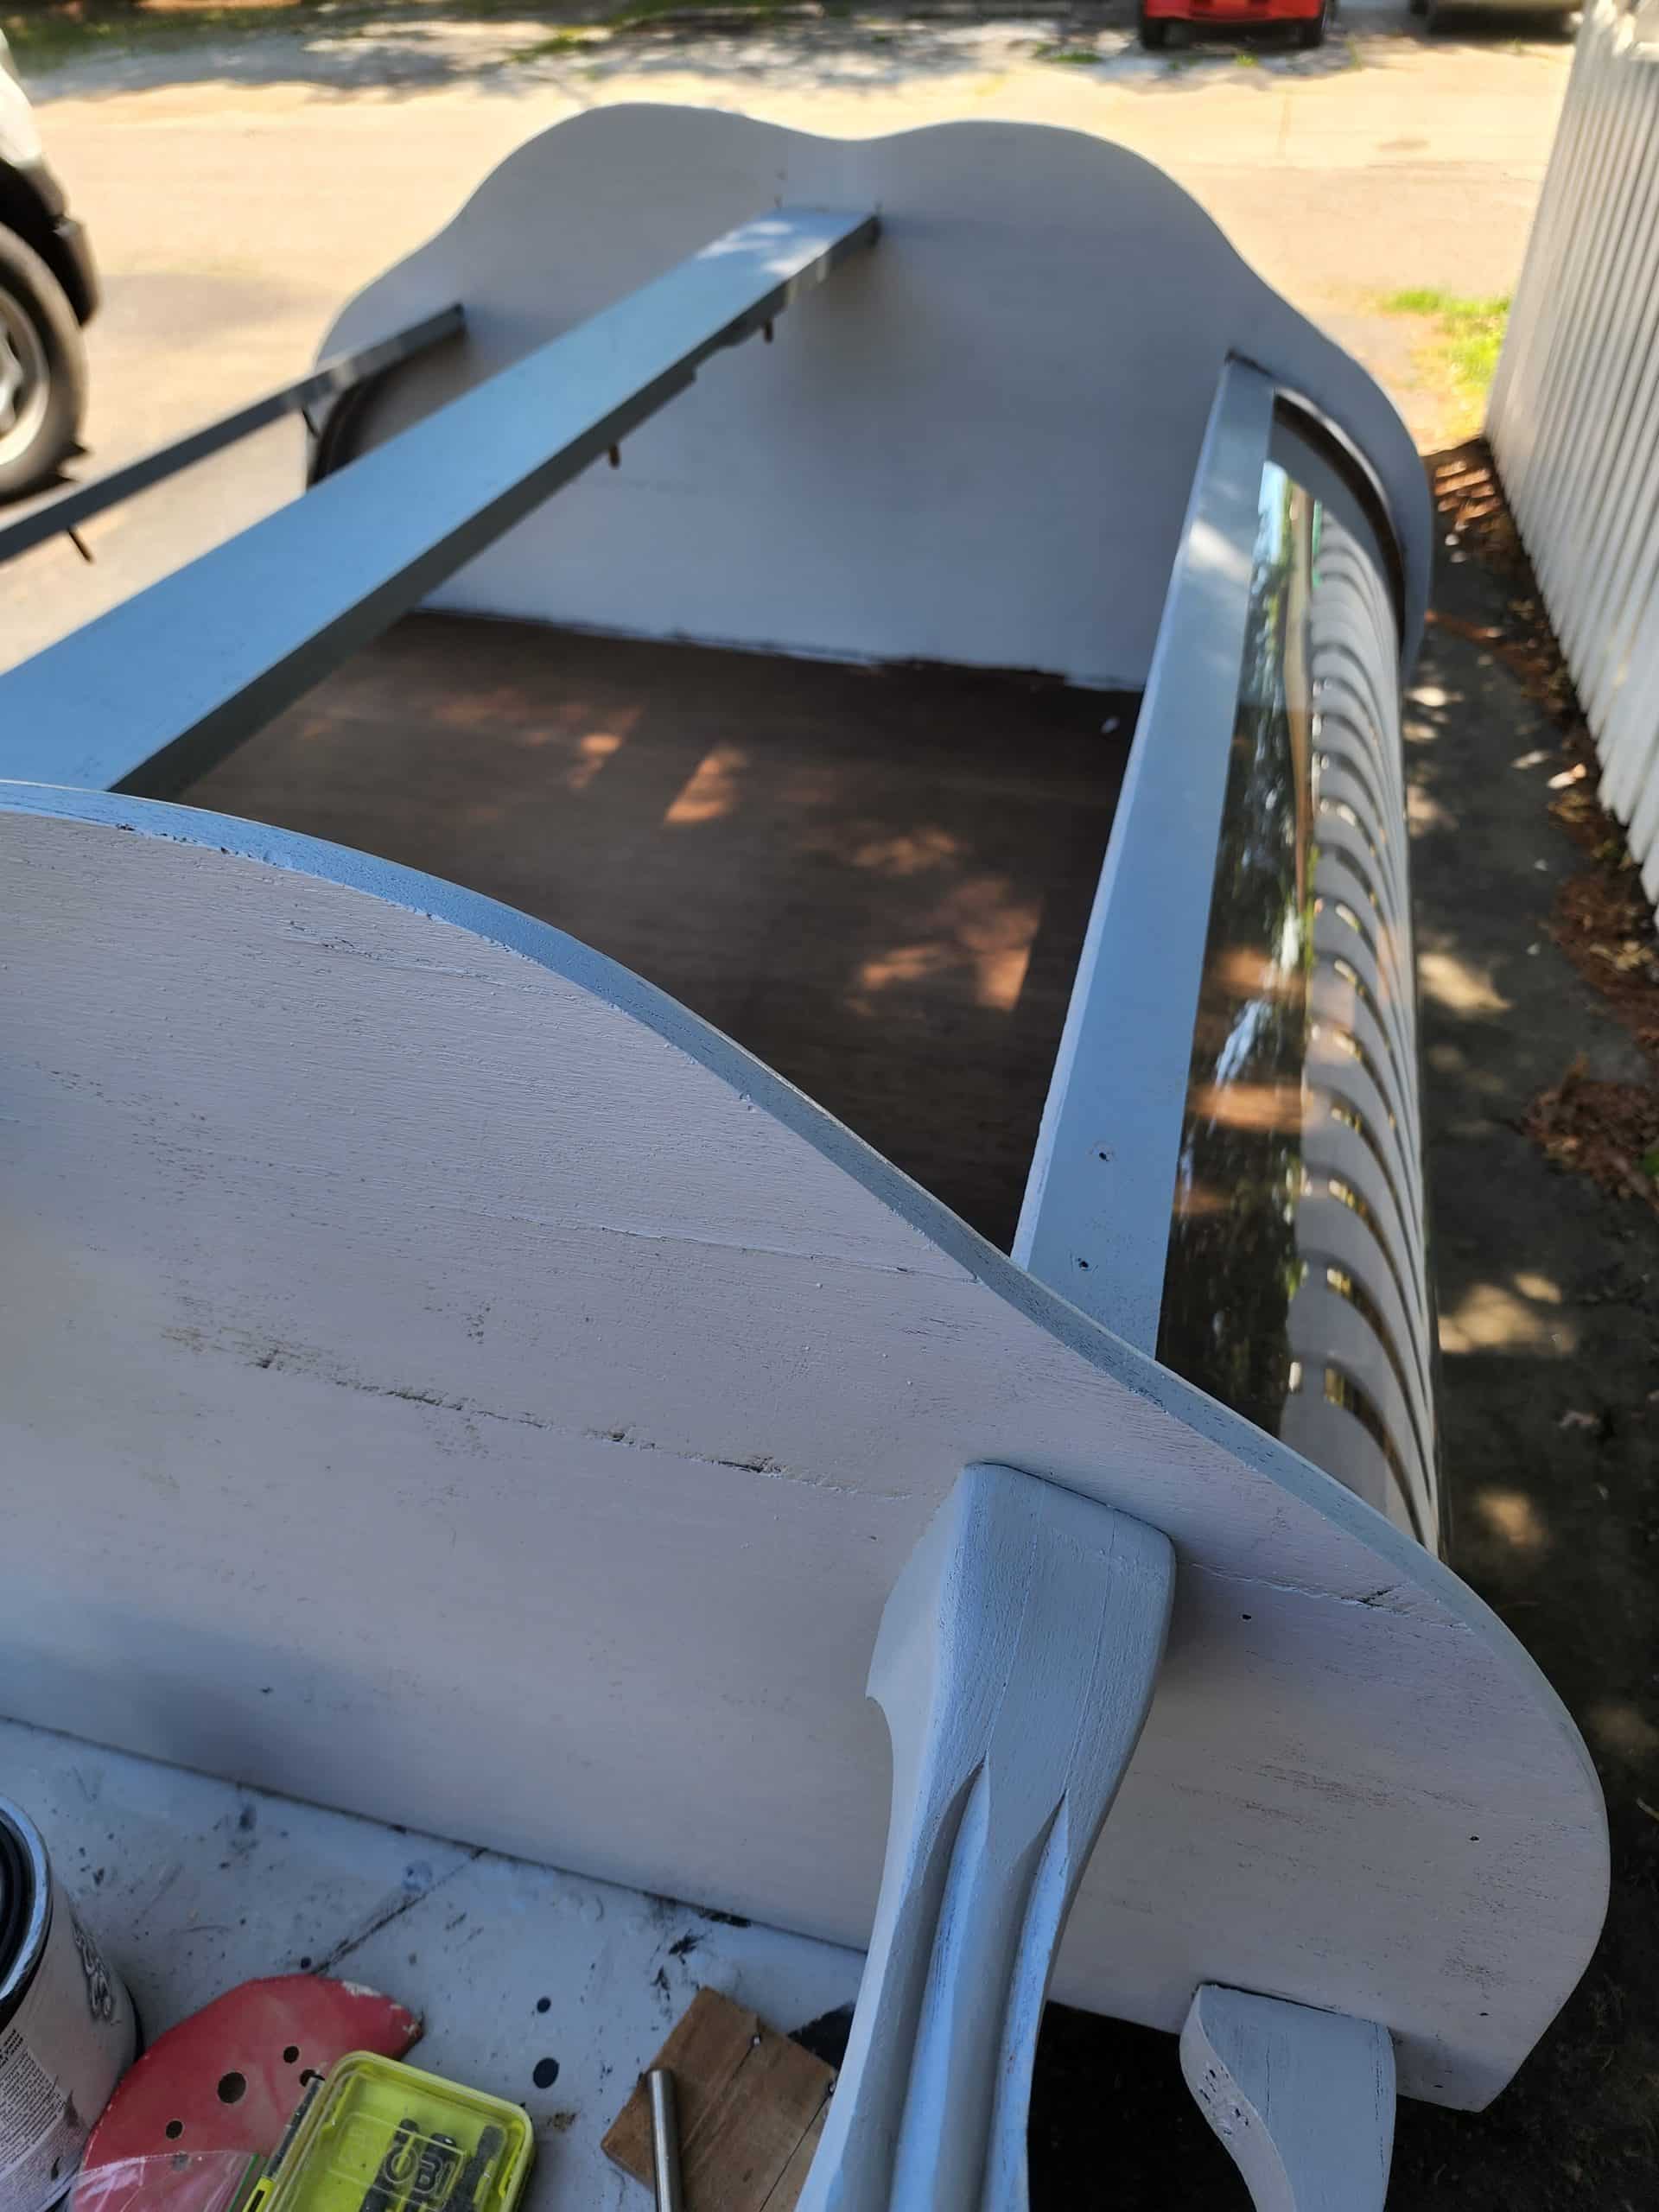
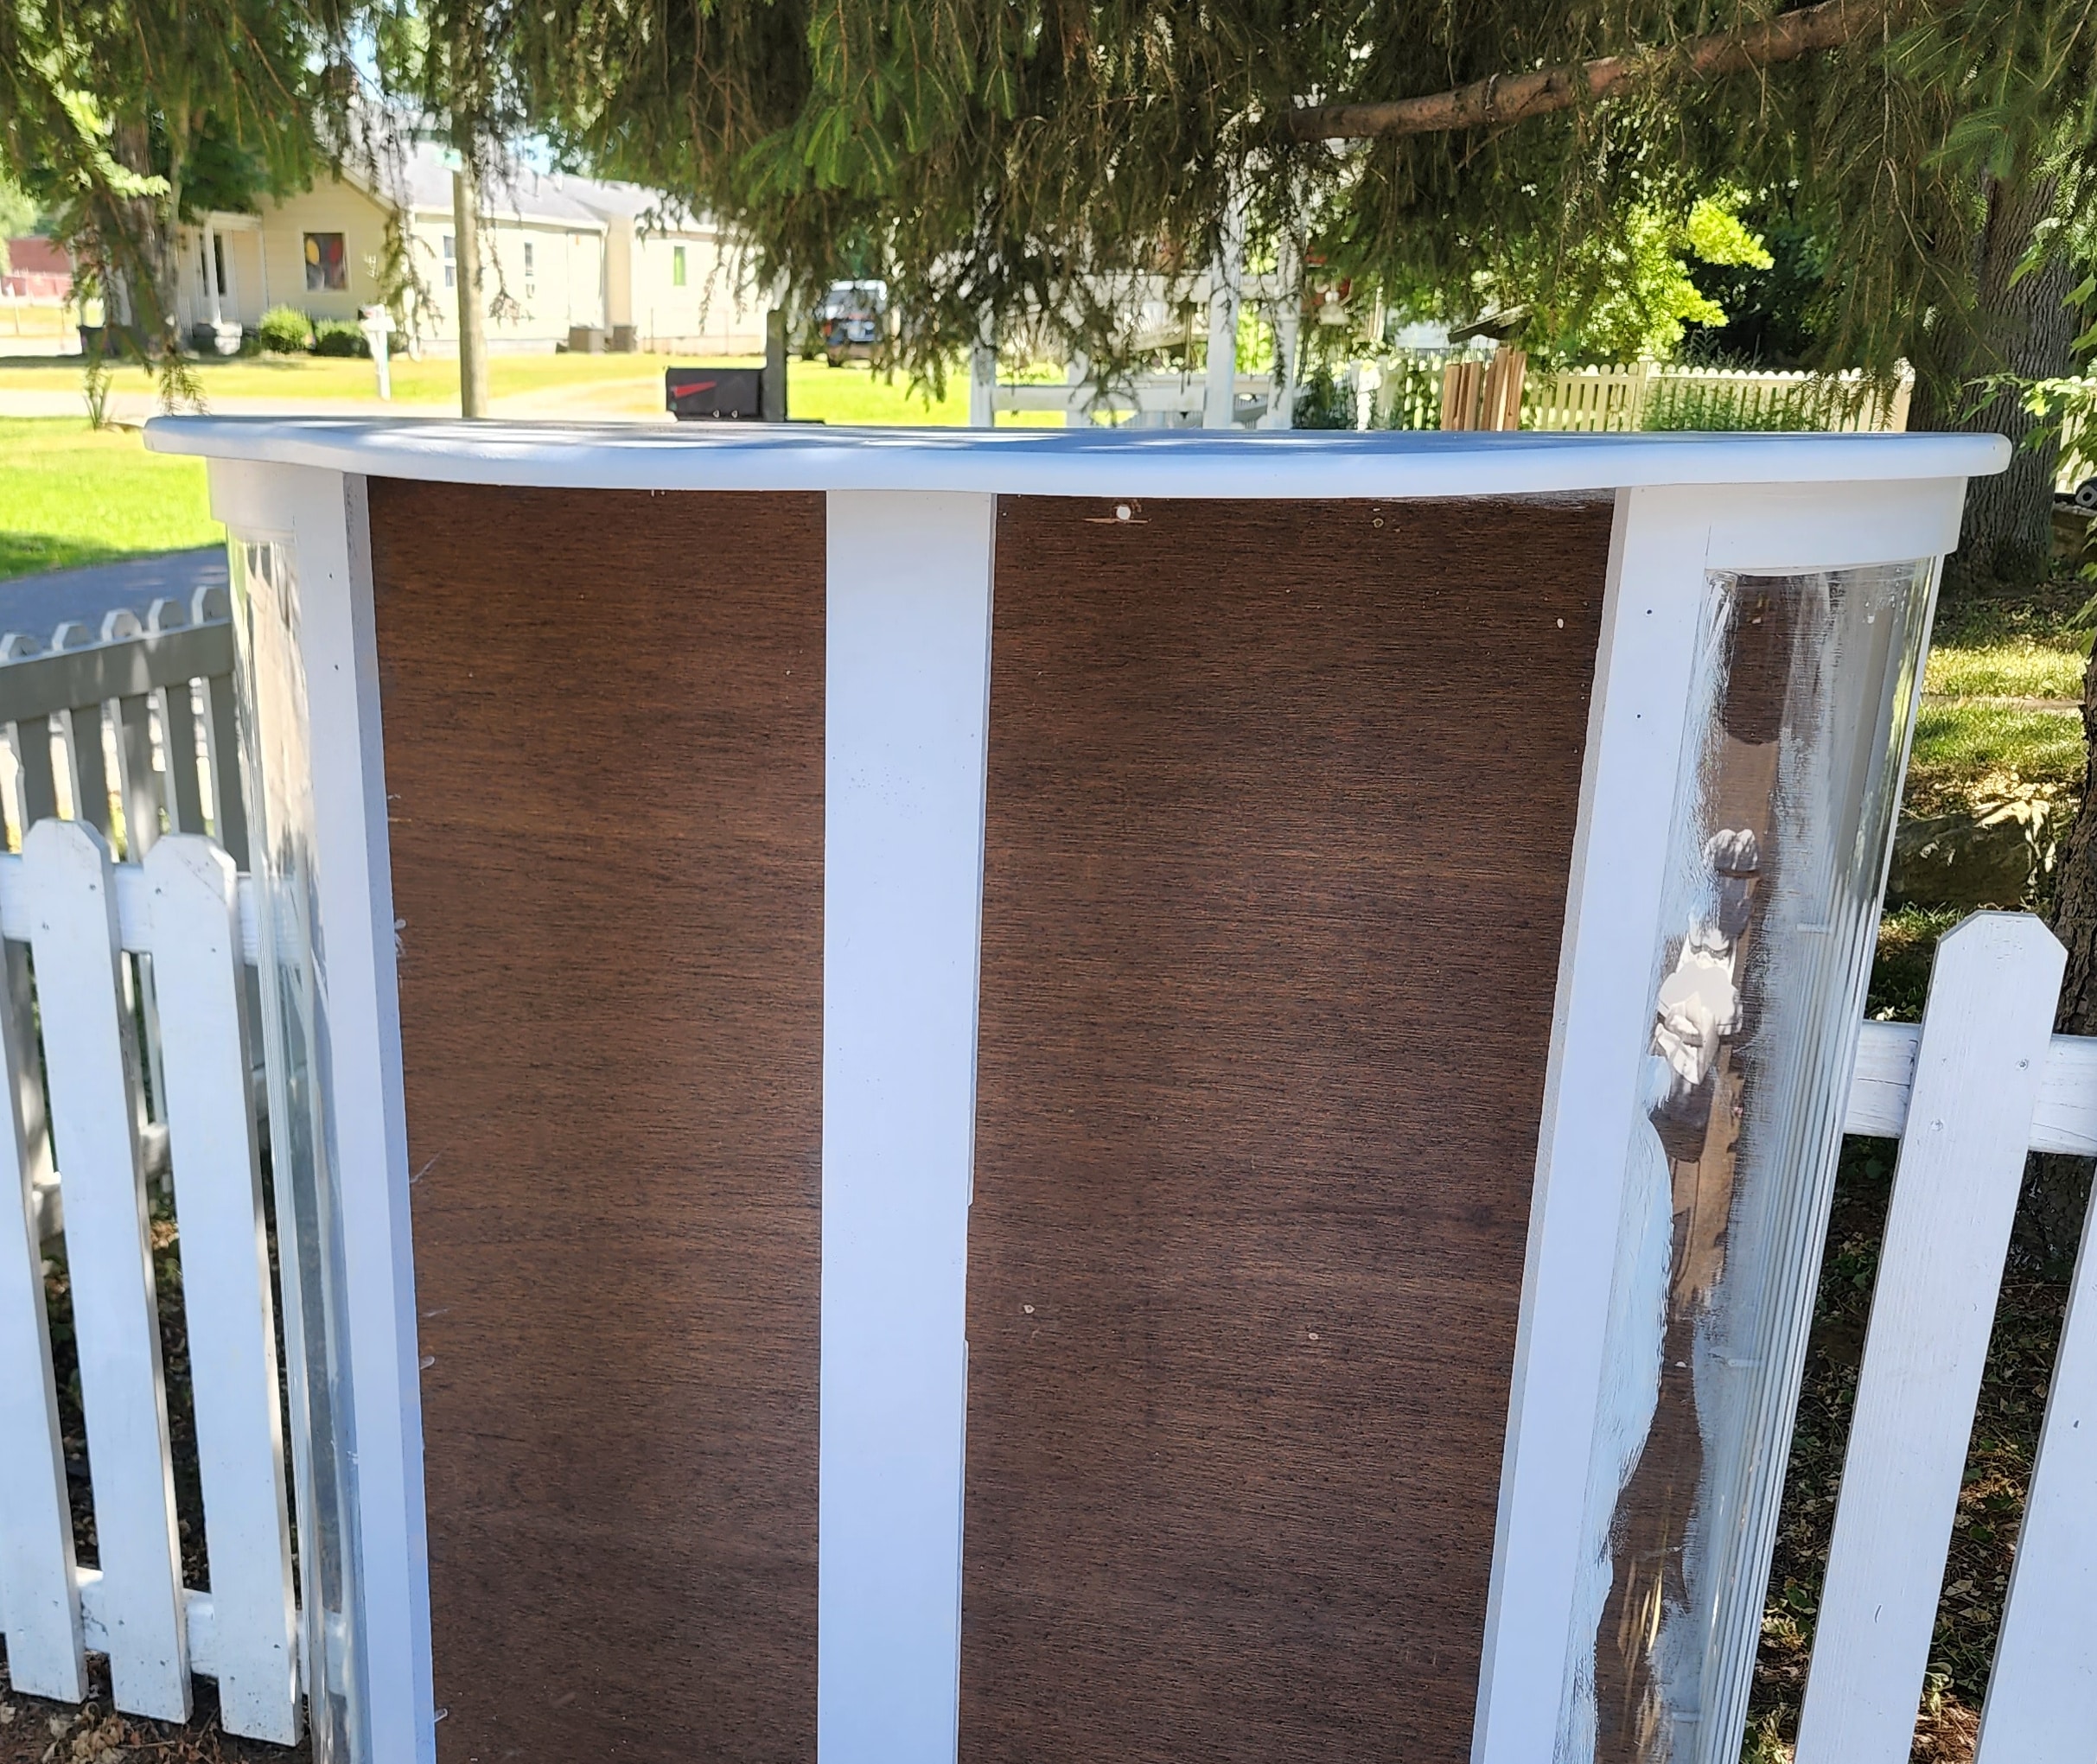
Remove Back from China Cabinet for Easy Painting
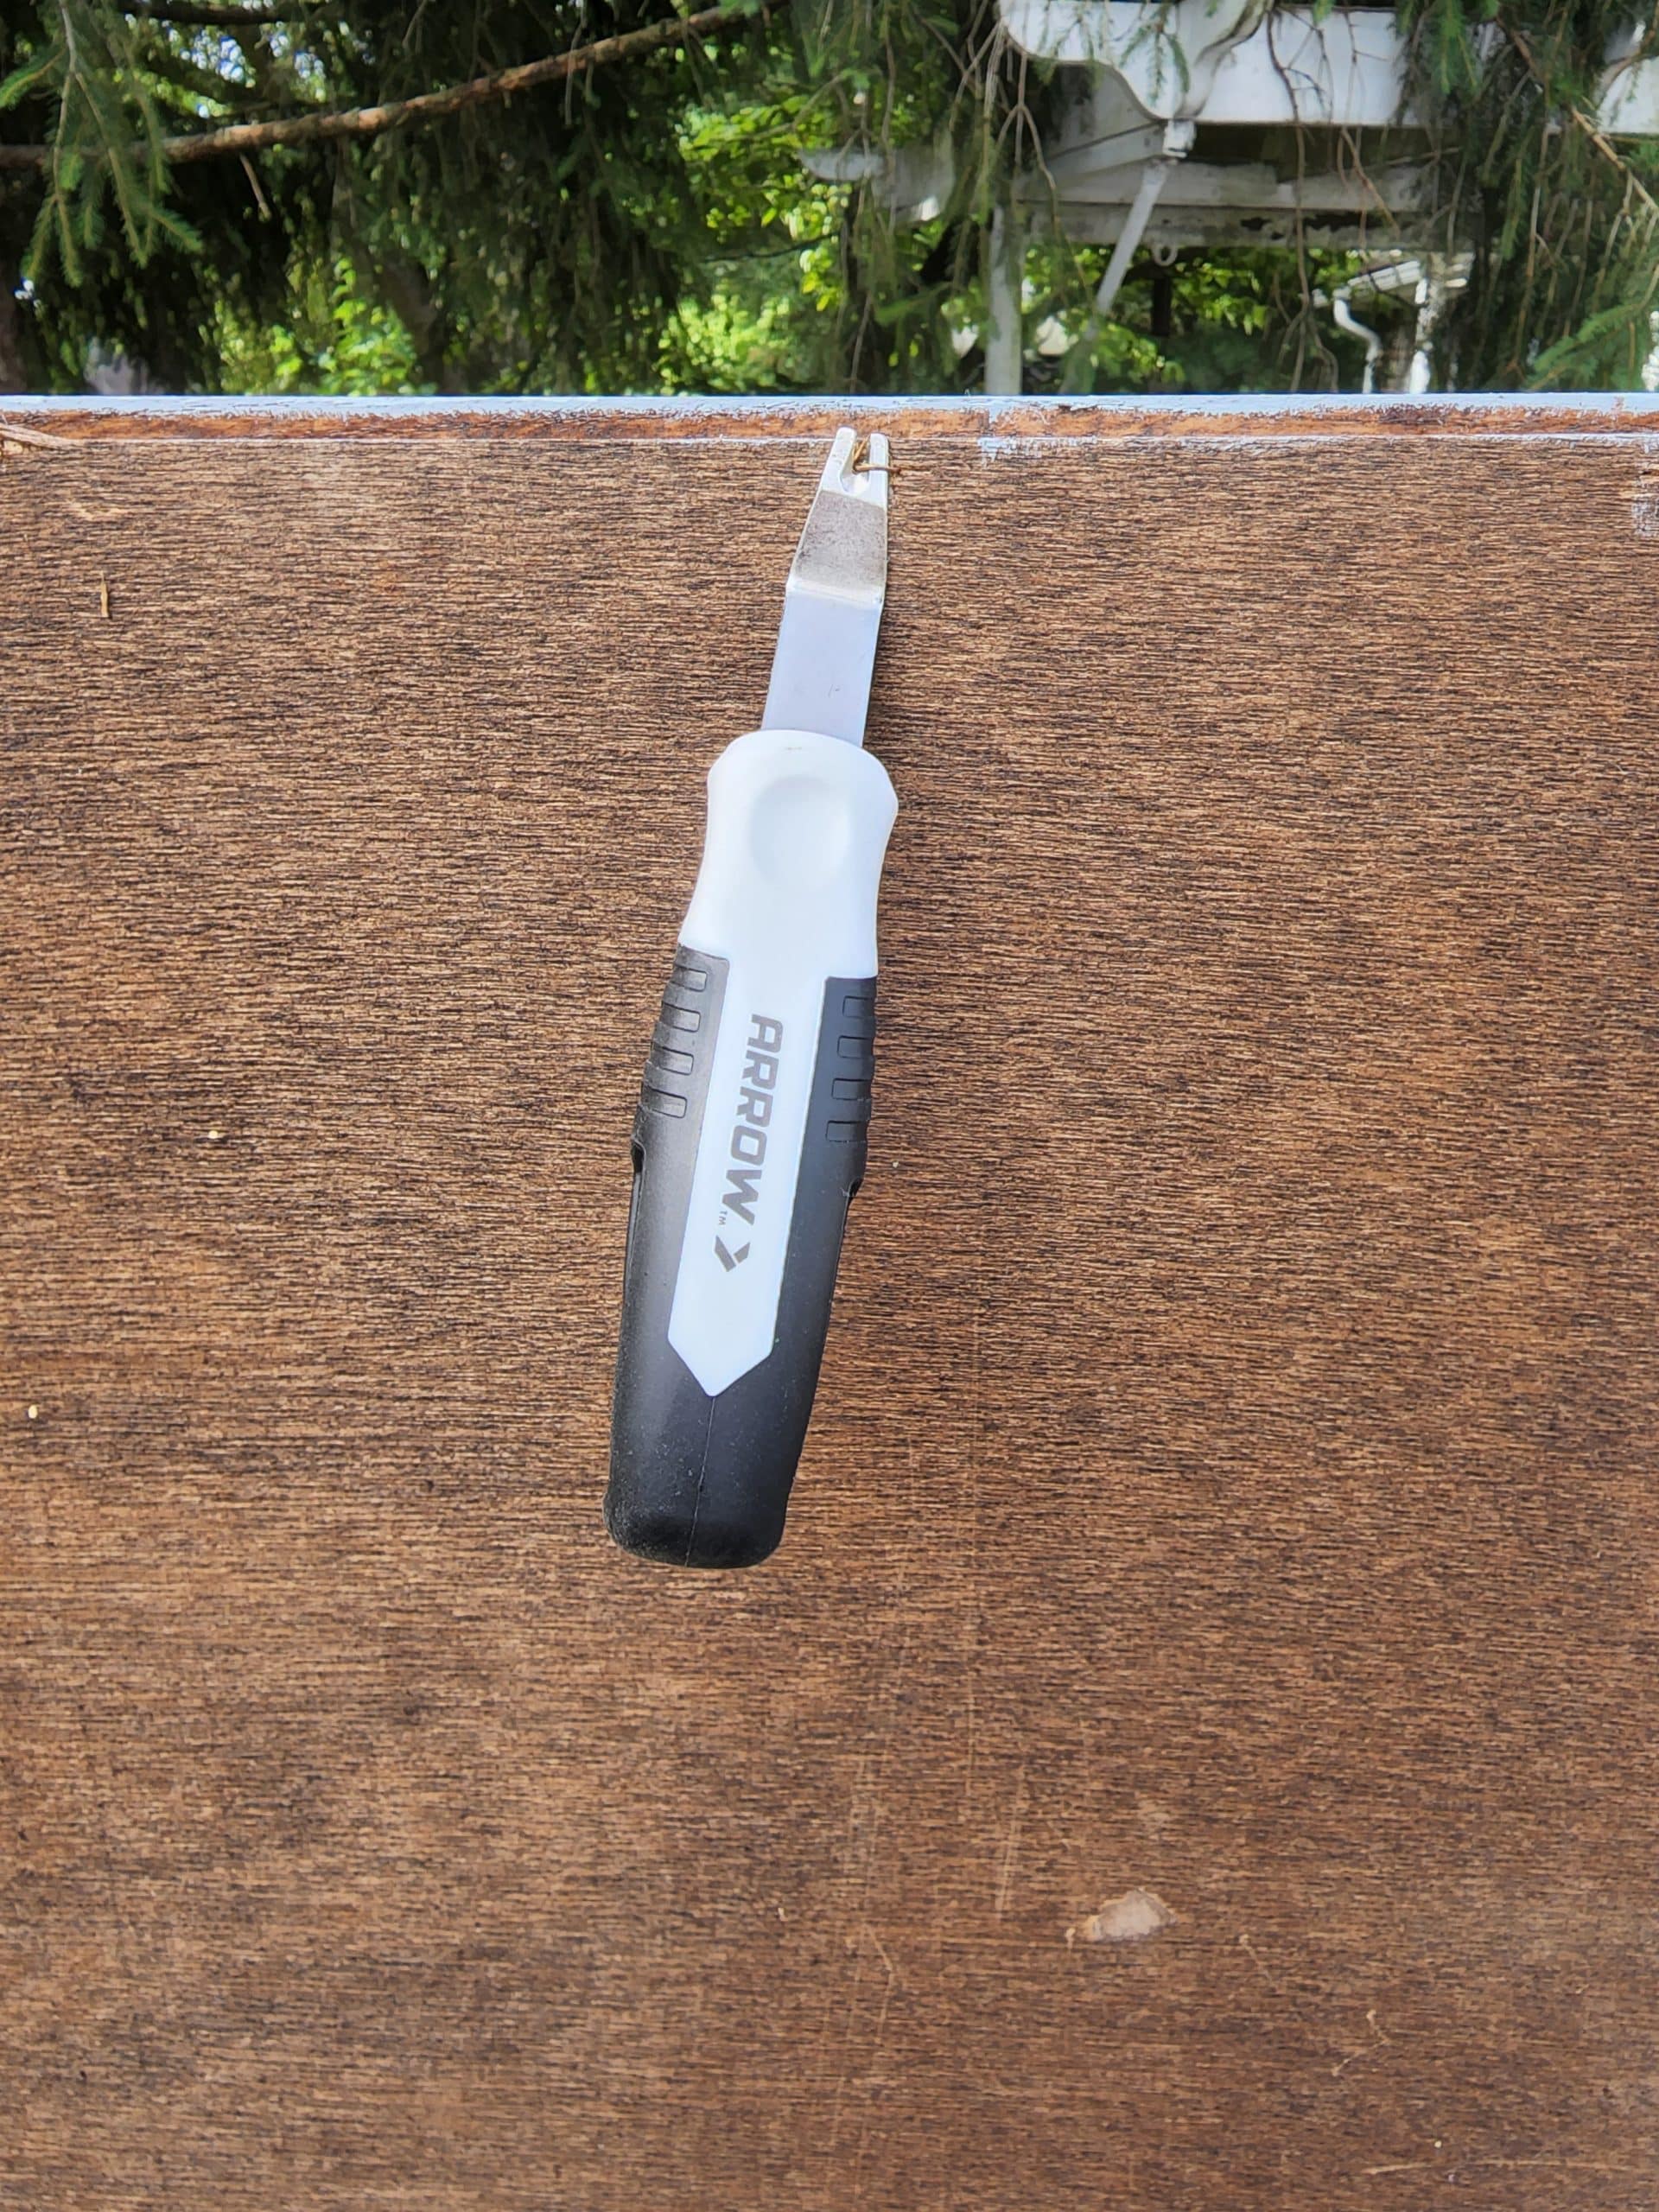
I’m here to help YOU learn from my mistakes. Seriously, why didn’t I think of this earlier. Painting the inside of the curved glass cabinet would have been so much easier with that back off!
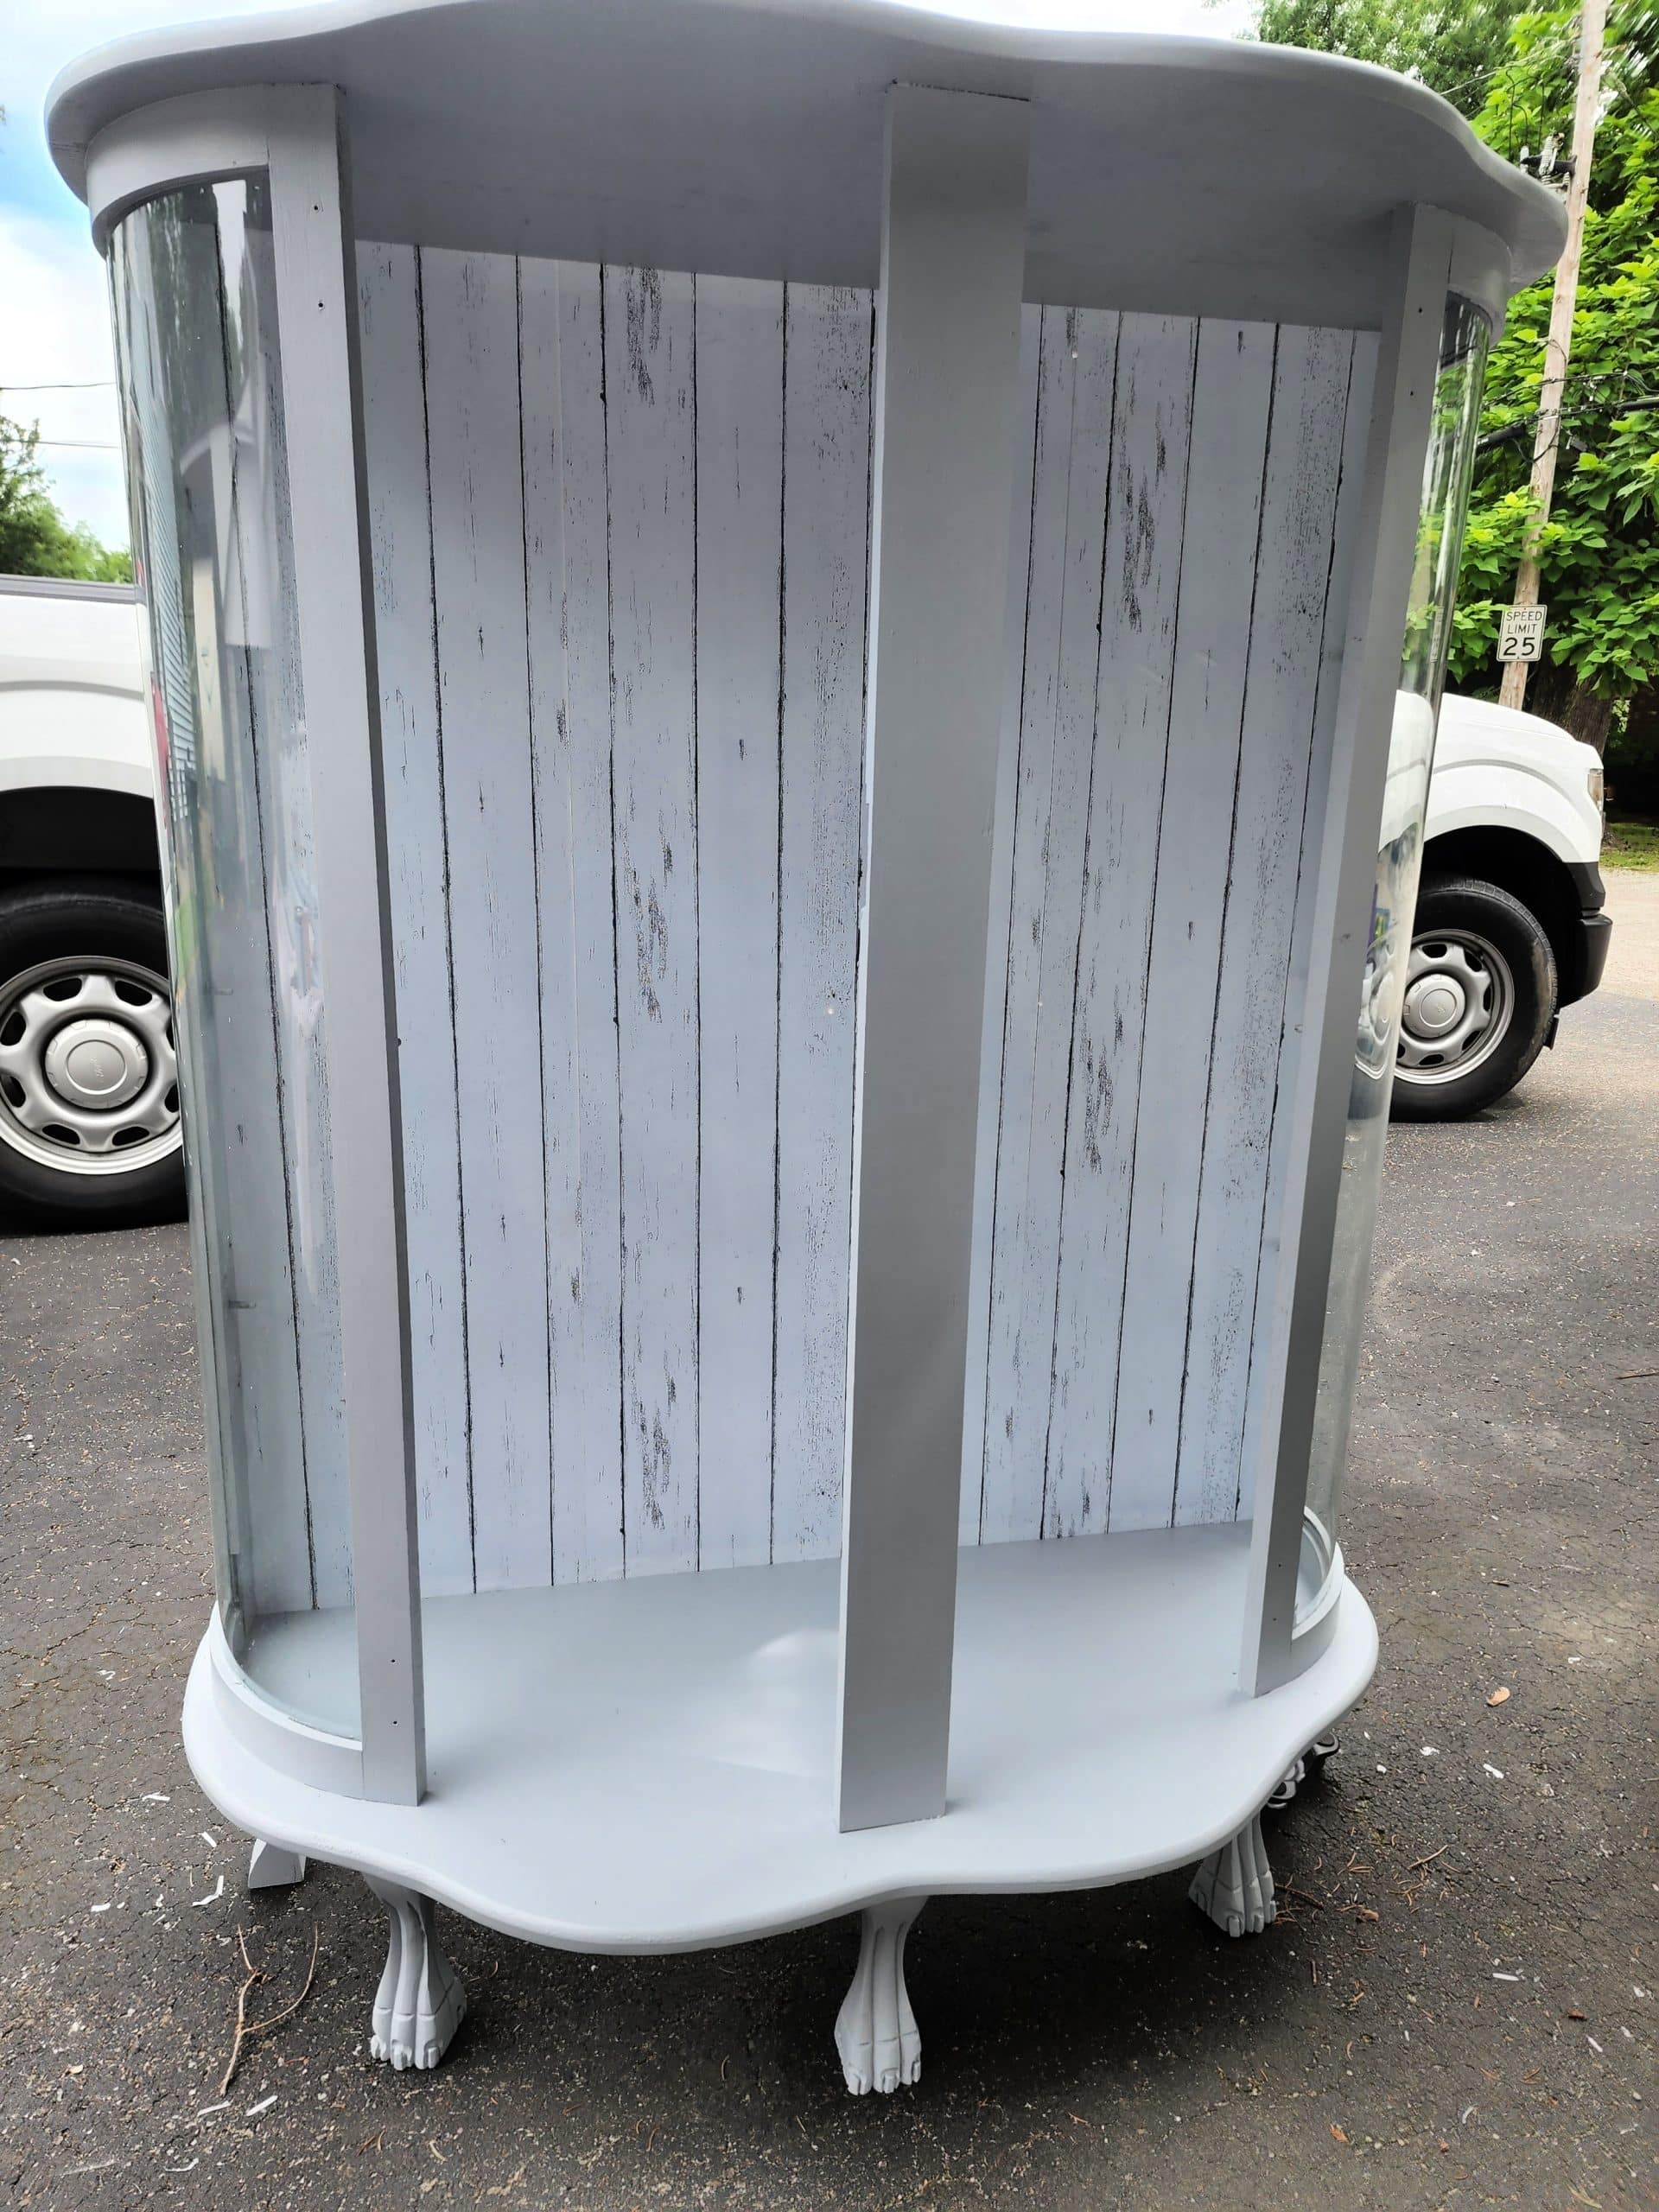
Why did I decide to take off the back? Maybe you noticed I didn’t paint the back–that’s because I planned to add contact paper on the back.
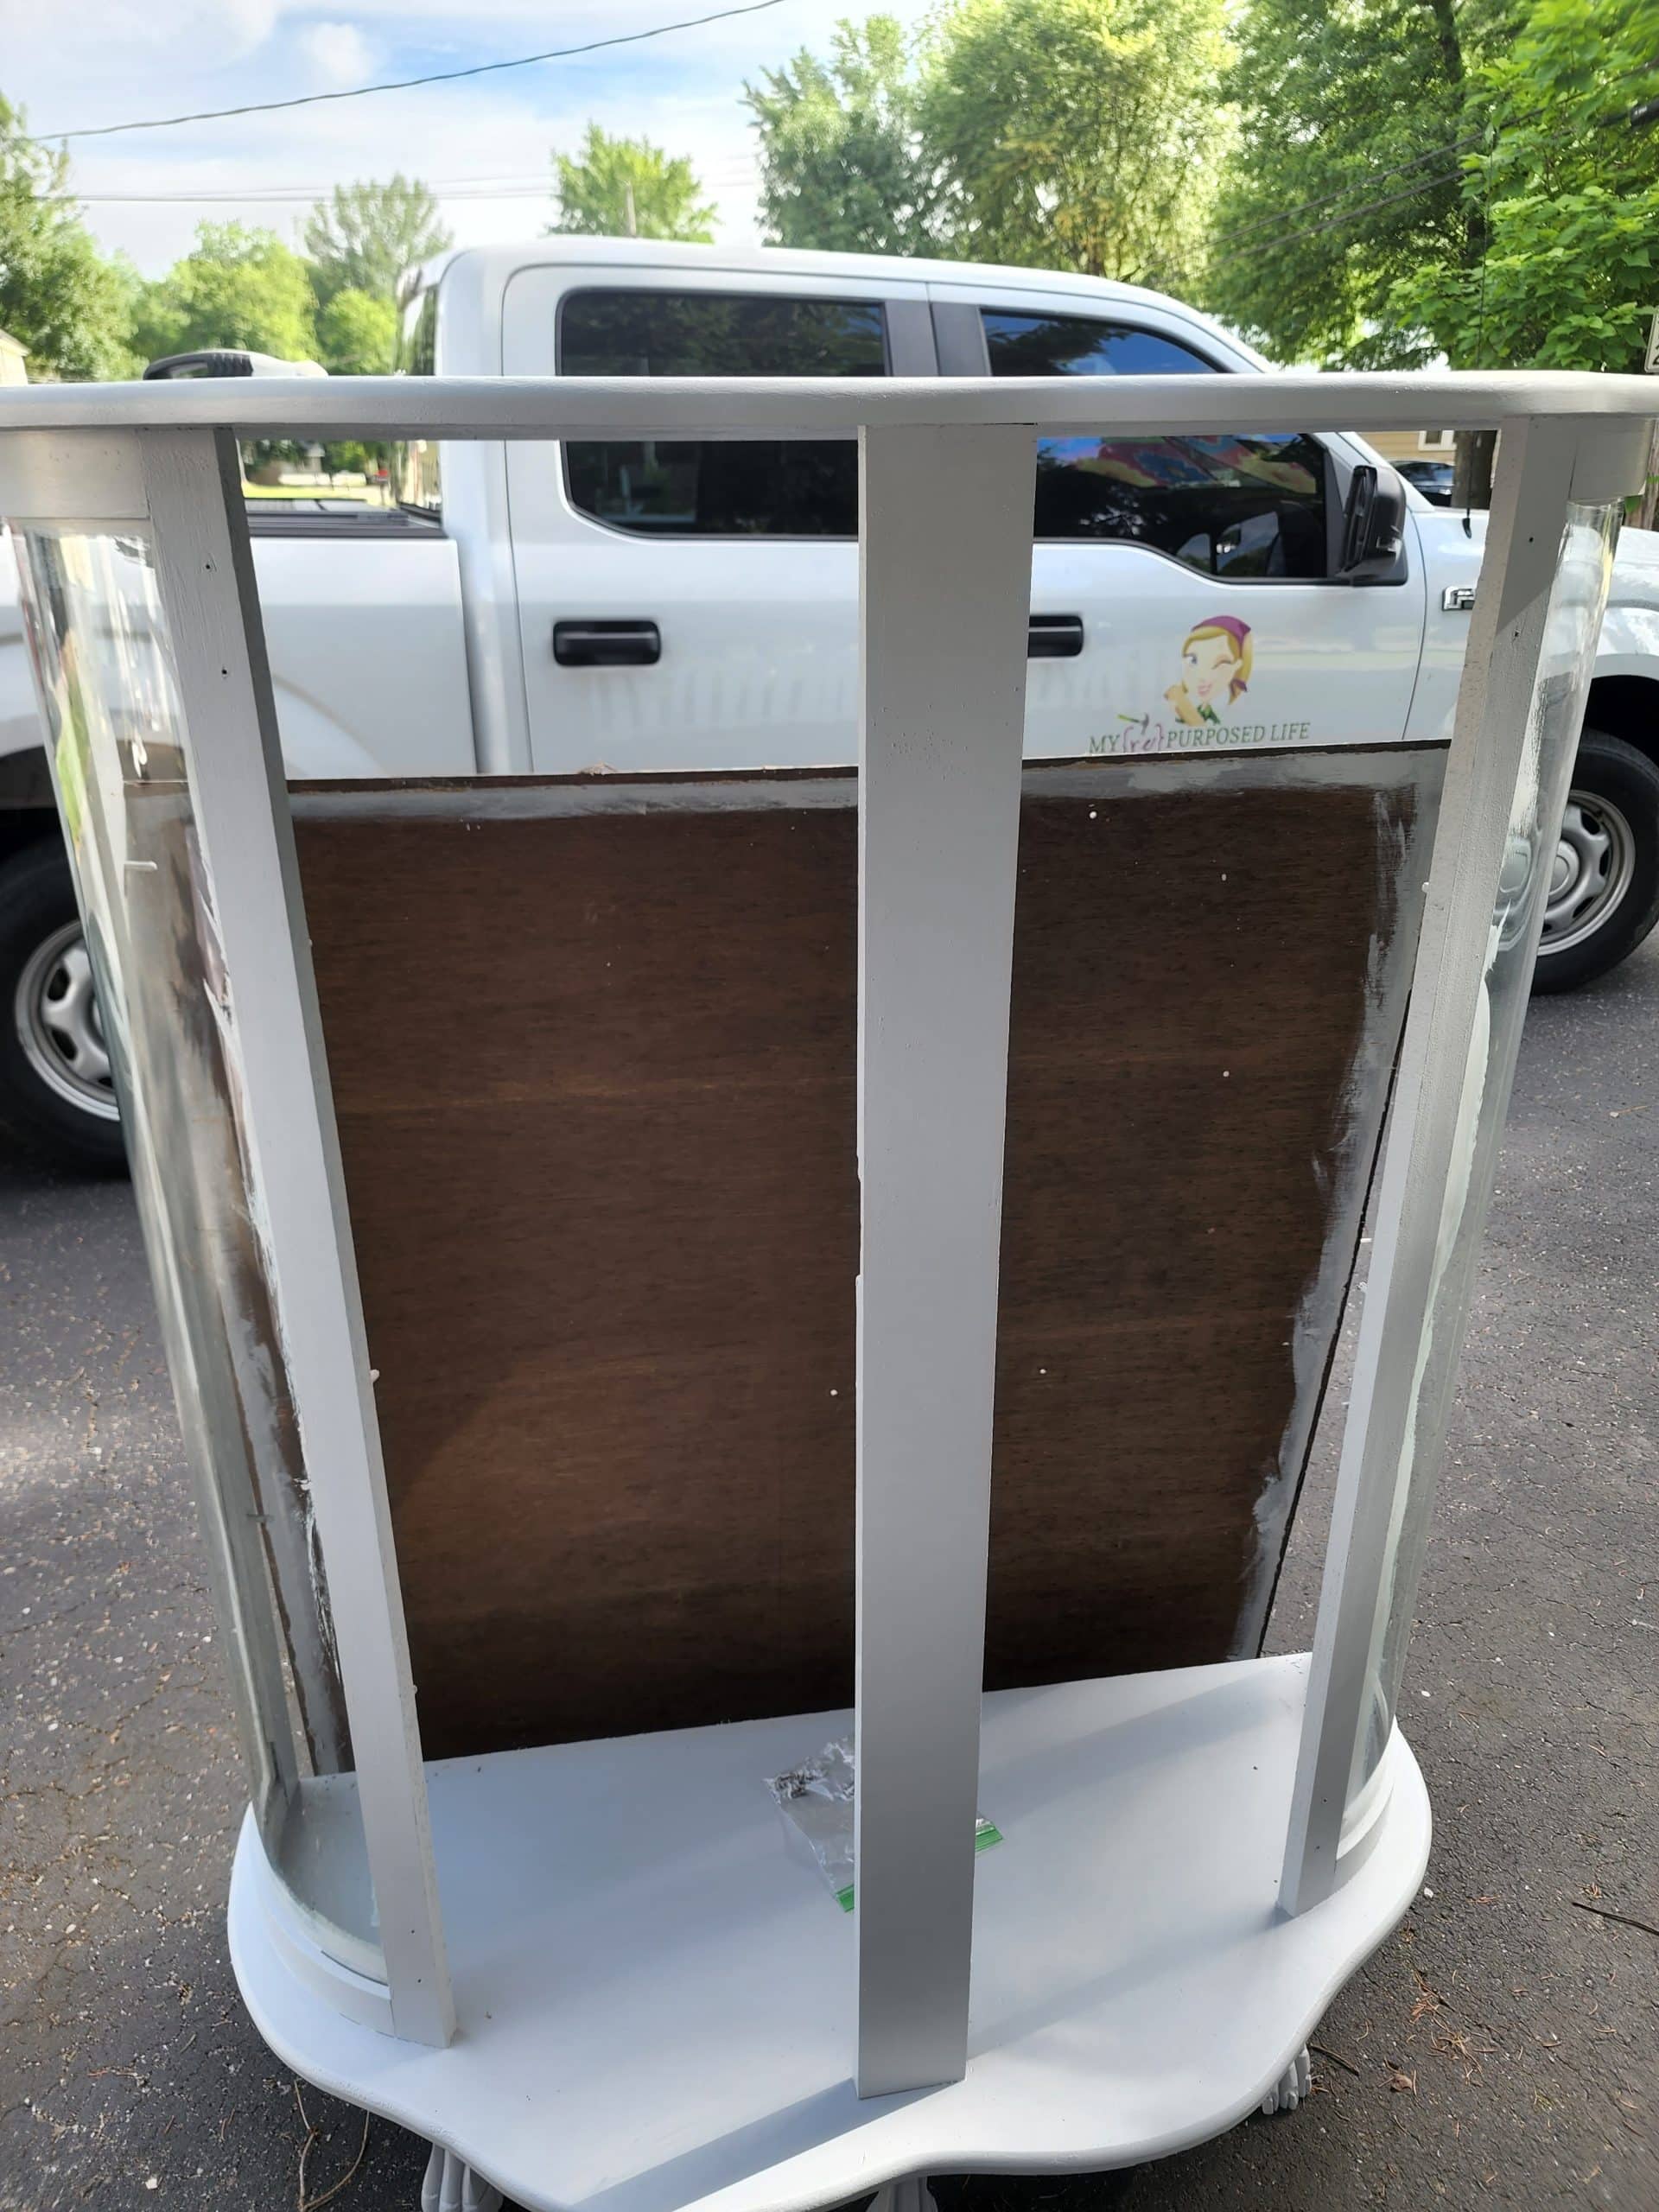
Well, looky there! Can’t you see how much easier it would have been to paint this cabinet with the back off of it? It definitely was easy to do touch ups and clean the paint off the glass this way.
Add Contact Paper to Back of China Cabinet
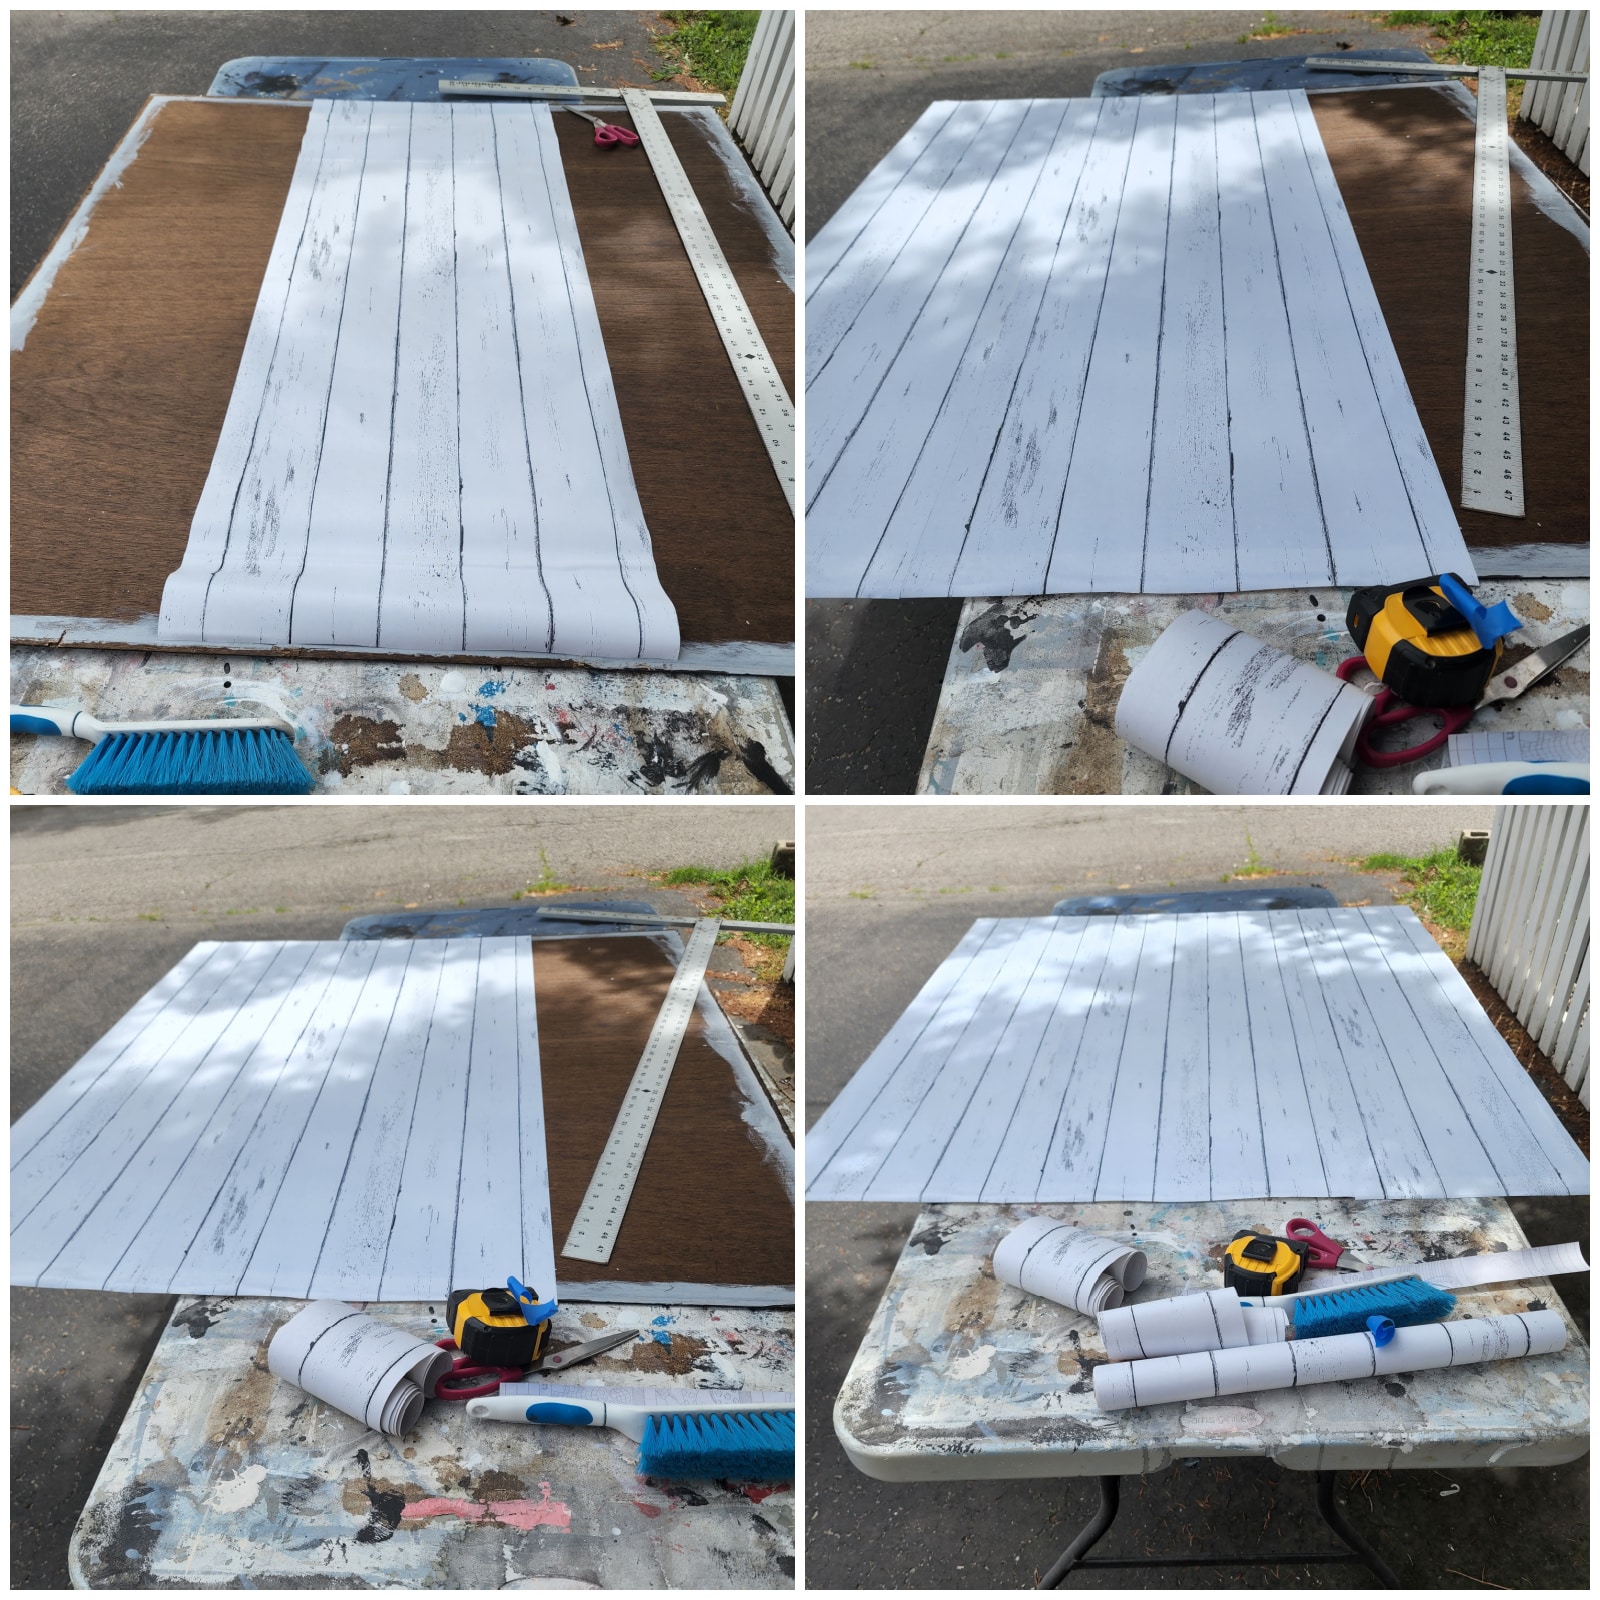
I used shiplap contact paper to easily line the back. I started in the middle, then did the left and right sides. It was incredibly easy to do with the back off the cabinet. Can you imagine trying to do this otherwise? Yes, it was a little bit of time and trouble to remove the back, but I wish I had done it first thing!
Would you have put the shiplap contact paper vertical like I did? Or would you have put it horizontal? I debated the decision with Terry. She brought up the fact that if I got it the least bit crooked, (horizontally) it would be very obvious when the shelves are added. Something to consider, eh?
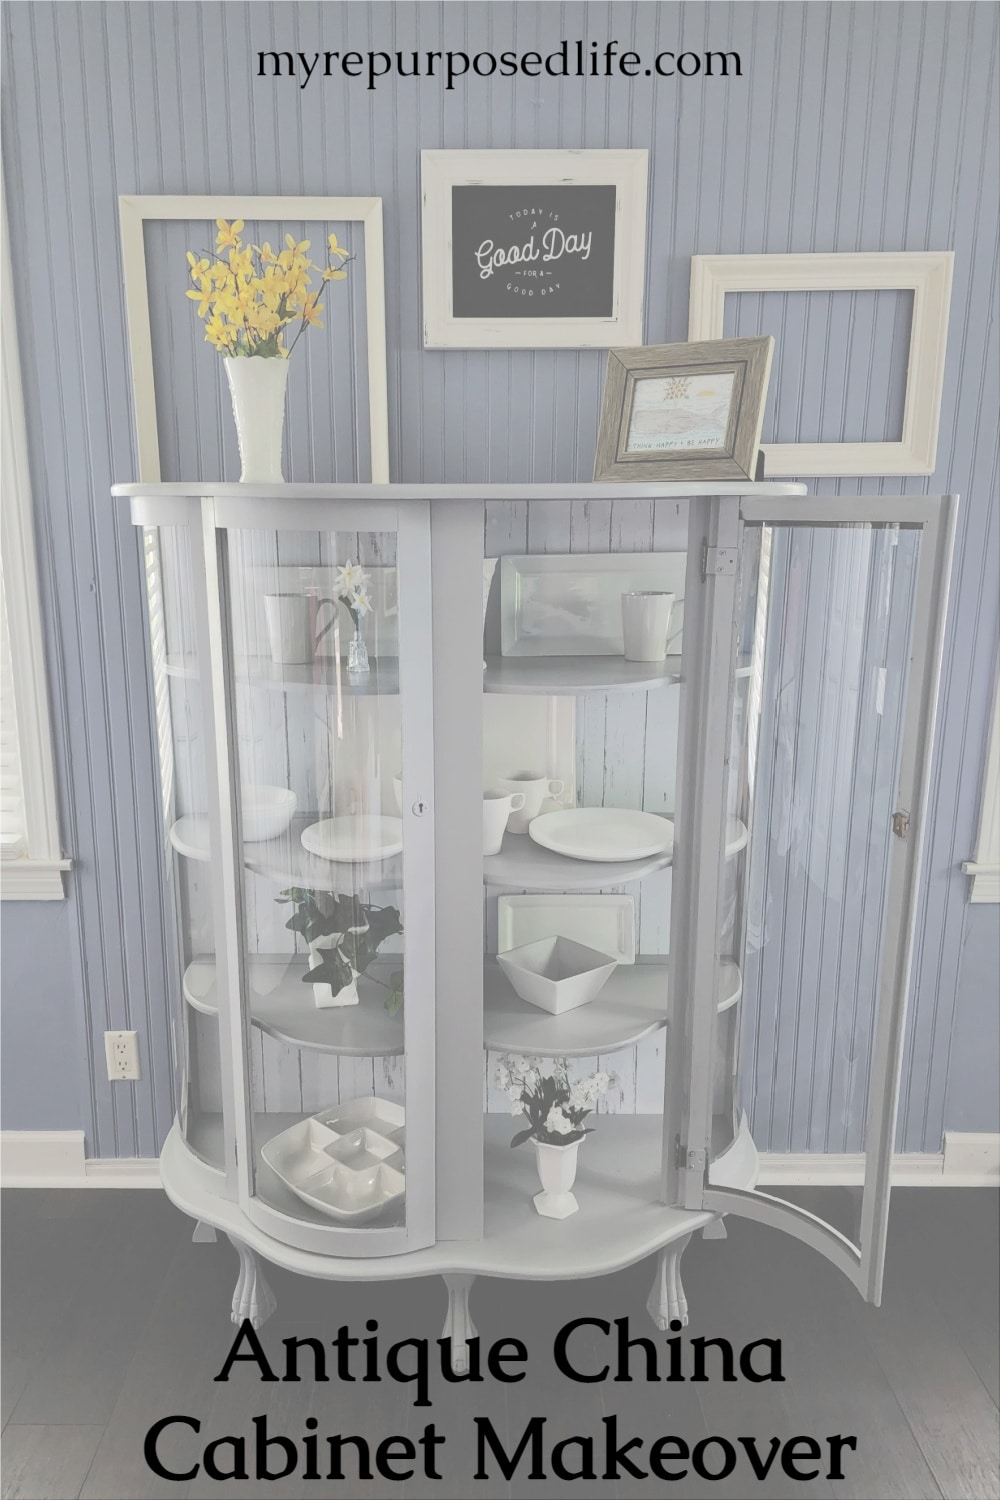
I am seriously in love with the custom color I made. It is exactly the shade of gray I was going for. The All in One Paint has a fabulous finish that doesn’t need sealing.
Reassemble China Cabinet
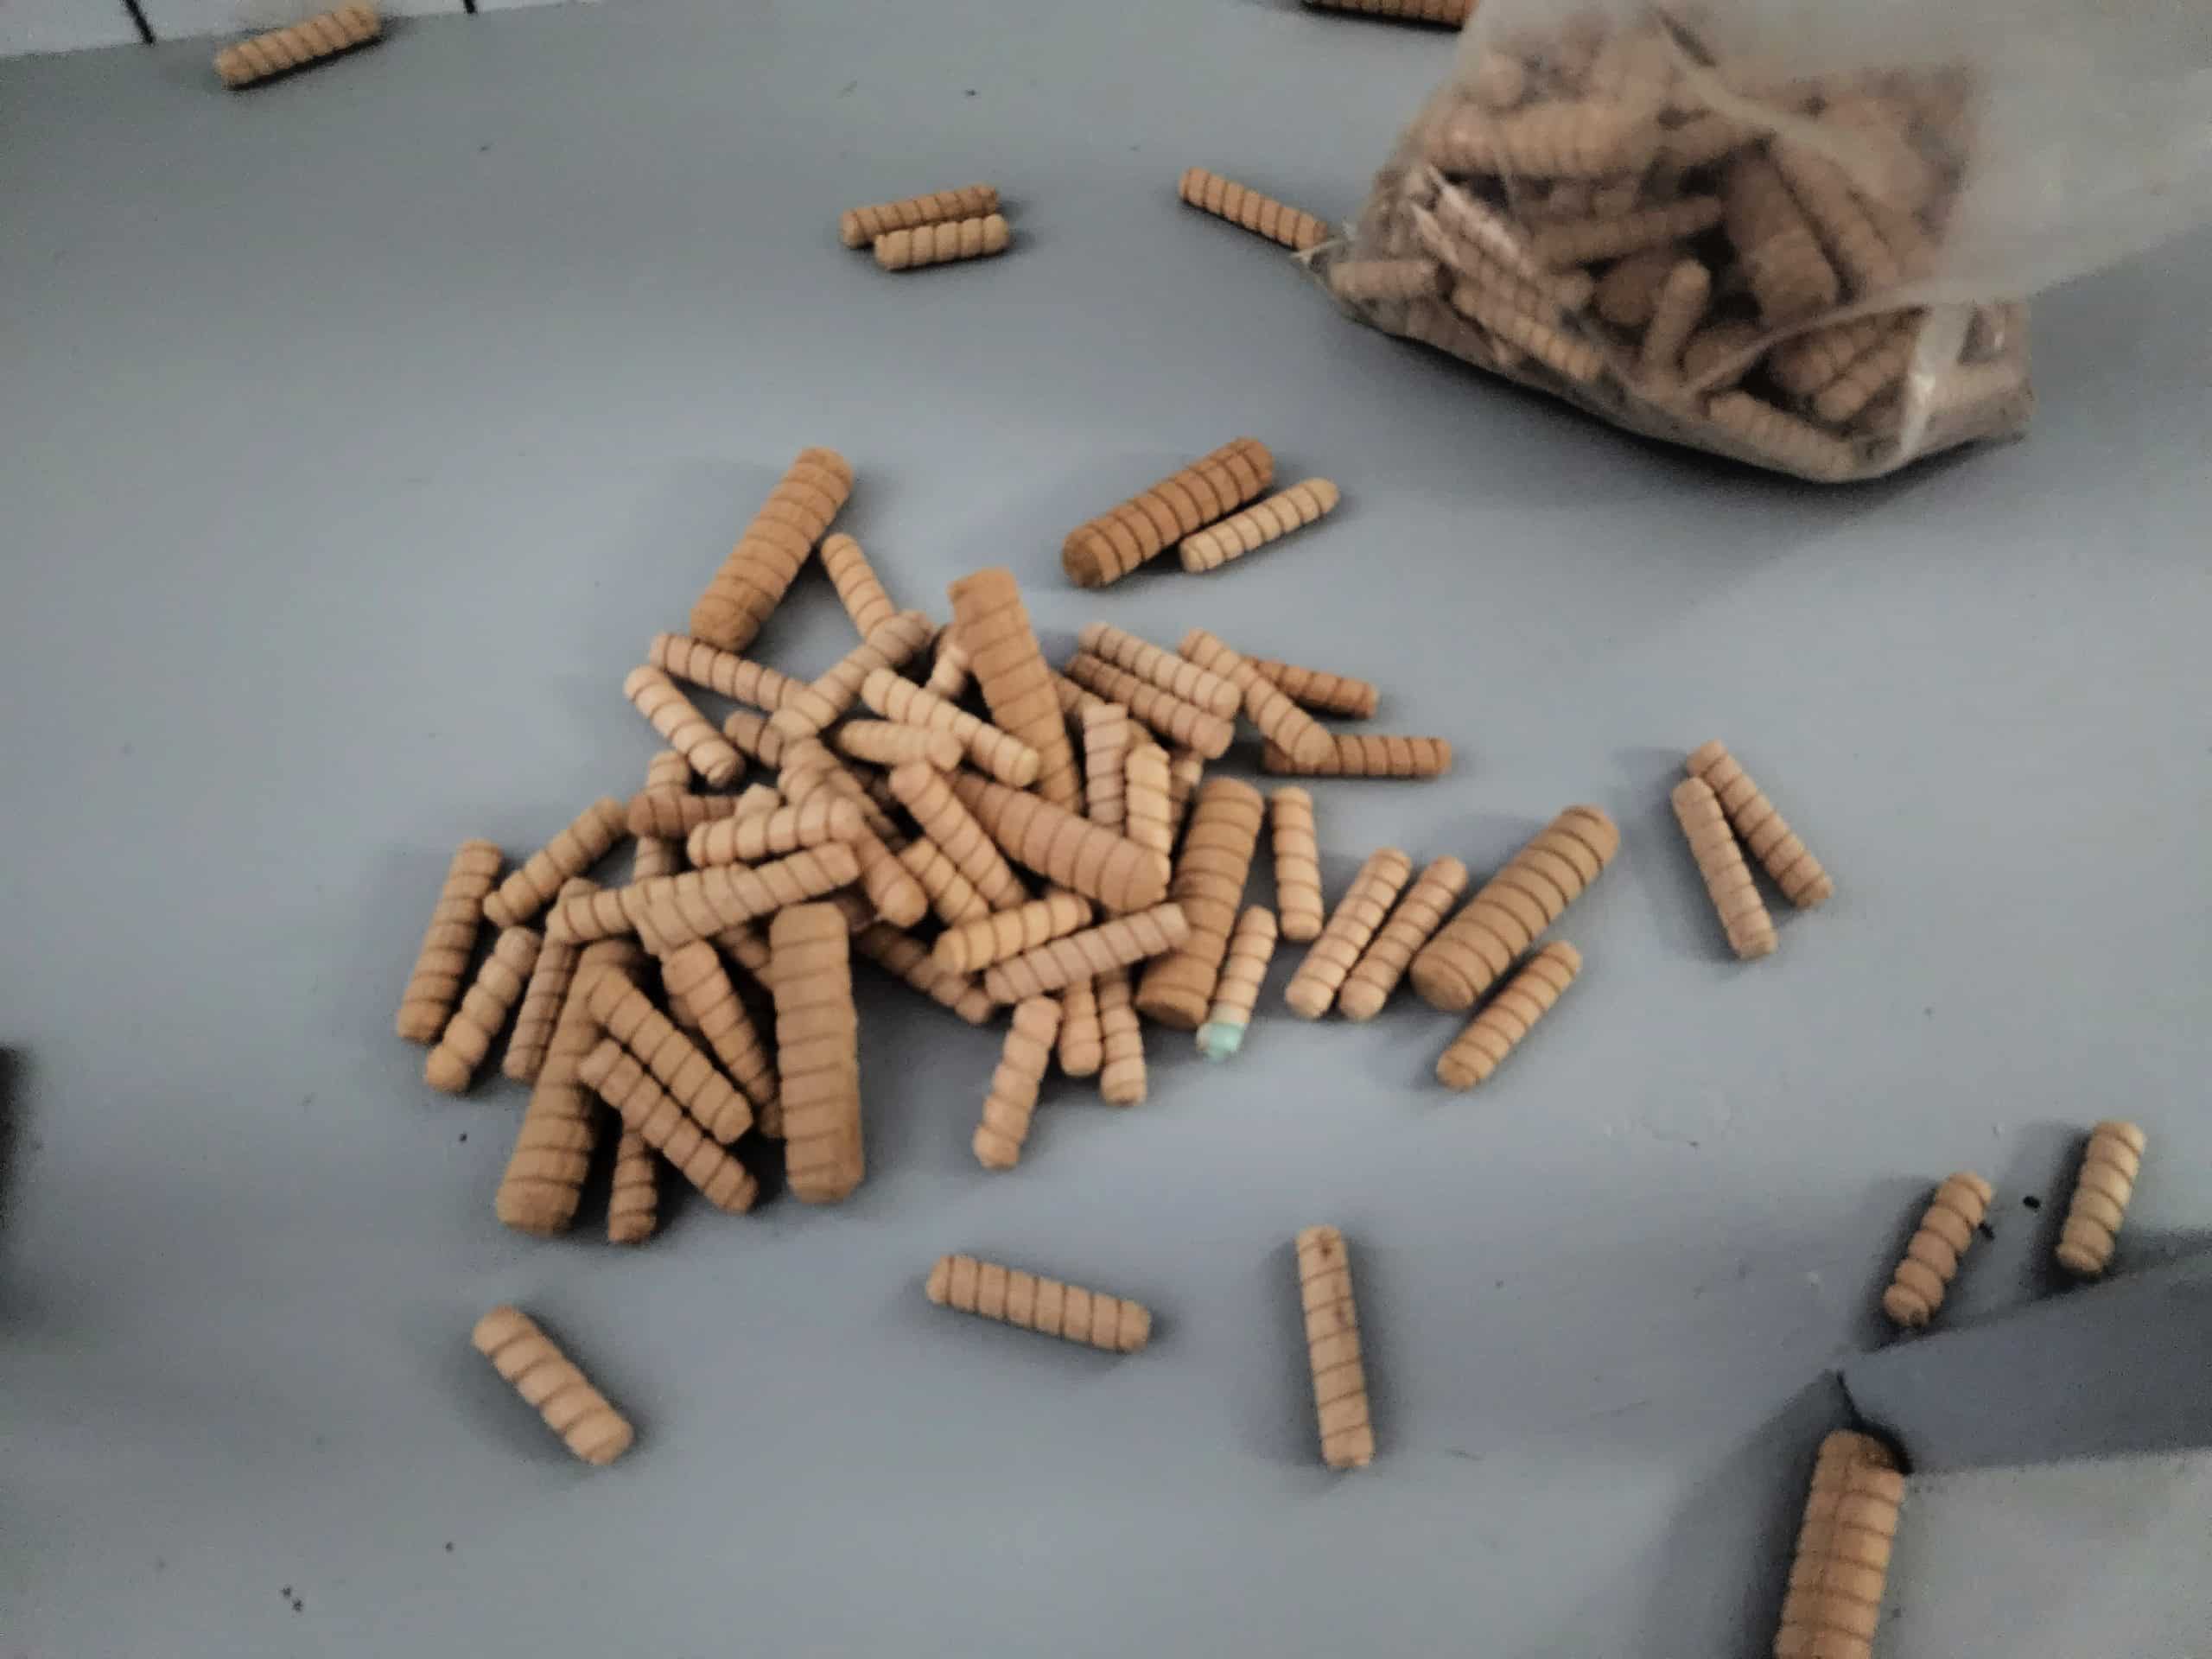
The weather turned really not, so I brought the antique china cabinet indoors to finish it. It was time to reassemble it. This included cleaning the glass, reinstalling the doors and adding a couple of lost dowels to hold the shelves. Luckily I have this baggie of 10 year old dowel pieces in my stash!
China Cabinet with Curved Glass Doors

It is soooo difficult to take a picture of a china cabinet with curved glass doors!
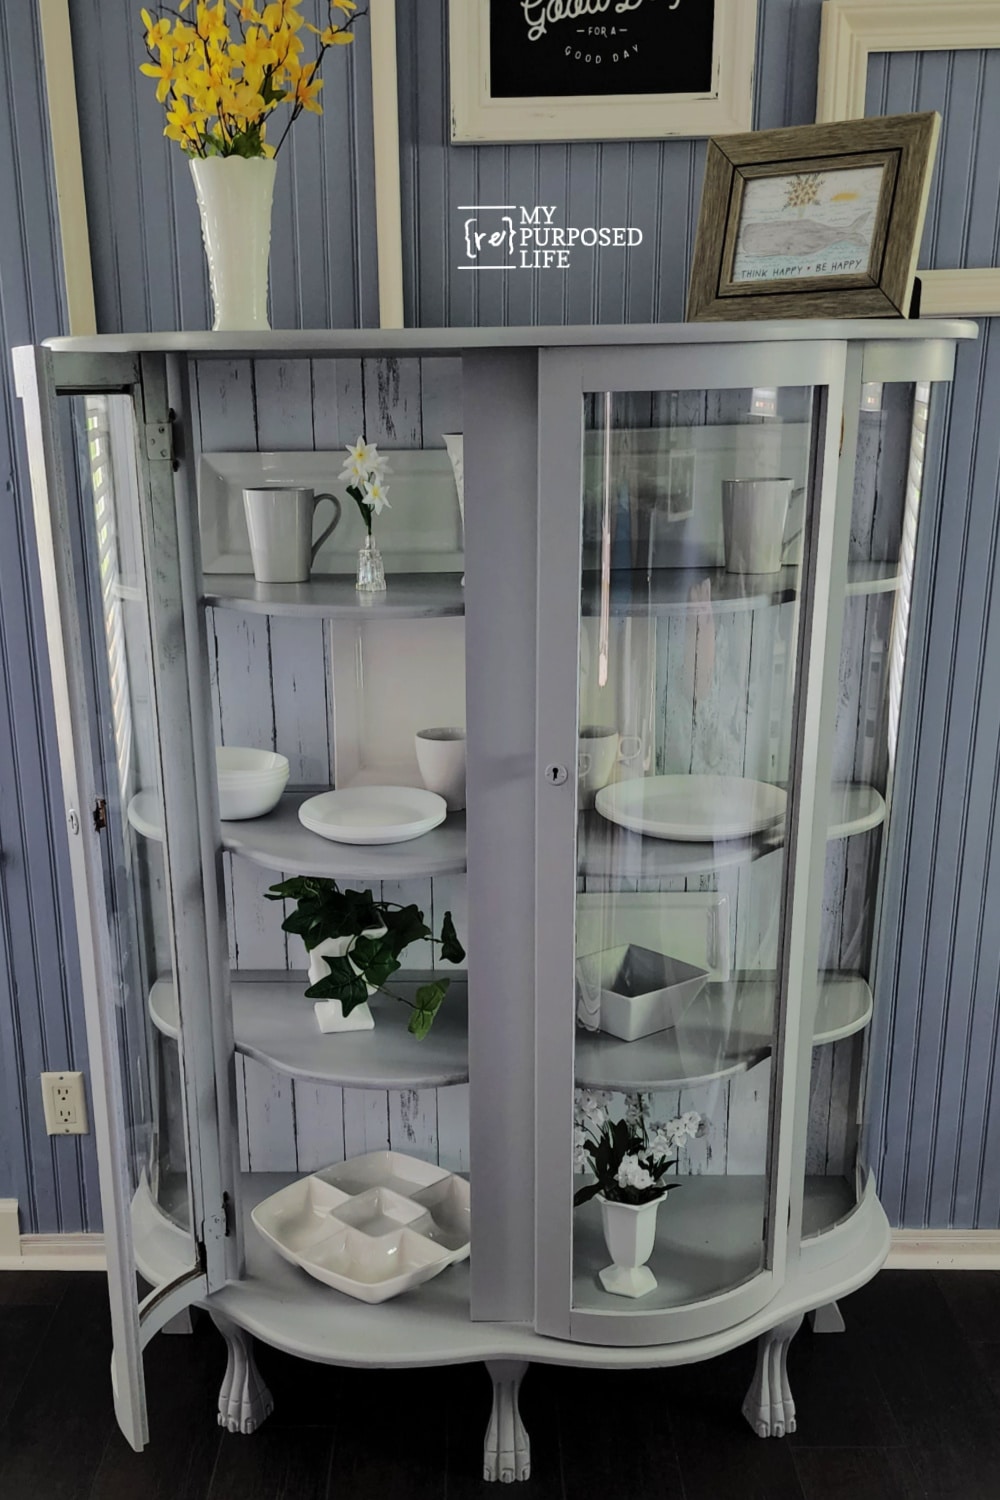
Isn’t it beautiful? Or perhaps you prefer the natural finish it was before? It really would have taken a lot of work to refinish the original wood. I just wasn’t up for it, plus I would never recoup my time out of it when it’s sold.
I do refinish furniture occasionally. This antique dresser belonged to my mom, and my daughter Jamie asked me not to paint it. I have an antique vanity in storage, I can’t decide whether to refinish it or paint it. hmmmmm
gail
Gail,
I have this exact piece from my Parents after they passed. I don’t have the heart to paint it, but maybe I will refinish it. Do you have any idea how old it is? I would love to find the age of it.
Thank You,
Janice
‘
Janice,
This piece was given to me by my cousin. When I asked her the history, she told me she thinks it’s from the early 90’s. But that’s her best guess. She purchased it from a friend for $50.
Good luck with your makeover!
gail
I have a beautiful curved glass China hutch. I really want to put a film on the glass. In case my grandkids bump it and break the glass. At least the glass will stay somewhat intact. Do you have any idea of how I could do this?
Jet
I think a frosted glass contact paper would be suitable for that. They probably have several options to choose from.
good luck!
gail
I have this cabinet in a single door model and it’s as is when purchased by grandmother with only a darker stain. I have been questioning if I wanted to paint it and what to do with the original mirror in the back that is discolored and I’m so excited to start this project. Thank for sharing!
Meagan,
I’m happy you found my article on the Antique China Cabinet.
I wish you lots of luck as you take on your project. 🙂
gail
I’m so encouraged to see what my old cabinet can look like. I’ve been afraid to mess with it. It’s been in my family for centuries.
Wishing you lots of patience and luck as you work on your family heirloom Judi!
gail
I have a mahogany curio cabinet that is very similar that belonged to my mum. I’ve tried my very best to love it and have used it to beautiful effect for over 20 years. I’m so tired of it and can’t give it away but after seeing what you’ve done, which is very nice, I might give it a go! If Linda wants to drive to Toronto I’m sure we can make a deal as is, otherwise I’m painting it…
Janet,
Items in our home need to make us happy! I can’t wait to hear how it goes. I’m curious about what color you will choose.
gail
why in gods name would you have painted beautiful natural tiger oak wood to a boring white???? Looks awful!!!
Linda,
I painted it because I knew it would get a loving home. It was only in my booth a few days before someone took it home with it’s new look. Where my booth is, natural wood pieces wait a long time before they sell. Besides, my cousin gave it to me and said I could do whatever I wanted to do with it.
I only refinish family antique items that I’m keeping. Everything else is subject to painting. 🙂
gail
These are very difficult due to the curved glass. I was terrified the first time! Practice makes it easier. Beautiful Gail!
Sue,
Are you talking about removing the shelves? If so, there is definitely a trick to it. I think I’ll have to include directions on how to do it so when the new owner is moving it out of the booth, they won’t have any problems. 🙂
gail
lovely color and finish. like Terry’s idea of the pattern running vertically.
For now, this is in my bedroom, waiting to go to the booth. It’s really growing on me, but it needs to find someone else who will use it and love it!
gail
My Mom has one like this. I told her I claim it. She’s all about darker wood colors. She refinished hers with a dark stain. And her shelves are glass. I like the wood ones so much better. Love the colors you chose and the paper. Love it!
I think this one would have been prettier with a dark stain finish than it’s original oak finish. But, painting it was soooo much easier.
thank you for stopping by and taking the time to leave a comment. It’s much appreciated
gail
Absolutely beautiful!
Thank you so much! It’s currently sitting in my bedroom, and I’m getting to enjoy it until I take it to my booth.
gail