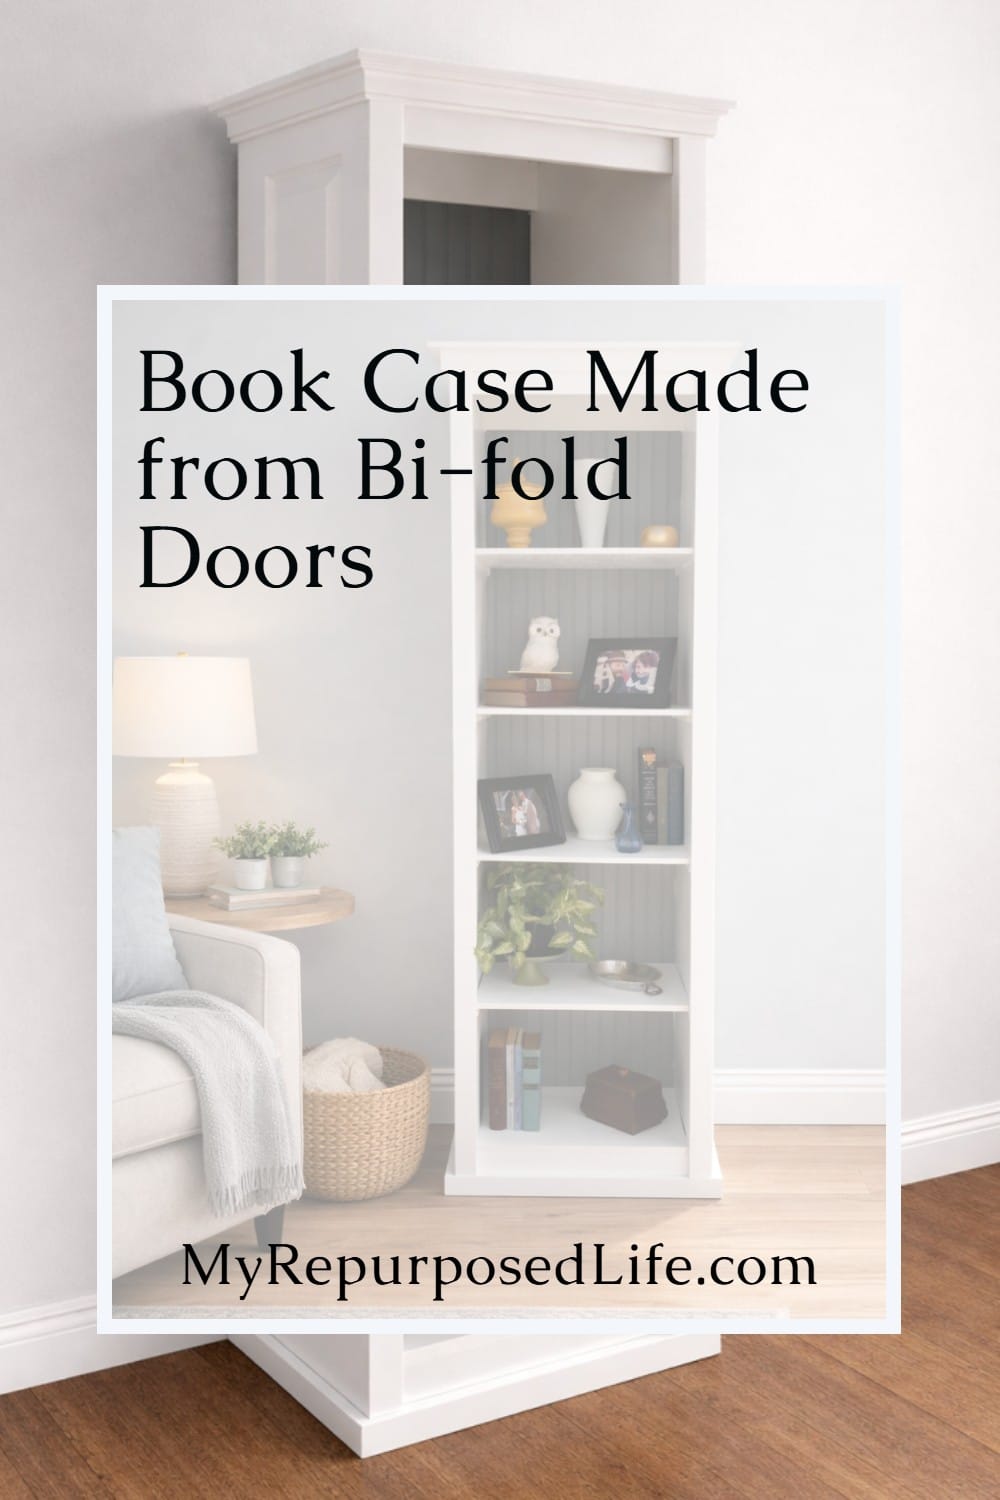
Bi-fold Door Bookshelf
As an Amazon Associate, I earn from qualifying purchases.
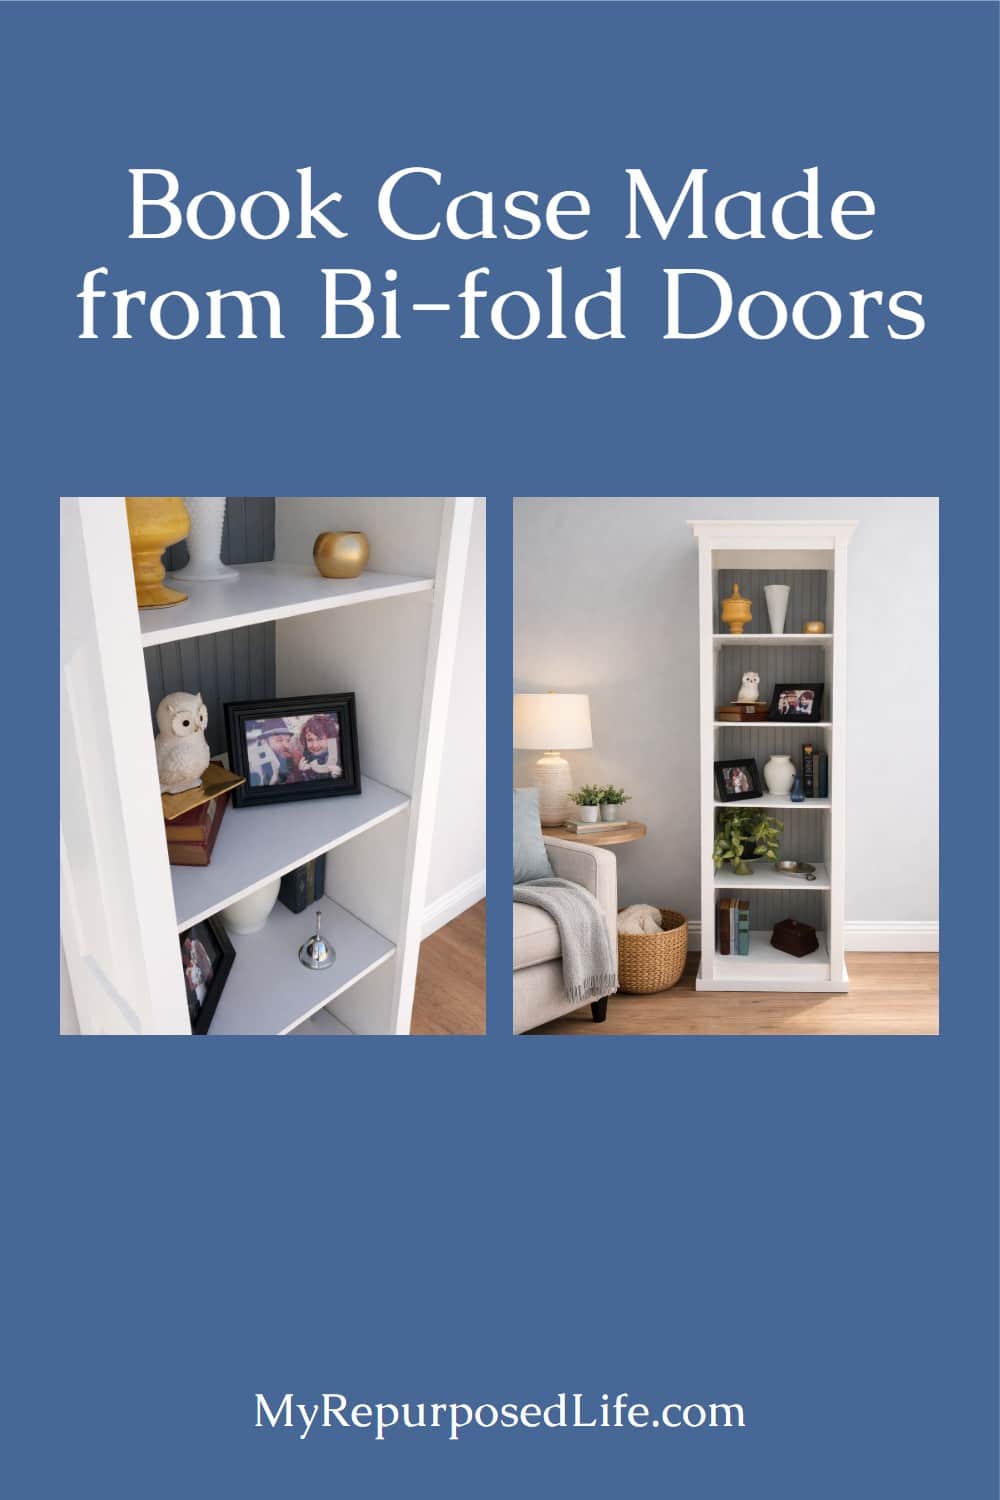


If you ever spot a pair of bi-fold closet doors at the Habitat for Humanity ReStore, grab them. They are the perfect “already-built” sides for a tall bookcase, and they keep the cost down without looking like a cheap shortcut. This bi-fold door bookshelf is one of those projects that doesn’t look very easy, but it really is just doors, shelves, and trim, one step at a time.
Use Two Bi-Fold Doors

The Habitat for Humanity ReStore is a great resource for buying surplus building materials such as doors. Bi-fold doors are available at a reasonable price.

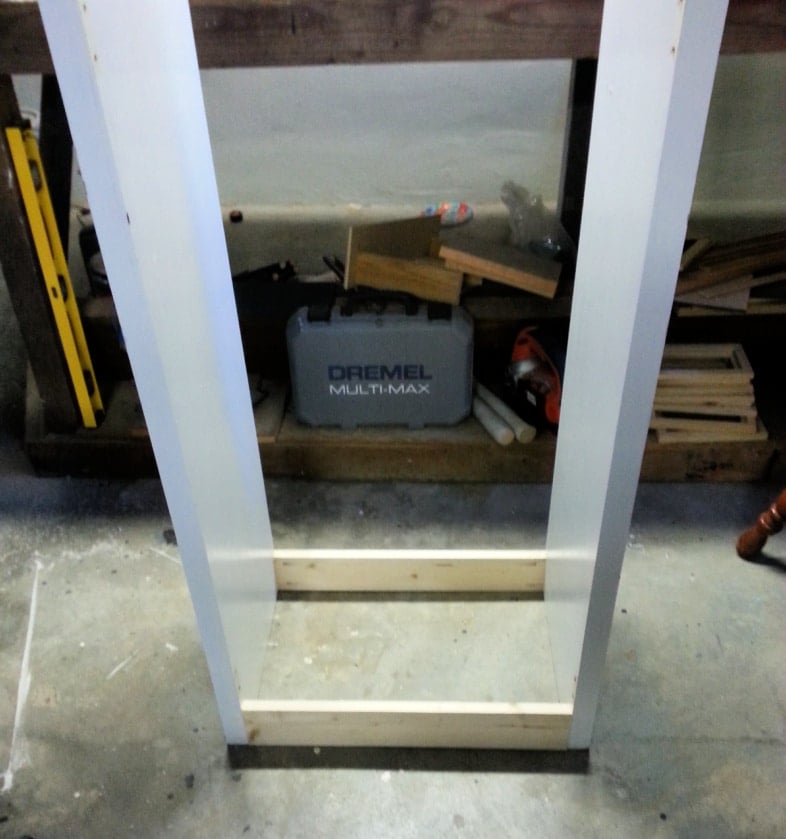
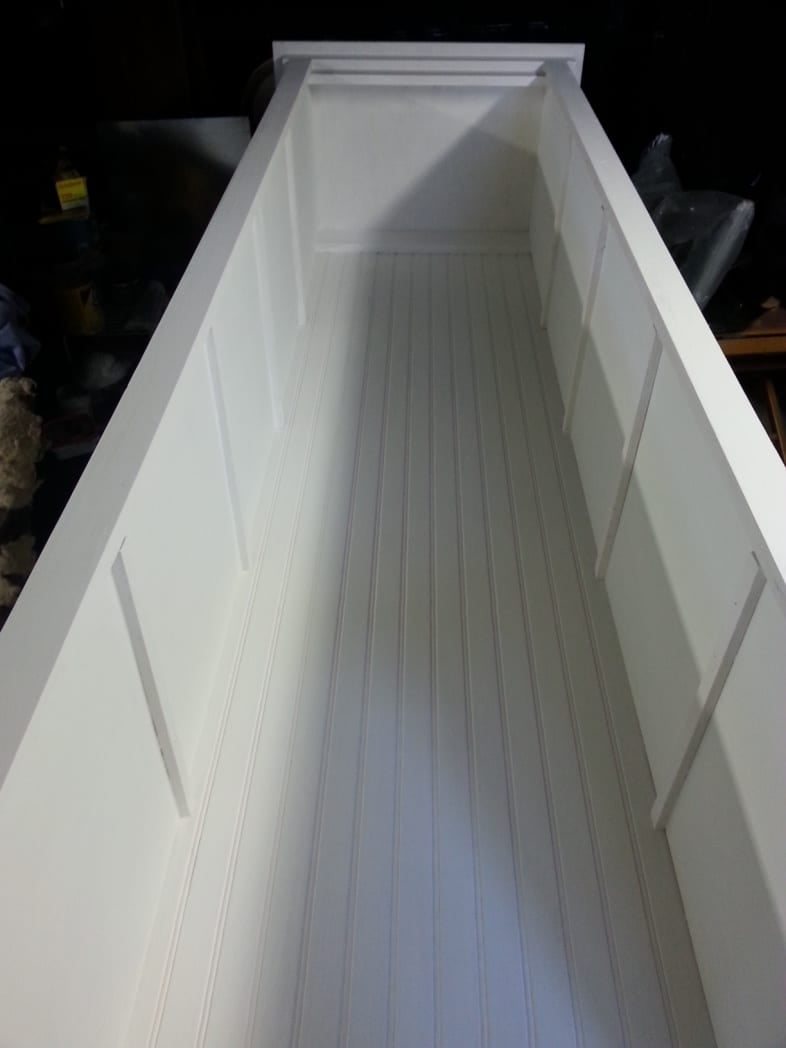
Please excuse the less-than-perfect photos taken in the basement shop. To begin, I removed the hinges and added 1x4s to the top and bottom of each door. If you look closely, you will see this was done with pocket hole screws from the inside.
Add Shelves
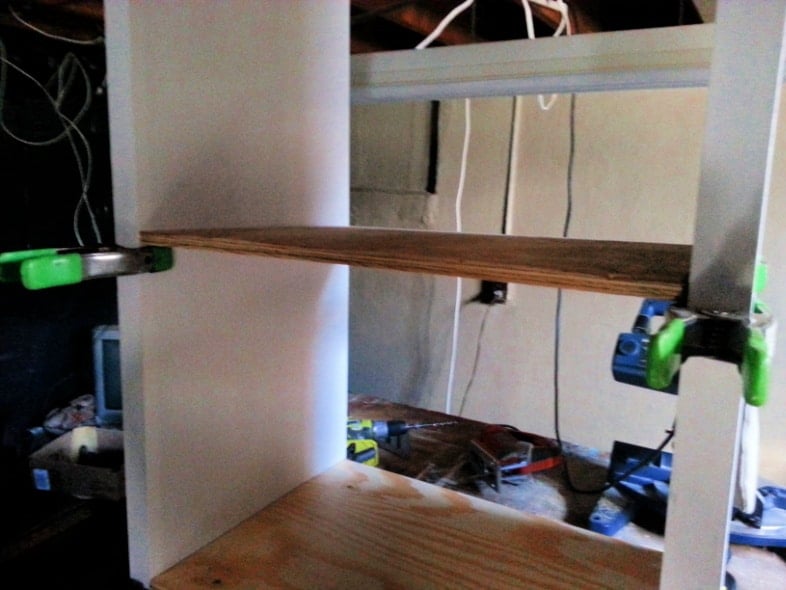
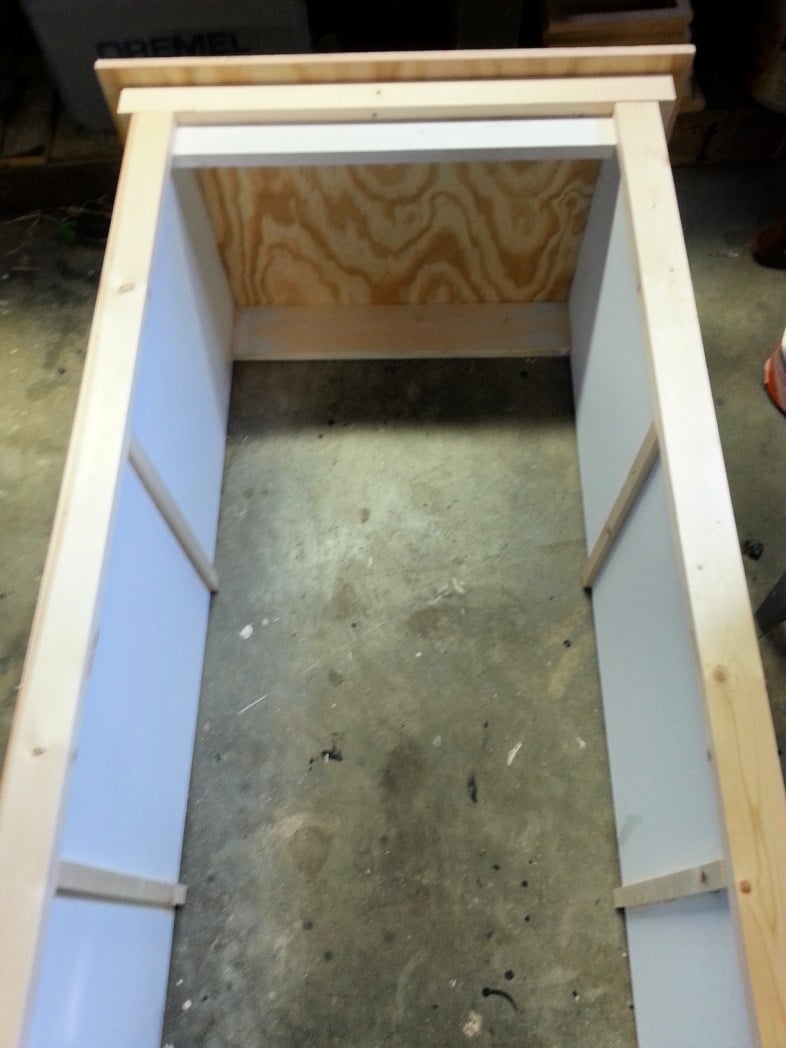
Shelves were cut from plywood. In this photo, I am trying to figure out how to space the shelves connected to the doors. Clamps are helpful to “hold” the shelves during this process.
How To Use Edge Banding

Have you ever used this Wood Veneer Edge Banding? This was my first time using it on the raw edge of the plywood.
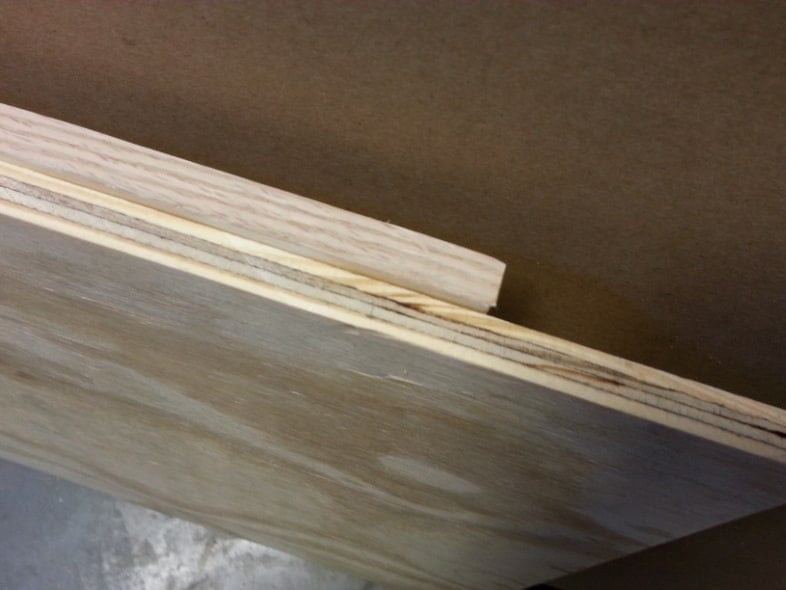
To illustrate the difference in the outcome, here are two boards: one with it and one without.
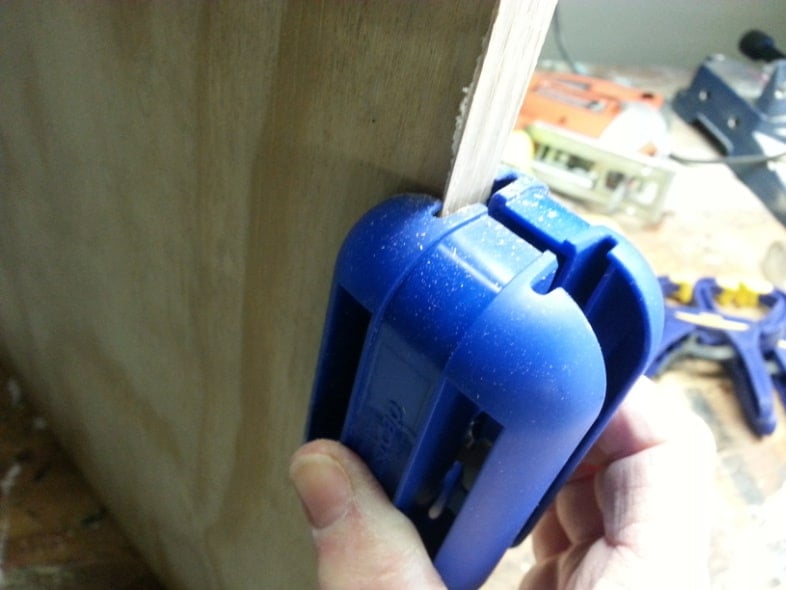
After ironing the edging, I used the Quad Trimmer to trim off the overlapping edge.

I added cleats to the inside of the doors to support the shelves.
Cleats Help Support Shelves
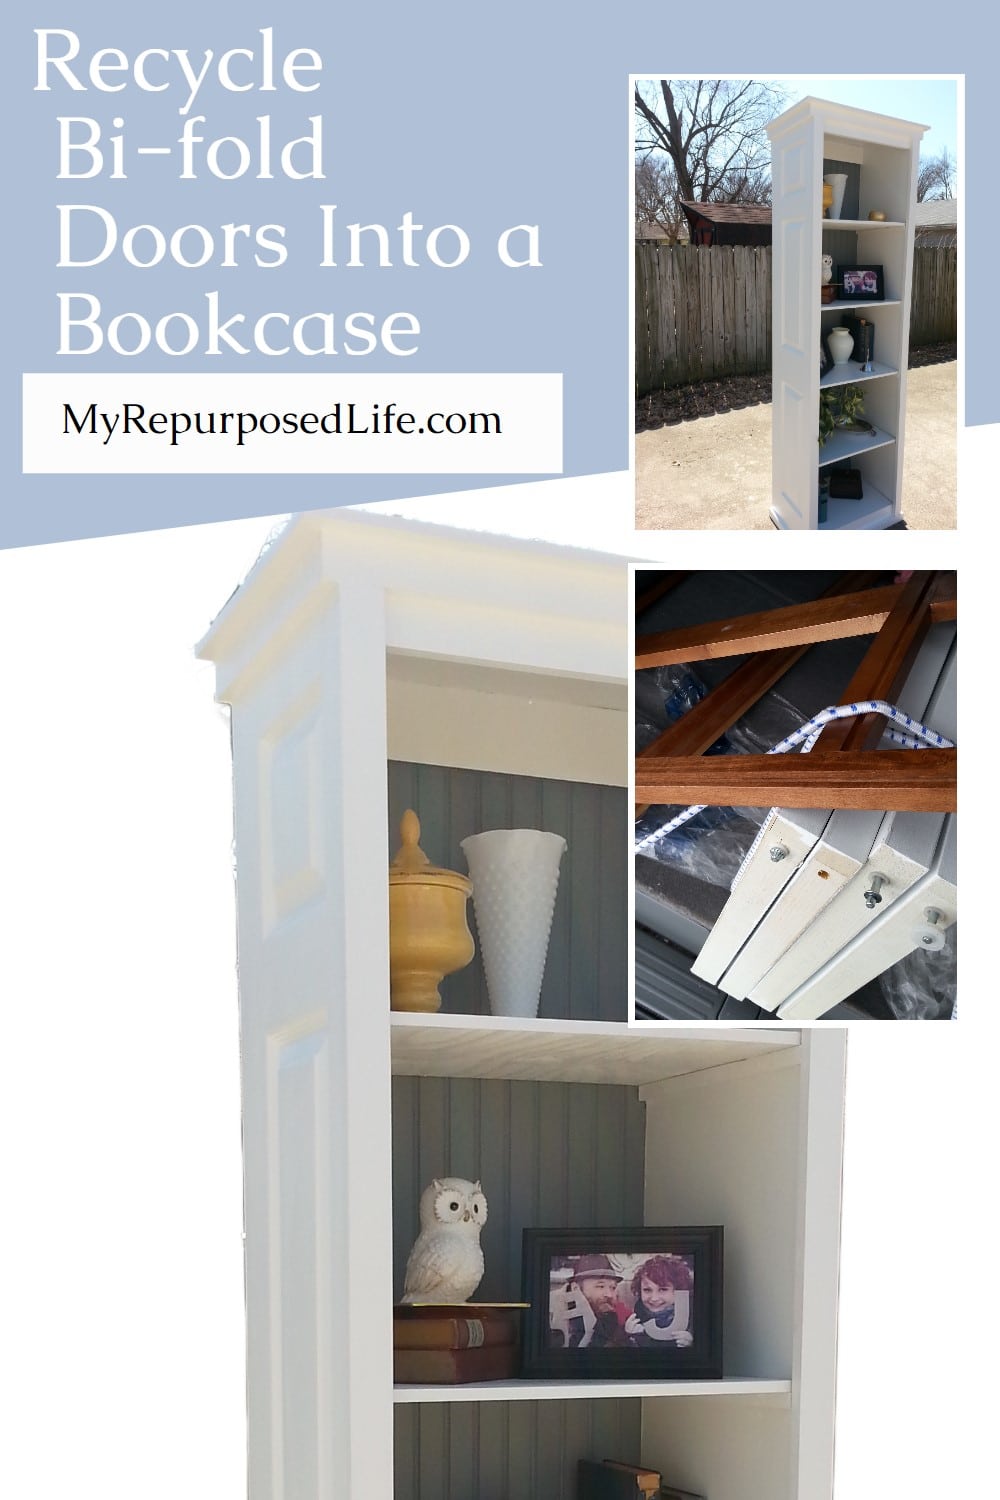
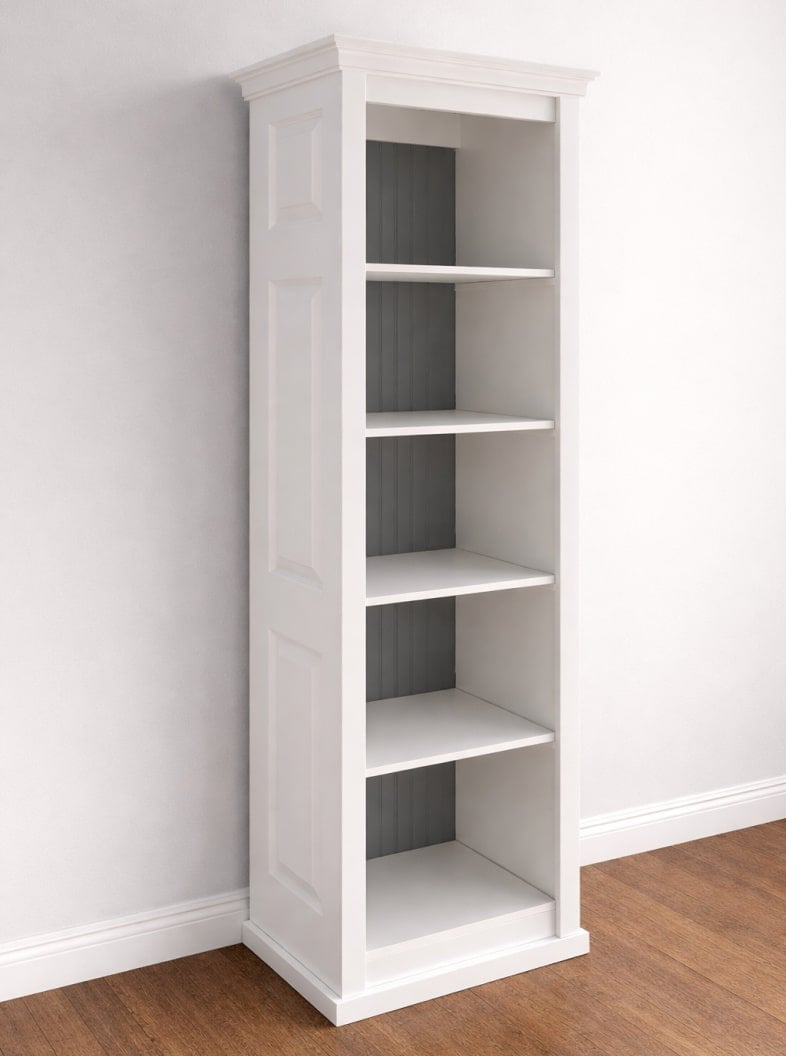
I added some front facings to make the doors look a little less like doors. You can also see that I added a top and some trim.
Trim and Beadboard
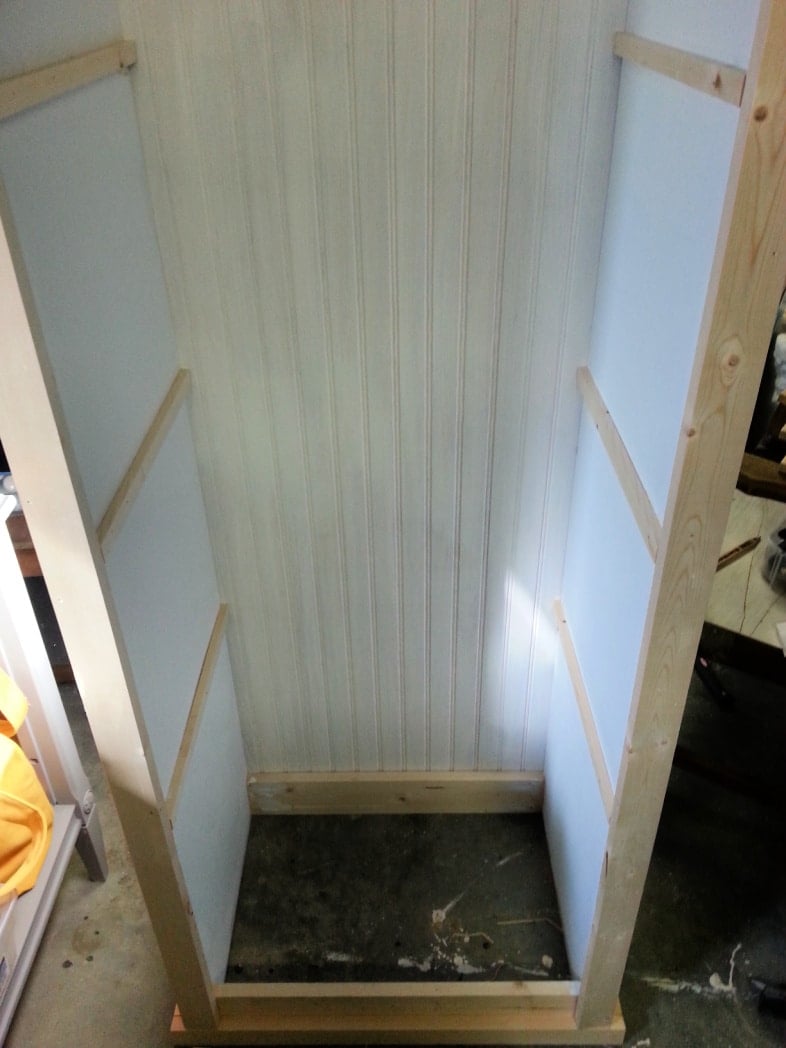
You can see the beadboard on the back and some extra trim around the bottom.
Painting the Book Case
This project is so tall that it barely fits in the basement because of the rafters and ductwork. To make painting easier, I set it up on sawhorses and applied a couple of coats of primer.
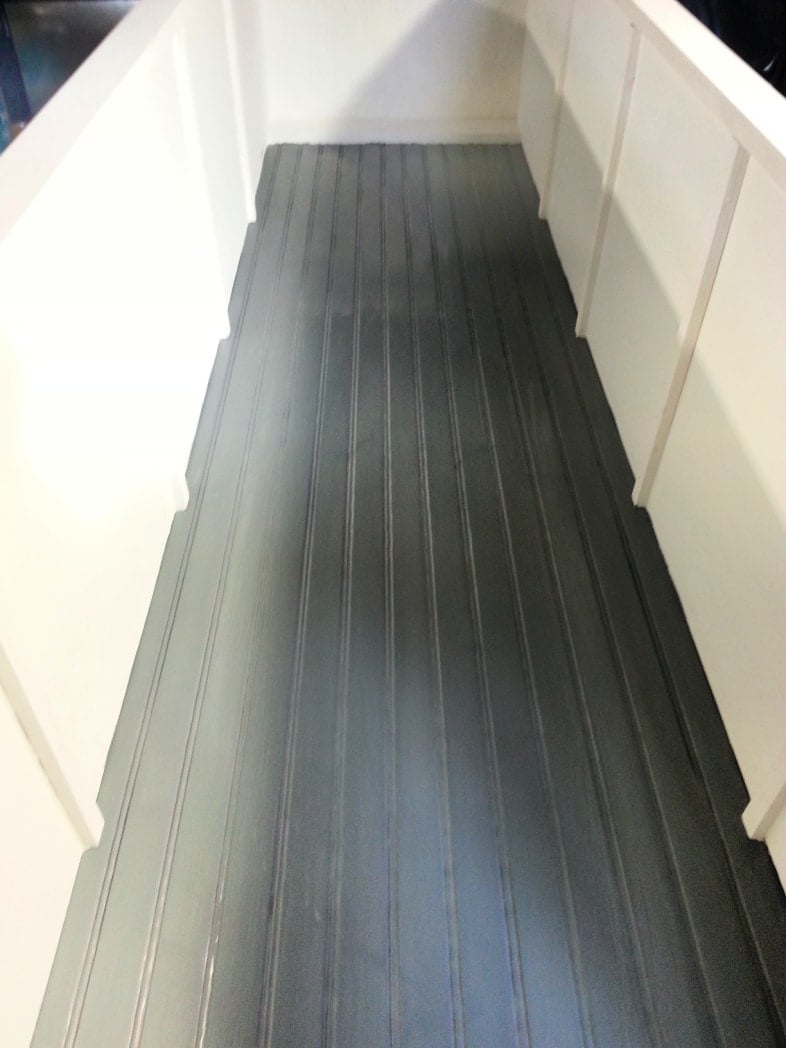
I decided to paint the beadboard gray.
It sat finished in the basement for over a week while I waited for help to get it outside.
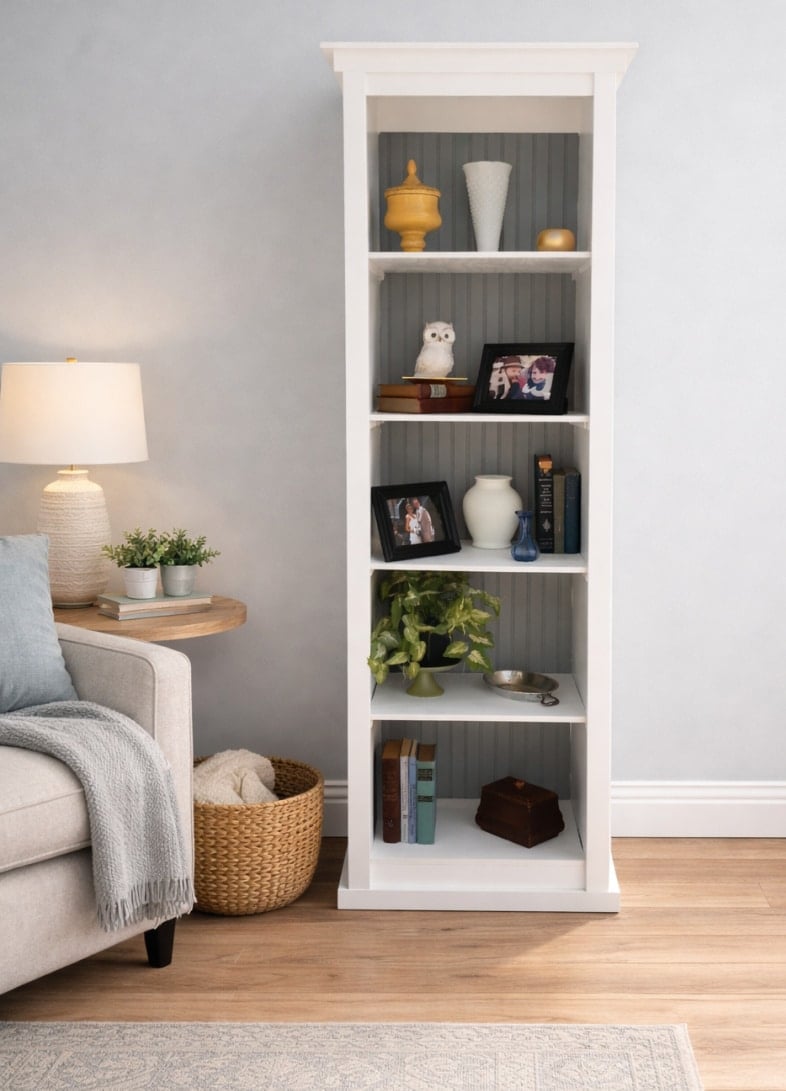
Recycled Bi-fold Doors Make a Great Bookshelf
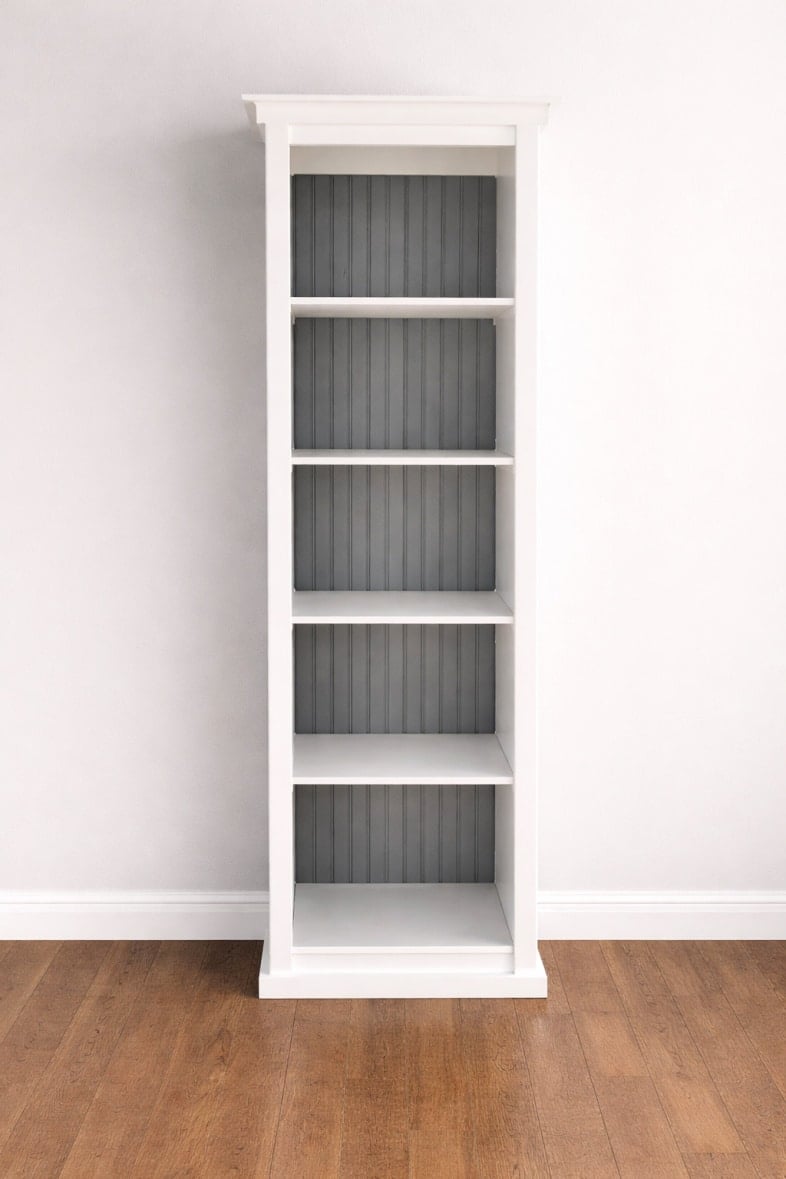
A project like this may seem daunting. By breaking the task into steps, I hope this tutorial will help you build your own bi-fold door bookshelf.
What do you think about the gray beadboard?
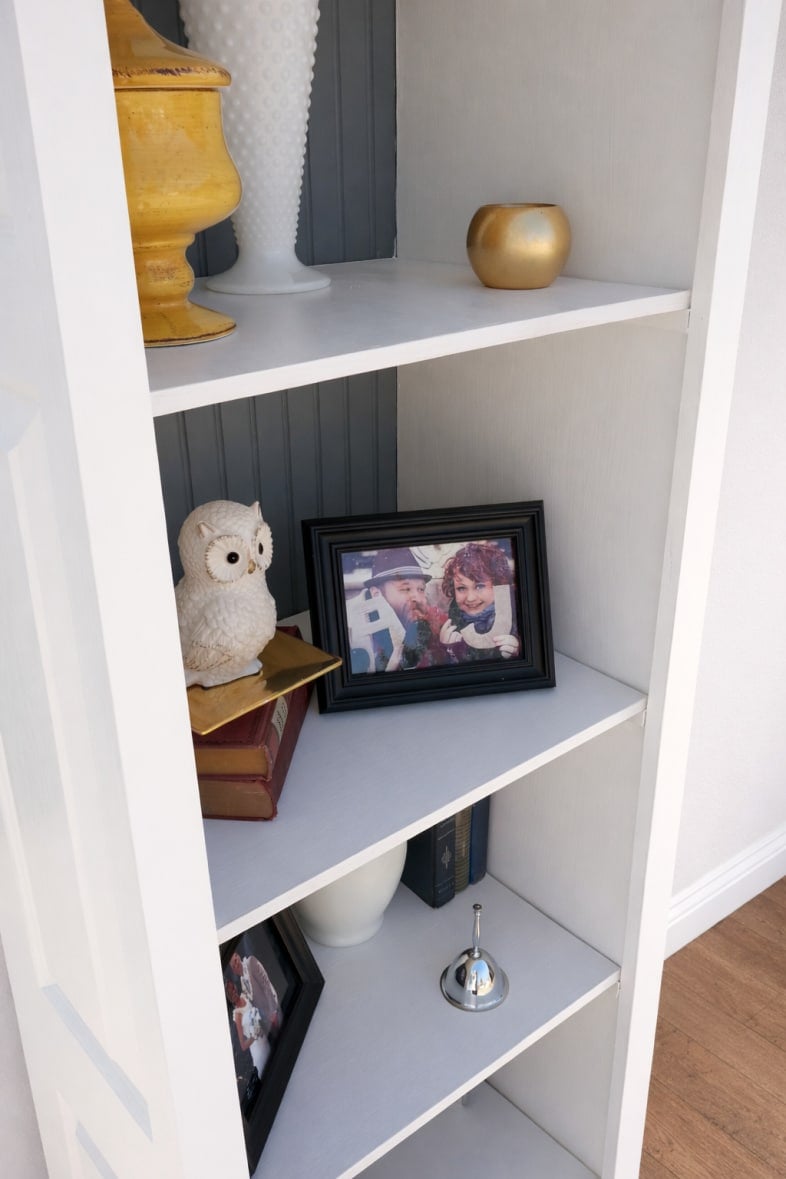
A bookcase like this is useful for organizing your books and displaying your decor.
It took me weeks to complete this because I worked on it intermittently and applied multiple coats of primer and paint by hand. I’m pleased it’s done.
gail
It is beautiful Gail!! I really love it, and especially how you did the grey beadboard in the back! Your staging looks great too! Fun fun fun!!
This is a great piece, Gail! I love it. Were these doors solid rather than hollow? I wouldn’t have thought you could attach cleats to them!
Looks really good! I have never used that edging; looks like you do! I like your staging also.
That looks fabulous, Gail. I think I have the same doors, been sitting in my shop for a few years unfortunately. I have used the edging, it comes in white as well for melamine shelving. It’s great to use for plywood to make the edges look like real wood.
I love this Gail. The beadboard and the outside details of the bifold doors give it character. Well, that and the extra trim you added around the top and bottom. What a great idea!
Adina @ Simply Country Life
such a great idea! i love the size of this piece, too!
You brilliant woman! Now I know what to use to build a bookcase I need!
Thanks Gail!
xox
looks great! great job staging! 🙂
It turned out great! And I love the gray beadboard!
This is amazing! I can picture it in a bathroom filled with plush towels and toiletries! Beautiful job…as always!
I love it! I have louvered bifold doors that I saved and now I can tell my husband I wasn’t crazy for saving them! Perfect project to use up spare trim and tidbits.
You did a great job, I love it!